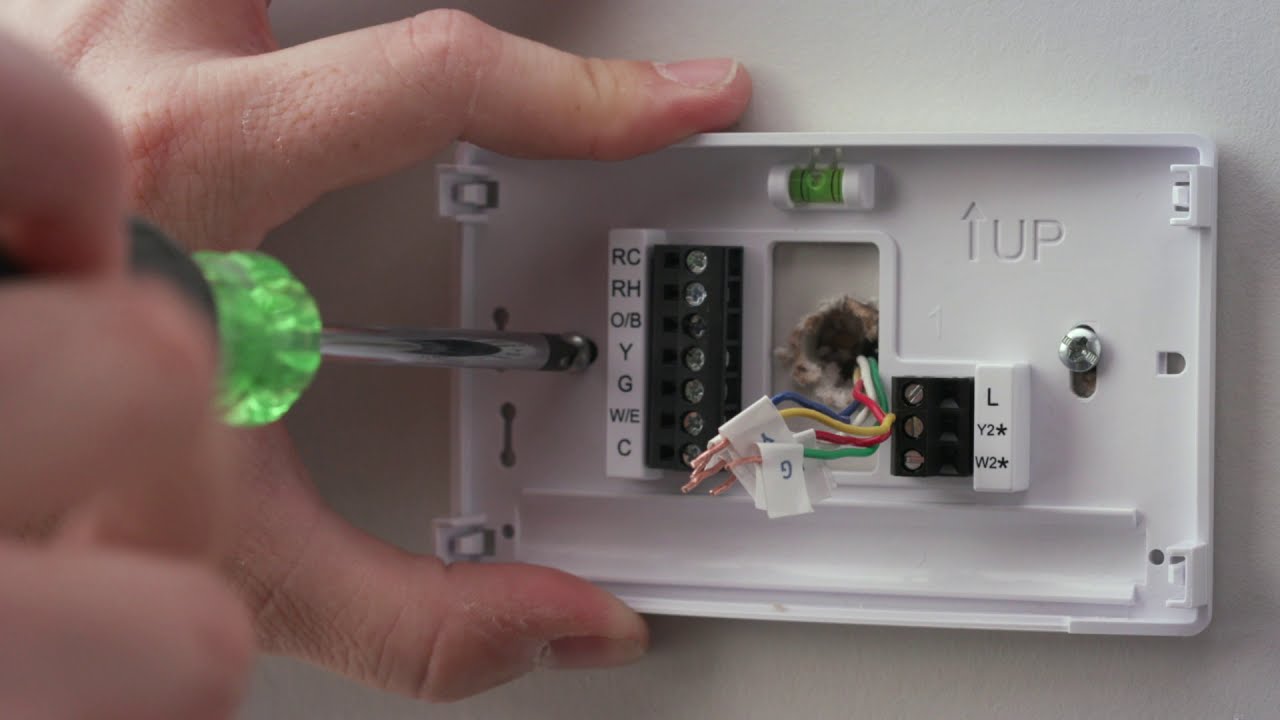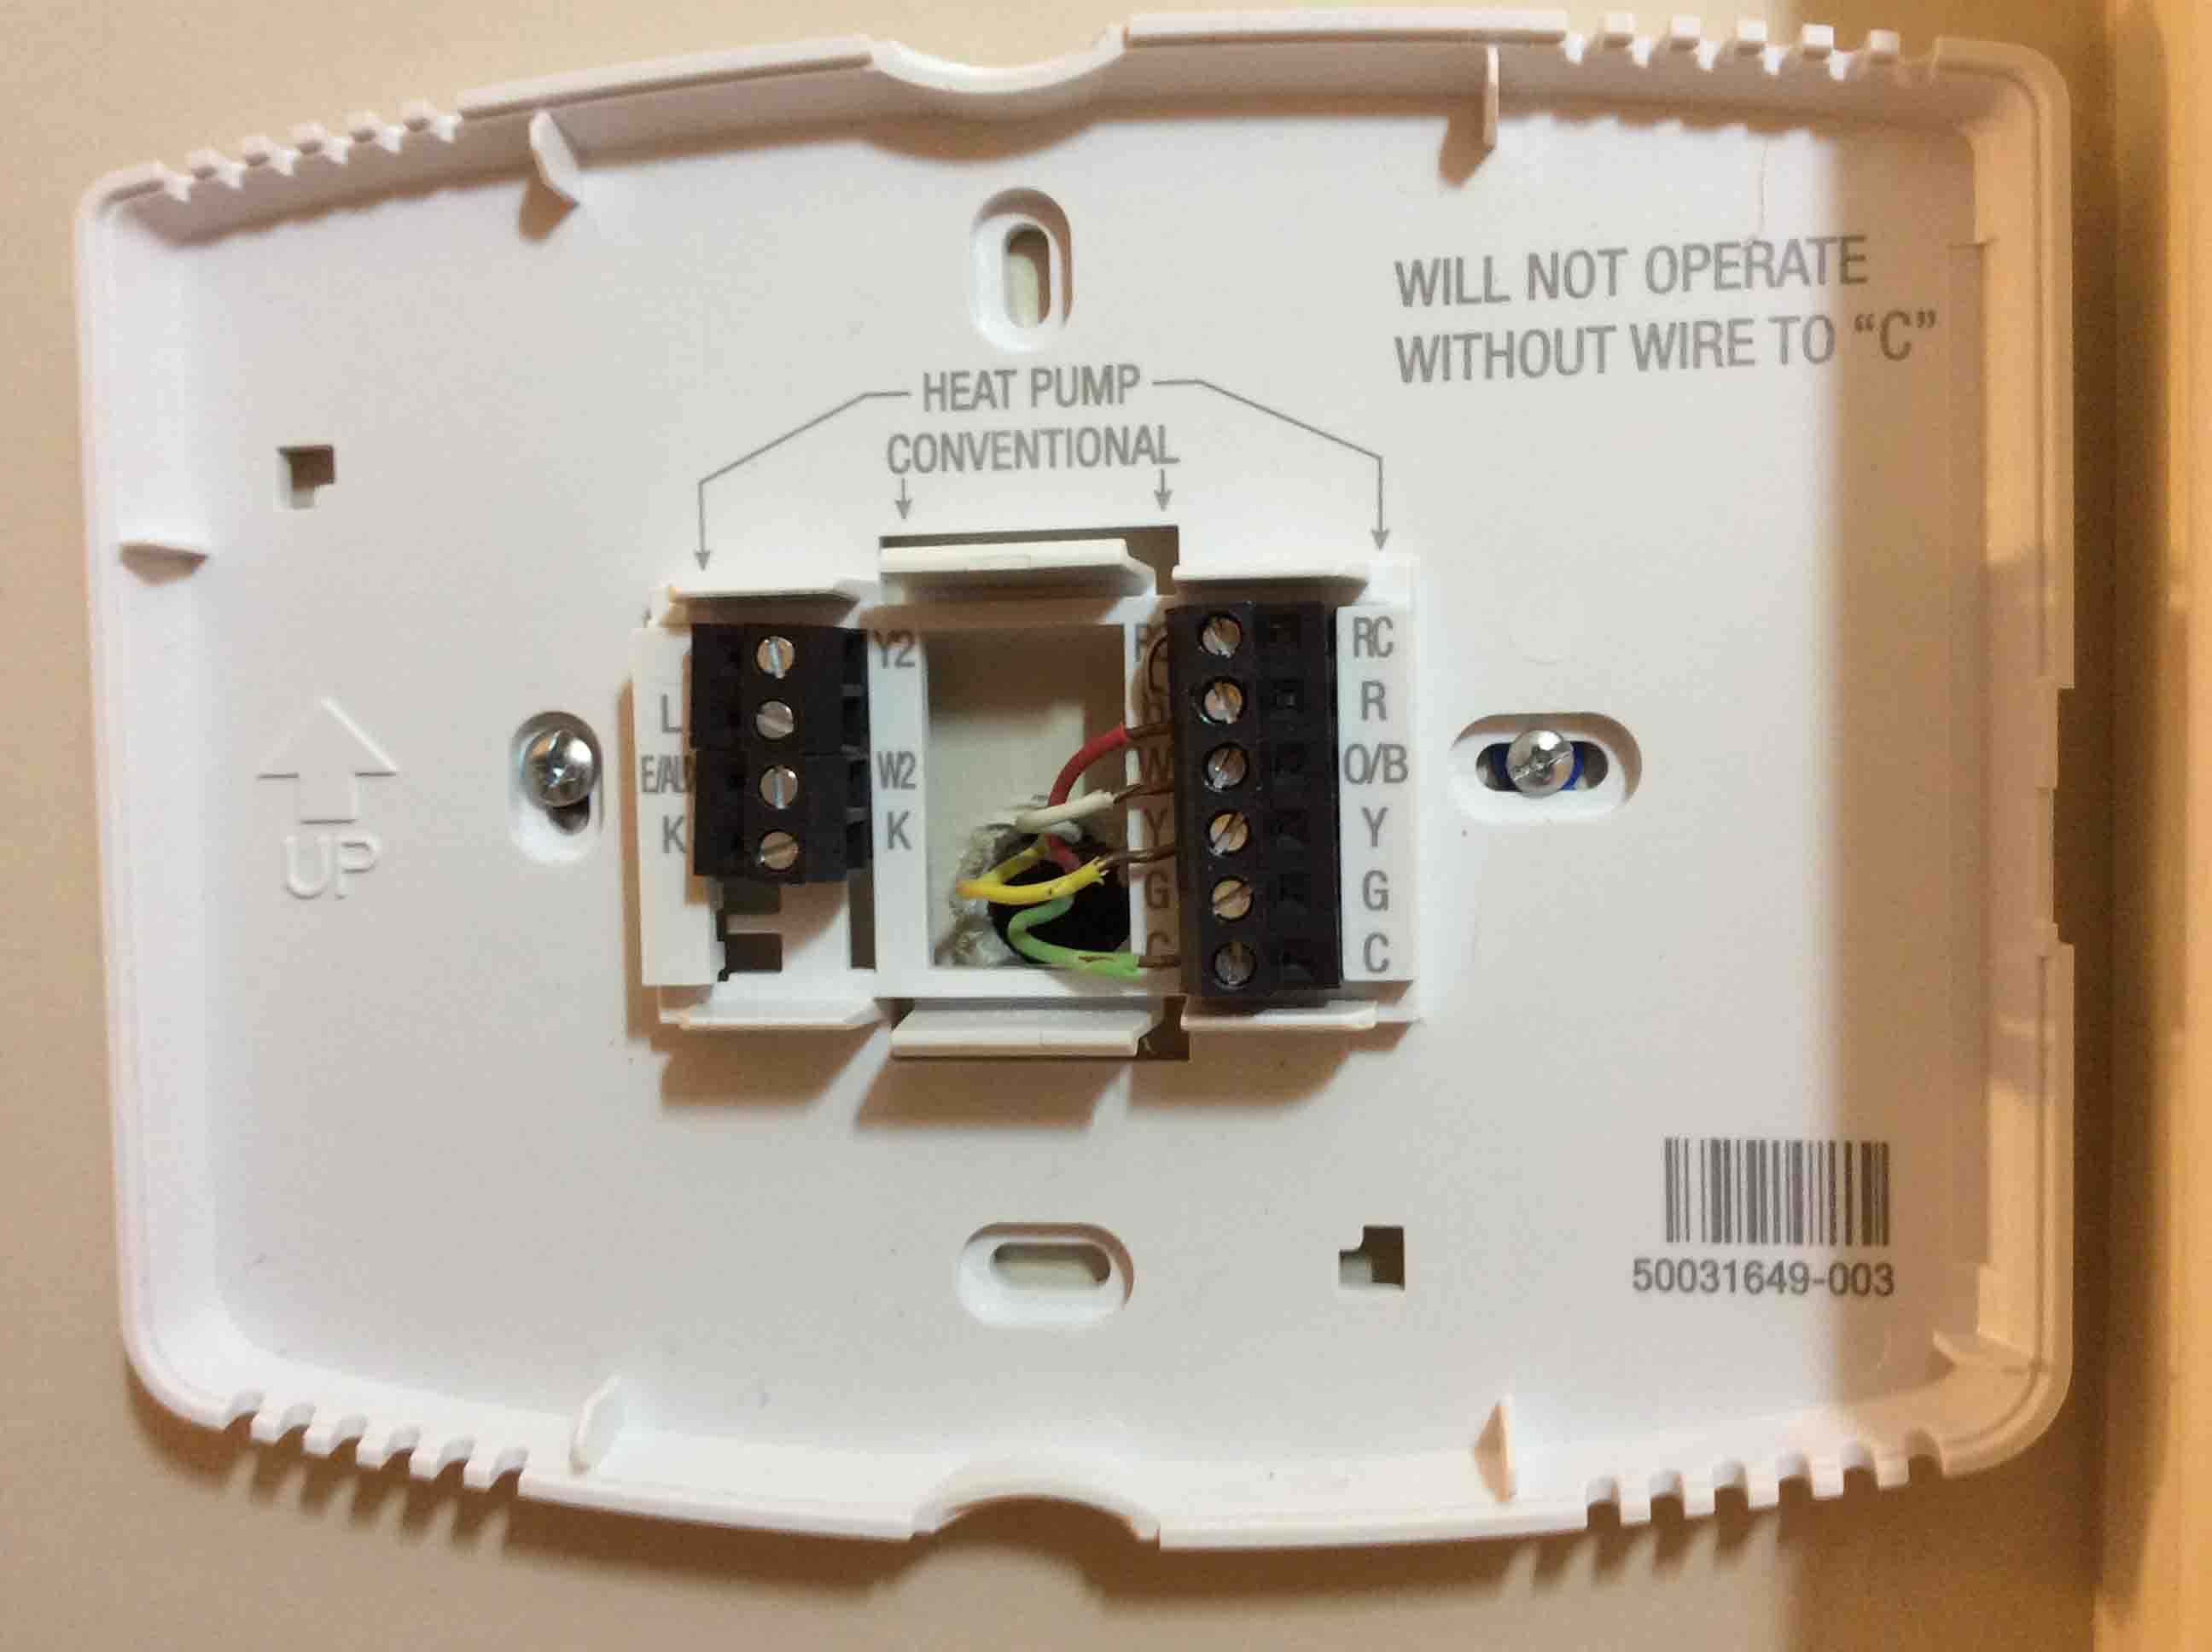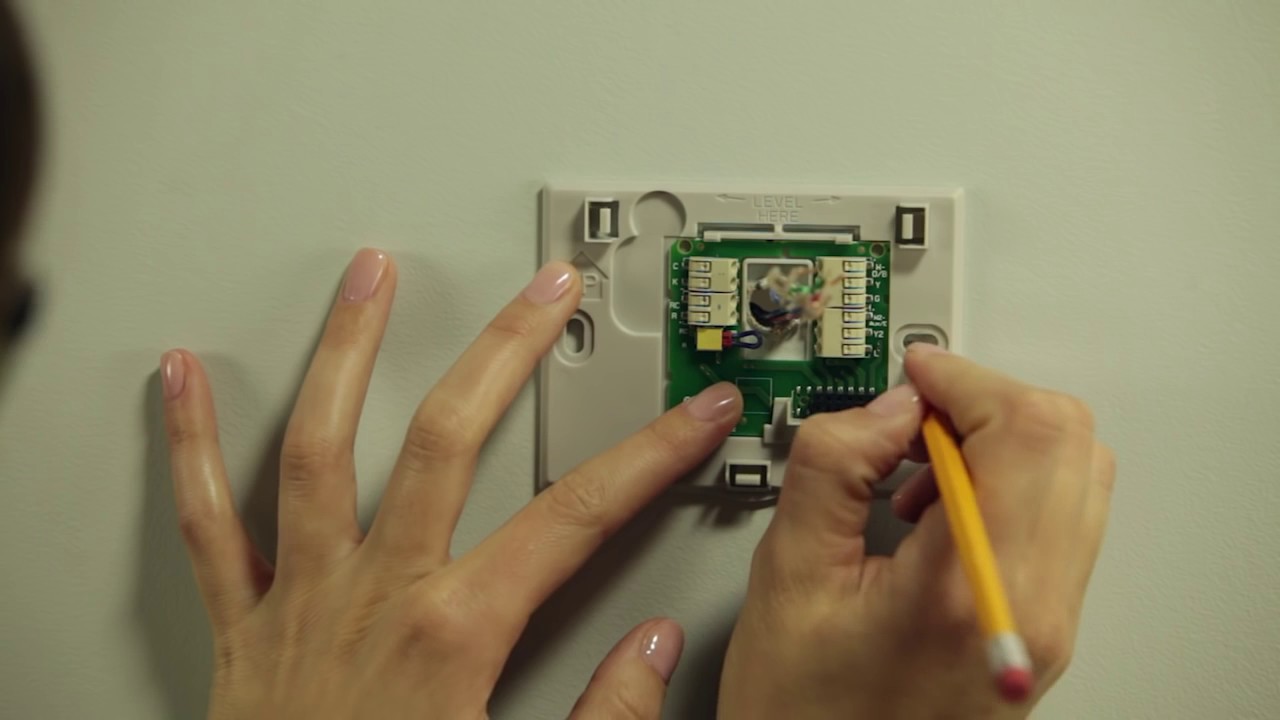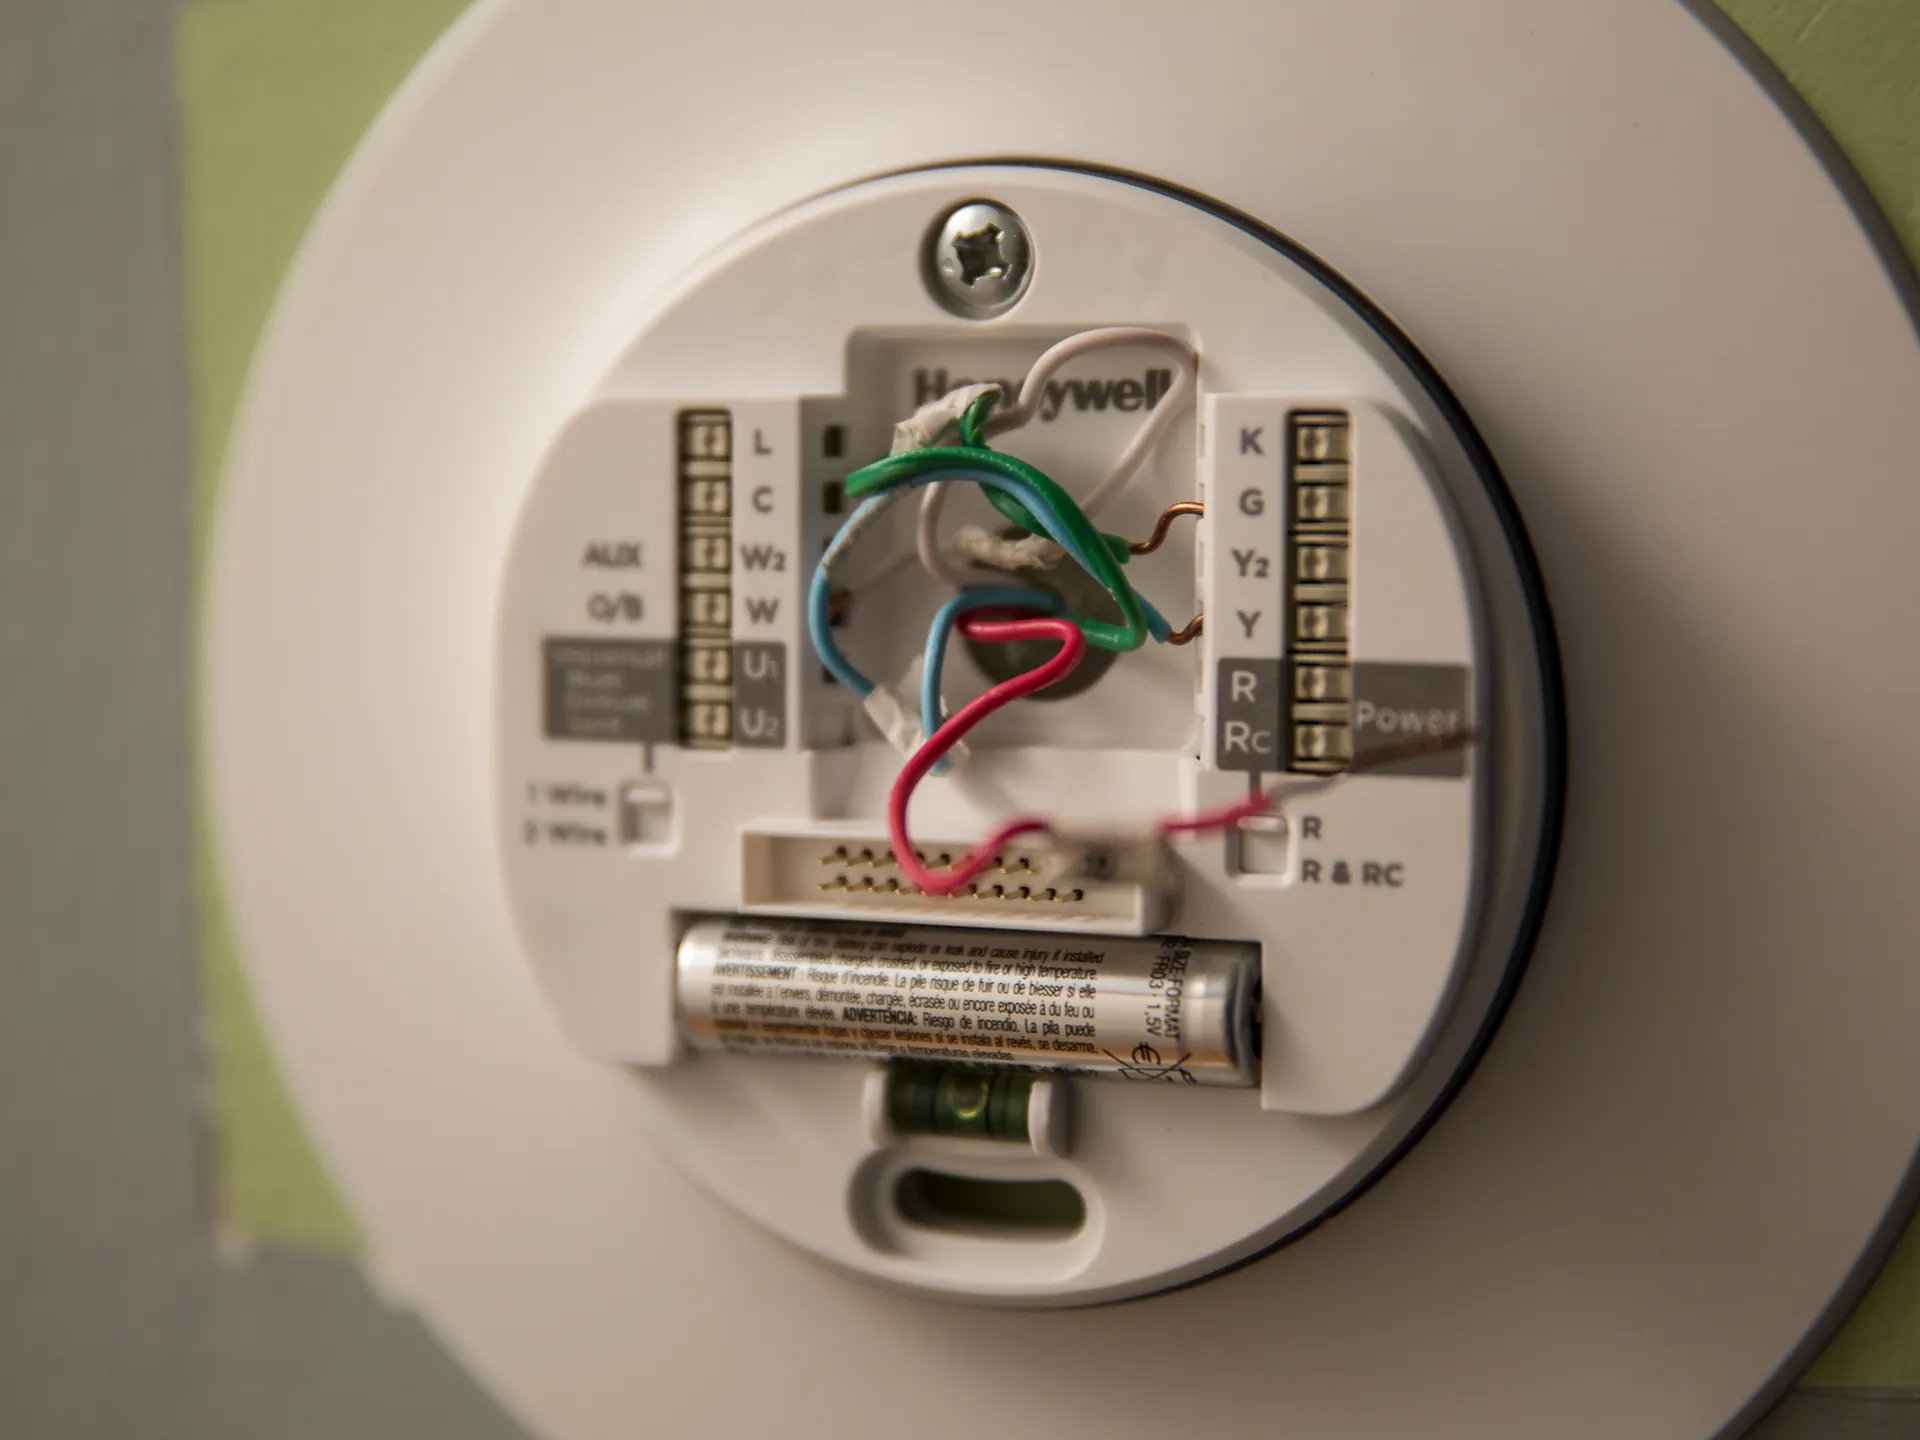
To connect your Honeywell smart thermostat to Wi-Fi, you need to confirm your home network operates on a 2.4 GHz frequency and have your smartphone or tablet ready. If you haven't yet mounted the device, first install honeywell smart thermostat on your wall to ensure it powers on correctly. Once connected, you can program the honeywell t6 pro smart thermostat to create a schedule that saves energy. This guide provides clear, model-specific steps to connect honeywell thermostat to wifi using either the thermostat's button sequence or on-screen menu, followed by the Honeywell Home app setup for remote control.
Before you connect your Honeywell thermostat to Wi-Fi: Essential prerequisites
Before starting the setup, ensure your home Wi-Fi network meets the thermostat's requirements. Honeywell smart thermostats typically require a 2.4 GHz Wi-Fi network; they do not work with 5 GHz frequencies. Verify that your router is powered on and broadcasting, and that DHCP (Dynamic Host Configuration Protocol) is enabled so the thermostat can automatically receive an IP address. On your mobile device, turn off any apps that may enhance security, such as VPNs or GPS spoofers, during the connection process. Position your smartphone, tablet, or laptop within 3 to 5 feet of the thermostat during setup for the best signal. If the Wi-Fi connection is lost at any point, the thermostat can still be manually adjusted.
Method 1: Connect using the Wi-Fi setup button sequence (TH6320WF, RTH6580WF)
This method is for specific Honeywell models like the TH6320WF and RTH6580WF that use a button sequence to enter Wi-Fi setup mode.
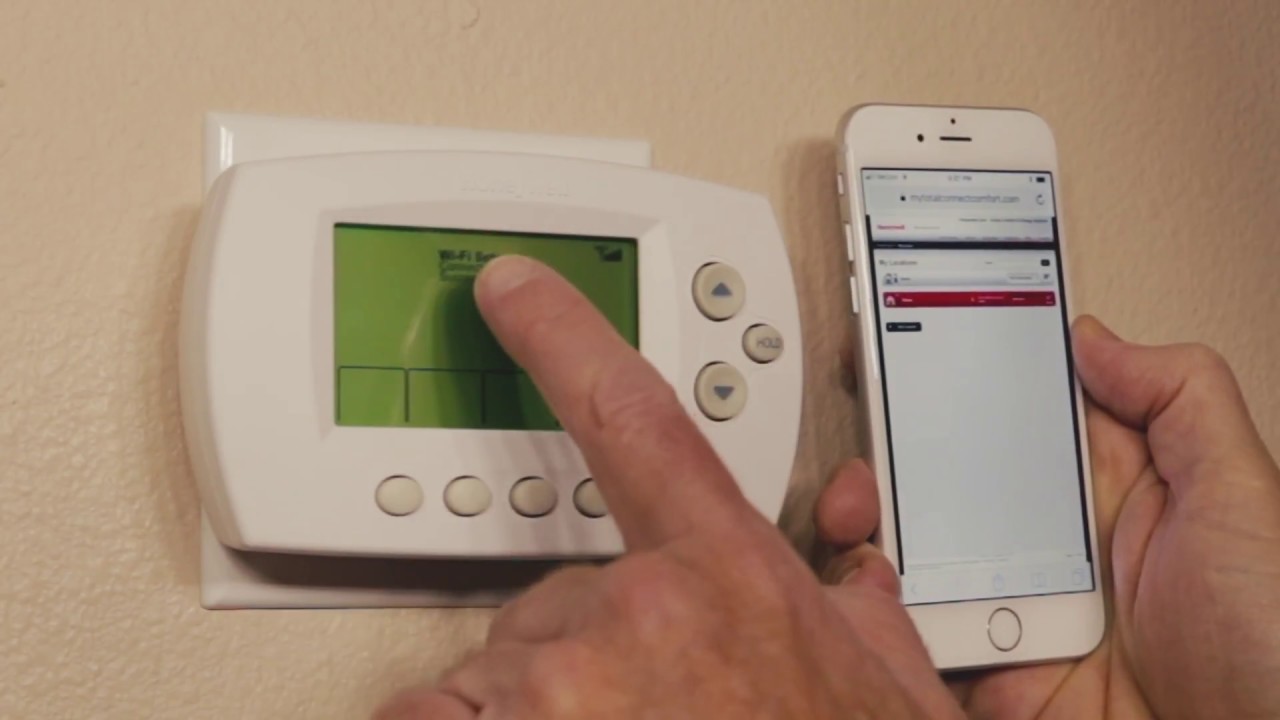
- Verify "WiFi SETUP" is displayed across the top of the thermostat screen. If "WiFi SETUP" is not displayed, press the FAN and UP buttons simultaneously for approximately 3 seconds.
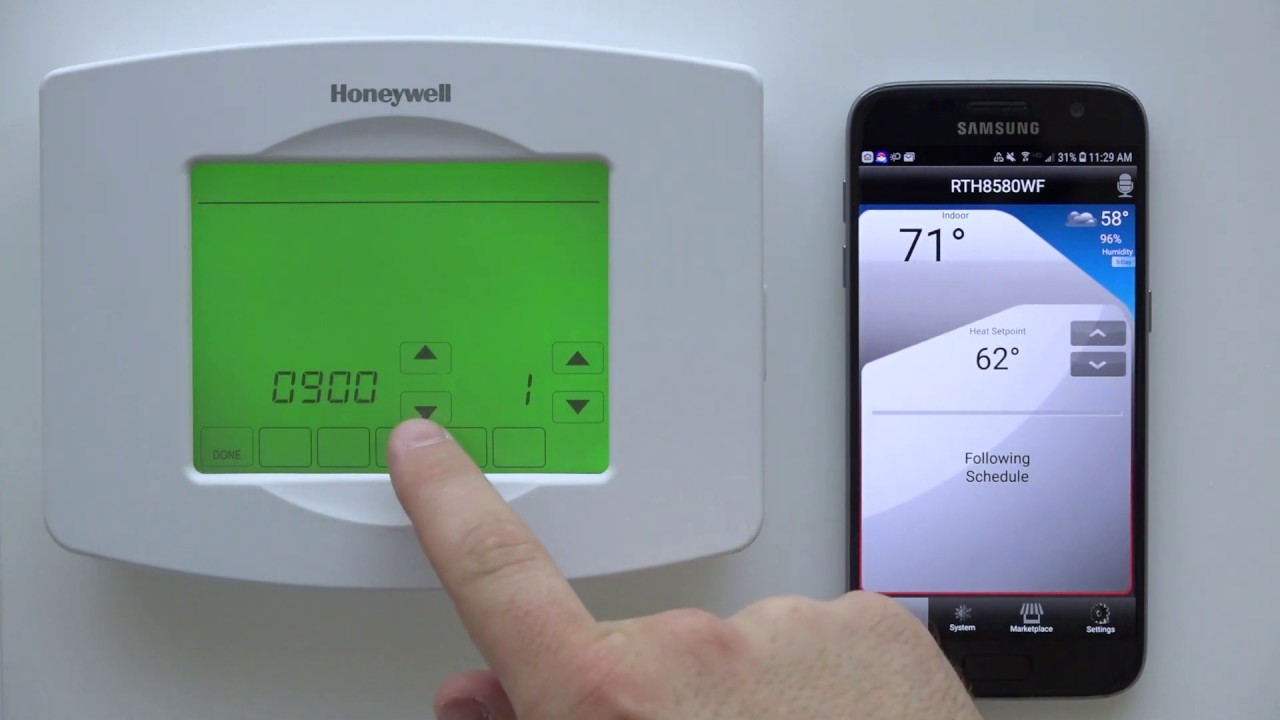
- On the new screen with two numbers, change the left number to 39 by pressing NEXT several times.
- Change the right number to 0 (zero) by pressing the UP or DOWN arrows.
- Press DONE (the first button from the left) to put the thermostat in Wi-Fi setup mode.
- On your wireless device (tablet, laptop, or smartphone), view available Wi-Fi networks and select "NewThermostat_123456" (the number will vary). This action will temporarily disconnect your mobile device from its local Wi-Fi network and connect it to the thermostat. If asked to specify a network type, select "Home Network".
- Open your web browser; it should automatically direct you to the Thermostat Wi-Fi Setup page. If the browser doesn't redirect, type `http://192.168.1.1` into your web browser.
- On the setup page, find and select the name of your home network. Use your home network, not guest networks, if your router has enhanced features.
- If your network is password-protected, you will need to enter the password.
- Click CONNECT to join the Wi-Fi network. The thermostat screen will display "Wait," and the process should complete shortly.
Method 2: Connect using the on-screen menu (T10 Pro, T6 Pro)
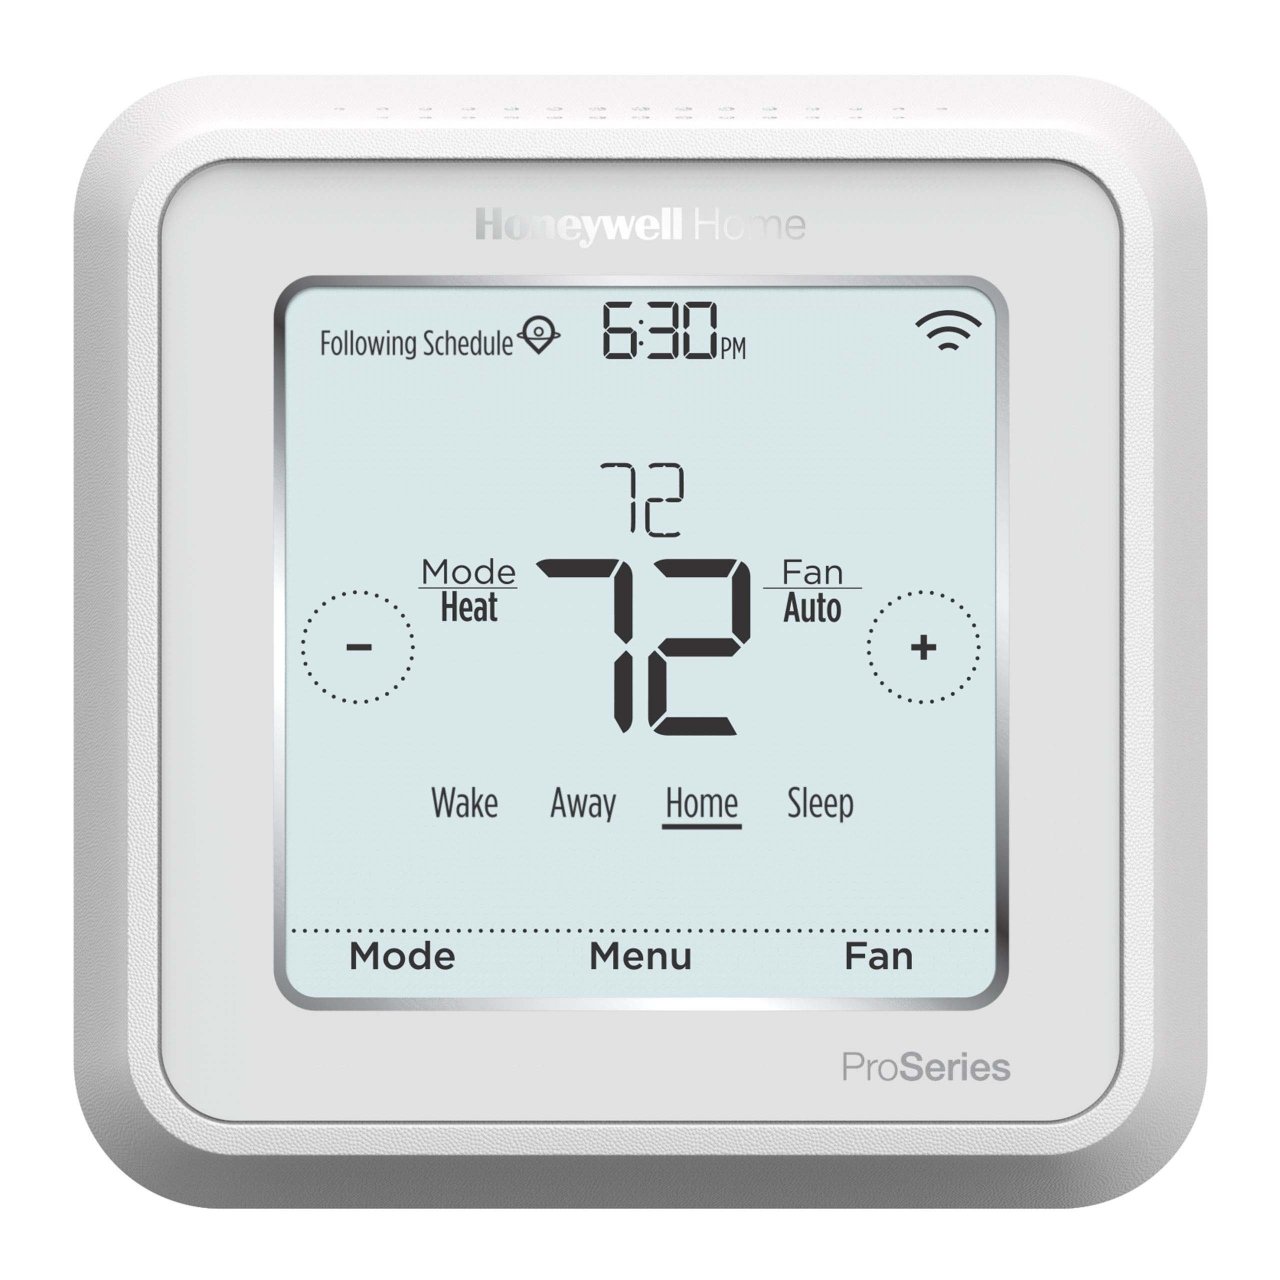
For models like the T10 Pro and T6 Pro, use the thermostat's touchscreen or button interface to enter your network details directly.
- Touch "MENU", then "WiFi Setup" (or "WiFi").
- Touch "Other", then "Select".
- When prompted, press the screen to edit the network name.
- Enter the network name. Use the 5 or 6 buttons to change the letter or number, and the 4 button to move to the next character or 3 button for the previous.
- Press "Done" when complete.
- Select the appropriate network security setting, then press "Select".
- Enter the Wi-Fi network password.
Complete the setup in the Honeywell Home app
Once the thermostat is connected to your Wi-Fi network, finalize the setup in the Honeywell Home app for remote control.
- Download and install the Honeywell Home app on your smartphone or tablet from your device's app store.
- Open the app and create an account, or sign in if you already have one.
- Follow the in-app instructions to add your thermostat to your account. The app will guide you through the process, which typically involves selecting your thermostat model and confirming the connection.
After completing these steps, you can control and monitor your thermostat remotely. If you need to reset a smart thermostat for any reason, you can refer to the specific reset procedure for your model.
Troubleshooting Honeywell thermostat Wi-Fi connection issues
If you encounter problems during setup, here are common solutions.
Connection failed screen
If the thermostat displays a "Connection Failed" screen, check the password you entered, ensure your router is set up to automatically assign IP addresses (DHCP), and verify your internet link is active.
Interpreting the IP address
To diagnose whether the issue is with your local network or your internet connection, check the thermostat's IP address. If the IP address is 169.254.x.x or 0.0.0.0, the thermostat is connected to the local network but not the internet; contact your internet service provider. If the IP address is 192.168.x.x, 172.x.x.x, or 10.x.x.x, it is connected to DHCP service and the internet.
Restart procedure
If the Wi-Fi icon is present and does not display an "X" through it, the thermostat has reconnected successfully. If problems persist, restart the thermostat and router: turn off both devices, then turn them back on and repeat the Wi-Fi setup steps.