Introduction
Welcome to this guide on how to set up wifi on your Honeywell thermostat. With the advent of smart home technology, controlling your thermostat remotely has become easier than ever. Honeywell offers a range of thermostats that can be connected to your home’s wifi network, allowing you to adjust the temperature from anywhere using your smartphone or computer.
Setting up wifi on your Honeywell thermostat may seem like a daunting task, but fear not! This step-by-step guide will walk you through the process, ensuring a hassle-free setup. Whether you’re a tech-savvy individual or someone who is new to smart home devices, this guide will help you get your thermostat up and running in no time.
By connecting your thermostat to wifi, you gain the ability to control it remotely, which offers numerous benefits. For instance, you can adjust the temperature while you’re away from home to ensure a comfortable environment when you return. Additionally, you can set up energy-saving schedules, monitor your energy usage, and receive alerts and notifications about your HVAC system.
Please note that not all Honeywell thermostats have wifi capabilities. Before proceeding with the setup process, check the specifications of your thermostat to confirm if it supports wifi connectivity. If it does, then let’s get started with the setup process!
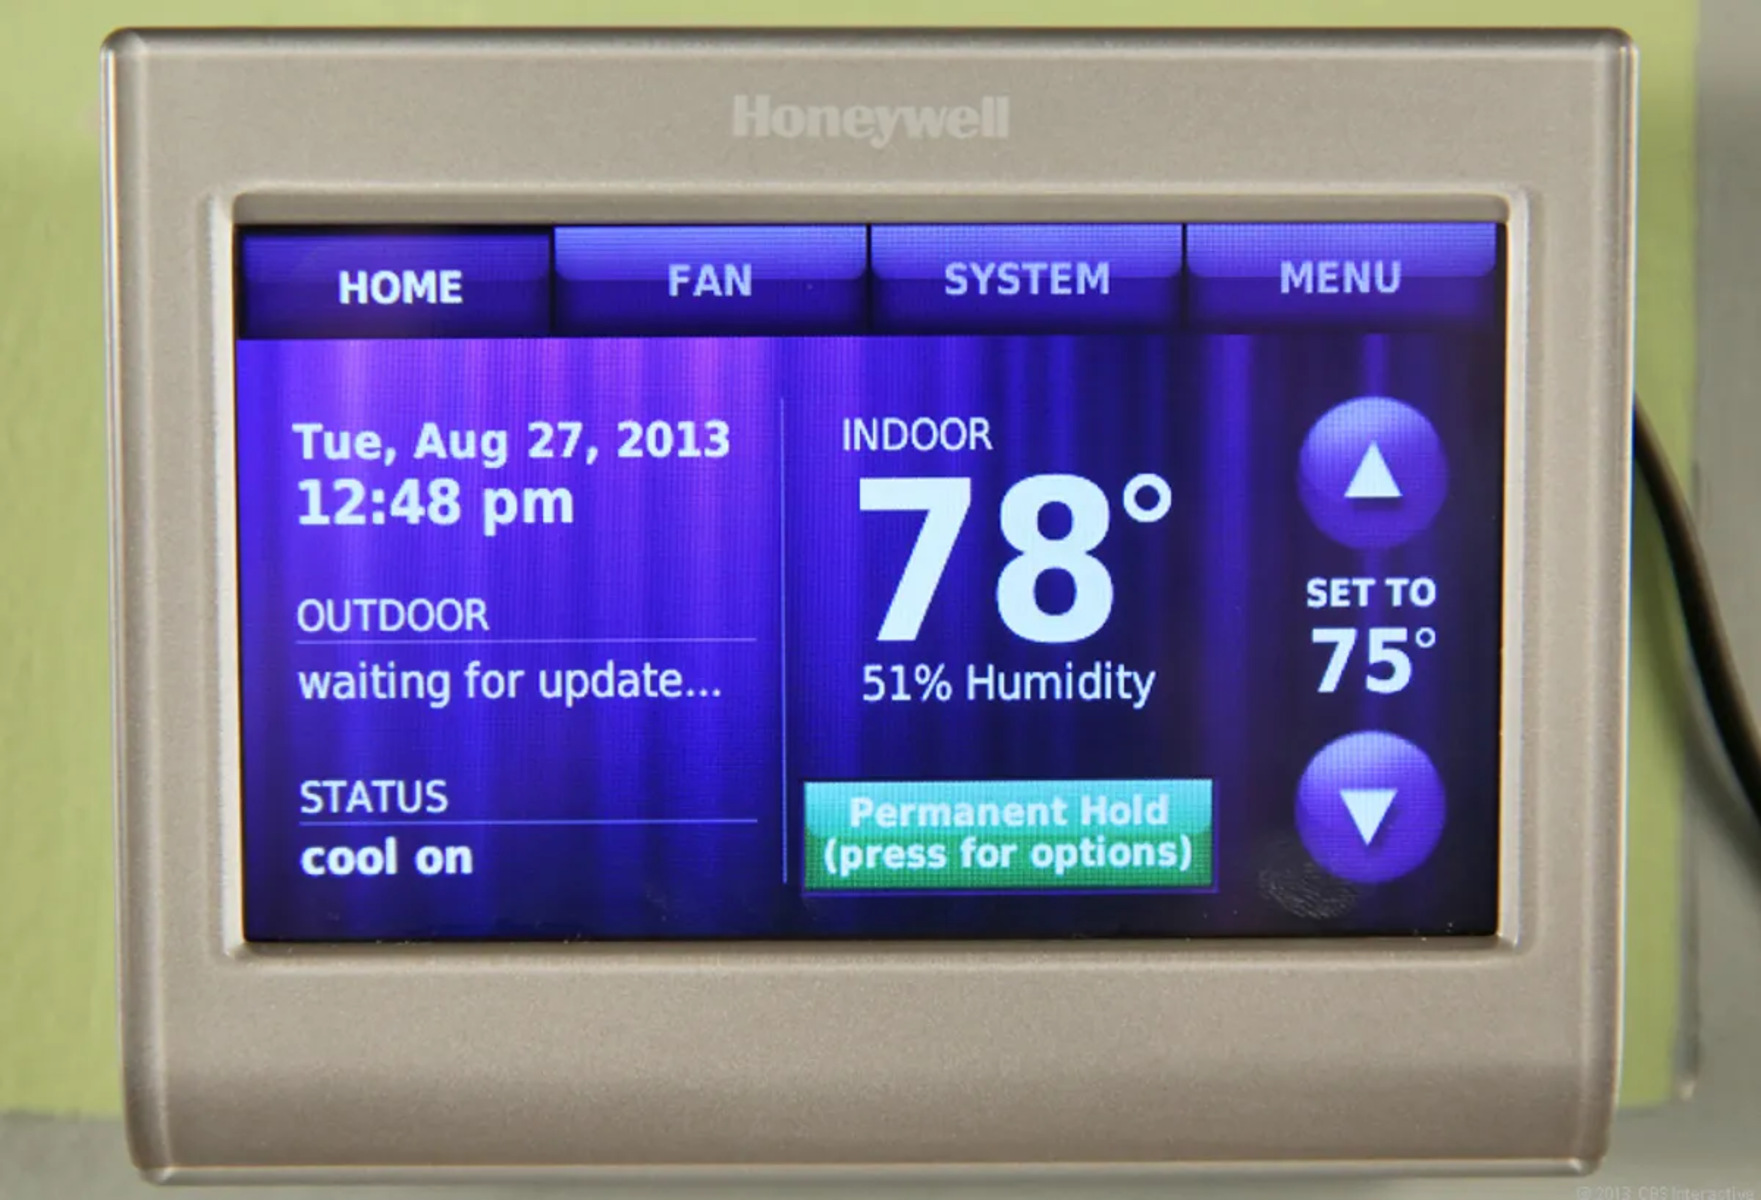
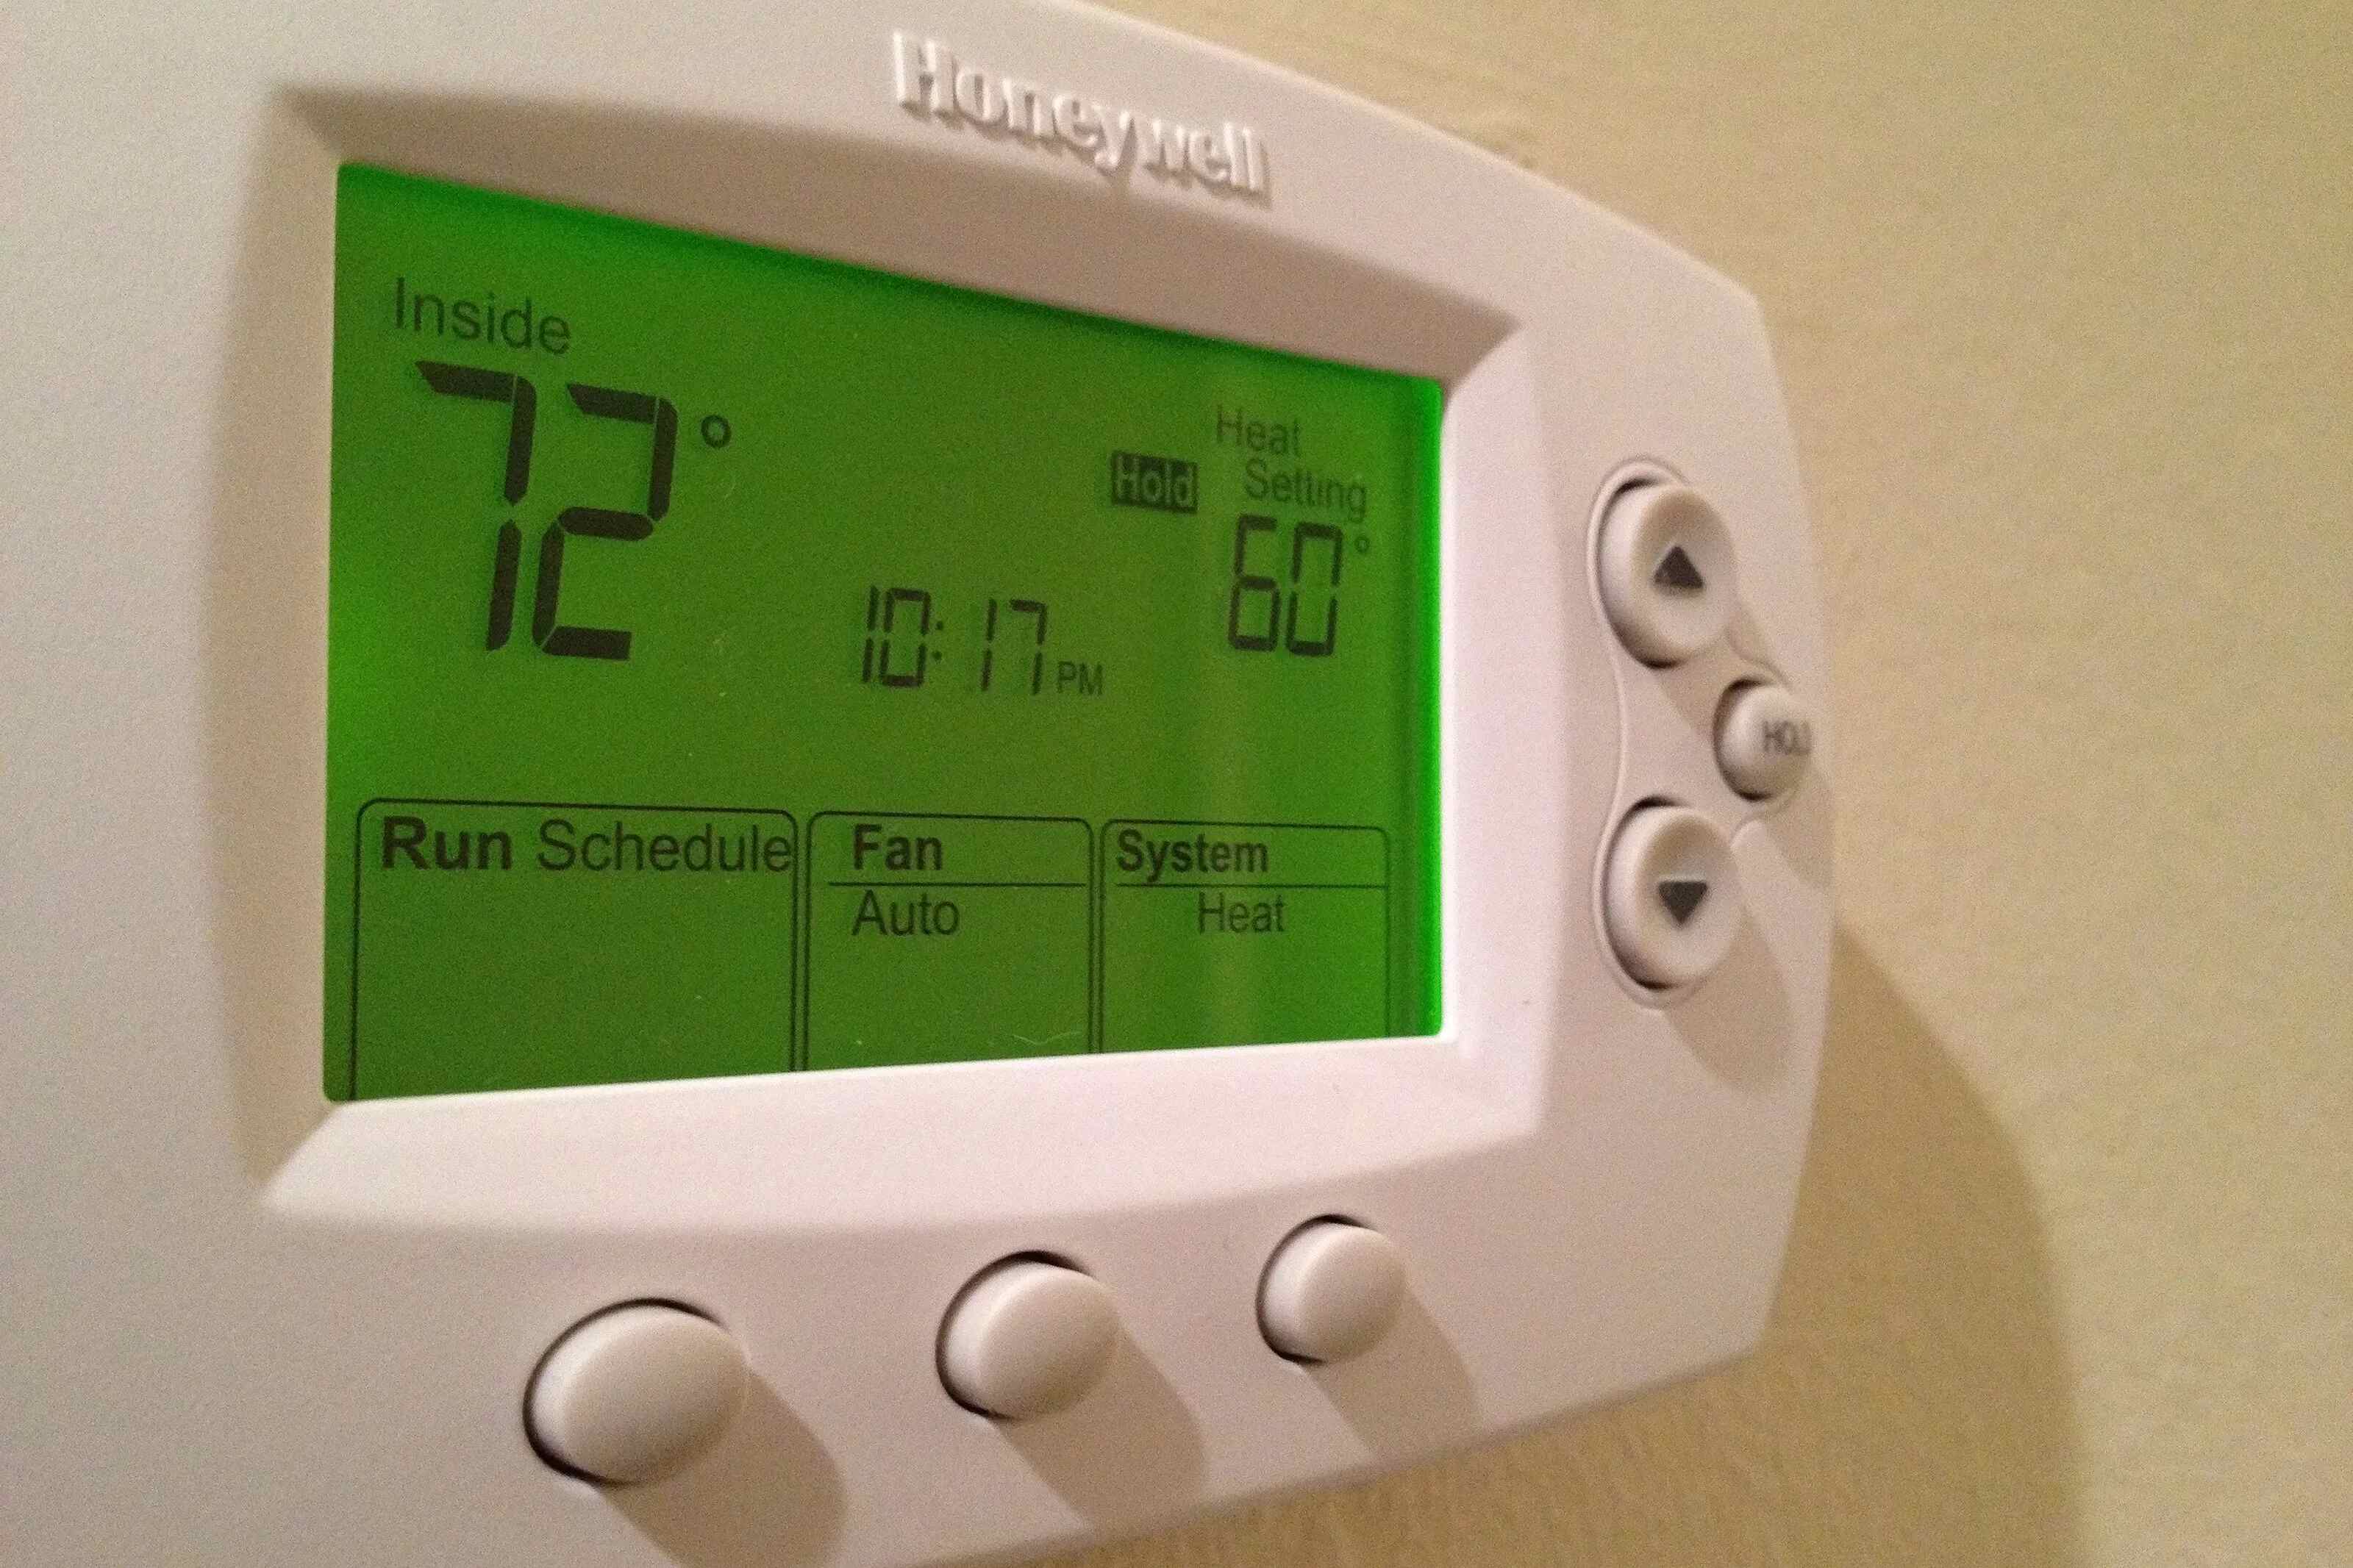
Step 1: Check if your Honeywell thermostat supports wifi
Before you begin the setup process, it’s important to confirm whether your Honeywell thermostat supports wifi connectivity. Having wifi capabilities allows you to control your thermostat remotely and access advanced features through the Honeywell app.
To check if your thermostat supports wifi, start by locating the model number. You can usually find it on the thermostat itself or in the user manual. Once you have the model number, visit the Honeywell website or search online to find the specifications for your particular model.
In the specifications, look for terms like “wifi-enabled,” “wireless connectivity,” or “smart home compatibility.” These indicate that your thermostat has the ability to connect to a wifi network. Additionally, look for information about compatibility with the Honeywell app, as this will be necessary for setting up and controlling your thermostat remotely.
If you’re unable to find the specifications online, another option is to contact Honeywell customer support. They will be able to provide you with the necessary information and guide you through the process of checking if your thermostat supports wifi connectivity.
It’s important to note that if your Honeywell thermostat does not support wifi, you won’t be able to proceed with the setup process outlined in this guide. In such cases, you may consider upgrading to a newer model that offers wifi capabilities or explore alternative options for remote control of your thermostat.
Once you have confirmed that your thermostat supports wifi, you’re ready to move on to the next step of the setup process.
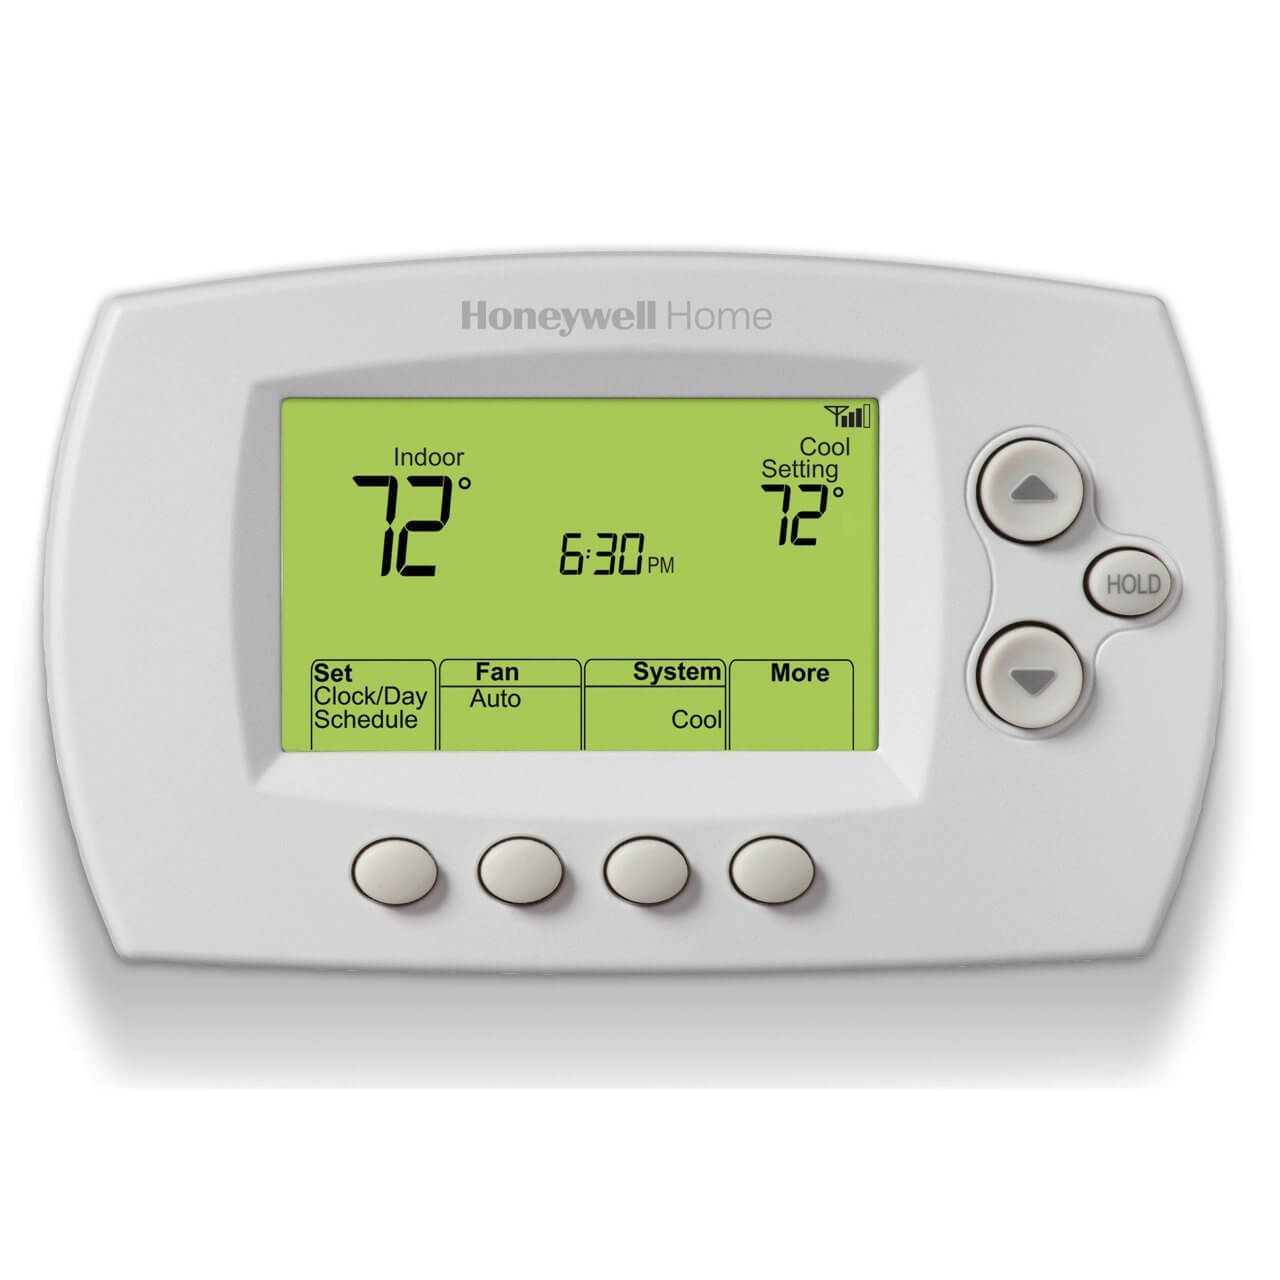
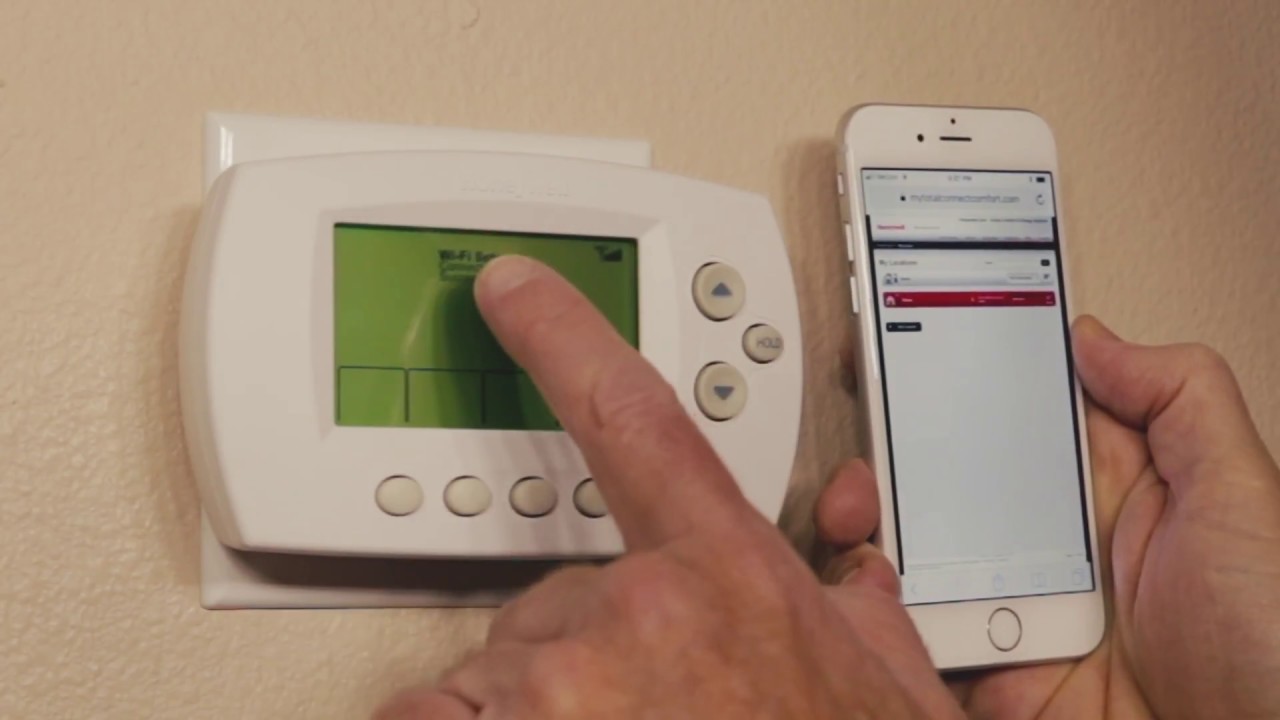
Step 2: Connect your thermostat to your home’s wifi network
Now that you have confirmed that your Honeywell thermostat supports wifi connectivity, it’s time to connect it to your home’s wifi network. This step will allow your thermostat to communicate with the Honeywell app and enable remote control and access to advanced features.
Follow these steps to connect your thermostat to your home’s wifi network:
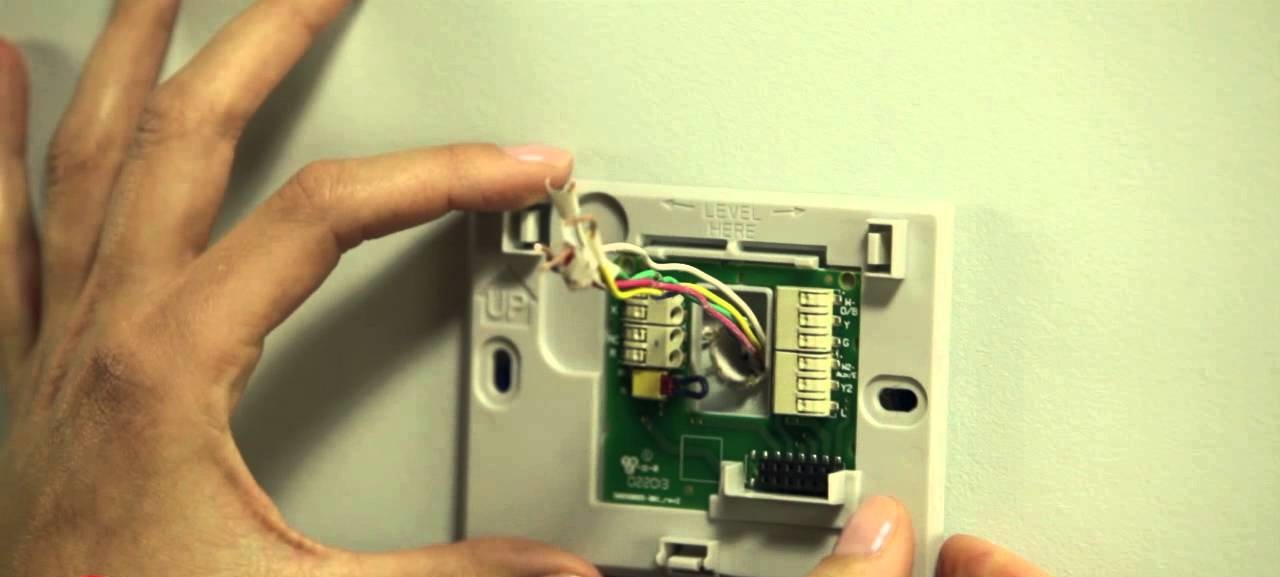
- Start by ensuring that your home’s wifi network is up and running. Check that your router is powered on and that you have the wifi network name (SSID) and password handy.
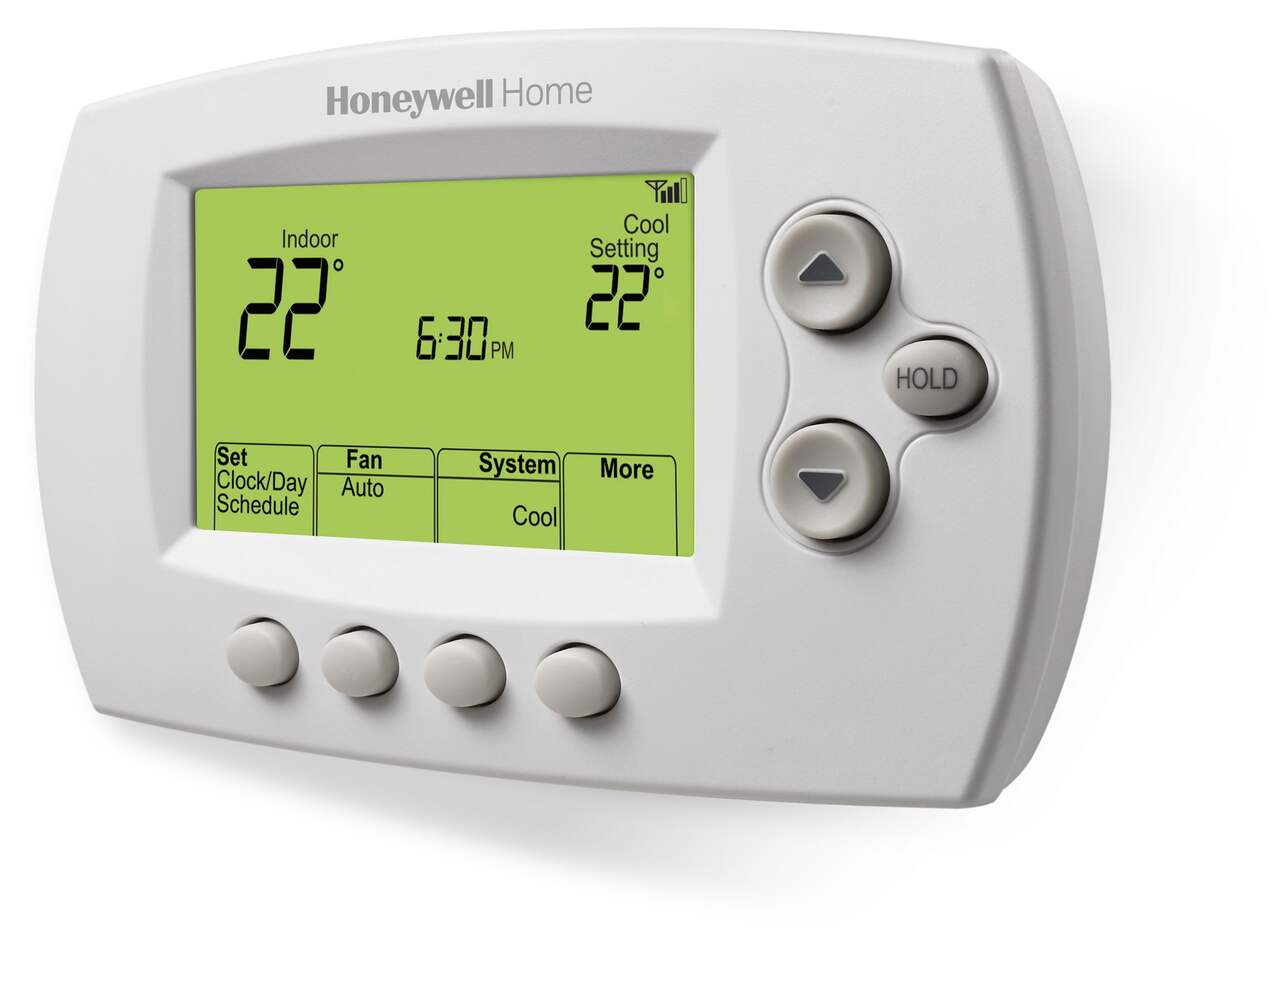
- On your Honeywell thermostat, navigate to the settings menu. Depending on your model, this may be accessed through a dedicated settings button or by pressing a combination of buttons.
- In the settings menu, look for an option related to wifi or network setup. Select it to initiate the wifi configuration process.
- Your thermostat will scan for available wifi networks. Once the list of networks is displayed, select your home’s wifi network from the options.
- If prompted, enter your wifi network password using the thermostat’s touchscreen interface. Take care to enter the password accurately to ensure a successful connection.
- After entering the password, your thermostat will attempt to connect to the wifi network. This process may take a few moments, so be patient.
- Once connected, your thermostat will display a confirmation message or an indicator that it is now connected to the wifi network.
- At this point, your thermostat is successfully connected to your home’s wifi network, allowing it to communicate with the Honeywell app. The next step is to download and install the app on your smartphone.
It’s important to note that the exact procedure for connecting your thermostat to wifi may vary depending on the model. Refer to the user manual or online resources specific to your model for detailed instructions if needed.
Once your thermostat is connected to the wifi network, you’re ready to proceed with the next step of setting up the Honeywell app on your smartphone.
Step 3: Download and install the Honeywell app on your smartphone
In order to control your Honeywell thermostat remotely and access advanced features, you’ll need to download and install the Honeywell app on your smartphone. The app is available for both Android and iOS devices, making it compatible with a wide range of smartphones.
Follow these steps to download and install the Honeywell app:
- Open the app store on your smartphone. If you’re using an Android device, open the Google Play Store, and if you’re using an iOS device, open the App Store.
- In the search bar, type “Honeywell” and press enter.
- Look for the official Honeywell app called “Honeywell Home” or “Total Connect Comfort” and select it.
- Once you’re on the app’s page, tap on the “Install” or “Get” button to begin the download process. Depending on your device, you may be prompted to enter your Google or Apple ID password.
- Wait for the app to download and install on your smartphone. This process may take a few moments depending on your internet speed.
- Once the app is installed, you’ll see its icon on your smartphone’s home screen or app drawer.
- Tap on the Honeywell app icon to launch it.
- You may be prompted to grant certain permissions to the app, such as location access or notification permissions. Follow the on-screen prompts and allow the necessary permissions for the app to function properly.
- After granting permissions, you’ll need to log in or create a Honeywell account. If you already have an account, enter your credentials and proceed. If not, select the option to create a new account and follow the instructions to set up your account.
- Once you’re logged in to the Honeywell app, you’ll be able to access and control your thermostat remotely.
It’s important to note that the Honeywell app may have different names or slightly different steps depending on your region or the version of the app. If you’re unable to find the app using the specific search terms mentioned above, try searching for “Honeywell thermostat app” or “Honeywell smart home app” to locate the correct app for your region.
With the Honeywell app installed on your smartphone and your thermostat successfully connected to your home’s wifi network, you’re ready to move on to the next step, which is creating a Honeywell account.
Step 4: Create a Honeywell account
In order to fully utilize the features of the Honeywell app and control your thermostat remotely, you’ll need to create a Honeywell account. This account will allow you to log in to the app and access your thermostat’s settings and controls from anywhere.
Follow these steps to create a Honeywell account:
- Open the Honeywell app on your smartphone by tapping on its icon.
- If you’re not already logged in, you’ll be presented with a login screen. Look for the option to create a new account and select it.
- Fill out the required information to create your account. This typically includes your name, email address, and a password for your account. Ensure that you choose a strong and secure password to protect your account.
- After entering your information, review the terms and conditions or privacy policy provided by Honeywell. If you agree to the terms, select the checkbox or button indicating your acceptance.
- Complete the account creation process by tapping on the “Create Account” or “Sign Up” button.
- You may receive a verification email from Honeywell to confirm your account. Follow the instructions provided in the email to verify your email address and activate your account.
- Once your account is created and verified, you’ll be able to log in using your email address and password.
- When logging in to the Honeywell app, select the “Remember Me” or “Stay Logged In” option if you want the app to remember your login credentials for future use.
- After logging in, you’ll be able to access all the features of the Honeywell app and remotely control your thermostat.
Creating a Honeywell account is essential for securely managing your thermostat settings and accessing advanced features through the app. By creating an account, you ensure that only authorized users can control your thermostat and make changes to its settings.
With your Honeywell account set up, you’re ready to proceed to the next step, which is syncing your thermostat with the Honeywell app.
Step 5: Sync your thermostat with the Honeywell app
After creating your Honeywell account, the next step is to sync your thermostat with the Honeywell app. This process establishes a connection between your thermostat and the app, enabling you to control and monitor your thermostat remotely.
Follow these steps to sync your thermostat with the Honeywell app:
- Ensure that your Honeywell thermostat is properly connected to your home’s wifi network.
- Open the Honeywell app on your smartphone and log in using your Honeywell account credentials.
- Once logged in, navigate to the settings or devices section of the app.
- Look for an option to add a new device or sync a device. Select this option.
- The app will begin searching for available devices to sync. Make sure your thermostat is powered on and within range of your wifi network.
- Follow the on-screen instructions provided by the app to complete the syncing process. This may involve entering a unique code or pressing certain buttons on your thermostat to establish the connection.
- After successfully syncing your thermostat, the app will display a confirmation message or indicator that your thermostat is now connected and ready for remote control.
- Take a moment to explore the various functions and settings available on the app. You’ll have the ability to adjust the temperature, set schedules, view energy usage, and more.
It’s worth noting that the syncing process may vary slightly depending on your Honeywell thermostat model and app version. Refer to the user manual or in-app instructions specific to your model if you encounter any difficulties during the syncing process.
Once your thermostat is successfully synced with the Honeywell app, you’re ready to move on to the next step, which involves configuring your thermostat settings through the app.
Step 6: Configure your thermostat settings through the app
Now that your Honeywell thermostat is synced with the Honeywell app, it’s time to configure your thermostat settings through the app. This step allows you to personalize your thermostat’s settings, create energy-saving schedules, and customize other features to suit your preferences and lifestyle.
Follow these steps to configure your thermostat settings through the app:
- Open the Honeywell app on your smartphone and log in using your Honeywell account credentials.
- Once logged in, navigate to the devices or thermostat section of the app, where you’ll find a list of connected thermostats.
- Select your thermostat from the list to access its settings and controls.
- Here, you’ll be able to adjust the temperature, set heating and cooling modes, and create schedules for different times of the day.
- Explore the various settings available to customize your thermostat’s behavior. This may include options for fan control, humidity control, vacation mode, and more. Adjust these settings based on your preferences and requirements.
- Some Honeywell thermostats also offer advanced features like geofencing, which allows the thermostat to adjust the temperature based on your location. If this feature is available, set it up according to your preferences.
- Take advantage of energy-saving features such as adaptive recovery and smart response, which optimize your thermostat’s performance for maximum energy efficiency.
- Don’t forget to save your changes and confirm that they have been applied to your thermostat successfully.
It’s important to note that the available settings and features may vary depending on your Honeywell thermostat model. Refer to the user manual or in-app instructions specific to your model to familiarize yourself with the full range of settings and customization options.
Once you have configured your thermostat settings through the app, you’re ready to move on to the final step, which involves controlling your thermostat remotely using the app.
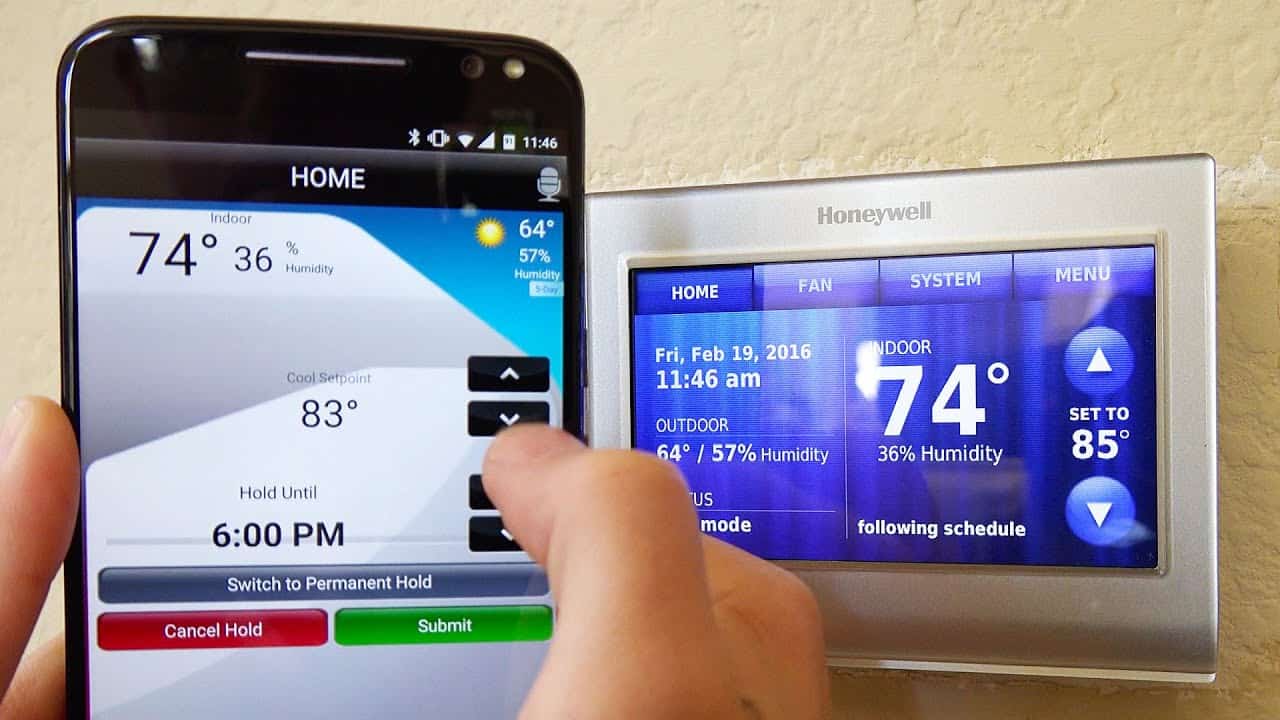
Step 7: Control your thermostat remotely using the app
With your Honeywell thermostat set up and configured through the app, you now have the power to control your thermostat remotely from anywhere using your smartphone. This step allows you to adjust the temperature, change settings, and monitor your thermostat’s activity even when you’re not at home.
Follow these steps to control your thermostat remotely using the Honeywell app:
- Open the Honeywell app on your smartphone and log in using your Honeywell account credentials.
- Once logged in, navigate to the devices or thermostat section of the app, where you’ll find a list of connected thermostats.
- Select your thermostat from the list to access its controls and settings.
- Here, you’ll be able to adjust the temperature by sliding the temperature control up or down on the app’s interface. You can also tap on specific temperature presets if available.
- Change the thermostat mode, such as switching between heating and cooling modes, or setting it to auto mode for automatic temperature control.
- Create and edit temperature schedules for different times of the day to ensure optimal comfort and energy efficiency.
- Explore additional features and controls available through the app, such as fan control, humidity control, and vacation mode.
- Monitor your thermostat’s activity, including current temperature, set temperature, and any alerts or notifications regarding your HVAC system.
- Make any necessary adjustments to your thermostat’s settings based on your preferences and needs.
- Enjoy the convenience and flexibility of controlling your thermostat remotely, helping you maintain a comfortable home environment no matter where you are.
It’s important to note that the Honeywell app provides real-time updates and synchronization with your thermostat, ensuring that any changes you make through the app are immediately reflected on your thermostat’s controls.
By utilizing the remote control functionality of the Honeywell app, you can optimize energy usage, save on utility bills, and ensure a comfortable environment in your home.
With this final step completed, you have successfully set up wifi on your Honeywell thermostat, enabling remote control and access to advanced features through the Honeywell app. Enjoy the convenience and comfort that comes with smart home technology!
Conclusion
Congratulations on successfully setting up wifi on your Honeywell thermostat! By following the steps outlined in this guide, you have empowered yourself with the ability to control and monitor your thermostat remotely using the Honeywell app.
Connecting your thermostat to your home’s wifi network opens up a world of possibilities. You can adjust the temperature, create schedules, and access advanced features from anywhere, providing convenience, energy efficiency, and comfort.
Throughout the setup process, it’s important to verify that your Honeywell thermostat supports wifi connectivity. Once confirmed, you can proceed to download and install the Honeywell app on your smartphone. Creating a Honeywell account is essential for securely managing your thermostat settings and accessing remote control features.
Syncing your thermostat with the app enables seamless communication between your thermostat and smartphone. From there, you can configure your thermostat’s settings to cater to your preferences and lifestyle, taking advantage of energy-saving options.
Finally, with remote control functionality through the app, you have the flexibility to adjust your thermostat on the go, ensuring a comfortable environment whenever and wherever you are.
Remember to consult your thermostat’s user manual or refer to Honeywell’s support resources if you encounter any issues during the setup process or while using the app. Honeywell’s customer support team is also available to assist you with any questions or concerns you may have.
Enjoy the convenience, energy efficiency, and comfort that wifi-enabled Honeywell thermostats and the Honeywell app provide. Harness the power of smart home technology to create the perfect environment in your home with ease.