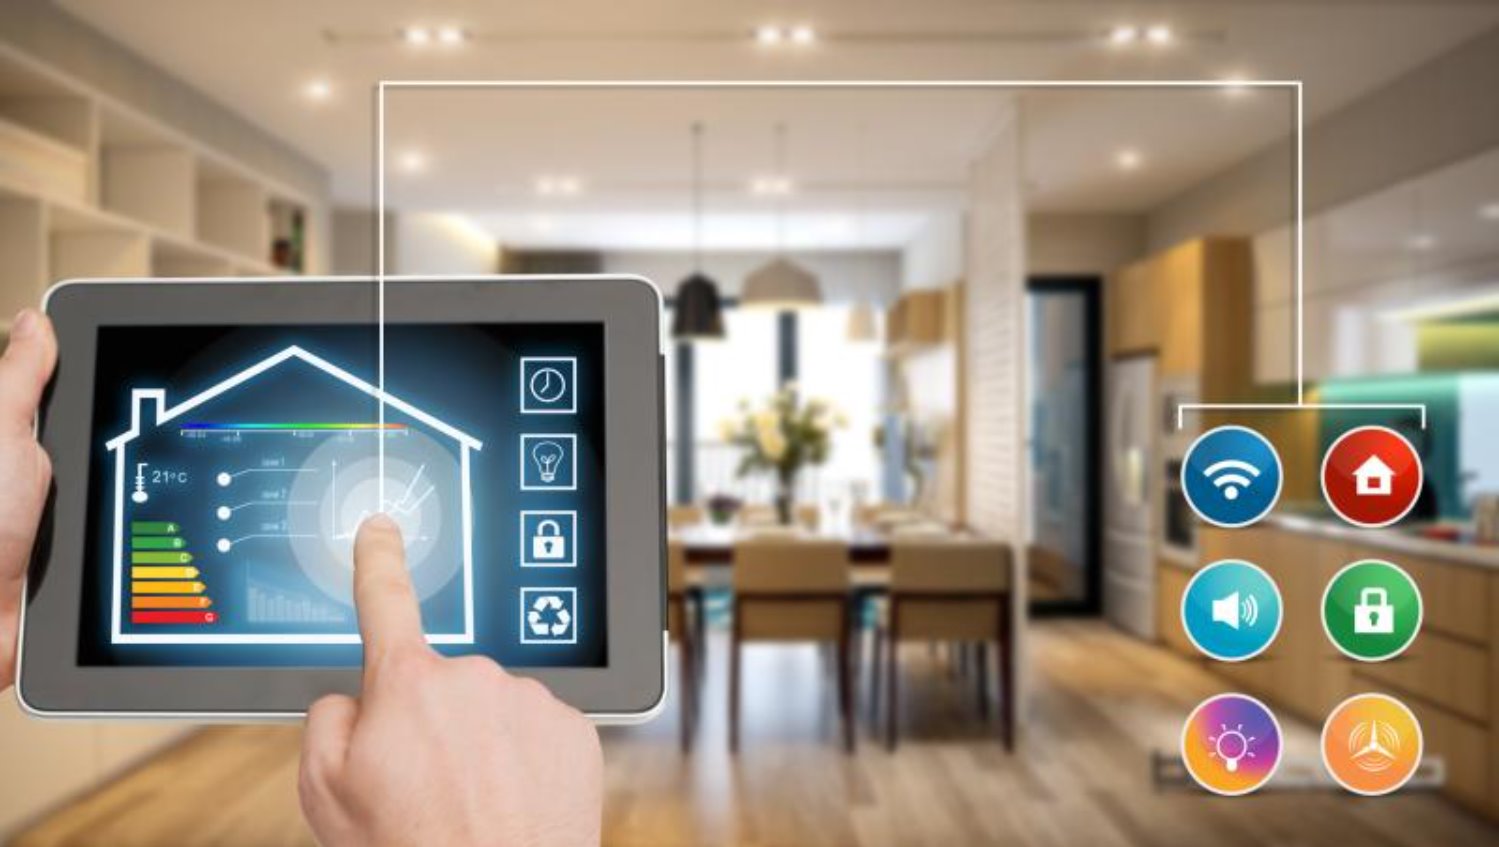
Introduction
Introduction
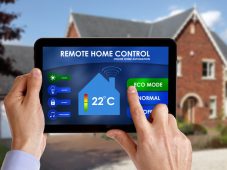
Welcome to our step-by-step guide on how to install the Honeywell 9580 WiFi Touchscreen Smart Thermostat. As technology continues to advance, smart thermostats have become increasingly popular for their convenience and energy-saving capabilities. The Honeywell 9580 is a top-of-the-line thermostat that offers a user-friendly touchscreen interface and the ability to connect to your home’s WiFi network, allowing you to control your thermostat remotely using your smartphone or computer.
Installing a new thermostat may seem like a daunting task, but with the right guidance and tools, it can be a straightforward process. In this guide, we will walk you through each step of the installation process, providing clear instructions and tips along the way.
Before diving into the installation, it’s important to consider a few factors. First, ensure that you have the necessary tools and materials for the job. Additionally, it’s crucial to turn off the power to your HVAC system to avoid any electrical mishaps during the installation. You should also assess the compatibility of the Honeywell 9580 with your existing HVAC system.
Once you have gathered the required tools and checked compatibility, you can proceed with the installation. This involves removing the existing thermostat, installing the mounting plate, connecting the wires, and attaching the Honeywell 9580 thermostat. Afterward, you will connect it to your WiFi network, set it up according to your preferences, and perform testing to ensure everything is functioning correctly.
This installation guide will help you navigate the process smoothly and ensure that you can enjoy the benefits of a Honeywell 9580 WiFi Touchscreen Smart Thermostat. Let’s get started!
Things to Consider Before Installation
Before you begin the installation process for your Honeywell 9580 WiFi Touchscreen Smart Thermostat, there are a few important factors to consider. Taking these into account will help you ensure a successful installation and avoid any potential setbacks. Here are some key things to keep in mind:
- Compatibility: It’s crucial to check the compatibility of the Honeywell 9580 with your existing HVAC system before proceeding with the installation. This can save you time and frustration down the line. Review the thermostat’s specifications and compare them with your HVAC system’s requirements to ensure a proper fit.
- Power Source: Consider the power source for your new thermostat. The Honeywell 9580 requires a connection to both the heating and cooling systems in your home. Ensure that there is a dedicated C-wire (common wire) available. If your current system does not have a C-wire, you may need to install a power adapter or utilize an alternative power source.
- WiFi Connectivity: The Honeywell 9580 is a WiFi-enabled thermostat, allowing you to control and monitor it remotely using an app on your smartphone or computer. Before installation, ensure that you have a stable WiFi network in your home. Position the thermostat in a location where it can receive a strong and consistent WiFi signal for optimal performance.
- Tools and Materials: Gather all the necessary tools and materials before you begin the installation process. Some common items you may need include a screwdriver, wire stripper, electrical tape, level, and a power drill. Refer to the thermostat’s installation manual for a comprehensive list of required tools and materials.
- HVAC System Compatibility: It’s essential to understand the workings of your HVAC system before installing the thermostat. Different systems may have specific wiring requirements or settings that need to be adjusted for proper functioning. Familiarize yourself with your HVAC system’s user manual or consult a professional if you have any doubts.
- Installation Support: If you are unsure about any step of the installation process or encounter any difficulties, do not hesitate to seek assistance. Honeywell provides comprehensive installation guides and support materials, and you can reach out to their customer service for additional guidance if needed. It’s always better to ask for help than to risk damaging your thermostat or HVAC system.
By considering these factors before installation, you can ensure a smoother and more successful process. Taking the time to prepare and gather the necessary information will help you avoid potential issues and enjoy the full benefits of your Honeywell 9580 WiFi Touchscreen Smart Thermostat.
Tools and Materials Needed
Before you begin the installation of your Honeywell 9580 WiFi Touchscreen Smart Thermostat, it’s important to gather the necessary tools and materials. Having everything on hand will make the installation process smoother and more efficient. Here’s a list of the essential tools and materials you’ll need:
- Screwdriver: A small flathead or Phillips screwdriver will be needed to remove and install the thermostat.
- Wire Stripper: You’ll need a wire stripper to remove the insulation from the wires, preparing them for connection.
- Electrical Tape: Electrical tape is used to secure the wires and prevent them from coming loose or shorting out.
- Level: A level is necessary to ensure that the thermostat is straight and properly aligned when mounting it on the wall.
- Power Drill: If you need to install the mounting plate into a hard surface, a power drill will be required to create the necessary holes.
- Mounting Screws and Anchors: Depending on the type of wall you are mounting the thermostat on, you may need screws and anchors to secure the mounting plate.
- Pencil: A pencil can be used to mark the locations of the mounting plate screw holes on the wall.
- Wire Labels (Optional): If your existing thermostat wires are not labeled, it may be helpful to use wire labels to identify the wires and ensure proper connection.
- Honeywell 9580 Thermostat: Of course, you’ll need the Honeywell 9580 WiFi Touchscreen Smart Thermostat itself for the installation.
- Installation Manual: Lastly, make sure you have the installation manual provided with the thermostat. This will guide you through the installation process and provide any specific instructions or diagrams.
By having these tools and materials ready before you start the installation, you’ll be well-prepared to tackle each step. Remember to follow the instructions carefully and take your time to ensure a successful installation of your Honeywell 9580 WiFi Touchscreen Smart Thermostat.
Step 1: Turn off Power
Before beginning the installation process for your Honeywell 9580 WiFi Touchscreen Smart Thermostat, it is essential to turn off the power to your HVAC system. This step ensures your safety and prevents any electrical hazards during the installation. Follow the steps below to turn off the power:
- Locate the Circuit Breaker: Find the circuit breaker panel in your home. It is usually located in the basement, utility room, or garage. Open the panel door to access the breakers.
- Identify the HVAC Circuit: Look for the circuit breaker that controls the power to your HVAC system. It is typically labeled with “Heating” or “Cooling.” If you are unsure which breaker controls your HVAC system, consult the electrical panel legend or refer to the user manual for your HVAC system.
- Turn Off the Breaker: Once you have located the HVAC circuit breaker, flip it to the “Off” position. This will cut off the power supply to your heating and cooling systems.
- Verify Power Loss: To ensure that the power is indeed turned off, go to your thermostat and attempt to adjust the temperature settings. If the display remains off or unresponsive, it indicates the power is successfully disconnected.
It is crucial to note that turning off the circuit breaker is a safety precaution that should not be skipped. Working on live electrical connections can be dangerous and may cause damage to your thermostat or HVAC system. Take the necessary precautions to protect yourself and ensure a safe installation process.
Once you have turned off the power, you can proceed with confidence to the next steps of installing your Honeywell 9580 WiFi Touchscreen Smart Thermostat.
Step 2: Remove Existing Thermostat
Now that the power is turned off, you can proceed with removing the existing thermostat. Follow these steps to safely remove the old thermostat:
- Remove the Thermostat Cover: Gently pry off the cover of the thermostat to expose the inner wiring. In most cases, the cover can be easily removed by applying slight pressure or unscrewing it using a screwdriver.
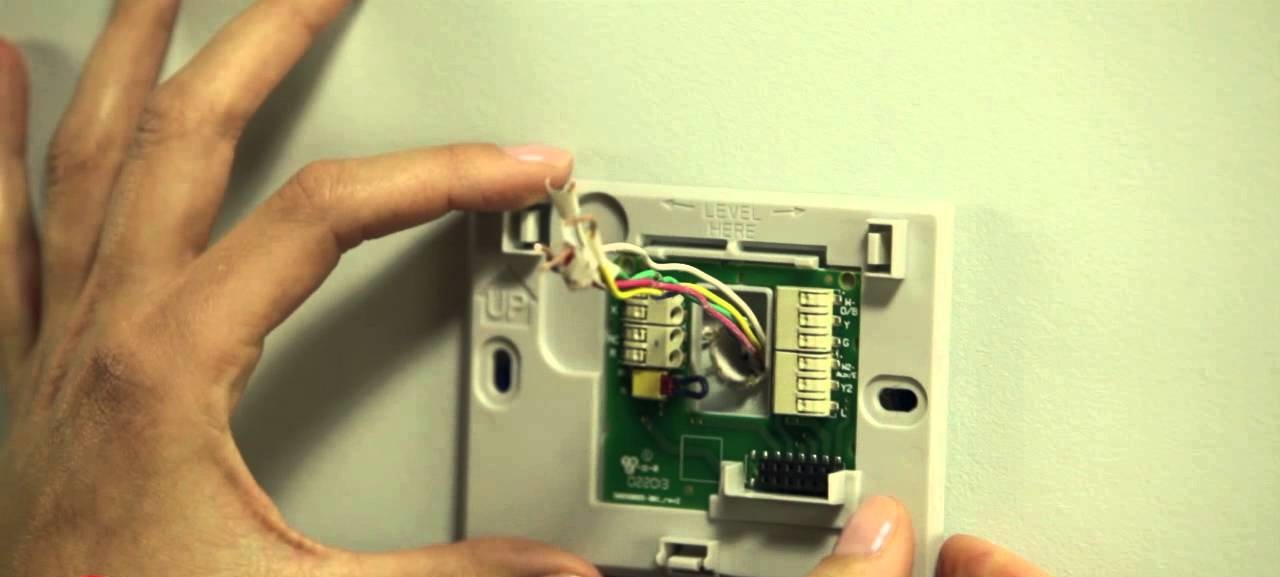
- Take a Picture: Before disconnecting any wires, it’s a good idea to take a clear photo of the thermostat’s wiring configuration. This will serve as a helpful reference when connecting the wires to the new thermostat. Pay close attention to the colors and positions of each wire.
- Disconnect the Wires: Once you have a photo of the wiring configuration, use a screwdriver to loosen the terminal screws holding the wires in place. Gently pull each wire out of its respective terminal. It is important to keep the wires separated and prevent them from falling into the wall.
- Remove the Baseplate: After disconnecting the wires, you should be left with a baseplate attached to the wall. Remove the baseplate by unscrewing the mounting screws. Take care not to damage the wires behind the baseplate as you remove it.
- Inspect the Wires: Once the baseplate is removed, carefully examine the wires for any signs of damage or fraying. Replace any damaged wires before proceeding with the installation of the new thermostat.
It’s important to note that thermostat configurations may vary, and you might encounter different types of mounting mechanisms. Refer to the manufacturer’s instructions or consult a professional if you encounter any difficulties or are unsure about the removal process.
By following these steps, you will safely remove the existing thermostat and prepare the wall for the installation of your new Honeywell 9580 WiFi Touchscreen Smart Thermostat. Ensure that the wiring is secure and the wall is ready before moving on to the next steps.
Step 3: Check Compatibility
Before proceeding with the installation of your Honeywell 9580 WiFi Touchscreen Smart Thermostat, it is crucial to check its compatibility with your existing HVAC system. This step will ensure that the thermostat functions properly and is compatible with the wiring and equipment in your home. Follow these steps to check compatibility:
- Review the Thermostat’s Specifications: Refer to the thermostat’s user manual or product specifications to understand its compatibility requirements. Look for information on the supported HVAC systems, voltage, and wiring compatibility.
- Examine Your HVAC System: Take a close look at your existing HVAC system and compare it with the thermostat’s specifications. Check if your system is compatible with the Honeywell 9580. Look for the necessary connections, available wires, and compatibility with the heating and cooling systems in your home.
- Check for a C-Wire: The Honeywell 9580 typically requires a C-wire (common wire) for power. The C-wire supplies a continuous flow of electricity to the thermostat. Check if your existing thermostat has a C-wire, and if not, determine if your HVAC system can support one. Some systems may have an unused wire that can be repurposed as a C-wire. If a C-wire is not present, you may need to use an adapter or consider alternative power solutions like a power extender kit.
- Consult the Compatibility Checker: Honeywell provides an online compatibility checker tool on their website. Enter your HVAC system and thermostat information into the tool to confirm compatibility. This tool will help ensure that the Honeywell 9580 is suitable for your specific HVAC setup.
- Seek Professional Advice: If you are unsure about the compatibility or have any doubts, it is advisable to consult an HVAC professional or contact the Honeywell support team. They can provide expert guidance and help you determine if any additional steps or modifications are necessary for a successful installation.
Checking compatibility is an important step to avoid any issues or complications during the installation process. It ensures that your Honeywell 9580 WiFi Touchscreen Smart Thermostat is fully compatible with your HVAC system, allowing you to enjoy its advanced features and functionality.
If the compatibility checks pass, you can proceed with confidence to the next steps of installing the Honeywell 9580 WiFi Touchscreen Smart Thermostat.
Step 4: Install Mounting Plate
Now that you have confirmed compatibility, it’s time to install the mounting plate for your Honeywell 9580 WiFi Touchscreen Smart Thermostat. The mounting plate provides a secure base for the thermostat and ensures its stability on the wall. Follow these steps to install the mounting plate:
- Select an Installation Location: Choose a suitable location on the wall to mount the thermostat. It should be easily accessible and at a comfortable height for convenient use.
- Mark the Screw Hole Locations: Hold the mounting plate against the wall in the chosen location and use a pencil to mark the positions of the screw holes on the wall. Ensure that the plate is straight and level.
- Drill Pilot Holes (if required): If you are installing the mounting plate onto a hard surface like concrete or tile, use a power drill with a masonry drill bit to create pilot holes at the marked screw hole locations. This will make it easier to insert the screws.
- Attach the Mounting Plate: Line up the mounting plate’s screw holes with the pilot holes (or directly against the wall if no pilot holes are needed). Secure the mounting plate to the wall using the provided screws and a screwdriver. Ensure that the plate is firmly attached and level.
- Verify Stability: Once the mounting plate is installed, give it a gentle tug to ensure that it is securely fastened to the wall. The plate should not move or feel loose.
It’s important to follow the manufacturer’s instructions specific to the Honeywell 9580 thermostat model you have. The above steps provide a general guideline, but there may be slight variations in the installation process depending on the thermostat model.
By completing this step, you have successfully installed the mounting plate for your Honeywell 9580 WiFi Touchscreen Smart Thermostat. The mounting plate provides a stable base for the thermostat, preparing it for the next step of connecting the wires.
Step 5: Connect Wires
With the mounting plate in place, it’s time to connect the wires of your existing HVAC system to the Honeywell 9580 WiFi Touchscreen Smart Thermostat. Properly connecting the wires is essential for the functioning of the thermostat. Follow these steps to connect the wires:
- Refer to the Wiring Compatibility: Consult the wiring compatibility section of the Honeywell 9580 thermostat’s user manual or installation guide. This information will help you identify the correct terminals for each wire.
- Identify and Label the Wires: Examine the wires coming out of the wall and identify their corresponding labels, if any. If the wires are not labeled, use the photo you took in Step 2 as a reference to identify the wires. Label each wire with the appropriate label according to the new thermostat’s wiring compatibility.
- Loosen the Terminal Screws: Use a screwdriver to loosen the terminal screws on the Honeywell 9580 thermostat’s mounting plate. Loosening the screws will create space for inserting the wires.
- Connect the Wires: Insert each labeled wire into its corresponding terminal on the mounting plate. Ensure that the wires are fully inserted and tightly secured under the terminal screws. Refer to the thermostat’s wiring compatibility guide for the correct placement of each wire.
- Tighten the Terminal Screws: After all the wires are connected, use a screwdriver to tighten the terminal screws. Ensure that the wires are securely fastened and there is no loose connection.
- Verify Proper Wiring: Double-check the wiring connections to ensure that each wire is connected to the correct terminal. Make any necessary adjustments if you notice any errors.
It is important to handle the wires with care and ensure that they are not damaged during the connection process. Take your time and be cautious to avoid any accidental pulling or twisting of the wires.
By following these steps, you have successfully connected the wires of your existing HVAC system to your Honeywell 9580 WiFi Touchscreen Smart Thermostat. This crucial step ensures that the thermostat can effectively communicate with your HVAC system and control the heating and cooling functionalities.
Step 6: Attach Thermostat
Now that the wires are properly connected, it’s time to attach the Honeywell 9580 WiFi Touchscreen Smart Thermostat to its mounting plate. This step will secure the thermostat in place and allow for easy operation and control. Follow these steps to attach the thermostat:
- Remove the Thermostat Backplate: If there is a protective backplate covering the front of the thermostat, gently remove it by pulling it away from the thermostat housing.
- Align the Thermostat: Hold the thermostat in your hand and align it with the mounting plate. Ensure that the connectors on the back of the thermostat align with the corresponding terminals on the mounting plate.
- Push the Thermostat onto the Mounting Plate: Once aligned, gently push the thermostat onto the mounting plate. Apply light pressure to ensure that the thermostat snaps securely into place.
- Check for Proper Fit: After attaching the thermostat, check that it sits flush against the wall and is securely attached to the mounting plate. Verify that there is no visible gap between the thermostat and the wall.
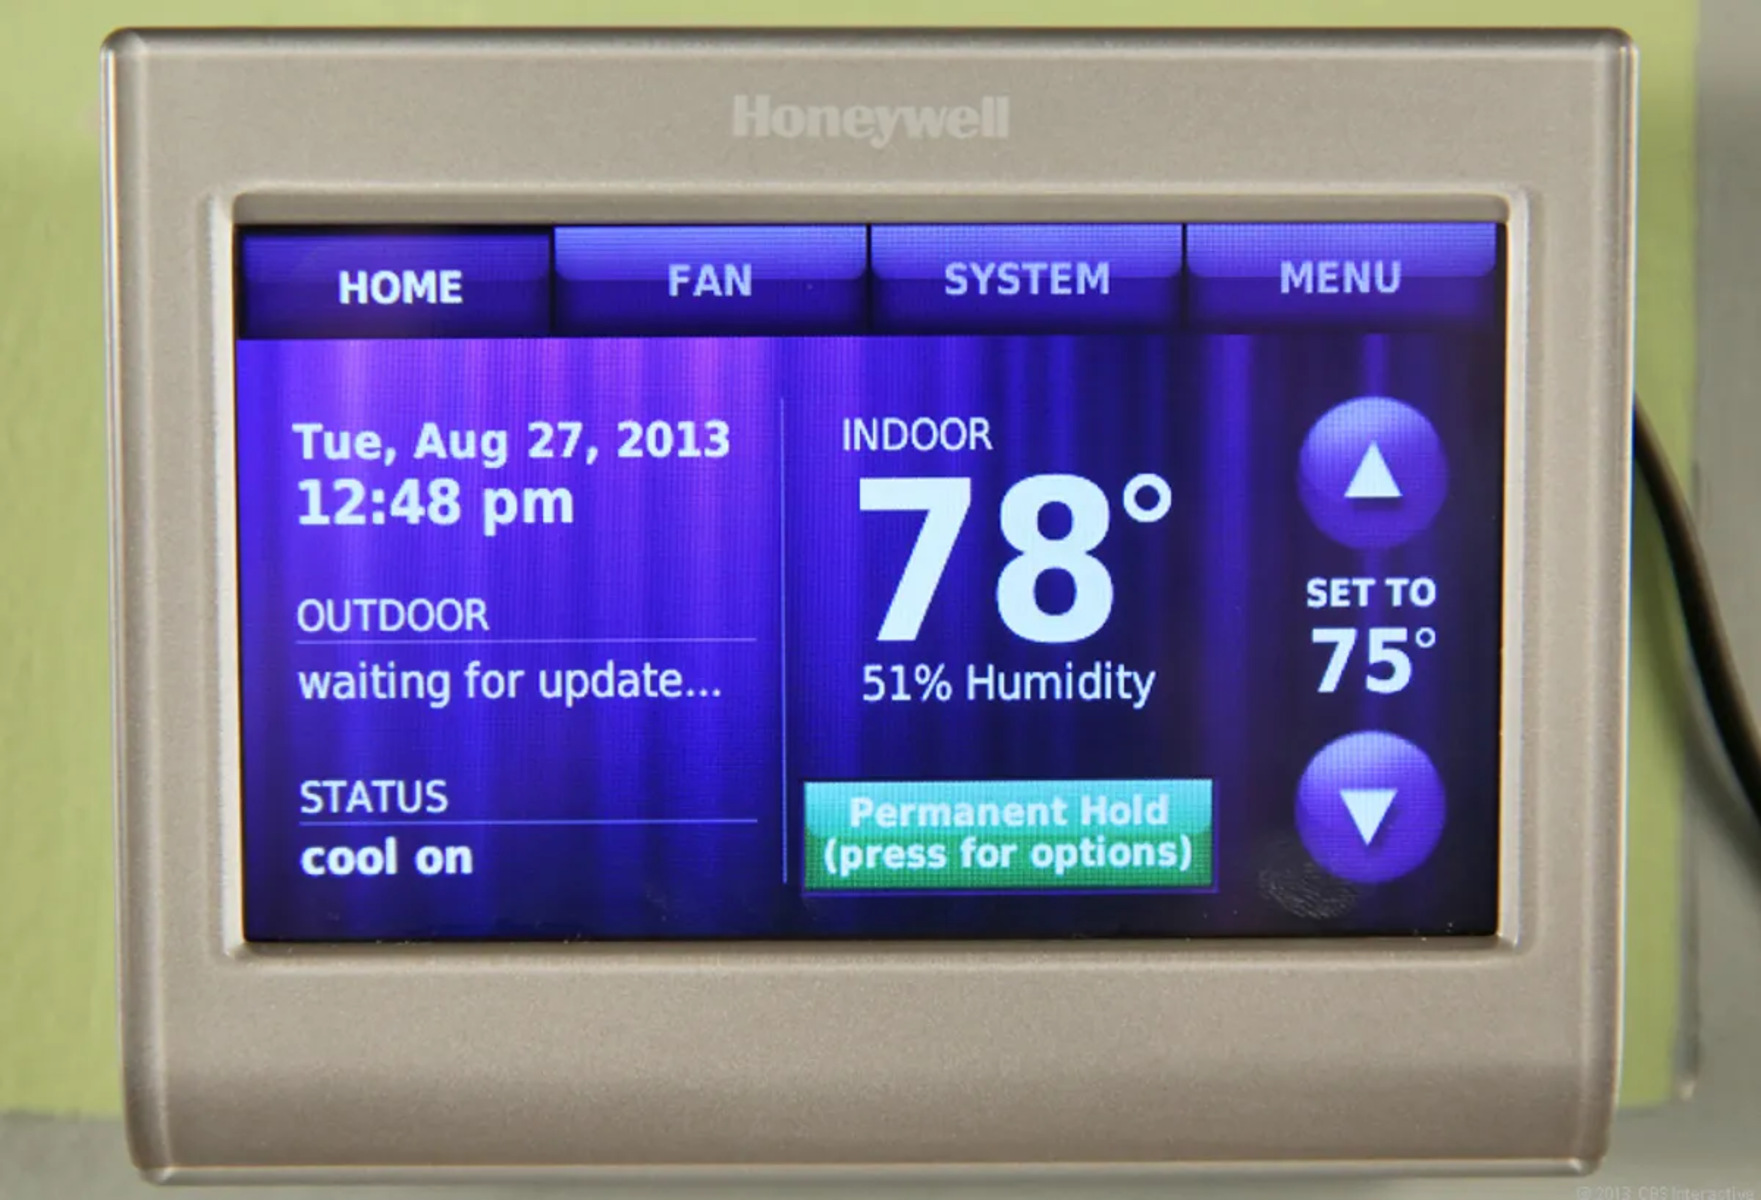
- Test the Thermostat: Turn on the power to your HVAC system and test the thermostat to ensure it powers up and displays the correct information. Check if the touchscreen is responsive and if the thermostat is communicating with your HVAC system.
It’s important to follow the specific instructions provided with your Honeywell 9580 thermostat model as the attachment process may vary slightly. Ensure that the thermostat is securely attached and there is no risk of it becoming loose or dislodged.
By completing this step, you have successfully attached the Honeywell 9580 WiFi Touchscreen Smart Thermostat to its mounting plate. It is now ready for the next step of connecting it to your WiFi network.
Step 7: Connect to WiFi Network
Connecting your Honeywell 9580 WiFi Touchscreen Smart Thermostat to your WiFi network allows you to control and monitor it remotely using your smartphone or computer. Follow these steps to connect your thermostat to the WiFi network:
- Access the Settings Menu: On the thermostat’s touchscreen display, locate and tap on the menu icon or navigate to the settings option.
- Select the WiFi Network: Within the settings menu, select the option to connect to a WiFi network. The thermostat will search for available networks in the vicinity.
- Choose Your Network: From the list of available networks, select your home WiFi network. If your network is not visible, ensure that the network is broadcasting and within range of the thermostat.
- Enter Network Password: If your WiFi network is password-protected, you will be prompted to enter the network password. Use the thermostat’s touchscreen or the associated buttons to enter the password, following the on-screen instructions.
- Connect to the WiFi Network: Once you have entered the correct password, the thermostat will attempt to connect to the WiFi network. It may take a few moments to establish the connection.
- Verify Connection: After successfully connecting to the WiFi network, the thermostat will display a confirmation or status message indicating the connection status. You may also see a WiFi symbol or indicator on the display, indicating a successful connection.
It’s important to ensure that you have a stable WiFi signal in the area where the thermostat is installed. If you experience connectivity issues, consider moving the thermostat to a location with a stronger WiFi signal or adjust your router settings to improve WiFi coverage.
By completing this step, you have successfully connected your Honeywell 9580 WiFi Touchscreen Smart Thermostat to your home’s WiFi network. This enables remote control and access to the thermostat’s features and settings from your smartphone or computer.
Step 8: Set Up the Thermostat
Now that your Honeywell 9580 WiFi Touchscreen Smart Thermostat is connected to the WiFi network, it’s time to set up the thermostat according to your preferences. This step will allow you to customize the thermostat’s settings and optimize its performance. Follow these steps to set up your thermostat:
- Access the Settings Menu: On the thermostat’s touchscreen display, navigate to the settings menu by tapping on the menu icon or selecting the settings option.
- Adjust Basic Settings: Within the settings menu, you’ll find options to customize basic settings such as temperature units (Fahrenheit or Celsius) and display preferences. Select and adjust these settings to your desired preferences.
- Set Day and Time: Ensure that the thermostat is displaying the correct day and time. If needed, select the option to adjust the day and time settings and make the necessary changes.
- Create a Schedule: Many smart thermostats, including the Honeywell 9580, offer the ability to create custom schedules for heating and cooling. This allows you to automatically adjust the temperature settings based on your daily routine. Set up a schedule by selecting the option within the settings menu and following the prompts to configure the desired temperature settings for different times of the day.
- Explore Advanced Features: Take some time to explore the advanced features and settings available on your Honeywell 9580 thermostat. This may include features such as geofencing, humidity control, or voice control integration. Configure these features according to your preferences and needs.
- Save and Apply Settings: After customizing the settings, ensure that you save and apply the changes. This will activate your chosen preferences and ensure that the thermostat operates according to your desired settings.
Customizing the settings of your Honeywell 9580 WiFi Touchscreen Smart Thermostat allows you to tailor its functionality to your specific needs. By setting up a schedule and exploring the advanced features, you can optimize energy usage and create a comfortable living environment.
By completing this step, you have successfully set up your Honeywell 9580 WiFi Touchscreen Smart Thermostat. Enjoy the convenience and energy-saving benefits of your new thermostat!
Step 9: Test and Troubleshoot
After setting up your Honeywell 9580 WiFi Touchscreen Smart Thermostat, it’s important to conduct thorough testing to ensure that it is functioning properly. Testing helps identify any issues or inconsistencies and allows for troubleshooting to resolve potential problems. Follow these steps to test and troubleshoot your thermostat:
- Verify Power and Display: Check that the thermostat is powered up and displaying the correct information. Ensure that the touchscreen is responsive and that the thermostat is communicating with your HVAC system.
- Test Temperature Adjustment: Adjust the temperature settings on the thermostat and monitor if the HVAC system responds accordingly. Check if the heating or cooling cycles are activated and if the temperature changes as expected. Allow sufficient time for the system to reach the desired temperature.
- Test Remote Control: If you intend to control the thermostat remotely using a smartphone or computer, test the remote control functionality. Ensure that you can connect to the thermostat through the associated app or web interface and make adjustments to the temperature settings remotely.
- Monitor WiFi Connectivity: Pay attention to the stability of the thermostat’s WiFi connection. Check if the thermostat consistently maintains a connection to your home’s WiFi network. If you experience any connectivity issues, try moving the thermostat closer to the router or adjusting router settings to improve the signal strength in that area.
- Observe for Any Malfunctions: Monitor the thermostat for any abnormal behavior, such as incorrect temperature readings, unresponsive buttons, or system malfunctions. If you notice any issues, consult the troubleshooting section of the thermostat’s user manual or contact Honeywell’s customer support for guidance.
- Review Timer and Schedule Accuracy: If you’ve set up a custom schedule or timer, verify that the thermostat is adhering to the programmed time and temperature changes. Ensure that the schedule accurately reflects your desired settings.
- Perform Periodic Maintenance: Regularly clean the thermostat’s touchscreen display with a soft cloth and avoid using harsh chemicals or abrasive materials that could damage the screen. Additionally, inspect the thermostat’s wiring connections periodically to ensure they remain secure.
Thoroughly testing and troubleshooting your Honeywell 9580 WiFi Touchscreen Smart Thermostat ensures optimal performance and can prevent any potential issues or inconveniences. If you encounter persistent problems or challenges during the testing process, reach out to Honeywell’s customer support for further assistance.
By completing this step, you have successfully tested and troubleshooted your Honeywell 9580 WiFi Touchscreen Smart Thermostat, ensuring its functionality and performance.
Conclusion
Congratulations! You have successfully installed and set up your Honeywell 9580 WiFi Touchscreen Smart Thermostat. By following the step-by-step guide provided in this article, you have taken control of your home’s temperature and gained the convenience of remote monitoring and control via your smartphone or computer.
Throughout the installation process, you ensured compatibility with your existing HVAC system, gathered the necessary tools and materials, and followed each step diligently. By turning off the power, removing the existing thermostat, and installing the mounting plate, you laid the foundation for a successful installation.
Connecting the wires correctly and attaching the Honeywell 9580 thermostat to the mounting plate were crucial steps that ensured proper communication between the thermostat and your HVAC system. Once connected, you successfully connected the thermostat to your home’s WiFi network, allowing for remote control and access to the thermostat’s advanced features.
After the thermostat was set up, you tested its functionality, adjusted the settings to your liking, and troubleshooted any potential issues. By conducting thorough testing, you confirmed that the thermostat operates as intended and meets your temperature control needs.
Remember to periodically perform maintenance tasks such as cleaning the touchscreen display and monitoring the thermostat’s connections to ensure continued optimal performance.
Enjoy the convenience, energy efficiency, and comfort that the Honeywell 9580 WiFi Touchscreen Smart Thermostat brings to your home. By utilizing its advanced features and customization options, you can easily manage your home’s temperature and reduce energy consumption. Should you encounter any challenges, consult the thermostat’s user manual or reach out to Honeywell’s customer support for assistance.
Thank you for choosing the Honeywell 9580 WiFi Touchscreen Smart Thermostat and happy temperature control!