Introduction
Connecting to Wi-Fi has become a necessity in our increasingly digital world. Whether you want to browse the internet, stream your favorite shows, or stay connected with friends and family, having a reliable Wi-Fi connection is essential. In this article, we will guide you through the process of connecting to Wi-Fi, whether you’re using a mobile device or a laptop/desktop computer.
Understanding the basics of Wi-Fi is fundamental to connecting and troubleshooting any issues that may arise. Wi-Fi, short for Wireless Fidelity, allows devices to connect to the internet wirelessly using radio waves. It operates on specific frequencies and requires a wireless router or access point to transmit the signal.
Now that you have a basic understanding of Wi-Fi, let’s dive into the step-by-step process of connecting to Wi-Fi networks. Whether you’re at home, at a coffee shop, or in a public space, the steps are similar, and soon you’ll be connected and ready to enjoy the benefits of a wireless internet connection.
Understanding Wi-Fi
Wi-Fi technology has revolutionized the way we connect to the internet, offering convenience and flexibility. But how does it work? Wi-Fi uses radio waves to transmit data between devices and a wireless router or access point. These radio waves operate on specific frequencies, allowing multiple devices to connect simultaneously.
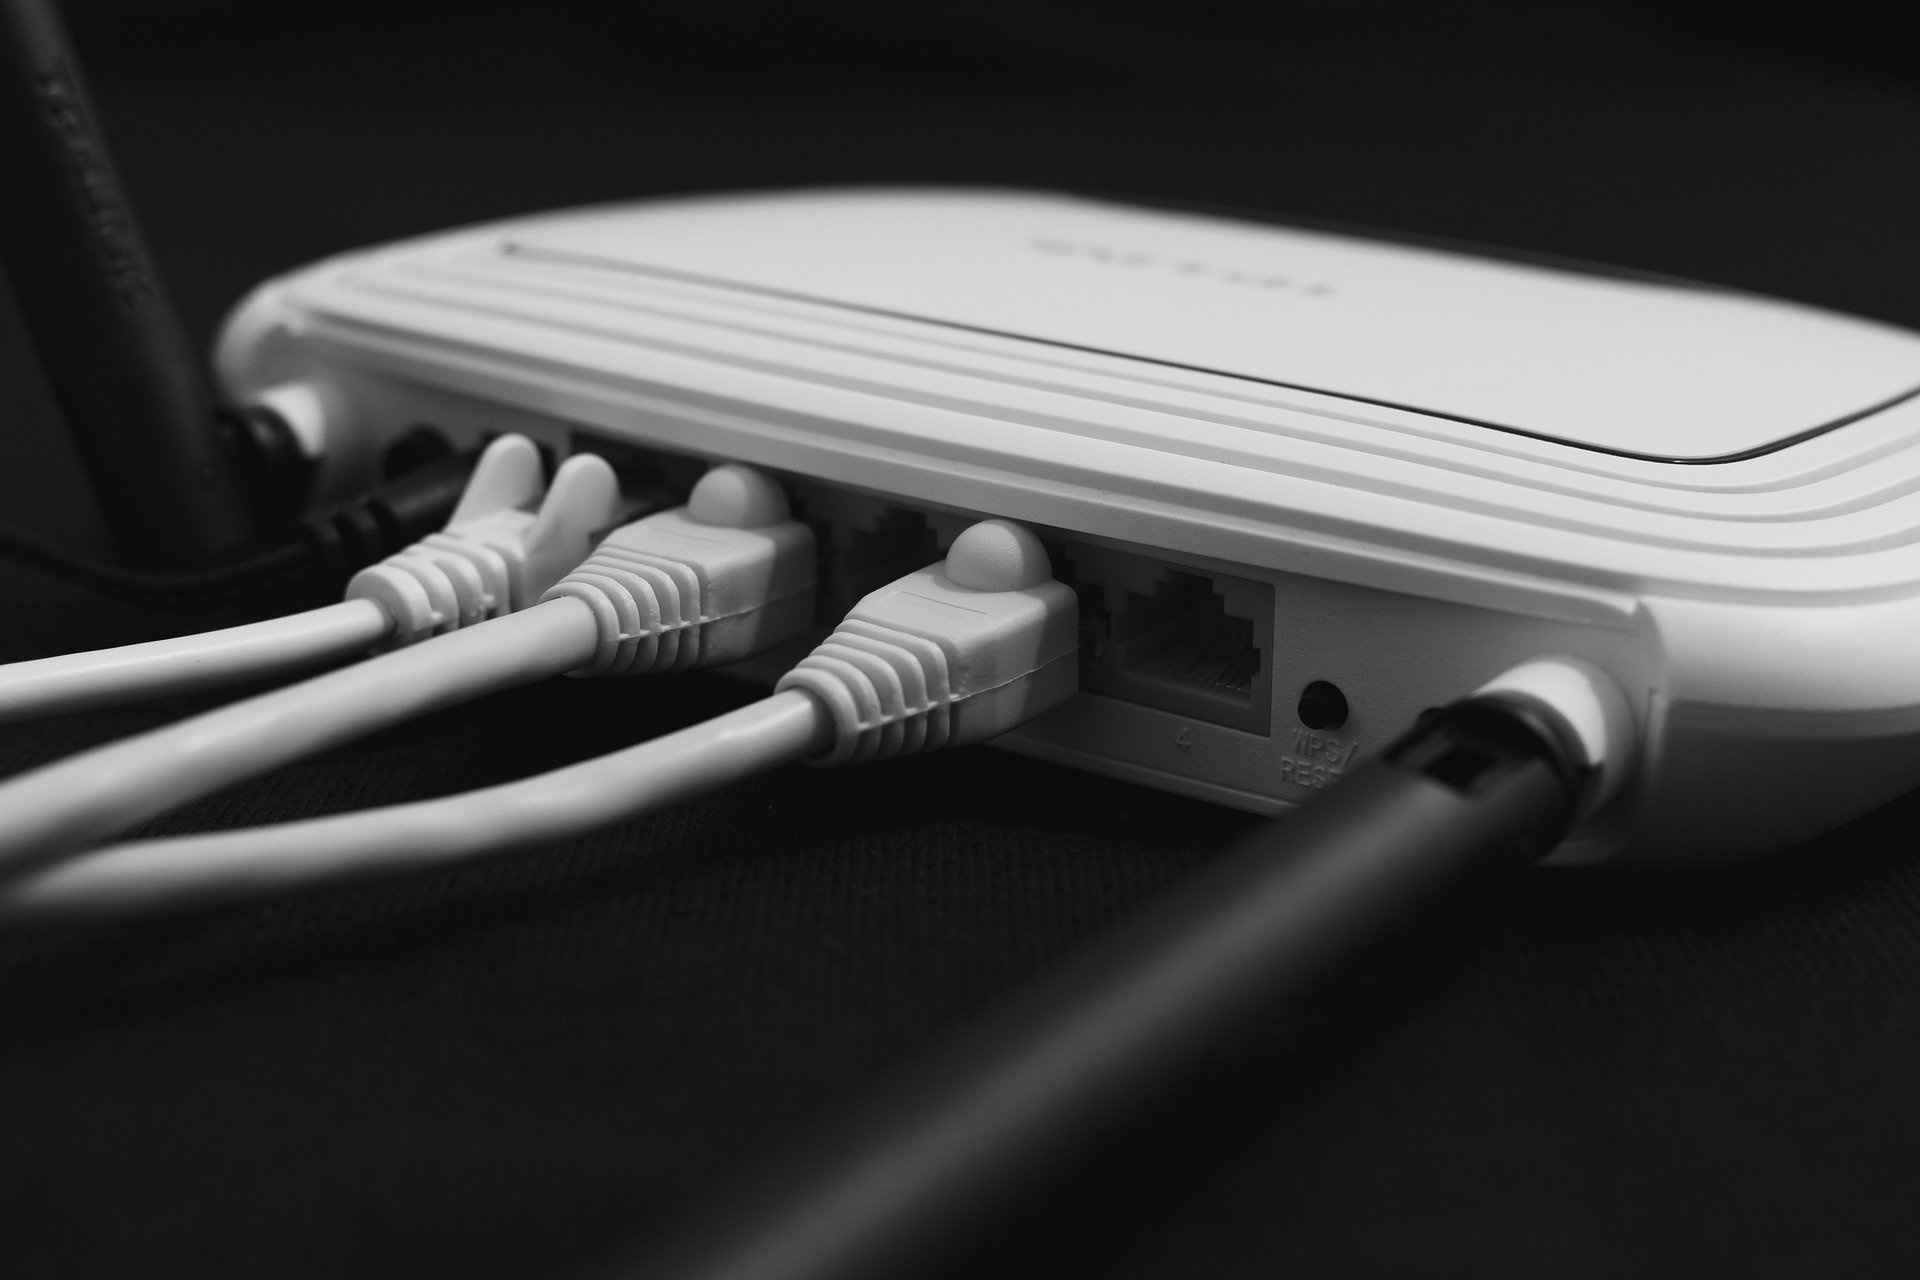
Wireless routers play a crucial role in establishing Wi-Fi connections. They act as a central hub, transmitting and receiving data between the internet and connected devices. Routers are typically connected to a modem, which serves as the gateway between the internet service provider (ISP) and your home network.
When a device wants to connect to Wi-Fi, it searches for available networks in its vicinity. These networks are usually identified by the router’s unique name, known as the Service Set Identifier (SSID). Once the device identifies a network, it sends a request to the router, and if the network is open or the correct password is provided, a connection is established.
Wi-Fi networks can operate on different frequencies, including 2.4GHz and 5GHz. The 2.4GHz frequency offers a long range but can be prone to interference from other devices such as microwave ovens and cordless phones. On the other hand, the 5GHz frequency offers faster speeds but has a shorter range.
It’s important to note that Wi-Fi performance can be affected by various factors, including distance from the router, obstructions such as walls or furniture, and interference from other electronic devices. To ensure a stable and reliable connection, it’s recommended to position the router in a central location and avoid physical barriers that may block the signal.
Now that you have a better understanding of how Wi-Fi works, let’s move on to the step-by-step process of connecting to Wi-Fi networks on different devices.
Step 1: Identifying Wi-Fi Networks
Before you can connect to a Wi-Fi network, you need to identify the available networks in your vicinity. This step is crucial, as it allows you to choose the network you want to connect to based on its signal strength or security settings.
To identify Wi-Fi networks, follow the steps below based on the device you are using:
Mobile Devices:
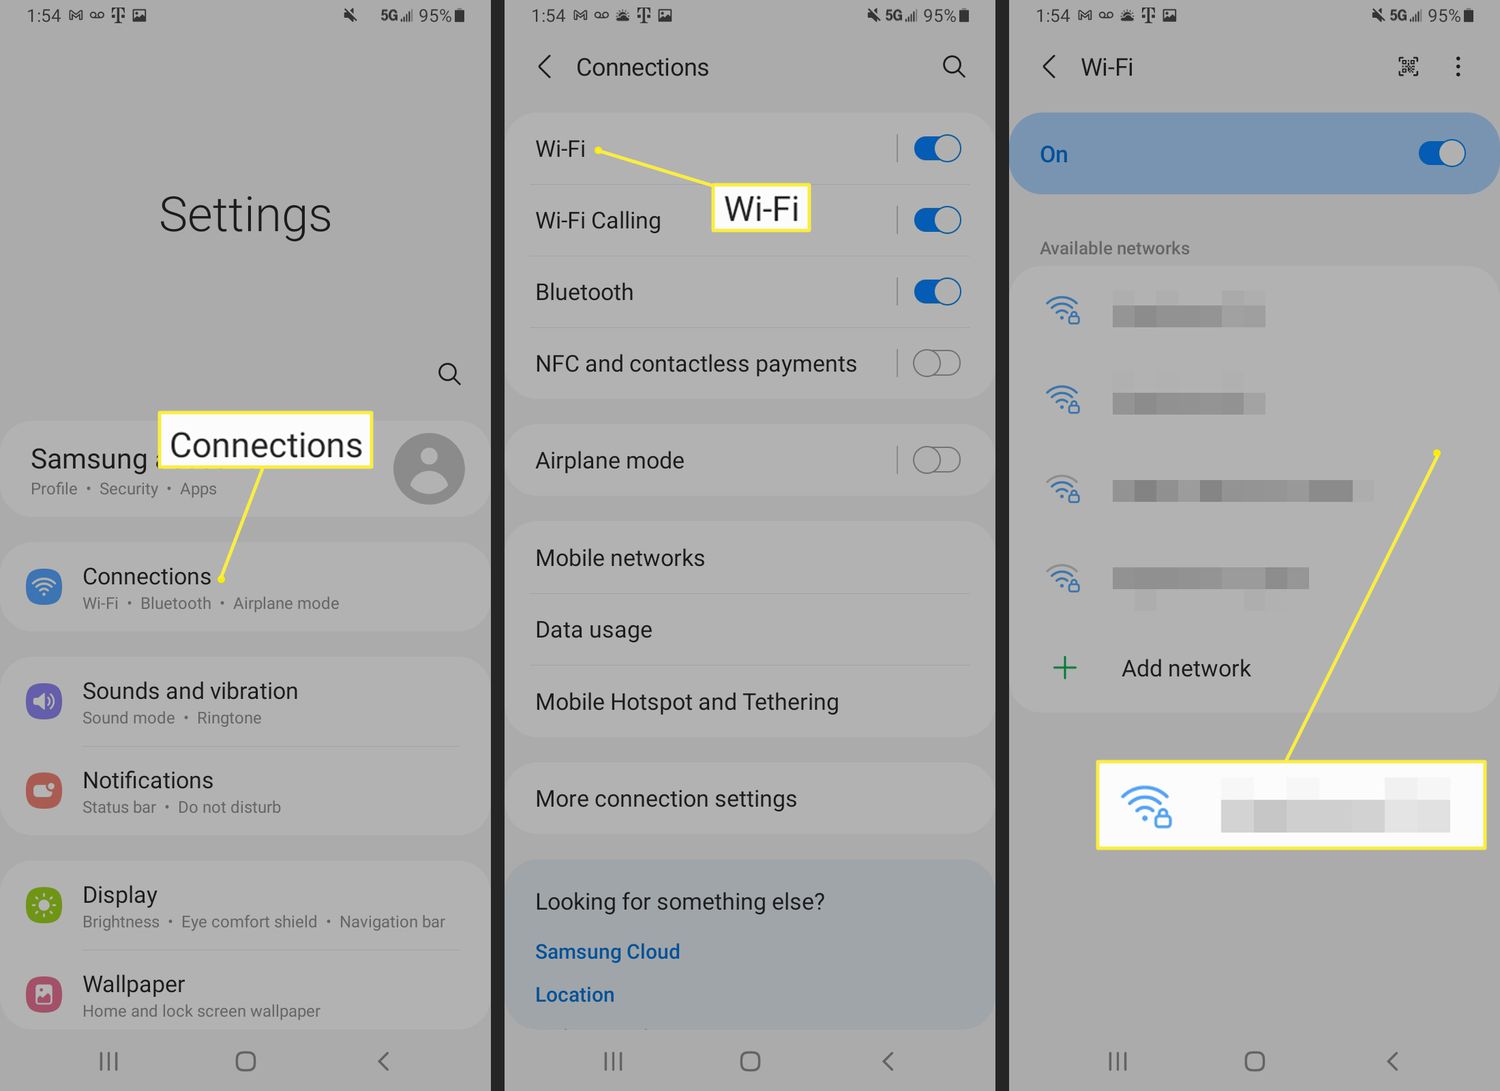
1. Open the Settings app on your mobile device. The location of the Settings app may vary depending on your device’s operating system (iOS or Android).
2. Look for the “Wi-Fi” option in the settings menu and tap on it.
3. Your device will scan for available Wi-Fi networks and display them as a list. The names of the networks, or the SSIDs, will be shown along with their signal strength.
4. Take note of the network names that appear. If you are connecting to a network at a coffee shop or public place, look for the network name provided by the establishment.
Laptops or Desktop Computers:
1. Look for the Wi-Fi icon or symbol on the taskbar of your desktop computer or laptop. It is usually located in the bottom-right corner of the screen.
2. Right-click on the Wi-Fi icon to open a menu with available Wi-Fi networks.
3. The list of available Wi-Fi networks, along with their signal strength and security settings, will be displayed.
4. Carefully read the network names and identify the one you want to connect to. If you’re connecting to a network at a public place, look for the network name provided by the establishment.
By identifying the available Wi-Fi networks in your vicinity, you have now completed the first step towards connecting to a Wi-Fi network. In the next step, we will guide you through obtaining the password to connect to the desired network.
Step 2: Getting the Password
Once you have identified the Wi-Fi network you want to connect to, the next step is to obtain the password. Most Wi-Fi networks are secured with a password to prevent unauthorized access. In this section, we will walk you through the process of obtaining the password for the desired network.
Obtaining the Wi-Fi password:
1. If you are connecting to a Wi-Fi network at a coffee shop, restaurant, or other public place, look for any signs or ask a staff member for the network name and password.
2. If you are connecting to a Wi-Fi network at home or in a friend’s house, ask the owner or someone who has access to the network for the password.
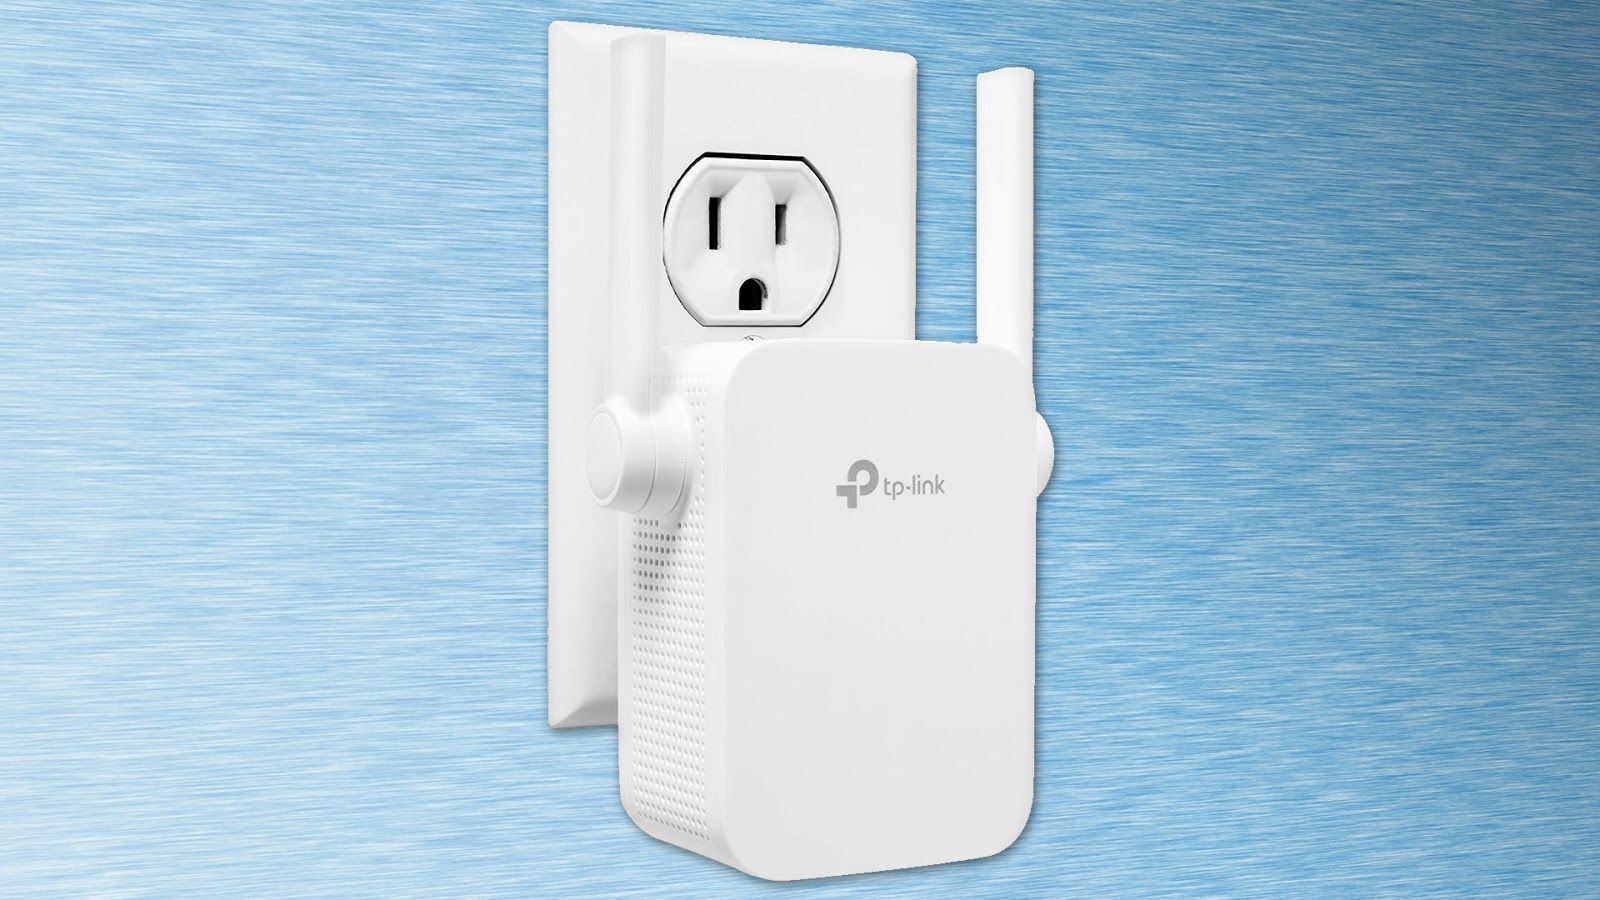
3. Some routers have the Wi-Fi password printed on the device itself. Check the bottom or back of the router for a sticker that displays the network name (SSID) and password.
4. If you have access to the router’s administration settings, you can log in to the router’s configuration page using a web browser. Consult the router’s manual or the manufacturer’s website for instructions on how to access the configuration page. Once logged in, you can find the Wi-Fi password in the settings.
5. If you are using a Windows computer that has previously connected to the Wi-Fi network, you can retrieve the password from the stored network profiles. Open the Command Prompt, type “netsh wlan show profiles” and press Enter. You will see a list of network profiles. Type “netsh wlan show profile name=[network name] key=clear” (replace [network name] with the actual network name) and press Enter. Look for the “Key Content” field, which displays the Wi-Fi password.
Remember to keep the Wi-Fi password secure and not share it with unauthorized users. Once you have obtained the password, you are now ready to proceed to the next step and connect to the Wi-Fi network.
Step 3: Connecting to Wi-Fi on a Mobile Device
Connecting to Wi-Fi on your mobile device allows you to enjoy internet access on the go. Once you have identified the Wi-Fi network and obtained the password, follow the steps below to connect to Wi-Fi on your mobile device.
Connecting to Wi-Fi on an iOS Device (iPhone or iPad):
1. Open the Settings app on your iOS device.
2. Tap on “Wi-Fi” in the settings menu.
3. Toggle the Wi-Fi switch to the “On” position if it’s not already enabled.
4. A list of available Wi-Fi networks will be displayed. Tap on the desired network’s name (SSID).
5. If prompted, enter the Wi-Fi password and tap “Join” to connect.
6. Once connected, you will see a checkmark next to the Wi-Fi network’s name, indicating a successful connection.
Connecting to Wi-Fi on an Android Device:
1. Open the Settings app on your Android device.
2. Tap on “Wi-Fi” in the settings menu.
3. Toggle the Wi-Fi switch to the “On” position if it’s not already enabled.
4. A list of available Wi-Fi networks will be displayed. Tap on the desired network’s name (SSID).
5. If prompted, enter the Wi-Fi password and tap “Connect” to establish the connection.
6. Once connected, you will see the Wi-Fi network’s name (SSID) with a connected status in the Wi-Fi settings.
It’s important to note that some mobile devices may have different user interfaces and variations in the Wi-Fi settings. However, the general steps mentioned above should be applicable to most iOS and Android devices.
By following these steps, you can easily connect to a Wi-Fi network on your mobile device and enjoy internet access wherever you go. In the next section, we will guide you through the process of connecting to Wi-Fi on a laptop or desktop computer.
Step 4: Connecting to Wi-Fi on a Laptop or Desktop Computer
If you’re using a laptop or desktop computer, connecting to Wi-Fi will allow you to access the internet without the need for any physical cables. Once you have identified the Wi-Fi network and obtained the password, follow the steps below to connect to Wi-Fi on your computer.
Connecting to Wi-Fi on Windows:
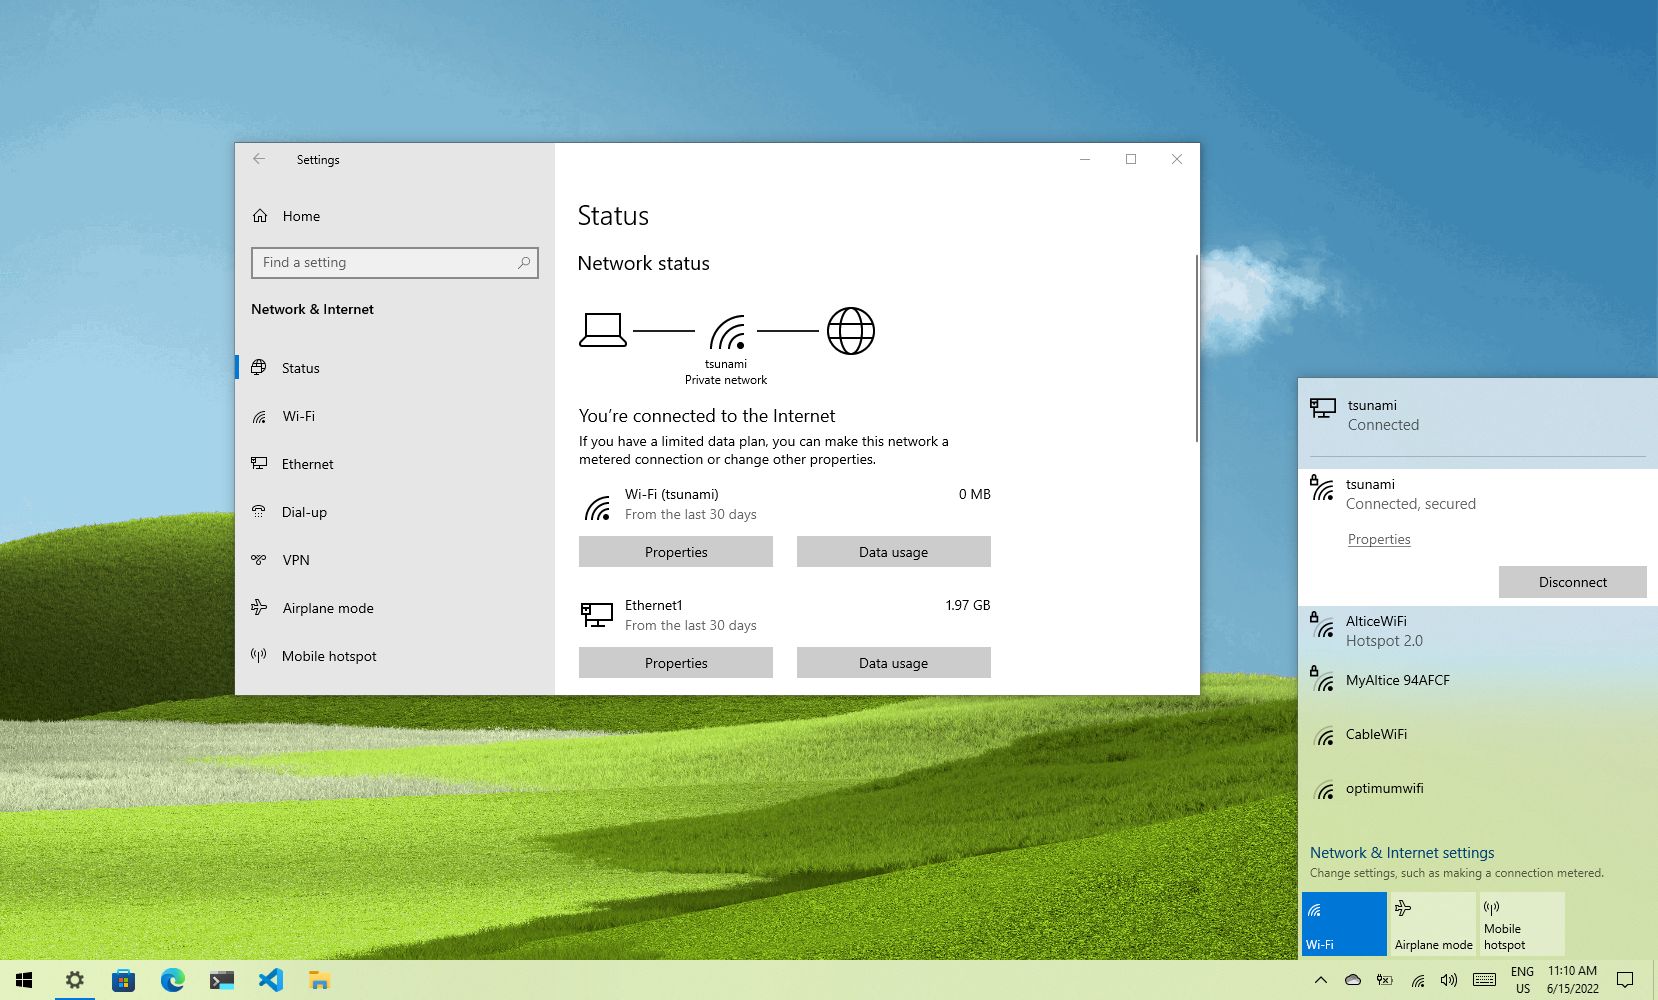
1. Click on the Wi-Fi icon or symbol located on the taskbar in the bottom-right corner of the screen.
2. A list of available Wi-Fi networks will be displayed. Click on the desired network’s name (SSID).
3. If prompted, enter the Wi-Fi password in the provided field.
4. Click on the “Connect” button to establish the connection.
5. Once connected, a notification or a checkmark next to the Wi-Fi network’s name will indicate a successful connection.
Connecting to Wi-Fi on macOS:
1. Click on the Wi-Fi icon located in the menu bar at the top of the screen.
2. A dropdown menu will appear, showing a list of available Wi-Fi networks. Click on the desired network’s name (SSID).
3. If prompted, enter the Wi-Fi password in the provided field.
4. Click on the “Join” button to establish the connection.
5. Once connected, the Wi-Fi icon will change to indicate a successful connection.
Connecting to Wi-Fi on Linux:
The process of connecting to Wi-Fi on Linux can vary depending on the distribution you are using. Generally, you can find the Wi-Fi settings in the network manager or system settings. Look for the Wi-Fi icon or settings menu and follow the on-screen instructions to select the desired network and enter the Wi-Fi password.
By following these steps, you can easily connect your laptop or desktop computer to a Wi-Fi network. Ensure that you have entered the correct password to establish a successful connection.
Now that you are connected to Wi-Fi on your mobile device and computer, you can enjoy internet access and make the most of your wireless connection. If you encounter any issues while connecting to Wi-Fi or have a weak signal, refer to the next section on troubleshooting Wi-Fi connection issues.
Troubleshooting Wi-Fi Connection Issues
While connecting to Wi-Fi is usually a smooth process, you may encounter some issues along the way. In this section, we will provide some troubleshooting tips to help you resolve common Wi-Fi connection problems.
1. Check the basics:
Ensure that your device’s Wi-Fi is turned on and that you are within range of the Wi-Fi network. Restart your device and the router to see if that resolves the issue.
2. Check the Wi-Fi password:
Double-check that you have entered the correct Wi-Fi password. Wi-Fi passwords are case-sensitive, so make sure you haven’t accidentally capitalized or misspelled any characters.
3. Restart the router:
If you are experiencing connection problems, try restarting your router. Unplug the power cable, wait for a few seconds, and then plug it back in. Give the router a few minutes to restart and establish a connection.
4. Move closer to the router:
If you are having trouble connecting or experiencing a weak signal, try moving closer to the router. Physical obstructions like walls and furniture can weaken Wi-Fi signals, so being in close proximity to the router can help establish a stronger connection.
5. Update firmware and drivers:
Ensure that your router’s firmware and your device’s Wi-Fi drivers are up to date. Outdated firmware or drivers can cause compatibility issues and impact your ability to connect to Wi-Fi networks.
6. Reduce interference:
Interference from other electronic devices like cordless phones, baby monitors, or even microwave ovens can disrupt Wi-Fi signals. Keep your router away from such devices and consider changing the Wi-Fi channel on your router to reduce interference.
7. Reset network settings:
If you are still experiencing issues, you can try resetting your device’s network settings. This will erase saved Wi-Fi networks and their configurations. Go to your device’s settings, find the network settings, and look for an option to reset or forget Wi-Fi networks.
If you continue to encounter problems connecting to Wi-Fi, consider contacting your internet service provider (ISP) for assistance, as there may be an issue with your internet connection or router setup.
By following these troubleshooting tips, you can overcome common Wi-Fi connection issues and ensure a stable and reliable connection.
Conclusion
Connecting to Wi-Fi networks has become an essential part of our daily lives, allowing us to stay connected, access information, and enjoy various online activities. By following the step-by-step process outlined in this article, you can easily connect to Wi-Fi on your mobile devices, laptops, and desktop computers. Understanding the basics of Wi-Fi, identifying available networks, obtaining the necessary passwords, and troubleshooting common issues are all key elements in establishing a successful Wi-Fi connection.
Remember to keep your Wi-Fi passwords secure and avoid sharing them with unauthorized users. Additionally, it’s important to regularly update your router’s firmware, Wi-Fi drivers, and make necessary adjustments to reduce interference for a smooth and reliable Wi-Fi experience.
If you encounter any difficulties in connecting to Wi-Fi or experience issues with the network, refer to the troubleshooting tips provided in this article. And if all else fails, don’t hesitate to reach out to your internet service provider for further assistance.
Now that you are equipped with the knowledge and understanding of how to connect to Wi-Fi, enjoy the world of wireless connectivity and make the most of your internet experience!