Introduction
Connecting your Honeywell smart thermostat to a Wi-Fi network allows you to control your home’s temperature remotely, giving you convenience and energy savings. With just a few simple steps, you can enjoy the benefits of a smart thermostat, such as adjusting the temperature from your phone, setting schedules, and receiving alerts.
Honeywell offers a range of smart thermostats that are compatible with Wi-Fi networks, providing an easy-to-use interface and advanced features. Whether you’re a tech-savvy homeowner or someone who simply wants to make their life more comfortable, connecting your Honeywell smart thermostat to your Wi-Fi network is a great choice.
In this guide, we’ll walk you through the step-by-step process of connecting your Honeywell smart thermostat to your Wi-Fi network. You’ll learn how to install the thermostat, create an account with the Honeywell Home app, and connect the thermostat to your Wi-Fi network. Once connected, you’ll have access to a wide range of features that will enhance your home’s comfort and energy efficiency.
Before we get started, it’s important to note that each Honeywell smart thermostat model may have specific requirements and instructions. Make sure to consult the user manual that came with your specific model for the most accurate and up-to-date information. With that said, let’s delve into the exciting world of Honeywell smart thermostats and Wi-Fi connectivity!
Step 1: Check compatibility
Before you begin the process of connecting your Honeywell smart thermostat to your Wi-Fi network, it’s important to ensure that your thermostat is compatible with Wi-Fi connectivity. Check the model number and specifications of your Honeywell thermostat to verify its compatibility with a Wi-Fi network.
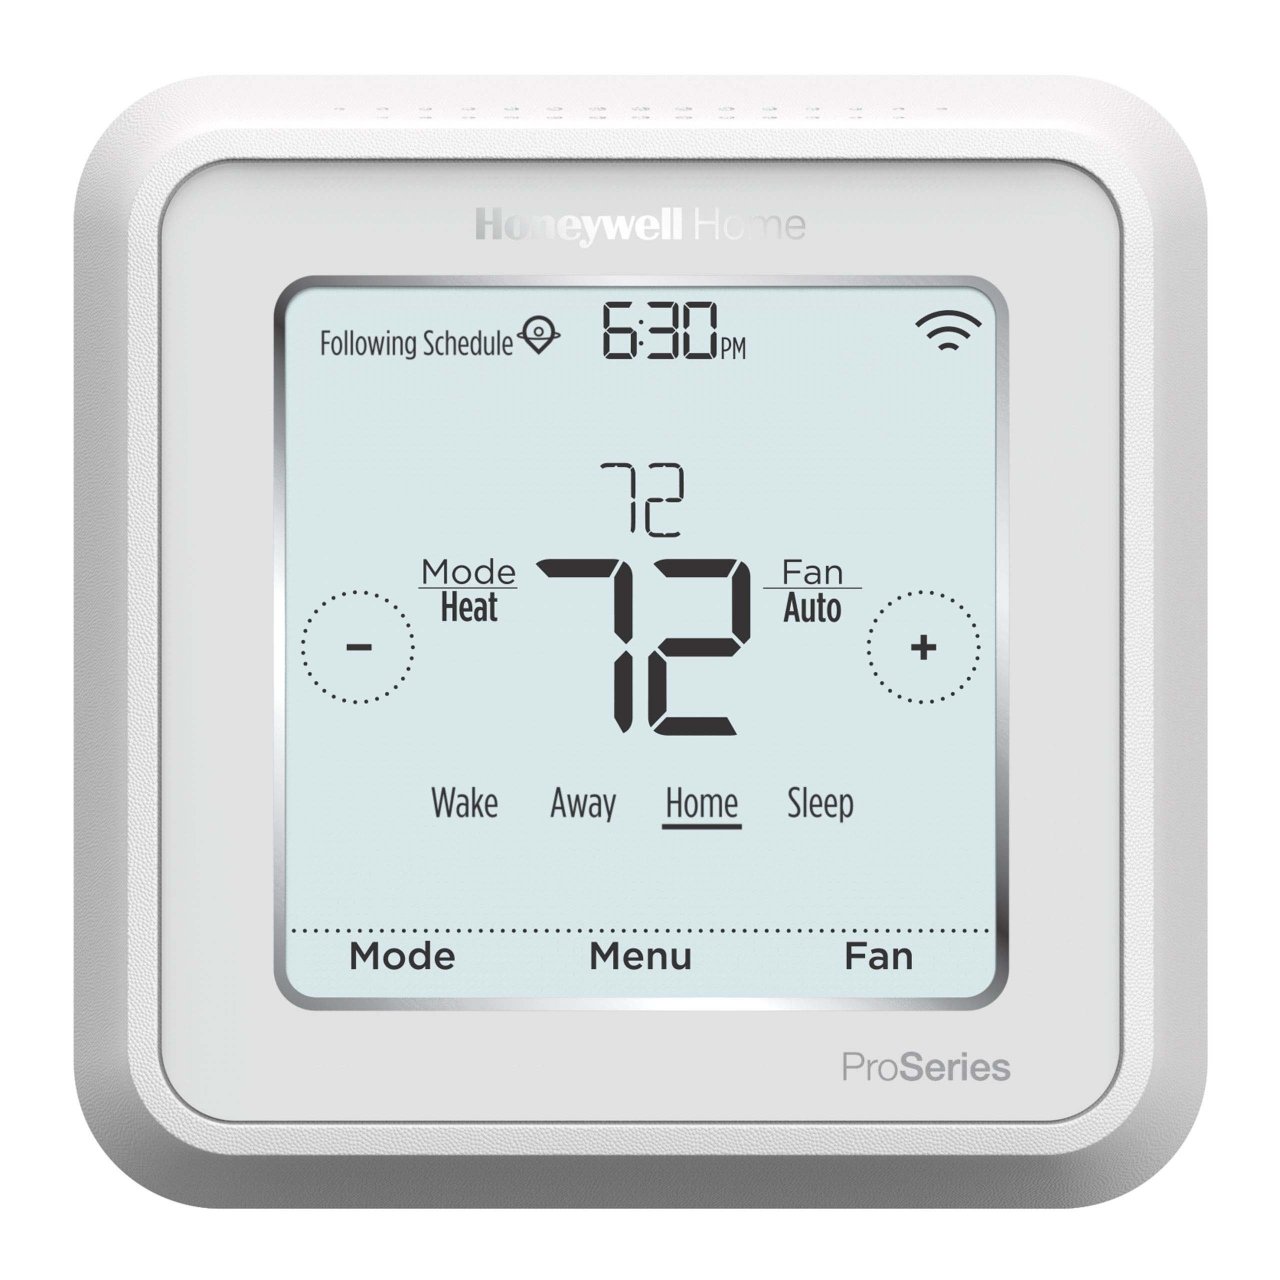
Honeywell offers a wide range of smart thermostats, including the Lyric, T5, and T6 series, which are designed to connect to Wi-Fi networks. If you’re unsure about the compatibility of your thermostat, you can refer to the product manual or visit the Honeywell website for more information.
Upgrading to a compatible Honeywell smart thermostat can offer several benefits. You’ll be able to control your thermostat remotely, adjust temperature settings from anywhere, and even receive energy usage reports and alerts. So, it’s definitely worth considering if you’re looking to enhance the comfort and efficiency of your home.
If your current thermostat is not Wi-Fi-compatible, you may need to replace it with a Honeywell smart thermostat that offers Wi-Fi functionality. Consult the Honeywell website or contact their customer support for recommendations on the best model for your needs.
Once you’ve confirmed the compatibility of your Honeywell thermostat with Wi-Fi, you can proceed to the next steps to install and connect your thermostat to your Wi-Fi network. In the following sections, we’ll guide you through the process, ensuring a seamless and successful connection between your smart thermostat and Wi-Fi network.
Step 2: Install the Honeywell thermostat
Now that you’ve confirmed the compatibility of your Honeywell thermostat with Wi-Fi connectivity, it’s time to proceed with the installation process. Follow these steps to install your Honeywell thermostat:
- Turn off the power: Before installing your thermostat, ensure that the power to your heating or cooling system is turned off. This can usually be done by turning off the circuit breaker or disconnecting the power supply.
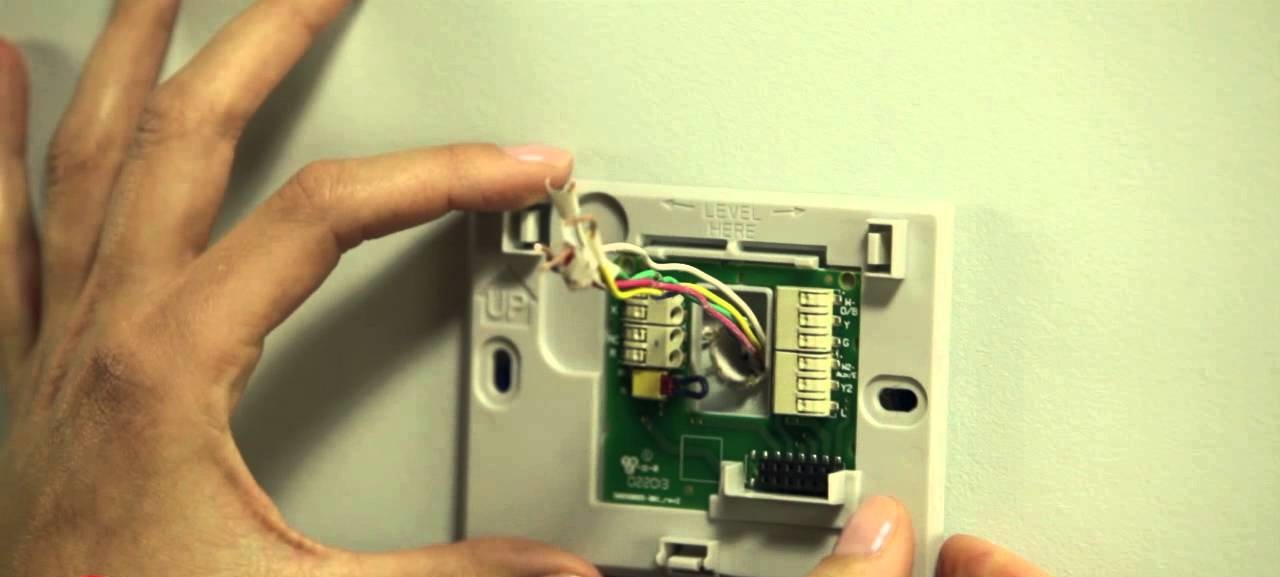
- Remove the old thermostat: Carefully remove the cover of your old thermostat and disconnect the wires from the terminals. Make sure to label each wire according to its corresponding terminal.
- Prepare the new thermostat: Take your new Honeywell thermostat and remove its cover. Locate the terminal screws and loosen them.
- Connect the wires: Take each labeled wire from your previous thermostat and connect it to the corresponding terminal on your new Honeywell thermostat. Tighten the terminal screws to secure the connections.
- Attach the thermostat to the wall: Place the thermostat base against the wall and use the provided screws to secure it in place. Make sure the base is level.
- Attach the thermostat faceplate: Align the faceplate with the base and snap it into place.
- Restore power: Turn on the power to your heating or cooling system by restoring the circuit breaker or reconnecting the power supply.
Once your Honeywell thermostat is securely installed, you’re ready to proceed to the next step of connecting it to your Wi-Fi network. Ensure that the thermostat is powered on and functioning properly before moving forward.
Remember, if you are unsure about any step of the installation process, consult the user manual that came with your Honeywell thermostat or seek assistance from a qualified professional. Proper installation is crucial for the optimal performance of your thermostat.
Step 3: Connect the thermostat to Wi-Fi network
With your Honeywell thermostat installed, we can move on to the next step of connecting it to your Wi-Fi network. Follow these instructions to connect your thermostat to Wi-Fi:
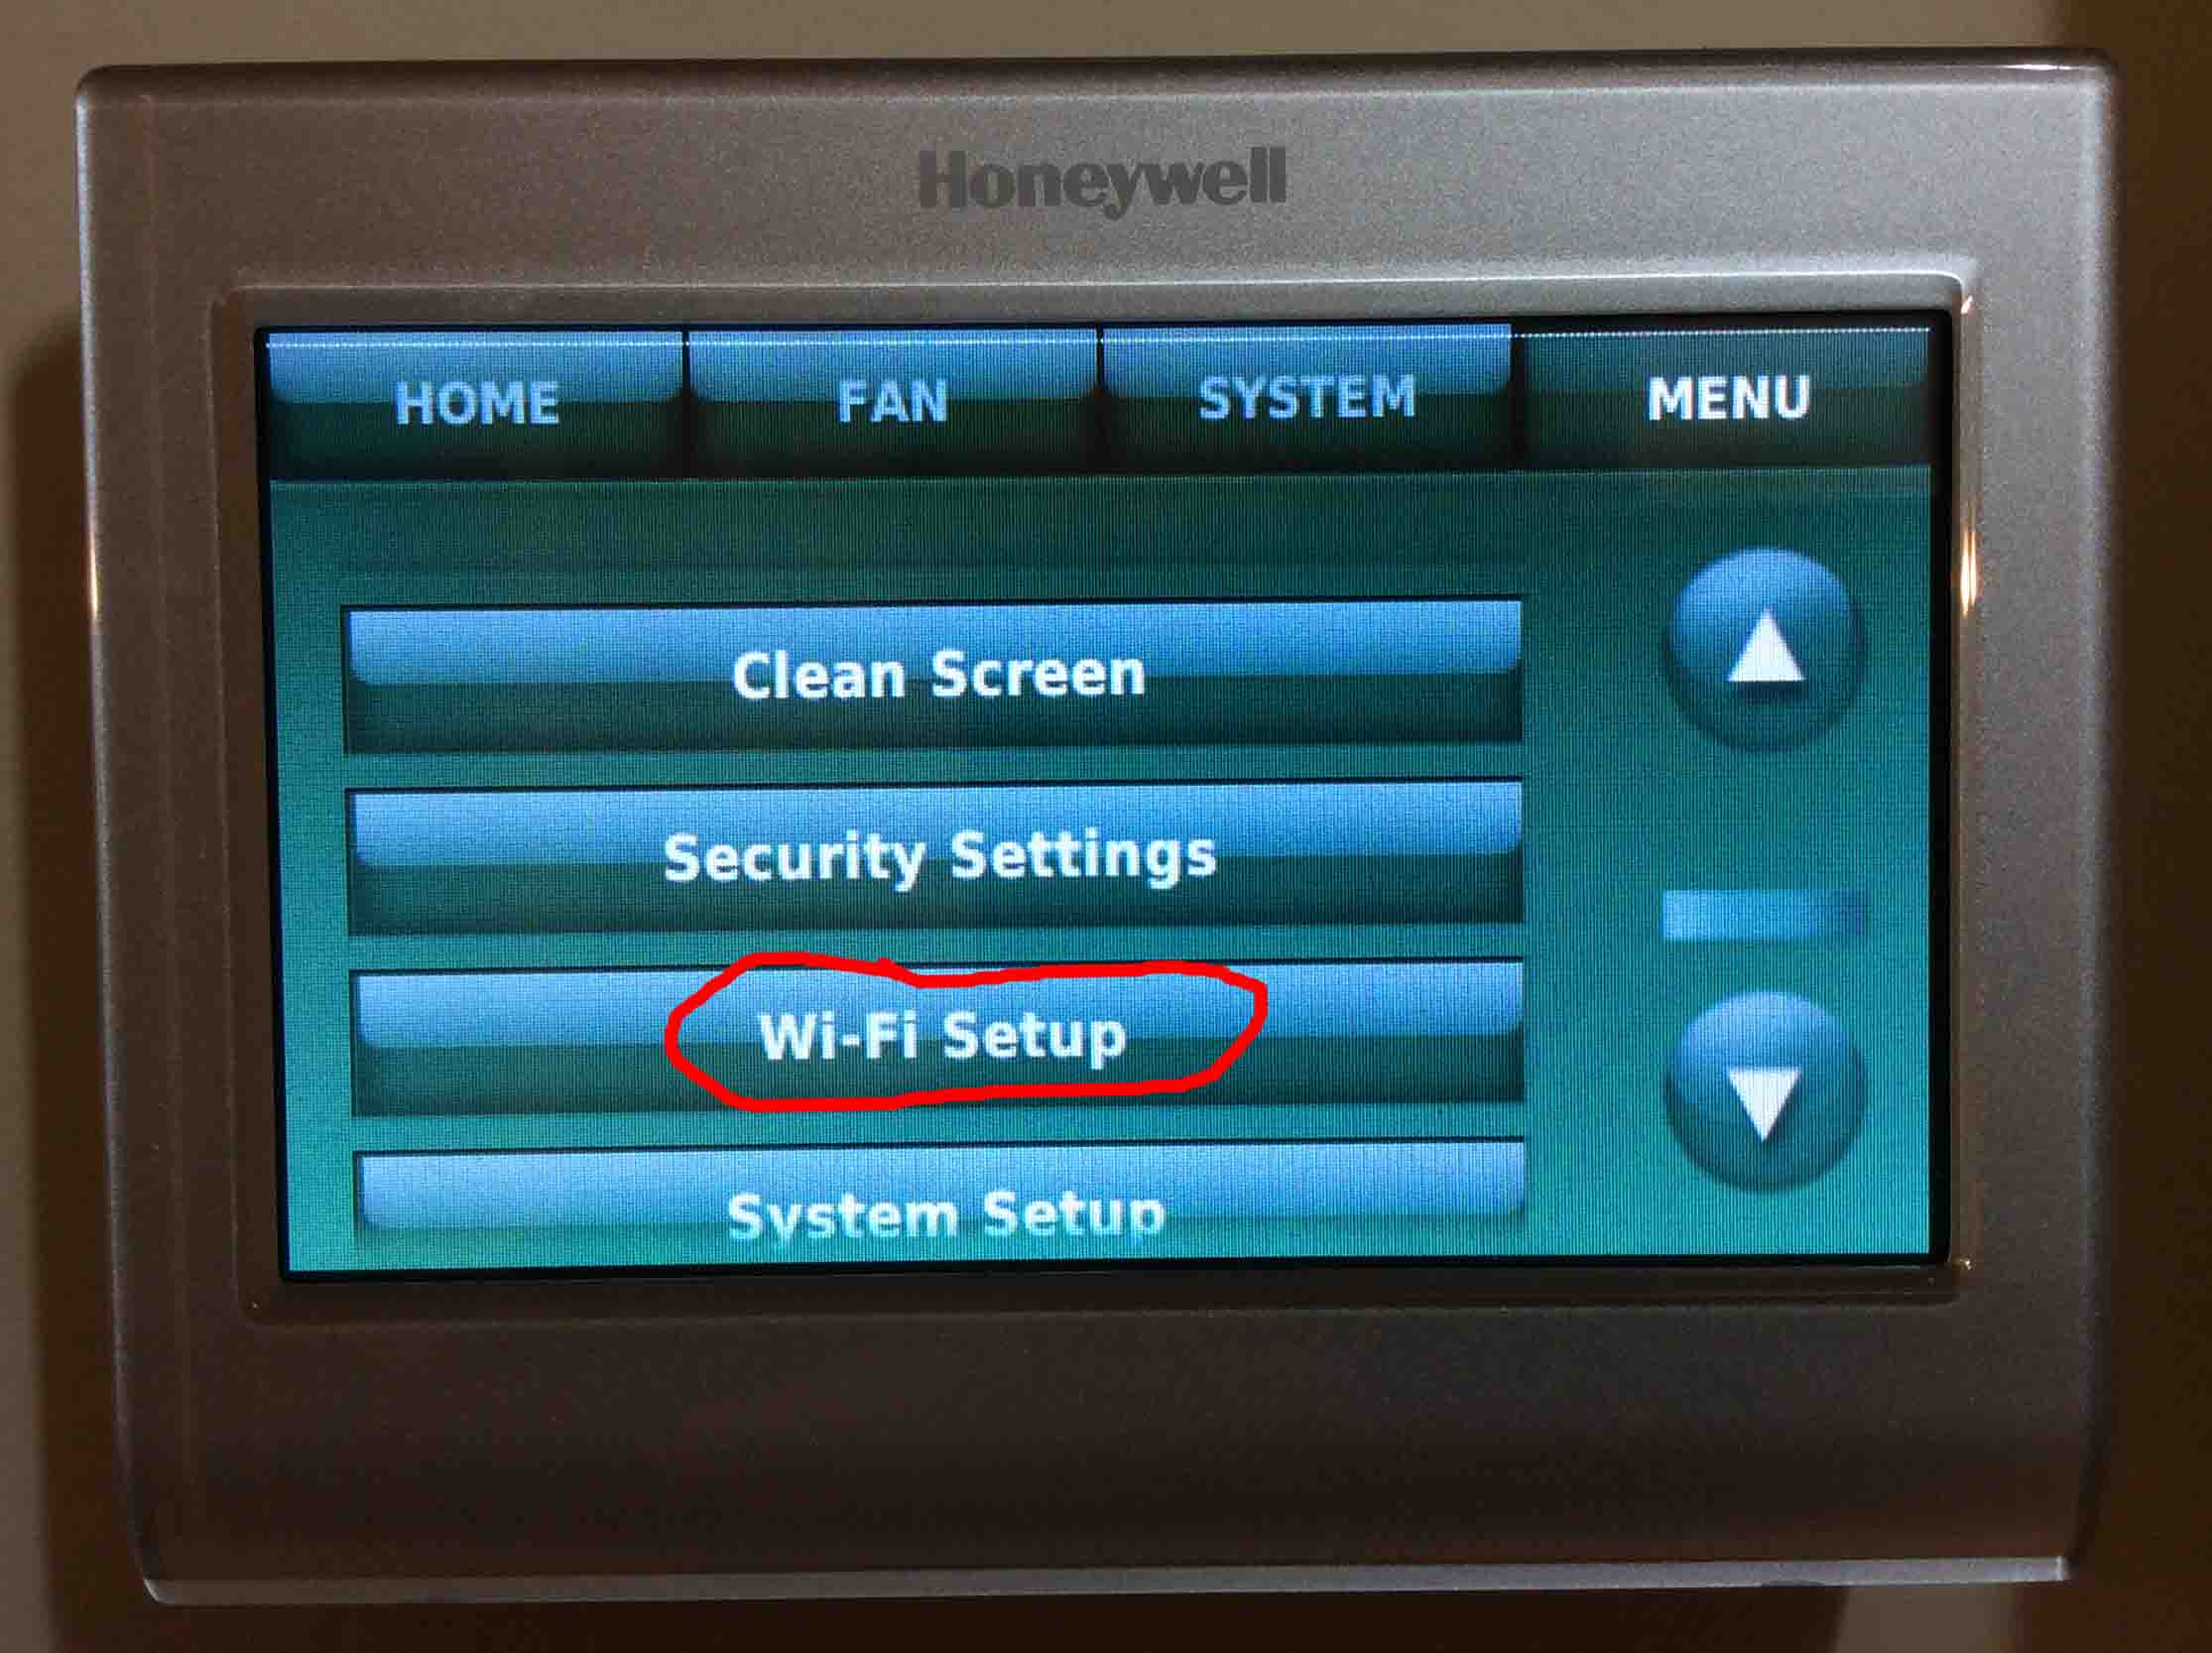
- Access the menu: On your thermostat, locate and access the main menu. This can usually be done by pressing the menu button or a combination of buttons, as specified in your thermostat’s user manual.
- Select Wi-Fi settings: Within the menu, navigate to the Wi-Fi settings option. Again, the exact location and wording may vary depending on your Honeywell thermostat model.
- Enter Wi-Fi mode: Enable the Wi-Fi mode on your thermostat by selecting the appropriate option. This will allow your thermostat to search for available Wi-Fi networks in your vicinity.
- Select your network: Using the thermostat’s interface or buttons, choose your Wi-Fi network from the list of available networks. If your network is not displayed, select the option to manually enter the network name (SSID).
- Enter network credentials: If your Wi-Fi network is secured, you will be prompted to enter the network password. Use the thermostat’s interface to input the correct password. Take your time and ensure accuracy to avoid any connection issues.
- Connect to the network: After entering the network password, your Honeywell thermostat will attempt to establish a connection with the Wi-Fi network. This process may take a few moments, so be patient.
- Successful connection: Once your thermostat successfully connects to the Wi-Fi network, you will see a confirmation message on the thermostat’s display. At this point, your thermostat is ready to be integrated into the Honeywell Home app.
It’s important to note that the steps outlined above are general guidelines. The exact process may differ based on your Honeywell thermostat model. Refer to the user manual or online resources provided by Honeywell for model-specific instructions.
Now that your Honeywell thermostat is connected to your Wi-Fi network, you can proceed to the next step of setting up the Honeywell Home app and configuring its smart features. This will enable you to control and monitor your thermostat remotely, enhancing both convenience and energy efficiency in your home.
Step 4: Open the Honeywell Home app
Now that your Honeywell thermostat is connected to your Wi-Fi network, it’s time to download and open the Honeywell Home app on your smartphone or tablet. The app is available for both iOS and Android devices and can be downloaded from the respective app stores.
Follow these steps to open the Honeywell Home app:
- Open your device’s app store: Tap on the app store icon on your smartphone or tablet to access the app store.
- Search for the Honeywell Home app: Use the search bar within the app store and enter “Honeywell Home”. Look for the app with the official Honeywell logo.
- Download and install the app: Tap on the install or download button to initiate the installation process. The app will start downloading and automatically install on your device.
- Launch the Honeywell Home app: Once the installation is complete, locate the Honeywell Home app icon on your device’s home screen and tap on it to open the app.
Alternatively, if you already have the Honeywell Home app installed on your device, simply locate the app icon on your home screen and tap on it to open.
Upon opening the Honeywell Home app, you will be prompted to sign in or create a new account. If you already have an account, enter your login credentials. Otherwise, proceed to the next step to create a new account.
Opening the Honeywell Home app is a crucial step in accessing and controlling your Honeywell smart thermostat remotely. The app provides an intuitive interface where you can adjust temperature settings, set schedules, and utilize various smart features to enhance your home’s comfort and energy efficiency.
In the next step, we’ll guide you through the process of creating an account with the Honeywell Home app, allowing you to fully utilize all the features and capabilities of your Honeywell smart thermostat.
Step 5: Create an account
In order to fully utilize the features and capabilities of the Honeywell Home app, you will need to create an account. Follow these steps to create your account:
- Open the Honeywell Home app: Launch the Honeywell Home app on your smartphone or tablet by selecting the app icon from your device’s home screen.
- Tap on “Create an Account”: On the app’s login screen, tap on the “Create an Account” option.
- Enter your email address: In the provided field, enter your email address. Make sure to use a valid email address that you have access to.
- Create a password: Create a secure password for your account. It should be a combination of letters, numbers, and special characters to ensure the security of your account.
- Confirm your password: Re-enter your chosen password in the confirmation field to ensure accuracy.
- Agree to the terms and conditions: Review the terms and conditions of the Honeywell Home app and tick the box to indicate your acceptance.
- Tap on “Create Account”: Once you have entered all the required information and agreed to the terms and conditions, tap on the “Create Account” button to complete the account creation process.
Upon successfully creating your Honeywell Home app account, you will be logged in and ready to connect your Honeywell smart thermostat to the app.
Creating an account is essential as it enables you to sync your smart thermostat, access advanced features, and control it remotely. Your account will also allow you to receive important notifications and alerts related to your thermostat.
Remember to keep your Honeywell Home app account credentials secure to protect your personal information and thermostat data. It is recommended to use strong and unique passwords and enable two-factor authentication if available.
In the next step, we’ll guide you through the process of adding your Honeywell smart thermostat to the app, allowing you to fully control and customize its settings.
Step 6: Add the thermostat to the app
Now that you have created your Honeywell Home app account, it’s time to add your Honeywell smart thermostat to the app. Follow these steps to successfully add your thermostat:
- Open the Honeywell Home app: Launch the Honeywell Home app on your smartphone or tablet by selecting the app icon from your device’s home screen.
- Log in to your account: Enter your email address and password that you used to create your Honeywell Home app account to log in.
- Tap on “Add New Device”: Once you’re logged in, tap on the “Add New Device” option in the app. This will prompt the app to search for compatible devices.
- Follow the in-app instructions: The app will guide you through the process of adding your thermostat. This typically involves entering the specific model of your Honeywell thermostat and following any additional instructions provided by the app.
- Put your thermostat in pairing mode: Depending on your model, you may need to put your Honeywell thermostat in pairing mode by following the instructions provided. This allows the app to detect and establish a connection with your thermostat.
- Wait for the app to find your thermostat: The app will scan for available devices, and once it detects your thermostat, it will be listed on the screen. Tap on your thermostat to select it.
- Confirm the setup details: Review the setup details displayed on the app, including the name and location of your thermostat. Make any necessary changes and proceed to the next step.
- Complete the setup: Once you have confirmed the setup details, the app will finalize the setup process and establish a connection with your Honeywell smart thermostat.
Once the setup is complete, you will have successfully added your Honeywell smart thermostat to the Honeywell Home app. You can now control and monitor your thermostat remotely, set schedules, and access additional features provided by the app.
If you encounter any issues during the setup process, refer to the user manual or contact Honeywell customer support for further assistance. They will be able to provide specific troubleshooting steps for your model of thermostat.
In the next step, we’ll guide you through the process of connecting your thermostat to your Wi-Fi network through the app, allowing you to control and monitor your thermostat from anywhere with an internet connection.
Step 7: Connect to Wi-Fi network
Now that you have added your Honeywell smart thermostat to the Honeywell Home app, it’s time to connect your thermostat to your Wi-Fi network. Follow these steps to establish a connection:
- Open the Honeywell Home app: Launch the Honeywell Home app on your smartphone or tablet by selecting the app icon from your device’s home screen.
- Log in to your account: Enter your email address and password to log in to your Honeywell Home app account.
- Select your thermostat: Once you’re logged in, select your Honeywell smart thermostat from the list of devices displayed in the app.
- Access the settings menu: Within the selected thermostat’s page, locate and access the settings menu. This is usually represented by a gear or cogwheel icon.
- Select Wi-Fi settings: In the settings menu, look for an option related to Wi-Fi settings or network connectivity. Tap on this option to proceed.
- Connect to your Wi-Fi network: The app will prompt you to select your Wi-Fi network from the available list. Choose your network and enter the correct password when prompted.
- Wait for the connection: Once you have entered the Wi-Fi network details, the app will attempt to establish a connection between your Honeywell smart thermostat and your Wi-Fi network. This process may take a few moments.
- Successful connection: Once the connection is established, you will receive a confirmation message in the app indicating that your thermostat is now connected to your Wi-Fi network.
After successfully connecting your Honeywell smart thermostat to your Wi-Fi network, you will have the ability to control, monitor, and adjust your thermostat’s settings from anywhere using the Honeywell Home app. This connection opens up a whole world of possibilities for enhancing comfort and energy efficiency in your home.
If you encounter any issues during the connection process, ensure that you have entered the correct Wi-Fi network details and password. If the problem persists, consult the user manual or contact Honeywell customer support for further assistance.
In the next step, we’ll guide you through the process of configuring the smart features of your Honeywell smart thermostat, allowing you to personalize its settings and maximize its performance.
Step 8: Configure smart features
Now that your Honeywell smart thermostat is connected to your Wi-Fi network, you have the opportunity to configure and personalize its smart features. Follow these steps to maximize the functionality of your thermostat:
- Open the Honeywell Home app: Launch the Honeywell Home app on your smartphone or tablet by selecting the app icon from your device’s home screen.
- Log in to your account: Enter your email address and password to log in to your Honeywell Home app account.
- Select your thermostat: Once you’re logged in, select your Honeywell smart thermostat from the list of devices in the app.
- Access the settings menu: Within the selected thermostat’s page, locate and access the settings menu. Look for the gear or cogwheel icon.
- Explore available options: In the settings menu, you will find various options to customize your thermostat’s settings. These may include temperature preferences, scheduling, geofencing, and more.
- Adjust temperature preferences: Set your desired temperature preferences for different times of the day or specific days of the week. This allows your thermostat to automatically adjust the temperature based on your preferences.
- Create schedules: Take advantage of the scheduling feature to automate temperature adjustments throughout the day. Set different temperature settings for when you’re at home, sleeping, or away to optimize energy savings.
- Enable geofencing: If available, activate the geofencing feature to automatically adjust the temperature based on your location. This ensures that your home is at the ideal temperature when you arrive or saves energy when you’re away.
- Explore additional features: Depending on your Honeywell smart thermostat model, there may be other features available to enhance comfort and convenience. These may include humidity control, air circulation, and voice control compatibility.
- Save your preferences: Once you have configured the smart features according to your preferences, make sure to save your settings in the app.
Configuring the smart features of your Honeywell smart thermostat allows you to optimize its performance and tailor its operation to your specific needs. Take the time to explore the available options and find the settings that work best for you and your home.
Don’t hesitate to refer to the user manual or contact Honeywell customer support if you have any questions or encounter any difficulties while configuring the smart features of your thermostat.
In the final step, we’ll summarize the benefits of connecting your Honeywell smart thermostat to your Wi-Fi network and how it enhances your overall home experience.
Step 9: Enjoy remote access and control
After completing the previous steps, you can now enjoy the benefits of remote access and control with your connected Honeywell smart thermostat. Here’s how to make the most of this convenience:
- Open the Honeywell Home app: Launch the Honeywell Home app on your smartphone or tablet by selecting the app icon from your device’s home screen.
- Log in to your account: Enter your email address and password to log in to your Honeywell Home app account.
- Select your thermostat: Once you’re logged in, select your Honeywell smart thermostat from the list of devices in the app.
- Explore remote control options: With the app, you can now adjust the temperature, set schedules, and access other smart features remotely. Simply tap on the relevant options in the app to make desired changes.
- Monitor your thermostat: Use the app to monitor the current temperature and humidity levels in your home. This can help you ensure that your home is comfortable and energy-efficient.
- Receive notifications and alerts: The app allows you to receive important notifications and alerts related to your thermostat. Stay informed about changes in temperature, maintenance reminders, and other important updates.
- Integrate with smart home systems: If you have other compatible smart home devices, you can integrate your Honeywell thermostat with them to create a seamless and connected home environment. This can include voice control through devices like Amazon Alexa or Google Assistant.
- Make adjustments on the go: Whether you’re at work, on vacation, or simply away from home, you can make adjustments to your thermostat settings using the app. Ensure that your home is comfortable before you arrive or save energy when you’re not there.
- Track energy usage: Many Honeywell smart thermostats provide energy usage reports through the app. Monitor your energy consumption and identify opportunities for further energy savings.
By connecting your Honeywell smart thermostat to your Wi-Fi network, you gain the ability to remotely access and control your thermostat anytime, from anywhere. This enhances your convenience, energy efficiency, and overall home comfort.
Whether you’re looking to adjust the temperature, schedule, or access smart features, the Honeywell Home app puts you in control of your home’s heating and cooling system. Embrace the flexibility and convenience that comes with this smart home solution.
Remember to keep your Honeywell Home app updated to ensure compatibility with new features and enhancements. Enjoy the benefits of remote access and control, and take advantage of the full potential of your Honeywell smart thermostat.
Conclusion
Connecting your Honeywell smart thermostat to your Wi-Fi network opens up a world of possibilities for controlling your home’s temperature with convenience and efficiency. By following the step-by-step process outlined in this guide, you can successfully connect your thermostat to your Wi-Fi network and enjoy the benefits of remote access and control.
The compatibility check ensures that your thermostat is ready for Wi-Fi connectivity. Installing your Honeywell thermostat correctly is crucial for optimal performance. Once installed, the Honeywell Home app becomes the central hub for controlling your thermostat remotely.
Creating an account and adding your thermostat to the app enables you to personalize its settings and take advantage of its smart features. The ability to connect your thermostat to your Wi-Fi network allows for effortless control, scheduling, and monitoring of your home’s temperature.
Furthermore, configuring smart features such as customized temperature preferences, scheduling, and geofencing enhances convenience and energy efficiency. And with the Honeywell Home app, you can access your thermostat from anywhere, receive important notifications, and integrate it with other smart home devices.
By enjoying remote access and control, you have the power to adjust your thermostat’s settings on the go, monitor energy usage, and create a comfortable home environment tailored to your preferences.
In conclusion, connecting your Honeywell smart thermostat to your Wi-Fi network provides you with the ability to optimize your home’s temperature control, increase energy savings, and enhance your overall living experience. Take advantage of this technology and embrace the convenience and efficiency it brings to your daily life.