Introduction
Welcome to our comprehensive guide on how to change the battery in a Fender acoustic guitar. Fender acoustic guitars are known for their exceptional sound quality and craftsmanship, and regular maintenance is key to keeping them in optimal playing condition. One essential aspect of maintenance is replacing the battery when it runs out of power.
Many Fender acoustic guitars are equipped with an onboard preamp and pickup system, which requires a 9-volt battery to function. The battery powers the preamp, allowing you to control volume, tone, and other sound parameters when amplified. Over time, the battery will need to be replaced to ensure your guitar continues to deliver the best tone and performance.
Changing the battery in your Fender acoustic guitar is a simple process that you can easily do at home. In this guide, we will walk you through the step-by-step instructions to help you replace the battery without any hassle. Whether you are a beginner or an experienced guitarist, this guide will provide you with all the information you need to keep your Fender acoustic guitar in top playing condition.
Before we begin, it’s important to note that different Fender guitar models may have slight variations in their battery compartment design. However, the general process remains the same. We recommend consulting your guitar’s user manual for specific instructions if available. Now, let’s dive into the steps required to change the battery in your Fender acoustic guitar.
Checking the Battery Type
Before you can proceed with changing the battery in your Fender acoustic guitar, it’s essential to determine the correct battery type. Fender acoustic guitars typically use a 9-volt battery for their onboard preamp and pickup system. However, it’s always a good idea to double-check your guitar’s specifications to ensure you’re using the correct battery.
To identify the battery type required for your Fender acoustic guitar, you can follow these simple steps:
- Consult the user manual: Start by referring to the user manual that came with your guitar. It should provide detailed information about the battery type and any specific instructions for replacement.
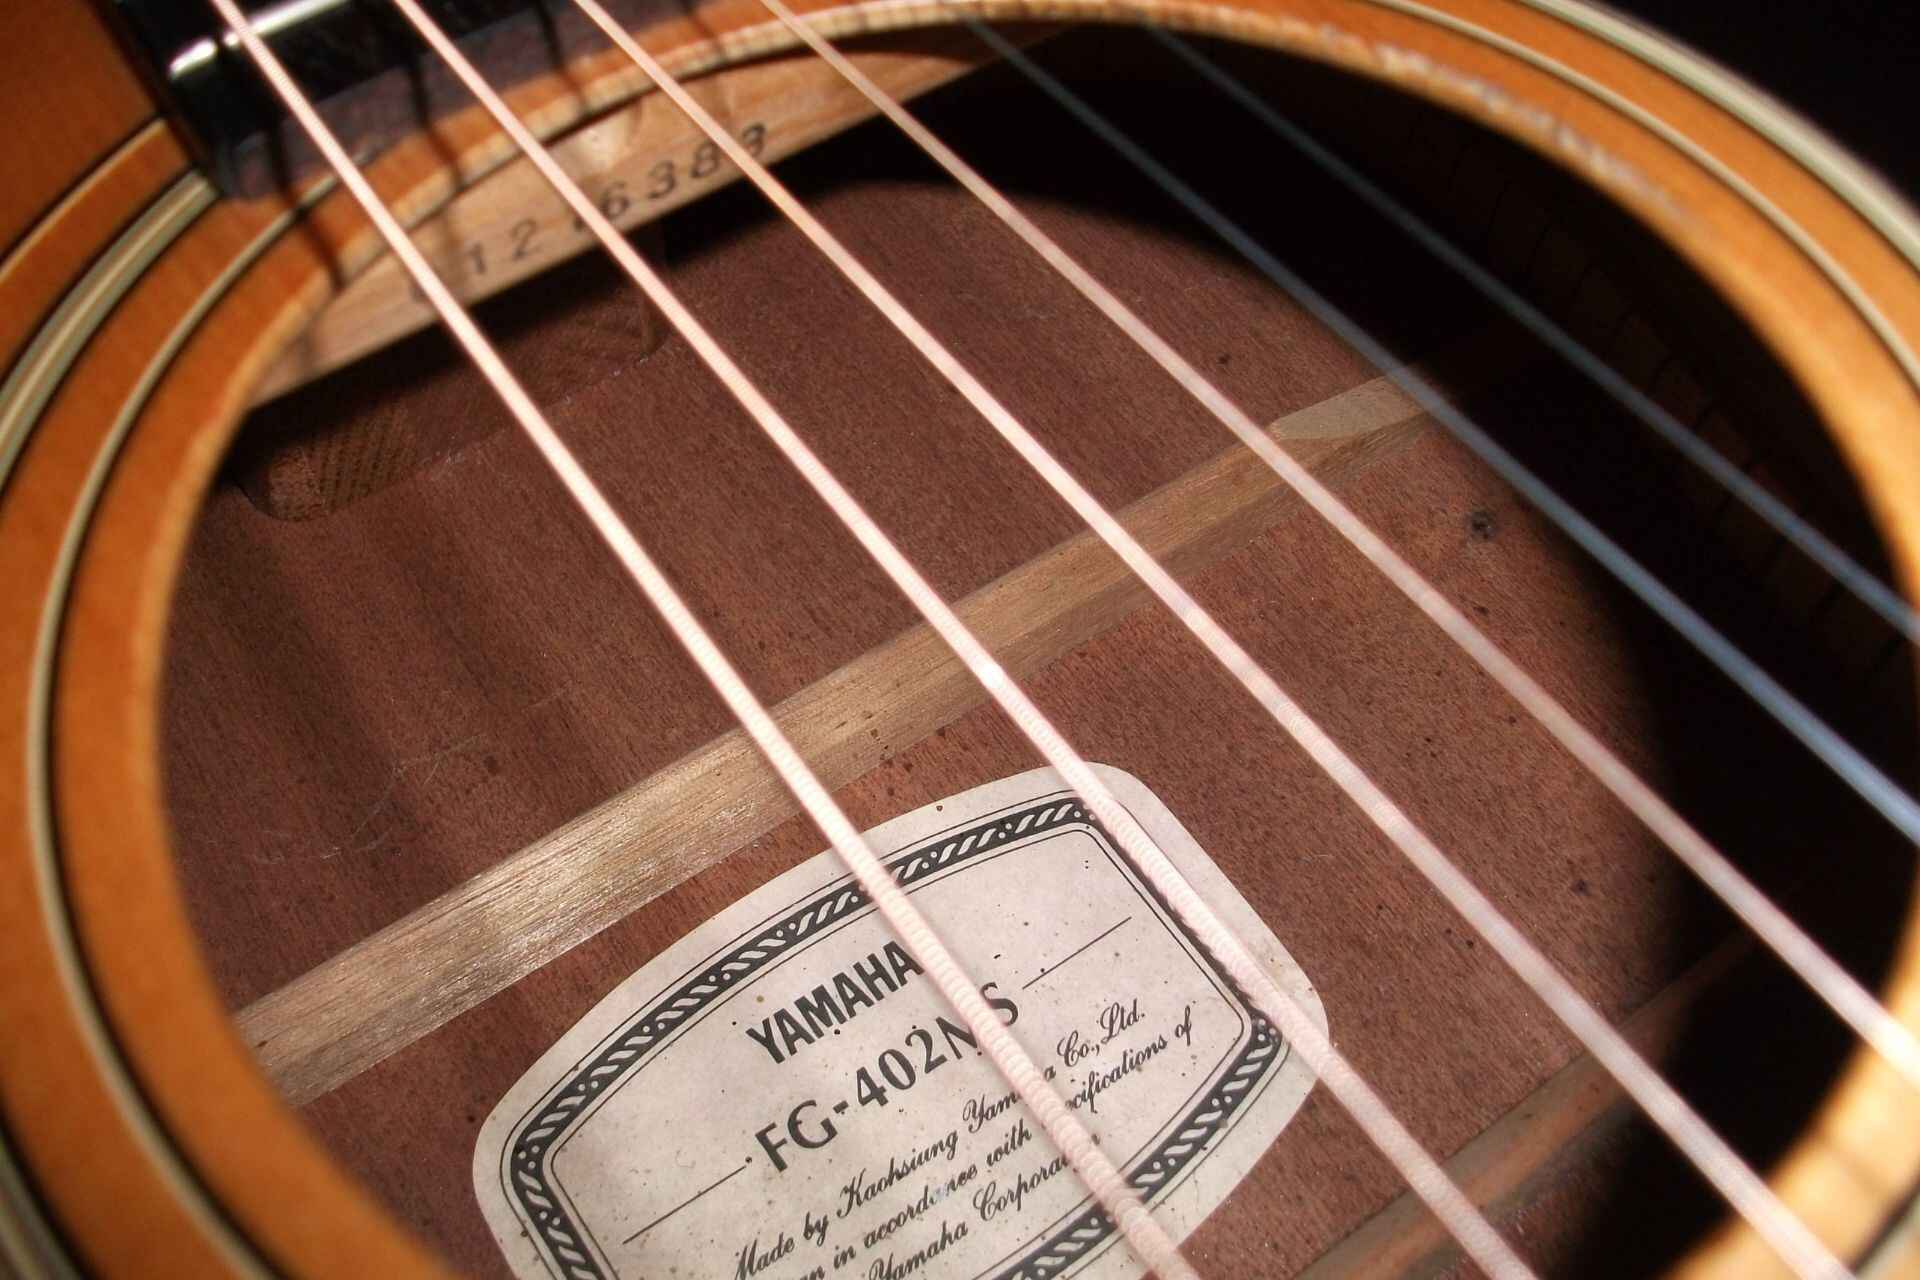
- Check the label on the guitar: Look for a label or sticker on your guitar body or inside the soundhole that indicates the battery type. It may mention the required voltage (usually 9 volts) and the type of battery (e.g., alkaline, lithium-ion).
- Online research: If you’re unable to find the information through the above steps, you can search for your guitar model online. The official Fender website or guitar forums often have useful information about the battery requirements for specific models.
Once you have determined the correct battery type for your Fender acoustic guitar, make sure to purchase a high-quality replacement battery. It’s essential to opt for reputable brands and avoid using generic or low-quality batteries, as they may have shorter lifespans or inconsistent performance.
Remember, using the wrong battery type can result in poor sound quality or potential damage to your guitar’s electronics. Take your time to verify the battery type to ensure a smooth replacement process.
Removing the Old Battery
Now that you have confirmed the correct battery type for your Fender acoustic guitar, it’s time to remove the old battery. Follow these steps to safely remove the old battery:
- Locate the battery compartment: In most Fender acoustic guitars, the battery compartment is located either on the side or on the back of the body. It is usually secured with a small screw or latch.
- Prepare the necessary tools: Depending on the type of screw or latch used, you may need a small screwdriver or a coin to open the battery compartment.
- Power off your guitar: Before handling the battery, ensure that your guitar’s preamp is turned off or disconnected from any external power sources. This step is crucial to avoid short circuits or accidental electrical shocks.
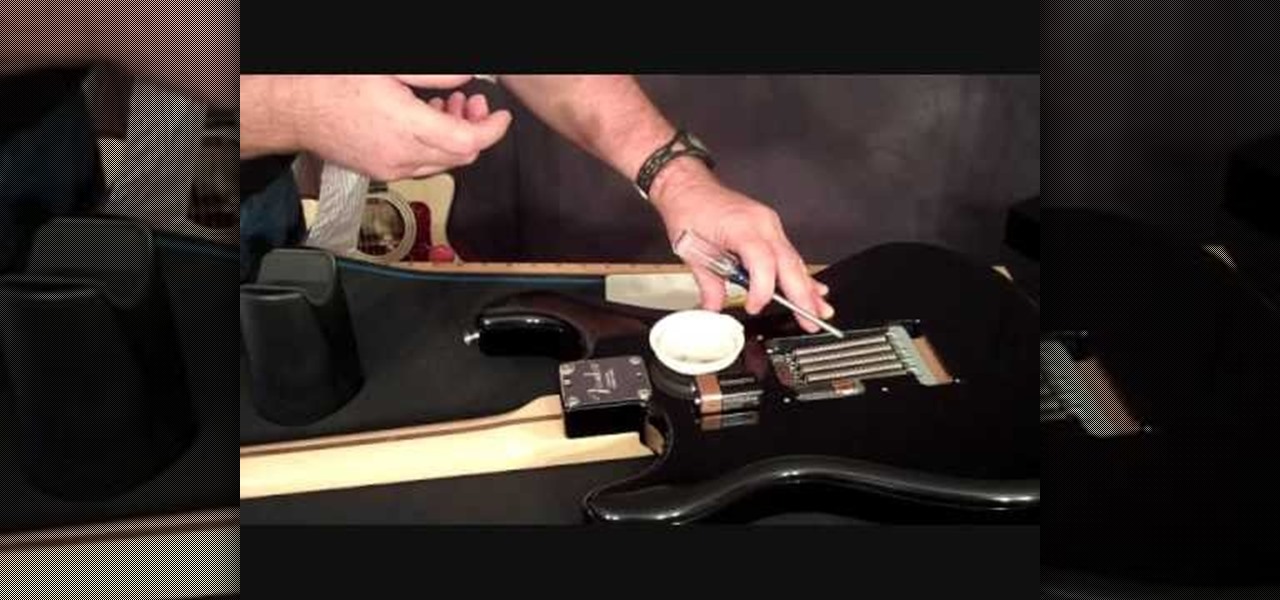
- Open the battery compartment: Use the appropriate tool to unscrew the screw or unlock the latch on the battery compartment. Gently open the compartment door, revealing the old battery inside.
- Remove the old battery: Carefully lift the old battery out of its compartment, making sure to grip it firmly but gently. Be cautious not to touch any metal contacts or circuitry with your hands.
- Inspect the battery contacts: Take a moment to check the battery contacts inside the compartment. Look for any signs of corrosion or dirt buildup on the contacts. If necessary, clean the contacts using a cotton swab lightly dampened with rubbing alcohol.
- Dispose of the old battery properly: Once you have removed the old battery, it’s important to dispose of it in an environmentally friendly manner. Many local recycling centers or electronic stores have designated drop-off points for used batteries.
By following these steps, you can safely remove the old battery from your Fender acoustic guitar. Next, we will guide you through the process of preparing the battery compartment for the new battery.
Opening the Battery Compartment
After removing the old battery from your Fender acoustic guitar, the next step is to open the battery compartment to prepare it for the new battery. Follow these instructions to open the battery compartment:
- Inspect the compartment door: Take a moment to examine the battery compartment door for any debris or dirt. If necessary, wipe it clean with a dry cloth to ensure a smooth opening and closing process.
- Check for any additional latches or screws: Some Fender guitar models may have extra latches or screws securing the battery compartment door. Look for any additional locks and, if present, unlock or unscrew them using a suitable tool.
- Open the compartment door: Gently push or lift the compartment door to open it. Be cautious not to apply excessive force or pull at any wires connected to the door.
- Inspect the compartment interior: Once the compartment door is open, take a moment to inspect the interior. Look for any loose wires or components that may have come undone during the battery removal process. If you notice anything out of place, carefully reposition or secure it before proceeding.
- Verify the battery orientation: While the compartment door is open, double-check the correct battery orientation for your Fender acoustic guitar. Most batteries have indicated polarity markings such as “+” and “-” signs. Ensure that you align the new battery correctly to match the orientation markings in the compartment.
By following these steps, you can safely open the battery compartment of your Fender acoustic guitar. With the compartment open, you are now ready to insert the new battery and complete the replacement process. Please proceed to the next section for instructions on inserting the new battery.
Inserting the New Battery
Now that you have opened the battery compartment of your Fender acoustic guitar, it’s time to insert the new battery. Follow these steps to ensure a proper and secure installation:
- Double-check the battery type: Before inserting the new battery, verify once again that you have the correct battery type for your Fender acoustic guitar. Ensure that the voltage and polarity markings on the new battery match the specifications mentioned in the compartment.
- Hold the battery correctly: Gently hold the new battery between your thumb and index finger, taking care not to touch the battery contacts or any exposed circuitry. Position the battery in the correct orientation, aligning the polarity markings with the corresponding markings in the compartment.
- Insert the battery into the compartment: Slowly slide the new battery into the compartment, ensuring a snug and secure fit. Avoid applying excessive force or bending the battery while inserting it. As you insert the battery, be mindful not to dislodge any wires or components inside the compartment.
- Secure the battery in place: If your guitar’s battery compartment has a latch or screw, use the appropriate tool to lock or fasten it. Ensure that the compartment door locks securely to prevent the battery from accidentally falling out during play.
- Test the battery connection: After securing the new battery, gently tap or lightly press the battery compartment door to ensure that it remains closed and the battery is held firmly in place. This step will confirm that the battery connection is stable and secure.
With the new battery properly inserted and secured in the compartment, you have successfully completed this stage of the battery replacement process. In the next section, we will guide you through the process of closing the battery compartment and testing the new battery.
Closing the Battery Compartment
Now that you have inserted the new battery into the compartment of your Fender acoustic guitar, it’s time to close the battery compartment. Follow these steps to ensure a secure and properly sealed compartment:
- Align the compartment door: Gently align the battery compartment door with the corresponding opening. Make sure that it is aligned correctly to prevent any damage to the door or the compartment itself.
- Carefully close the compartment door: Slowly and steadily close the battery compartment door, ensuring that it slides into place smoothly. Avoid forcing the door shut or applying excessive pressure to prevent any damage.
- Secure any additional latches or screws: If your Fender guitar model has additional latches or screws to secure the battery compartment, relock or fasten them using the appropriate tool. Make sure they are tightened adequately, but avoid over-tightening to prevent any stripping or damage.
- Check for battery compartment seal: Take a moment to inspect the battery compartment for any gaps or loose connections. Ensure that the compartment door aligns flush with the guitar body, creating a tight seal to protect the battery and prevent any dust or moisture from entering.
- Verify the door lock: Gently tap or apply light pressure to the closed battery compartment door to ensure that it remains secure and doesn’t accidentally open. This step will confirm that the door lock is functioning properly and that the battery is held securely in place.
By following these simple steps, you can properly close the battery compartment of your Fender acoustic guitar. With the compartment securely sealed, you are ready to test the new battery and ensure that your guitar is working optimally. Proceed to the next section for instructions on testing the new battery.
Testing the New Battery
After successfully closing the battery compartment of your Fender acoustic guitar, it’s crucial to test the new battery and ensure that it is functioning properly. Follow these steps to perform a quick test:
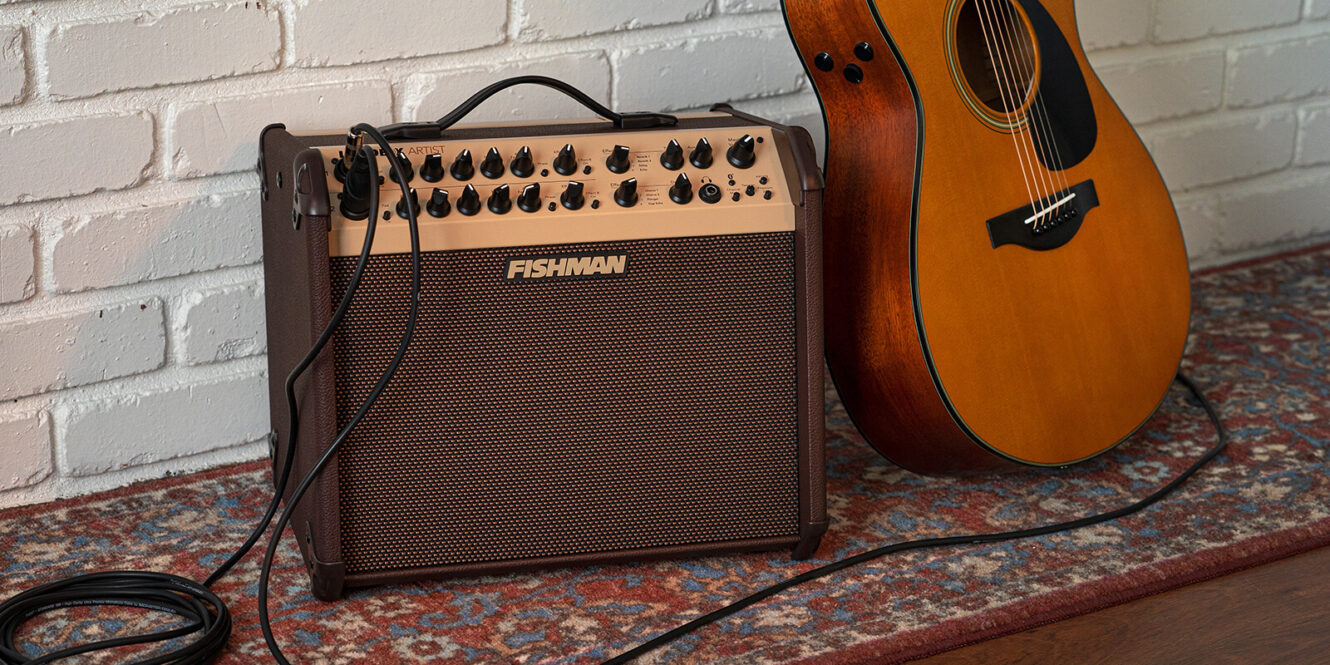
- Switch on the preamp: If your guitar has an onboard preamp, turn it on using the designated switch or knob. Ensure that the preamp is receiving power from the new battery.
- Adjust the volume and tone controls: Use the volume and tone controls on your guitar to make adjustments and check if they respond accurately. Gradually increase the volume and listen for any distortions or issues with the sound.
- Pluck the strings: Draw your fingers across the strings or use a guitar pick to pluck each string individually. Listen attentively to ensure that the amplified sound is clear and matches your guitar’s natural tone.
- Test the EQ controls: If your guitar’s preamp includes EQ controls, such as bass, treble, or midrange, adjust them to different settings and observe how they affect the tone. Ensure that each control is working correctly and produces the expected changes.
- Check for any abnormal noises: Pay attention to any unusual noises, hums, or feedback when playing your Fender acoustic guitar. These may indicate issues with the pickup system or poor battery connection.
- Monitor battery life: As you test the new battery, keep an eye on its power level. If you notice any significant drain or a decrease in performance, it could be an indicator of a faulty battery or other electrical issues.
By performing these tests, you can ensure that the new battery is functioning correctly and providing the necessary power to your Fender acoustic guitar’s onboard preamp and pickup system. If you encounter any irregularities or issues during the testing process, it may be worth checking the battery connection or seeking professional assistance to diagnose and resolve the problem.
Now that you have tested the new battery and confirmed its functionality, you can confidently continue playing your Fender acoustic guitar with optimal sound quality and control. Remember to periodically check and replace the battery as needed to maintain consistent performance.
Tips and Precautions
When changing the battery in your Fender acoustic guitar, it’s essential to keep these tips and precautions in mind:
- Use high-quality batteries: Opt for reputable brands of batteries to ensure optimal performance and longer battery life for your Fender acoustic guitar’s preamp. Avoid using generic or low-quality batteries, as they may have shorter lifespans or inconsistent power output.
- Follow the manufacturer’s instructions: Consult your guitar’s user manual or any specific instructions provided by Fender for battery replacement. Each model may have slight variations in the process, so it’s important to adhere to the manufacturer’s guidelines.
- Avoid over-tightening screws or latches: When securing the battery compartment, be cautious not to overtighten the screws or latches. Over-tightening can result in damage to the compartment or difficulty in accessing it for future battery replacements.
- Store spare batteries properly: If you carry spare batteries with you, ensure they are stored in a cool, dry place. Extreme temperatures or humidity can affect their performance. Use protective cases or organizers to prevent them from coming into contact with other metal objects.
- Regularly check battery levels: Keep an eye on the battery level whenever you use your Fender acoustic guitar. If you notice a sudden decrease in power or distortion in the sound, it may indicate that the battery is running low and needs replacement.
- Dispose of used batteries responsibly: It’s crucial to properly dispose of used batteries in accordance with local recycling guidelines. Many recycling centers or electronic stores have designated drop-off points for used batteries. Avoid throwing batteries in regular household waste as they can harm the environment.
- Seek professional assistance if needed: If you encounter any difficulties or issues during the battery replacement process, don’t hesitate to seek assistance from a professional guitar technician. They can provide guidance, diagnose any technical problems, and ensure a proper battery replacement.
By following these tips and precautions, you can safely and effectively change the battery in your Fender acoustic guitar while maximizing its performance and longevity.
Conclusion
Congratulations! You have successfully learned how to change the battery in your Fender acoustic guitar. By following the step-by-step instructions outlined in this guide, you can easily replace the battery and ensure optimal performance of your guitar’s onboard preamp and pickup system.
Remember, proper maintenance and regular battery replacement are crucial to preserving the sound quality and functionality of your Fender acoustic guitar. Always use the correct battery type recommended for your specific guitar model, and choose high-quality batteries for better longevity and performance.
Additionally, don’t forget to observe the tips and precautions provided in this guide. They will help you avoid any potential issues and ensure a smooth battery replacement process.
If you encounter any difficulties or have specific questions related to your Fender acoustic guitar, consult the user manual or seek guidance from a professional guitar technician. They can provide personalized assistance and address any concerns you may have.
We hope that this guide has equipped you with the knowledge and confidence to change the battery in your Fender acoustic guitar. Enjoy playing your guitar with the renewed power and enhanced sound quality provided by the fresh battery!