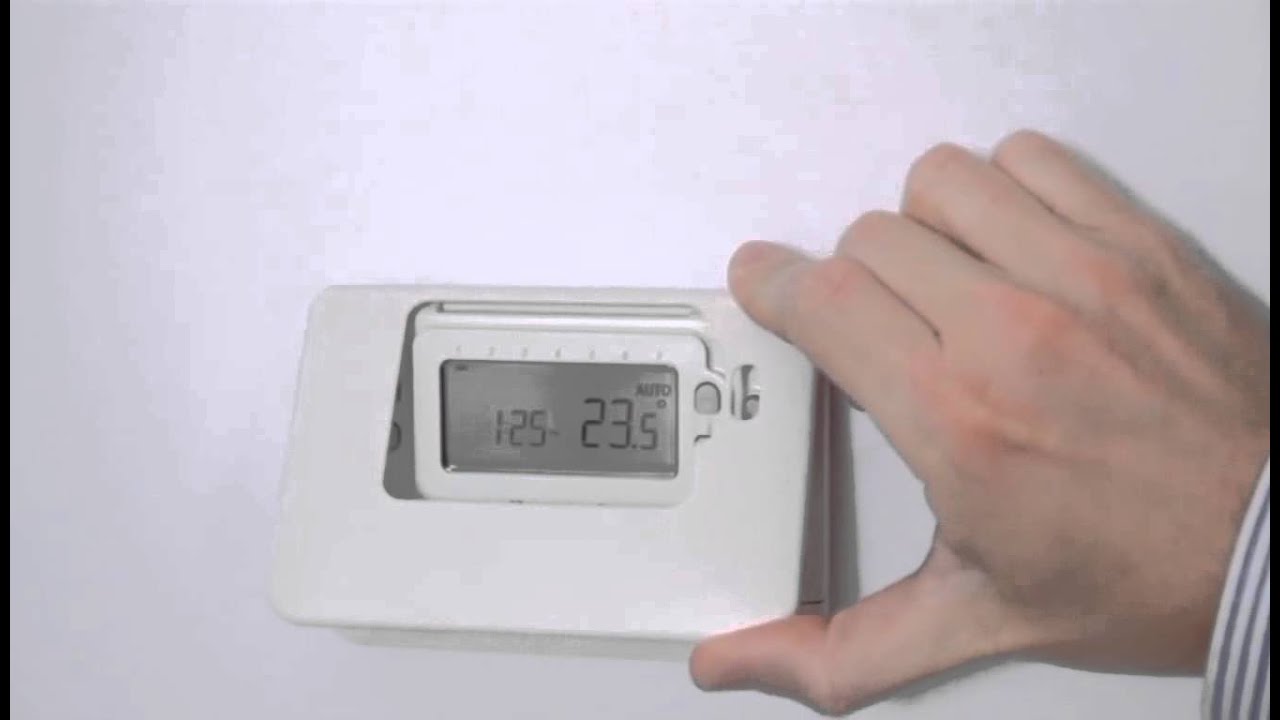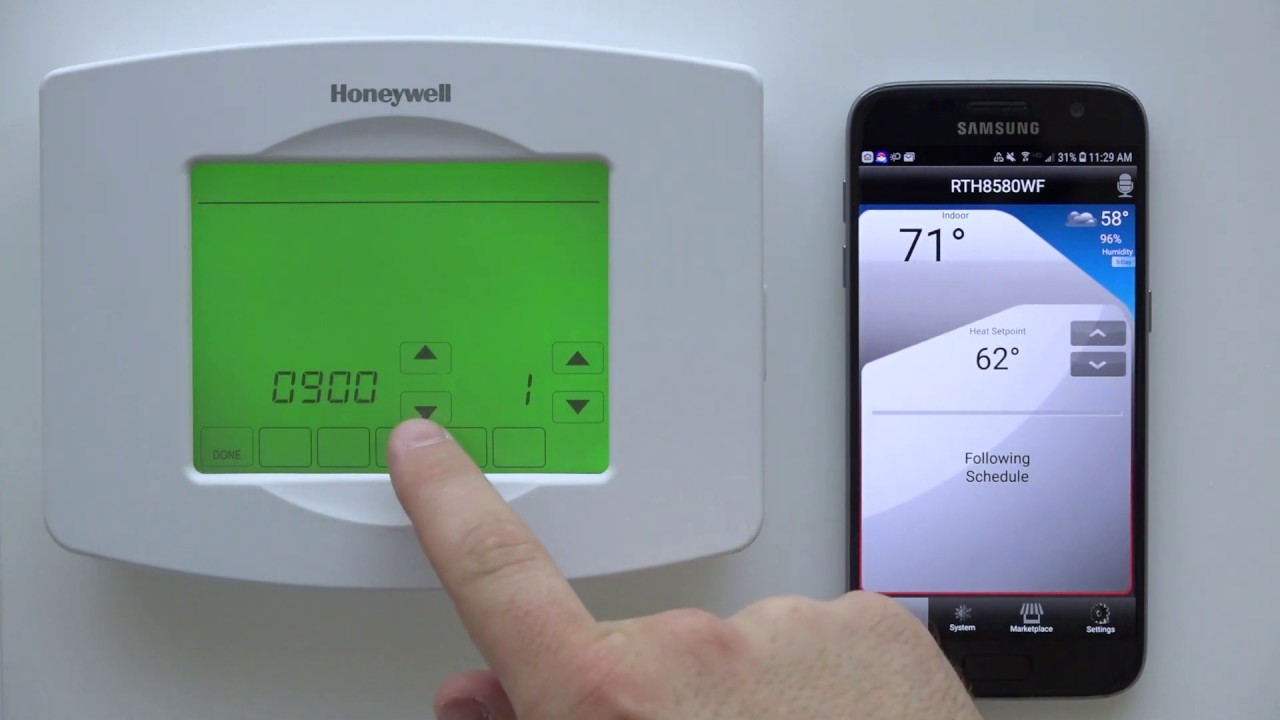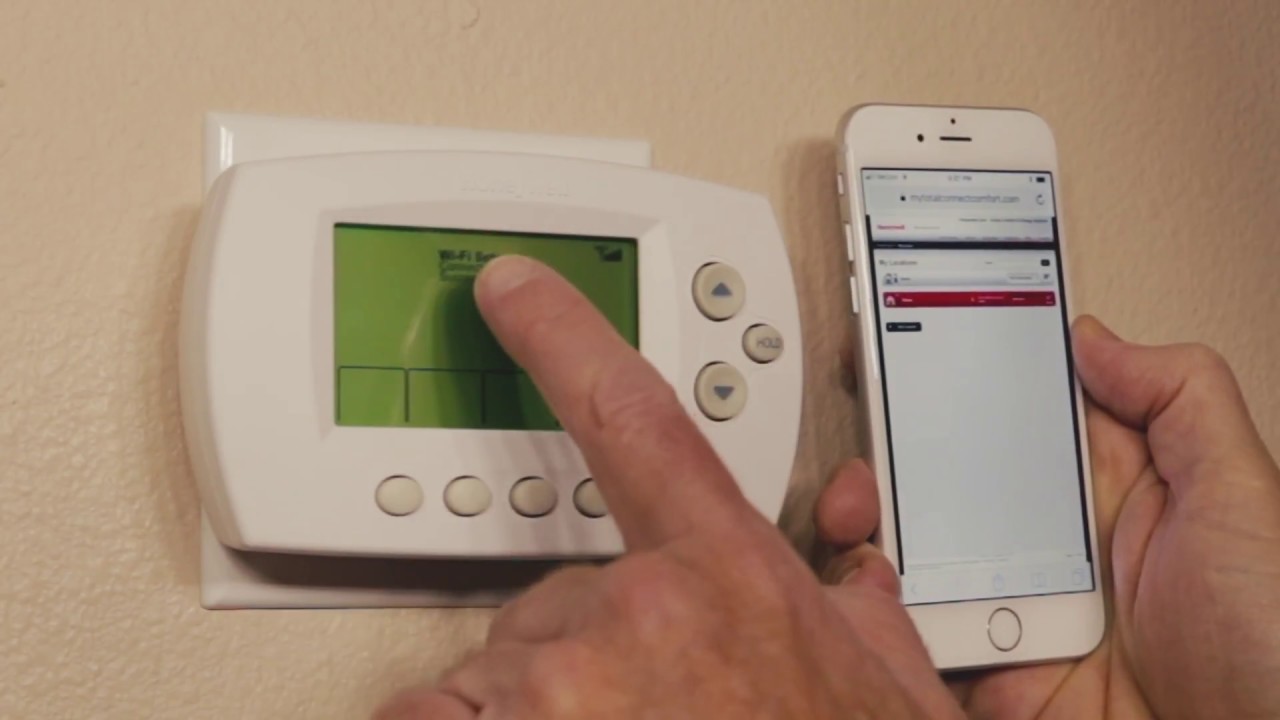
To wire a Honeywell smart thermostat safely and correctly, you'll connect the labeled low-voltage wires from your HVAC system to the matching terminals on the new mounting plate, with the C-wire providing continuous power. This process requires turning off the breaker, identifying each wire by its old terminal letter, and securing them into the UWP before snapping on the display.
Before you wire your Honeywell smart thermostat: Critical safety and compatibility checks
Always turn off power to your heating and cooling system at the circuit breaker before beginning installation to prevent electrical shock or equipment damage. Locate the breaker labeled "HVAC" or "Furnace" and switch it to the off position. Confirm the power is off by trying to adjust your old thermostat, if the display stays dark, you're safe to proceed.
Verify that you have a low-voltage (24V) system. Honeywell Home smart thermostats are designed for this type of HVAC setup and are not compatible with electric baseboard heat (120-240V), millivolt systems, or communicating thermostats (those with A B C or 1 2 3 terminals). If your system uses any of those, stop and consult a professional.
Check for a required C-wire (common wire). Most Honeywell Home smart thermostats need this continuous 24VAC wire to operate Wi-Fi, the display, and scheduling functions. If you don't see one, you'll need the C-wire adapter described later.
Remove the old thermostat and label the wires
Take a clear photo of your existing thermostat's wiring before disconnecting any wires, ensuring terminal markings are visible, for future reference. This photo will be your safety net if any labels fall off during the process.
- Remove your old thermostat from its wall plate, most pull off, while others may have screws, buttons, or clasps. Gently detach the cover and set it aside.
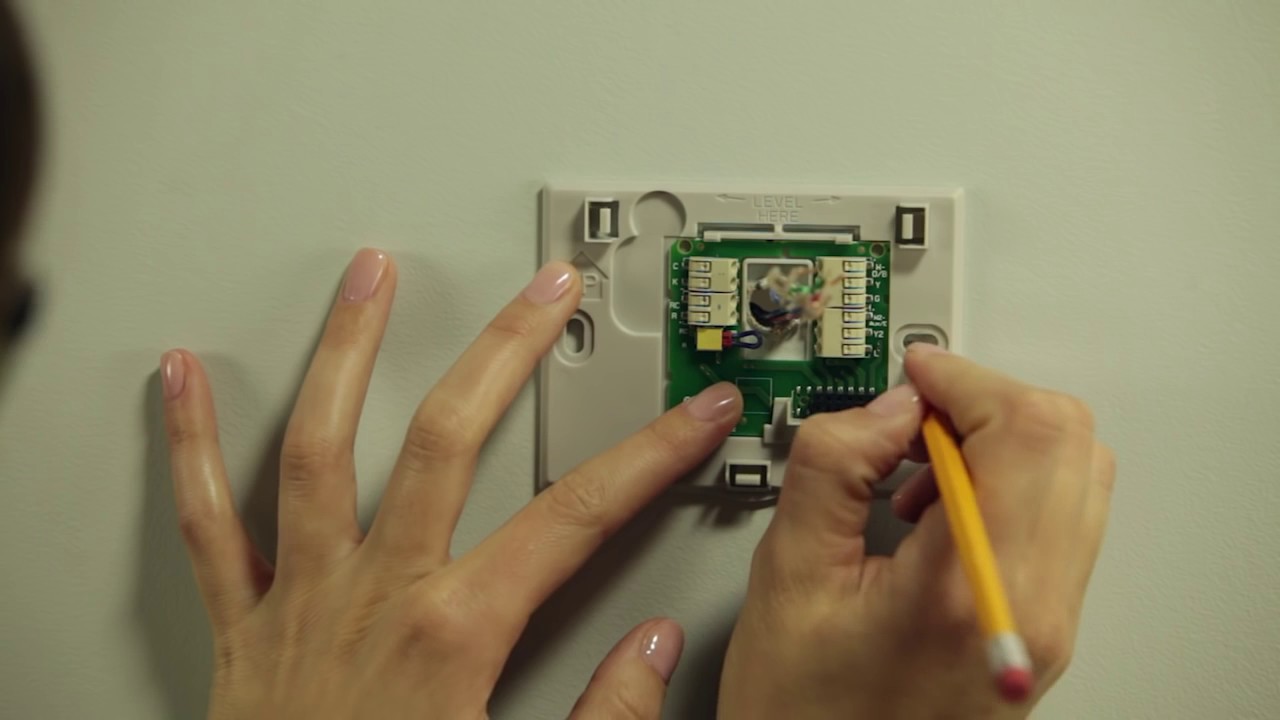
- Label each wire with the corresponding terminal letter from your old thermostat (e.g., R, C, G, Y, W, O/B), as wire colors are not universally consistent. Use the small stickers or a piece of masking tape with a pen.
- Disconnect each wire from its terminal, one at a time, and wrap the labeled end around a pencil or small piece of cardboard to keep them separated and prevent them from falling back into the wall.
- Unscrew the old wall plate from the wall and remove it, leaving the bundle of wires exposed.
If you need to reset a smart thermostat later due to a configuration error, the photo you took now will help you quickly verify your wiring before troubleshooting.
What to do if you don't have a C-wire
If your system lacks a C-wire, a Honeywell C-wire adapter (also known as a power extender kit) can be used as a workaround, often included or available for purchase. This small device installs at your furnace's control board and provides the missing common wire without running new wires through your walls.
To install a C-wire adapter, you typically connect your existing G (fan) and Y (cooling) wires to the adapter's "Thermostat" side, which then converts the G wire to C and Y to K at the thermostat. The adapter's "Equipment" side wires connect to the corresponding terminals on your furnace or heating system's control board. This conversion gives your smart thermostat the constant power it needs.
This workaround is the verified solution if you're trying to install a Honeywell smart thermostat but discover no C-wire at the wall. Without it, the thermostat may power on intermittently or fail to maintain Wi-Fi connectivity.
Connect the wires to the Honeywell UWP mounting plate
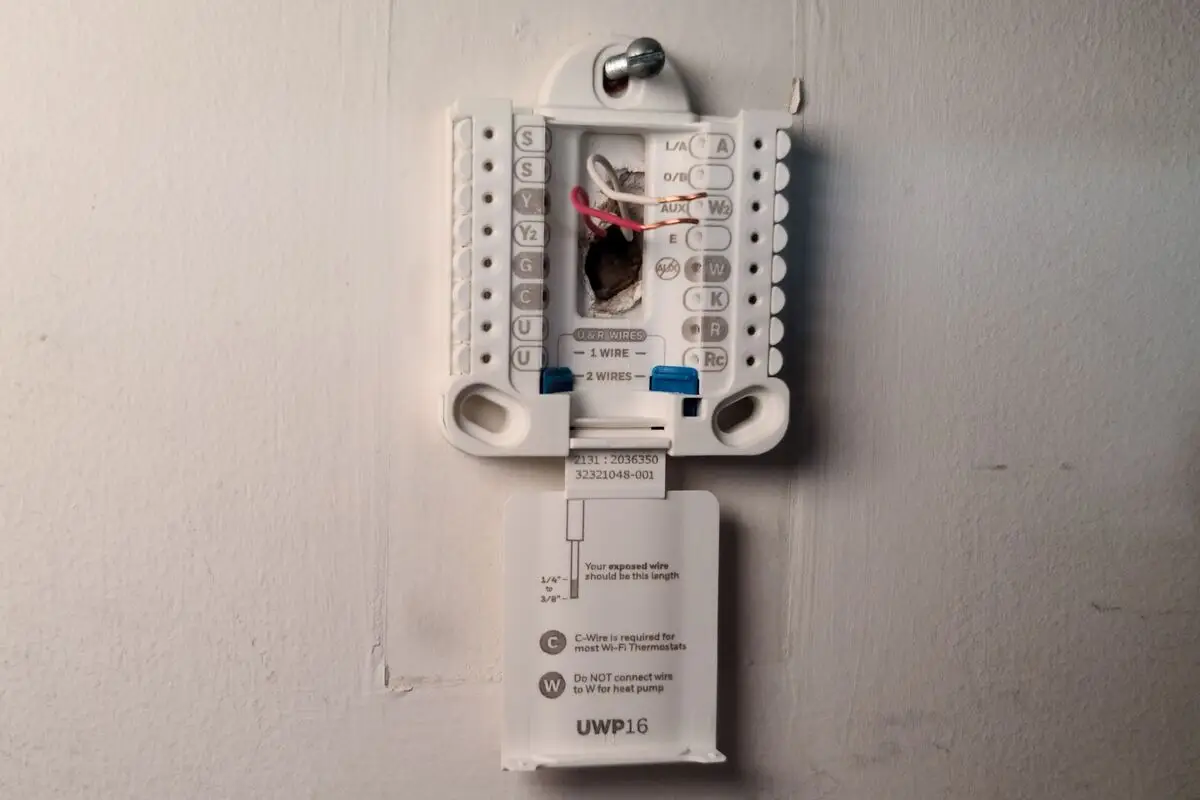
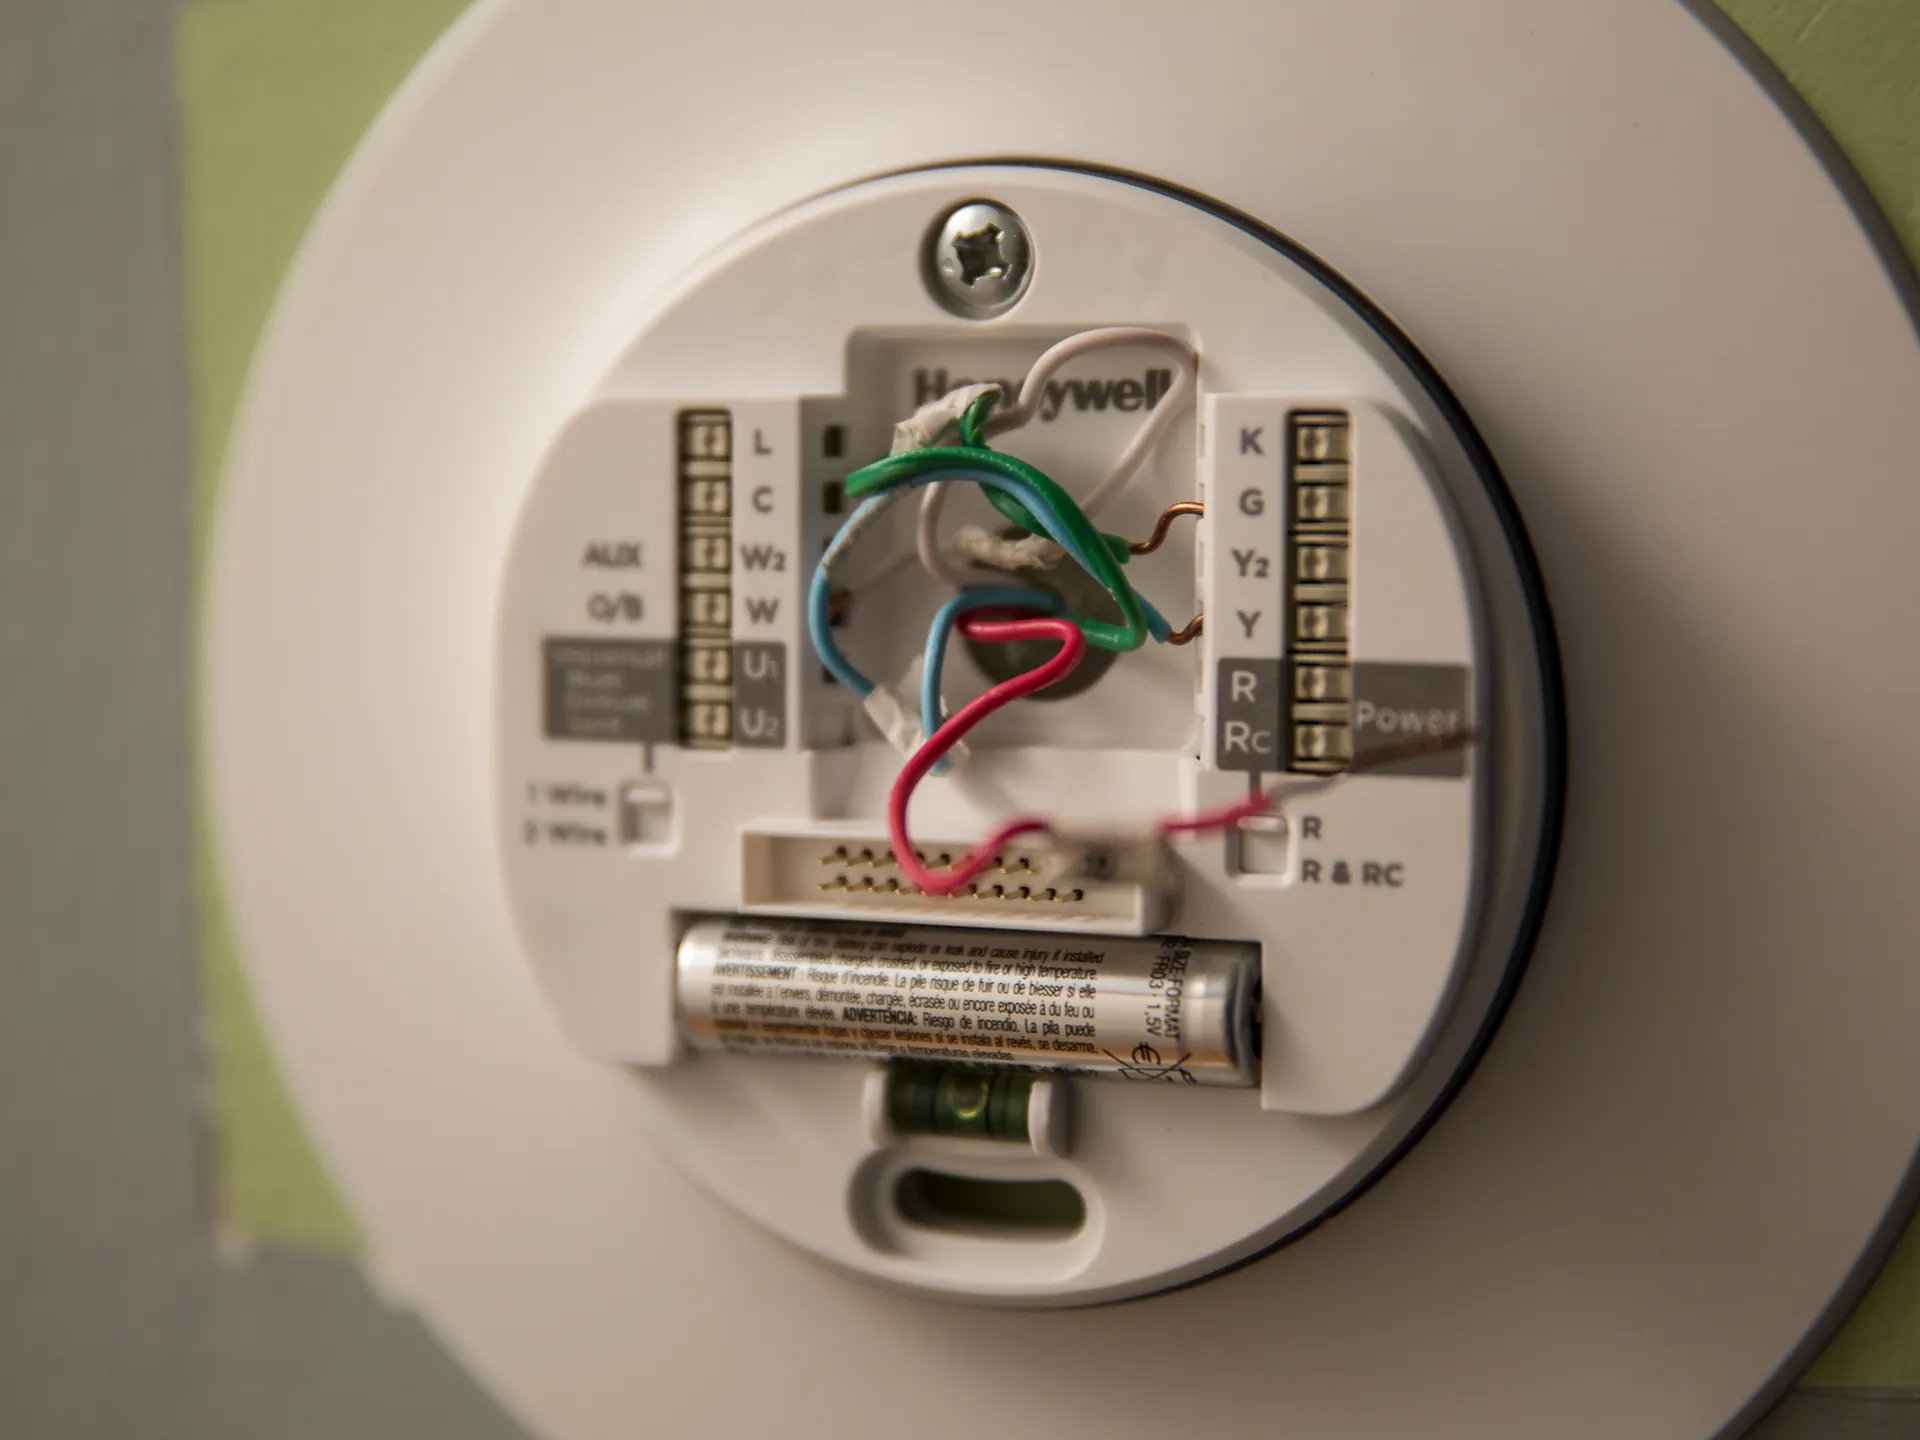
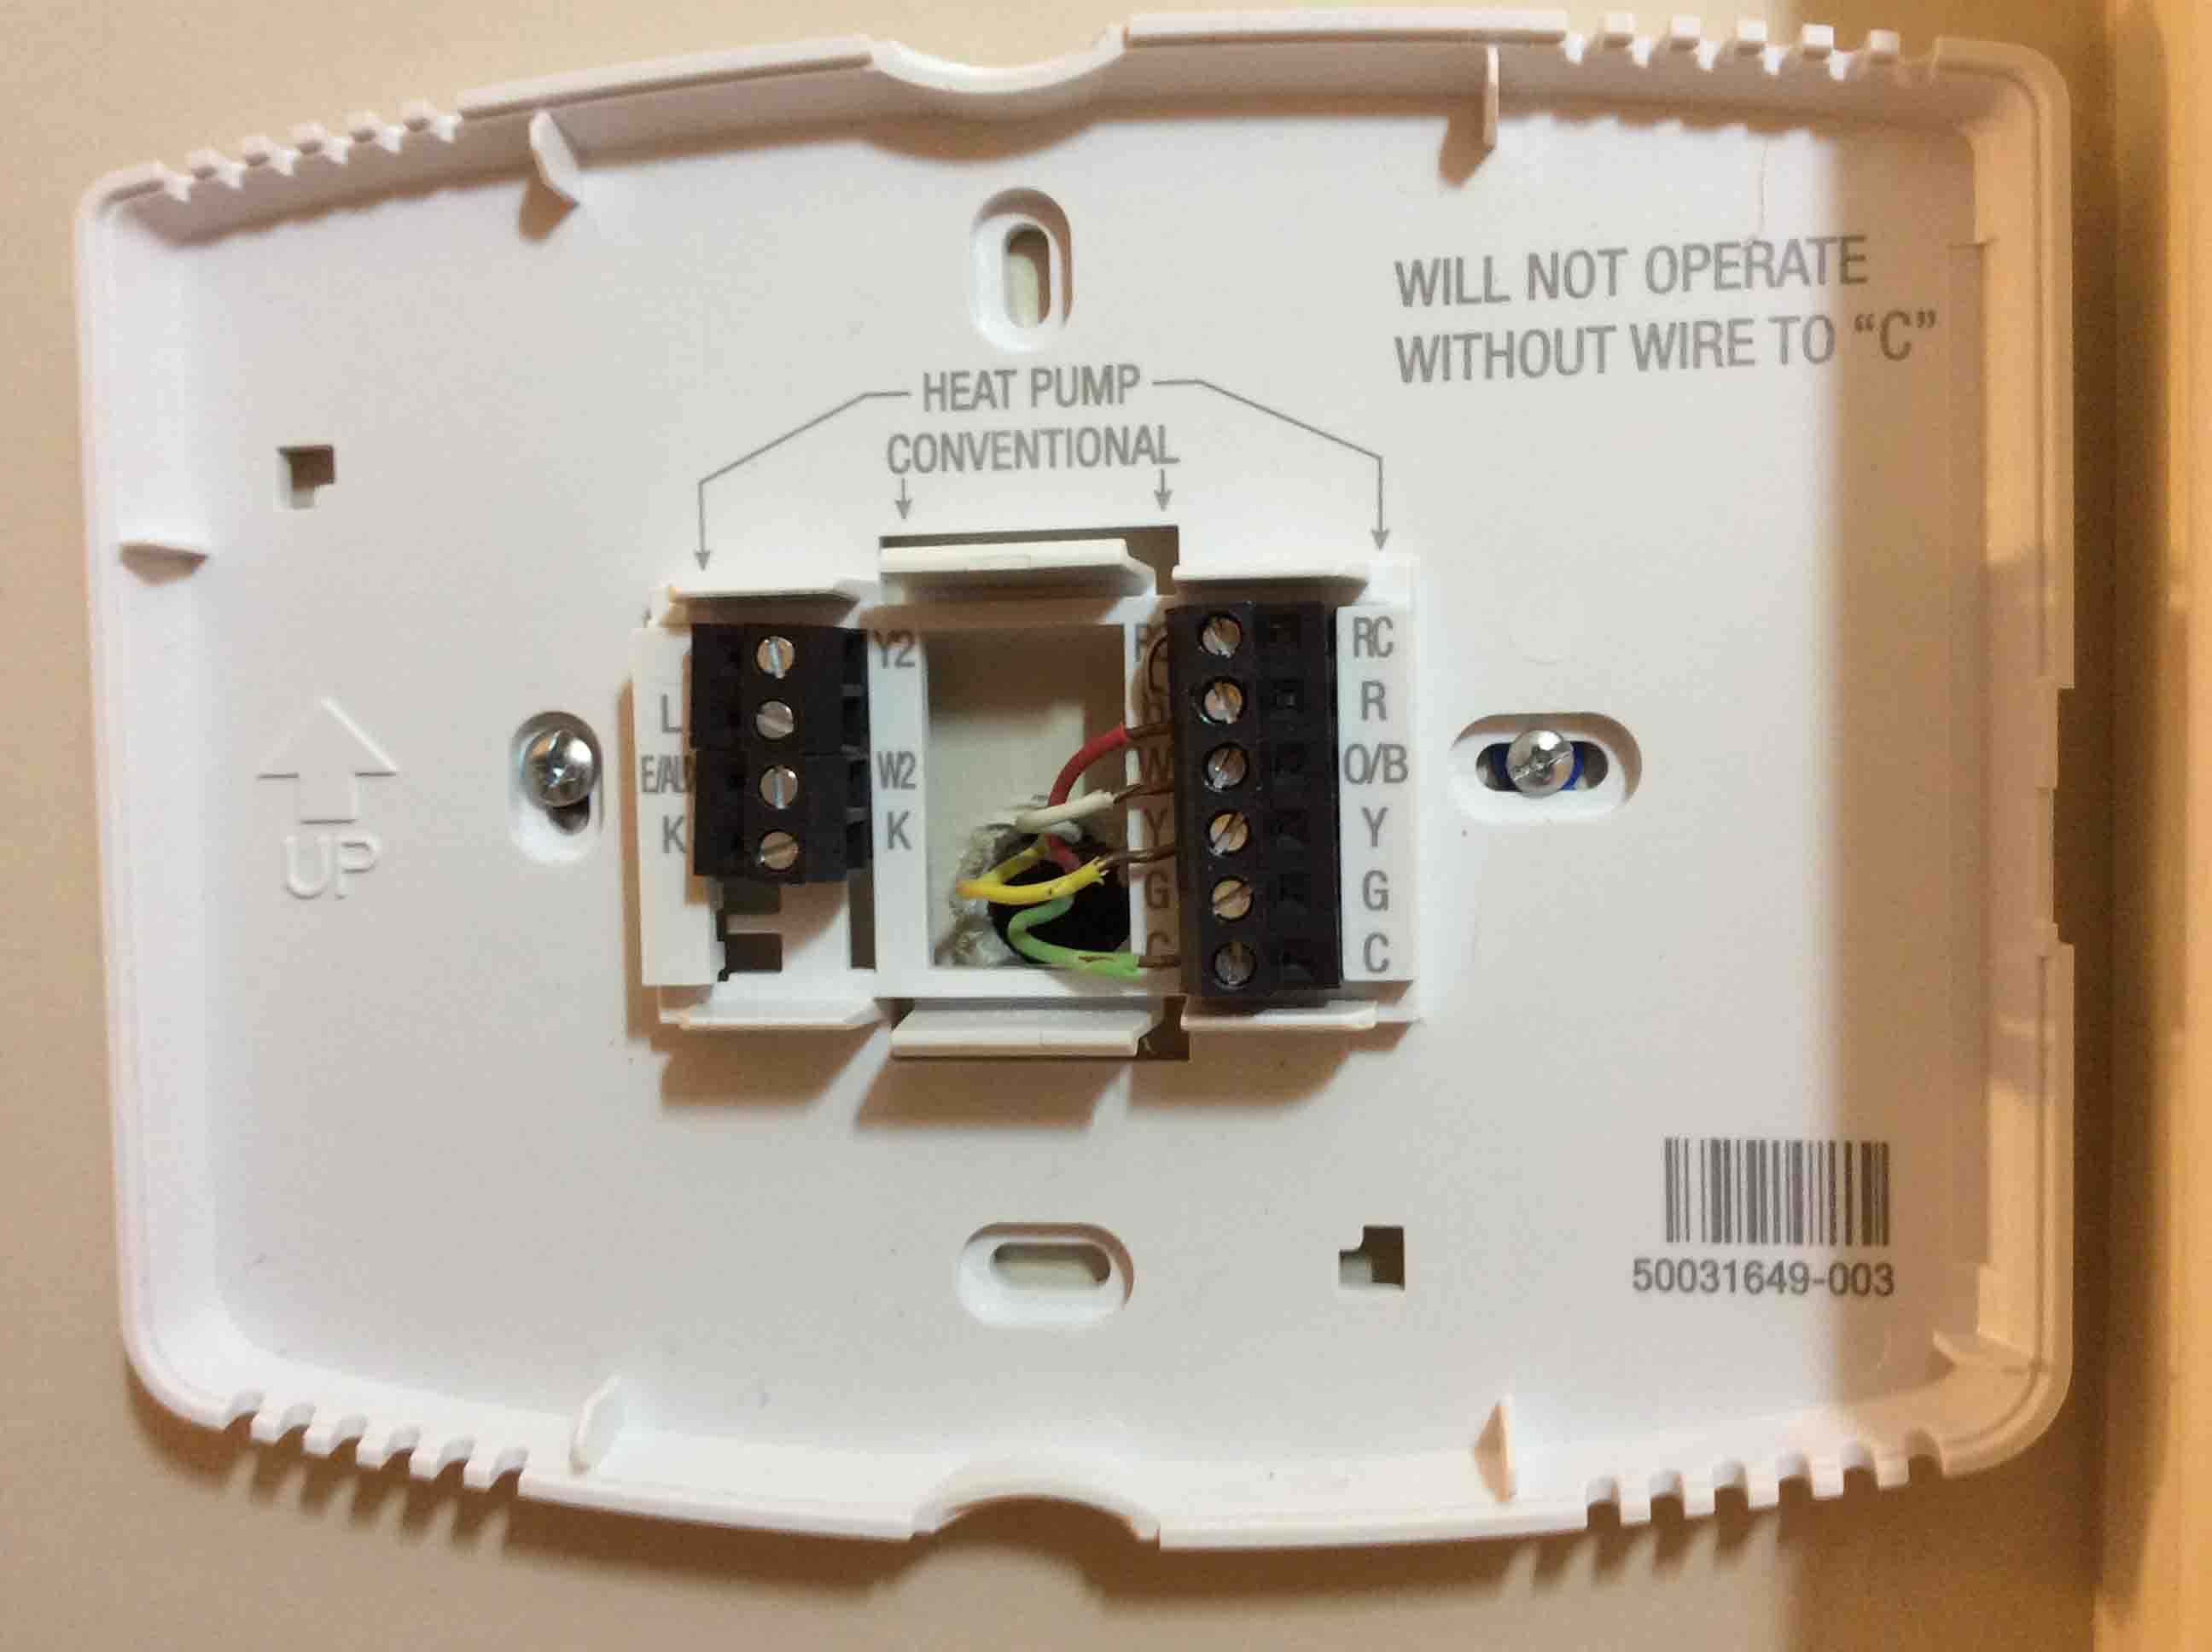
Now you'll make the actual connections on the new Universal Wall Plate (UWP). The terminal letters on the UWP match the standard labels from your old thermostat, so your labeled wires will find their correct homes.
- Insert the labeled wires into the inner holes of their corresponding terminals on the new wall plate.
- Push down on the tabs above each terminal to secure the wire in place. You should feel a slight click as the tab locks the bare copper wire inside.
- Gently tug each wire to verify they are firmly in place. If any wire pulls out, re-insert it and press the tab down again until it holds.
Do not use the outer holes on the terminals, those are for testing with a multimeter. The inner holes are where the wires belong for permanent connection. If you have extra wires that don't connect to any terminal, cap them with wire nuts and tuck them behind the UWP.
Special wiring cases: dual transformers and heat pumps
If you have two red wires, one labeled Rc (cooling power) and one labeled Rh (heating power), your system uses dual transformers. In this case, set the R-slider tab to the down position (2 wires) on the UWP. This separates the Rc and Rh circuits so they don't short each other out. Do not install a jumper between R and Rc; the slider tab handles that separation automatically.
For heat pump systems, connect the O/B wire to the O/B terminal. This terminal controls the reversing valve that switches between heating and cooling modes. If you have a separate W wire, connect it to the W2 terminal (auxiliary heat). Avoid connecting any wire to W for heat pump applications, as it can cause continuous heat, the system would run the emergency heat strips nonstop.
After making these special connections, double-check that no bare wire strands are touching adjacent terminals. A short between R and C, for example, can blow the low-voltage fuse on your furnace.
Mount the thermostat and restore power
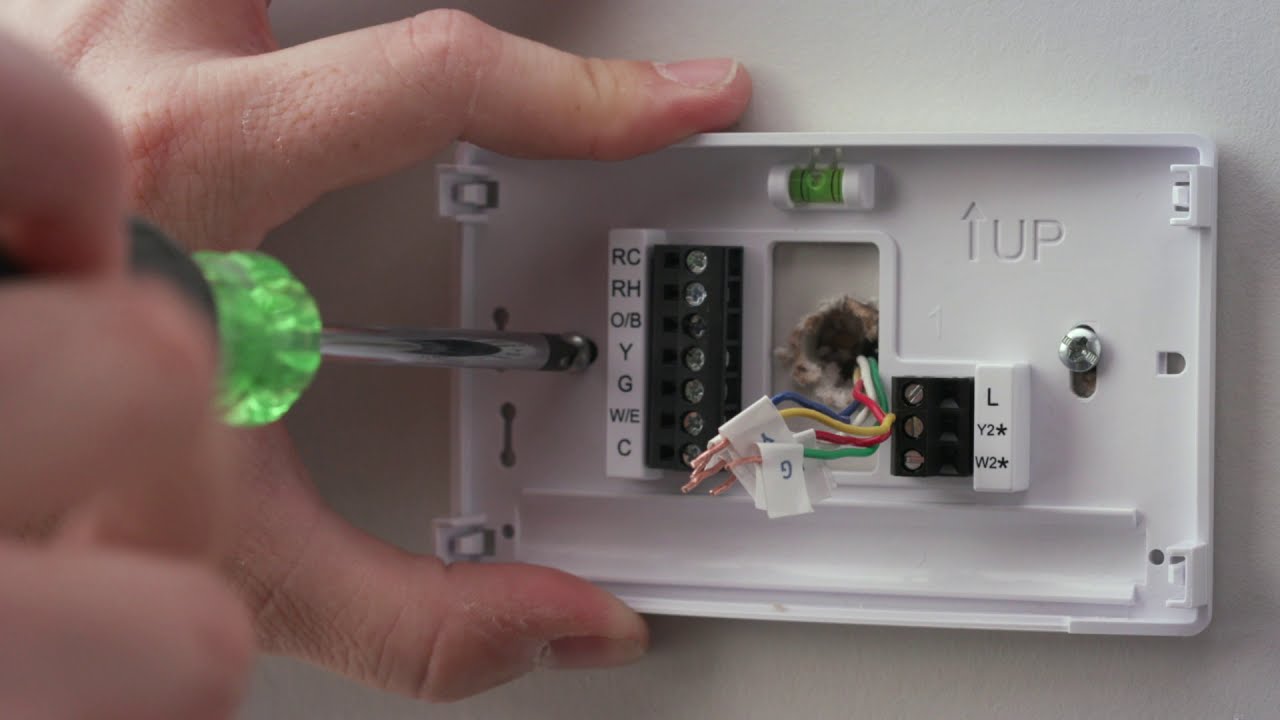
With all wires secured, you're ready to mount the unit. Feed the bundle of wires through the wiring hole in the UWP, then position the plate against the wall.
- Use a level to ensure the UWP is straight before tightening the mounting screws. An uneven thermostat looks unprofessional and can affect the internal temperature sensor's accuracy.
- Tighten the screws snugly, but don't overtighten, you could strip the drywall anchors or crack the plastic plate.
- Align the thermostat display with the UWP and firmly snap it into place. You should hear a distinct click when it's fully seated.
- Restore power to your HVAC system at the circuit breaker by flipping the breaker back to the "On" position.
Once powered, the thermostat screen will light up. Complete the setup either directly on the thermostat screen or by downloading and using the Honeywell Home app on your smartphone or tablet. The app will guide you through connecting to your Wi-Fi, setting your schedule, and configuring system preferences. If you need to connect your Honeywell smart thermostat to a Wi-Fi network, the app provides step-by-step prompts for entering your network credentials and pairing the device.
After setup, test the system by setting the temperature a few degrees above room temperature for heating or below for cooling. You should hear the furnace or AC kick on within a minute. If nothing happens, re-check your wire connections and ensure the breaker is still on. The photo you took earlier is your best troubleshooting tool for verifying the wiring matches the original configuration.