Introduction
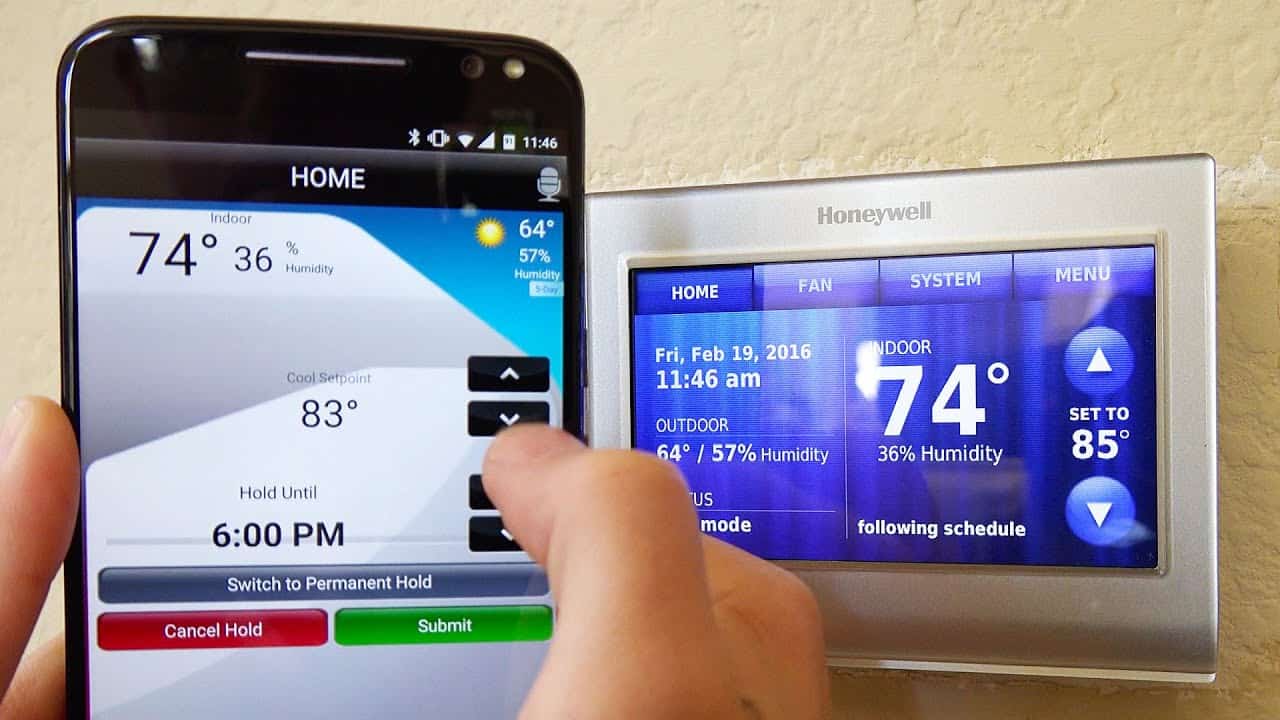
Are you ready to upgrade your home with a Honeywell RTH6580WF Smart Thermostat? This innovative device not only offers precise temperature control but also provides the convenience of remote access through your smartphone. By following this step-by-step guide, you can easily install the thermostat and begin enjoying its energy-saving features and intuitive programming capabilities.
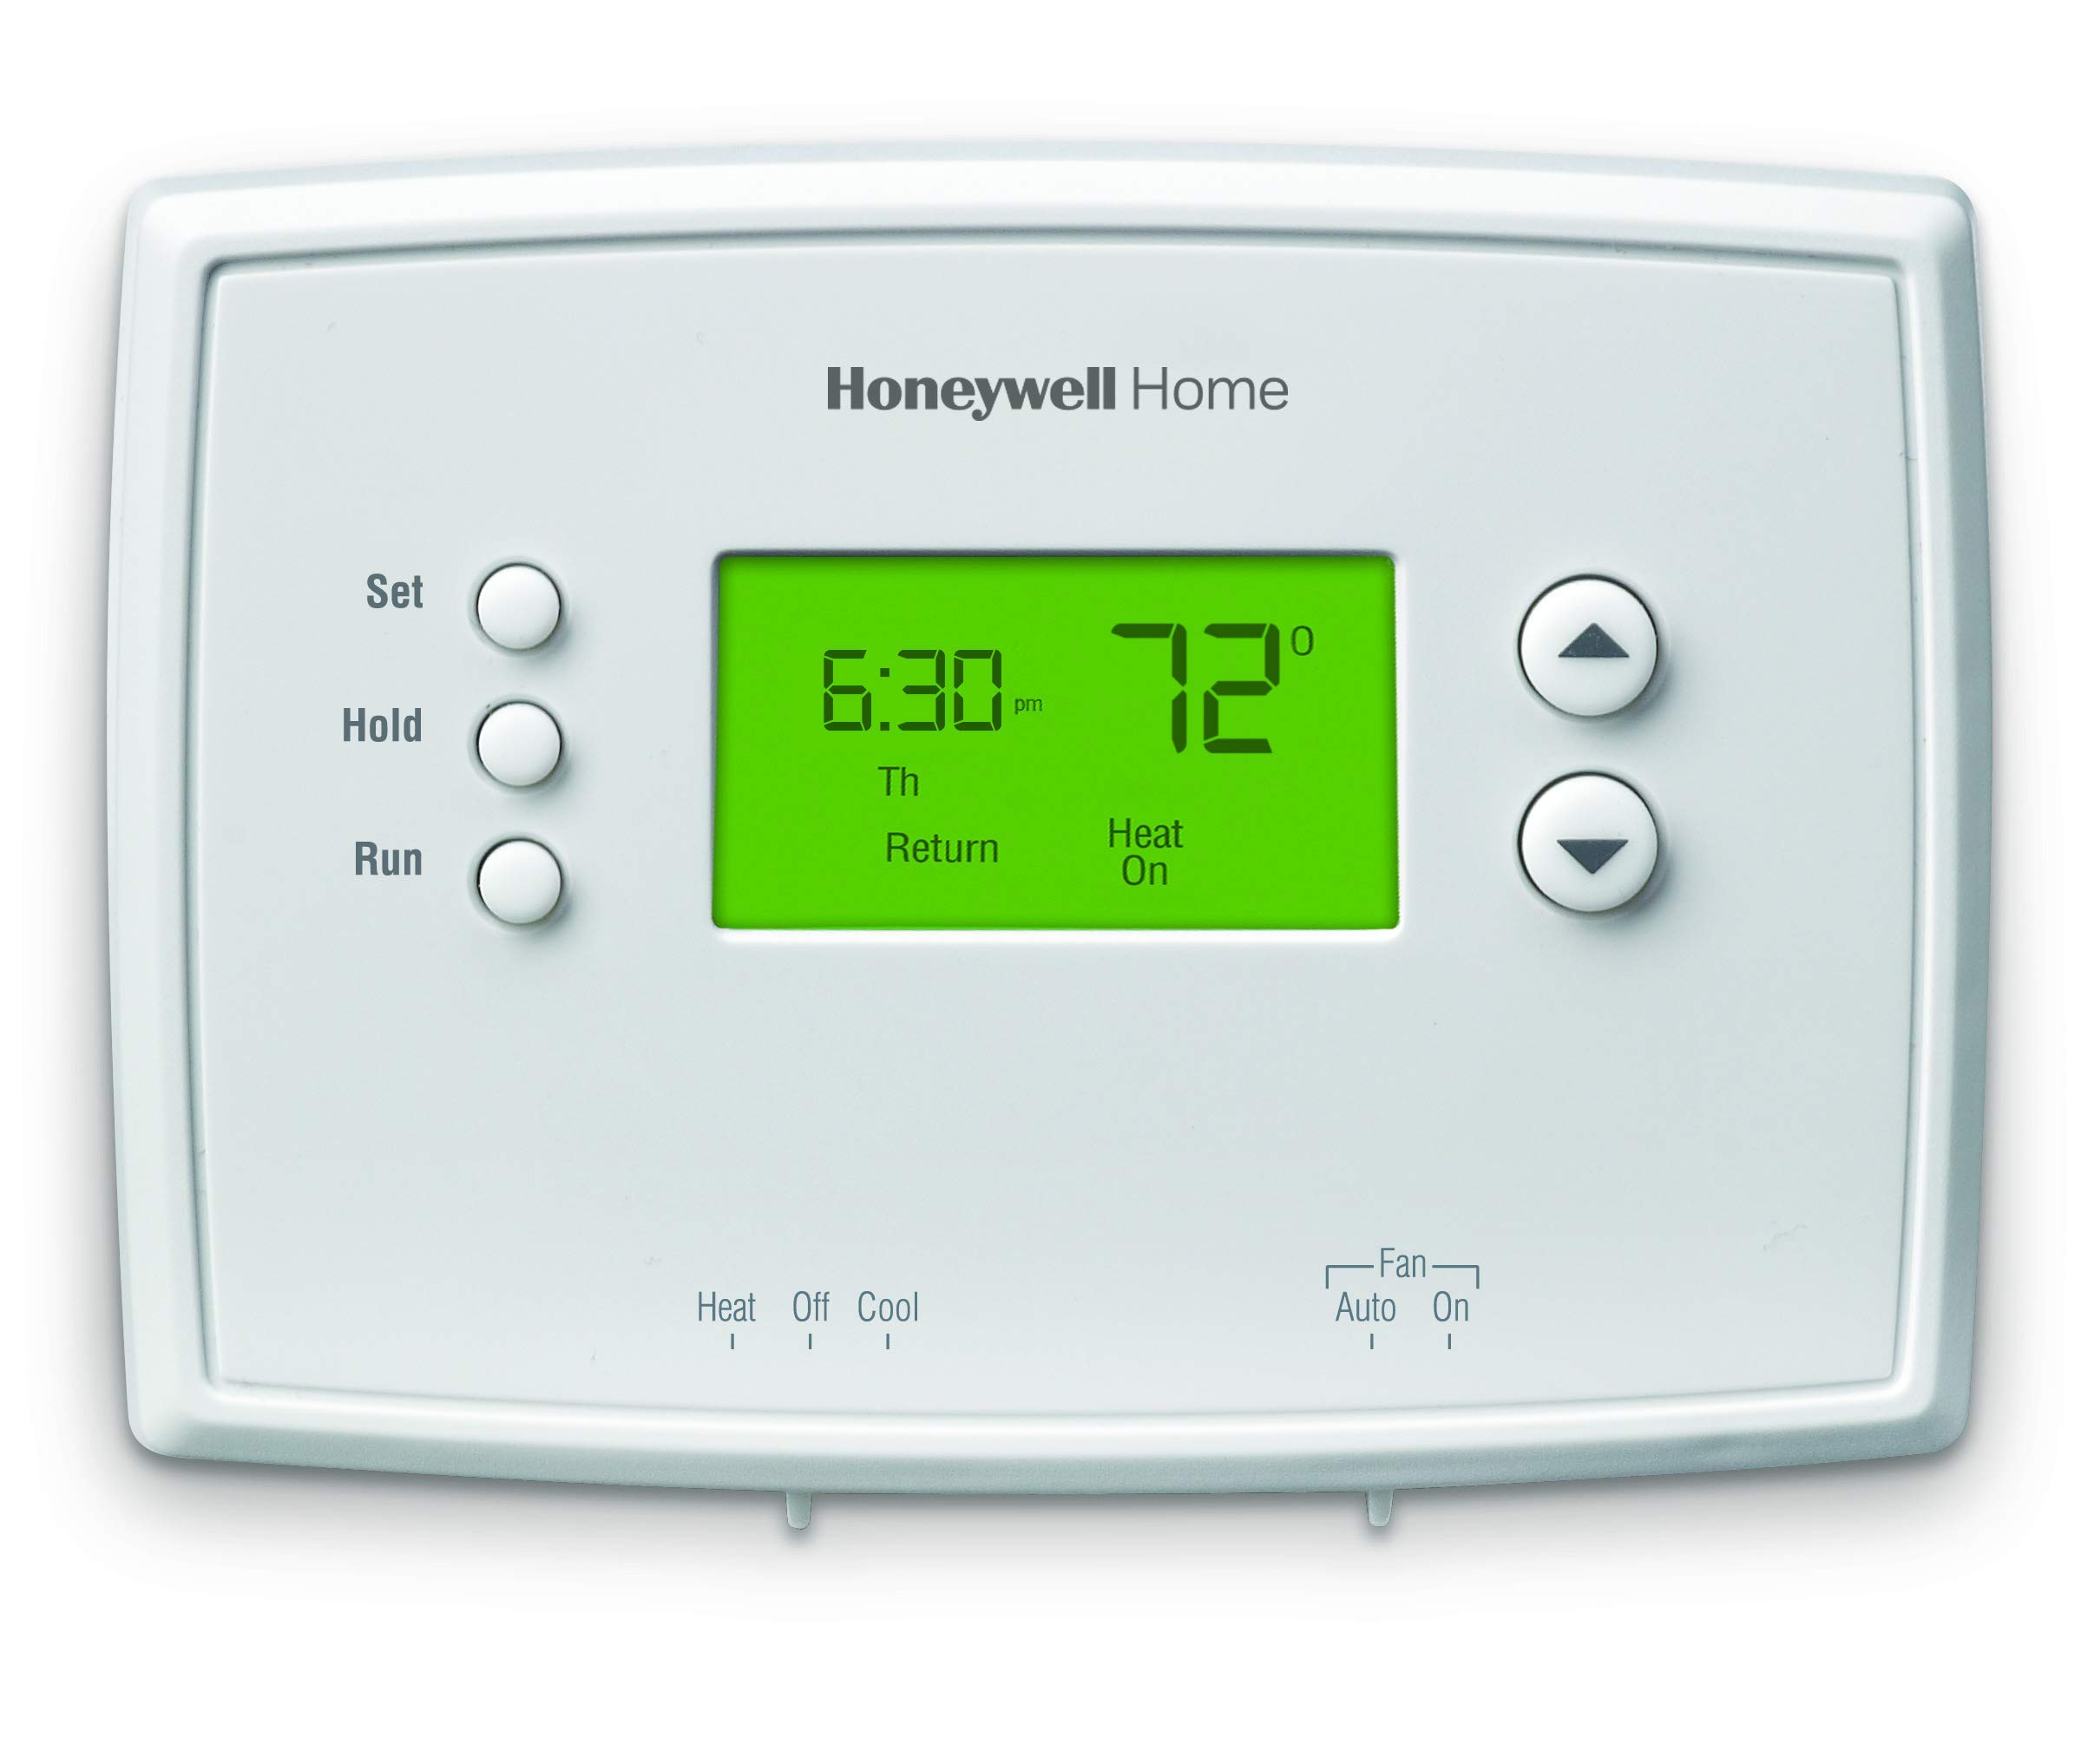
The Honeywell RTH6580WF Smart Thermostat is designed to seamlessly integrate with most heating, ventilation, and air conditioning (HVAC) systems, making it a versatile choice for modern homes. With its sleek design and user-friendly interface, this smart thermostat is a valuable addition to any household, offering both comfort and energy efficiency.
In this comprehensive guide, you will learn how to install the Honeywell RTH6580WF Smart Thermostat without the need for professional assistance. By gathering the necessary tools and carefully following the installation steps, you can successfully replace your existing thermostat with this advanced model. Whether you are a tech-savvy homeowner or a DIY enthusiast, this guide will equip you with the knowledge and confidence to complete the installation process with ease.
Now, let's dive into the installation process and transform your home into a more comfortable and energy-efficient space with the Honeywell RTH6580WF Smart Thermostat.
Step 1: Gather the Necessary Tools
Before beginning the installation of your Honeywell RTH6580WF Smart Thermostat, it’s essential to gather the necessary tools to ensure a smooth and efficient process. Here’s a list of tools you will need:
- Screwdriver: You’ll need a screwdriver to remove the faceplate of your old thermostat and to secure the base of the new thermostat.
- Drill and Bits (if necessary): Depending on the type of wall surface in your home, you may need a drill and appropriate drill bits to install the new thermostat base.
- Level: A level will help ensure that the new thermostat base is installed perfectly straight, enhancing the overall aesthetic and functionality.
- Wire Labels: It’s helpful to have labels or masking tape to mark the wires during the removal of the old thermostat, making it easier to identify and connect them to the new thermostat.
- Smartphone or Computer: To complete the setup and programming of the smart thermostat, you’ll need a smartphone or computer with internet access to download the necessary app and configure the device.
- Honeywell RTH6580WF Smart Thermostat: Of course, you’ll need the thermostat itself, complete with its base and display unit, to begin the installation process.
By ensuring that you have these tools on hand, you can proceed with confidence, knowing that you are fully prepared to install your new Honeywell RTH6580WF Smart Thermostat without any unnecessary interruptions or delays.
Step 2: Turn off the Power to Your HVAC System
Prior to removing your old thermostat and installing the new Honeywell RTH6580WF Smart Thermostat, it is crucial to turn off the power to your heating, ventilation, and air conditioning (HVAC) system. This step is essential to ensure safety and prevent any electrical mishaps during the installation process.
Here’s how to safely turn off the power to your HVAC system:
- Locate the Circuit Breaker: Identify the circuit breaker in your home’s electrical panel that controls the HVAC system. The circuit breaker may be labeled for easy identification, typically indicating “HVAC” or “Furnace/AC.”
- Switch Off the Circuit Breaker: Carefully switch off the circuit breaker that powers the HVAC system. This action will cut off the electrical supply to the heating and cooling components, ensuring that there is no live electricity flowing to the thermostat.
- Verify Power Cutoff: After switching off the circuit breaker, it’s important to verify that the power to the HVAC system has been successfully cut off. You can do this by attempting to turn on the heating or cooling using the thermostat. If the system does not respond, it confirms that the power has been disconnected.
By following these steps, you can safely deactivate the power supply to your HVAC system, creating a secure environment for the subsequent removal of the old thermostat and the installation of the new Honeywell RTH6580WF Smart Thermostat. Remember, safety should always be a top priority when working with electrical systems, and taking the time to turn off the power is a critical precautionary measure.
Step 3: Remove the Old Thermostat
With the power to your HVAC system safely turned off, you can proceed to remove the old thermostat in preparation for installing the Honeywell RTH6580WF Smart Thermostat. Follow these steps to remove the old thermostat:
- Remove the Faceplate: Carefully detach the faceplate of the old thermostat from its base. Most faceplates can be removed by gently pulling them away from the base or by unscrewing them, depending on the model.
- Identify and Label the Wires: Once the faceplate is removed, you’ll see several wires connected to the thermostat base. It’s essential to identify and label each wire according to its corresponding terminal. This step will make it easier to connect the wires to the new thermostat later on. Use the wire labels or masking tape from your toolkit to mark each wire.
- Remove the Mounting Plate: After labeling the wires, unscrew the mounting plate of the old thermostat from the wall. Be cautious when handling the wires to prevent them from slipping back into the wall cavity.
- Inspect the Wiring: Take a moment to inspect the condition of the wiring and terminals. Look for any signs of damage or corrosion, and if necessary, make a note to address these issues before proceeding with the installation of the new thermostat.
- Clean the Wall Surface: Once the old thermostat and its wiring have been removed, clean the wall surface to ensure a smooth and debris-free area for installing the new thermostat base. Use a mild cleaning solution and a soft cloth to gently wipe the wall around the previous mounting location.
By carefully following these steps, you can successfully remove the old thermostat and prepare the wall for the installation of the new Honeywell RTH6580WF Smart Thermostat. Taking the time to label the wires and inspect the wiring will contribute to a seamless transition to the next phase of the installation process.
Step 4: Install the New Thermostat Base
Now that the old thermostat has been removed and the wall surface is clean, you can proceed to install the new base for the Honeywell RTH6580WF Smart Thermostat. Follow these steps to ensure a secure and properly aligned installation:
- Position the Base: Hold the new thermostat base against the wall at the desired location, ensuring that it is level and aligning with any existing holes or markings from the previous thermostat. Use a pencil to mark the positions of the screw holes on the wall.
- Drill Pilot Holes (if necessary): If the new thermostat base requires screw anchors or if you are installing it on a hard surface, use an appropriate drill bit to create pilot holes at the marked positions. Be mindful of the depth and size of the holes to accommodate the mounting screws.
- Secure the Base: Align the base with the pilot holes and use screws to securely fasten it to the wall. Ensure that the base is level during this process to maintain a professional and aesthetically pleasing installation.
- Connect the Wires: With the base securely installed, carefully guide the labeled wires through the designated openings on the base. Refer to the labels to match each wire with the correct terminal on the base, ensuring a proper connection.
- Attach the Cover Plate (if applicable): Depending on the design of the new thermostat base, you may need to attach a cover plate to conceal the mounting screws and provide a finished look. Follow the manufacturer’s instructions for this step.
By following these steps, you can successfully install the new thermostat base, positioning it securely on the wall and connecting the labeled wires to their respective terminals. Taking the time to ensure a level and stable base will set the stage for the next phase of the installation process, bringing you closer to enjoying the benefits of your Honeywell RTH6580WF Smart Thermostat.
Step 5: Connect the Wires to the New Thermostat
With the new thermostat base securely installed, the next crucial step is to connect the labeled wires from your HVAC system to the corresponding terminals on the base of the Honeywell RTH6580WF Smart Thermostat. This process requires attention to detail and precision to ensure a successful connection. Follow these steps to connect the wires:
- Match the Wires: Refer to the labels you placed on the wires during the removal of the old thermostat. Match each labeled wire with the corresponding terminal on the new thermostat base. Common wire color codes include red (power), white (heat), yellow (cooling), and green (fan). However, variations may exist, so the labels are essential for accurate connections.
- Secure the Connections: Once the wires are matched with their respective terminals, use a small screwdriver to secure the connections. Depending on the design of the thermostat base, you may need to insert the wires into designated slots or wrap them around screws before tightening them to establish a secure electrical connection.
- Tuck Excess Wiring: After connecting the wires, carefully tuck any excess wiring into the space behind the thermostat base. Avoid overcrowding the area to ensure that the thermostat display unit can be properly attached without interference from the wires.
- Verify the Connections: Double-check the connections to confirm that each wire is securely fastened to the corresponding terminal. Ensure that there are no loose wires or potential points of contact between different terminals, which could lead to electrical issues.
By following these steps, you can effectively connect the wires from your HVAC system to the new thermostat base, establishing the essential electrical connections that enable the Honeywell RTH6580WF Smart Thermostat to control your heating and cooling systems. Attention to detail and a methodical approach will contribute to a successful wiring process, bringing you closer to completing the installation of your smart thermostat.
Step 6: Attach the Thermostat Display
With the wiring securely connected to the new thermostat base, the next step is to attach the thermostat display unit, finalizing the installation of the Honeywell RTH6580WF Smart Thermostat. Follow these steps to ensure a seamless attachment of the display:
- Align the Display: Carefully position the thermostat display over the base, aligning it with any corresponding tabs or slots. Take note of any alignment markers or indicators provided by the manufacturer to ensure a proper fit.
- Secure the Display: Once the display is aligned with the base, gently press it into place, ensuring that it sits flush and secure. Depending on the model, the display may click into position or require a slight downward or inward pressure to attach firmly.
- Power on the Thermostat: After attaching the display, restore the power to your HVAC system by switching on the circuit breaker. The thermostat display should illuminate, indicating that it is receiving power and ready for setup.
- Complete the Setup: Follow the manufacturer’s instructions to complete the initial setup of the thermostat, which may involve configuring the date and time, connecting to your Wi-Fi network, and downloading any necessary software updates.
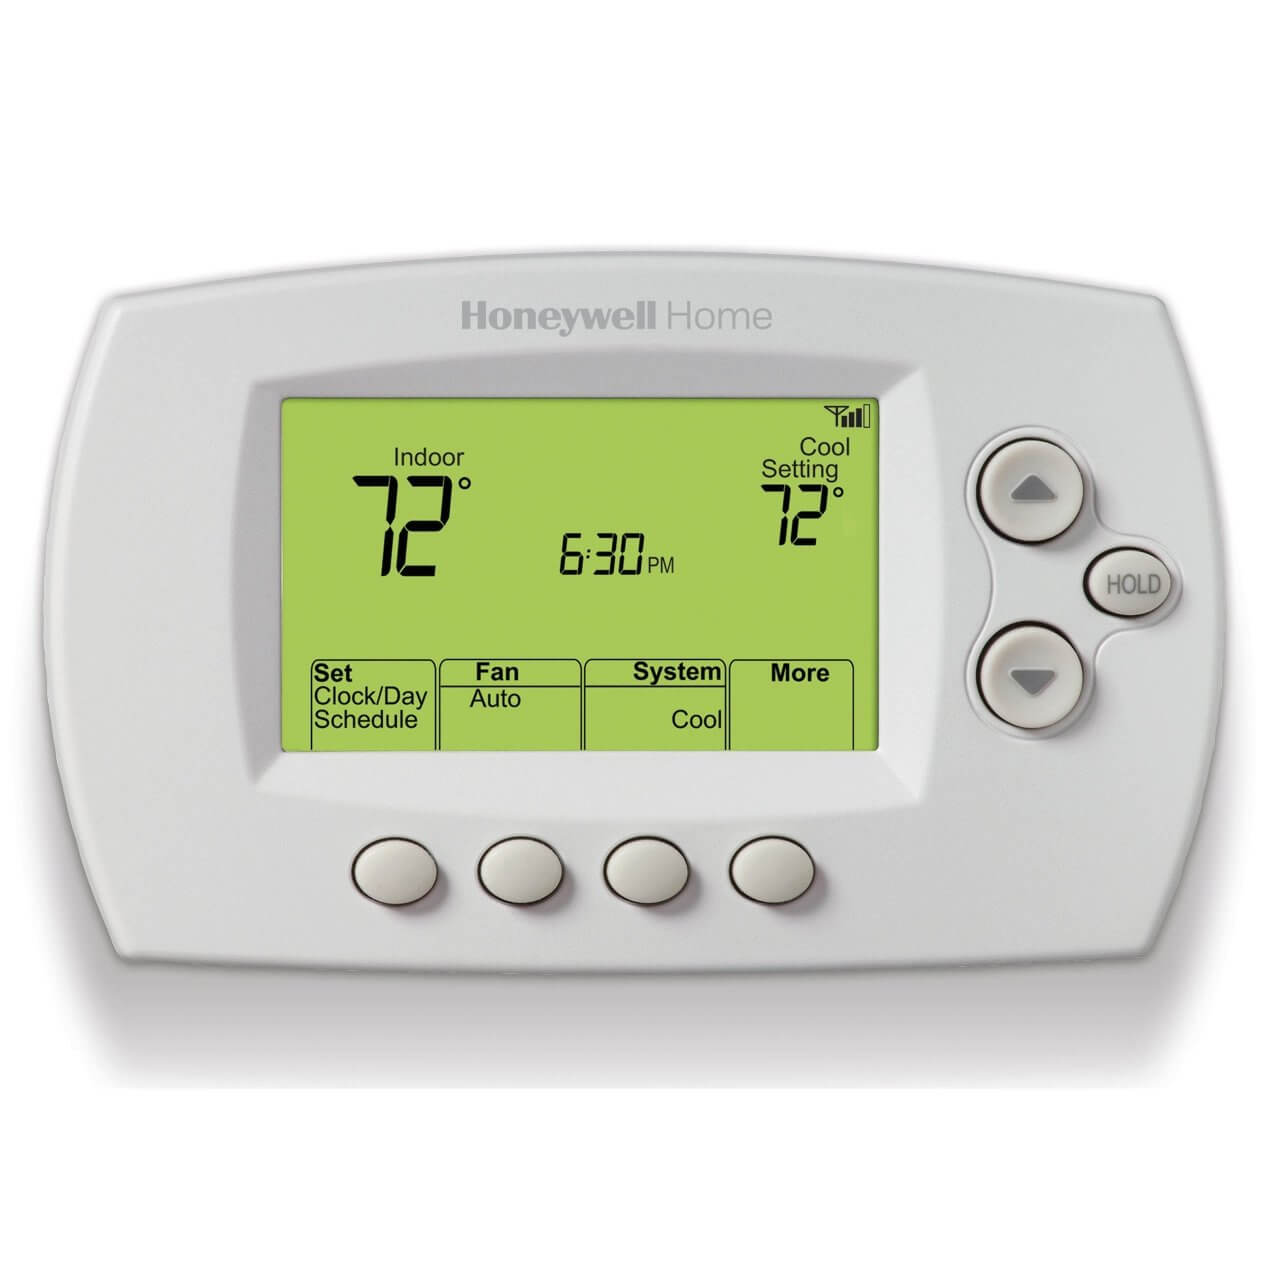
- Test the Functionality: Once the setup is complete, test the functionality of the thermostat by adjusting the temperature settings and observing the response of your HVAC system. Verify that the thermostat effectively controls your heating and cooling systems as intended.
By following these steps, you can successfully attach the thermostat display to the base, initiating the functionality of the Honeywell RTH6580WF Smart Thermostat. Ensuring a secure attachment and completing the setup process will bring you closer to experiencing the convenience and energy-saving benefits of your new smart thermostat.
Step 7: Power on the HVAC System and Set Up the Thermostat
With the Honeywell RTH6580WF Smart Thermostat fully installed and the display attached, the final step involves powering on your HVAC system and setting up the thermostat to ensure seamless operation. Follow these essential steps to complete the installation process:
- Restore Power to the HVAC System: Turn on the circuit breaker that controls the power supply to your HVAC system. This action will restore the electrical supply, enabling the thermostat to communicate with the heating and cooling components of your home.
- Verify System Operation: Once the power is restored, verify that your HVAC system responds to the commands from the newly installed thermostat. Test the heating and cooling functions to ensure that the thermostat effectively controls the temperature settings and activates the corresponding systems.
- Connect to Wi-Fi (if applicable): If your Honeywell RTH6580WF Smart Thermostat offers Wi-Fi connectivity, follow the manufacturer’s instructions to connect the thermostat to your home network. This step may involve using a smartphone app or accessing the thermostat’s settings directly to complete the connection process.
- Configure Settings: Access the thermostat’s settings menu to configure preferences such as temperature schedules, energy-saving modes, and any additional features offered by the device. Customize the settings to align with your household’s comfort requirements and energy efficiency goals.
- Download Software Updates: Check for and install any available software updates for the thermostat to ensure that it has the latest features and performance enhancements. Keeping the thermostat’s software up to date is essential for optimal functionality and security.
- Test Remote Access (if applicable): If the thermostat offers remote access through a smartphone app or web interface, test this feature to ensure that you can control the thermostat from a distance. Verify that you can adjust temperature settings and monitor the system while away from home.
By following these steps, you can power on your HVAC system, set up the Honeywell RTH6580WF Smart Thermostat, and tailor its settings to meet your specific comfort and energy-saving needs. Completing this final phase of the installation process will empower you to enjoy the full benefits of your new smart thermostat, enhancing your home’s comfort and efficiency.
Conclusion
Congratulations! By following this comprehensive guide, you have successfully installed the Honeywell RTH6580WF Smart Thermostat, bringing advanced temperature control and energy-saving features to your home. The completion of each step, from gathering the necessary tools to configuring the thermostat settings, has empowered you to enhance your living space with modern comfort and efficiency.
With the Honeywell RTH6580WF Smart Thermostat in place, you can now enjoy the convenience of remote access, allowing you to adjust temperature settings and monitor your HVAC system from anywhere. The intuitive programming capabilities of the thermostat enable you to create personalized schedules that align with your daily routine, optimizing energy usage and maximizing comfort.
Furthermore, the installation process has provided you with valuable insights into your home’s HVAC system, fostering a deeper understanding of its components and operation. This knowledge can be invaluable for future maintenance and troubleshooting, empowering you to take a proactive approach to the care of your heating and cooling systems.
By embracing the capabilities of the Honeywell RTH6580WF Smart Thermostat, you are not only elevating the comfort and efficiency of your home but also contributing to energy conservation and environmental sustainability. The smart features of the thermostat enable you to make informed decisions about energy usage, ultimately reducing your environmental footprint while enjoying a modern and comfortable living environment.
As you embark on this new chapter with the Honeywell RTH6580WF Smart Thermostat, remember that ongoing maintenance and periodic adjustments to the thermostat settings will further enhance its performance and your overall satisfaction. Embrace the possibilities that this advanced device offers, and may it continue to enrich your home with comfort, convenience, and energy efficiency for years to come.