Overview
Installing a smart thermostat is an excellent way to bring your home into the modern era. With its advanced features and convenience, a smart thermostat can help you manage your home’s temperature efficiently while saving energy and reducing utility bills. In this article, we will guide you through the process of installing a smart thermostat, from choosing the right model to troubleshooting common issues. Whether you’re a tech-savvy individual or a beginner, you’ll find that installing a smart thermostat is easier than you might think.
Before diving into the installation process, it’s important to understand the benefits of having a smart thermostat. One of the primary advantages is the ability to control and monitor your home’s heating and cooling system remotely. With a smartphone app or a web interface, you can adjust the temperature from anywhere, ensuring a comfortable environment when you arrive home or saving energy when you’re away.
Additionally, smart thermostats often come with advanced programming features that allow you to create personalized schedules for your HVAC system. This means your thermostat can learn your preferred settings and automatically adjust the temperature based on your daily routine. By optimizing the settings, you can achieve energy savings without sacrificing comfort.
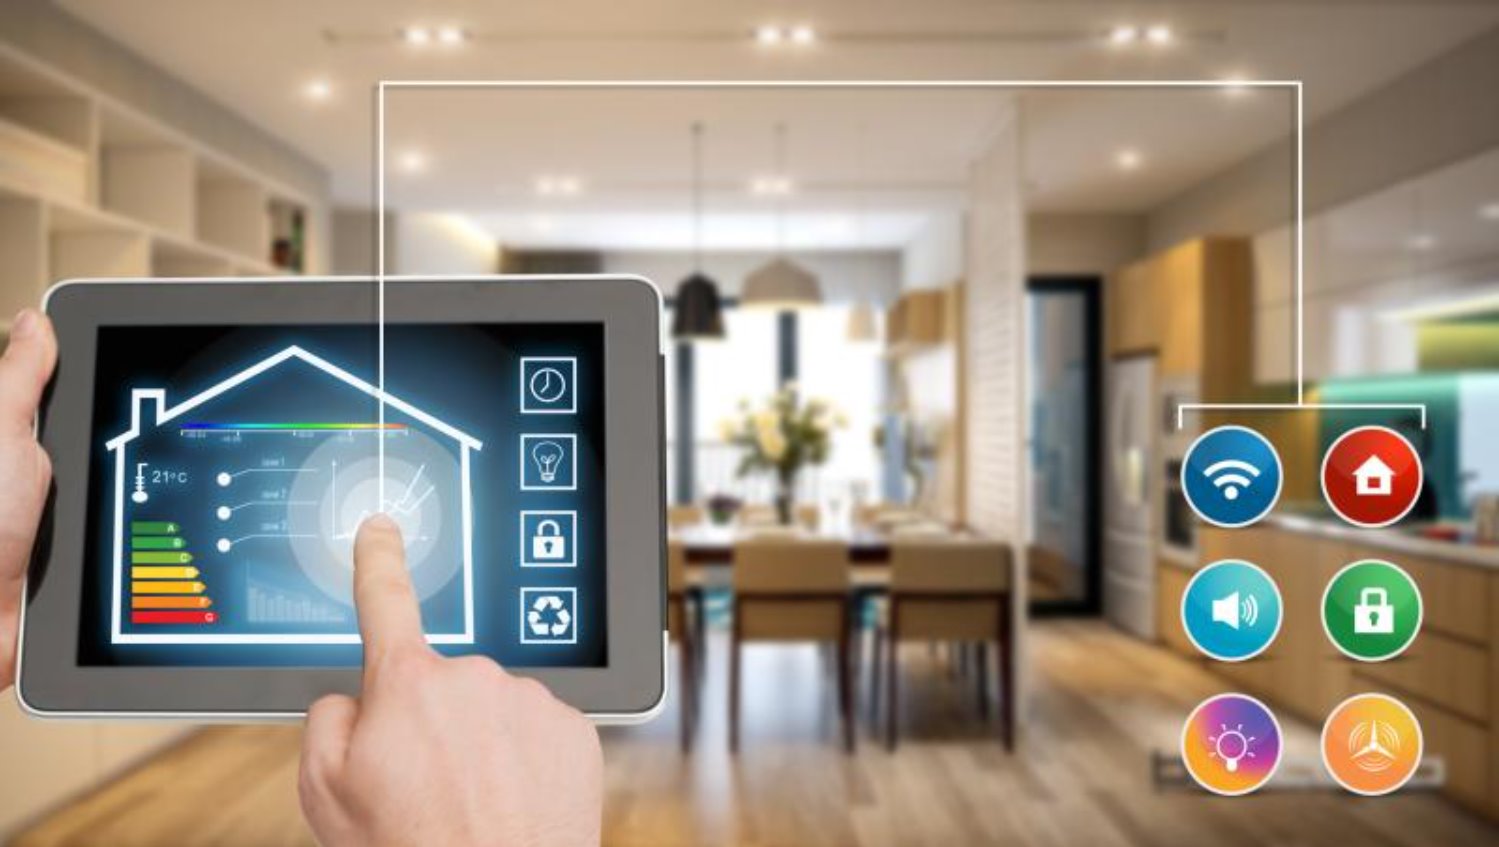
Another notable advantage of smart thermostats is their ability to integrate with other smart home devices. You can connect your thermostat to voice assistants like Amazon Alexa or Google Assistant, enabling hands-free control over your home’s temperature. Some models even have compatibility with home automation systems, allowing you to create customized scenes that include adjusting the thermostat along with other connected devices like lighting or blinds.
Now, let’s move on to the installation process. Whether you’re upgrading from a traditional thermostat or installing one for the first time, we’ll guide you through each step to ensure a successful installation. From checking compatibility to connecting to Wi-Fi and configuring settings, we’ll provide clear instructions and tips for a seamless installation experience.
So, if you’re ready to embrace the convenience and energy-saving benefits of a smart thermostat, let’s get started on this exciting journey. Follow the subsequent sections to learn everything you need to know about installing a smart thermostat and enhance the comfort and efficiency of your home.
Choosing the Right Smart Thermostat
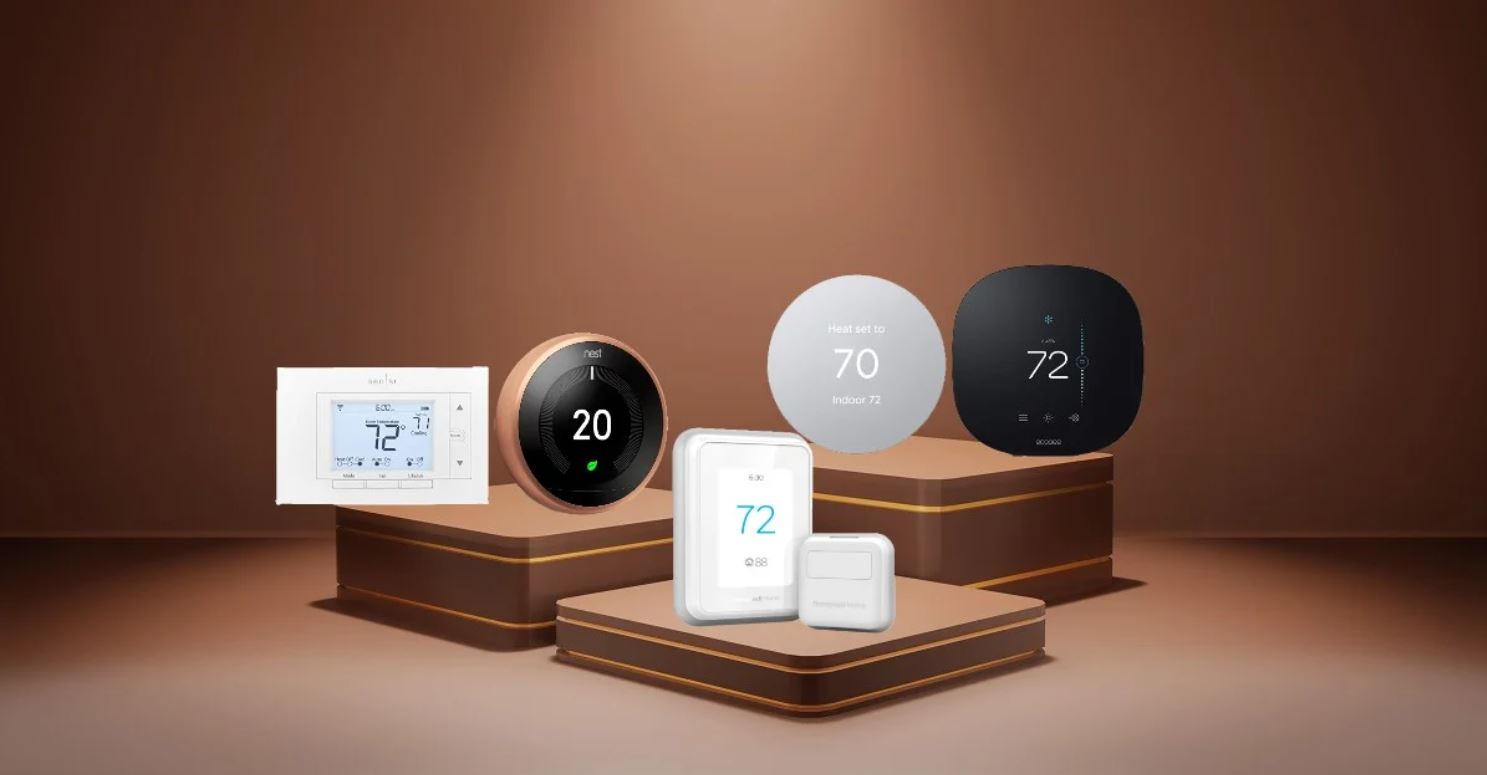
When it comes to choosing the right smart thermostat for your home, several factors should be taken into consideration. The market offers a wide range of options, each with different features and compatibility requirements. To ensure you make an informed decision, here are some key factors to consider:
Compatibility: Before purchasing a smart thermostat, it’s important to check its compatibility with your HVAC system. Some thermostats are only compatible with certain types of heating and cooling systems, such as central HVAC, heat pumps, or multi-stage systems. Make sure to consult the manufacturer’s specifications or contact their customer support to verify compatibility.
Features: Smart thermostats come with various features that can enhance your comfort and energy efficiency. Some common features include energy-saving modes, geofencing technology to detect when you’re away from home and adjust the temperature accordingly, and learning capabilities to adapt to your preferences over time. Consider which features are important to you and choose a thermostat that aligns with your needs.
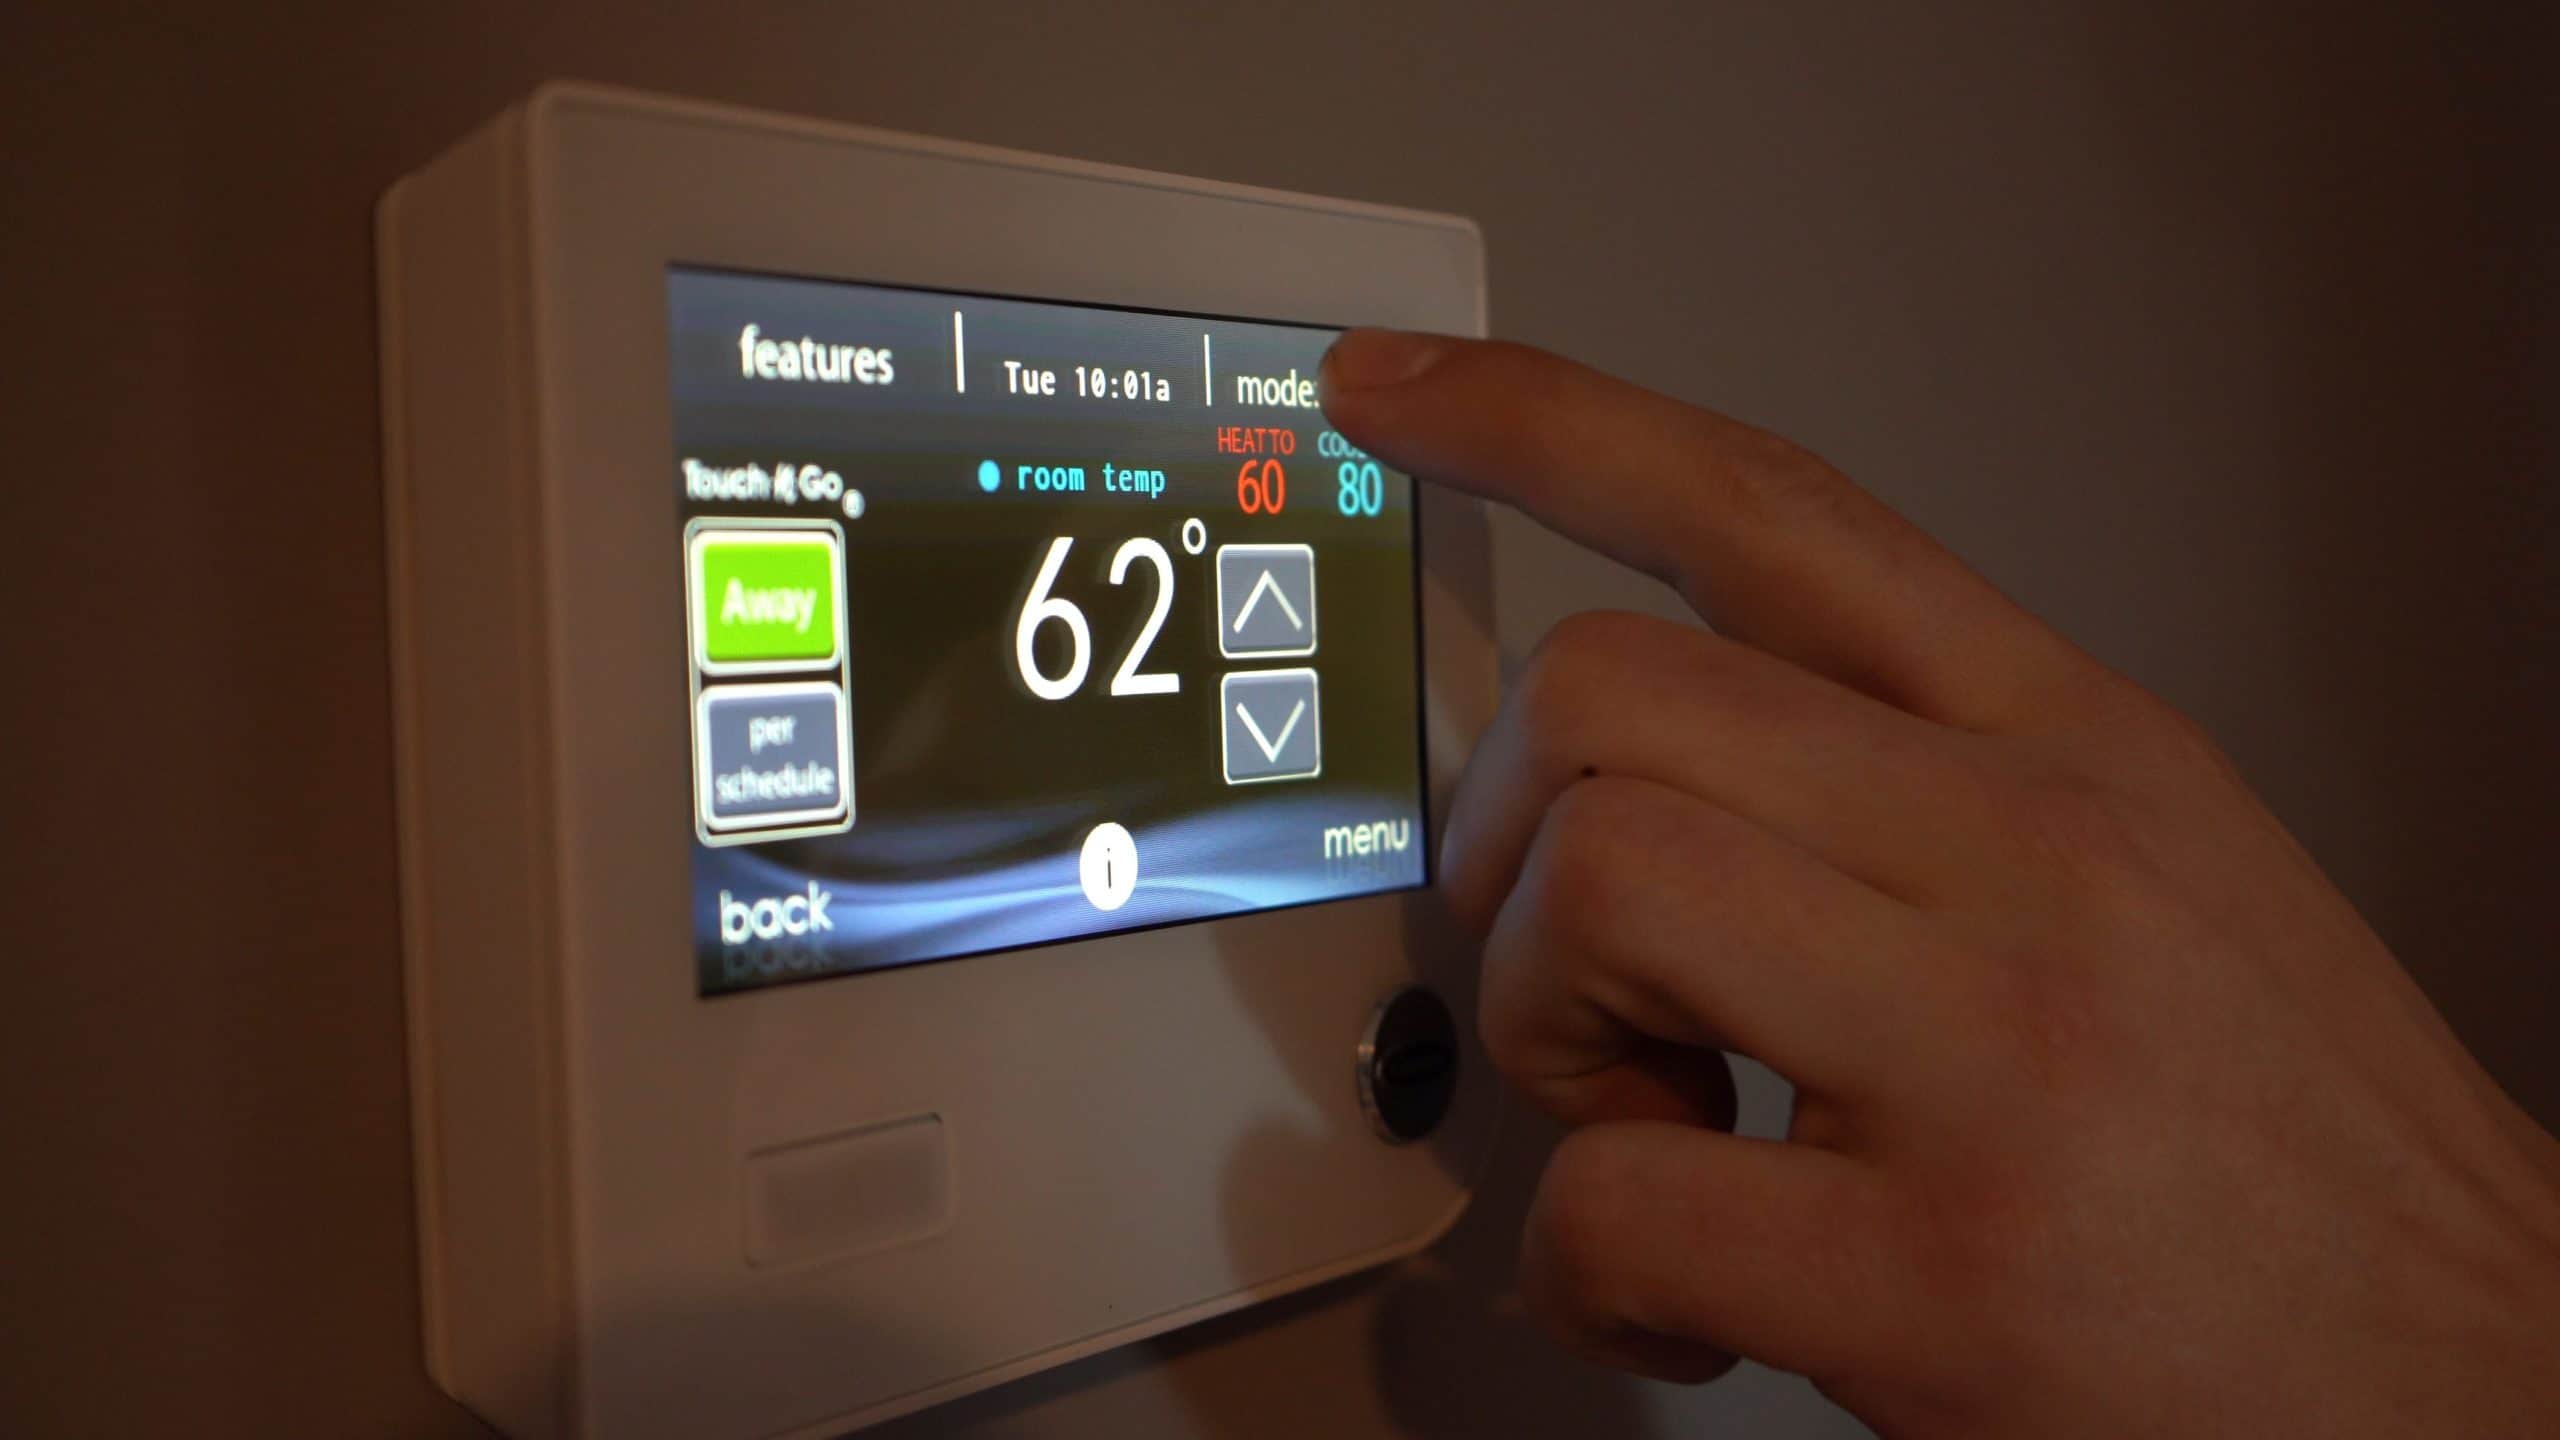
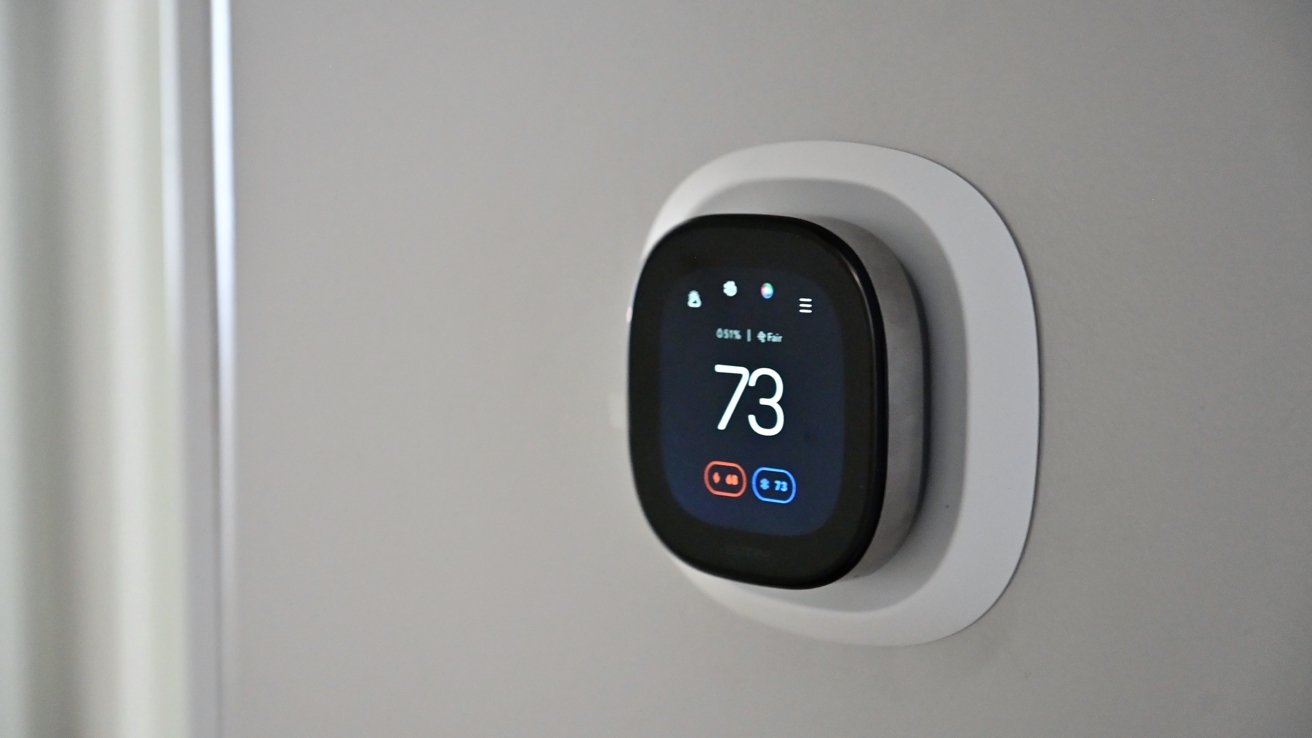
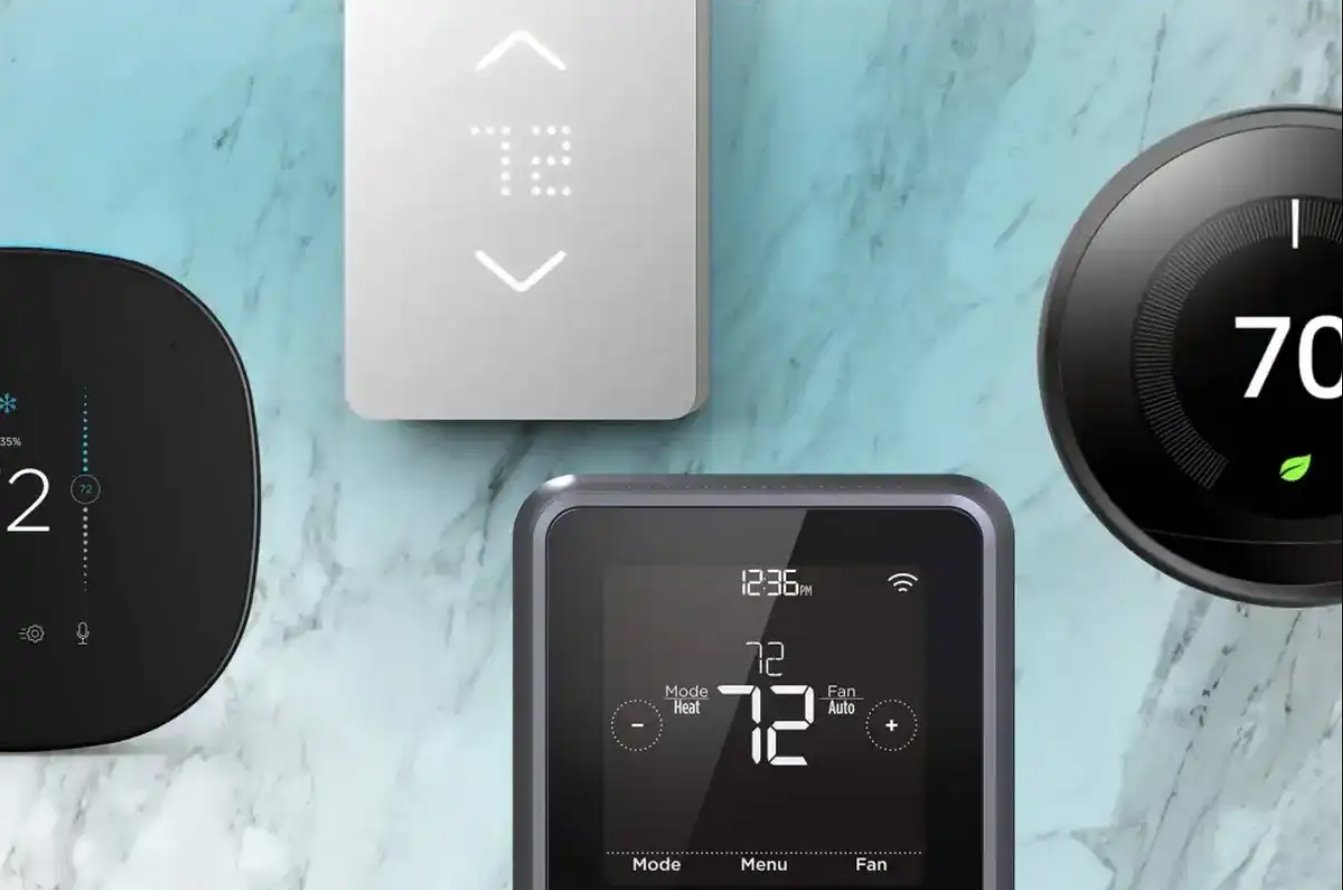
Design and Interface: The design and interface of the smart thermostat should also be taken into account. Look for a well-designed, intuitive interface that allows you to easily navigate and adjust settings. Some thermostats have touchscreens for a sleek and modern look, while others have physical buttons for easy control.
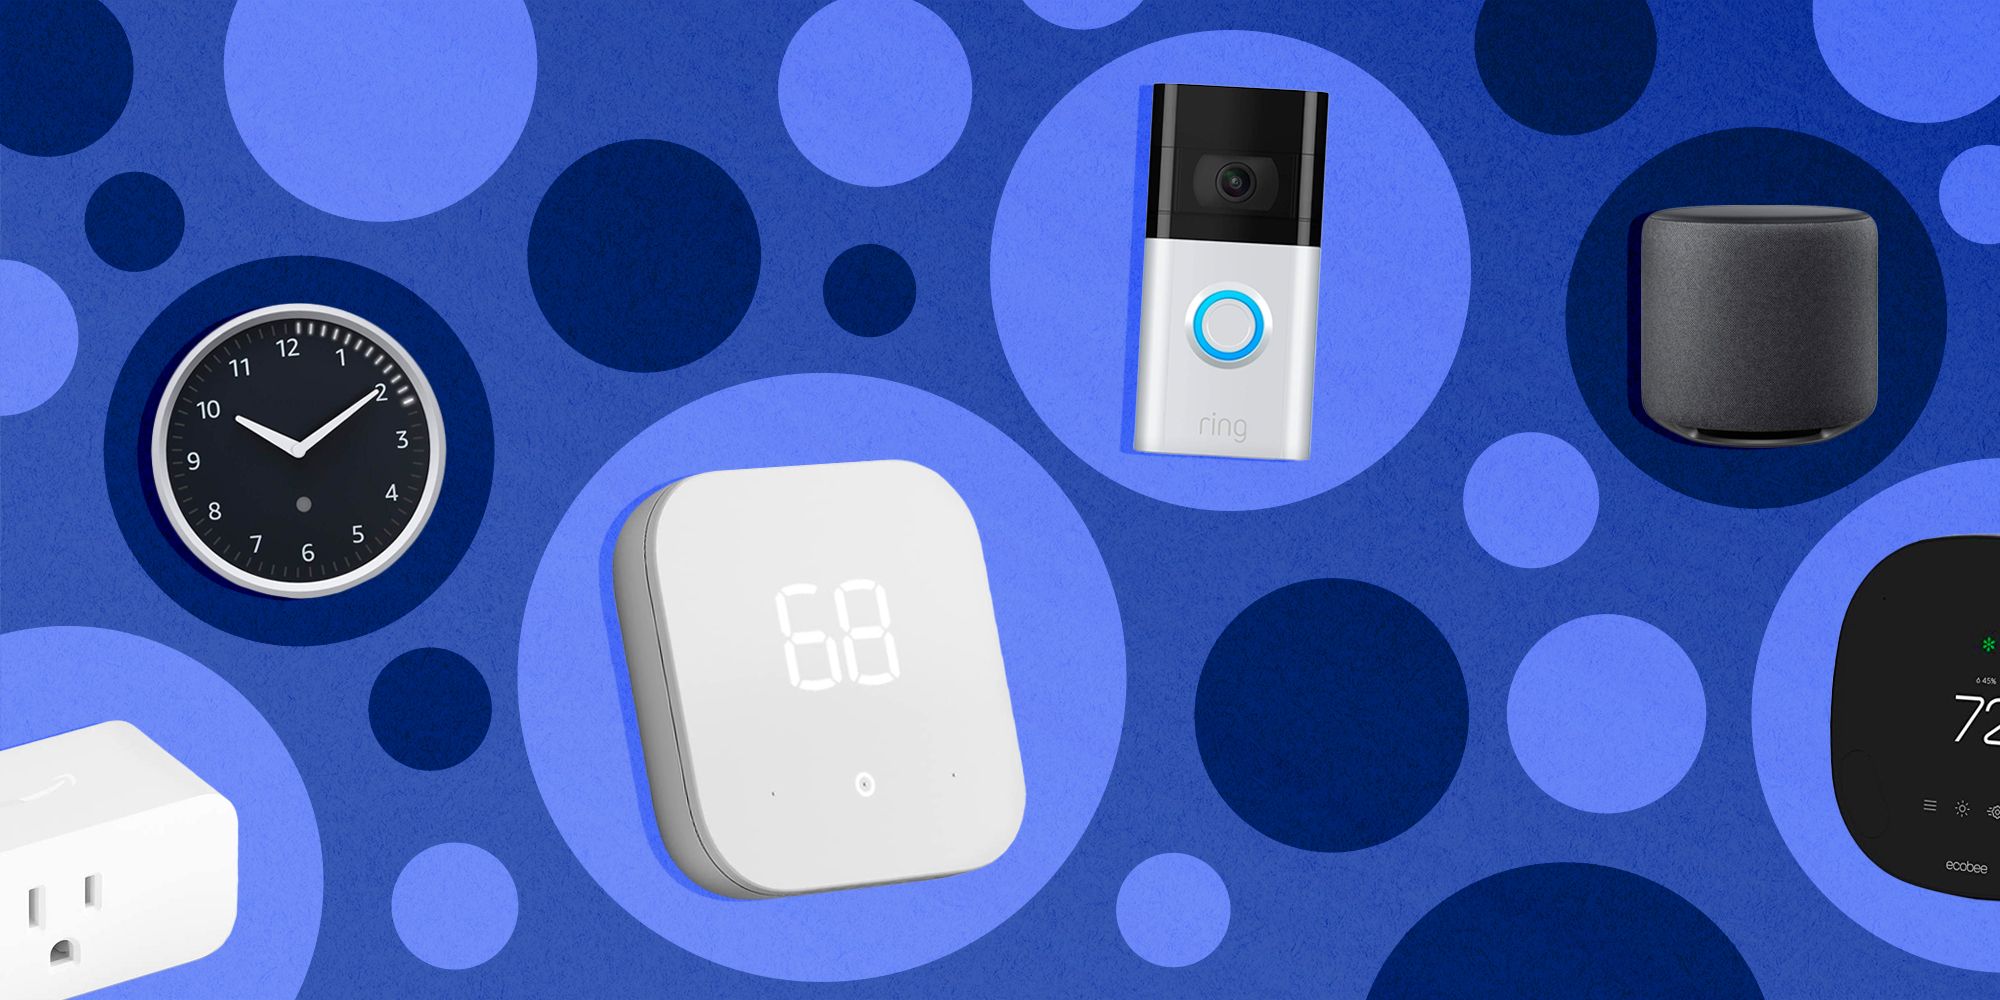
Smart Home Integration: If you already have other smart home devices, it’s worth considering a smart thermostat that is compatible with your existing ecosystem. Integration with voice assistants like Amazon Alexa or Google Assistant can provide added convenience, allowing you to control the thermostat through voice commands.
Budget: Set a budget for your smart thermostat purchase and look for options within that range. Keep in mind that the more advanced features a thermostat has, the higher the price may be. However, investing in a high-quality, feature-rich thermostat can lead to long-term energy savings, ultimately offsetting the initial cost.
Customer Reviews: Before making a final decision, take the time to read customer reviews and ratings of the thermostats you’re considering. Pay attention to feedback regarding reliability, ease of use, and customer support. Real-life experiences can provide valuable insights and help you make an informed choice.
By considering these factors, you can choose a smart thermostat that not only meets your technical requirements but also aligns with your lifestyle and preferences. Once you’ve selected the right thermostat, you’ll be ready to move on to the next step: preparing for installation.
Preparing for Installation
Before diving into the installation process of your new smart thermostat, it’s important to take a few preparatory steps to ensure a smooth and successful installation. By following these guidelines, you can minimize any potential issues and make the installation process more efficient:
Read the Manual: Start by carefully reading the installation manual that comes with your smart thermostat. Each model may have specific installation requirements and guidelines, so familiarize yourself with the instructions provided by the manufacturer.
Gather Tools: Make sure you have all the necessary tools on hand before beginning the installation. Common tools required may include a screwdriver, wire strippers, pliers, and possibly a voltage tester. Check the installation manual for the specific tools recommended for your thermostat model.
Turn Off Power: Before attempting any wiring work, turn off the power to your heating and cooling system. It’s crucial to ensure there is no electrical current running through the wires you will be working with to prevent any accidents or damage.
Take Pictures: Before removing your existing thermostat, take pictures of the wiring configuration. This will serve as a reference point in case you encounter any issues during the installation process. It’s especially useful if you’re unsure about the placement of certain wires.
Check Compatibility: Double-check the compatibility of your smart thermostat with your HVAC system. Verify that the wires and terminals on your existing thermostat match the requirements of the new smart thermostat. If you have any doubts or questions, consult the manufacturer or seek professional assistance.
Clear the Area: Ensure that the area around your thermostat is clear and accessible. Remove any obstacles or decorative objects that may impede the installation process or obstruct the thermostat’s sensors. This will ensure accurate temperature readings and efficient operation.
Check Wi-Fi Signal: If your smart thermostat relies on a Wi-Fi connection, make sure that the signal is strong and stable in the location where the thermostat will be installed. Weak or unreliable Wi-Fi signal may lead to connectivity issues and hinder the thermostat’s functionality.
Set Aside Time: Allocate an appropriate amount of time for the installation process. Depending on your existing wiring setup and familiarity with the process, the installation may take anywhere from 30 minutes to an hour or more. Rushing through the installation may lead to mistakes or incomplete connections.
By taking these preparatory steps, you will be well-equipped and ready to start the installation process with confidence. The next section will guide you through the step-by-step instructions to install your smart thermostat.
Steps to Install a Smart Thermostat
Installing a smart thermostat is a straightforward process that can be completed by following a few simple steps. While the specific instructions may vary depending on the model and manufacturer, here is a general guide to help you install your smart thermostat:
- Turn Off Power: Begin by turning off the power to your heating and cooling system at the circuit breaker. This step is crucial to ensure your safety during the installation process.
- Remove Existing Thermostat: Carefully remove the cover of your existing thermostat and unscrew it from the mounting plate. Take note of the wires and their corresponding terminals, as this will help you correctly connect the new thermostat.
- Attach Mounting Plate: Align the new thermostat’s mounting plate with the existing holes on the wall and secure it using the provided screws. Ensure that the plate is level and flush against the wall.
- Connect Wires: Connect the wires from your HVAC system to the appropriate terminals on the new thermostat’s mounting plate. Follow the wiring diagram provided in the installation manual or use the pictures you took earlier as reference.
- Attach Thermostat: Once the wires are connected, carefully attach the thermostat to the mounting plate. Ensure that it is securely in place and aligned properly.
- Restore Power: Go back to the circuit breaker and turn the power back on for your heating and cooling system.
- Follow Setup Instructions: Power on your new smart thermostat and follow the prompts or instructions on the display. This usually involves setting the date and time, connecting to your Wi-Fi network, and configuring initial settings.
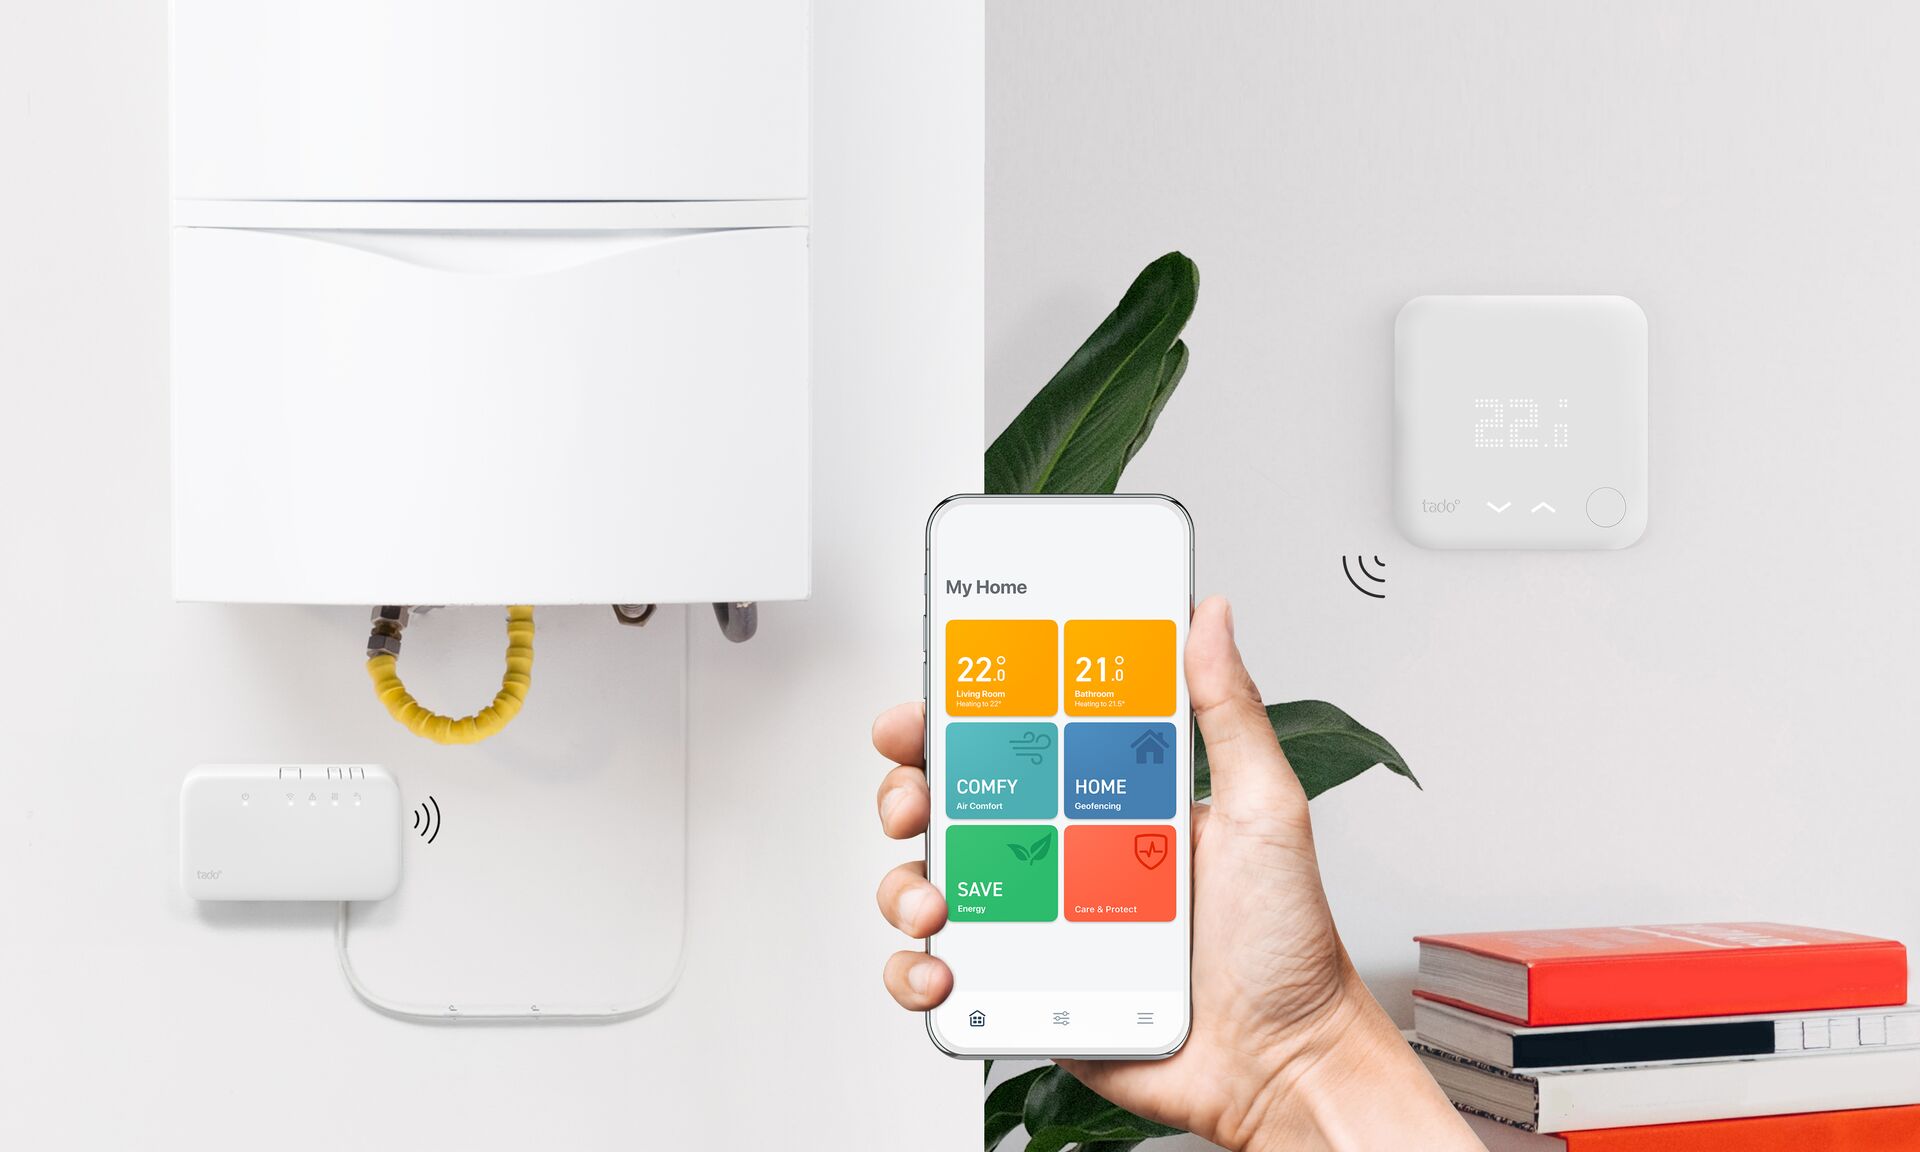
- Download the App: If applicable, download the companion mobile app for your smart thermostat. This will allow you to control and monitor your thermostat remotely from your smartphone or tablet.
- Test the System: Once the setup is complete, test your smart thermostat by adjusting the temperature settings and observing whether your heating or cooling system responds accordingly.
Remember, these steps are a general guideline, and it’s important to refer to the specific instructions provided by the manufacturer of your smart thermostat. If you encounter any difficulties or have questions during the installation process, consult the installation manual or seek assistance from the manufacturer’s customer support.
With the smart thermostat successfully installed, the next section will guide you through connecting your thermostat to your Wi-Fi network for enhanced functionality.
Connecting the Thermostat to Wi-Fi
Connecting your smart thermostat to your Wi-Fi network is essential for accessing its full range of features and controlling it remotely. Although the exact steps may vary depending on the brand and model of your thermostat, here is a general guide to help you connect your thermostat to Wi-Fi:
- Access Wi-Fi Settings: On your smart thermostat’s display or through the companion mobile app, locate the Wi-Fi settings. This option is usually found in the device’s menu or settings section.
- Select Network: Once in the Wi-Fi settings, your smart thermostat will scan for available networks. Locate and select your home’s Wi-Fi network from the list of networks displayed.
- Enter Network Credentials: If your Wi-Fi network is password-protected, you will be prompted to enter the network’s password. Use the thermostat’s interface or companion app to input the correct credentials. Take care to enter the password accurately to prevent any connectivity issues.
- Connect to Wi-Fi: After entering the network credentials, your smart thermostat will attempt to establish a connection to the Wi-Fi network. This process may take a few moments as the thermostat communicates with the network.
- Verify Connection: Once the connection is established, you should see a confirmation message or the Wi-Fi icon displayed on the thermostat’s screen. Some models also have LED indicators that show a successful Wi-Fi connection.
- Test Remote Control: To ensure that the connection was successful, use your smartphone or other internet-connected device to remotely access and control your smart thermostat. This can typically be done through the companion mobile app or a web interface provided by the manufacturer.
If you encounter any difficulties during the Wi-Fi setup process, refer to the installation manual or the manufacturer’s support documentation for troubleshooting steps. Common issues may include incorrect network settings, signal interference, or compatibility issues with your home’s Wi-Fi network.
Remember to choose a secure password for your Wi-Fi network to protect your smart thermostat against unauthorized access. Additionally, ensure that the Wi-Fi signal is strong and stable in the location where your thermostat is installed to maintain a reliable connection.
Once your smart thermostat is successfully connected to Wi-Fi, it’s time to configure the settings and personalize its features to suit your preferences. The next section will guide you through the process of configuring the thermostat settings.
Configuring the Thermostat Settings
Configuring the settings of your smart thermostat is an important step to ensure optimal performance and a personalized experience. While specific settings and options may vary depending on the model and manufacturer, here are some general steps to help you configure your thermostat:
- Date and Time: Start by setting the correct date and time on your thermostat. This ensures accurate scheduling and temperature control.
- Temperature Preferences: Adjust the temperature settings to your desired comfort levels. Some thermostats offer pre-programmed temperature presets or adaptive learning features that can automatically adjust the temperature based on your preferences and schedule.
- Scheduling: Take advantage of the scheduling features to create a customized heating and cooling schedule that aligns with your daily routine. Set different temperature settings for various times of the day, allowing for energy savings when you’re away or asleep.
- Energy-Saving Modes: Many smart thermostats offer energy-saving modes or eco-friendly settings that optimize energy usage. Explore these options and choose the one that best suits your needs and preferences.
- Geofencing: If your smart thermostat supports geofencing technology, configure this feature to detect when you’re away from home and adjust the temperature accordingly. Geofencing uses the location of your smartphone to determine whether you’re in or out of the house.
- Smart Home Integration: If you have other smart home devices, such as smart lighting or blinds, link them to your smart thermostat for integrated control. This allows you to create scenes or routines that encompass multiple smart devices.
- Notifications and Alerts: Set up notifications and alerts to receive updates on your thermostat’s status, temperature changes, and energy usage. This helps you stay informed and make adjustments as necessary.
- System Compatibility: Some smart thermostats have additional settings specific to the heating and cooling system they are connected to. Adjust these settings based on the type of HVAC system you have for optimal performance.
- Explore Advanced Features: Familiarize yourself with any advanced features or options that your smart thermostat offers. This may include vacation mode, humidity control, fan settings, and more. Take the time to understand and utilize these features to enhance your comfort and energy efficiency.
Refer to the manufacturer’s documentation or consult the thermostat’s user manual for specific instructions on how to access and adjust the settings for your particular model. Each thermostat may have a different interface and navigation method, so it’s important to follow the manufacturer’s guidelines.
By configuring the settings of your smart thermostat, you can optimize your home’s heating and cooling, personalize your comfort preferences, and maximize energy efficiency. With the settings customized to your liking, you can enjoy the convenience and benefits that a smart thermostat brings to your home.
Troubleshooting Installation Issues
While installing a smart thermostat is generally a straightforward process, you may encounter some common issues along the way. It’s important to troubleshoot and address these problems to ensure proper functionality. Here are some troubleshooting tips for common installation issues:
No Power: If your smart thermostat isn’t receiving power, double-check the wiring connections to ensure they are properly secured and inserted into the correct terminals. Also, confirm that the circuit breaker for your HVAC system is switched on. If the issue persists, consult the thermostat’s manual or contact the manufacturer’s support for further assistance.
Compatibility Problems: If your smart thermostat is not compatible with your HVAC system, you may experience issues during installation or in the functionality of the thermostat. Review the compatibility requirements and ensure that your HVAC system aligns with the thermostat’s specifications. If there are compatibility issues, consider contacting a professional HVAC technician for guidance or explore alternative thermostat options.
Connectivity Challenges: If you encounter difficulties connecting your smart thermostat to Wi-Fi, verify that you have entered the correct network name and password. Also, check the Wi-Fi signal strength in the location where the thermostat is installed. Weak or unstable signals may hinder connectivity. If needed, move your Wi-Fi router closer or consider using a Wi-Fi range extender to improve the signal quality.
Incorrect Wiring: Improper wiring can cause various issues, such as the system not turning on or the thermostat not functioning as expected. Ensure that the wires are connected to the correct terminals on the thermostat and match the wiring diagram provided by the manufacturer. If you’re unsure, refer to the installation manual or reach out to the manufacturer’s support for guidance.
Sensor Placement: Incorrect sensor placement can lead to inaccurate temperature readings. Ensure that the thermostat is installed in a central location, away from direct sunlight, drafts, and other heat sources. Additionally, make sure that the thermostat is level and securely attached to the wall to prevent any interference with its sensors.
Software or Firmware Updates: Check if there are any available software or firmware updates for your smart thermostat. Keeping the thermostat’s software up to date can resolve issues and improve functionality. Most smart thermostats have options to update the software manually or automatically, either through the companion app or through the thermostat’s interface itself.
If troubleshooting the above issues doesn’t resolve the problem, consult the manufacturer’s support resources or contact their customer support for further assistance. They will be able to provide product-specific troubleshooting steps or recommend other solutions based on your specific situation.
Remember, proper installation and troubleshooting play a critical role in the functionality of your smart thermostat. By addressing any installation issues promptly, you can enjoy the full benefits and convenience of your new smart thermostat.
Benefits of Installing a Smart Thermostat
Installing a smart thermostat in your home can bring a multitude of benefits that enhance comfort, convenience, and energy efficiency. Here are some key advantages of having a smart thermostat:
Energy Savings: One of the primary benefits of a smart thermostat is its ability to save energy. By automatically adjusting the temperature based on your preferences and schedule, smart thermostats optimize energy usage. They can detect when you’re away from home and adjust the temperature accordingly, ensuring that energy isn’t wasted on unnecessary heating or cooling.
Cost Savings: With improved energy efficiency, smart thermostats can lead to significant cost savings on your utility bills. By reducing energy consumption and eliminating wasteful heating or cooling, you can enjoy lower monthly expenses while still maintaining a comfortable living environment.
Convenience: Smart thermostats offer a high level of convenience by allowing you to control and monitor your home’s temperature remotely. From your smartphone, tablet, or computer, you can adjust settings, change temperature presets, and even set up personalized schedules. This means you can ensure a cozy home when you arrive or adjust the temperature while being away on vacation.
Smart Home Integration: Smart thermostats often integrate seamlessly with other smart home devices and systems. This allows for streamlined automation and control. You can connect your thermostat with voice assistants like Amazon Alexa or Google Assistant, enabling hands-free control over your home’s temperature. Additionally, integration with home automation systems allows you to create customized scenes, such as adjusting the thermostat along with lighting or blinds.
Learning Capabilities: Many smart thermostats have learning capabilities that adapt to your preferences and behaviors over time. They can analyze your temperature adjustments and create personalized schedules accordingly. With adaptive learning, your thermostat learns when you typically use heating or cooling and adjusts accordingly, providing maximum comfort and energy savings without the need for constant manual adjustments.
Data and Analytics: Smart thermostats provide valuable data and analytics on your energy usage, temperature patterns, and more. This information can help you track your energy consumption, identify patterns, and make informed decisions to further optimize energy efficiency. By understanding how and when you use energy, you can make adjustments to reduce waste and save even more on your utility bills.
Smart Integrations: In addition to controlling temperature, smart thermostats can integrate with other smart devices that monitor air quality, humidity levels, and more. This holistic approach to home comfort ensures that your living environment is optimal and healthy, promoting well-being for you and your family.
By installing a smart thermostat, you can enjoy the benefits of energy savings, cost savings, convenience, and enhanced control over your home’s heating and cooling system. Not only does a smart thermostat improve comfort, but it also contributes to a more sustainable and eco-friendly lifestyle.
Conclusion
Installing a smart thermostat is a smart investment that brings numerous benefits to your home. With its energy-saving features, remote accessibility, and personalized temperature control, a smart thermostat offers convenience, comfort, and cost savings. By following the step-by-step installation process, choosing the right model, and troubleshooting any issues that arise, you can successfully integrate a smart thermostat into your home’s heating and cooling system.
The process begins by selecting a smart thermostat that is compatible with your HVAC system and aligns with your preferences and budget. Preparing for installation ensures a smooth and efficient process, while the installation itself involves attaching the mounting plate, connecting the wiring correctly, and securing the thermostat in place. Connecting the thermostat to your Wi-Fi network expands its capabilities, allowing for remote control and monitoring from anywhere, at any time.
After installation, configuring the thermostat settings according to your preferences and daily routine enhances energy efficiency and personal comfort. With features like scheduling, energy-saving modes, and smart home integrations, you have the power to optimize both comfort and energy savings.
Remember to troubleshoot any installation issues that arise, such as power or connectivity problems, to ensure your smart thermostat functions properly. Utilize the resources provided by the manufacturer and seek professional assistance as needed.
By installing a smart thermostat, you can enjoy the benefits of energy and cost savings, increased convenience, and a more comfortable living environment. Take advantage of the advanced features, learning capabilities, and data analytics offered by smart thermostats to further optimize your home’s energy efficiency and overall well-being.
Take the plunge into the world of smart home technology by installing a smart thermostat. Embrace the convenience, control, and energy savings it brings, and experience a more comfortable and efficient home for years to come.


