Introduction
Welcome to our comprehensive guide on how to install the Honeywell Smart Thermostat! Upgrading to a smart thermostat not only brings convenience but also helps you save money on energy bills. With its advanced features and intuitive interface, the Honeywell Smart Thermostat is a popular choice for homeowners seeking to enhance their home’s energy efficiency.
In this article, we will outline the step-by-step process of installing the Honeywell Smart Thermostat. Whether you’re a DIY enthusiast or a beginner, this guide will provide you with all the information you need to successfully install and set up your new thermostat.
The installation process may seem intimidating at first, but don’t worry – we will break it down into simple and easy-to-follow steps. You’ll be amazed at how straightforward and hassle-free the installation can be. Plus, with the integration of the Honeywell Smart Thermostat app, you’ll have complete control over your home’s temperature from anywhere using your smartphone!
Before we dive into the installation process, let’s discuss the benefits of upgrading to a smart thermostat. Unlike traditional thermostats, smart thermostats offer features such as remote access, energy usage reports, and temperature scheduling. These features allow you to customize your home’s heating and cooling settings to your preferences, resulting in improved comfort and energy savings.
By making the switch to a Honeywell Smart Thermostat, you’ll have the ability to optimize your home’s energy usage, reduce your carbon footprint, and ultimately save money on your utility bills. Are you ready to embark on this energy-saving journey? Let’s get started with the installation process!
Step 1: Gather the necessary tools and materials
Before you begin the installation process, it’s essential to gather all the necessary tools and materials to ensure a smooth and successful installation. Here is a list of items you will need:
- Honeywell Smart Thermostat
- Screwdriver (flathead and Phillips)
- Drill (if required for wall mounting)
- Mounting plate (included in the thermostat package)
- Wire labels (included in the thermostat package)
- Wire stripper (if necessary)
- Tape (electrical or masking)
- Level (optional, but helpful for accurate installation)
- Smartphone or tablet (for setting up the Honeywell Smart Thermostat app)
Take a moment to gather these tools and materials before you begin. Keeping everything organized and within reach will save you time and prevent any unnecessary delays during the installation process.
It’s worth noting that the specific tools and materials required may vary depending on your existing thermostat setup and the features of your HVAC system. Consult the instructions provided with your Honeywell Smart Thermostat for any specific requirements or additional items that may be needed.
Once you have everything you need, you’ll be well-prepared to proceed with the installation process. In the next step, we’ll guide you through the process of turning off the power to your heating and cooling system, ensuring a safe and successful installation.
Step 2: Turn off the power to your heating and cooling system
Before you begin any work on your thermostat, it’s crucial to turn off the power to your heating and cooling system. This step is essential to ensure your safety and prevent any electrical mishaps during the installation process. Follow these steps to turn off the power:
- Locate your home’s circuit breaker panel. It is typically found in the basement, garage, or utility room.
- Identify the circuit breaker that controls your heating and cooling system. Look for a label indicating “HVAC,” “Heating,” or “Cooling.”
- Switch the circuit breaker to the “off” position. This will cut off the power supply to your HVAC system.
- As an extra precaution, you can also turn off the main circuit breaker supplying power to your entire home. This step ensures that there is no electrical power flowing to your thermostat and HVAC system.
Once you’ve turned off the power, it’s important to verify that the power is indeed off before proceeding with the installation. Here are a few ways to double-check:
- Confirm that your thermostat screen is blank. This indicates that there is no power supply.
- Try turning on your heating or cooling system through your thermostat. If it does not turn on, this confirms that the power is off.
- Check other electrical devices connected to your HVAC system, such as the fan or condenser unit. If they do not turn on, it further validates that the power is switched off.
Once you have confirmed that the power is off, you can proceed with the next step, which involves removing your existing thermostat. Turning off the power is an essential safety measure that should never be skipped, as it ensures a safe working environment during the installation process.
Step 3: Remove the old thermostat
Now that the power to your heating and cooling system is turned off, it’s time to remove your old thermostat. Follow these steps to ensure a proper removal:
- Remove the thermostat cover. Most thermostats have a cover that can be easily lifted or removed by pulling it straight out or unscrewing it from the wall.
- Locate the mounting plate. Behind the thermostat cover, you’ll find a mounting plate attached to the wall. Take note of the wires connected to the plate and their corresponding terminals.
- Disconnect the wires. Using a screwdriver, carefully loosen the terminal screws to release the wires. As you remove each wire, take note of its color and the corresponding terminal it was connected to. You can use the wire labels provided or create your own labels to keep track of each wire.
- Remove the mounting plate. Once all the wires are disconnected, unscrew the mounting plate from the wall. Be careful not to damage the wires as you remove the plate.
- Inspect the wall. With the old thermostat removed, take a closer look at the wall to ensure it’s in good condition. Any loose or protruding wires should be secured or tucked away.
It’s important to handle the old thermostat and the mounting plate with care, as they may still contain electrical components or batteries. Be sure to dispose of them properly according to your local regulations or manufacturer’s instructions.
Removing the old thermostat is a relatively simple process, but make sure to take note of the wires and their corresponding terminals. This information will be crucial for the next step, where you’ll connect the wiring to the new Honeywell Smart Thermostat.
Now that your old thermostat has been successfully removed, you’re ready to move on to the next step: attaching the mounting plate for the new thermostat.
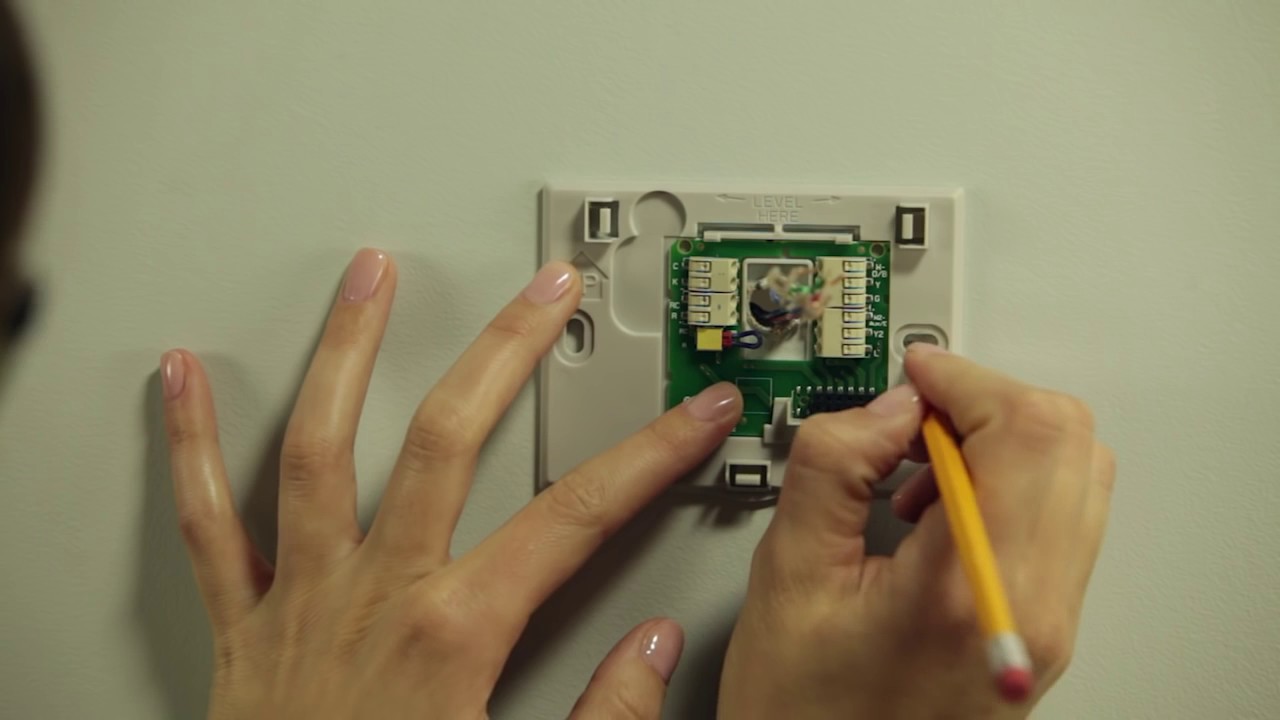
Step 4: Attach the mounting plate for the new thermostat
With the old thermostat removed, it’s time to prepare the installation of your new Honeywell Smart Thermostat by attaching the mounting plate. Follow these steps to ensure a secure installation:
- Take out the mounting plate from the packaging. Ensure that it is the correct size and compatible with your Honeywell Smart Thermostat model.
- Hold the mounting plate against the wall in the desired location. Make sure it is level using a level tool, as this will ensure precise installation.
- Mark the mounting holes on the wall. Use a pencil or a marker to make small marks through the screw holes of the mounting plate onto the wall surface. This will guide you when drilling or screwing in the screws later.
- If necessary, drill pilot holes. If your mounting plate requires screws to be drilled into the wall, use a drill and a drill bit that is slightly smaller than the screws. This will help prevent the wall from cracking or splitting when inserting the screws.
- Attach the mounting plate to the wall. Align the screw holes on the mounting plate with the pilot holes or marked spots on the wall and use a screwdriver or drill with a screwdriver bit to securely fasten the plate to the wall using the provided screws.
Ensure that the mounting plate is securely attached to the wall and level. A properly installed mounting plate will provide a stable base for your new thermostat.
Take a moment to double-check the alignment and levelness of the mounting plate before proceeding to the next step. Any adjustments can be made at this stage to ensure a professional-looking installation.
With the mounting plate securely in place, you are now ready to move on to the next step, which involves connecting the wiring to your new Honeywell Smart Thermostat. This step is crucial for the proper functioning of your thermostat and will be covered in the next section.
Step 5: Connect the wiring to the new thermostat
Now that you have successfully installed the mounting plate, it’s time to connect the wiring to your new Honeywell Smart Thermostat. Follow these steps to ensure a proper connection:
- Refer to the wire labels or notes you made when disconnecting the old thermostat. Identify the corresponding terminals for each wire.
- Start with the first wire and insert it into the labeled terminal on the new thermostat. Ensure that the wire is securely inserted and that the terminal screw is tightened to hold the wire in place. Repeat this process for each wire, one by one.
- If your thermostat has a C-wire (common wire), be sure to connect it to the appropriate terminal. The C-wire provides constant power to the thermostat, enabling it to function properly.
- Double-check the wiring connections to ensure they are secure. Give each wire a gentle tug to make sure it is firmly attached to its respective terminal.
- If necessary, use electrical tape to secure the wires and prevent them from becoming loose or tangled. However, be cautious not to cover any terminals or obstruct the thermostat’s operation.
It’s important to ensure that the wires are connected to the correct terminals, as incorrect wiring can lead to malfunctions or ineffective operation of your new thermostat.
Once you have securely connected all the wires to the appropriate terminals, you’re ready to proceed to the next step: attaching the new thermostat to the mounting plate.
Remember, if you’re unsure about the wiring or need assistance, it’s best to consult a professional or refer to the Honeywell Smart Thermostat’s installation manual. Taking the time to properly connect the wiring will ensure smooth operation and accurate temperature control from your new thermostat.
Step 6: Attach the new thermostat to the mounting plate
With the wiring successfully connected, it’s time to attach your new Honeywell Smart Thermostat to the mounting plate. Follow these steps to securely install the thermostat:
- Hold the thermostat so that it aligns with the holes on the mounting plate.
- Gently push the thermostat onto the mounting plate, ensuring that the pins or connectors on the back of the thermostat align with the corresponding slots or terminals on the plate.
- Apply gentle pressure and push the thermostat firmly against the mounting plate until it clicks into place. You may hear a clicking sound or feel a slight resistance as the thermostat locks into position.
- Once the thermostat is securely attached to the mounting plate, give it a gentle tug to ensure it is firmly in place and properly seated.
- Take a step back and inspect the thermostat to ensure it is level and aligned with the wall. Make any necessary adjustments to the tilt or rotation of the thermostat as needed.
Properly attaching the new thermostat to the mounting plate is crucial to ensure its stability and accurate temperature readings. It also allows seamless interaction with the thermostat’s touch screen or control buttons.
Be cautious not to force or apply excessive pressure when attaching the thermostat to the mounting plate. Firm, gentle pressure is sufficient to securely attach the two components together.
With the thermostat securely attached to the mounting plate, you’re almost done with the installation process. The next step involves turning on the power and configuring the thermostat settings, which we will cover in the following section.
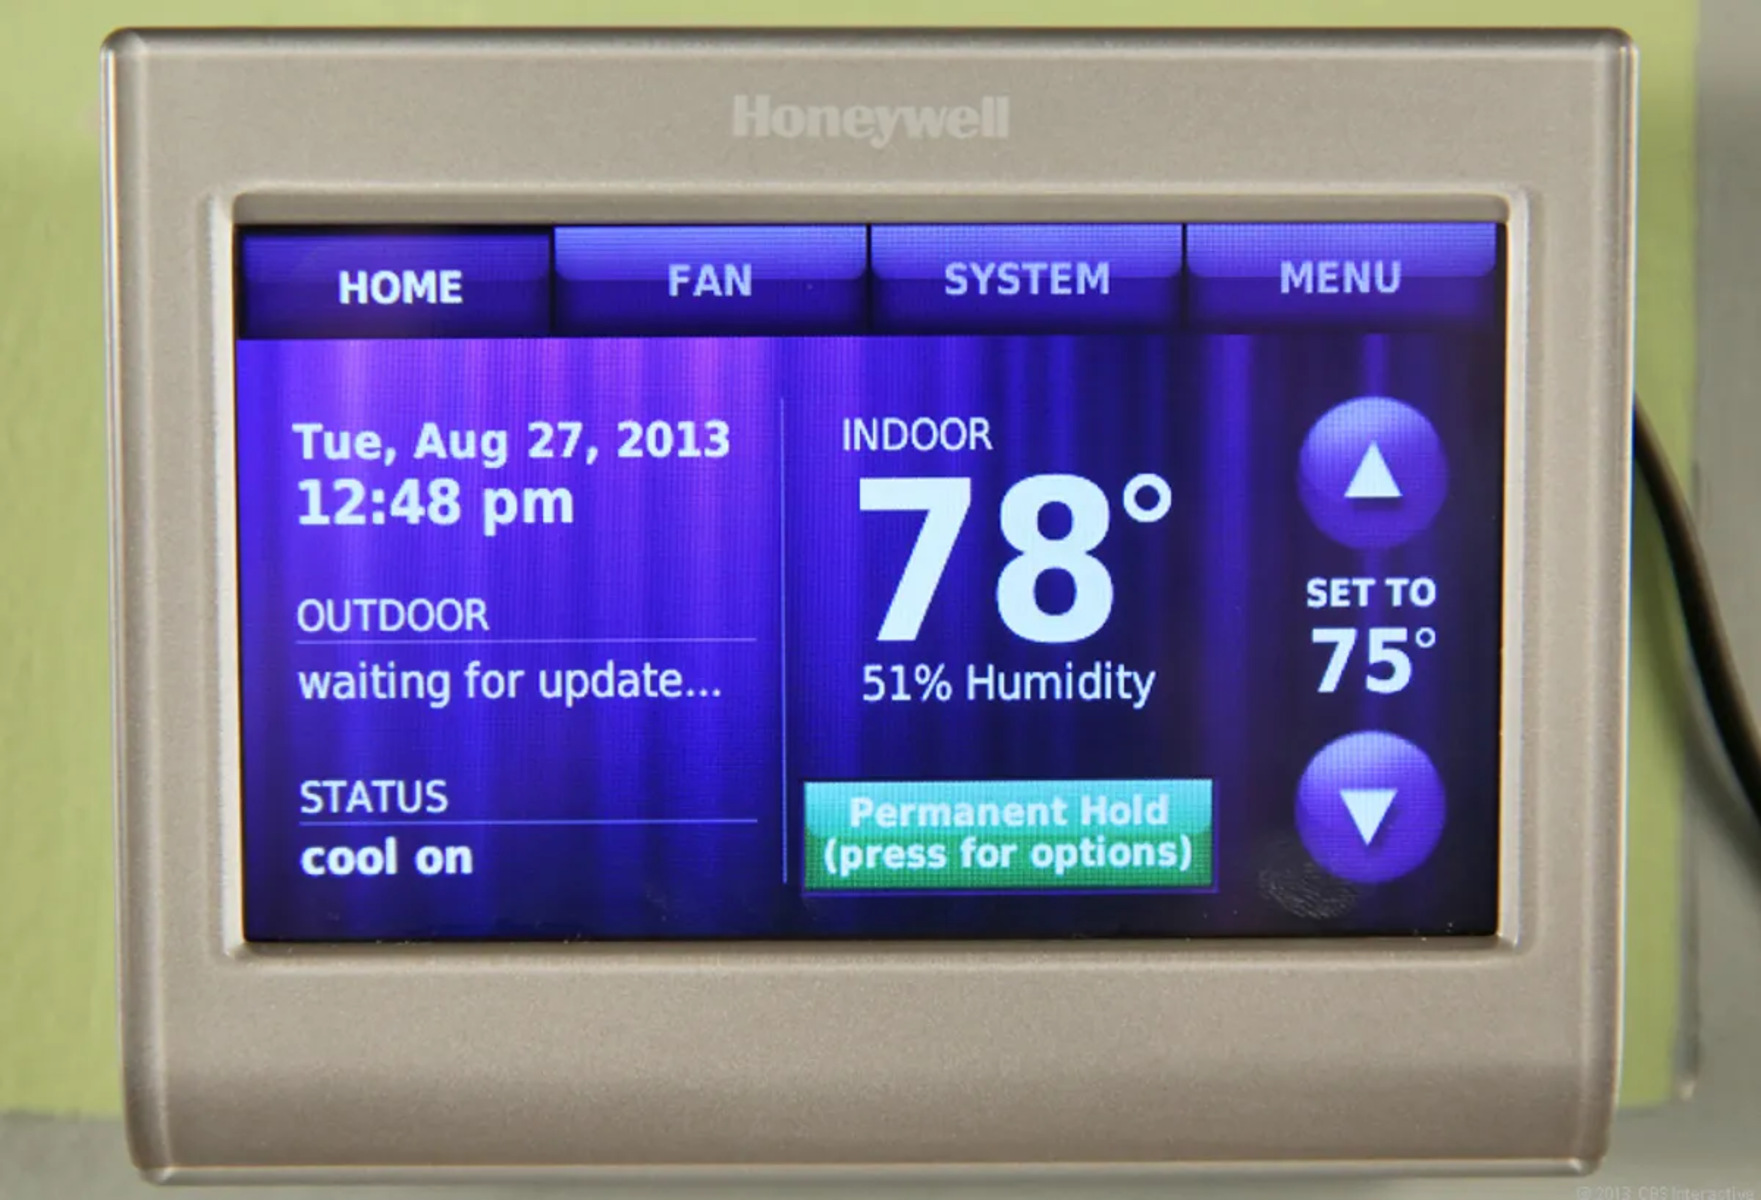
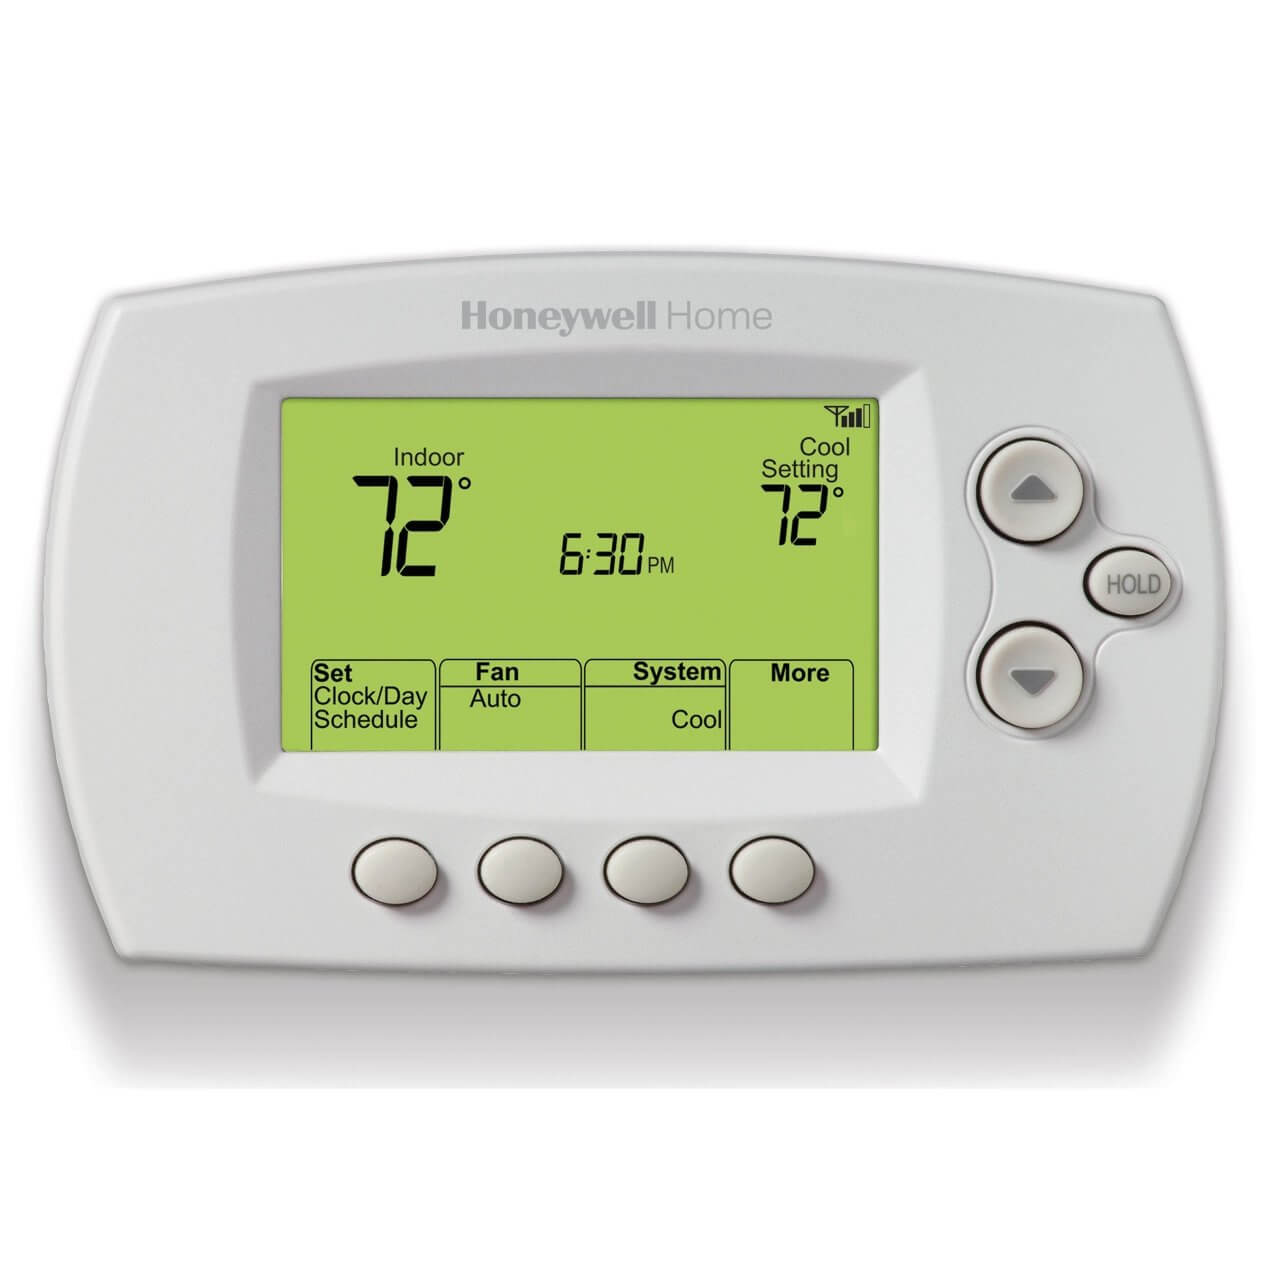
Step 7: Turn on the power and configure the thermostat settings
Now that you have successfully attached the new thermostat to the mounting plate, it’s time to turn on the power and configure the thermostat settings. Follow these steps to ensure a proper setup:
- Locate the circuit breaker panel that controls the power to your heating and cooling system.
- Switch the circuit breaker to the “on” position to restore power to your HVAC system.
- Observe the new thermostat to verify that it powers on and displays the initial setup screen. You may need to wait a few moments for the thermostat to initialize.
- Follow the on-screen prompts or instructions provided by the Honeywell Smart Thermostat to set the initial settings, such as the date, time, and desired temperature units (Fahrenheit or Celsius).
- Configure the thermostat settings according to your preferences. This may include setting temperature schedules for different times of the day or customizing various energy-saving features offered by the Honeywell Smart Thermostat.
- Connect the thermostat to your home’s Wi-Fi network by following the instructions provided in the thermostat’s setup process. This will enable remote access and control of your thermostat through the Honeywell Smart Thermostat app.
- Once you have completed the setup and configuration process, take a moment to double-check the accuracy of the displayed settings and ensure that your thermostat is functioning as expected.
During the initial setup, it’s helpful to refer to the user manual or any accompanying documentation provided by Honeywell for specific instructions related to your model of the Smart Thermostat. This will ensure you take full advantage of its features and capabilities.
By configuring the thermostat settings to your preferences, you can optimize your home’s energy efficiency, enhance comfort, and tailor the thermostat’s operation to your specific needs.
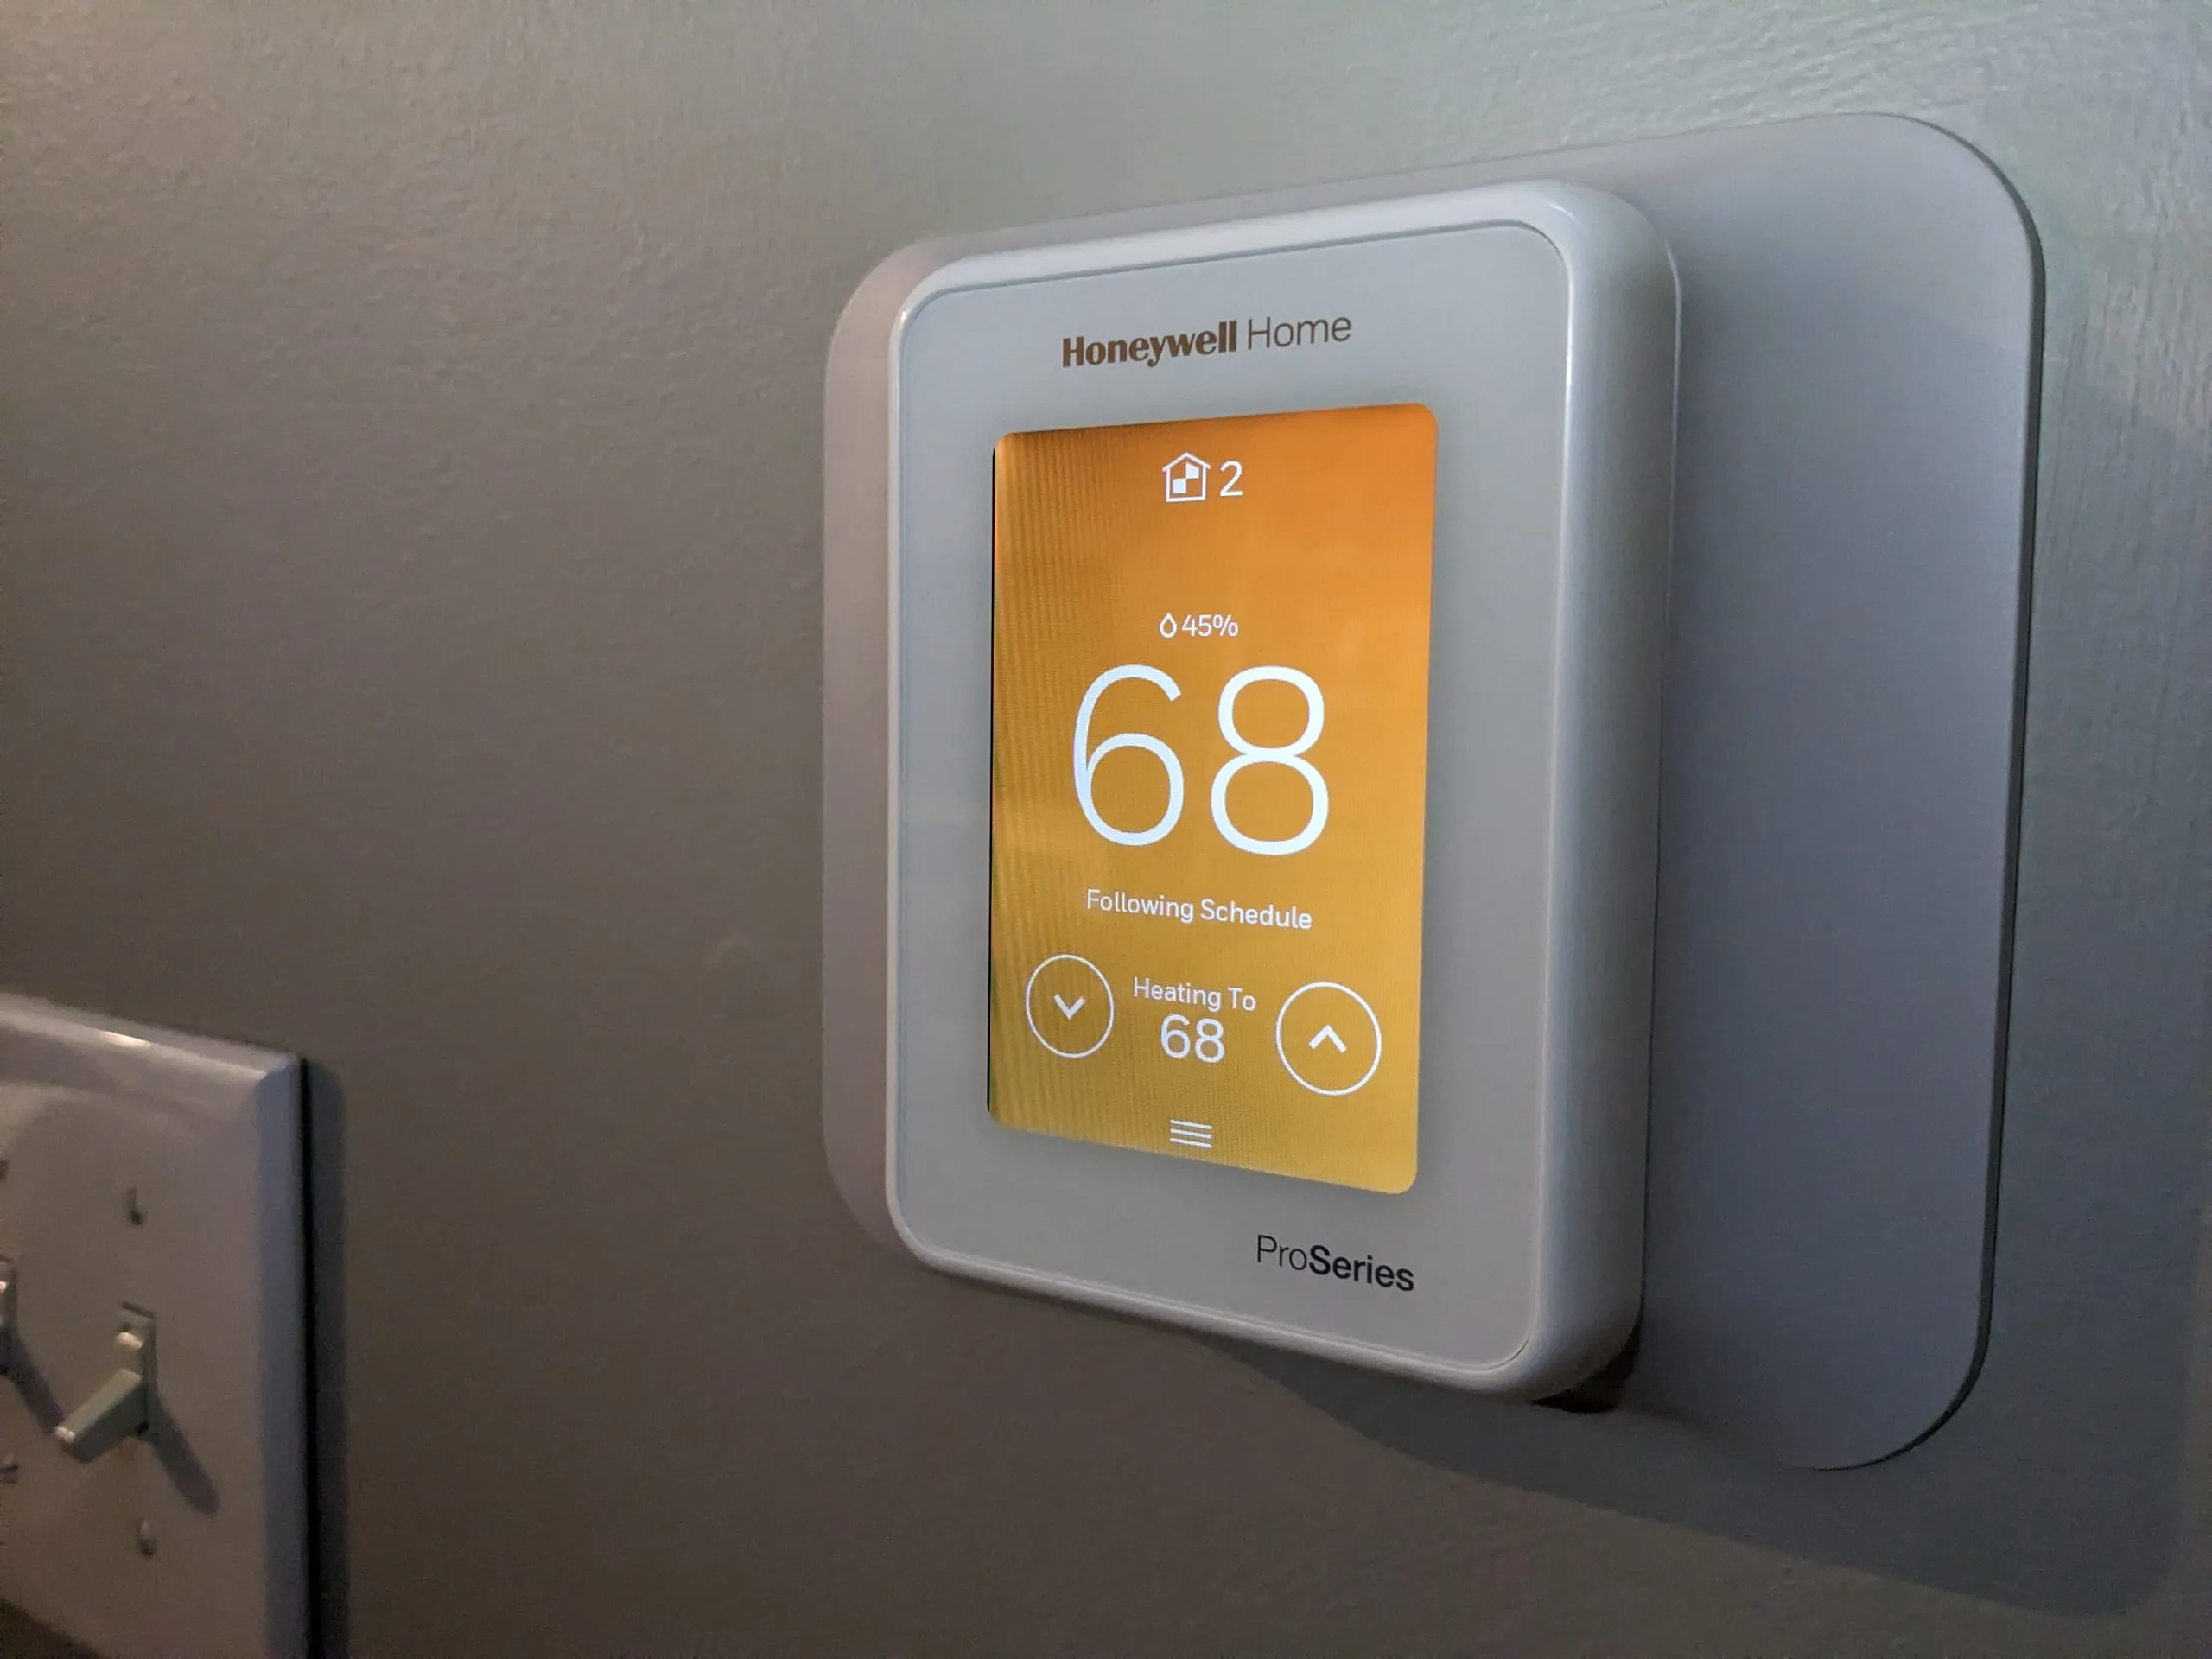
Once you have successfully turned on the power and configured the thermostat settings, congratulations! You have now completed the installation process and are ready to enjoy the benefits of your new Honeywell Smart Thermostat.
Step 8: Download and set up the Honeywell Smart Thermostat app
To take full advantage of the features and capabilities of your new Honeywell Smart Thermostat, it’s recommended to download and set up the Honeywell Smart Thermostat app on your smartphone or tablet. Follow these steps to get started:
- Open the app store on your mobile device. Whether you have an iOS or Android device, search for the Honeywell Smart Thermostat app.
- Download and install the app onto your mobile device.
- Once the app is installed, open it and follow the on-screen instructions to create an account or log in if you already have one.
- Ensure that your mobile device is connected to the same Wi-Fi network as your Honeywell Smart Thermostat.
- In the app, follow the prompts to discover and connect to your thermostat. This usually involves entering a unique identifier or scanning a QR code provided by the thermostat.
- Once your thermostat is connected to the app, you’ll have full access to its features and controls from your mobile device.
- Explore the various options and settings available in the app. You can adjust temperature settings, configure schedules, monitor energy usage, and even control your thermostat remotely from anywhere.
- Take some time to familiarize yourself with the app interface and all the features it offers. This will allow you to make the most of your smart thermostat and enhance your overall experience.
The Honeywell Smart Thermostat app provides you with the convenience of controlling your thermostat from anywhere, as long as you have an internet connection. It allows you to set your preferred temperature, adjust settings, and even receive alerts and notifications.
By utilizing the app, you can effectively manage your energy usage, optimize comfort levels, and monitor your thermostat’s performance for maximum efficiency.
With the app successfully downloaded and set up on your mobile device, you now have complete control over your Honeywell Smart Thermostat, whether you’re at home or on the go.
Conclusion
Congratulations, you have successfully completed the installation process of your Honeywell Smart Thermostat! By following the step-by-step instructions provided in this guide, you have gained the knowledge and skills to upgrade your home’s thermostat and enjoy the benefits of advanced temperature control and energy savings.
From gathering the necessary tools and materials to turning off the power, removing the old thermostat, attaching the mounting plate, connecting the wiring, and finally setting up the thermostat and app, each step was carefully outlined to ensure a smooth and successful installation.
With your new Honeywell Smart Thermostat installed, you now have the ability to optimize your home’s energy efficiency, reduce your carbon footprint, and enjoy customized comfort settings. The intuitive interface, remote access capabilities, and energy-saving features provide convenience and control at your fingertips, making your home more comfortable and cost-effective.
Remember to explore the various settings and features offered by the Honeywell Smart Thermostat app. By configuring temperature schedules, monitoring energy usage, and utilizing remote control capabilities, you can further enhance your thermostat’s performance and maximize energy savings.
Should you require any further assistance or have specific questions about your Honeywell Smart Thermostat, refer to the user manual or contact Honeywell customer support for guidance.
Thank you for choosing the Honeywell Smart Thermostat and taking the initiative to upgrade your home’s temperature control. We hope that this guide has been informative and helpful in your installation process. Enjoy the comfort, convenience, and energy savings provided by your new smart thermostat!