About the Honeywell T6 Pro Smart Thermostat
The Honeywell T6 Pro Smart Thermostat is an advanced and user-friendly device that allows you to control the temperature and settings of your home’s heating and cooling system. With its sleek design and innovative features, this thermostat brings convenience and energy efficiency to your fingertips.
Designed with the latest technology, the T6 Pro Smart Thermostat offers a range of customization options to meet your unique needs. Whether you want to schedule temperature adjustments, utilize geofencing capabilities, or enjoy smart response features, this thermostat has you covered.
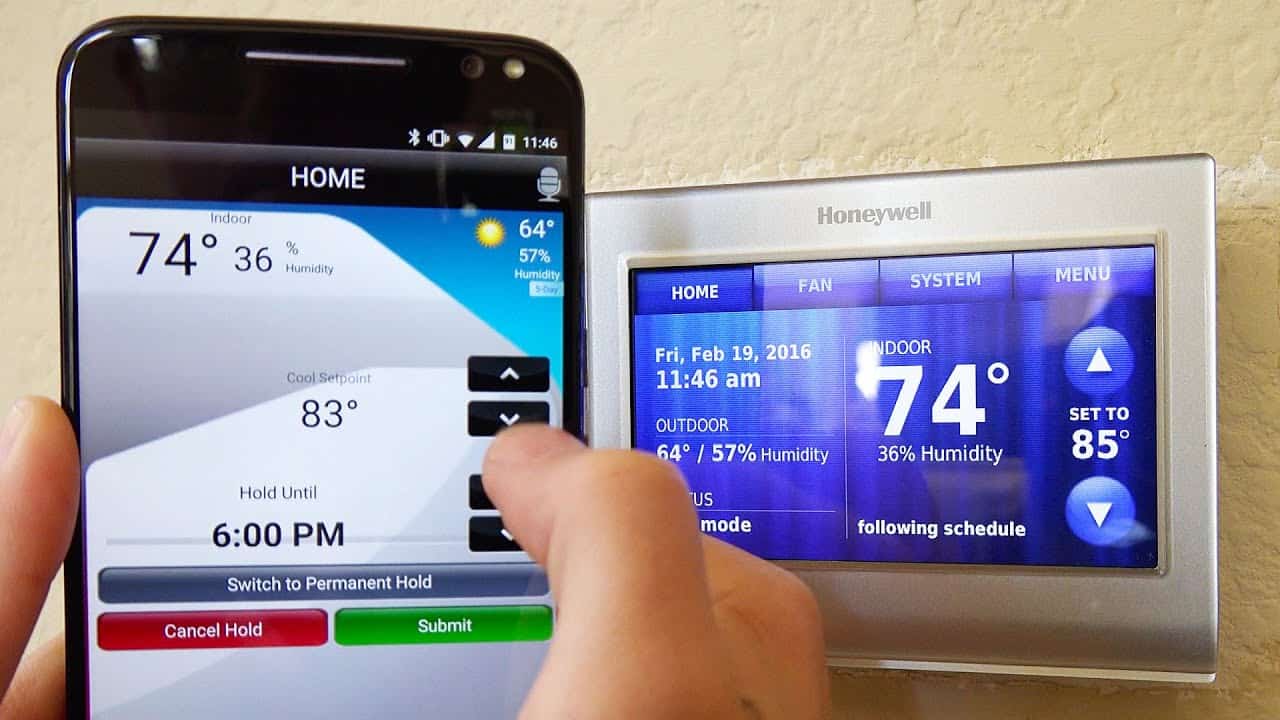
One of the key advantages of the T6 Pro Smart Thermostat is its ability to be controlled remotely through the Honeywell Home app. This allows you to adjust the temperature and settings of your thermostat from anywhere, whether you’re at work, on vacation, or simply relaxing on the couch.
Another notable feature of the T6 Pro Smart Thermostat is its compatibility with voice assistants like Amazon Alexa and Google Assistant. This means you can easily control the thermostat using voice commands, making it even more convenient and hands-free.
Furthermore, the T6 Pro Smart Thermostat offers energy-saving capabilities that help you reduce your energy consumption and save money on utility bills. With its intuitive programming features, you can easily create schedules that align with your daily routine and adapt to changes as needed. This allows you to optimize energy usage and ensure maximum comfort while minimizing wastage.
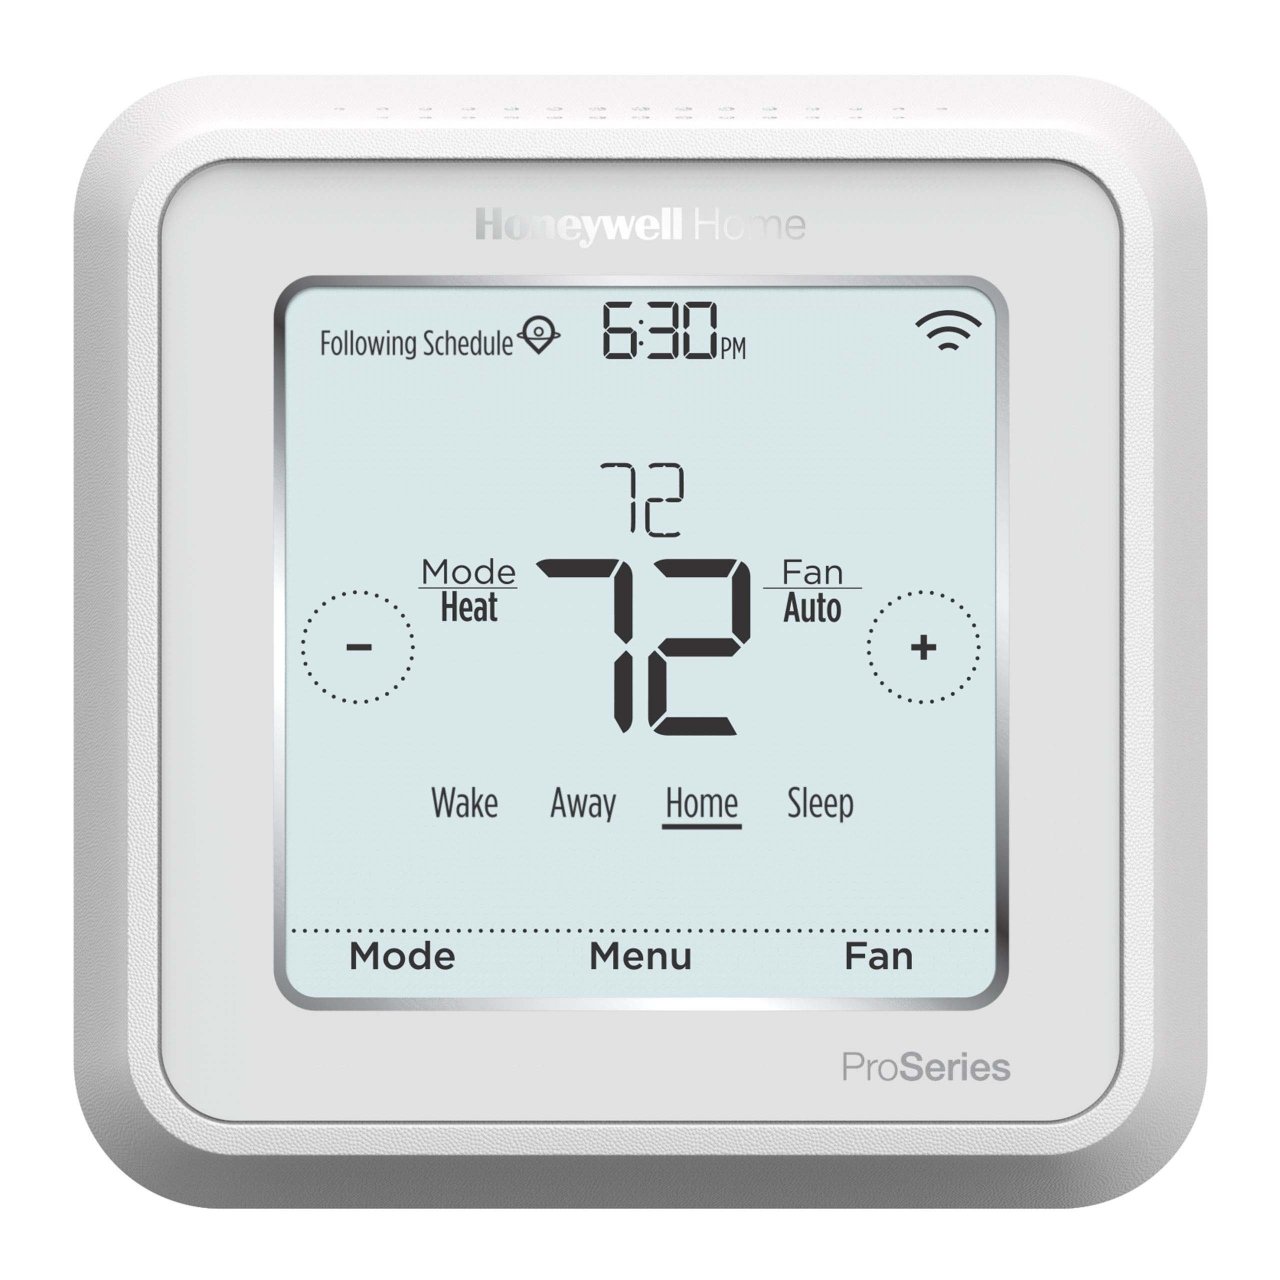
The T6 Pro Smart Thermostat is also designed to provide a user-friendly experience. Its large, backlit display makes it easy to read the temperature and settings, even in dim lighting. The touchscreen interface is intuitive and responsive, allowing for effortless navigation and adjustments.
Installation of the T6 Pro Smart Thermostat is straightforward, and it is compatible with most heating and cooling systems. However, if you are unsure about the installation process, it is always recommended to consult a professional HVAC technician for assistance.
In summary, the Honeywell T6 Pro Smart Thermostat is a cutting-edge device that offers convenience, energy efficiency, and control at your fingertips. With its advanced features, intuitive interface, and compatibility with voice assistants, it is a smart choice for managing your home’s temperature and reducing your energy consumption.
Setting Up the Honeywell T6 Pro Smart Thermostat
Setting up the Honeywell T6 Pro Smart Thermostat is a straightforward process that can be done by following a few simple steps. Before you begin, ensure that you have the necessary tools and materials, such as a flathead screwdriver and wire labels.
- Start by turning off the power to your heating and cooling system at the breaker or fuse box to ensure your safety during the installation process.
- Next, remove the existing thermostat from the wall by gently pulling it away from its mounting plate. Take note of the wire connections and their corresponding terminals.
- Using the wire labels, carefully label each wire according to its corresponding terminal. This step will help you during the installation of the T6 Pro Smart Thermostat.
- Once the wires are labeled, remove the mounting plate from the T6 Pro Smart Thermostat package. Align the holes on the mounting plate with the holes on the wall, and use the provided screws to secure it in place.
- After installing the mounting plate, connect the labeled wires to the corresponding terminals on the T6 Pro Smart Thermostat. Use a screwdriver to tighten the terminal screws and ensure a secure connection.
- Now, snap the T6 Pro Smart Thermostat onto the mounting plate. Ensure that it is properly aligned and securely attached.
- Once the thermostat is installed, turn on the power to your heating and cooling system at the breaker or fuse box.
- The T6 Pro Smart Thermostat will now power up and guide you through the setup process on its display. Follow the on-screen instructions to configure your preferred settings, such as date, time, and heating/cooling preferences.
- After completing the initial setup, you can further customize your thermostat by accessing the advanced settings. Refer to the user manual for detailed instructions on accessing and adjusting these settings.
That’s it! You have successfully set up your Honeywell T6 Pro Smart Thermostat. Enjoy the convenience and control it brings to your home’s temperature and energy usage.
Connecting the Thermostat to Wi-Fi
Connecting your Honeywell T6 Pro Smart Thermostat to your Wi-Fi network allows you to control and monitor your thermostat remotely through the Honeywell Home app. This feature provides convenience and flexibility, giving you the ability to adjust temperature settings even when you are away from home. Follow these steps to connect your thermostat to Wi-Fi:
- Ensure that your thermostat is powered on and the display is active.
- On the thermostat’s display, navigate to the Wi-Fi setup menu. This can usually be done by pressing the menu button and selecting Wi-Fi setup.
- Choose the option to connect to a Wi-Fi network. This may be called “Connect to Wi-Fi,” “Set up Wi-Fi,” or something similar.
- The thermostat will scan for available Wi-Fi networks. Once the scan is complete, a list of networks will be displayed on the thermostat’s screen.
- Select your Wi-Fi network from the list. If your network is hidden, you may need to enter its name manually.
- Enter the password for your Wi-Fi network using the thermostat’s on-screen keyboard. Take care to enter the correct password to avoid connection issues.
- Once the password is entered, the thermostat will attempt to connect to your Wi-Fi network. This process may take a few moments.
- If the connection is successful, the thermostat will display a confirmation message. You can now control your thermostat remotely using the Honeywell Home app.
- If the connection fails, double-check that you have entered the correct Wi-Fi password. You may also need to move the thermostat closer to your Wi-Fi router if the signal is weak.
It’s worth noting that some T6 Pro Smart Thermostats may have a Wi-Fi enrollment process that requires scanning a QR code located on the thermostat or its packaging. If this is the case, follow the specific instructions provided with your thermostat to complete the Wi-Fi setup.
Once your Honeywell T6 Pro Smart Thermostat is connected to Wi-Fi, you can enjoy the convenience of controlling your thermostat from anywhere using your smartphone or other smart devices. This feature allows you to adjust temperature settings, create schedules, and monitor energy usage without needing to be physically present at home.
Registering the Thermostat on the Honeywell Home App
Registering your Honeywell T6 Pro Smart Thermostat on the Honeywell Home app is a simple process that allows you to unlock the full potential of your thermostat’s remote control capabilities. By registering, you can control your thermostat from anywhere using your smartphone or tablet. Follow these steps to register your thermostat on the Honeywell Home app:
- Download and install the Honeywell Home app from the App Store or Google Play Store, depending on your mobile device’s operating system.
- Once the app is installed, open it and create an account if you don’t already have one. If you have an existing Honeywell Home account, simply log in.
- Follow the on-screen instructions to set up your account and provide the necessary information.
- On the main screen of the app, tap on the “Add Device” or “+” button to start the device setup process.
- Choose the “Thermostat” option from the list of available devices.
- Next, select the Honeywell T6 Pro Smart Thermostat from the device list.
- The app will prompt you to enter the MAC address or QR code of your thermostat. You can find this information on the back of your thermostat or in the thermostat’s packaging.
- Enter the required information and follow the on-screen instructions to complete the registration process.
- Once your thermostat is successfully registered, it will appear on the main screen of the Honeywell Home app, and you can start controlling it remotely.
- Explore the various options and features within the app to customize your thermostat settings, create schedules, and access additional functionalities.
Registering your Honeywell T6 Pro Smart Thermostat on the Honeywell Home app allows you to conveniently control and monitor your thermostat from anywhere. With the app, you can adjust temperature settings, create personalized schedules, and receive temperature alerts and reminders. This level of control and accessibility enhances your overall home comfort and energy efficiency.
Remember to keep your Honeywell Home app updated to ensure compatibility with the latest features and improvements for a seamless user experience.
Understanding the Thermostat Display
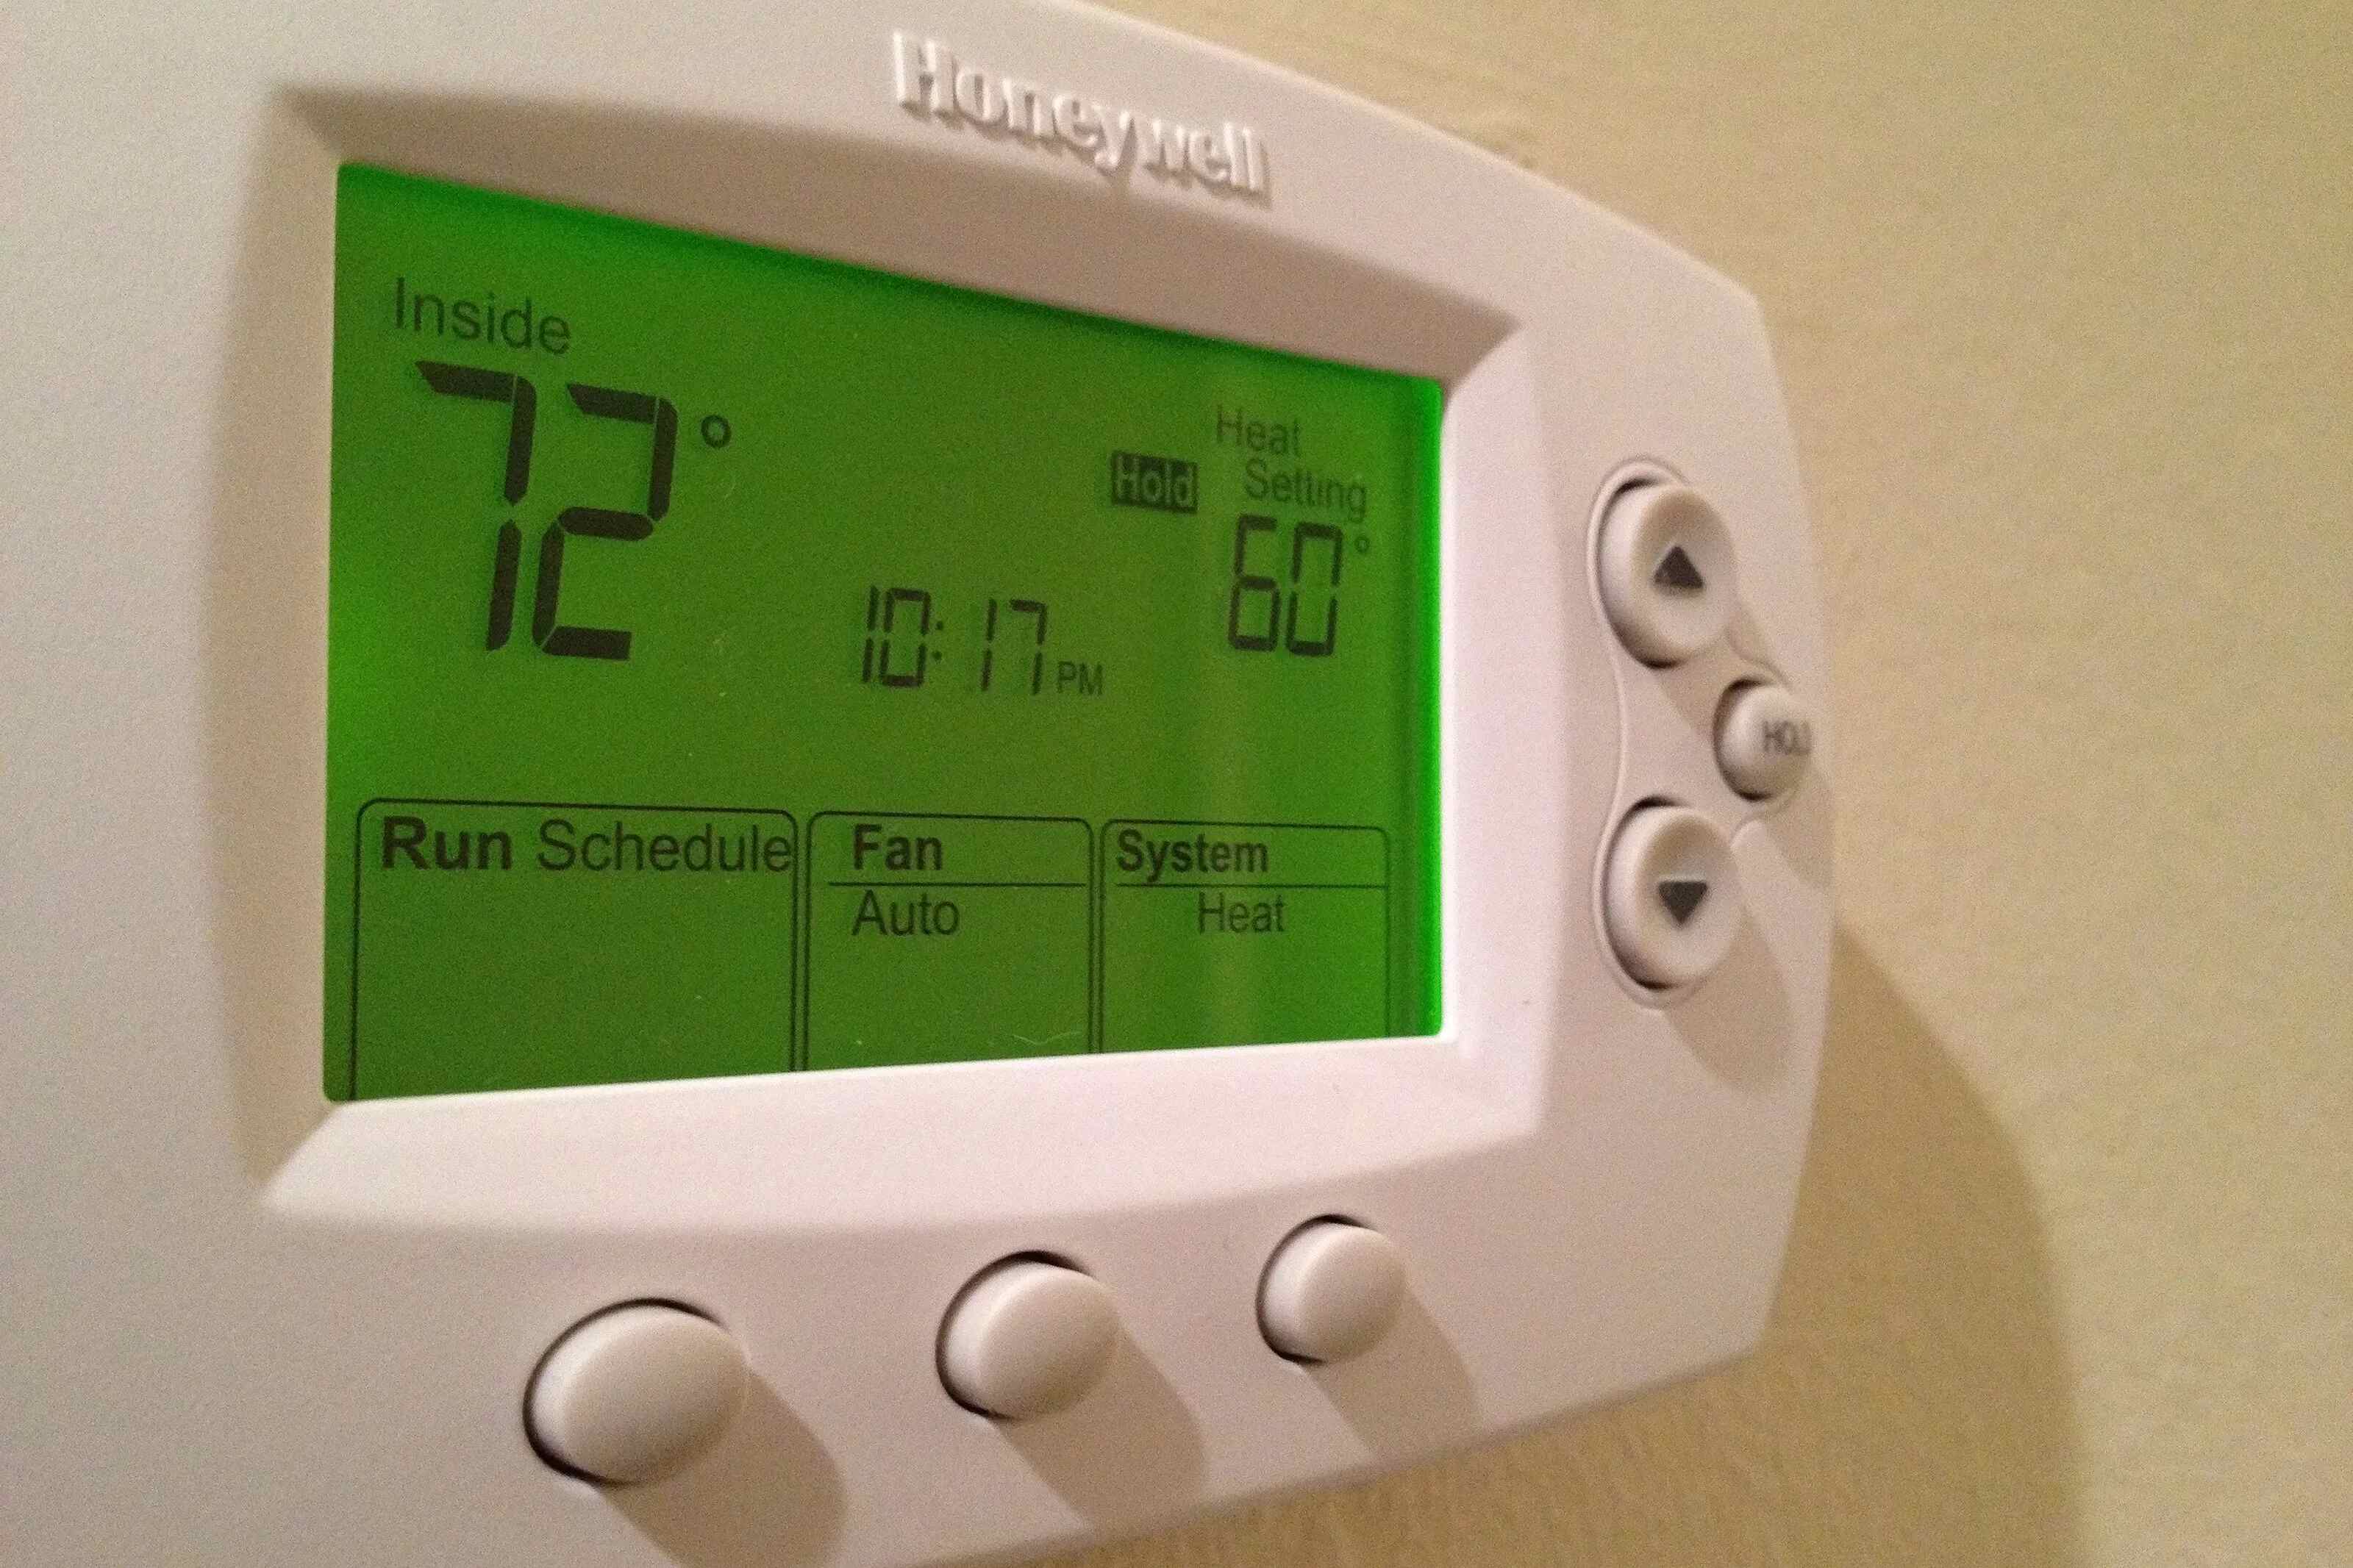
The thermostat display is the interface through which you interact with your Honeywell T6 Pro Smart Thermostat. Understanding the information and options displayed on the screen will help you effectively utilize all the features and settings of your thermostat. Here’s a breakdown of the different elements you may encounter on the thermostat display:
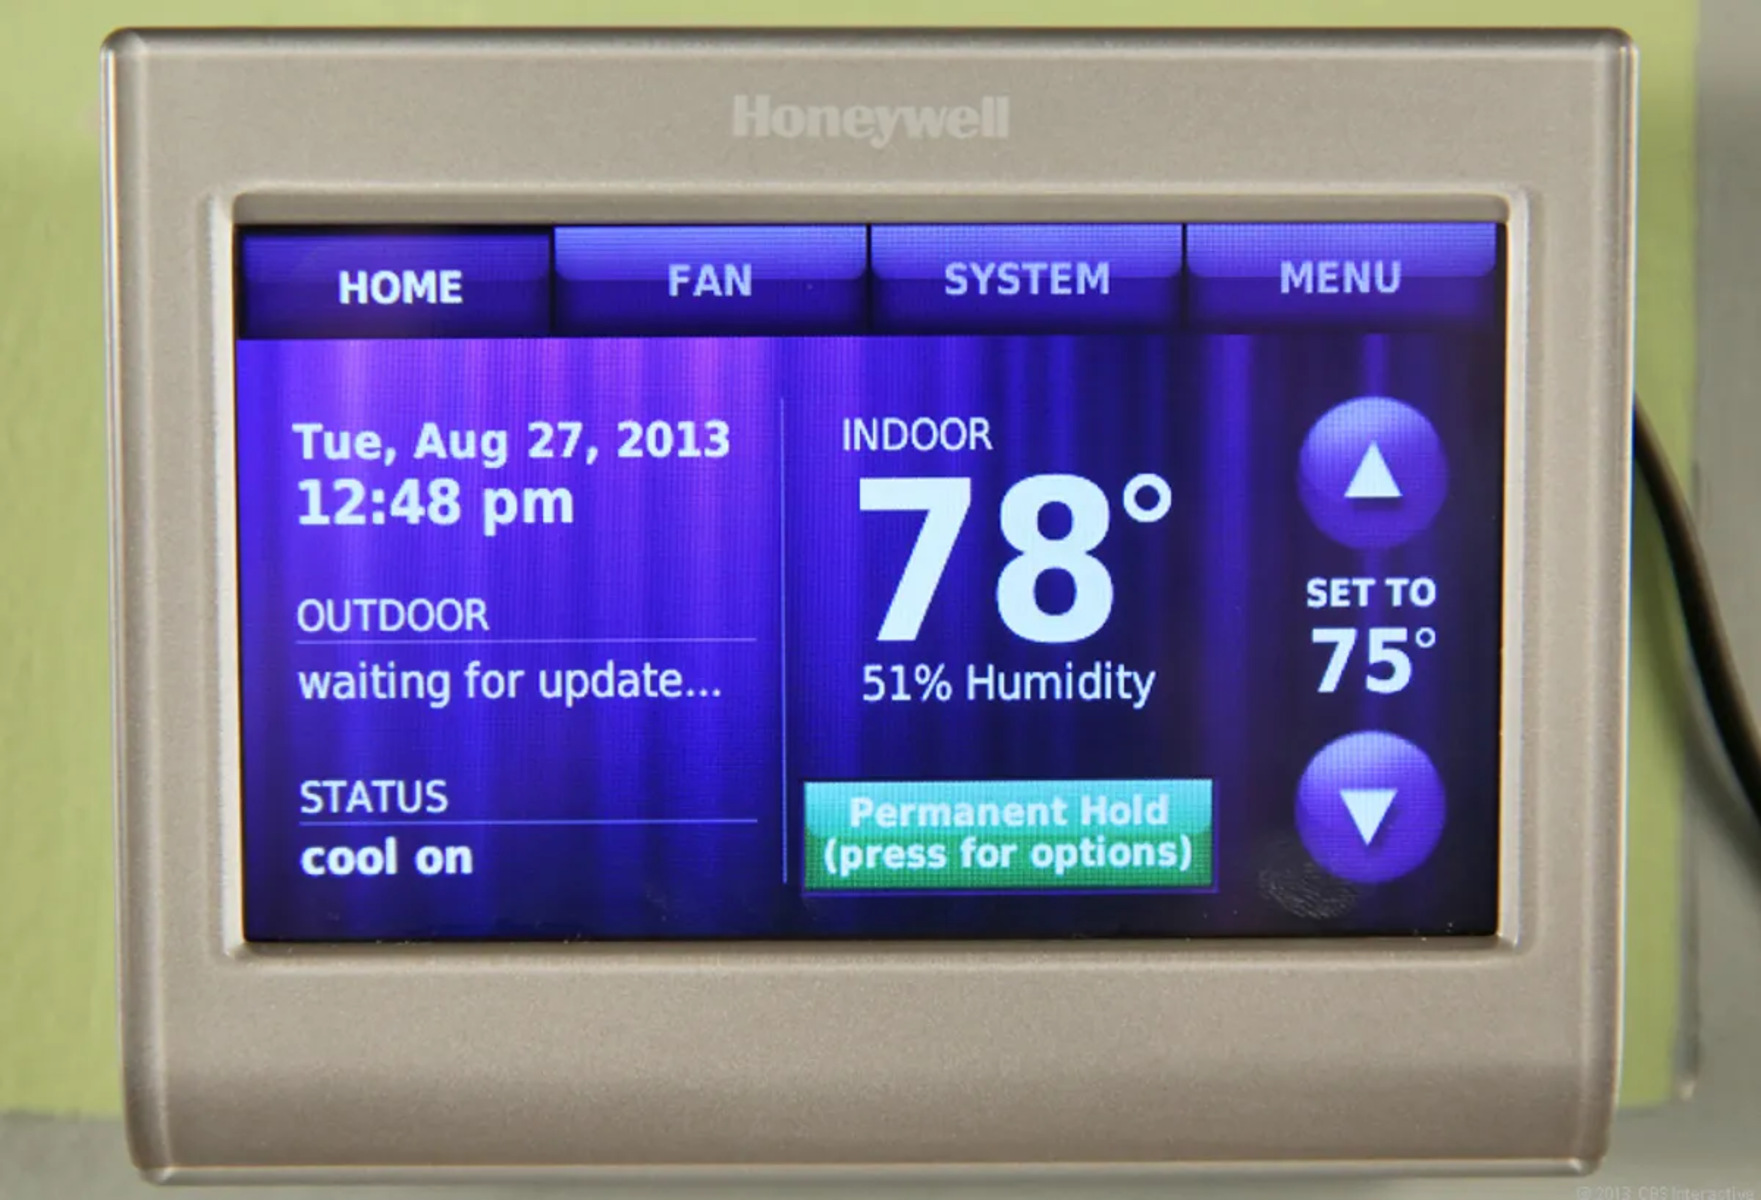
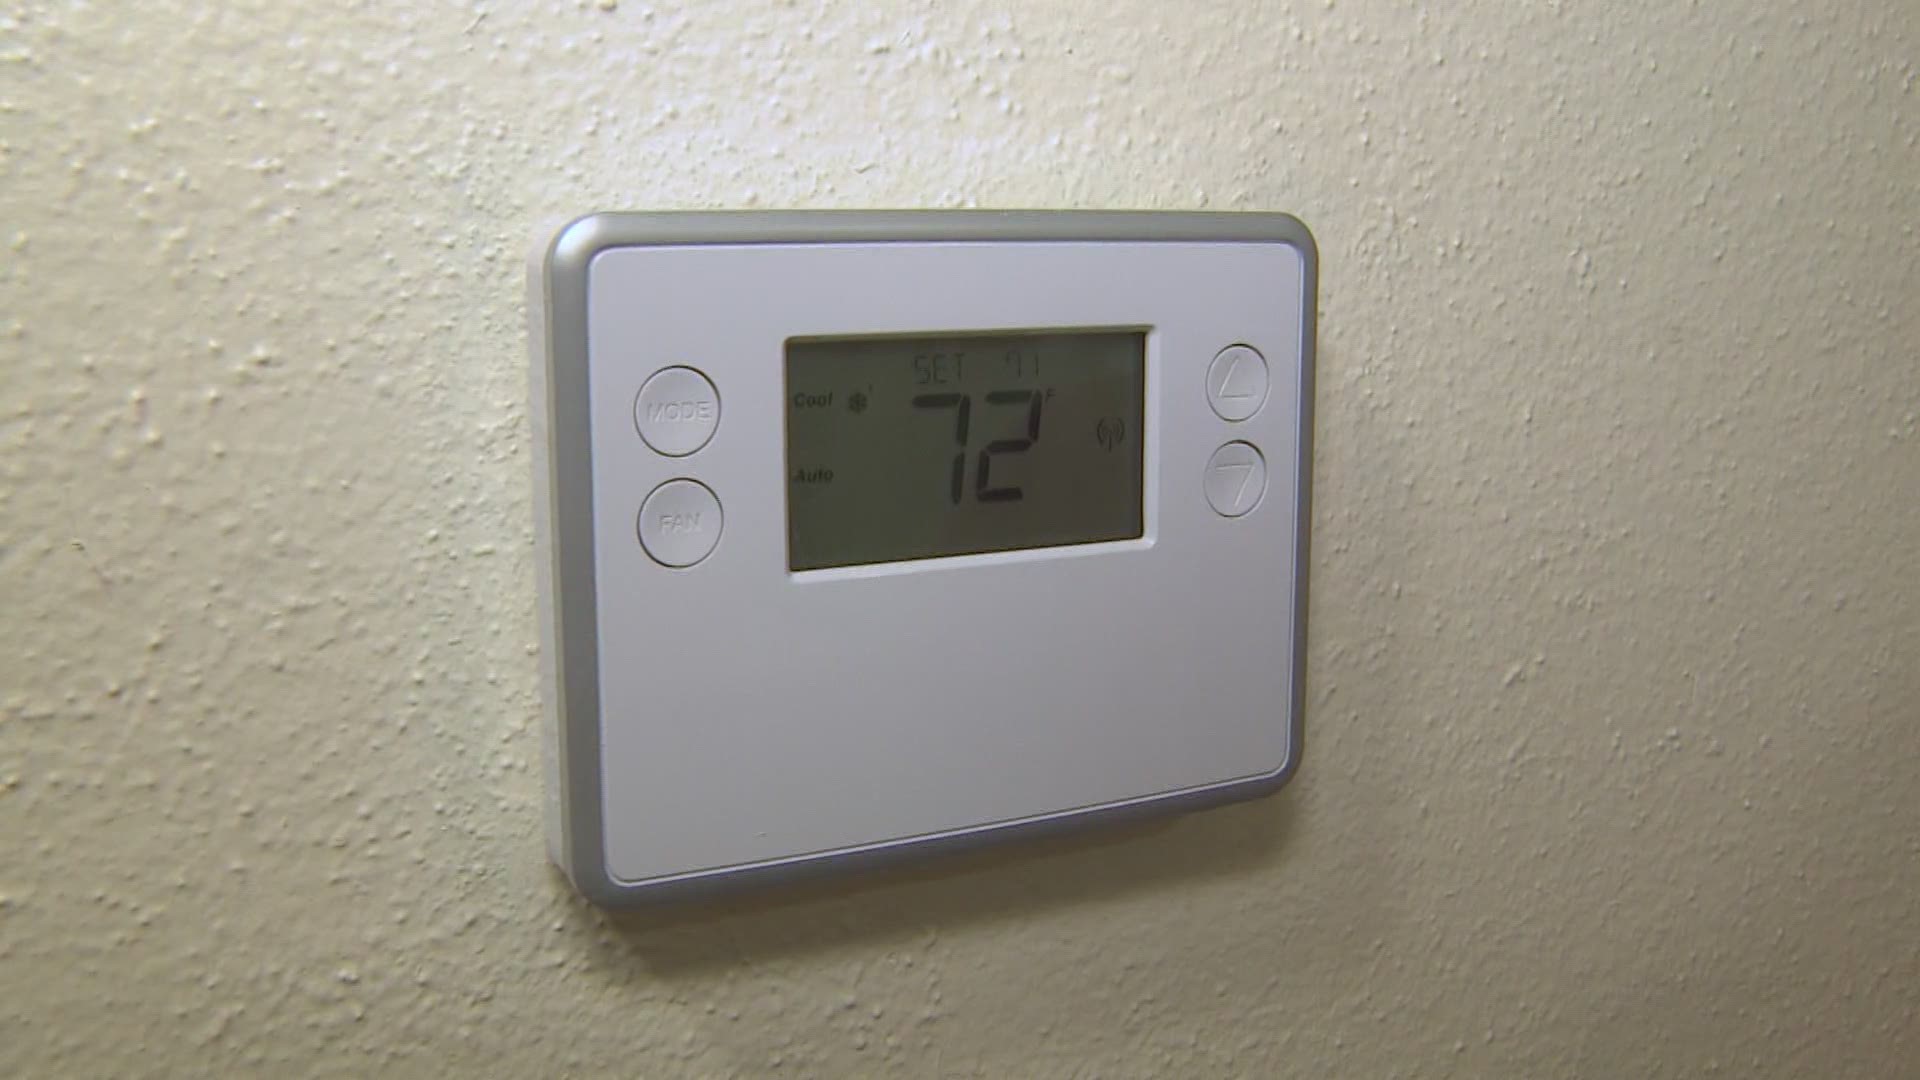
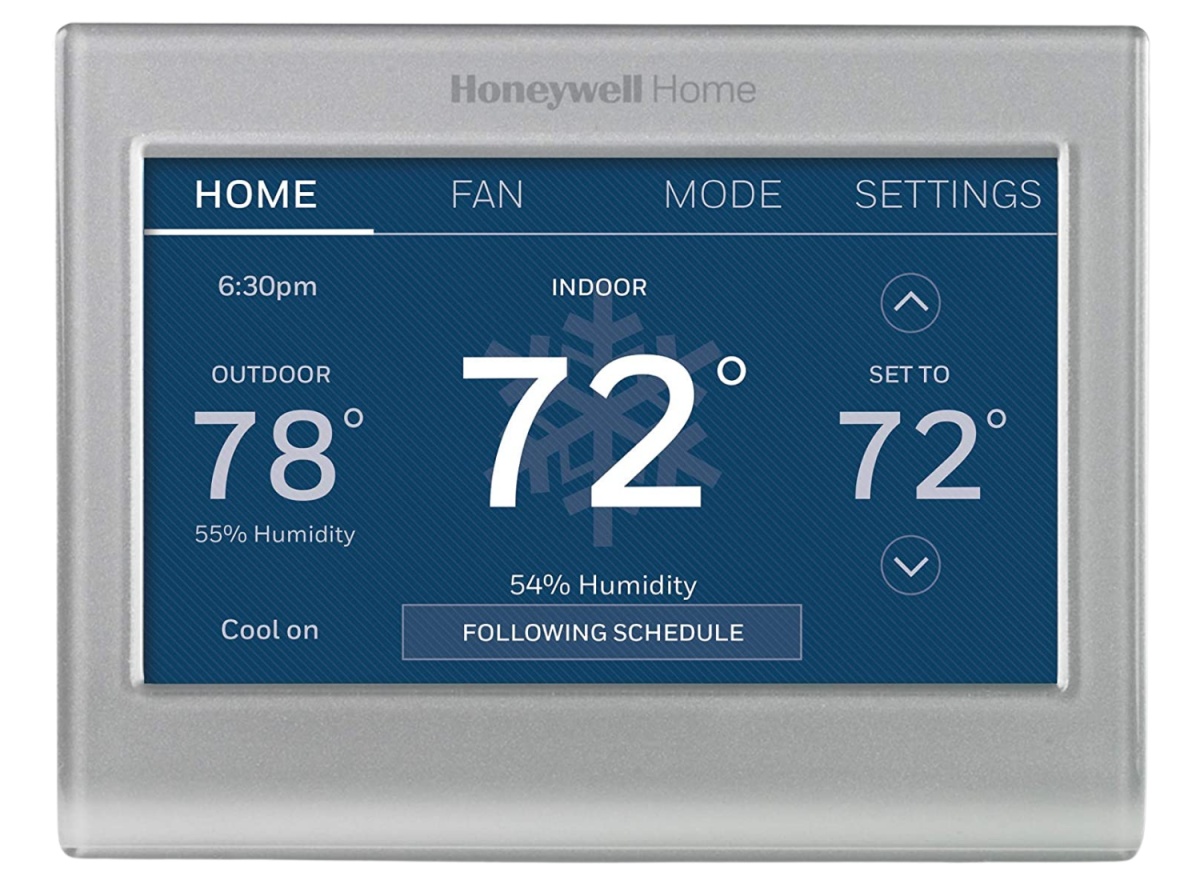
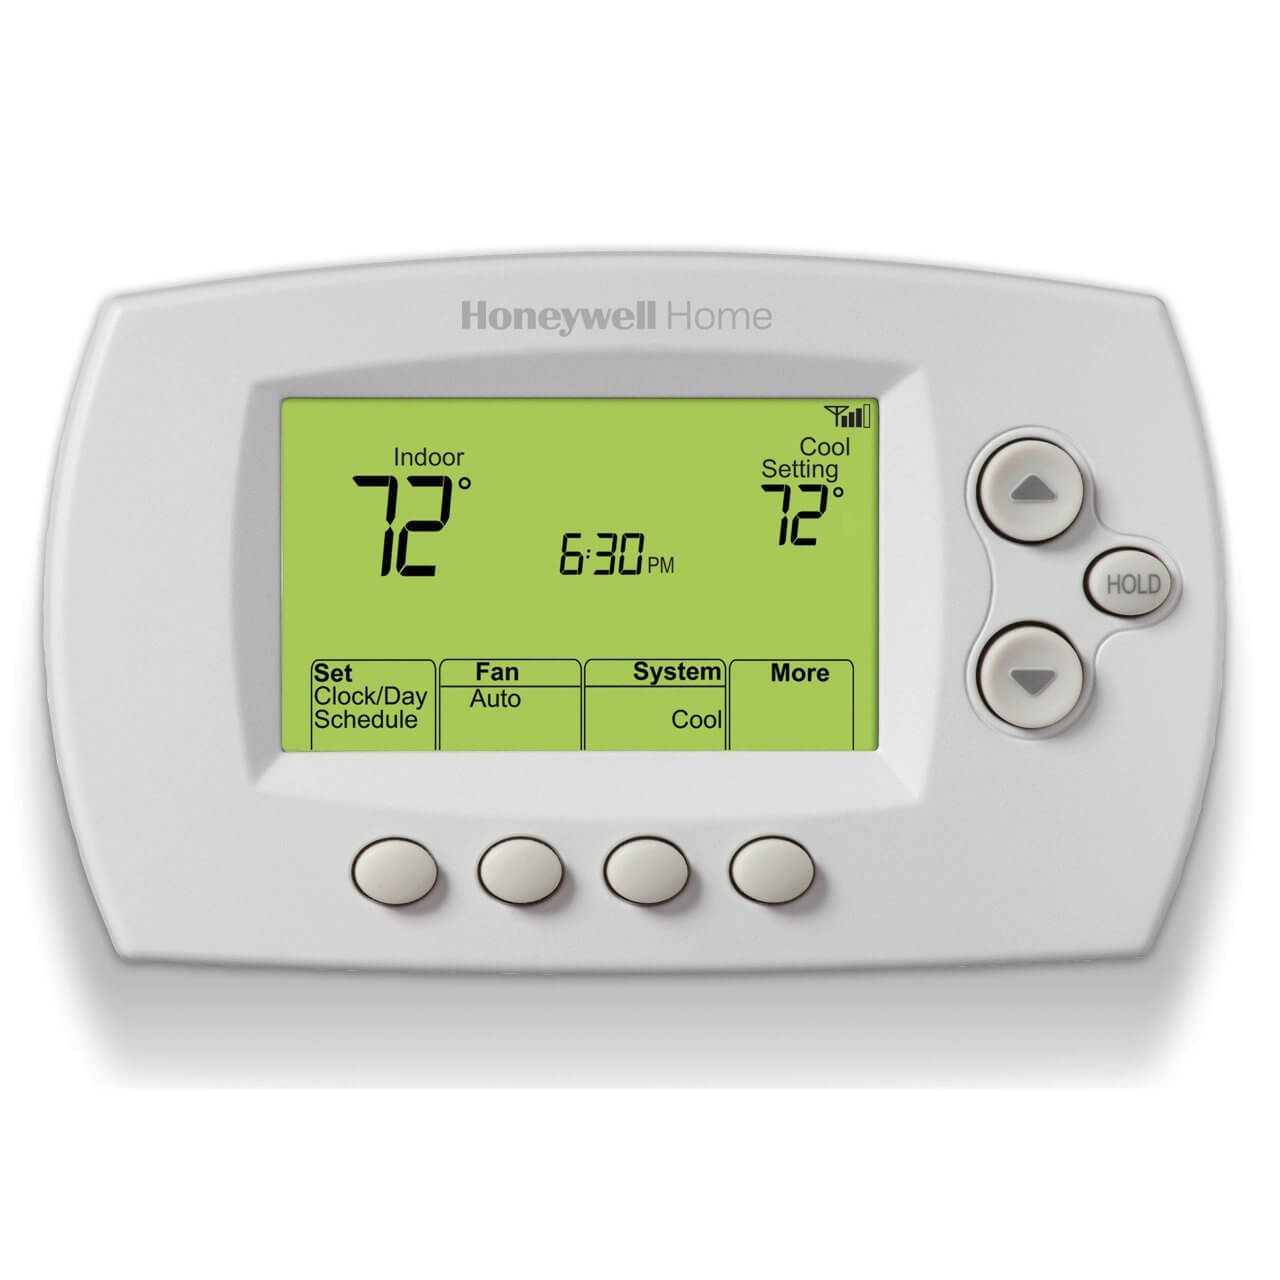
- Temperature Reading: The current temperature indoors is prominently displayed on the main screen of the thermostat. You can usually find this at the top or center of the display.
- Set Temperature: This indicates the desired temperature that you have set for your home’s heating or cooling system. You can adjust this using the up and down arrows or touchscreen controls on the thermostat.
- Mode: The mode setting indicates whether your thermostat is set to “Heat,” “Cool,” “Auto,” or “Off.” In “Heat” mode, the thermostat will only call for heat, while in “Cool” mode, it will only call for cool air. “Auto” mode automatically switches between heating and cooling based on the temperature settings.
- Fan: The fan setting determines whether the fan operates continuously (“On”) or only when the heating or cooling system is actively running (“Auto”).
- Time and Date: Some thermostats display the current time and date, which can be helpful for reference and scheduling purposes.
- Menu Options: Your thermostat may have a dedicated menu button or touchscreen access to additional settings and options. These can include settings related to scheduling, Wi-Fi connectivity, system preferences, and more.
- Status Icons: Depending on the model and configuration of your thermostat, you may see various icons indicating the status of different features. For example, icons for Wi-Fi connectivity, battery power, and system status may be displayed.
It’s important to consult the user manual that came with your specific thermostat model for detailed information about the display features and how to navigate through the menu options. This will ensure that you understand the specific capabilities of your thermostat and can make the most of its features.
By familiarizing yourself with the thermostat display, you can easily monitor and adjust temperature settings, customize preferences, and access advanced settings for optimal comfort and energy efficiency in your home.
Adjusting Temperature Settings
Adjusting temperature settings on your Honeywell T6 Pro Smart Thermostat is a simple process that allows you to maintain a comfortable indoor environment. You have the flexibility to set the desired temperature according to your preferences and schedule. Here’s how you can adjust the temperature settings:
- Locate the current temperature display on your thermostat’s main screen. This indicates the current temperature reading in your home.
- Using the controls on your thermostat, navigate to the set temperature option. This may involve pressing the up and down arrows or using the touchscreen interface.
- Adjust the set temperature to your desired level. You can increase or decrease the temperature based on your comfort requirements.
- Confirm the new set temperature by pressing the appropriate button or allowing the thermostat to automatically save the changes.
- Your thermostat will now adjust your heating or cooling system to maintain the new set temperature.
Some Honeywell T6 Pro Smart Thermostats offer additional features that allow you to fine-tune your temperature settings:
- Programming Schedule: You can set different temperatures for different times of the day using the programming schedule feature. This enables you to optimize energy usage and comfort by automatically adjusting the temperature based on your regular routines.
- Temporary Temperature Overrides: If you want to temporarily change the temperature setting without affecting your programmed schedule, you can use the temporary temperature override function. This allows you to manually adjust the temperature for a specific period, and the thermostat will revert back to the programmed settings once the override time expires.
- Smart Response Technology: Some models of the T6 Pro Smart Thermostat have smart response technology, which learns how long it takes to heat or cool your home and adjusts the temperature to achieve your desired comfort level at the scheduled time.
Adjusting temperature settings on your Honeywell T6 Pro Smart Thermostat is a convenient way to create a comfortable living environment while managing your energy consumption. By utilizing the various features and settings available, you can ensure that your home’s temperature meets your preferences and lifestyle.
Customizing Schedule Settings
Customizing schedule settings on your Honeywell T6 Pro Smart Thermostat allows you to tailor the temperature to your specific needs throughout the day. By creating a personalized schedule, you can optimize energy efficiency and ensure optimal comfort in your home. Here’s how you can customize your schedule settings:
- Access the menu options on your thermostat by pressing the menu button or navigating through the touchscreen interface.
- Select the “Schedule” or “Program” option to enter the scheduling settings.
- You will be presented with different segments representing specific time periods during the day, such as “Wake,” “Leave,” “Return,” and “Sleep.”
- Choose the time segment you want to customize and select it.
- Adjust the temperature settings for that specific time segment according to your preferences.
- Repeat this process for each desired time segment throughout the day.
- Once you have set the temperature settings for all desired time segments, review and confirm your changes.
- Your thermostat will now follow the customized schedule, automatically adjusting the temperature based on the time of day.
Some Honeywell T6 Pro Smart Thermostats offer additional customization options for your schedule settings:
- Copy Schedule: If you want to apply the same program settings for multiple days, you can use the copy schedule feature. This saves you time and effort by allowing you to replicate a schedule instead of manually inputting the same temperature settings for each day.
- Vacation Mode: When you’re away from home for an extended period, you can activate the vacation mode. This feature allows you to temporarily override the regular schedule and set a specific temperature to conserve energy while you’re away.
- Temporary Hold: If you want to temporarily override the programmed schedule for a specific day, you can use the temporary hold feature. This lets you manually adjust the temperature without affecting the programmed schedule.
Customizing schedule settings on your Honeywell T6 Pro Smart Thermostat provides you with the flexibility to create a heating and cooling schedule that aligns with your lifestyle. By adjusting the temperature throughout the day based on your routine, you can enhance comfort, save energy, and reduce utility costs in your home.
Using Geofencing and Smart Response Features
The Honeywell T6 Pro Smart Thermostat comes equipped with geofencing and smart response features that enhance the convenience and energy efficiency of your temperature control. By leveraging these capabilities, you can ensure optimal comfort in your home while minimizing energy wastage. Here’s how you can use geofencing and smart response features:
Geofencing:
Geofencing utilizes your smartphone’s location to automatically adjust the temperature settings based on your proximity to your home. Here’s how you can set up geofencing:
- Download and install the Honeywell Home app on your smartphone, ensuring that location services are enabled.
- Open the Honeywell Home app and navigate to the geofencing settings.
- Adjust the geofence radius to your desired range. This determines the distance from your home at which the thermostat will start adjusting the temperature settings.
- Configure the desired temperature settings for when you enter and exit the geofence radius. For example, you may want to set a warmer temperature as you approach home and a more energy-saving temperature when you leave.
- Save the geofencing settings, and the thermostat will now automatically adjust the temperature based on your location.
Smart Response:
The smart response feature learns how long it takes to heat or cool your home and adjusts the temperature to achieve your desired comfort level at the scheduled time. Here’s how you can use the smart response feature:
- Access the scheduling settings on your Honeywell T6 Pro Smart Thermostat.
- Select the desired time segment where you want the smart response feature to be active.
- Enable the smart response option for that time segment.
- Set the desired temperature for that time segment.
- Save the changes, and the smart response feature will learn and adjust the temperature accordingly to provide optimal comfort.
By using geofencing and smart response features, you can enjoy the convenience of your thermostat adapting to your presence and lifestyle. These features help optimize energy efficiency by automatically adjusting the temperature based on your location and desired comfort settings.
Keep in mind that the availability and functionality of these features may vary depending on your specific thermostat model and the Honeywell Home app version.
Adjusting Fan Settings
The Honeywell T6 Pro Smart Thermostat allows you to customize the fan settings to create the desired airflow and enhance the comfort in your home. Whether you prefer a constant circulation of air or only want the fan to run when the heating or cooling system is active, you can easily adjust the fan settings. Here’s how:
- Access the menu options on your thermostat by pressing the menu button or navigating through the touchscreen interface.
- Select the “Fan” or “Fan Mode” option to enter the fan settings.
- Choose between the “On” and “Auto” modes:
- “On” Mode: This setting allows the fan to run continuously, regardless of whether the heating or cooling system is actively running. It circulates the air in your home consistently.
- “Auto” Mode: In this mode, the fan runs only when the heating or cooling system is actively running. It provides airflow during heating or cooling cycles and will pause when the system is not running.
- Select the desired fan mode by pressing the appropriate button or using the touchscreen controls.
- Confirm your selection to save the changes.
Customizing the fan settings on your Honeywell T6 Pro Smart Thermostat allows you to create the desired airflow and enhance your comfort. Here are a few additional points to keep in mind:
- If you live in a multi-story home, it’s generally recommended to set the fan to “On” mode to help distribute the conditioned air more evenly throughout the different levels.
- Using the fan in “On” mode continuously can help with air filtration and create a more consistent indoor environment.
- Setting the fan to “Auto” mode can help conserve energy and reduce noise when the heating or cooling system is not actively running.
- The availability of specific fan modes may depend on the capabilities of your thermostat model.
By adjusting the fan settings according to your preferences and needs, you can optimize airflow and enhance the overall comfort in your home.
Setting Up Locking and Limiting Options
The Honeywell T6 Pro Smart Thermostat offers locking and limiting options that allow you to control and restrict access to the thermostat’s settings. This can be particularly useful in shared spaces or for homes with children, ensuring that the temperature settings remain unchanged. Here’s how you can set up locking and limiting options on your thermostat:
- Access the menu options on your thermostat by pressing the menu button or navigating through the touchscreen interface.
- Select the “Settings” or “Preferences” option to enter the settings menu.
- Look for the “Lock” or “Locking Options” setting and select it.
- Choose the locking option that suits your needs:
- Full Lock: This option completely locks the thermostat, preventing any changes to the temperature settings or other preferences. Access to the thermostat’s settings will require a passcode or PIN.
- Partial Lock: In this setting, you can lock specific options or features while still allowing adjustments to the temperature within a set range. For example, you can lock the scheduling settings but allow temperature changes within a specific temperature range.
- Follow the prompts to set up and confirm your chosen lock option.
- If desired, set up a passcode or PIN to secure the locked settings. Remember to choose a passcode that is easy for you to remember but difficult for others to guess.
- Save the changes, and the locking and limiting options will be in effect.
By setting up locking and limiting options on your Honeywell T6 Pro Smart Thermostat, you can ensure that the temperature settings remain within your control. This helps maintain a comfortable indoor environment while preventing unauthorized changes from occurring.
It’s important to remember your passcode or PIN and store it securely. Without it, you may need to contact a professional HVAC technician to reset the thermostat.
These locking and limiting options can promote energy efficiency and peace of mind, especially in situations where multiple individuals have access to the thermostat.
Troubleshooting Common Issues
While the Honeywell T6 Pro Smart Thermostat is a reliable and user-friendly device, you may encounter common issues that can be troubleshooted easily. By identifying and resolving these issues, you can ensure smooth operation and optimal performance of your thermostat. Here are some common issues and their troubleshooting steps:
1. Thermostat Not Turning On:
- Check the power source and ensure that the thermostat is receiving electricity. Verify that the circuit breaker or fuse controlling the thermostat is not tripped or blown.
- If the thermostat is battery-powered, check the batteries and replace them if necessary.
- Make sure the thermostat is properly seated on its mounting plate. A loose connection may prevent it from turning on.
2. Wi-Fi Connectivity Issues:
- Confirm that your Wi-Fi network is operating correctly and that other devices can connect to it.
- Ensure that the thermostat is within the range of your Wi-Fi network. If the signal is weak, try moving the thermostat closer to your router.
- Restart your router and the thermostat to refresh the Wi-Fi connections.
- Double-check the Wi-Fi credentials and password entered on the thermostat to ensure they are accurate.
3. Incorrect Temperature Readings:
- Inspect the thermostat location to ensure it is not exposed to direct sunlight, drafts, or other sources of heat or cold that can affect temperature readings.
- Verify that the thermostat is level and securely mounted on the wall. A skewed placement can affect temperature accuracy.
- Consider recalibrating the thermostat by comparing it to an accurate thermometer and adjusting the temperature offset if necessary. Refer to the user manual for instructions specific to your model.
4. Inconsistent Performance:
- Ensure that the thermostat firmware is up to date. Check for available updates on the manufacturer’s website or through the Honeywell Home app.
- Inspect the wiring connections between the thermostat and the heating/cooling system. Tighten any loose connections and ensure they are properly seated in the terminals.
- Review and adjust the thermostat’s scheduling settings to ensure they align with your desired temperature at different times of the day.
If you have tried troubleshooting the issues but are still experiencing problems, consult the user manual or contact a professional HVAC technician for assistance. They can provide further guidance or perform advanced troubleshooting based on your specific situation.
Remember, regular maintenance and care for your thermostat can help prevent issues and ensure its long-term functionality.
Upgrading the Thermostat Firmware
Keeping the firmware of your Honeywell T6 Pro Smart Thermostat up to date is important to ensure optimal performance and take advantage of any improvements or new features released by the manufacturer. Firmware upgrades may include bug fixes, enhanced compatibility, improved energy efficiency, and additional functionalities. Here’s how you can upgrade the firmware of your thermostat:
- Access the Honeywell Home app on your smartphone or tablet.
- If you haven’t already done so, log in to your Honeywell Home account associated with your thermostat.
- Check for any available firmware updates for your thermostat. This can usually be found in the “Settings” or “Device Management” section within the app.
- If there is an available firmware update, follow the prompts and instructions provided by the app to initiate the upgrade process.
- Ensure that your smartphone or tablet is connected to a stable and reliable Wi-Fi network during the firmware upgrade.
- Allow the firmware upgrade to complete. This may take several minutes, during which the thermostat may restart multiple times. Avoid interrupting the process or turning off the power to the thermostat.
- Once the firmware upgrade is finished, the thermostat will automatically reboot and apply the new firmware.
- Verify that the firmware upgrade was successful by checking the firmware version displayed on the thermostat’s display or within the Honeywell Home app.
It’s important to note that the specific steps and options for upgrading the firmware may vary based on your thermostat model and the version of the Honeywell Home app. Refer to the user manual or the manufacturer’s website for detailed instructions tailored to your specific device.
Regularly checking for firmware updates and keeping your Honeywell T6 Pro Smart Thermostat up to date ensures that you have the latest features and improvements at your disposal, enhancing the overall performance and user experience of your thermostat.
If you encounter any difficulties during the firmware upgrade process or have concerns about performing the upgrade yourself, reach out to the manufacturer’s support for assistance or consult a professional technician who is familiar with your Honeywell T6 Pro Smart Thermostat model.