Introduction
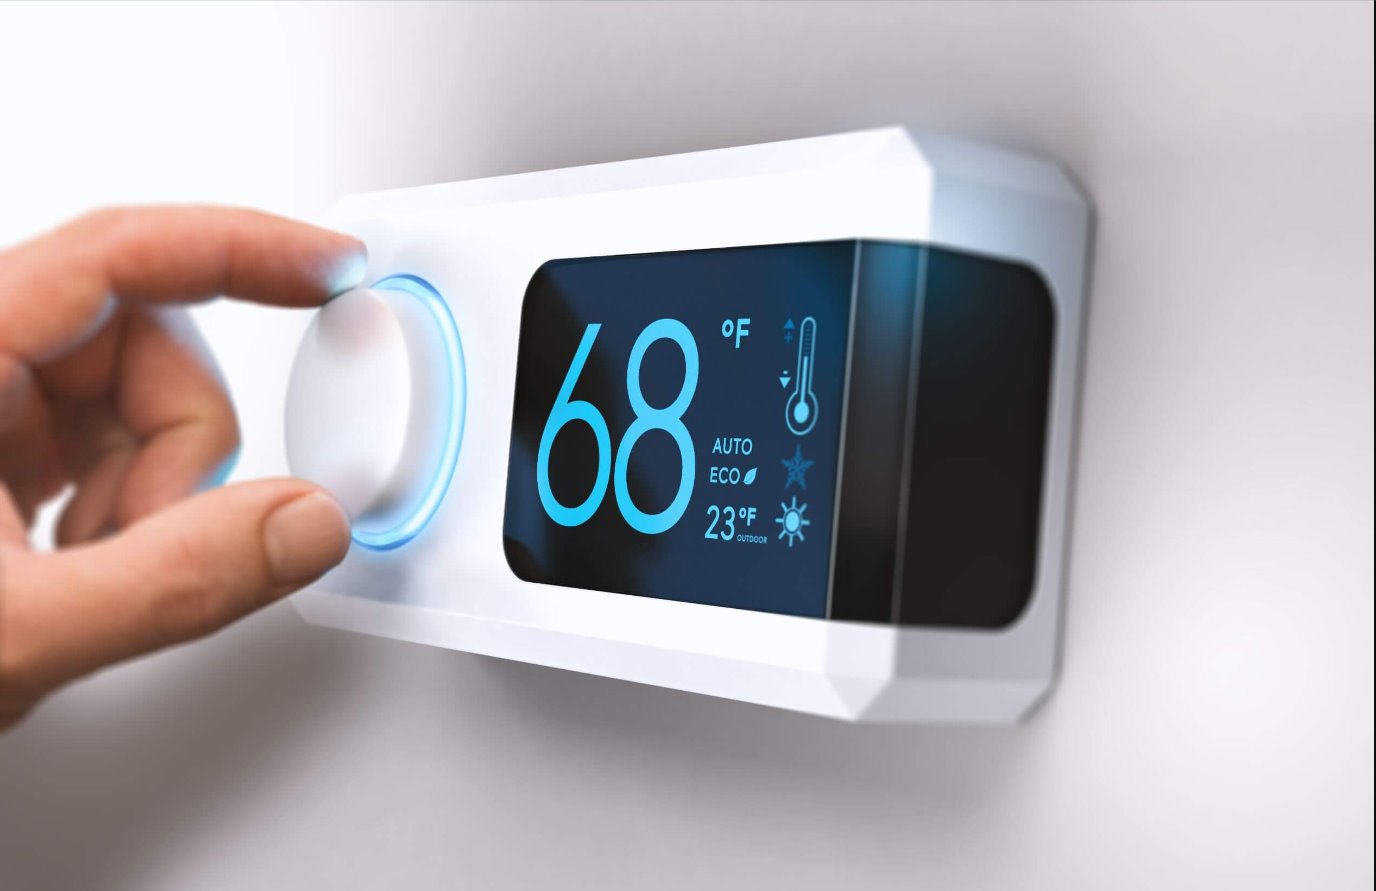
Welcome to our guide on how to install a smart thermostat in an RV! As technology continues to advance, smart home devices are becoming increasingly popular. A smart thermostat offers convenience, energy savings, and improved comfort for RV owners. By upgrading to a smart thermostat, you’ll have the ability to control the temperature of your RV from anywhere using your smartphone or voice commands.
Installing a smart thermostat in your RV may seem like a daunting task, but with the right information and tools, it can be a straightforward process. In this guide, we will take you through the step-by-step installation process, ensuring a successful upgrade to your RV’s heating and cooling system.
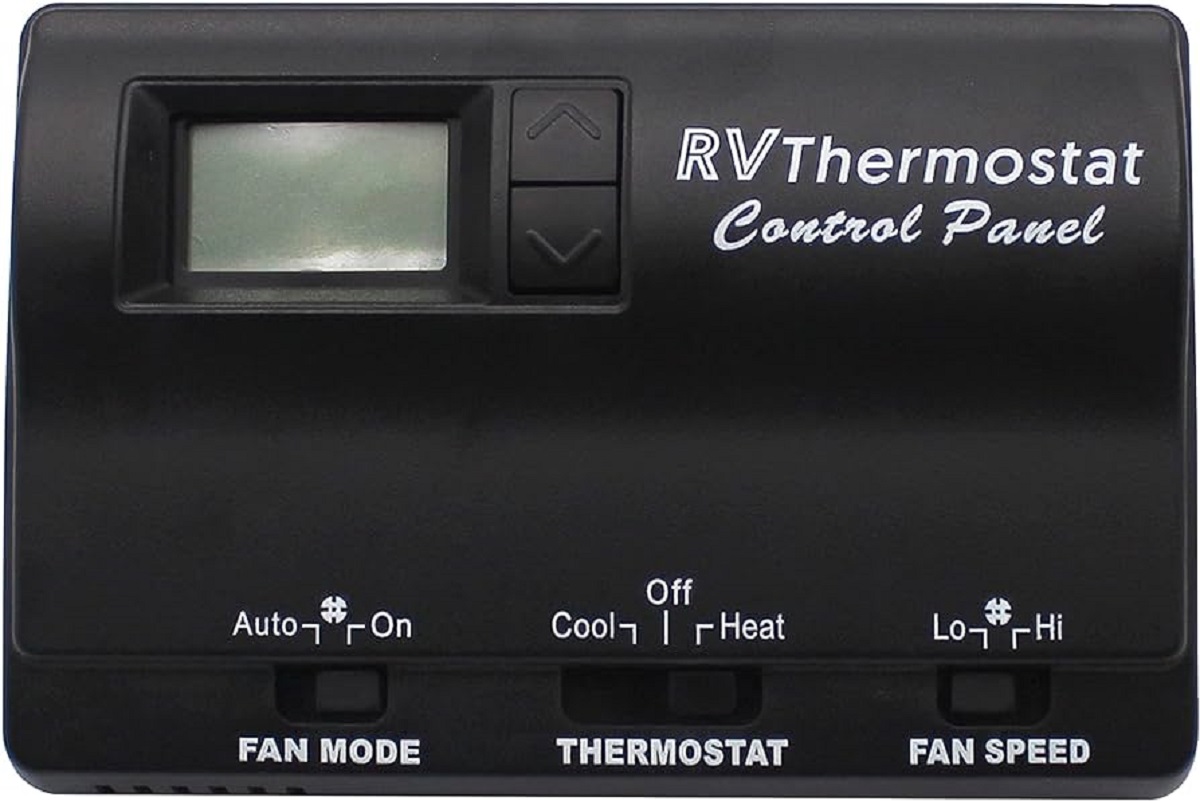
Before we dive into the installation steps, it’s essential to ensure that the smart thermostat you choose is compatible with your RV’s heating and cooling system. Different RV models and HVAC setups may require specific thermostat models, so it’s crucial to determine compatibility beforehand.
In the following sections, we will guide you through the installation process and highlight the necessary tools and materials you’ll need. We’ll cover everything from turning off the power supply to connecting the wires and setting up your new smart thermostat for optimal performance.
By the end of this guide, you’ll have the knowledge and confidence to install a smart thermostat in your RV, allowing you to have full control over your RV’s climate and optimizing energy efficiency.
Step 1: Determine Compatibility
Before you begin the installation process, it’s crucial to determine whether the smart thermostat you have chosen is compatible with your RV’s heating and cooling system. This step is vital to ensure a smooth and successful installation process.
Start by consulting the user manual of your RV or contacting the manufacturer to find out the specifications of your existing thermostat and HVAC system. Look for information such as the voltage requirements, wiring configuration, and any specific compatibility restrictions.
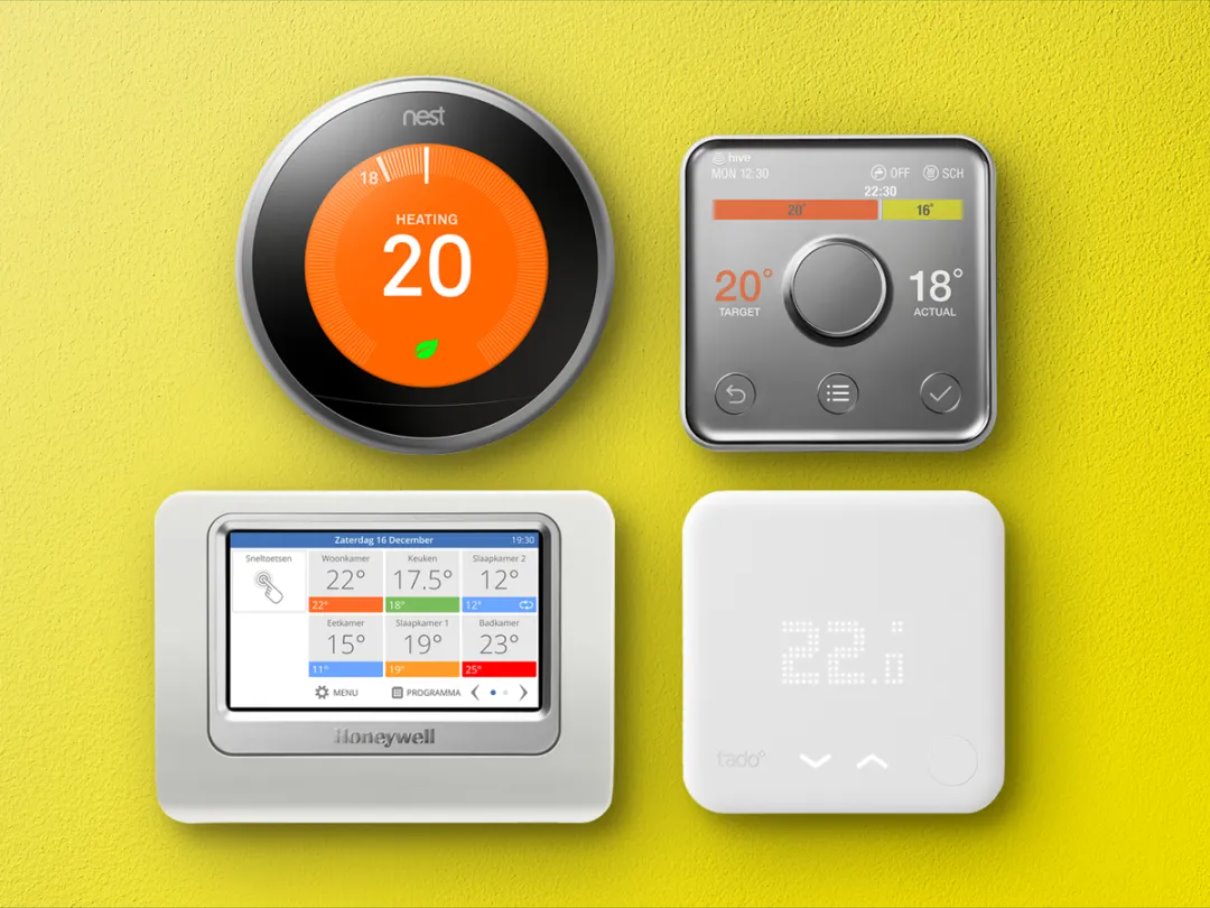
Once you have gathered the necessary information about your current thermostat and HVAC system, you can research compatible smart thermostats that meet these requirements. There are numerous smart thermostat models available on the market, each with different specifications and features.
Consider factors such as the power source required by the smart thermostat. Some models may require a battery, while others may need a direct connection to your RV’s electrical system. Additionally, check if the smart thermostat supports your RV’s specific HVAC system, whether it’s a single-stage, multi-stage, or heat pump system.
Look for a smart thermostat that offers the features and functionality you desire. Some popular features of smart thermostats include Wi-Fi connectivity, voice control compatibility, energy-saving modes, and programmable schedules.
It’s essential to note that not all smart thermostats are designed for RV use. Some models are specifically tailored for residential or commercial applications. Ensure that the thermostat you choose is explicitly labeled for RV use or has compatibility with mobile homes and recreational vehicles.
Once you have found a compatible smart thermostat, double-check its dimensions to verify that it will fit in the same location as your existing thermostat. Taking accurate measurements will prevent any issues during the installation process.
By taking the time to determine compatibility and select the right smart thermostat, you’ll ensure a seamless installation process and enjoy the benefits of convenient temperature control in your RV.
Step 2: Gather the Tools and Materials
Before you begin the installation process, it’s important to gather all the necessary tools and materials. Having everything at hand will help streamline the installation and avoid any delays or interruptions.
Here’s a list of the tools and materials you’ll need:
- Screwdriver (flathead and Phillips)
- Drill (if required for mounting)
- Wire strippers
- Electrical tape
- Wire nuts
- Zip ties (for cable management)
- Level
- Pencil or marker
- Smart thermostat (compatible with your RV’s system)
- User manual or installation guide for the smart thermostat
Ensure that your screwdriver set includes both flathead and Phillips screwdrivers, as you may encounter different types of screws during the installation process.
If your chosen smart thermostat requires mounting, you may need a drill and appropriate drill bits to create holes for the mounting screws. Make sure to refer to the installation guide of your specific smart thermostat for the correct drill bit size and technique.
Wire strippers will come in handy for stripping the insulation off the wires and preparing them for connection to the new thermostat. This reduces the risk of poor connections and ensures a secure and reliable installation.
Electrical tape is essential for insulating the exposed wire connections, providing an extra layer of protection against any potential electrical issues.
Wire nuts are connectors used to secure the wire connections. They are available in different sizes, so make sure to choose the appropriate size for your wires.
Zip ties can be used to organize and secure any loose or excess cables, preventing them from dangling or getting in the way. This will help maintain a clean and professional-looking installation.
Having a level on hand will ensure that your smart thermostat is installed correctly and aligned with your RV’s walls or surface.
Finally, don’t forget to have the smart thermostat and its accompanying user manual or installation guide readily available. These documents will provide valuable instructions specific to your chosen smart thermostat.
By gathering all the necessary tools and materials before starting the installation process, you’ll be well-prepared and ready to tackle the next steps smoothly.
Step 3: Turn off the Power
Before you begin any work on your RV’s thermostat, it’s crucial to turn off the power to ensure your safety and prevent any potential electrical hazards.
Start by locating your RV’s circuit breaker panel. This panel is usually found in a cabinet or storage compartment, close to the electrical hookups. Open the panel door to reveal the circuit breakers.
Look for the breaker that controls the power supply to your HVAC system and thermostat. It is typically labeled as “HVAC” or “Furnace.” If you’re unsure which breaker controls the thermostat, consult your RV’s user manual or contact the manufacturer for guidance.
Once you’ve identified the correct breaker, switch it to the “Off” position. This will cut off the power supply to your thermostat and HVAC system, ensuring your safety during the installation process.
After turning off the breaker, it’s recommended to verify that the power is indeed off. Go to your RV’s thermostat and attempt to adjust the temperature or turn on the fan. If everything is functioning correctly, there should be no response from the HVAC system, indicating that the power has been successfully turned off.
As an additional safety measure, consider using a non-contact voltage tester to confirm that there is no active voltage at the thermostat location. This small handheld device can detect the presence of electrical current and provide you with peace of mind before proceeding with the installation.
Remember, working with live electrical connections can be extremely dangerous. Always prioritize safety by turning off the power and confirming that it is off before starting any work on your RV’s thermostat.
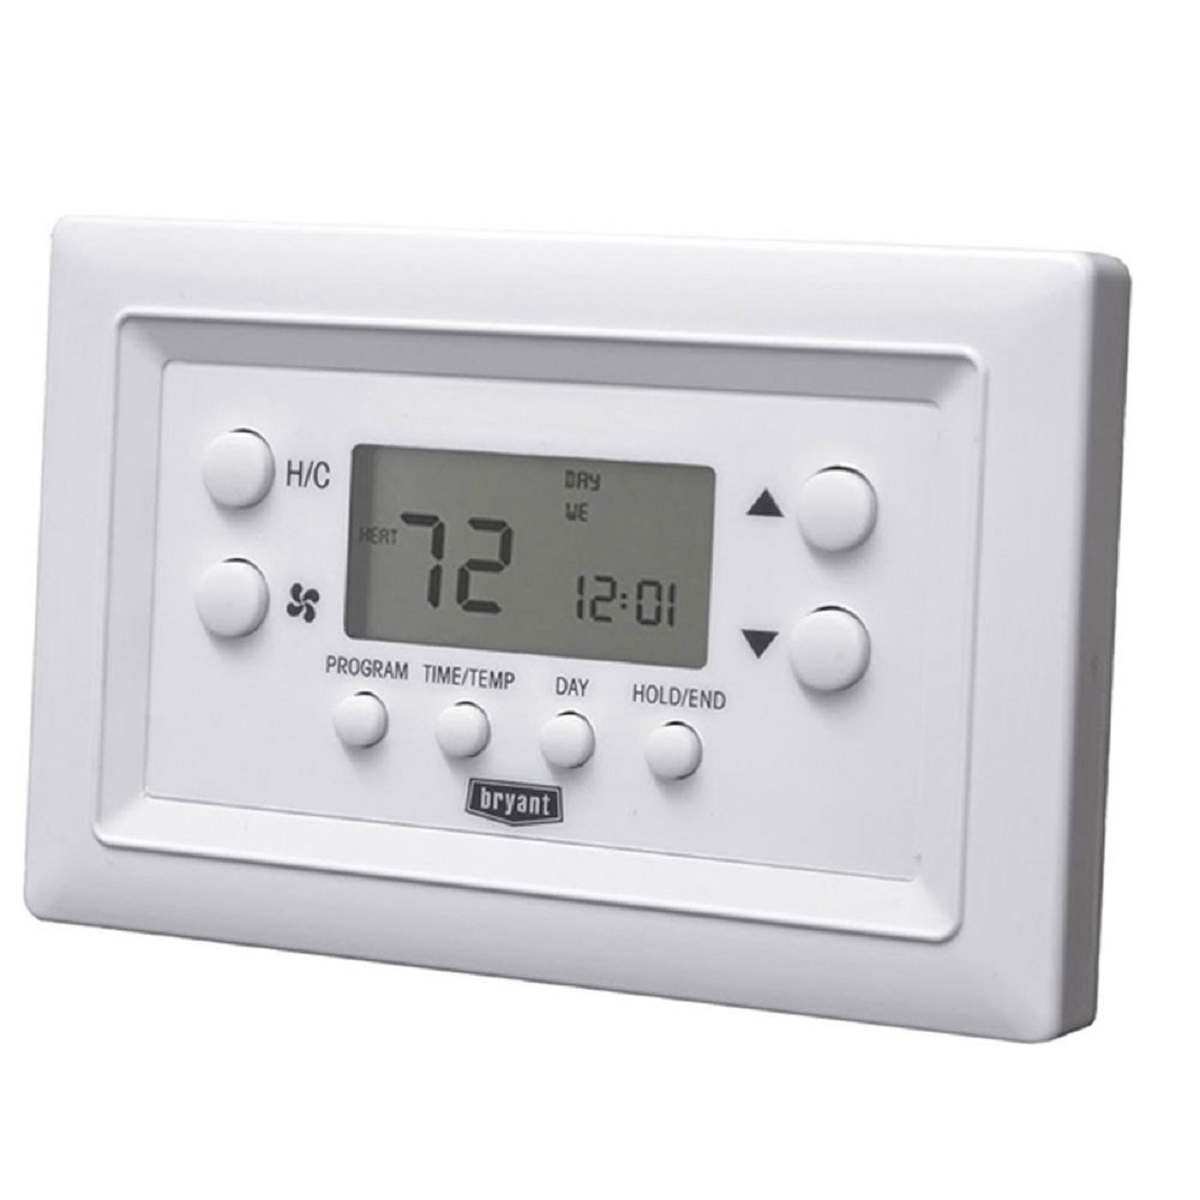
Step 4: Remove the Old Thermostat
With the power turned off, it’s time to remove the old thermostat from your RV. Removing the old thermostat is typically a straightforward process, but it’s important to follow the correct steps to avoid damaging any wires or components.
Here’s how you can remove the old thermostat:
- First, remove the thermostat cover. This may require gently prying it off or removing any screws that secure it in place. Be cautious while removing the cover to avoid damaging it or the surrounding wall.
- Next, examine the thermostat mounting plate or sub-base. Depending on the type of thermostat you have, it may be attached to the wall using screws or adhesive. Use a screwdriver or a pry tool to remove any screws or carefully detach the plate.
- Once the mounting plate is removed, you’ll see the wiring connections behind it. Take a picture or make note of the wire connections and their corresponding terminal labels. This will help during the installation of the new thermostat.
- Disconnect the wires from the terminals. Some wires may be connected using screws, while others may use quick-release connectors. Carefully loosen the screws or release the connectors to detach the wires from the thermostat. Take note of the wire colors and the terminals they were connected to.
- Once all the wires are disconnected, remove the old thermostat from the wall. Check for any remaining screws or clips that may be holding it in place. Gently pull it away from the wall, taking care not to damage any wires still connected to the wall.
After removing the old thermostat, take a moment to inspect the wiring for any signs of damage or wear. Look for frayed wires, loose connections, or any other issues. If you notice any problems, it’s recommended to address them before proceeding to the installation of the new thermostat.
Properly removing the old thermostat is an important step to ensure a smooth installation process and prevent any damage or complications. By following these steps, you’ll be ready to move forward with installing the new smart thermostat in your RV.
Step 5: Install the New Thermostat Base
With the old thermostat removed, it’s time to install the base of your new smart thermostat in your RV. The base is the part that will be mounted on the wall and serves as the foundation for the thermostat.
Here’s how you can install the new thermostat base:
- Start by carefully unpacking the new thermostat and its components. Refer to the manufacturer’s instructions for any specific details regarding the installation of the base.
- Inspect the back of the thermostat base. You will typically find screw holes or adhesive strips for mounting. Determine the appropriate method for your RV’s walls or surface.
- If using screws, place the base against the wall in the desired location. Use a level to ensure it is straight. Mark the screw hole locations with a pencil or marker.
- Using an appropriate screwdriver, attach the base to the wall by inserting screws into the marked holes. Make sure to tighten the screws securely, but be careful not to overtighten and damage the base or the wall.
- If using adhesive strips, peel off the backing from the adhesive and press the base firmly onto the wall. Hold it in place for a few seconds to ensure it adheres properly.
- Once the base is securely mounted, double-check that it is level and aligned with the wall. Adjust if necessary.
Now that the base is installed, take a moment to ensure that all wire connections from the previous step are accessible and reach the terminals on the new thermostat base. This will ensure smooth and easy connection of the wires in the next step.
Remember to refer to the manufacturer’s instructions specific to your smart thermostat model for any additional installation steps or considerations for the base.
By following these steps, you have successfully installed the base of your new smart thermostat. The next step will be to connect the wires and complete the installation process.
Step 6: Connect the Wires
Now that you have the new thermostat base installed, it’s time to connect the wires from your RV’s HVAC system to the terminals on the base. Properly connecting the wires is crucial for the functionality of your smart thermostat.
To connect the wires, follow these steps:
- Refer to the notes or picture you took during the removal of the old thermostat to identify the correct terminals for each wire.
- Start by stripping approximately 1/4 inch of insulation from the end of each wire, exposing the bare copper.
- Locate the terminal labels on the new thermostat base. These labels may be marked with letters or numbers corresponding to the color-coded wires.
- Match each wire with its corresponding terminal based on the notes or picture you took. For example, connect the red wire to the “R” or “RH” terminal for power.
- Insert each wire into the appropriate terminal, ensuring that it is tightly secured. Some terminals may have screws that need to be tightened, while others may have push-in connectors or quick-release clamps.
- Double-check that all wires are securely connected and properly aligned with their respective terminals.
When connecting the wires, it’s essential to ensure that there are no loose strands or exposed copper that could cause a short circuit. If necessary, apply electrical tape to insulate the exposed ends of the wires for added safety.
If you encounter any additional wires that were not present in the previous thermostat, consult the user manual or installation guide for your specific smart thermostat to determine their correct placement.
Once all the wires are properly connected, give them a gentle tug to ensure they are secure. Be careful not to exert too much force and accidentally dislodge any wires.
By carefully and securely connecting the wires, you’re one step closer to completing the installation of your new smart thermostat. The next step will be to attach the thermostat cover.
Step 7: Attach the Thermostat Cover
With the wires securely connected, it’s time to attach the thermostat cover onto the base. The cover not only adds a finishing touch to the installation but also protects the internal components of the smart thermostat.
Follow these steps to attach the thermostat cover:
- Take the thermostat cover and align it with the base. The cover should easily slide or clip into place, depending on the design of your smart thermostat.
- Carefully press the cover onto the base, ensuring that it is properly aligned and flush against the wall.
- Apply gentle pressure with your fingers to snap the cover securely into place. If your smart thermostat has screws to secure the cover, insert and tighten them accordingly.
- Once the cover is attached, step back and visually inspect the installation. Ensure that the cover is level, aligned, and neatly fitted over the base.
At this point, you may want to refer to the manufacturer’s instructions to learn how to properly customize and adjust the settings of your smart thermostat. This includes setting the time, choosing temperature units, connecting to Wi-Fi, and programming any desired schedules or preferences.
Additionally, some smart thermostats may have a separate panel or display that needs to be installed onto the cover. Refer to the manufacturer’s instructions for any specific steps or considerations related to the display installation.
By attaching the thermostat cover, you have completed the physical installation of your smart thermostat. The next step will be to turn on the power and set up the thermostat for optimal performance.
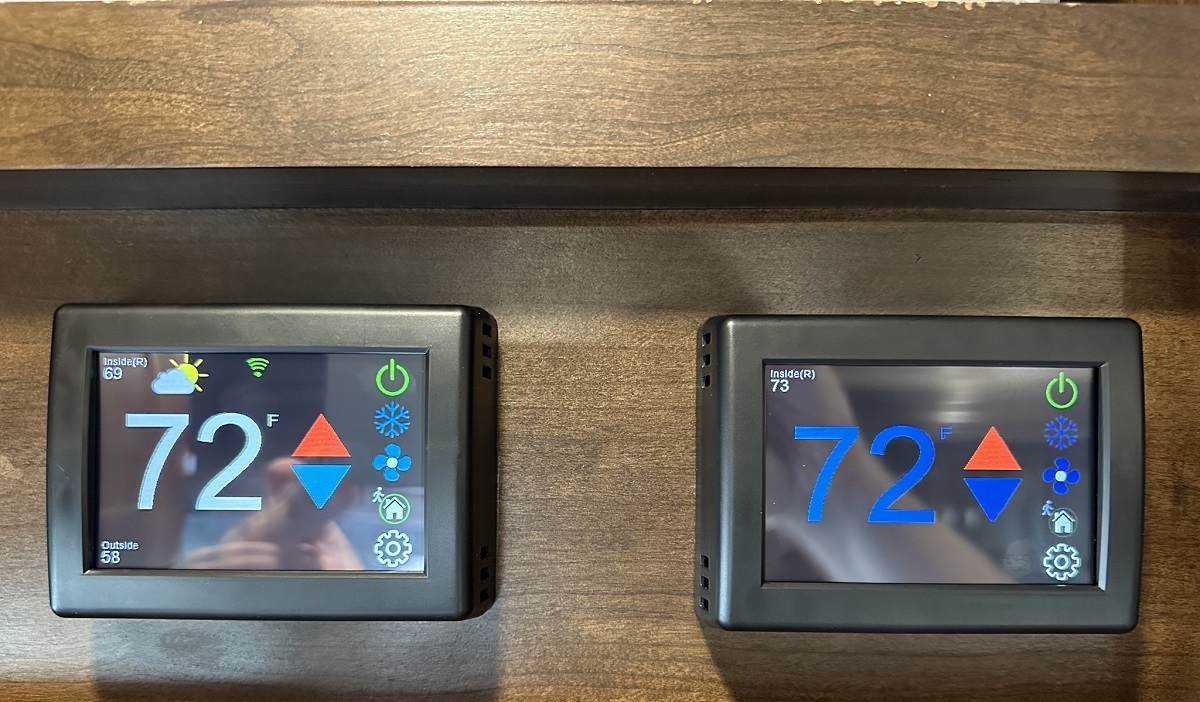
Step 8: Power On and Set Up the Smart Thermostat
Now that the physical installation is complete, it’s time to power on your new smart thermostat and go through the setup process. This step will ensure that your thermostat is connected to your RV’s HVAC system and ready for use.
To power on and set up your smart thermostat, follow these steps:
- Refer to the manufacturer’s instructions to locate the power switch or button on your smart thermostat. Some models may have an on/off switch, while others may power on automatically when the wires are connected.
- Turn on the power to your smart thermostat by flipping the switch or pressing the power button.
- The thermostat display should activate, showing the initial setup screen or prompts. Follow the on-screen instructions or consult the user manual to navigate through the setup process.
- During the setup, you may be prompted to connect your smart thermostat to your Wi-Fi network. Follow the instructions provided to enter your network credentials and establish the connection.
- Once the Wi-Fi connection is established, you may have the option to personalize your settings. This includes setting your desired temperature units (e.g., Fahrenheit or Celsius), creating a schedule, or enabling energy-saving features.
- Take the time to explore the different options and features available on your smart thermostat. Familiarize yourself with the user interface and any additional settings that may enhance your RV’s comfort and energy efficiency.
- Once you have completed the setup process, verify that your smart thermostat is displaying the correct temperature and is communicating effectively with your RV’s HVAC system.
It’s important to note that the setup process may vary depending on the brand and model of your smart thermostat. Always refer to the manufacturer’s instructions for specific guidance pertaining to your particular thermostat.
By powering on and setting up your smart thermostat, you’re now ready to enjoy the enhanced control and energy-saving benefits it offers for your RV’s heating and cooling system.
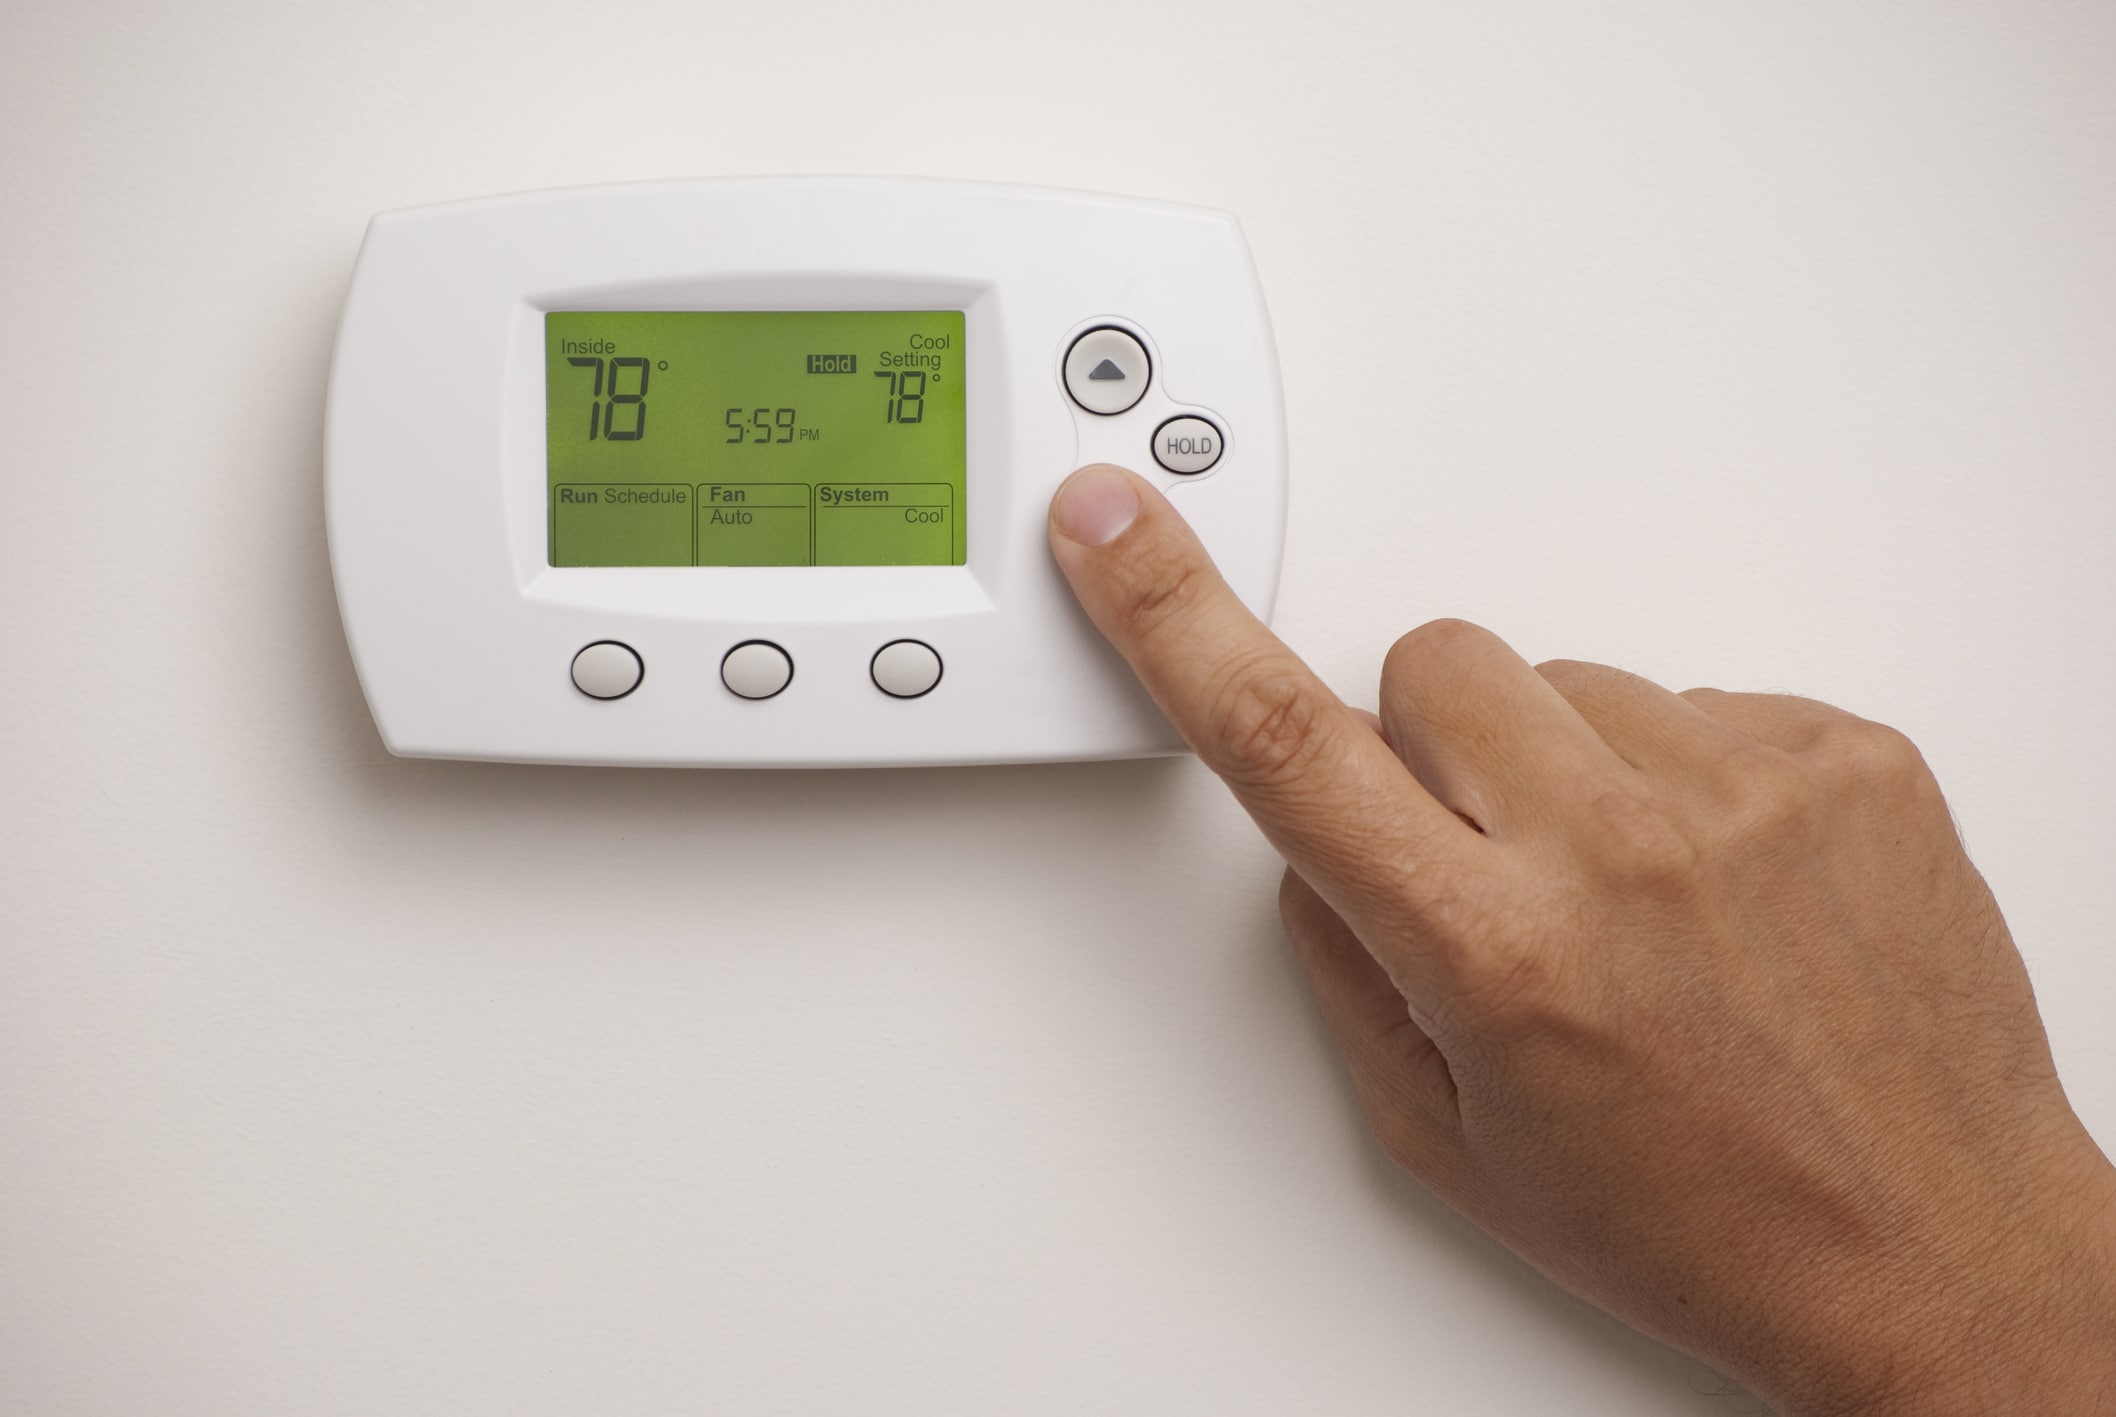
Step 9: Test the Thermostat Functionality
After setting up your smart thermostat, it’s crucial to test its functionality to ensure that it is working correctly and effectively controlling your RV’s temperature. Testing the thermostat will allow you to identify any potential issues and make any necessary adjustments or troubleshooting.
Here are some steps you can take to test the functionality of your smart thermostat:
- Adjust the set temperature: Use the controls on your smart thermostat to set the desired temperature. Observe if the thermostat activates your RV’s HVAC system to reach and maintain the set temperature. Check if the temperature readings on the thermostat align with the actual temperature in your RV.
- Toggle the HVAC modes: Depending on your HVAC system and thermostat features, switch between different modes such as heating, cooling, and fan-only. Confirm that the HVAC system responds accordingly and that the thermostat accurately reflects the mode changes.
- Test the scheduling and programming features: If your smart thermostat allows for scheduling and programming, set up a test schedule to see if the thermostat follows the programmed settings. Ensure that the temperature adjusts as planned based on the scheduled periods.
- Test remote access: If your smart thermostat offers remote access via a smartphone app, test this functionality. Use the app to adjust the temperature and monitor the thermostat’s status while away from your RV. Confirm that the changes are reflected in the RV and that you receive real-time updates.
- Monitor energy usage: Some smart thermostats provide energy usage data. Check if your thermostat offers this feature and explore the energy usage reports. Use this information to assess your RV’s energy consumption and identify ways to optimize efficiency.
During the testing process, pay attention to any unexpected behavior or discrepancies between the thermostat’s readings and the actual temperatures. If you encounter any issues, consult the user manual or contact the smart thermostat’s manufacturer for assistance and troubleshooting steps specific to your model.
By thoroughly testing the functionality of your smart thermostat, you can ensure that it is operating correctly and effectively managing your RV’s temperature. This will provide you with peace of mind and the ability to make adjustments as needed for optimal comfort and energy efficiency.
Conclusion
Congratulations on successfully installing a smart thermostat in your RV! By following the step-by-step process outlined in this guide, you have upgraded your RV’s heating and cooling system to a more advanced and convenient solution.
Installing a smart thermostat offers numerous benefits, including remote access, energy savings, and improved comfort. With your new smart thermostat, you can now conveniently control the temperature of your RV from anywhere using your smartphone or through voice commands.
Throughout the installation process, we covered the essential steps, from determining compatibility and gathering the necessary tools and materials to turning off the power, removing the old thermostat, and installing the new thermostat base. We then walked you through connecting the wires, attaching the thermostat cover, powering on, setting up the smart thermostat, and testing its functionality.
Remember, proper installation and setup are crucial for optimal performance. Always refer to the manufacturer’s instructions specific to your smart thermostat model to ensure correct installation and operation.
Now that you have completed the installation and testing, take the time to familiarize yourself with the features and capabilities of your smart thermostat. Customize the settings, explore scheduling options, and monitor energy usage to maximize comfort and efficiency in your RV.
With your new smart thermostat, you’ll have the ability to maintain a comfortable environment in your RV while ensuring energy efficiency and convenience. Enjoy the benefits of enhanced temperature control and improved energy savings as you embark on your RV adventures.
Thank you for using our guide, and we wish you many enjoyable and comfortable journeys with your new smart thermostat in your RV!