Introduction
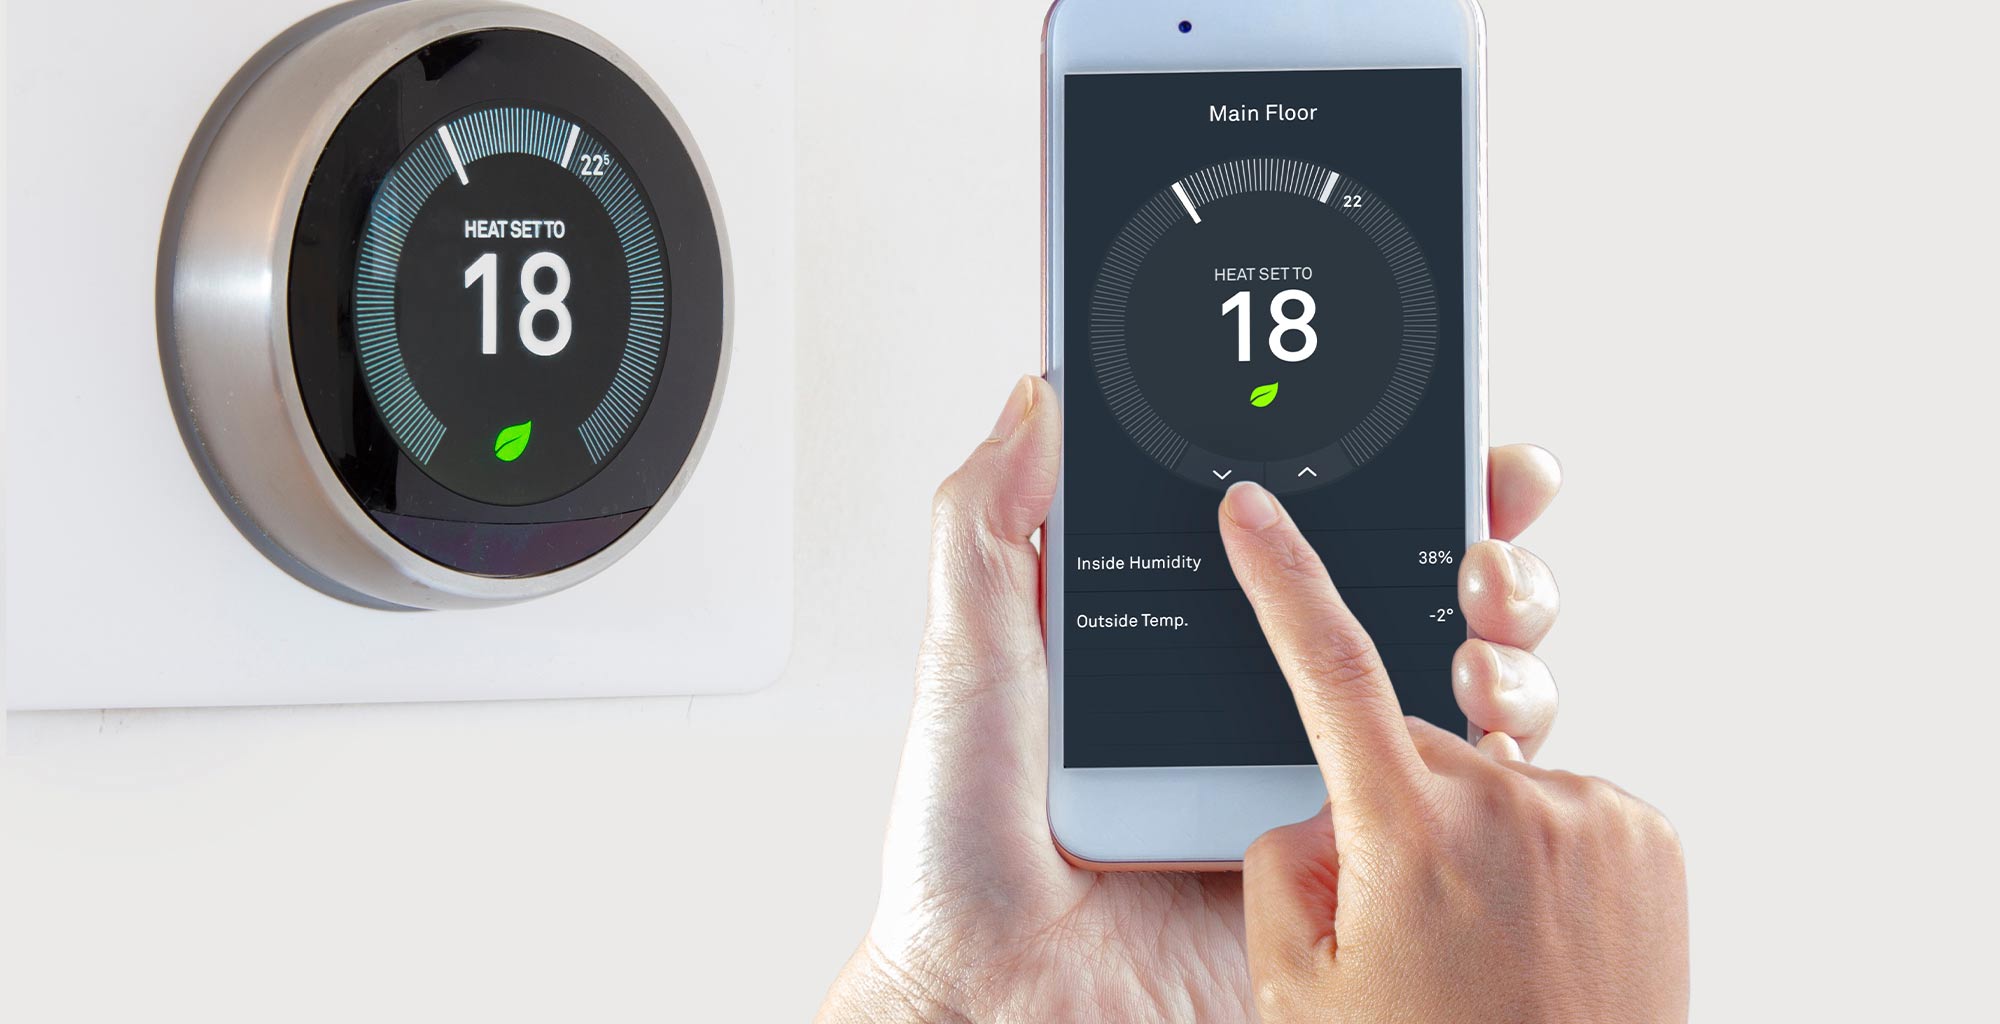
Welcome to the world of smart thermostats, where you can control the temperature of your home with just a few taps on your smartphone. These intelligent devices offer convenience, energy-efficiency, and comfort by learning your preferences and adjusting the heating and cooling settings accordingly. However, one common challenge that homeowners face when installing a smart thermostat is dealing with a missing G wire.
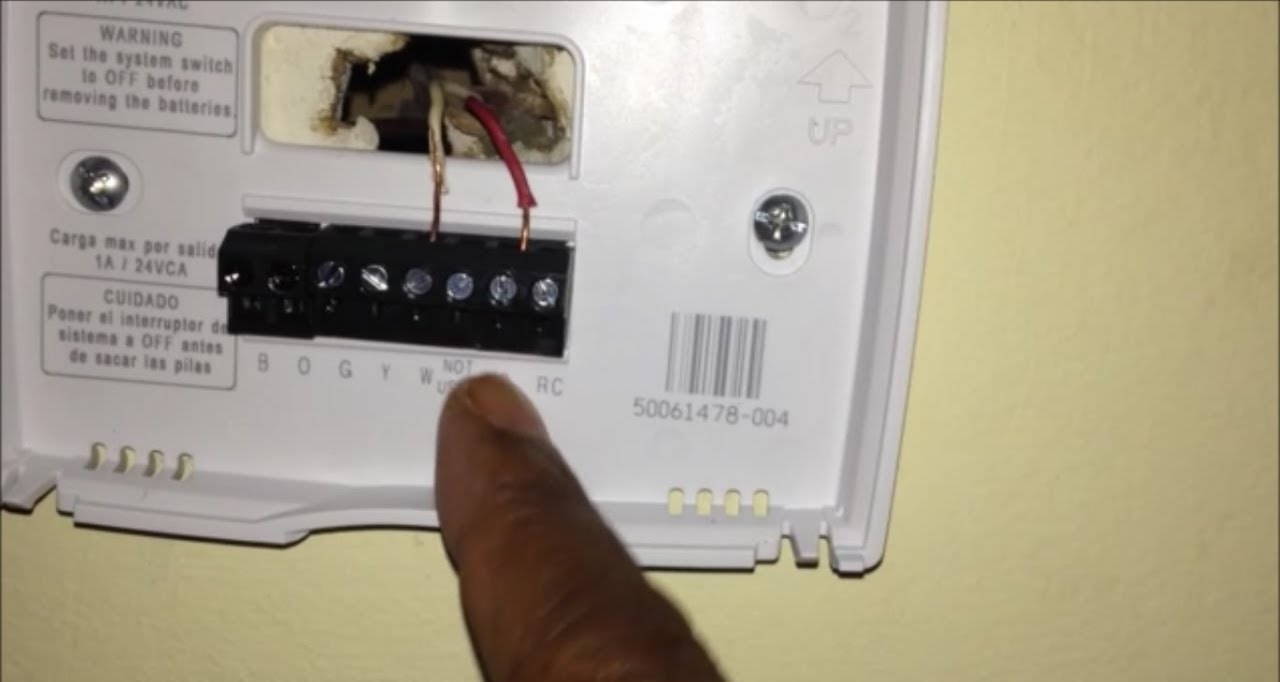
The G wire, also known as the fan wire, is responsible for controlling the fan operation of your HVAC (heating, ventilation, and air conditioning) system. While most thermostats require a G wire connection to function properly, not all heating systems have one. This can be particularly frustrating if you’re looking to upgrade to a smart thermostat that necessitates this wire for optimal performance.
In this article, we will explore the options you have for installing a smart thermostat without a G wire. We will discuss various solutions catered to different scenarios and provide a step-by-step guide for each method. So, whether you’re a DIY enthusiast or a novice looking for guidance, this article will equip you with the information you need to successfully install your smart thermostat and enjoy the benefits it brings.
Understanding the G Wire
Before we dive into the solutions for installing a smart thermostat without a G wire, it’s important to have a basic understanding of what the G wire actually does. The G wire is responsible for controlling the fan of your HVAC system. When the thermostat calls for the fan to turn on, it sends a signal through the G wire to the HVAC system, activating the fan and circulating air throughout your home.
Having a functioning G wire is crucial for the proper operation of your heating and cooling system. Without it, your smart thermostat may not be able to control the fan, affecting the overall performance and comfort of your HVAC system. It’s worth noting that some heating systems don’t require a G wire, as the fan operates in conjunction with the heating or cooling function automatically.
Now that we have a basic understanding of the G wire’s role, let’s explore the options you have for installing a smart thermostat without a G wire. These solutions are designed to work around the absence of the G wire and ensure that your smart thermostat functions optimally with your HVAC system.
Options for Installing a Smart Thermostat without a G Wire
If you find yourself without a G wire, don’t worry! There are several solutions available that will allow you to install and use a smart thermostat seamlessly. Let’s explore some of these options:
Option 1: Using an Add-a-Wire Adapter: An add-a-wire adapter is a device that allows you to create an additional wire connection without the need for running new thermostat wires. This solution works by splitting the existing thermostat wire into two separate wires, giving you an extra wire for the G connection. By connecting the add-a-wire adapter to your HVAC system and the smart thermostat, you can overcome the absence of the G wire and enjoy the full functionality of your smart thermostat.
Option 2: Re-purposing the C Wire as the G Wire: If your heating system has a C wire (common wire), you can re-purpose it as the G wire. The C wire provides a continuous source of power to the thermostat, and by using a jumper wire or by reconfiguring the wiring at the HVAC control board, you can divert the power from the C wire to the G terminal. This solution requires a basic understanding of HVAC wiring, so it’s recommended to consult a professional if you’re unsure.
Option 3: Using a Power Extender Kit: A power extender kit, also known as a PEK or a common wire kit, allows you to use the existing wires to power your smart thermostat. This solution is ideal for situations where there’s no C wire, G wire, or spare wires available. The power extender kit connects to your HVAC control board and provides a steady source of power to the thermostat, eliminating the need for a dedicated G wire connection.
Option 4: Installing a New Thermostat Wire: If none of the above solutions work for your specific situation, you can consider installing a new thermostat wire that includes a G wire. This option requires more time and effort, as it involves running a new wire from your HVAC system to the location of your thermostat. While it may be the most labor-intensive solution, it provides a reliable and long-term fix for the missing G wire.
These options for installing a smart thermostat without a G wire give you the flexibility to choose the best solution based on your requirements and the compatibility of your HVAC system. Now let’s move on to the step-by-step guide where we’ll walk you through the installation process depending on the option you’ve selected.
Option 1: Using an Add-a-Wire Adapter
If you’re facing the challenge of a missing G wire, one convenient solution is to use an add-a-wire adapter. This device allows you to create an additional wire connection without the need for running new thermostat wires. Here’s how you can install a smart thermostat without a G wire using an add-a-wire adapter:
- Turn off the power to your HVAC system by switching off the circuit breaker.
- Locate the control board of your HVAC system. It is usually found in the inside unit or furnace.
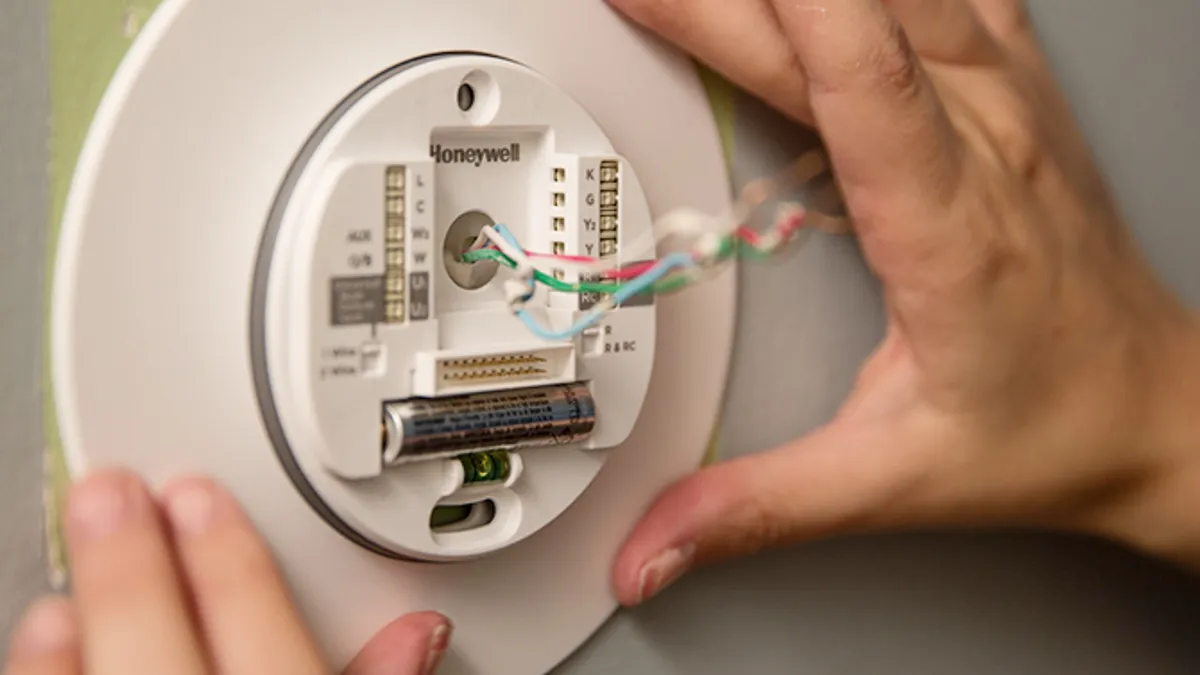
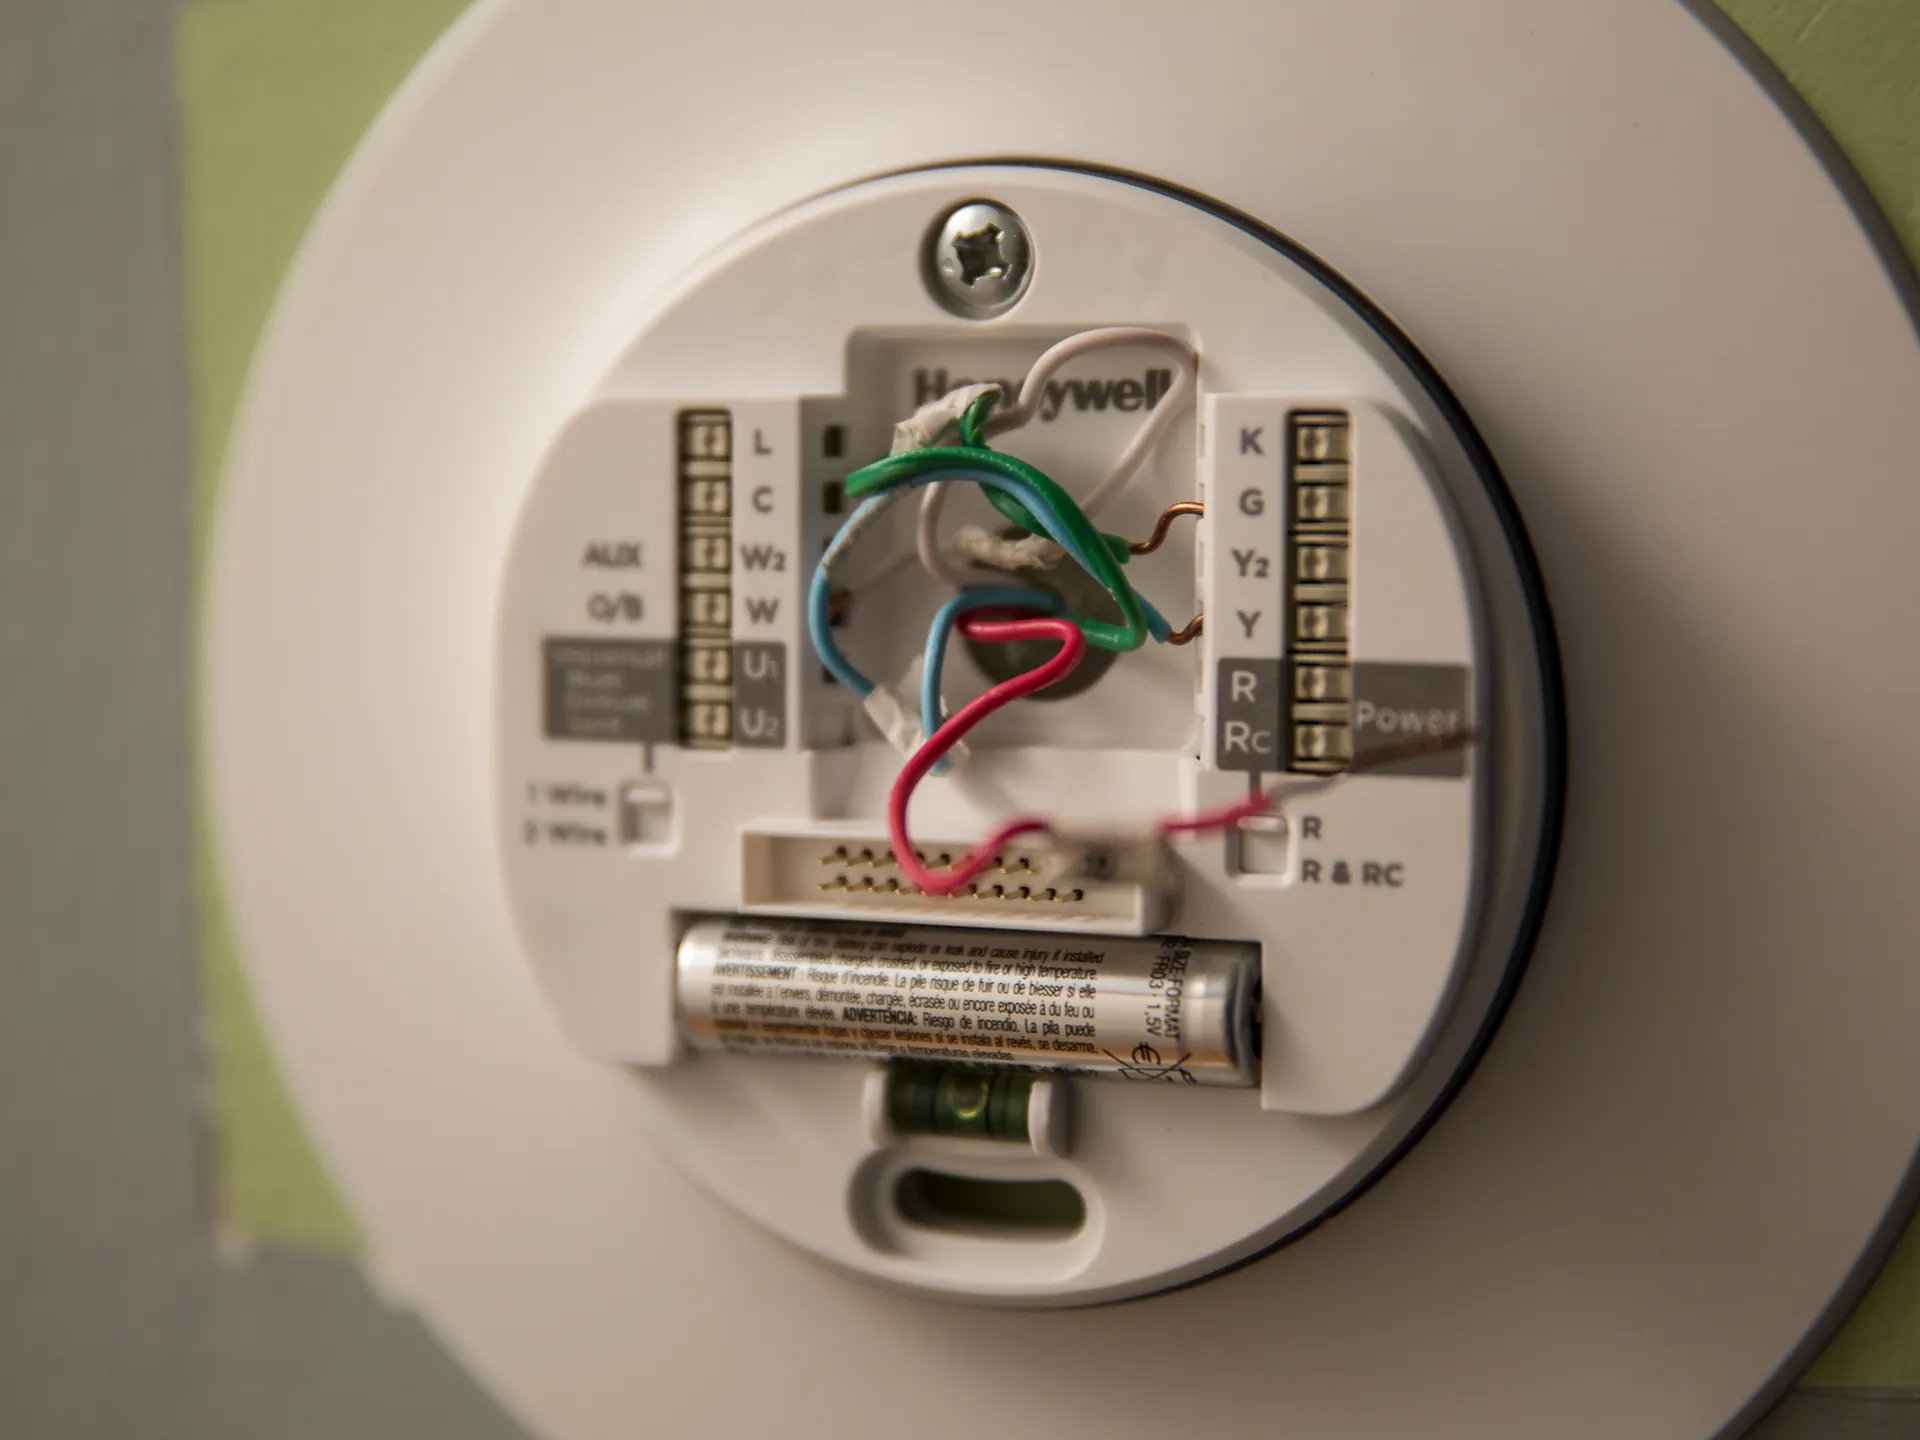
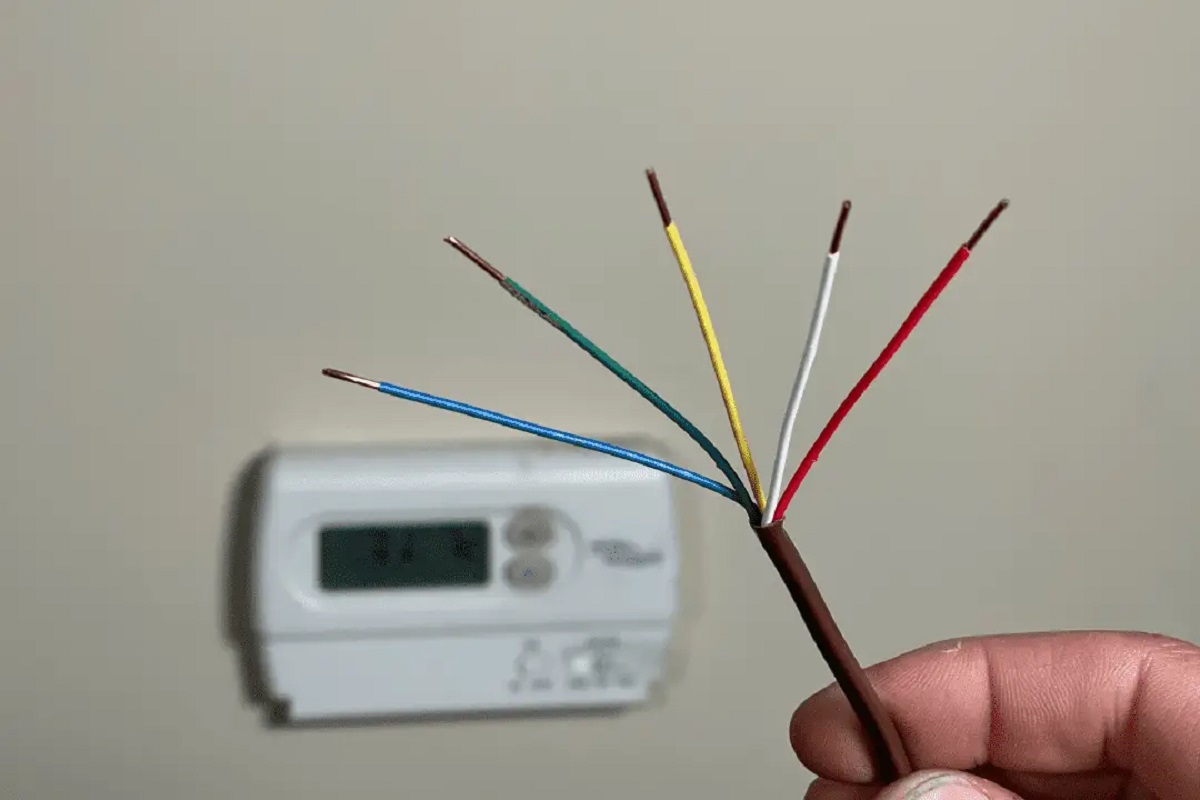
- Identify the existing thermostat wire, which typically consists of multiple colored wires.
- Using a wire stripper, carefully strip the outer insulation of the thermostat wire to expose the individual wires.
- Connect the add-a-wire adapter to the thermostat wire by attaching each individual wire to its respective labeled terminal on the adapter. Pay attention to the correct color-coding.
- Attach the other end of the add-a-wire adapter to the corresponding terminals on your smart thermostat, following the manufacturer’s instructions.
- Secure the wiring connections using wire nuts or electrical tape.
- Restore power to your HVAC system by turning on the circuit breaker.
- Follow the setup instructions provided by your smart thermostat to complete the installation process and connect it to your home Wi-Fi network.
Once the installation is complete, you should now have a functioning G wire connection, allowing your smart thermostat to control the fan operation of your HVAC system. Remember to test your smart thermostat to ensure it’s working correctly and adjust the fan settings as per your preferences.
Using an add-a-wire adapter is an effective workaround for the absence of a G wire. It eliminates the need for additional wiring and ensures a seamless installation process. However, if you’re unsure about handling the wiring or if you encounter any difficulties during the installation, it’s always wise to seek assistance from a professional HVAC technician.
Option 2: Re-purposing the C Wire as the G Wire
If your heating system has a C wire (common wire), you can re-purpose it as the G wire for your smart thermostat. The C wire provides a continuous source of power to the thermostat, and by using a jumper wire or reconfiguring the wiring at the HVAC control board, you can divert the power from the C wire to the G terminal. Here’s how you can proceed:
- Start by turning off the power to your HVAC system from the circuit breaker.
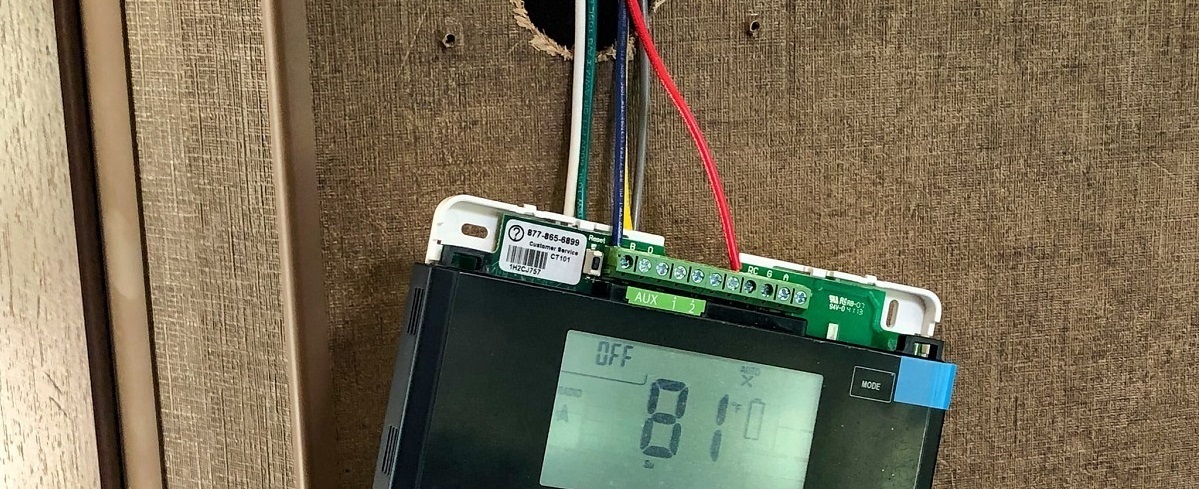
- Locate the control board of your HVAC system. It is usually found inside the furnace or air handler unit.
- Identify the existing wiring terminals on the control board, including the C and G terminals.
- If the C wire is not currently connected, locate the corresponding wire at the thermostat and at the control board.
- Connect a jumper wire between the C and G terminals on the control board. This will route power from the C wire to the G terminal.
- At the thermostat, connect the existing C wire to the G terminal.
- Secure all wiring connections using wire nuts or electrical tape.
- Turn on the power to your HVAC system by switching on the circuit breaker.
- Follow the setup instructions provided by your smart thermostat to complete the installation and connect it to your home Wi-Fi network.
By re-purposing the C wire as the G wire, you can successfully install and use your smart thermostat without the need for additional wiring. However, please note that this solution requires a basic understanding of HVAC wiring, and if you’re unsure or have any concerns, it’s always recommended to consult a professional HVAC technician.
Ensure that your smart thermostat is functioning correctly, and don’t forget to adjust the fan settings to your preference. With the C wire now serving as the G wire, your smart thermostat will be able to control the fan operation of your HVAC system effectively.
Option 3: Using a Power Extender Kit
If you don’t have a G wire or spare wires available, using a power extender kit can be a viable solution for installing a smart thermostat. A power extender kit, also known as a PEK or a common wire kit, allows you to power your smart thermostat using the existing wires. Here’s how you can proceed:
- Start by turning off the power to your HVAC system from the circuit breaker.
- Locate the control board of your HVAC system, usually found inside the furnace or air handler unit.
- Refer to the instructions provided with the power extender kit to identify the necessary connections on the control board.
- Connect the power extender kit to the appropriate terminals on the control board.
- At the thermostat, connect the provided wiring harness from the power extender kit to the respective terminals according to the manufacturer’s instructions.
- Secure all wiring connections using wire nuts or electrical tape.
- Turn on the power to your HVAC system by switching on the circuit breaker.
- Follow the setup instructions provided by your smart thermostat manufacturer to complete the installation and connect it to your home’s Wi-Fi network.
The power extender kit will effectively provide a constant power source to your smart thermostat, eliminating the need for a dedicated G wire connection. This solution is particularly useful when there are no spare wires available or when running new wires is not feasible.
It’s important to note that power extender kits come with their own set of instructions and may have specific compatibility requirements with your smart thermostat. Make sure to follow the provided instructions and consult the manufacturer’s guidelines to ensure a successful installation.
If you’re uncertain about handling the wiring or encounter any difficulties during the installation process, it’s recommended to seek assistance from a professional HVAC technician.
Option 4: Installing a New Thermostat Wire
If none of the previous options are feasible for your situation, the last resort is to install a new thermostat wire that includes a G wire connection. While this option requires more effort and time, it provides a reliable and long-term solution. Here’s a step-by-step guide to help you install a new thermostat wire:
- Start by turning off the power to your HVAC system from the circuit breaker.
- Determine the path you will take to run the new thermostat wire. This may involve drilling holes, pulling baseboards, or using existing pathways such as conduit or ductwork.
- Purchase the appropriate thermostat wire with the necessary number of wires and gauge suitable for your HVAC system.
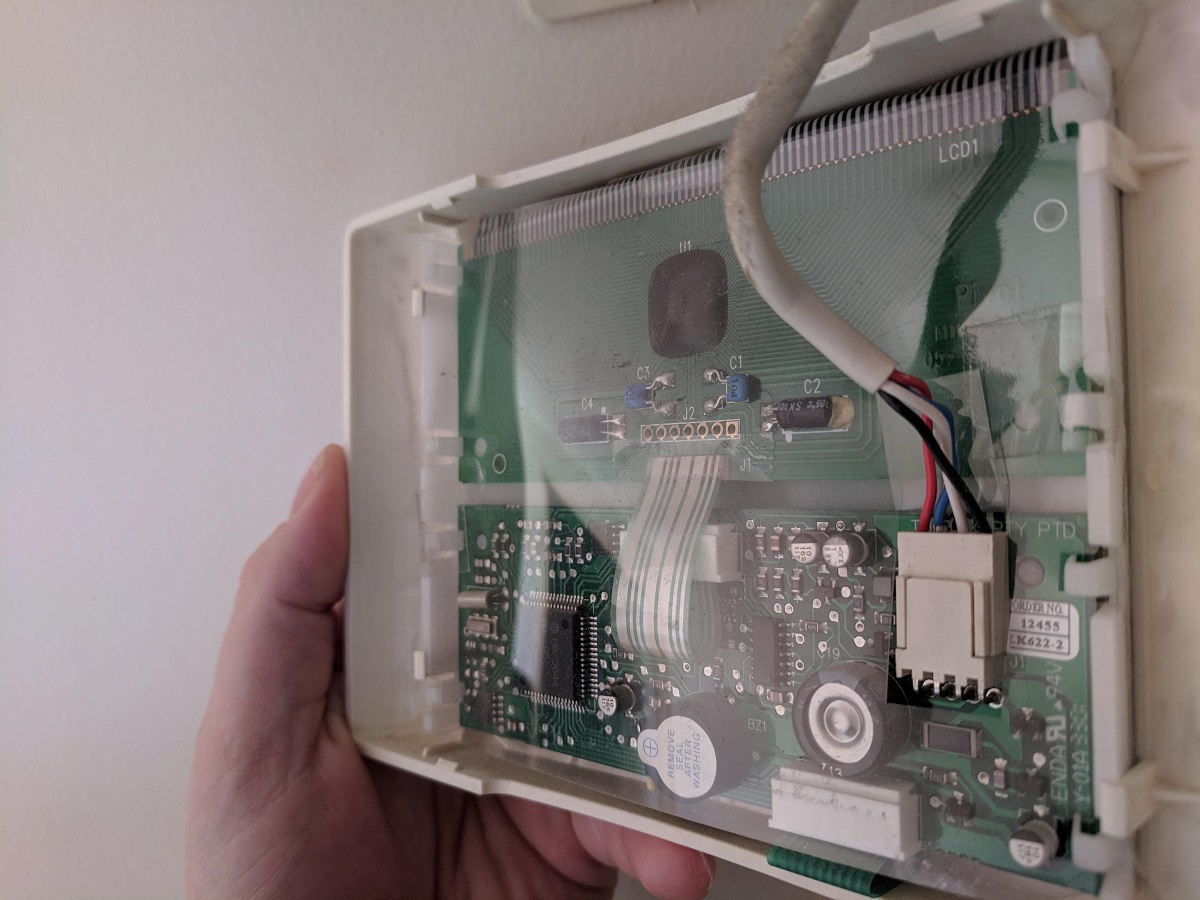
- Remove the old thermostat from the wall, exposing the existing wiring.
- Disconnect the existing thermostat wires from the terminals and label them for reference.
- Securely attach one end of the new thermostat wire to the exposed terminals at the HVAC control board.
- Carefully thread the new thermostat wire through the designated pathway, ensuring it reaches the location where the thermostat will be installed.
- Attach the other end of the new thermostat wire to the corresponding terminals on your smart thermostat. Follow the manufacturer’s instructions for proper wiring.
- Secure all wiring connections using wire nuts or electrical tape.
- Turn on the power to your HVAC system by switching on the circuit breaker.
- Follow the setup instructions provided by your smart thermostat manufacturer to complete the installation and connect it to your home’s Wi-Fi network.
While installing a new thermostat wire requires more work than other options, it provides a dedicated G wire connection, ensuring optimal performance of your smart thermostat. It’s important to exercise caution during the installation process and follow safety guidelines when working with electrical systems or drilling holes in your walls.
If you’re unsure about any aspect of this installation or encounter challenges along the way, it’s advisable to seek assistance from a professional electrician or HVAC technician. They have the expertise to handle the wiring and ensure a successful installation.
Step-by-Step Guide to Install a Smart Thermostat without a G Wire
Now that you have familiarized yourself with the various options for installing a smart thermostat without a G wire, let’s walk through a general step-by-step guide that can be applied to most solutions:
- Before you begin, turn off the power to your HVAC system from the circuit breaker. This ensures your safety during the installation process.
- Identify the control board of your HVAC system. This is usually located inside the furnace or air handler unit.
- Carefully remove the existing thermostat from the wall, exposing the wiring terminals.
- Take note of the existing wiring connections and label them for reference. This will help you reconnect them correctly later on.
- Depending on the option you have chosen, follow the specific instructions for that solution.
- Once the necessary wiring adjustments or installations are complete, securely attach the wiring connections using wire nuts or electrical tape.
- Turn on the power to your HVAC system by switching on the circuit breaker. This will provide power to your smart thermostat.
- Follow the setup instructions provided by your smart thermostat manufacturer. This usually involves connecting your thermostat to your home’s Wi-Fi network and configuring your desired temperature settings.
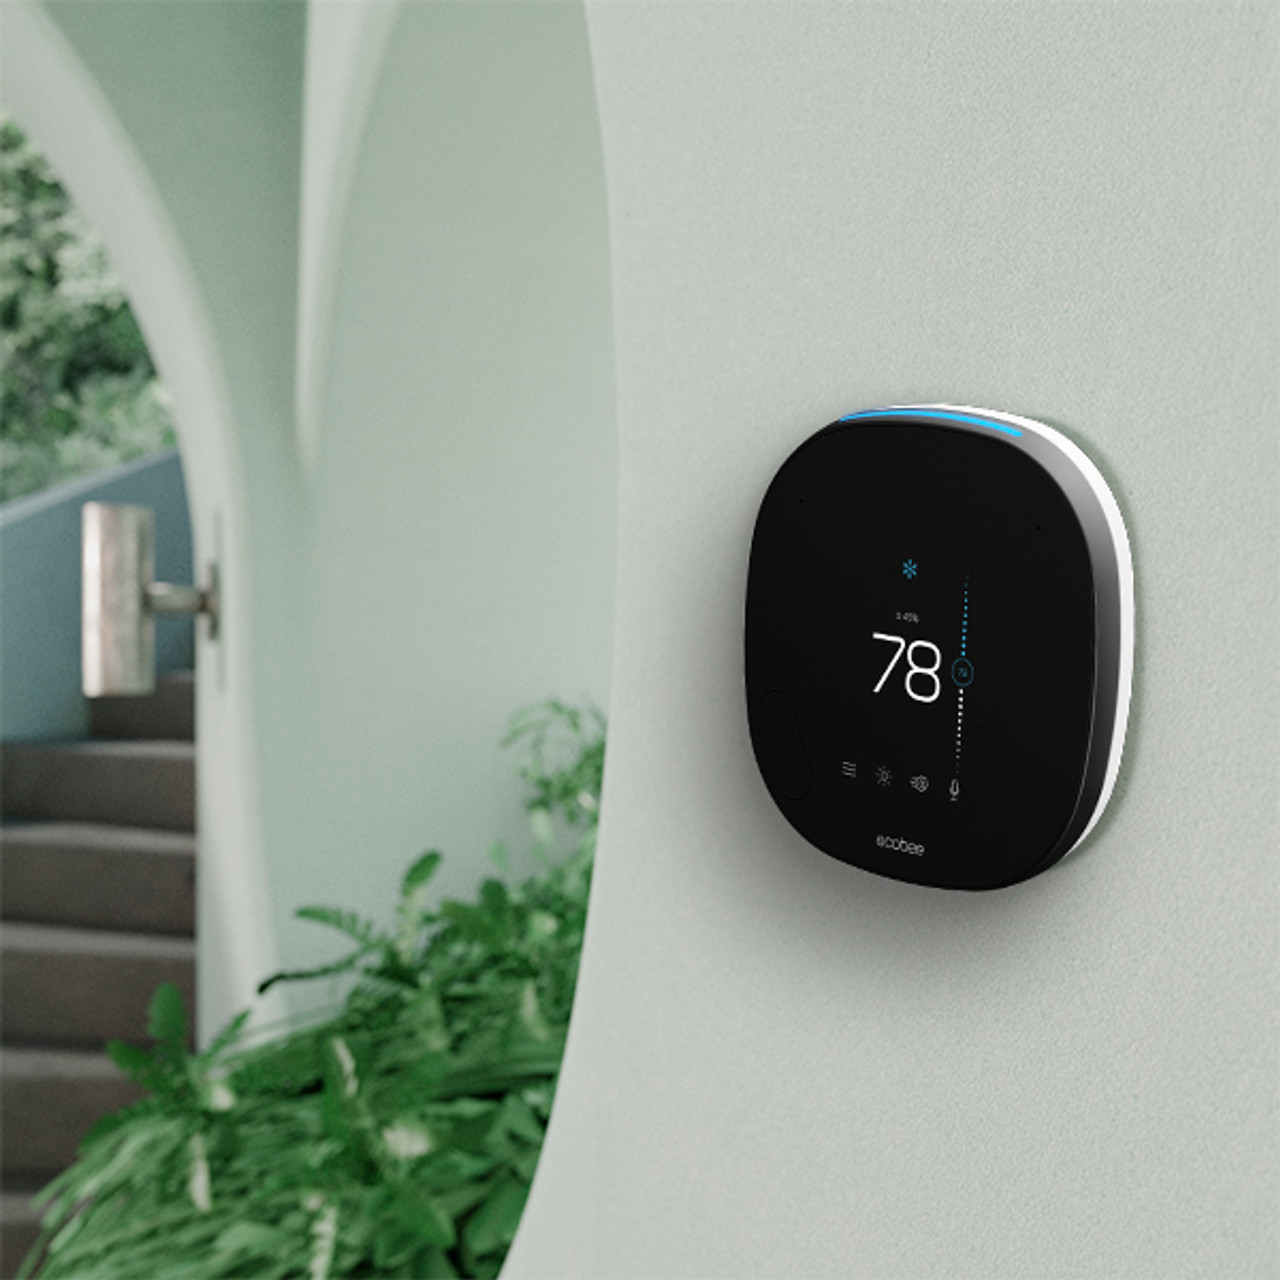
- Mount your smart thermostat onto the wall using the included mounting hardware, following the manufacturer’s instructions.
- Test your smart thermostat to ensure it is functioning correctly. Adjust the temperature settings and observe the response of your HVAC system.
- If you encounter any difficulties or are unsure about any steps, seek assistance from a professional HVAC technician or electrician.
Following this general guide, along with the specific instructions provided by your smart thermostat manufacturer and the chosen solution, will help you successfully install a smart thermostat without a G wire. Remember, safety is paramount, so always turn off the power during installation and seek professional assistance if needed.
Conclusion
Installing a smart thermostat without a G wire may seem like a daunting task, but with the right knowledge and guidance, it can be accomplished successfully. Throughout this article, we have explored various options for overcoming the absence of a G wire and provided step-by-step instructions for each solution.
Whether you choose to use an add-a-wire adapter, re-purpose the C wire, utilize a power extender kit, or install a new thermostat wire, these options offer flexibility and enable you to enjoy the benefits of a smart thermostat without compromising on functionality.
It’s important to remember that while DIY installation is possible, it may require a basic understanding of HVAC wiring. If you’re uncertain about any aspect of the installation process or encounter difficulties, it’s always advisable to seek assistance from a professional HVAC technician or electrician.
By following the provided step-by-step guide and the instructions from your smart thermostat manufacturer, you can successfully install a smart thermostat without a G wire and enhance the comfort, energy-efficiency, and convenience of your home.
Remember to prioritize safety throughout the installation process, turn off the power when working with electrical components, and test your smart thermostat to ensure its proper functioning. Enjoy the benefits of your new smart thermostat and the comfort it brings to your home!