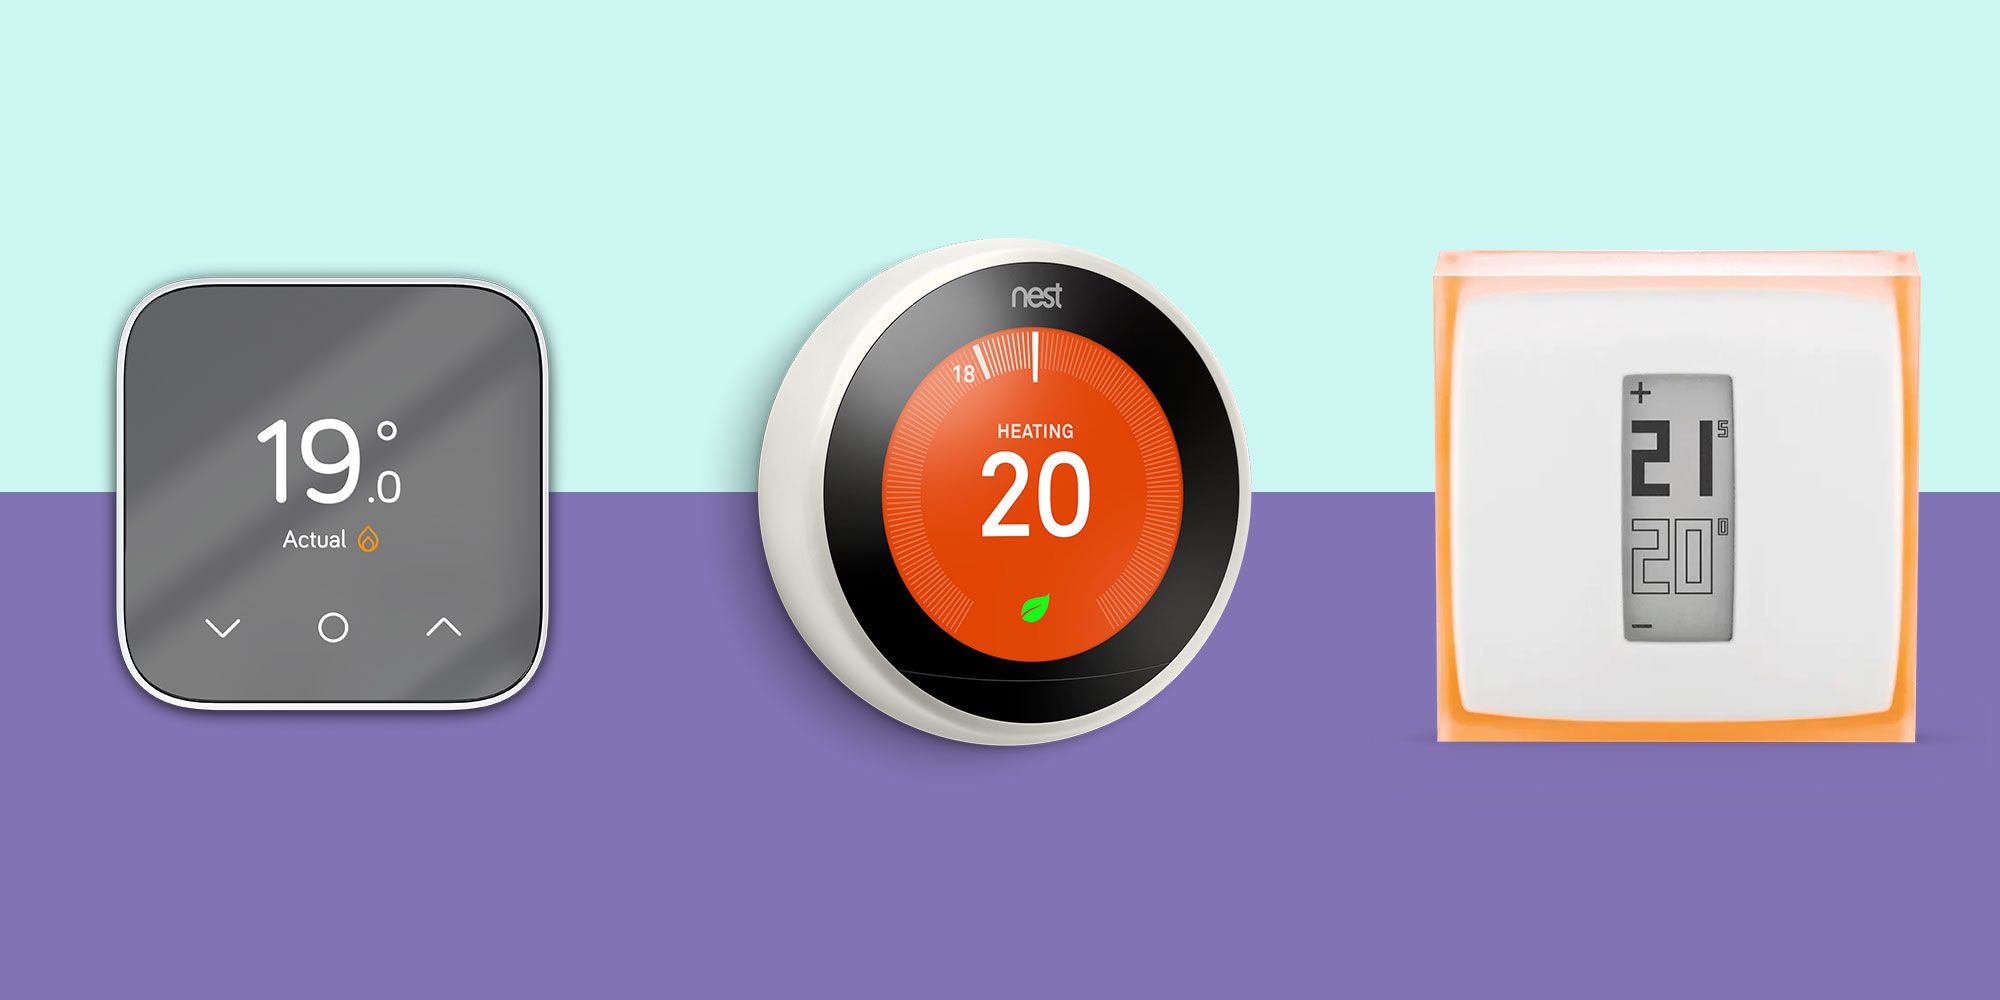
Introduction
Welcome to our guide on how to install a Nest smart thermostat! Installing a smart thermostat, like the Nest, can be a great way to increase energy efficiency and add convenience to your home. With its advanced features and intuitive interface, the Nest thermostat allows you to control the temperature of your home from anywhere using your smartphone or voice commands.
However, it’s important to note that installing a Nest thermostat does require some basic knowledge of electrical systems and wiring. If you’re uncomfortable working with electrical components, it’s always best to hire a professional to ensure the installation is done safely and correctly.
In this step-by-step guide, we will walk you through the process of installing a Nest smart thermostat. We’ll provide detailed instructions and tips to help you successfully install your new thermostat and start enjoying its benefits.
Before we begin, it’s essential to gather the necessary tools and materials for the installation. This will ensure a smooth and efficient process. You’ll need a screwdriver, wire labels, a voltage tester, and of course, your Nest thermostat and its base plate. It’s also important to turn off the power to your thermostat before starting the installation to avoid any electrical mishaps.
Once you have everything ready, you can proceed to the next step, which involves removing your old thermostat. This may require carefully detaching it from the wall and disconnecting the wires. Afterward, you’ll install the Nest base plate, connect the wires to the Nest thermostat, and attach the thermostat to the base plate. Once that’s done, you can turn the power back on, set up and connect the Nest thermostat, and test it to ensure everything is working correctly.
Installing a Nest smart thermostat is a great investment that can significantly improve your home’s energy efficiency and comfort. So, let’s get started with the installation process in the following steps. Remember to reference the included Nest installation guide for any specific instructions related to your model.
Before You Start
Before diving into the installation process, there are a few essential things to consider and check. These preparations will help ensure a smooth and successful installation of your Nest smart thermostat.
Firstly, it’s crucial to check if your HVAC (heating, ventilation, and air conditioning) system is compatible with the Nest thermostat. The Nest website provides a Compatibility Checker tool that allows you to input your system’s details and verify if it works with the Nest thermostat. This step is important to avoid any compatibility issues during installation.
Secondly, make sure you have a strong Wi-Fi signal in the area where you plan to install the Nest thermostat. A stable internet connection is necessary for the thermostat to communicate with your smartphone and any other connected devices. If your Wi-Fi signal is weak in that area, you may need to consider adding a Wi-Fi range extender or relocating the thermostat.
Next, gather the necessary tools and materials. Along with the screwdriver, wire labels, and voltage tester mentioned earlier, it’s helpful to have a level to ensure the Nest thermostat is installed straight on the wall. Additionally, having a small paintbrush or compressed air can help clean any dust or debris from the installation area and make for a neater finish.
Before starting the installation, it’s crucial to turn off power to your thermostat at the circuit breaker or fuse box. This step is vital to ensure your safety during the process. Use a voltage tester to double-check that the power is off before proceeding with any further steps.
Lastly, take the time to familiarize yourself with the Nest thermostat and its components. The thermostat comes with an installation guide that provides detailed instructions and illustrations. Reading through the guide beforehand will give you a clear understanding of the installation process and help you feel more confident as you proceed.
By completing these preparatory steps, you’ll be well-equipped and ready to begin the installation of your Nest smart thermostat. Following the subsequent steps in this guide will ensure a successful installation and set you on the path to enjoying the energy-saving and convenient features of your new thermostat.
Step 1: Gather Tools and Materials
Before you start installing your Nest smart thermostat, it’s essential to gather all the necessary tools and materials. Having everything ready beforehand will make the installation process smoother and more efficient. Here’s a list of items you’ll need:
- Screwdriver: You’ll need a screwdriver to remove your old thermostat from the wall and install the Nest base plate.
- Wire Labels: Use wire labels to identify and mark the wires connected to your old thermostat. This will make it easier to connect them to the Nest thermostat later.
- Voltage Tester: A voltage tester is essential for ensuring the power is off before you start working on your thermostat. This tool will help you avoid any electrical hazards.
- Nest Thermostat and Base Plate: Make sure you have your Nest smart thermostat and its base plate ready for installation. These are the main components that you’ll be working with.
In addition to these specific tools and materials, it’s also helpful to have a few general items at hand:
- Level: A level will help you ensure that the Nest thermostat is installed straight and level on the wall.
- Paintbrush or Compressed Air: Having a small paintbrush or compressed air can help you clean any dust or debris that may have accumulated on the wall before installing the Nest thermostat.
Once you’ve gathered all the tools and materials, it’s a good idea to organize them in a convenient and easily accessible manner. Having everything within reach will save you time and prevent any unnecessary delays during the installation process.
By being prepared with the necessary tools and materials, you’re setting yourself up for success in installing your Nest smart thermostat. The next step will be to turn off the power to your thermostat before proceeding with the removal of your old thermostat.
Step 2: Turn Off Power to Your Thermostat
Before you begin removing your old thermostat, it’s crucial to turn off the power to ensure your safety throughout the installation process. Here’s how you can turn off the power to your thermostat:
- Locate the Circuit Breaker or Fuse Box: In most homes, the circuit breaker or fuse box is located in the basement, utility room, or a garage. Find the appropriate circuit breaker or fuse that controls the power to your thermostat.
- Identify the Correct Circuit Breaker or Fuse: Look for the circuit breaker or fuse that is labeled or identified as controlling the thermostat or HVAC system. If there are multiple circuit breakers or fuses, you may need to check the electrical panel cover or consult the circuit breaker’s schematic diagram to locate the correct one.
- Turn Off the Power: Once you’ve identified the correct circuit breaker or fuse, switch it to the “off” position or remove the fuse. This action will cut off the power supply to your thermostat.
It’s important to verify that the power is indeed off before proceeding with any further steps. To do this, you can use a voltage tester. Place the voltage tester on the wires connected to your thermostat. If the tester indicates no voltage, it means that the power has been successfully turned off, and it’s safe to continue the installation process.
Remember, safety should always be a top priority when working with electrical components. If you’re unsure about turning off the power yourself, it’s advisable to seek assistance from a qualified electrician to ensure a safe installation process.
Now that you have successfully turned off the power to your thermostat, you can proceed to the next step of removing your old thermostat with confidence.
Step 3: Remove Your Old Thermostat
With the power to your thermostat turned off, you can now proceed to remove your old thermostat. Follow these steps to ensure a proper removal:
- Take a Photo: Before you start removing any wires or components, take a photo of the wiring configuration of your old thermostat. This photo will serve as a reference when connecting the wires to your Nest thermostat later.
- Remove the Thermostat Cover: Gently remove the cover of your old thermostat, revealing the inner components. Some covers may be attached with screws or clips, so be sure to remove them carefully.
- Note the Wire Labels: If your old thermostat has wire labels, take note of them and their corresponding terminals. This will help you identify the wires during the installation of your Nest thermostat.
- Disconnect the Wires: Loosen the screws or terminals holding the wires in place on your old thermostat. Carefully pull the wires out from behind the terminals and allow them to hang freely.
- Remove the Mounting Plate: Once the wires are disconnected, remove the mounting plate of your old thermostat from the wall. This plate may be attached with screws, so unscrew them to detach it completely.
- Clean the Wall: Take a moment to clean the area on the wall where your old thermostat was mounted. Use a paintbrush or compressed air to remove any dust or debris that may have accumulated.
During the removal process, it’s important to handle the wires with care and avoid mixing them up. Keeping the wires organized and noting their labels and positions will make the installation of your Nest thermostat much easier.
With the old thermostat successfully removed and the wall cleaned, you’re now ready to move on to the next step – installing the Nest base plate.
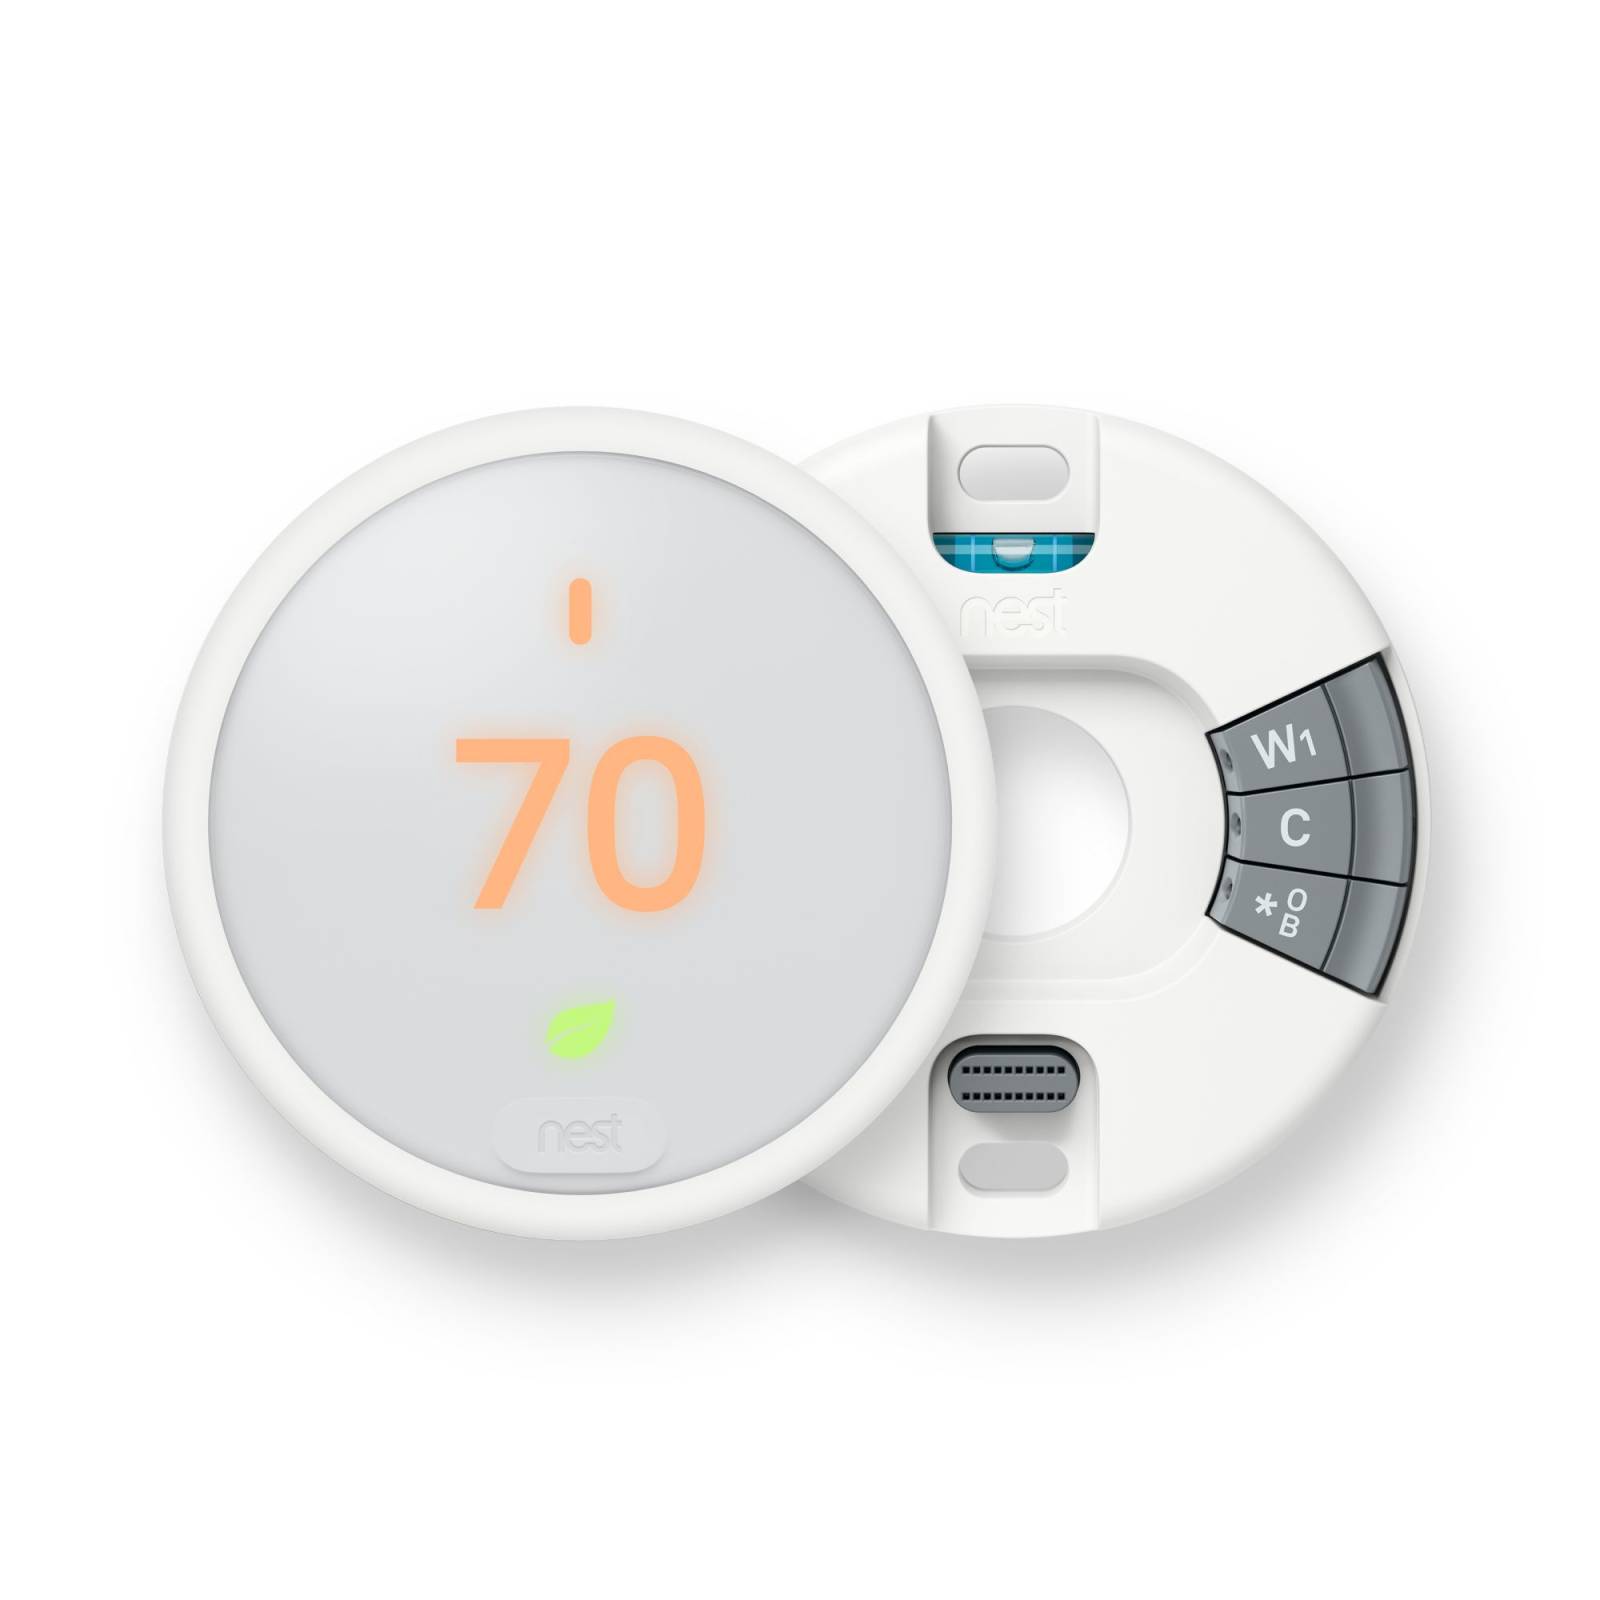
Step 4: Install the Nest Base Plate
Now that you have removed your old thermostat, it’s time to install the Nest base plate. The base plate acts as a mounting bracket for your Nest thermostat. Follow these steps to properly install the base plate:
- Position the Base Plate: Hold the Nest base plate against the wall in the desired location. Ensure that it is level and aligned with the screw holes or marks from your previous thermostat.
- Mark the Mounting Holes: With the base plate held against the wall, use a pencil to mark the locations of the screw holes. These marks will guide you when it’s time to screw in the base plate securely.
- Drill Pilot Holes (if needed): If the mounting holes are not pre-drilled or you’re using different screws than those provided with the Nest thermostat, use an appropriate-sized drill bit to create pilot holes at the marked locations.
- Align and Screw in the Base Plate: Line up the holes on the base plate with the pilot holes or marked locations. Insert screws into the holes and tighten them with a screwdriver. Be careful not to overtighten or strip the screws.
- Verify Stability: Once the base plate is securely attached to the wall, gently wiggle it to ensure that it is stable and firmly in place.
During this process, it’s crucial to ensure that the base plate is level and installed correctly. A level base plate will help ensure that your Nest thermostat is straight and properly aligned on the wall. Take your time to double-check the alignment and stability of the base plate before proceeding to the next step.
With the Nest base plate securely installed, you’re now ready to move on to connecting the wires from your HVAC system to the Nest thermostat in the next step.
Step 5: Connect the Wires to the Nest Thermostat
Once the Nest base plate is securely installed, it’s time to connect the wires from your HVAC system to the Nest thermostat. Follow these steps to properly connect the wires:
- Identify the Wires: Refer to the photo you took earlier or the wire labels from your old thermostat to identify the wires and their corresponding terminals. The most common wires you might encounter include the Rc, Rh, C, W, Y, and G wires.
- Strip and Straighten the Wires: If necessary, strip about 3/8 inch of insulation from the end of each wire using wire strippers. Straighten any curled or kinked wires to ensure a proper connection.
- Connect the Wires to the Nest Thermostat: Match the wires to the corresponding terminals on the Nest thermostat. Push each wire into the appropriate terminal and tighten the terminal screws using a screwdriver. Ensure that each wire is secure and properly seated in its terminal.
Here’s a quick overview of the commonly used wire terminals and their functions:
- Rc: Connects to the cooling system power.
- Rh: Connects to the heating system power.
- C: Connects to the common wire, providing continuous power to the thermostat.
- W: Connects to the wire controlling the heating system.
- Y: Connects to the wire controlling the cooling system.
- G: Connects to the wire controlling the fan or blower.
If you have additional wires, such as an O, B, or a W2 wire, consult the Nest thermostat’s installation guide or online resources for specific instructions on connecting these wires.
Once all the wires are securely connected to their respective terminals, you can proceed to the next step of attaching the Nest thermostat to the base plate.
Step 6: Attach the Nest Thermostat to the Base Plate
With the wires securely connected to the Nest thermostat, it’s time to attach the thermostat to the base plate. Follow these steps to properly attach the Nest thermostat:
- Align the Nest Thermostat: Hold the Nest thermostat near the base plate, aligning the pins on the backside of the thermostat with the corresponding holes on the base plate.
- Push and Secure: Gently push the thermostat onto the base plate, making sure the pins on the thermostat go into the holes on the base plate. Apply slight pressure until the thermostat clicks into place and sits flush against the wall.
- Verify Secure Installation: Give the Nest thermostat a gentle tug to ensure it is securely attached to the base plate. It should not feel loose or easily dislodged.
When attaching the Nest thermostat, ensure that it is level and properly aligned on the base plate. Take your time to position it correctly before pressing it into place to avoid any damage to the thermostat or base plate.
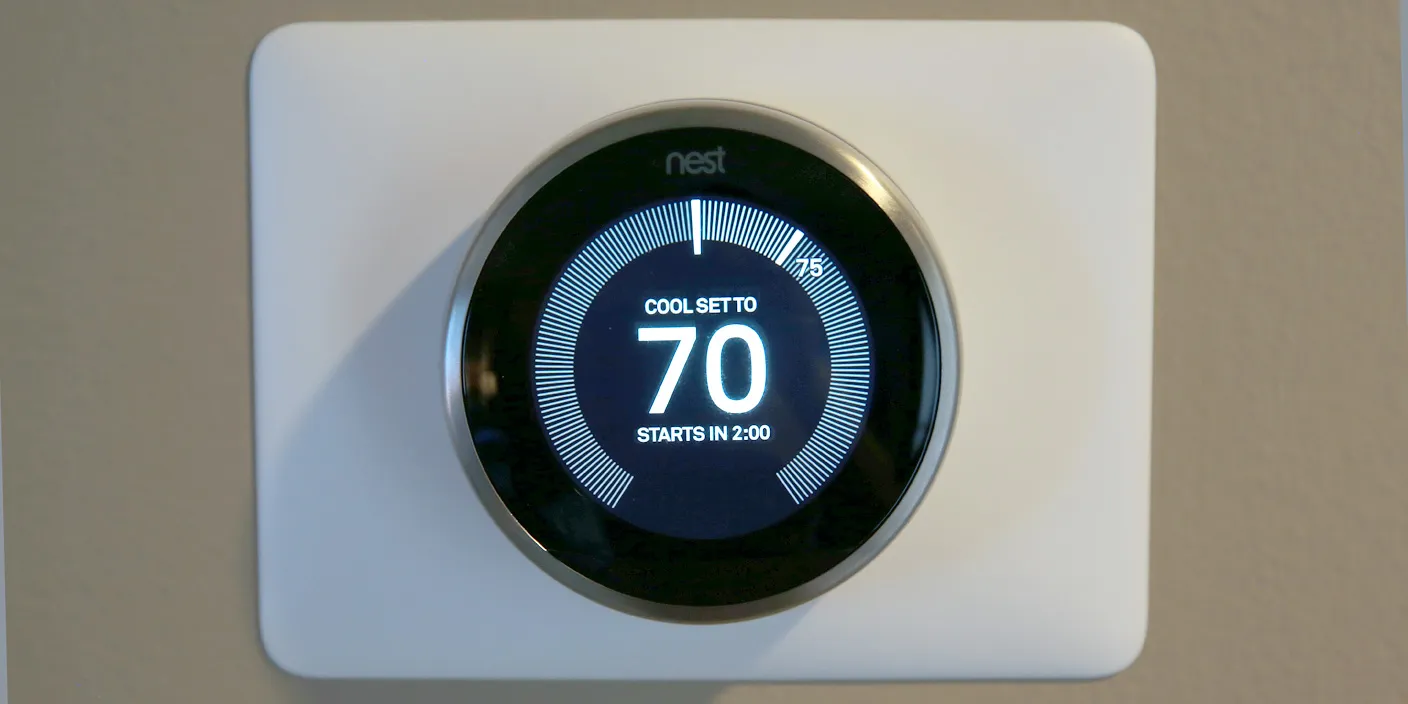
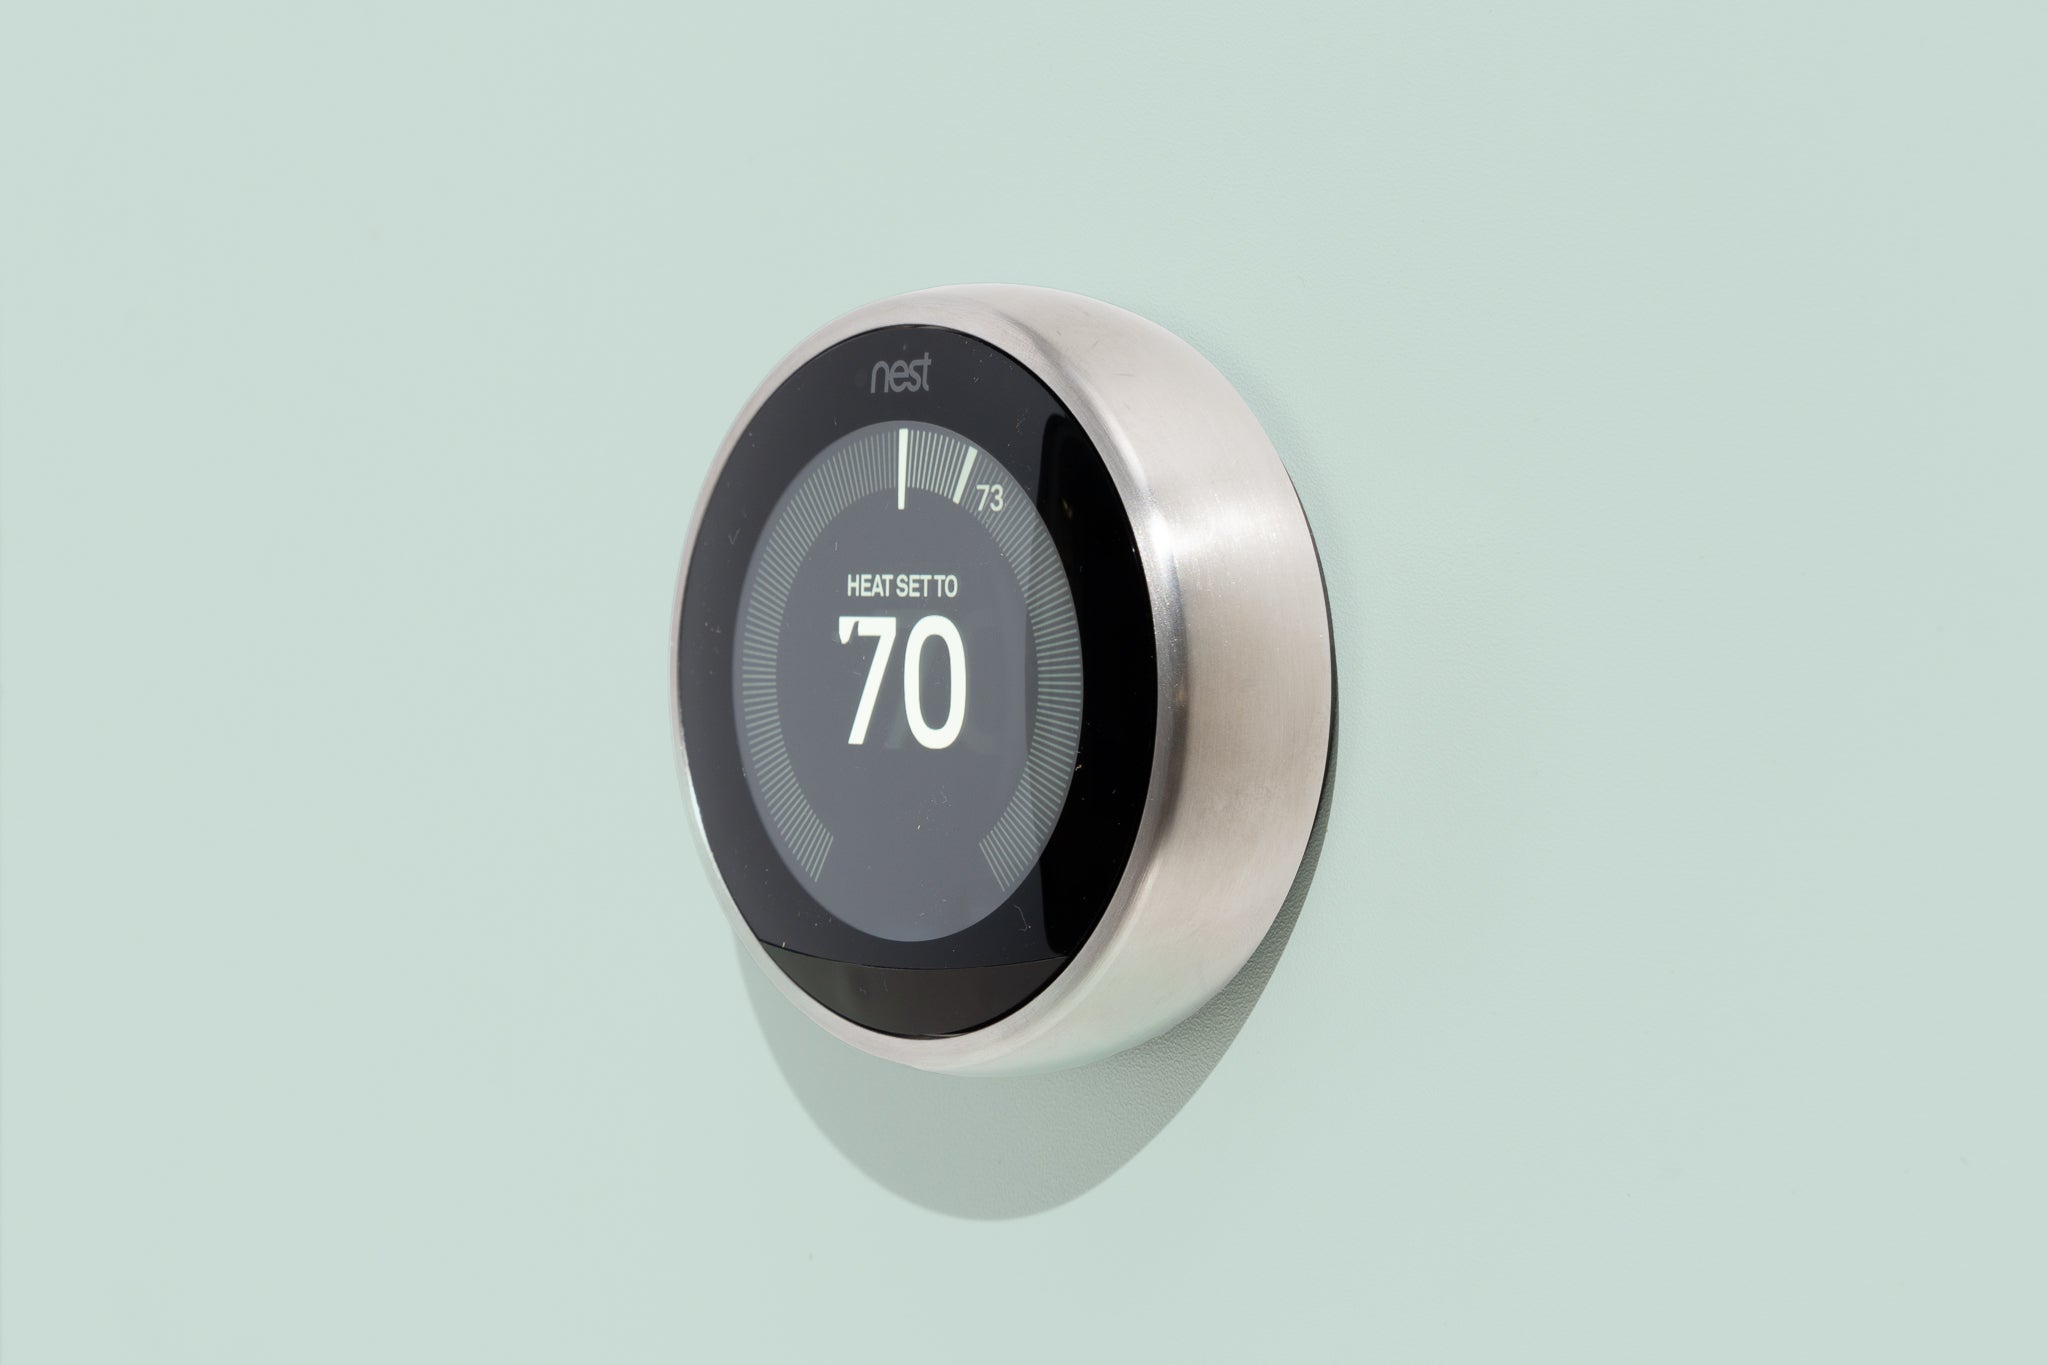
Upon successfully attaching the Nest thermostat, it will power on and display the initial setup screen. This means that your thermostat is now ready to be set up and connected to your home’s Wi-Fi network, which is the next step of the installation process.
Step 7: Turn On Power to Your Thermostat
After attaching the Nest thermostat to the base plate, it’s time to turn the power back on. This step will allow the thermostat to receive power and start functioning properly. Follow these steps to turn on the power to your thermostat:
- Locate the Circuit Breaker or Fuse Box: Refer to the location of the circuit breaker or fuse box mentioned earlier. It’s usually found in the basement, utility room, or garage.
- Identify the Correct Circuit Breaker or Fuse: Locate the circuit breaker or fuse that controls the power to your thermostat or HVAC system, similar to what you did in Step 2.
- Turn On the Power: Switch the circuit breaker back to the “on” position or insert the fuse back into its socket. This will restore power to your thermostat.
With the power turned back on, the Nest thermostat will boot up and display a startup screen. Follow the on-screen instructions to proceed with the initial setup and Wi-Fi connection process. This will involve configuring your thermostat settings, connecting it to your home’s Wi-Fi network, and registering it with your Nest account.
It’s essential to ensure that your Wi-Fi network is available and has a stable connection during this process. Follow the instructions provided by the Nest thermostat to complete the setup successfully.
Once the setup is complete, your Nest thermostat will be ready to use, allowing you to control the temperature of your home with ease and convenience.
Proceed to the next step to learn how to set up and connect your Nest thermostat to enjoy its full range of features.
Step 8: Set Up and Connect the Nest Thermostat
With the power restored to your thermostat, it’s time to set up and connect your Nest thermostat. Follow these steps to complete the setup process:
- Follow On-Screen Instructions: The Nest thermostat will guide you through the setup process with on-screen instructions. Follow the prompts to select your language, connect to your Wi-Fi network, and provide necessary information such as your zip code and desired temperature preferences.
- Connect to Wi-Fi: When prompted, select your Wi-Fi network from the available options and enter the network password when prompted. This will allow your Nest thermostat to connect to your home’s Wi-Fi network, enabling remote control and access from your smartphone or other devices.
- Complete Registration: Create or sign in to your Nest account when prompted. This will allow you to access your thermostat settings and control it remotely through the Nest app or website. Follow the instructions to complete the registration process.
- Configure Additional Settings: Once connected to your Wi-Fi network and registered with your Nest account, you may have the option to customize additional settings. This can include setting up a schedule for your thermostat, adjusting temperature preferences, enabling geofencing, and more. Configure these settings according to your preferences.
During the setup process, be sure to pay attention to any specific instructions or prompts given by the Nest thermostat. This will ensure a smooth and successful setup without any issues.
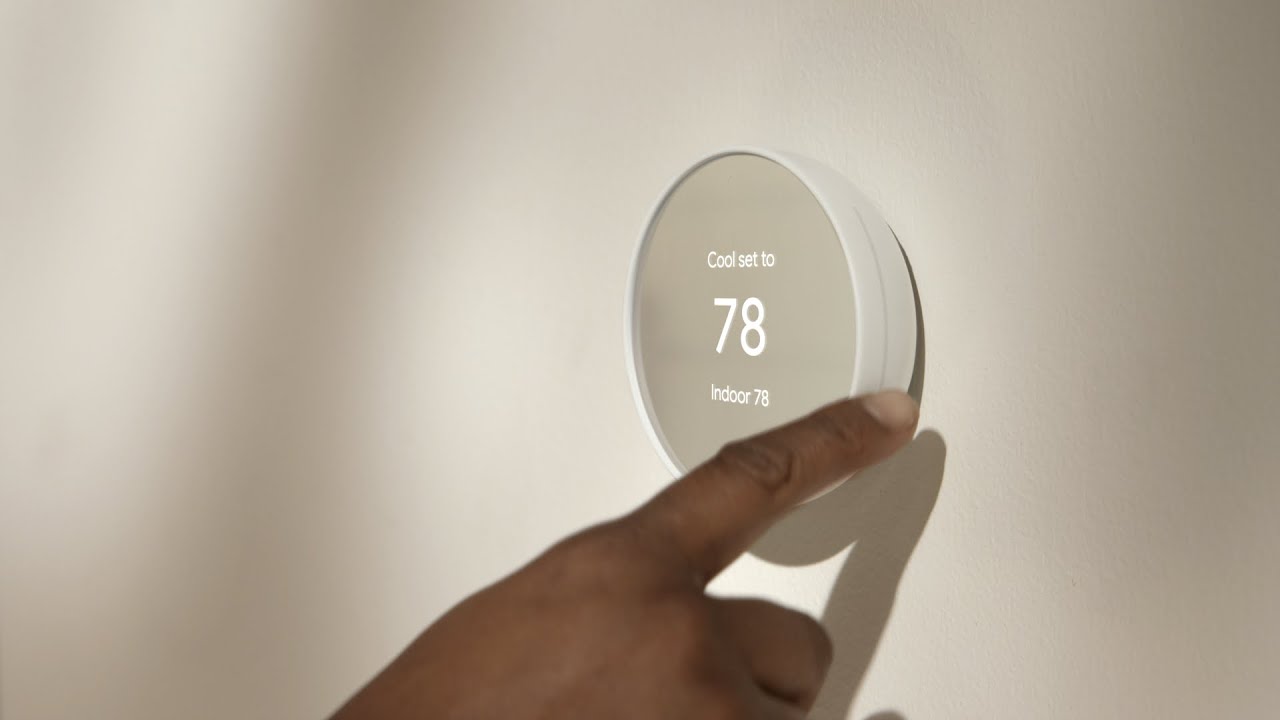
Once the setup is complete, your Nest thermostat will be fully operational and ready to enhance the comfort and energy efficiency of your home. You can now control the temperature and access advanced features through the Nest app or website, whether you’re at home or on the go.
Next, we’ll move on to the final step, where we’ll test your Nest smart thermostat to ensure everything is functioning correctly.
Step 9: Test and Enjoy Your Nest Smart Thermostat
Now that your Nest smart thermostat is set up and connected, it’s time to test it and start enjoying its features. Follow these steps to test and make the most of your Nest thermostat:
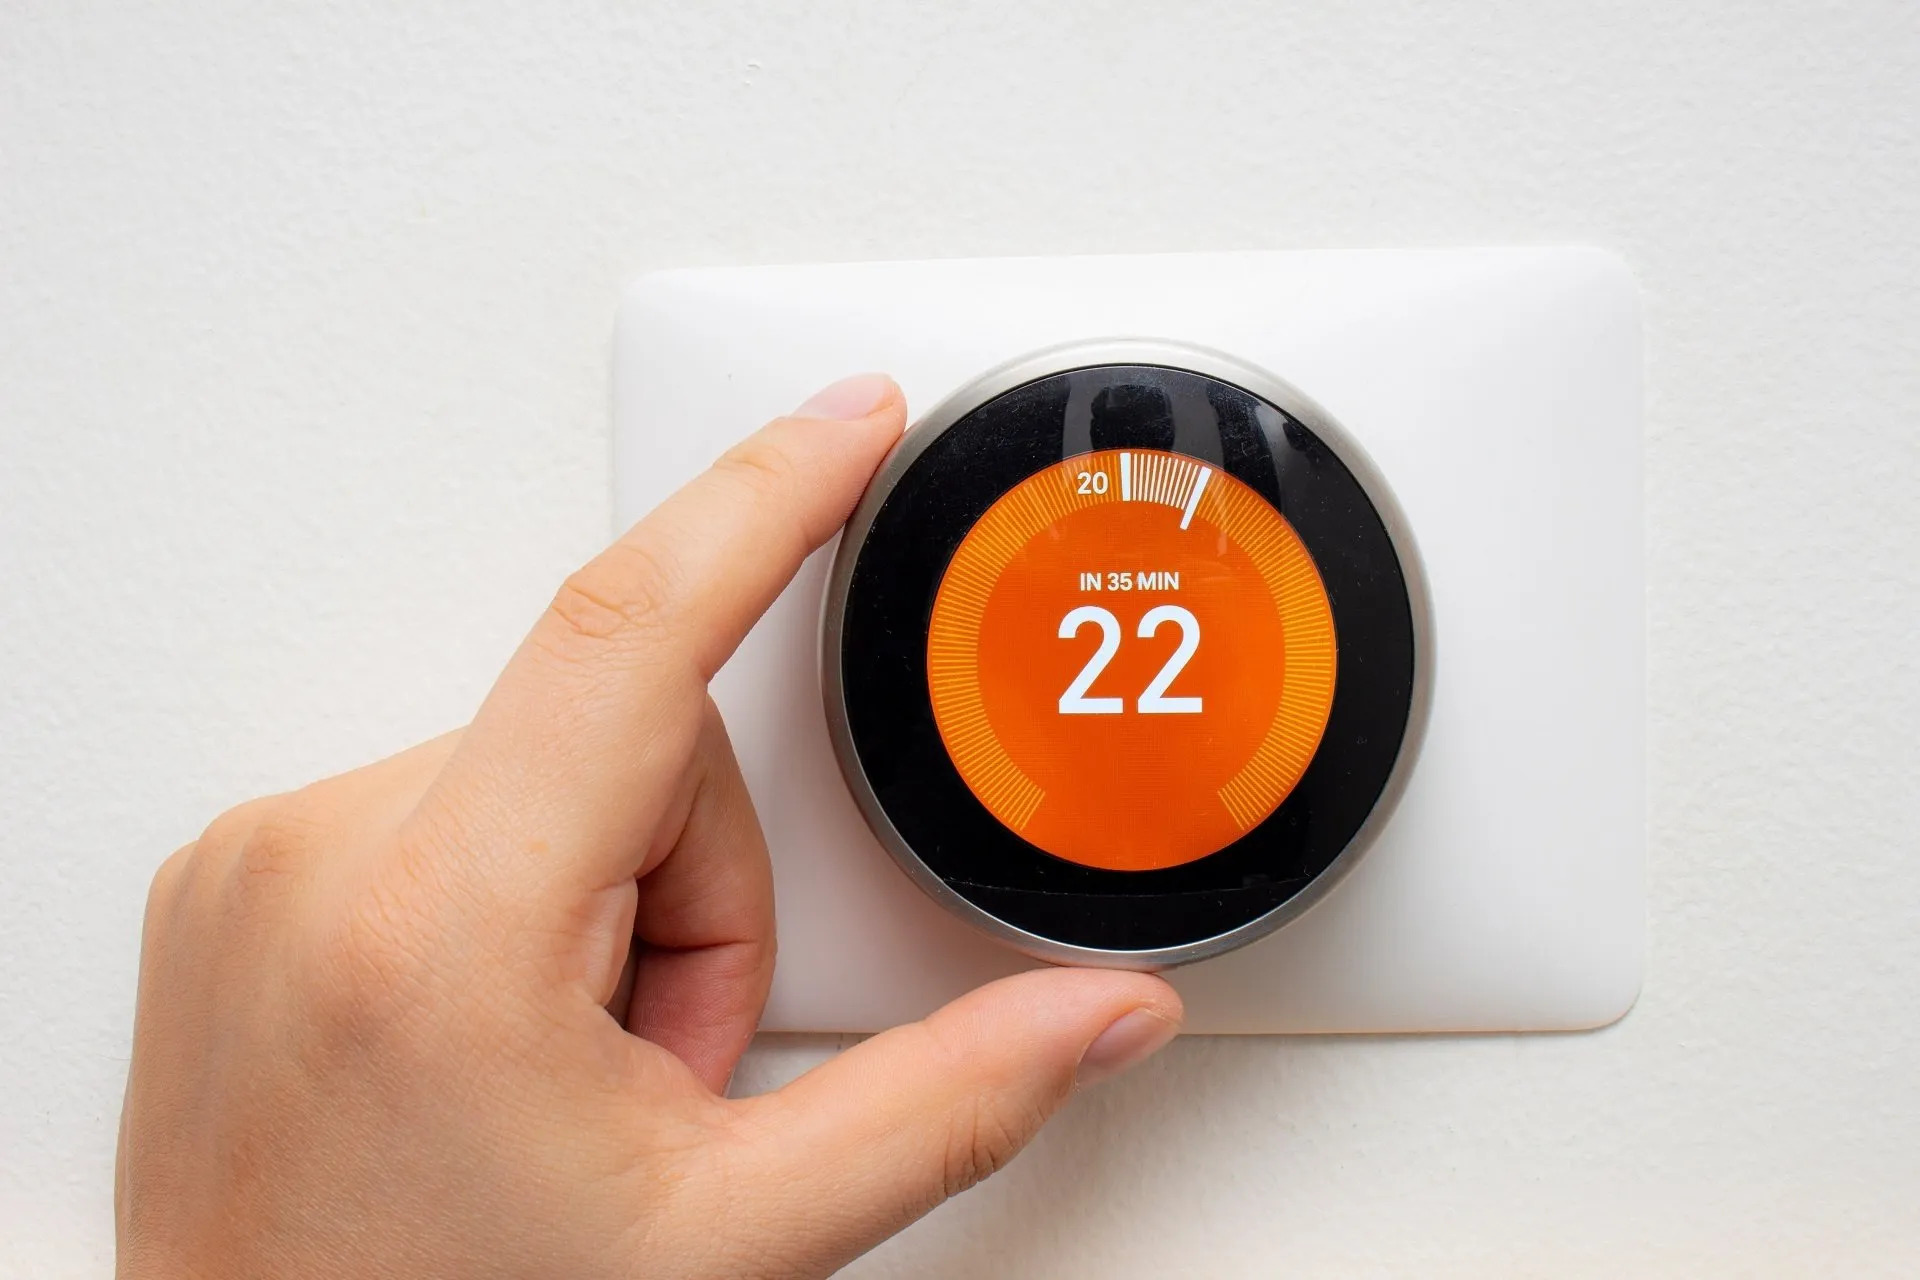
- Test the Heating and Cooling: Adjust the temperature settings on your Nest thermostat to test the heating and cooling functionalities. Check if your HVAC system responds accordingly and that the thermostat is accurately reflecting the temperature changes.
- Explore Additional Features: Take some time to explore the additional features and settings that your Nest thermostat offers. This includes features like Home/Away Assist, scheduling, energy-saving tips, and compatibility with voice assistants. Adjust these settings to suit your preferences and learn how to optimize the energy efficiency and comfort of your home.
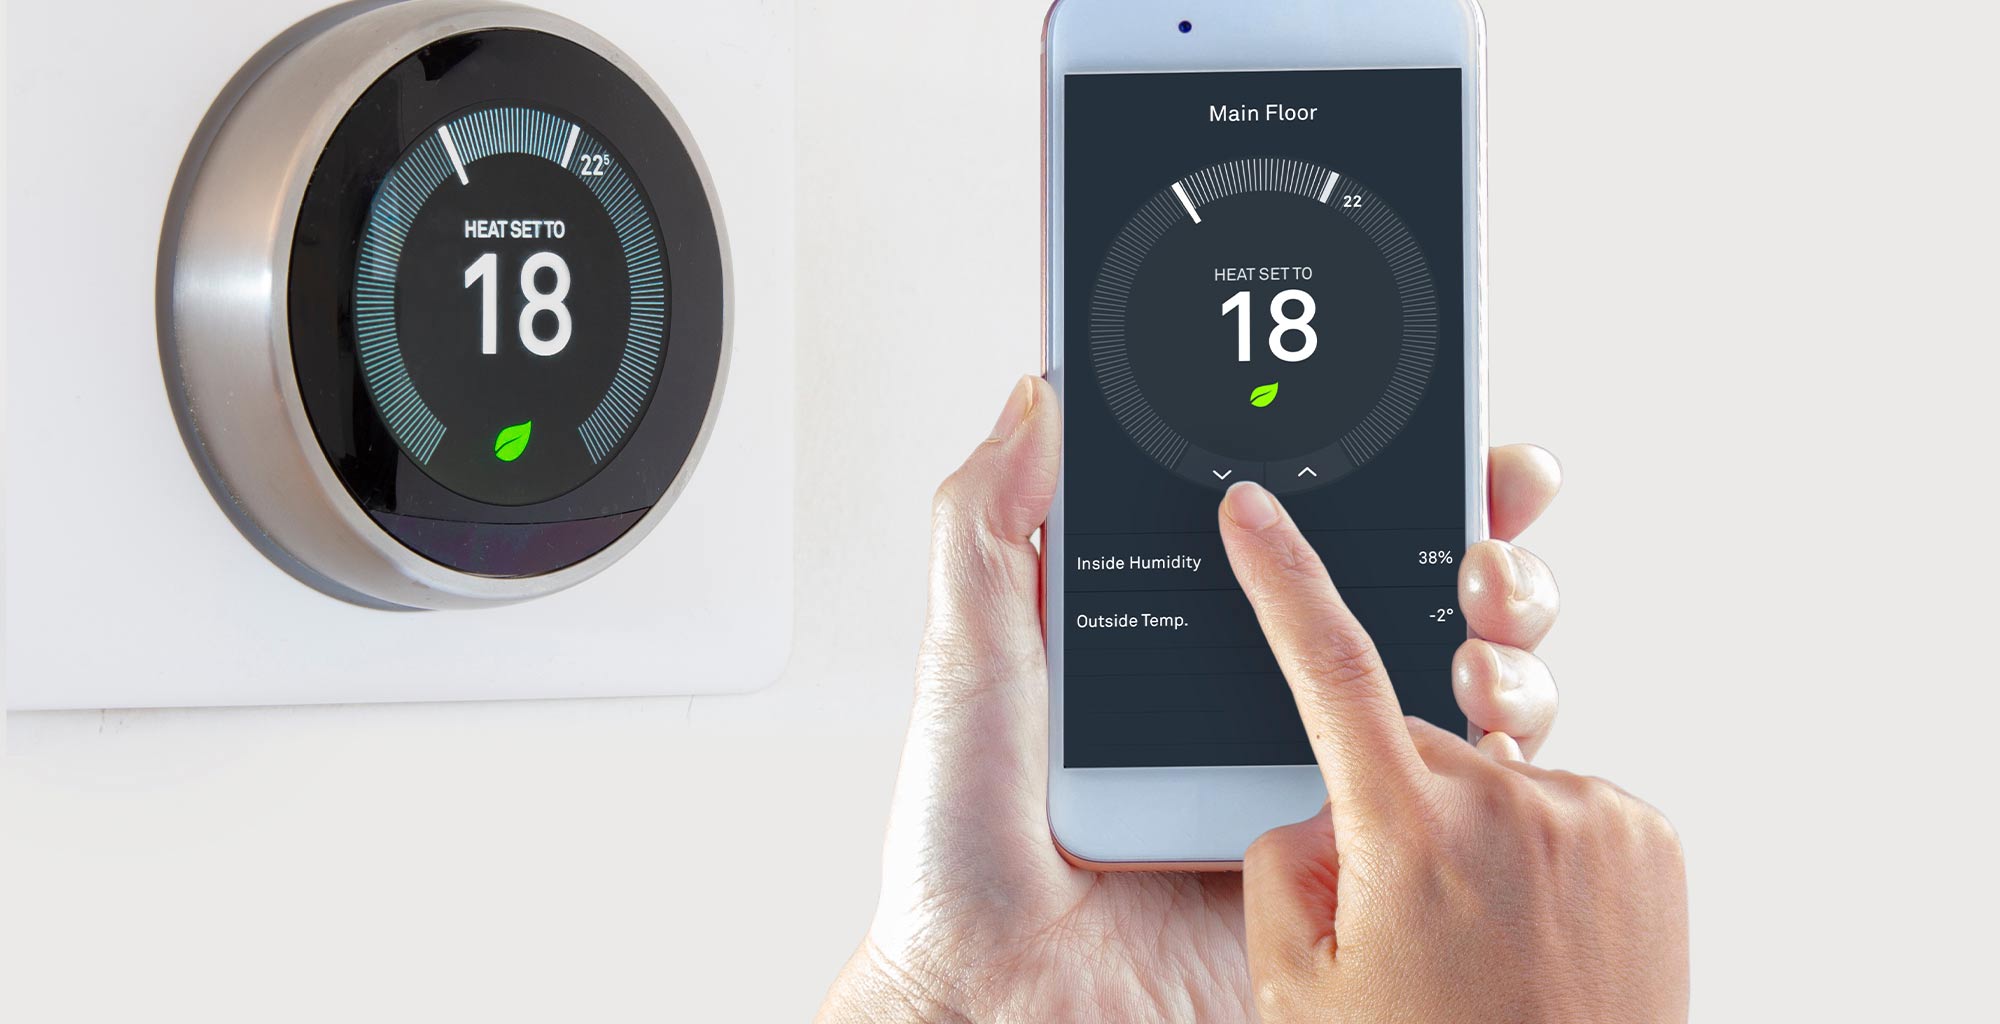
- Use the Nest App: Download the Nest app on your smartphone or tablet to access your thermostat controls remotely. This allows you to monitor and adjust the temperature, view energy usage, and receive alerts or notifications from your Nest thermostat wherever you are.
- Monitor Energy Savings: Keep an eye on your energy usage through the Nest app or website. Track the energy-saving patterns and adjust the thermostat settings as needed to maximize efficiency and reduce energy consumption.
By thoroughly testing your Nest smart thermostat, you can ensure that it is functioning correctly and meeting your heating and cooling needs. Adjust the settings and preferences to find the ideal balance of comfort and energy efficiency.
Remember to periodically check for updates to the Nest thermostat firmware and the Nest app. These updates often introduce new features, improvements, and bug fixes to enhance your overall experience with the thermostat.
Congratulations on successfully installing and setting up your Nest smart thermostat! Enjoy the convenience, energy savings, and comfort that it brings to your home.
Conclusion
Installing a Nest smart thermostat can significantly enhance your home’s energy efficiency and convenience. By following the step-by-step guide in this article, you’ve successfully learned how to install, set up, and enjoy the features of your Nest thermostat.
The installation process involved gathering the necessary tools and materials, turning off power to your thermostat, removing your old thermostat, installing the Nest base plate, connecting the wires, attaching the Nest thermostat, and turning on the power. Afterward, you set up and connected the Nest thermostat to your Wi-Fi network, customized your settings, and tested its functionality. Your Nest thermostat is now ready to keep your home comfortable while saving energy.
Remember, if you’re not comfortable working with electrical components or if you encounter any difficulties during the installation process, it’s always best to seek professional assistance to ensure a safe and proper installation.
Now that you’re familiar with your Nest smart thermostat, take advantage of its features, such as remote control through the Nest app, energy-saving tips, and voice command compatibility. Continuously monitor your energy usage and adjust your settings to maximize efficiency and savings.
We hope this guide has been helpful in guiding you through the installation and setup process of your Nest smart thermostat. Enjoy the convenience, comfort, and energy savings that your Nest thermostat brings to your home!