Introduction
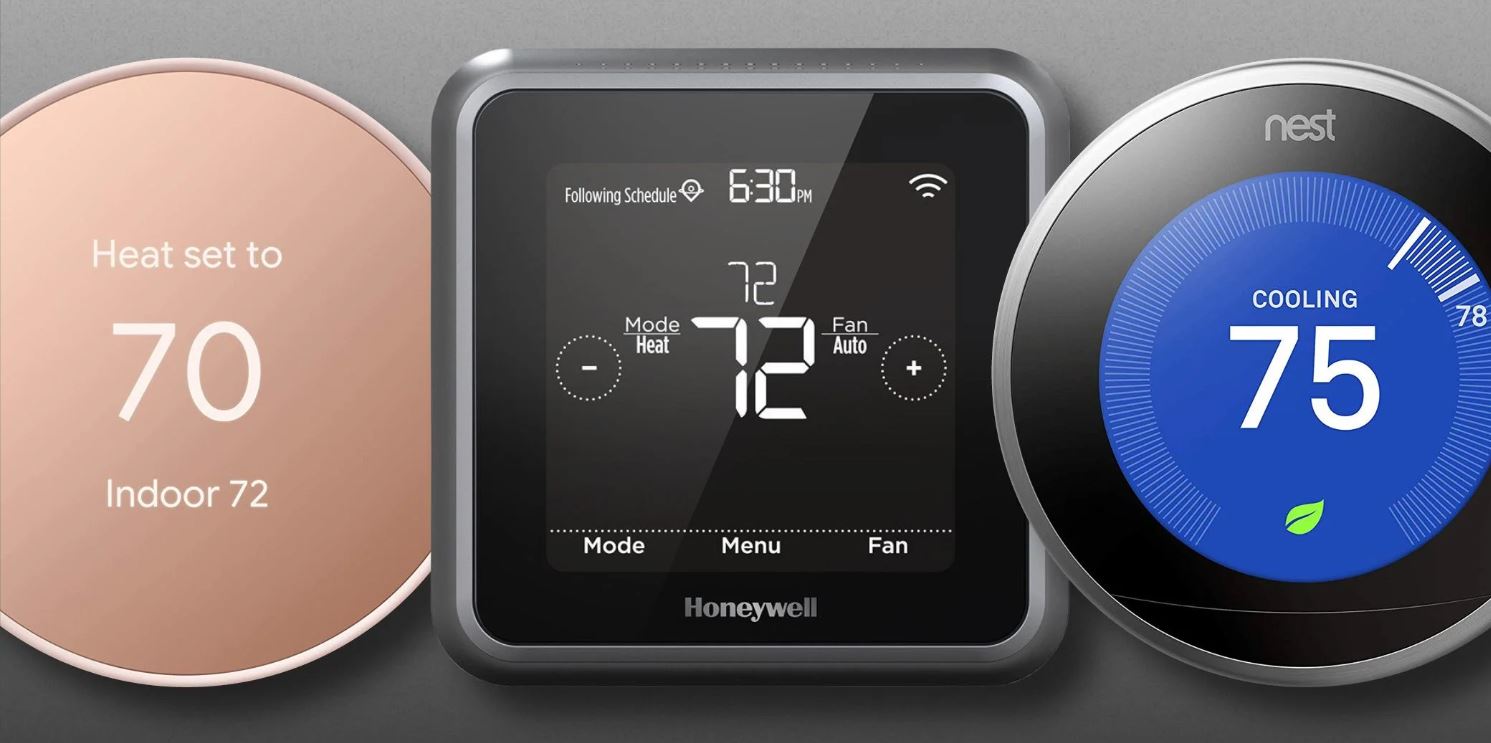
When it comes to modernizing your home’s heating and cooling system, a smart thermostat is a game-changer. Not only do these devices provide advanced temperature control and energy-saving features, but they also offer the convenience of remote access and personalized scheduling. However, to enjoy all the benefits of a smart thermostat, you’ll need to make sure it’s properly connected to your HVAC system, including the 24 volt wire.
The 24 volt wire, also known as the “C-wire” or “common wire,” is an essential component for smart thermostat installation. It provides a constant source of 24-volt power to the thermostat, enabling it to communicate with your heating and cooling system effectively. Without this wire, your smart thermostat may not function correctly or may experience intermittent connectivity issues.
In this guide, we will walk you through the process of hooking up the 24 volt wire for a smart thermostat. We’ll discuss the tools and materials you’ll need, the steps involved in the installation, and provide troubleshooting tips along the way. By following these instructions, you’ll be able to enjoy the full potential and energy-saving benefits of your smart thermostat.
Understanding 24 Volt Wire
Before diving into the installation process, it’s essential to have a basic understanding of what the 24 volt wire is and its role in the operation of a smart thermostat. In HVAC systems, the majority of thermostats require a power source to function properly. This power is typically provided by the 24 volt wire, which is connected to a transformer in the HVAC system.
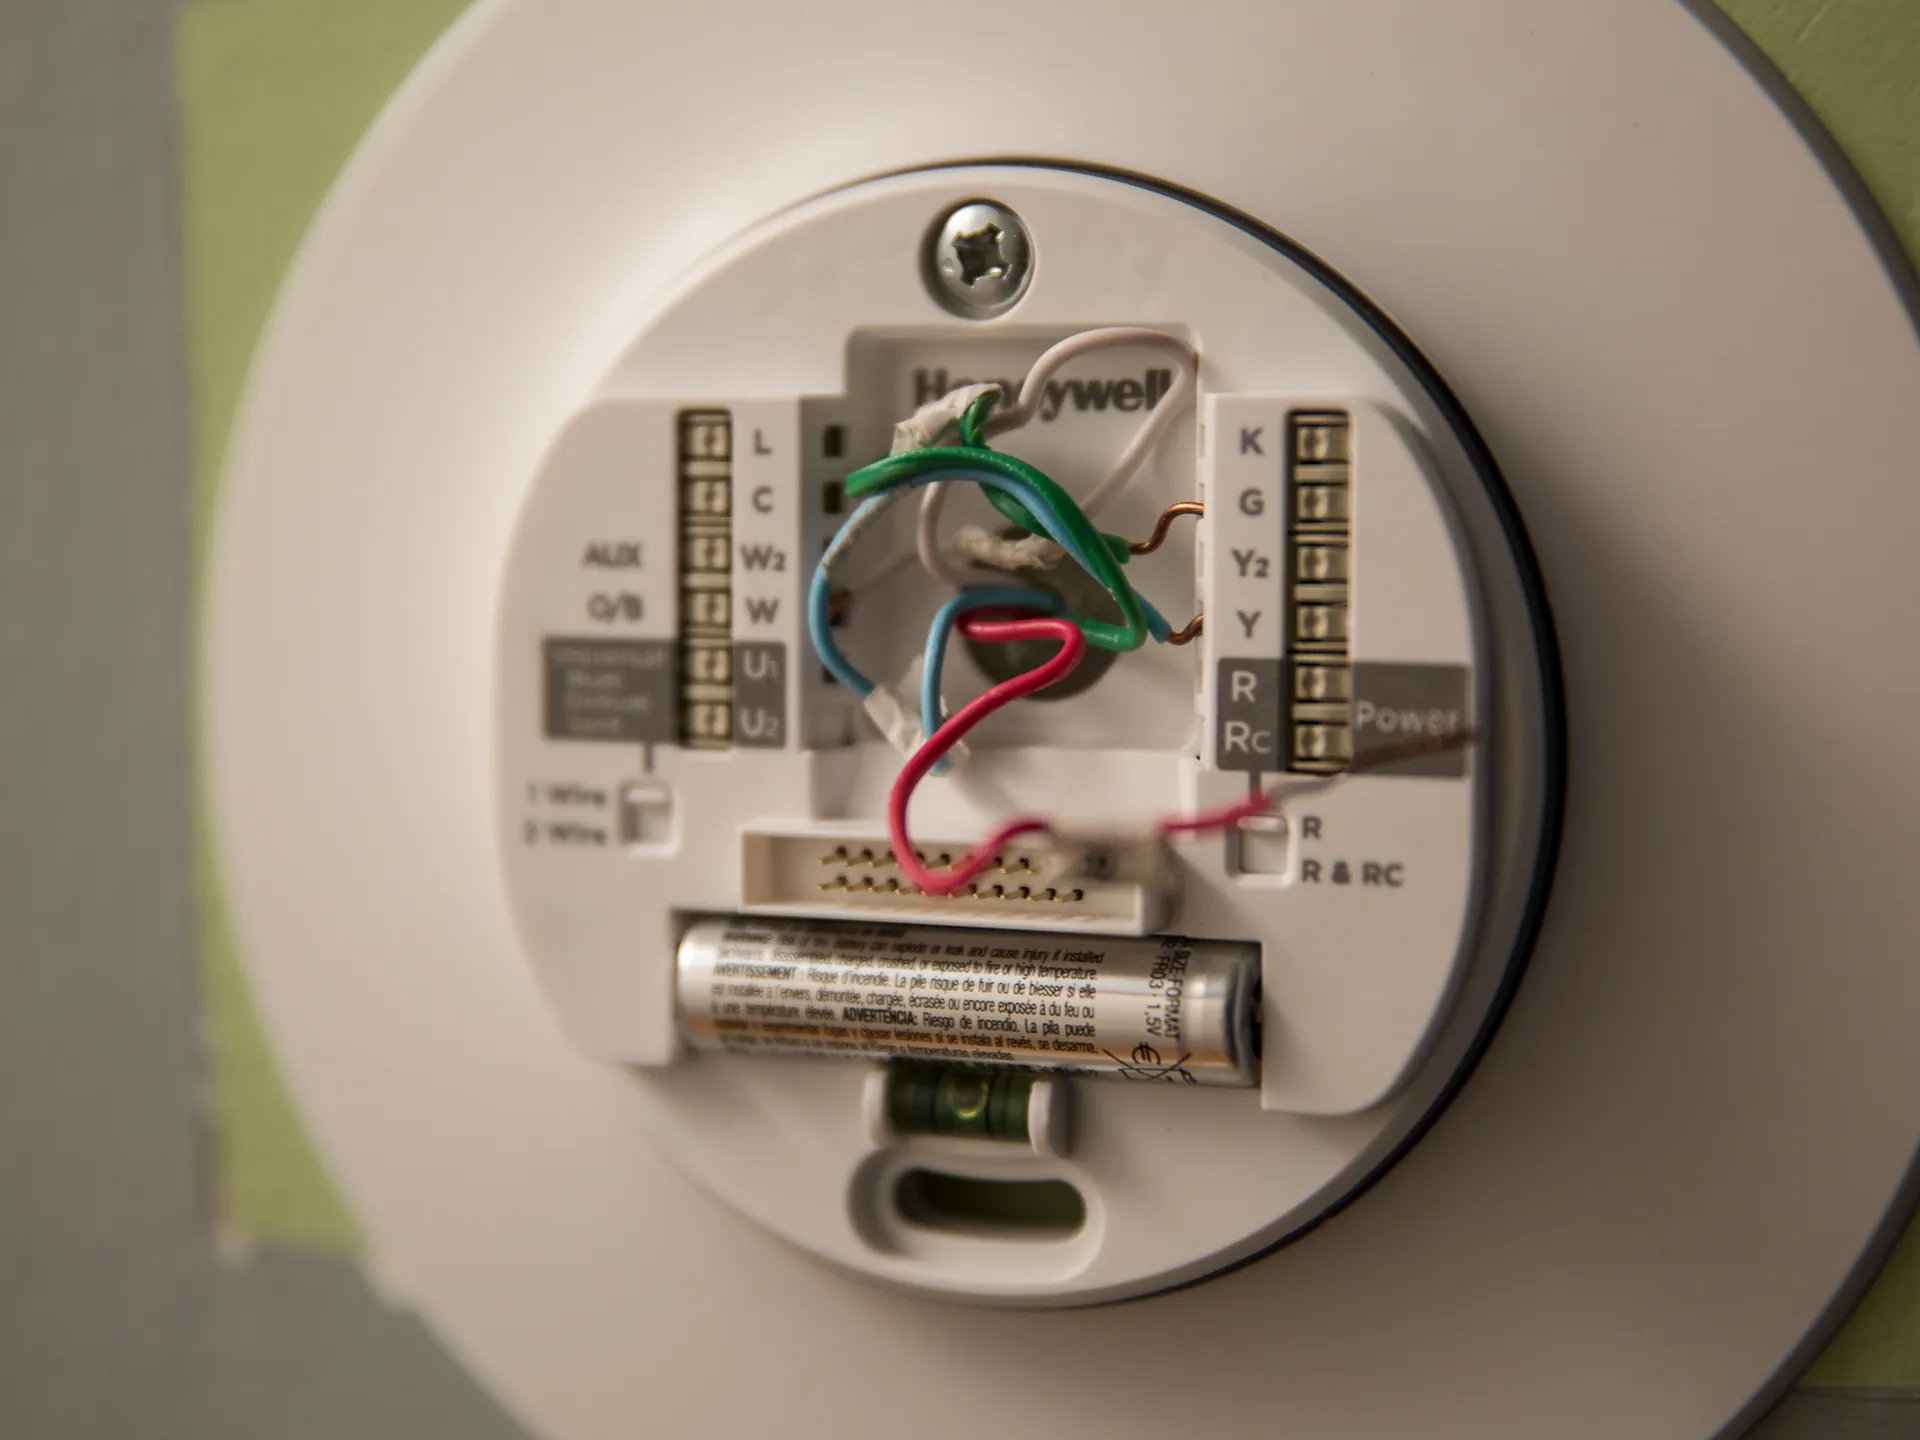
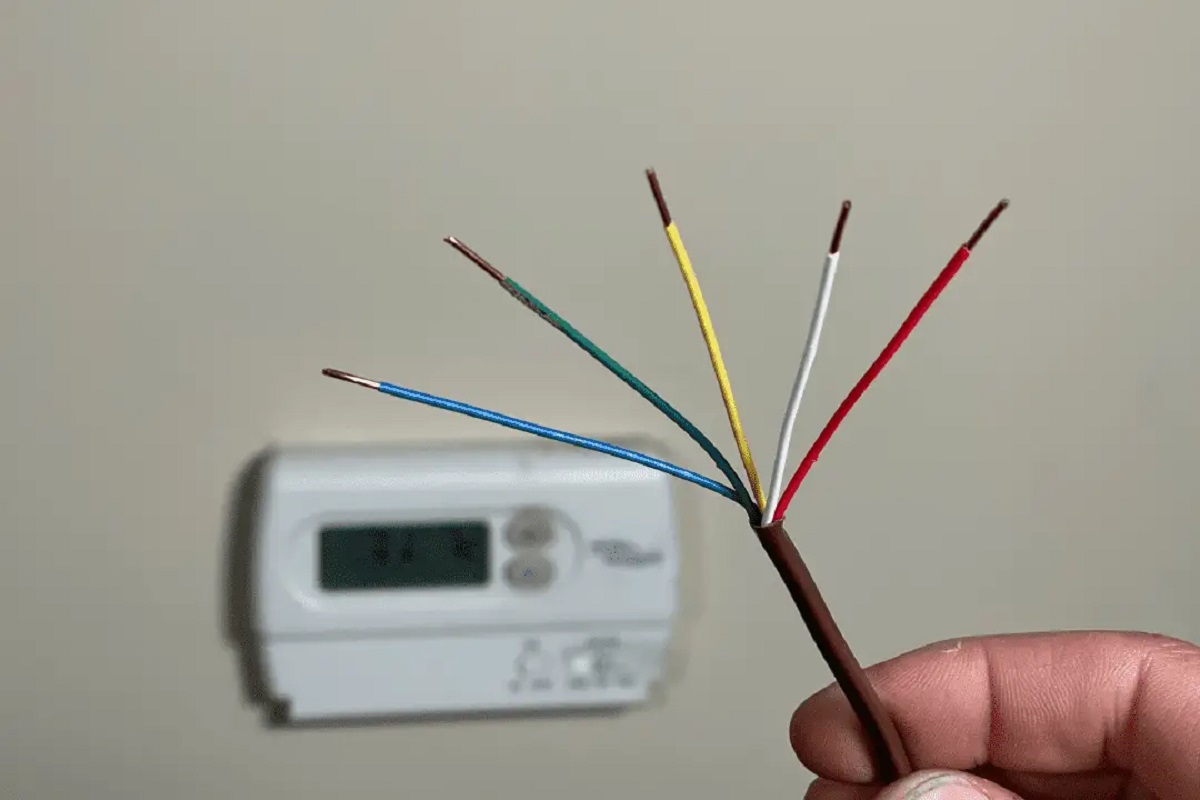
The 24 volt wire is usually referred to as the “C-wire” because it is labeled with a “C” on the thermostat’s control board. It is different from the other wires, such as the R, W, Y, and G wires, which control different aspects of the HVAC system.
The purpose of the 24 volt wire is to provide a constant source of power to the thermostat. This is crucial for smart thermostats, as they require a constant connection to function properly and utilize all of their features. Without the C-wire, the smart thermostat may experience power-related issues, such as intermittent connectivity or inability to power on.
It’s important to note that not all HVAC systems have a C-wire pre-installed. In older systems or installations, the C-wire might be missing. In such cases, it becomes necessary to create a C-wire connection by either running an additional wire or utilizing other methods, such as a power extender kit.
Now that you have a better understanding of what the 24 volt wire is and its significance, let’s move on to the tools and materials you’ll need for the installation process.
Tools and Materials Needed
Before you begin the process of hooking up the 24 volt wire for your smart thermostat, it’s important to gather all the necessary tools and materials. Having everything at hand will make the installation process smoother and more efficient. Here’s a list of what you’ll need:
- Screwdriver set: A set of screwdrivers with various sizes will be necessary for removing and securing screws during the installation.
- Wire strippers: These will be used to remove the outer insulation from the wire to expose the copper conductors.
- Wire cutter: A wire cutter will come in handy for trimming and cutting the wire to the desired length.
- Voltage tester: This tool is essential for ensuring that the power to the thermostat is turned off before starting the installation process.
- Wire connectors: These will be used to secure the connections between the wires.
- 24 volt wire: You’ll need an appropriate length of 24 volt wire to create the necessary connections.
- Smart thermostat: Of course, you’ll need the smart thermostat itself, along with any accompanying mounting hardware.
- Installation manual: Make sure to have the installation manual for your specific smart thermostat model. It will provide detailed instructions and guidance.
By having all these tools and materials readily available, you’ll be well-prepared to tackle the installation process without any interruptions.
Step 1: Turn Off Power
Before you begin any electrical work, it is crucial to ensure your safety by turning off the power to your HVAC system. This step will protect you from potential electrical hazards and prevent damage to the system or thermostat during installation.
Here’s how you can safely turn off the power:
- Locate the main electrical panel in your home. It is typically found in the basement, garage, or utility room.
- Open the panel door. Be cautious as some panels may have multiple doors or covers.
- Search for the circuit breaker that controls your HVAC system. The circuit breaker should be clearly labeled. If it isn’t, refer to your electrical panel’s diagram or consult an electrician.
- Switch off the circuit breaker by flipping the corresponding switch to the “off” position. This action will cut off the power supply to your HVAC system.
- Double-check that the power is off. You can do this by attempting to turn on your heating or cooling system from your thermostat. If it doesn’t turn on, you can be confident that the power is off.
It’s important to note that turning off the power at the electrical panel cuts power to the entire HVAC system and may affect other electrical appliances in your home. Therefore, it’s recommended to schedule the installation during a time when the climate is mild and there is no immediate need for heating or cooling.
By following this first step and turning off the power, you’ve taken an important safety precaution, ensuring a secure environment to proceed with the installation process. Now, let’s move on to the next step: locating the transformer.
Step 2: Locate the Transformer
In order to connect the 24 volt wire for your smart thermostat, you’ll need to locate the transformer in your HVAC system. The transformer is responsible for converting the high-voltage power from your home’s electrical system to the 24-volt power required by the thermostat.
Here’s how you can locate the transformer:
- Refer to the installation manual for your HVAC system. It should provide information on the location of the transformer. If you don’t have the manual, you can often find it online by searching for the make and model of your system.
- In most cases, the transformer is located near the air handler or furnace of your HVAC system. It may be attached to the unit itself or mounted on a nearby wall or air duct.
- Carefully inspect the area around the air handler or furnace, looking for a small rectangular or square box with wires coming out of it. The transformer may be enclosed in a metal housing.
- Once you have located the transformer, identify the low-voltage terminals. These are usually labeled with letters, such as “R,” “C,” “W,” “Y,” and “G.” The “C” terminal is the one we are interested in for connecting the 24 volt wire to your smart thermostat.
If you are unsure about the location or identification of the transformer, it is recommended to seek assistance from a professional HVAC technician. They can provide you with accurate information and ensure that the installation is done correctly.
With the transformer located and the low-voltage terminals identified, you are now ready to move on to the next step: connecting the smart thermostat.
Step 3: Connect the Smart Thermostat
Now that you have located the transformer and identified the low-voltage terminals, it’s time to connect your smart thermostat. This step involves making the necessary connections between the thermostat and the HVAC system.
Here’s a step-by-step guide on connecting the smart thermostat:
- Start by turning off the power at the electrical panel to ensure your safety.
- Remove the old thermostat from the wall by unscrewing it from its mounting plate. Be careful when handling the old thermostat, as it may contain fragile components.
- Take a look at the wiring of the old thermostat and make note of the terminals to which each wire is connected. This will help you in properly connecting the wires to the new smart thermostat.
- Now, take the mounting plate of the smart thermostat and position it on the wall where you want to install your new thermostat. Use a level to ensure it is straight.
- Use screws to secure the mounting plate in place. Ensure that it is securely attached to the wall.
- Refer to the installation manual of your smart thermostat for proper wiring instructions. It should specify which terminals correspond to each wire. Typically, the C-wire will be connected to the “C” terminal.
- Strip the ends of the wires, if needed, to expose the copper conductors. Most smart thermostats have screw terminals where you can insert the stripped ends of the wires.
- Carefully connect each wire to its corresponding terminal on the smart thermostat. Follow the manual’s instructions, making sure the connections are secure.
- Once the wires are connected, gently push the excess wire back into the wall and attach the smart thermostat to the mounting plate by snapping it into place.
- Restore power to your HVAC system by turning the circuit breaker back on at the electrical panel.
With the smart thermostat securely mounted on the wall and the wiring connections properly made, you have successfully connected your smart thermostat. The next step is to connect the C-wire to ensure a stable power supply for your thermostat.
Step 4: Connect the C-Wire
Connecting the C-wire, also known as the common wire, is an important step in ensuring a reliable power supply to your smart thermostat. The C-wire provides a constant source of 24-volt power, allowing your thermostat to function properly.
Follow these steps to connect the C-wire:
- Before proceeding, ensure that the power to your HVAC system is turned off at the electrical panel for safety.
- Locate the C terminal on both the smart thermostat and the transformer. This terminal is typically labeled with a “C”.
- Take the C-wire and strip the end to expose the copper conductor.
- Insert the stripped end of the C-wire into the C terminal on the smart thermostat.
- Next, locate the C terminal on the transformer that you previously identified in Step 2.
- Connect the other end of the C-wire to the C terminal on the transformer.
- Double-check all the wire connections to ensure they are secure.
- Once the C-wire is securely connected on both ends, you can proceed to mount the smart thermostat back onto the mounting plate.
- Restore the power to your HVAC system by turning on the circuit breaker at the electrical panel.
Now that you have successfully connected the C-wire, your smart thermostat should have a stable power supply. This will allow it to communicate with your HVAC system effectively and provide the desired functionality. However, it’s important to test the connection to ensure everything is working correctly.
In the next step, we will cover how to test the connection for your peace of mind.
Step 5: Test the Connection
Testing the connection of your smart thermostat is a crucial step to ensure that it is properly connected to your HVAC system and functioning as expected. By conducting a simple test, you can verify that the thermostat is receiving power and able to communicate with your heating and cooling system.
Follow these steps to test the connection:
- Turn on the power to your HVAC system by flipping the circuit breaker back to the “on” position at the electrical panel.
- Take a look at the display on your smart thermostat. It should power on and be ready for setup.
- Follow the setup instructions provided in the installation manual of your smart thermostat. This usually involves configuring the settings such as language, Wi-Fi connection, and temperature preferences.
- Once the setup is complete, test the heating and cooling functions of your HVAC system by adjusting the temperature settings on the thermostat.
- Observe if the heating or cooling system responds accordingly by turning on and off as desired. You should also monitor if the thermostat displays the correct temperatures.
- If the system responds and the thermostat functions as expected, congratulations! The connection is successful.
- If there are any issues or the thermostat does not function as intended, double-check the wiring connections and make sure they are properly secured.
- Refer to the troubleshooting section of the installation manual or consult the manufacturer’s support for further guidance if necessary.
By performing this simple test, you can ensure that your smart thermostat is properly connected and fully functional. If everything is in working order, you can now enjoy the convenience and energy-saving features that a smart thermostat brings to your home.
In case of any troubleshooting, we will cover some tips in the next section to help you overcome common challenges.
Troubleshooting Tips
While installing a smart thermostat and connecting the 24 volt wire can be a straightforward process, you may encounter some challenges along the way. Here are a few troubleshooting tips to help you overcome common issues:
- Confirm proper wiring: Double-check that all the wires are connected to the correct terminals on both the smart thermostat and the transformer. Make sure the connections are secure.
- Verify power source: Ensure that the circuit breaker for your HVAC system is turned on at the electrical panel. If the thermostat is not receiving power, it may not function properly.
- Check for loose connections: Loose connections can cause intermittent issues. Ensure that the wires are tightly connected to their respective terminals.
- Inspect the C-wire: If the smart thermostat requires a C-wire (common wire) for power, make sure that it is properly connected to the C terminal on both the thermostat and the transformer.
- Test the voltage: Use a voltage tester to confirm that the C-wire is receiving the correct voltage. If not, it may indicate a problem with the transformer or the wiring itself.
- Reset the thermostat: Some smart thermostats have a reset function that allows you to restore it to factory settings. Try resetting the thermostat and reconfiguring the settings.
- Consult the manufacturer’s documentation: Refer to the user manual or online resources provided by the manufacturer for troubleshooting guidance specific to your smart thermostat model.
- Seek professional assistance: If you have followed the troubleshooting steps and still cannot resolve the issue, it may be best to seek help from a professional HVAC technician to ensure a proper installation and troubleshoot any underlying system issues.
Remember to exercise caution and follow safety guidelines when troubleshooting your smart thermostat or HVAC system. If you are uncertain or uncomfortable with any aspect of the installation or troubleshooting process, it is always best to consult a professional.
By following these troubleshooting tips, you can address common challenges and ensure that your smart thermostat is functioning optimally.
Conclusion
Installing and connecting the 24 volt wire for a smart thermostat is a fairly straightforward process that can greatly enhance the functionality and convenience of your HVAC system. By following the step-by-step instructions outlined in this guide, you can successfully hook up the 24 volt wire and enjoy the benefits of a smart thermostat.
We began by understanding the importance of the 24 volt wire and its role in providing a constant source of power to the thermostat. We then discussed the tools and materials needed for the installation, ensuring that you have everything necessary to complete the process.
We then walked through the step-by-step instructions, starting with turning off the power to your HVAC system and locating the transformer. Next, we discussed connecting the smart thermostat and properly wiring it, including the crucial step of connecting the C-wire for a stable power supply.
After completing the physical connections, we emphasized the importance of testing the connection to ensure that the smart thermostat is functioning as expected. Troubleshooting tips were provided to assist with resolving common installation issues and addressing any challenges that may arise.
Remember, if you encounter any difficulties or are unsure about any aspect of the installation process, it is always advisable to consult a professional HVAC technician to ensure a safe and accurate installation.
With a properly connected smart thermostat, you can optimize your home’s heating and cooling system, improve energy efficiency, and enjoy the convenience of remote access and personalized scheduling. Take advantage of the technological advancements and elevate your home’s comfort with a smart thermostat.
Now that you have a comprehensive understanding of how to hook up the 24 volt wire for a smart thermostat, it’s time to put your newfound knowledge into action and enjoy the benefits of a more efficient and intelligent HVAC system.