Introduction
Smart thermostats have become increasingly popular in recent years, offering homeowners a convenient way to control their heating and cooling systems from anywhere. These innovative devices not only provide greater energy efficiency but also offer advanced features such as remote access, scheduling, and integration with smart home systems. However, one common question that arises is how many wires are needed for a smart thermostat installation.
In this article, we will explore the wiring requirements for smart thermostats and understand the different setups needed to ensure proper functionality. Whether you’re considering upgrading your old thermostat or installing a new one, understanding the wiring specifications is essential for a successful installation.
We will also discuss the compatibility of smart thermostats with existing wiring systems and provide insights into the additional wires needed for advanced features. By the end of this article, you’ll have a better understanding of the wiring requirements for a smart thermostat and be equipped with the knowledge necessary to make an informed decision.
What is a smart thermostat?
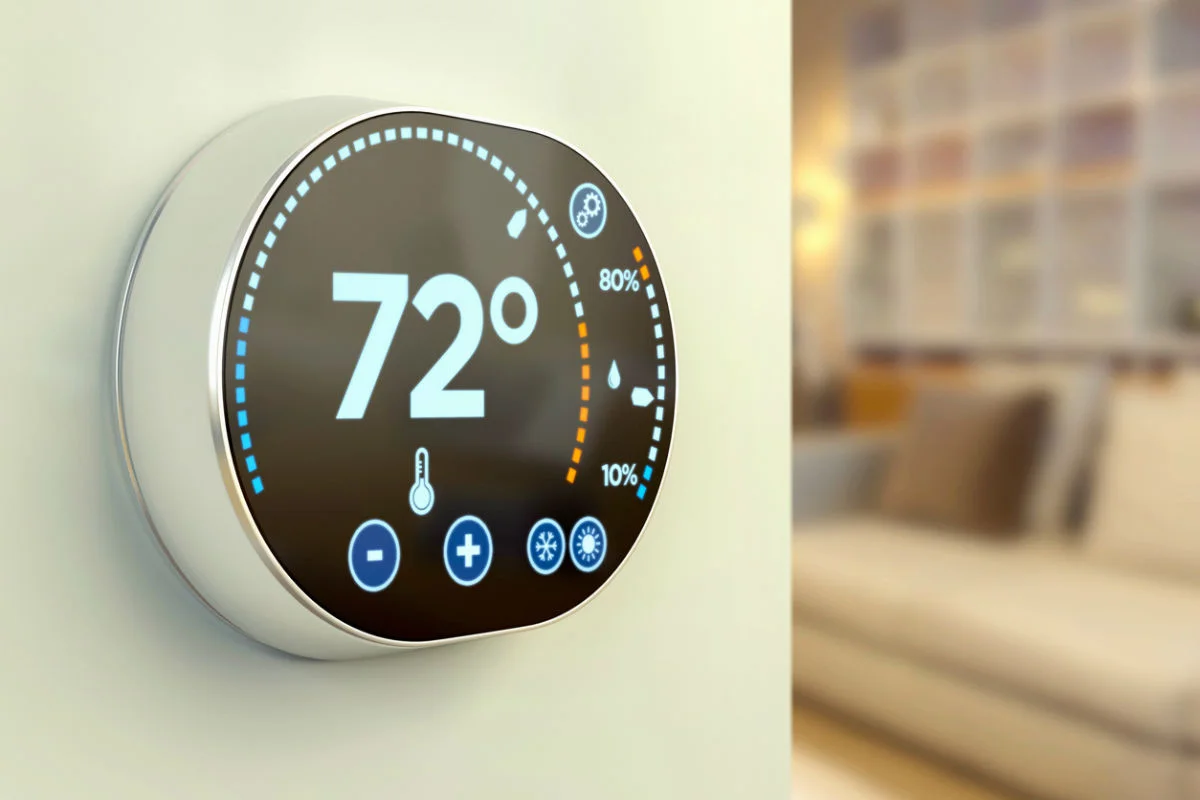
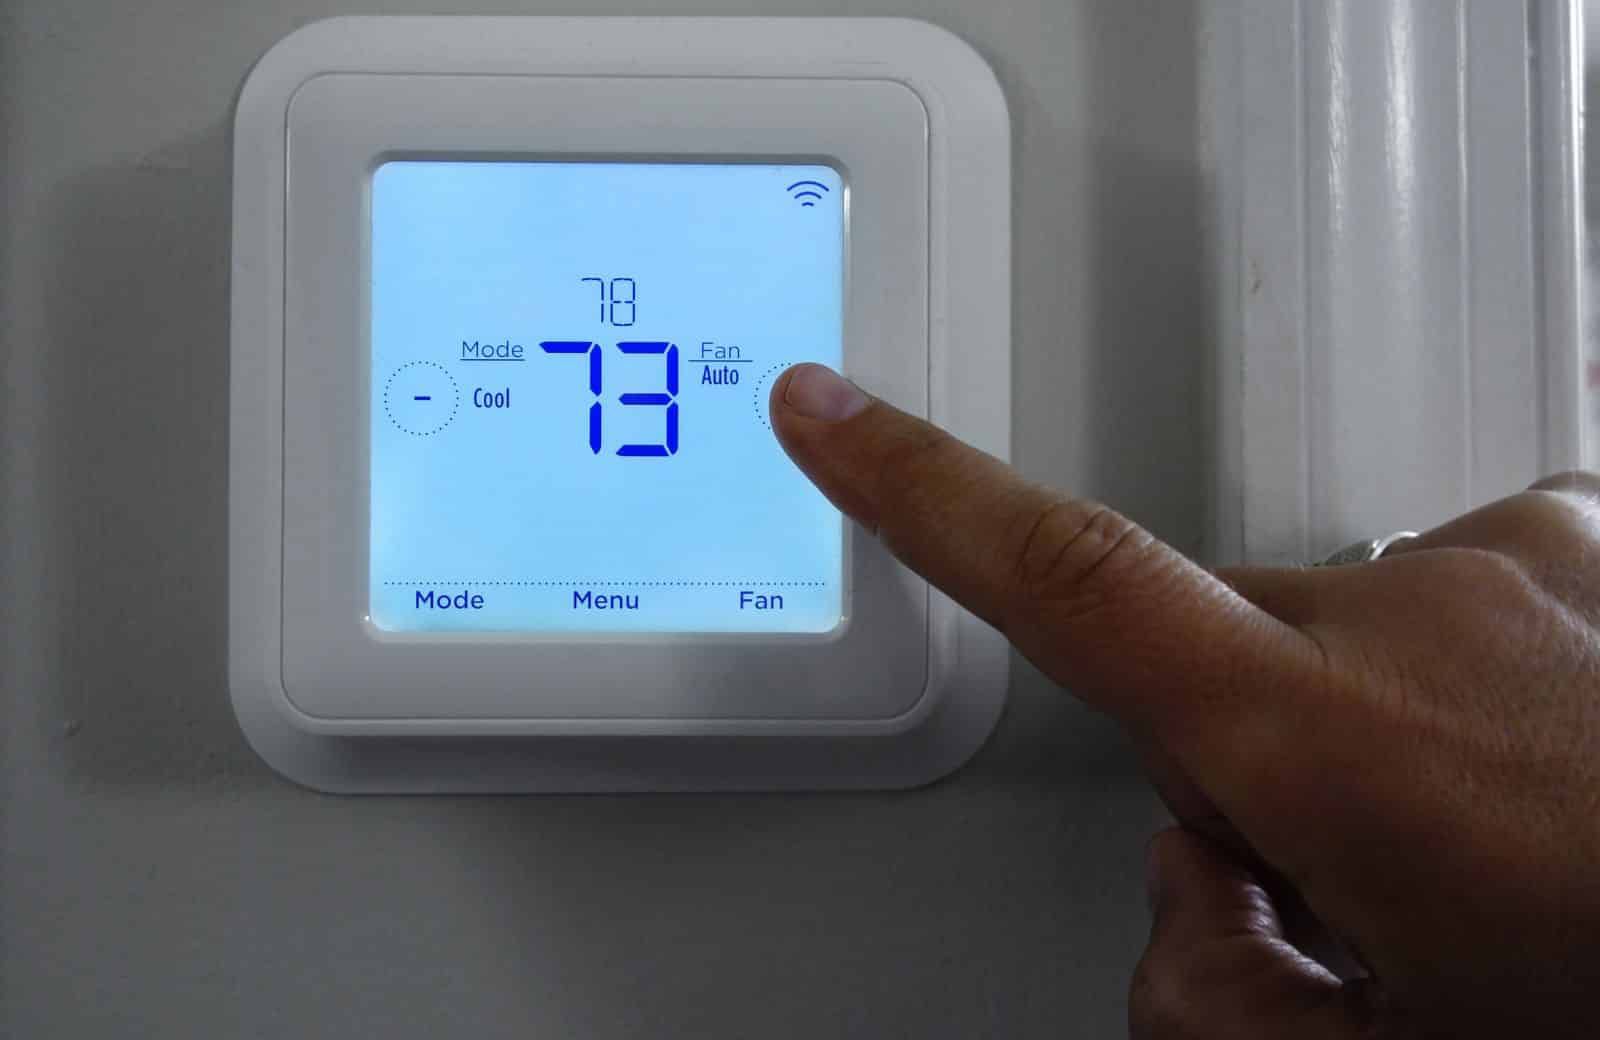
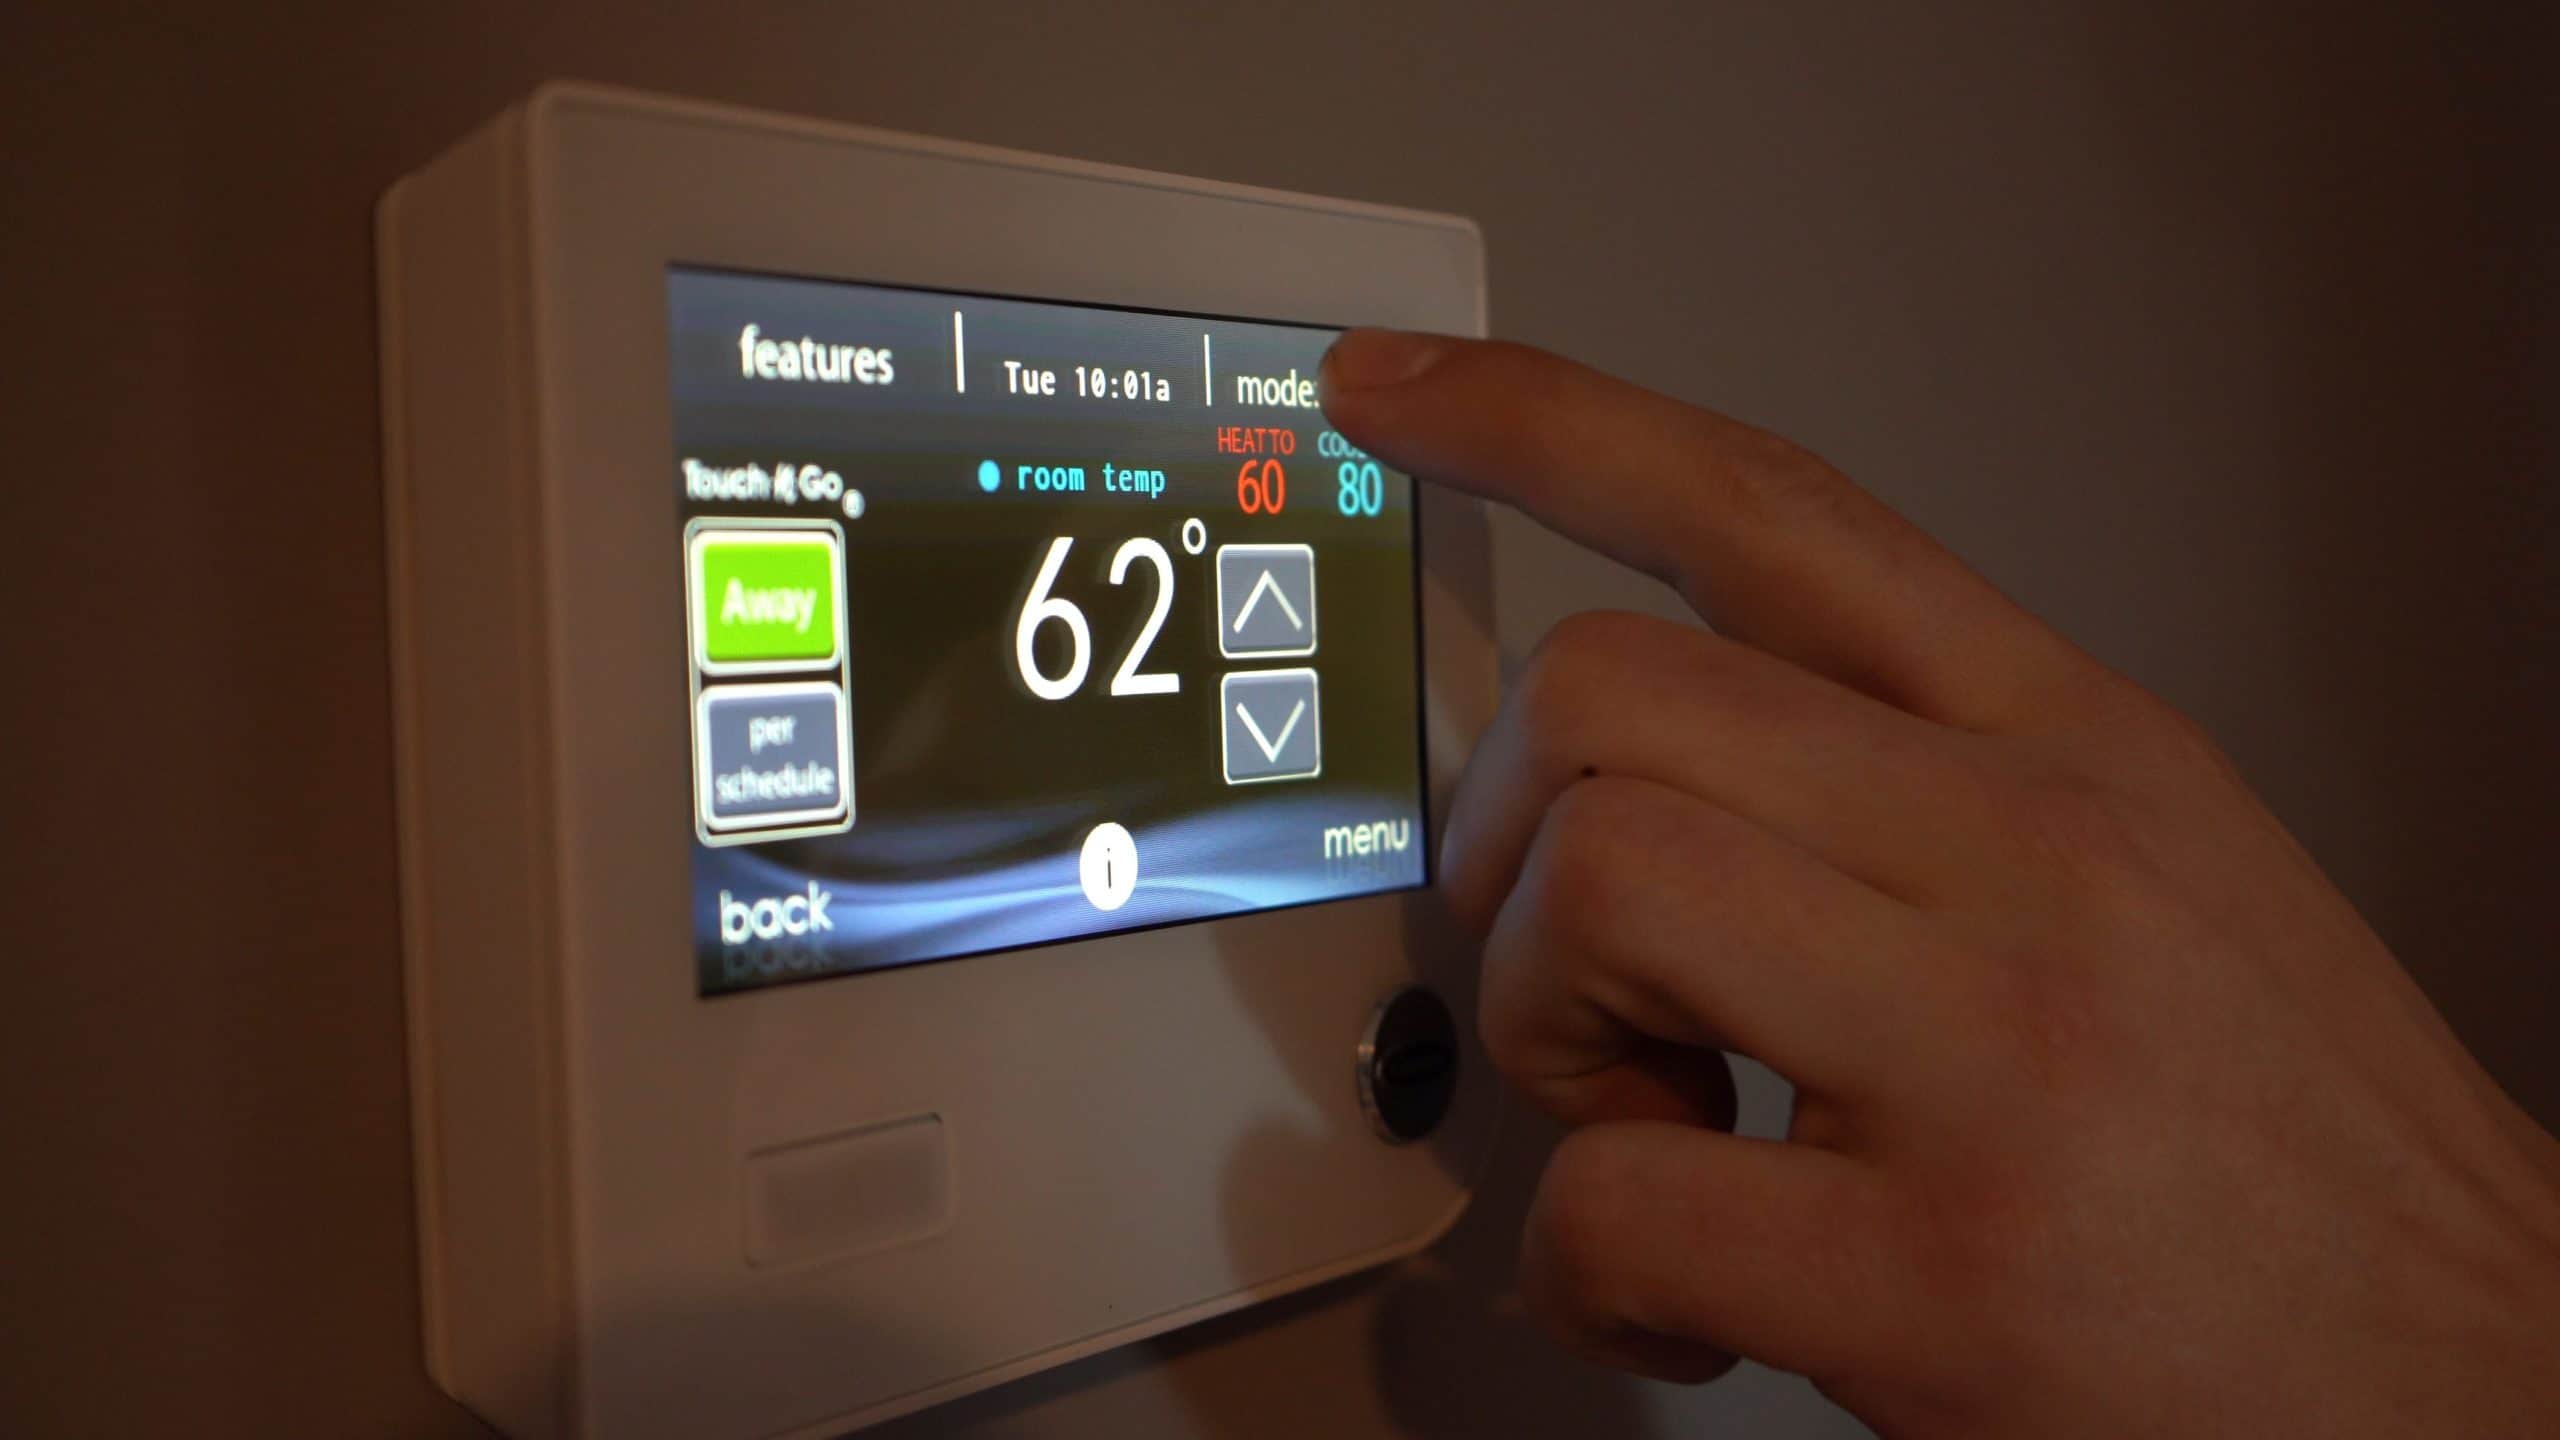
A smart thermostat is a device that allows you to control your heating and cooling system using advanced technology. Unlike traditional thermostats, which require manual adjustments, a smart thermostat offers enhanced features that make temperature management more convenient and energy-efficient.
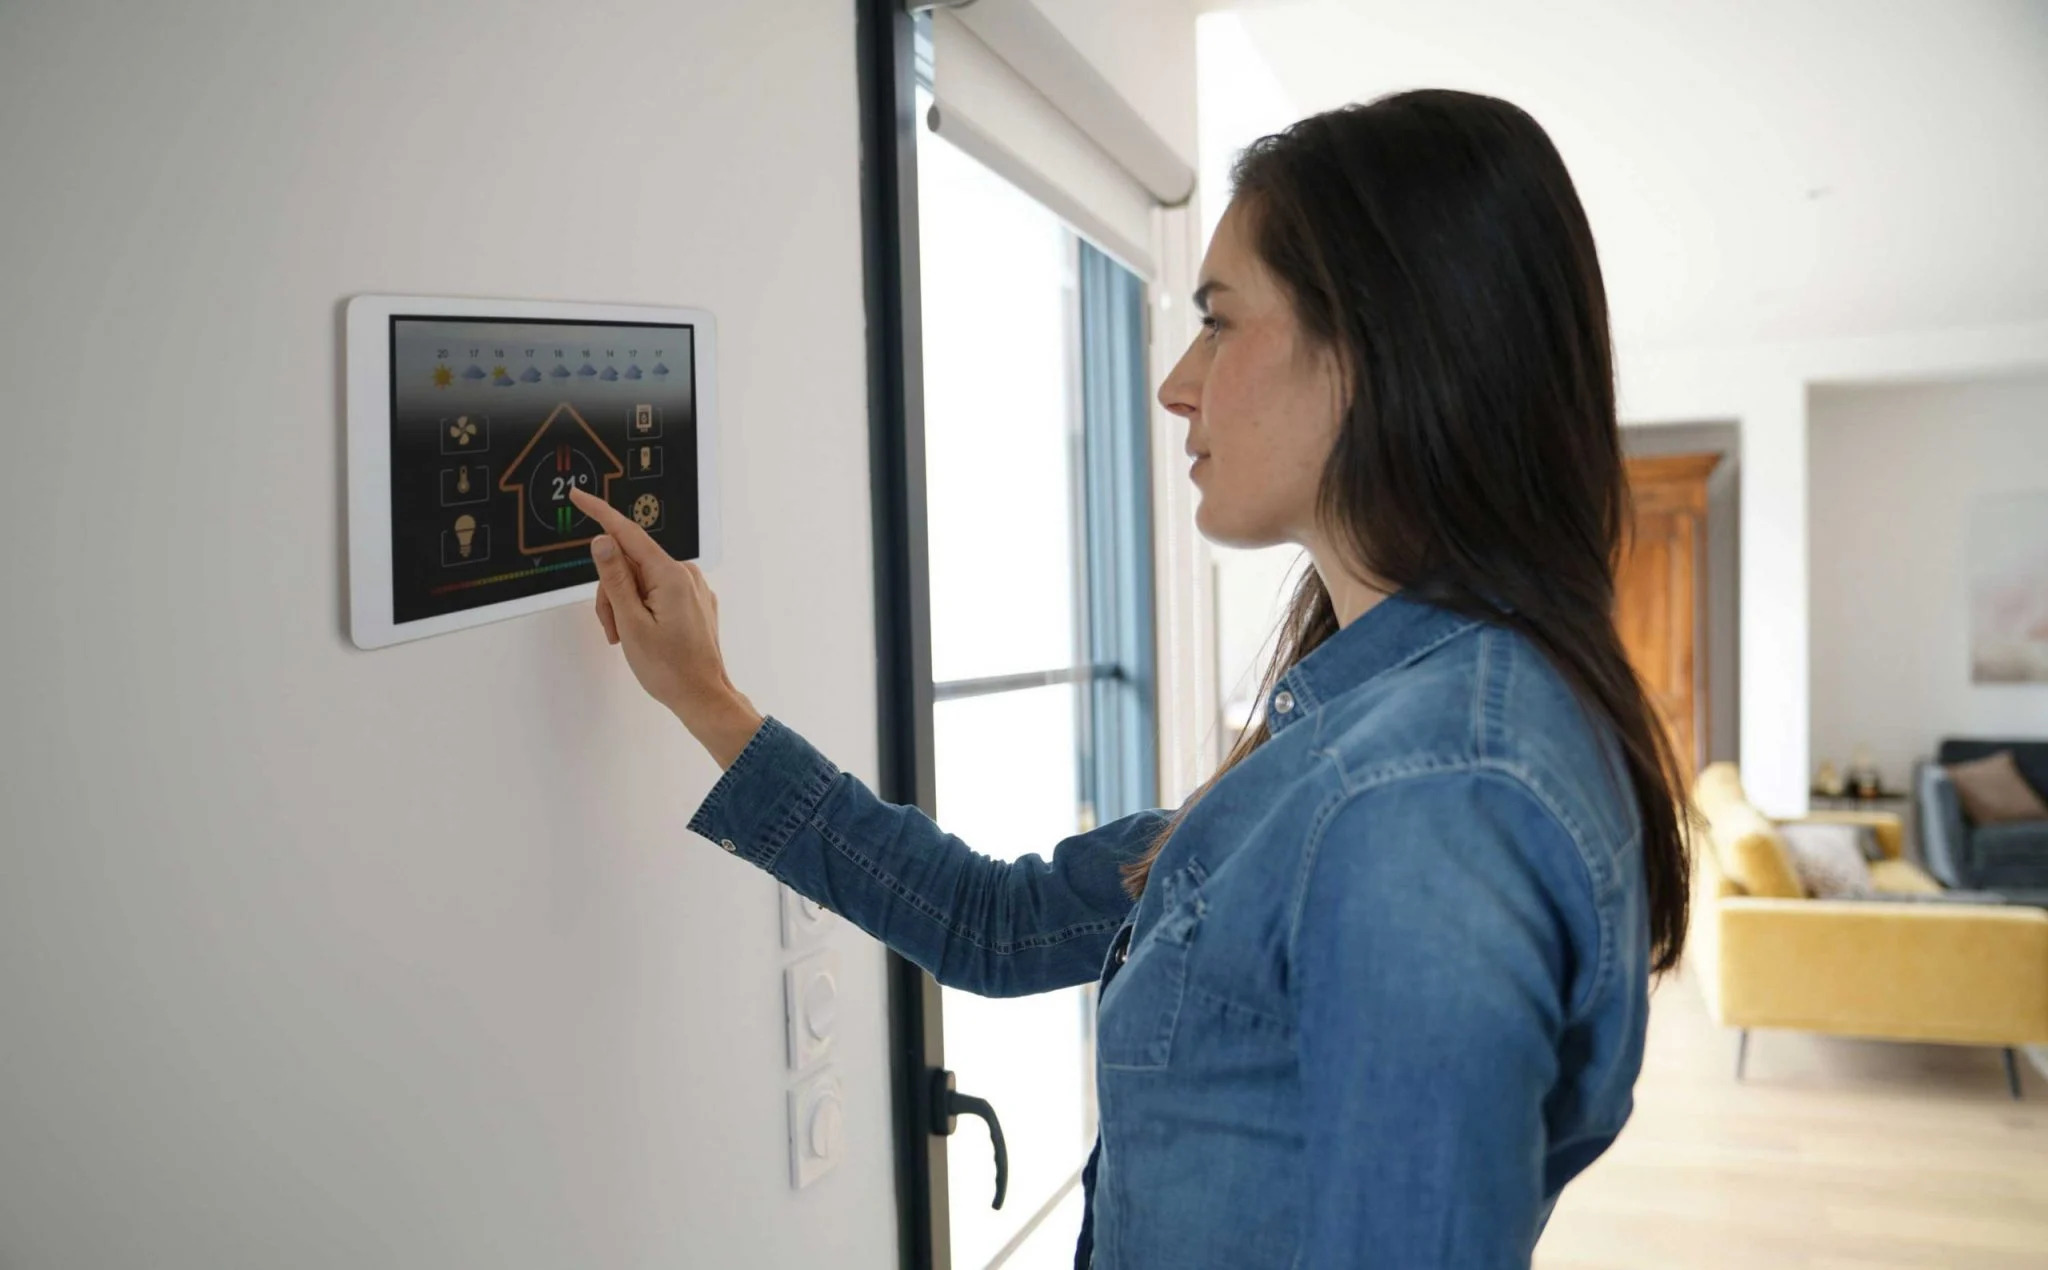
Smart thermostats are equipped with Wi-Fi connectivity, enabling them to be controlled remotely through a smartphone app or voice commands. This means you can adjust the temperature of your home even when you’re away, ensuring optimal comfort and reducing energy waste.
Aside from remote access, smart thermostats often come with additional features such as programmable schedules, energy usage reports, and compatibility with smart home systems. These features allow you to set personalized temperature settings based on your daily routines, monitor energy consumption, and integrate your thermostat with other smart devices for seamless automation.
One of the key advantages of a smart thermostat is its ability to learn your habits and adapt to your preferences over time. Through machine learning algorithms, smart thermostats can analyze your usage patterns and make temperature adjustments accordingly. This not only saves energy but also ensures that your home is always at a comfortable temperature whenever you’re there.
Why do smart thermostats require wiring?
Smart thermostats require wiring because they need a direct connection to the heating and cooling system of your home. This connection enables the smart thermostat to communicate with the HVAC (heating, ventilation, and air conditioning) equipment, allowing it to control and regulate the temperature effectively.
Wiring is crucial in smart thermostat installations because it provides power to the device and allows for communication between the thermostat and the HVAC system. Through the wiring, the thermostat can send signals to turn on or off the heating or cooling equipment, adjust the temperature, and activate other features of the system.
In addition to power and communication, the wiring also allows the smart thermostat to gather data from temperature sensors in different areas of your home. This information helps the thermostat make more informed decisions about when to adjust the temperature and optimize energy usage.
Furthermore, wiring is essential for integrating the smart thermostat into your overall home automation system. By connecting the thermostat to your Wi-Fi network, you can control it remotely through a smartphone app or by using voice commands with compatible virtual assistants.
While the idea of wiring may seem daunting, it is necessary for the proper function of a smart thermostat. Properly installed wiring ensures reliable and uninterrupted communication between the thermostat and the HVAC system, allowing you to enjoy all the benefits and features that a smart thermostat has to offer.
How many wires are needed for a smart thermostat?
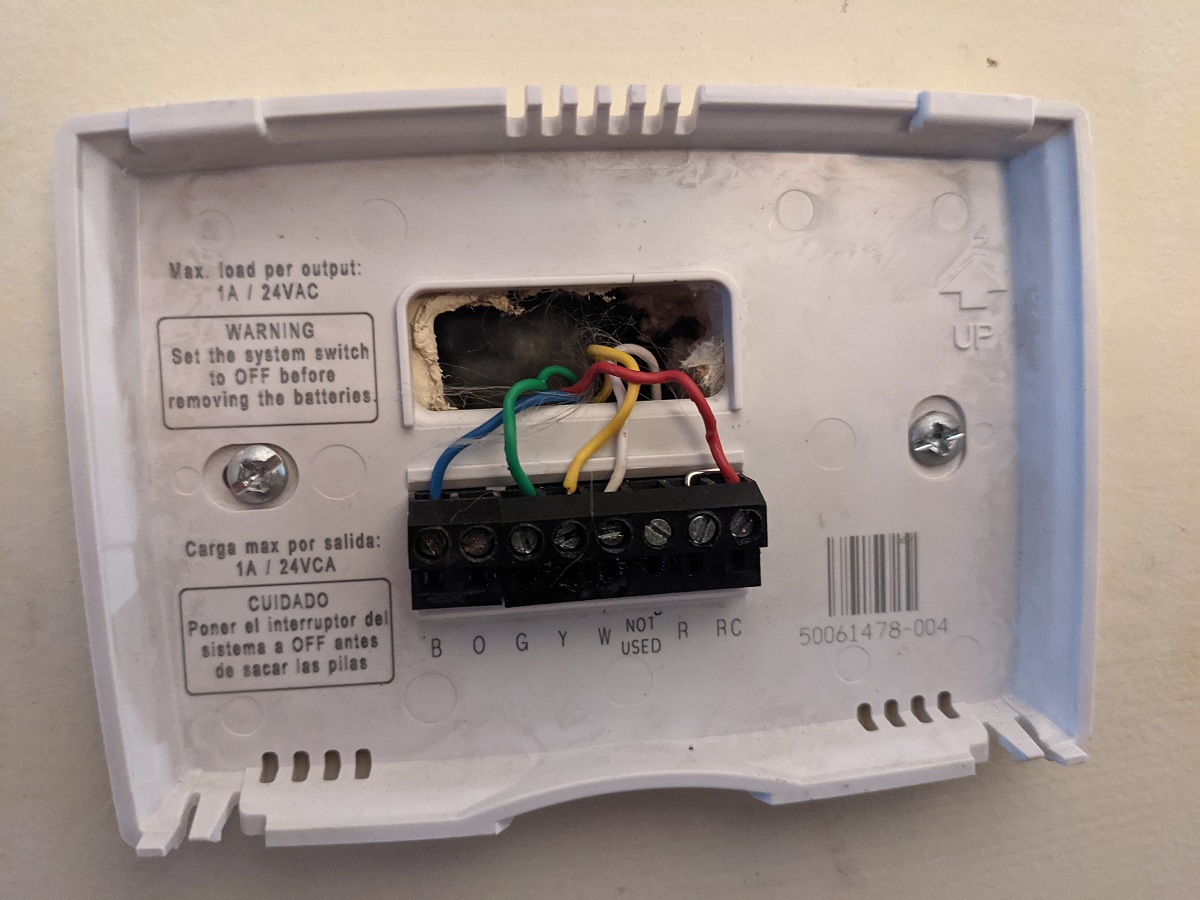
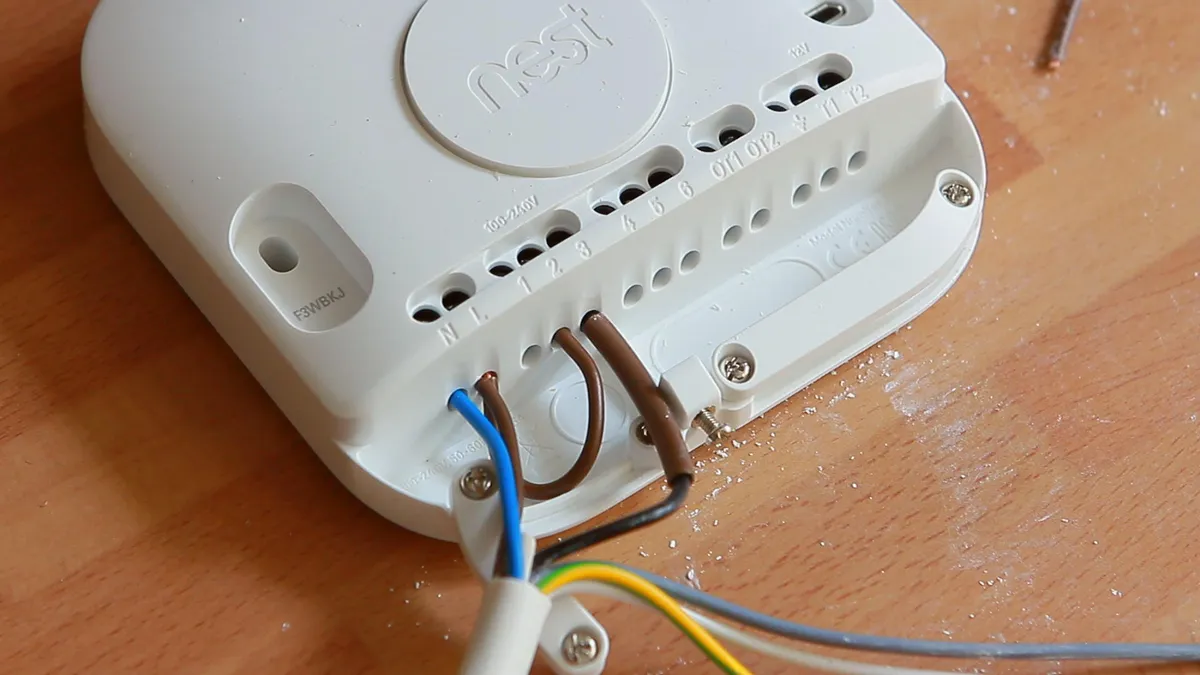
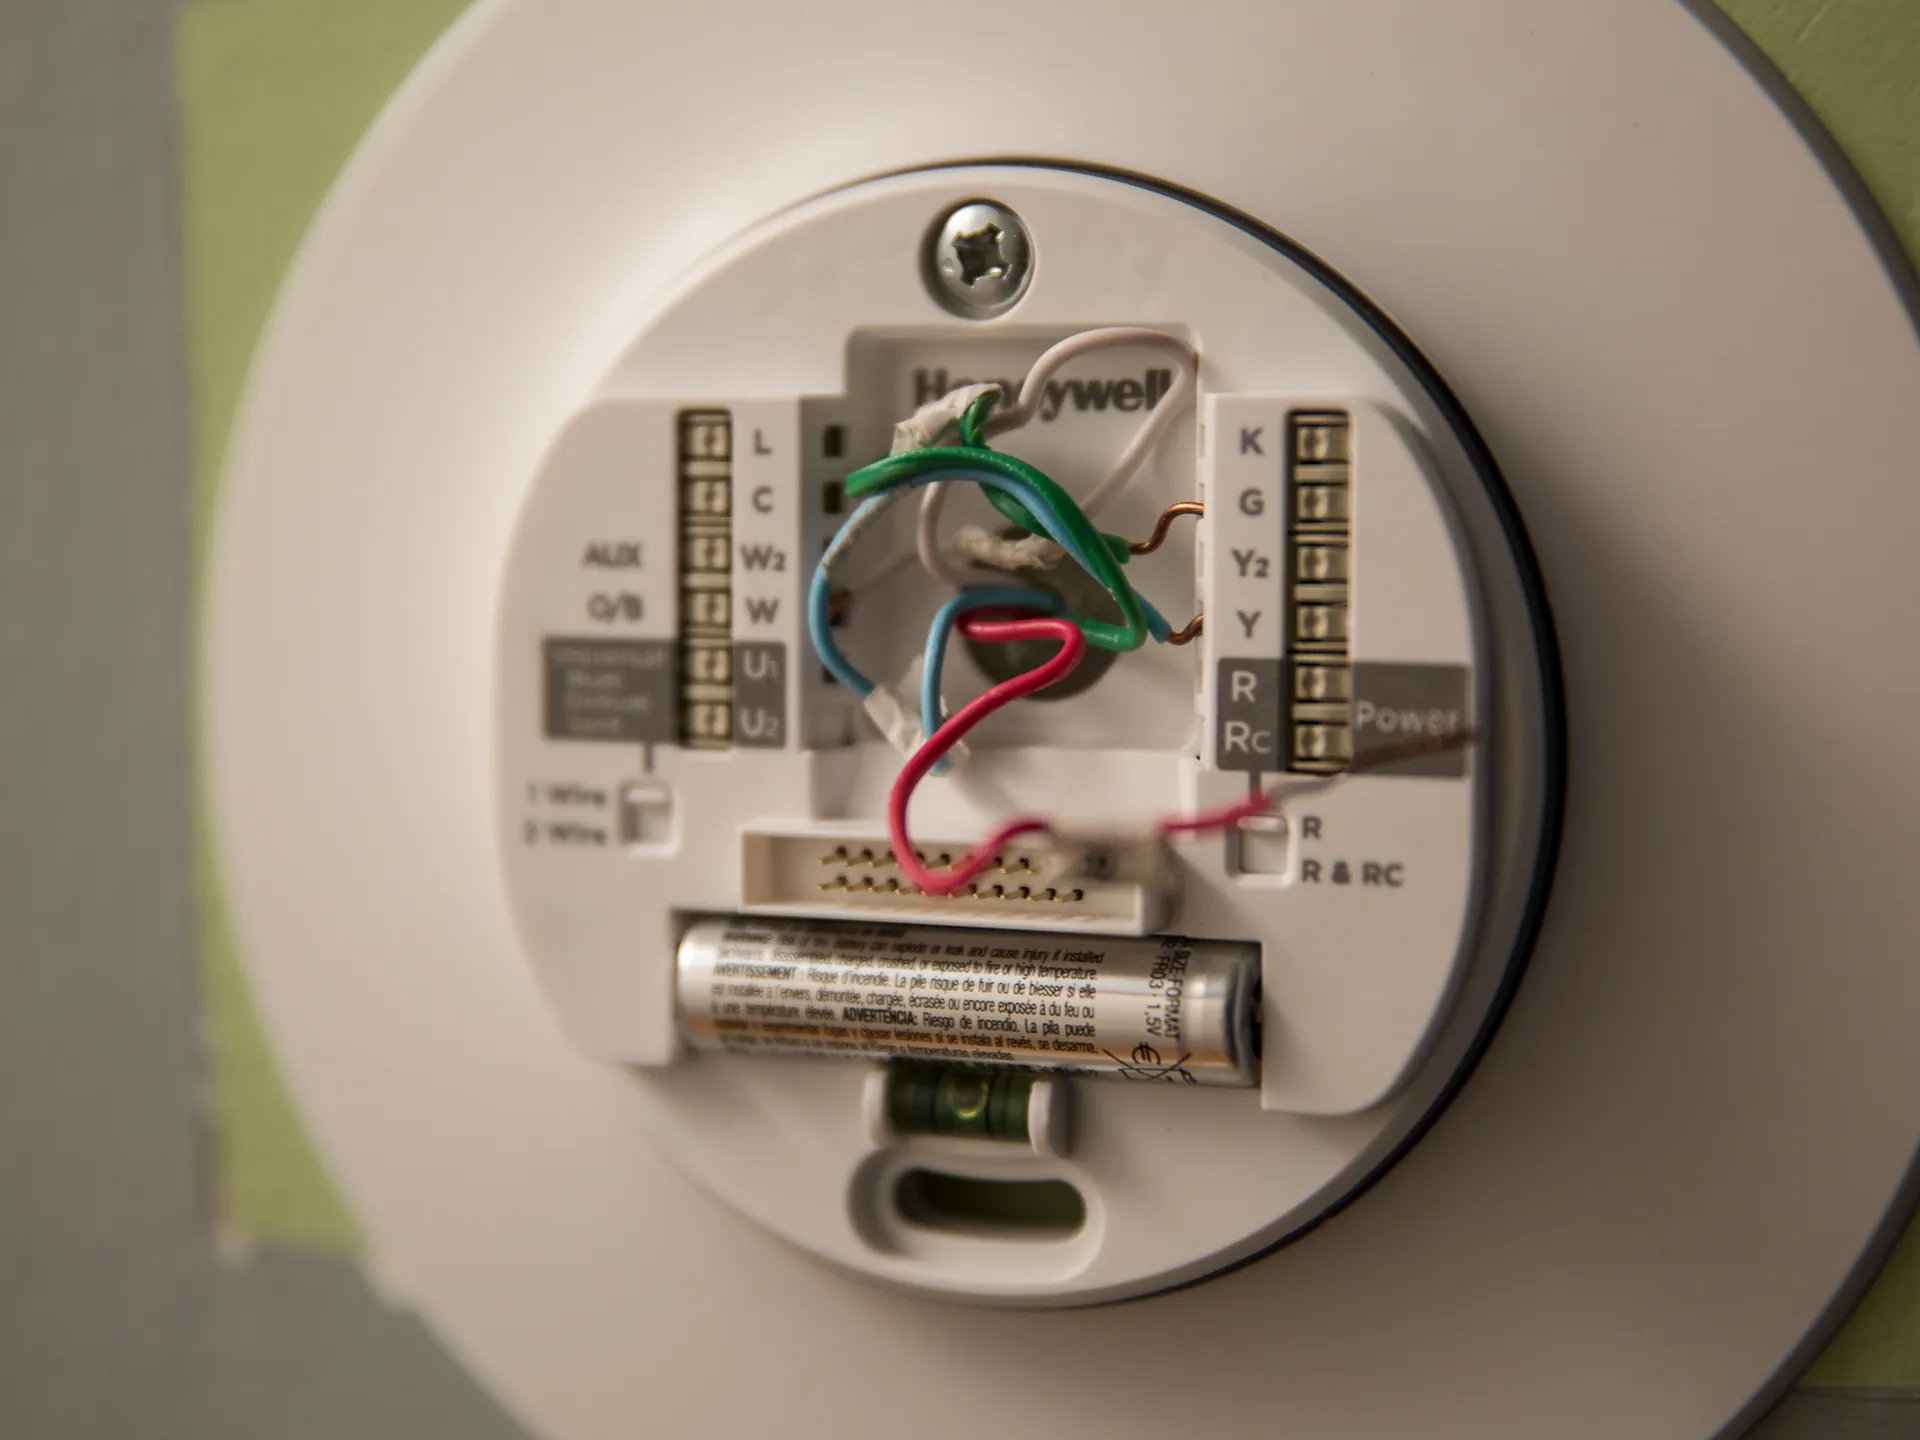
The number of wires needed for a smart thermostat installation can vary depending on the specific model and features of the thermostat, as well as the existing wiring setup in your home. In general, a smart thermostat requires a minimum of four wires to function properly.
The standard 4-wire setup includes:
- Red wire (R): This wire carries the 24-volt power supply from the heating and cooling system to the thermostat.
- White wire (W): This wire connects to the heating system, specifically the furnace or boiler, to trigger the heating cycle.
- Yellow wire (Y): This wire is responsible for connecting the thermostat to the cooling system, typically the air conditioner or heat pump, to initiate the cooling cycle.
- Green wire (G): This wire controls the fan of the HVAC system, allowing it to circulate air throughout your home.
These four wires are the basic requirements for most heating and cooling systems and are sufficient for a smart thermostat to function in a standard configuration. However, if you have a more advanced HVAC system or want to take advantage of additional features offered by the smart thermostat, you may need to have additional wires installed.
The need for extra wires arises when you want to utilize features such as dual fuel systems, humidifiers, dehumidifiers, ventilation, or advanced zoning control systems. These features usually require dedicated wires to communicate with the thermostat.
It’s important to consult the installation instructions provided by the manufacturer of your smart thermostat to determine the specific wiring requirements for your model. Additionally, if you’re unsure about the compatibility of your existing wiring with a smart thermostat, it’s recommended to seek the assistance of a professional HVAC technician who can evaluate your system and make any necessary adjustments.
The standard 4-wire setup
The standard 4-wire setup for a smart thermostat is the most common configuration found in homes with standard heating and cooling systems. This setup includes the following wires:
- Red wire (R): The red wire, also known as the “power wire,” carries the 24-volt power supply from the heating and cooling system to the thermostat. It provides the necessary voltage for the thermostat to operate.
- White wire (W): The white wire connects to the heating system, such as a furnace or boiler. When the thermostat calls for heat, it sends a signal through the white wire to activate the heating cycle and start the furnace or boiler.
- Yellow wire (Y): The yellow wire is responsible for connecting the thermostat to the cooling system, such as an air conditioner or heat pump. When the thermostat signals the need for cooling, it sends a signal through the yellow wire to activate the cooling cycle and start the air conditioner or heat pump.
- Green wire (G): The green wire controls the fan of the HVAC system. When the thermostat signals the need for air circulation, it sends a signal through the green wire to activate the fan and circulate air throughout the home.
Together, these four wires allow the smart thermostat to control the heating and cooling systems, as well as the fan, based on your desired temperature settings. With this setup, you can easily adjust the temperature, switch between heating and cooling modes, and control the fan circulation directly from the smart thermostat or through a connected smart device.
It’s important to note that the labeling of the wires may vary depending on the HVAC system and thermostat manufacturer. While most follow a similar color-coding convention, it’s always recommended to refer to the installation manual of your specific thermostat to ensure accurate wiring.
If your existing wiring setup matches the standard 4-wire configuration, you can confidently proceed with installing a smart thermostat without the need for additional wiring. However, if you have more advanced HVAC systems or wish to utilize additional features offered by a smart thermostat, you may need to consider adding extra wires.
The additional wires needed for advanced features
In addition to the standard 4-wire setup, some smart thermostats may require additional wires to enable advanced features and compatibility with specific HVAC systems. These additional wires are necessary for integrating features like dual fuel systems, humidifiers, dehumidifiers, ventilation, and advanced zoning control systems.
Here are some examples of the additional wires that might be required:
- C wire (common wire): The C wire is a common wire that provides continuous 24-volt power supply to the thermostat. It is essential for smart thermostats that have Wi-Fi connectivity or backlit displays, as these features require constant power to function properly. The C wire is not always present in older thermostat setups but can be added or repurposed by a professional HVAC technician.
- W2 wire: The W2 wire is used for dual fuel systems, which combine a heat pump with a separate furnace or boiler. It allows the thermostat to control both systems and switch between them based on the temperature conditions outside. This wire is necessary for smart thermostats that support dual fuel capabilities.
- Humidity wire: Some smart thermostats have the ability to control humidifiers and dehumidifiers. These devices help maintain optimal indoor humidity levels. The humidity wire connects the thermostat to the humidifier or dehumidifier, allowing you to control it directly from the thermostat or through connected smart devices.
- Ventilation wire: If your HVAC system has a separate ventilation fan, you may need an additional wire to connect it to the smart thermostat. This allows you to control the ventilation and ensure proper air circulation and filtration throughout your home.
- Zoning wires: Advanced zoning control systems divide your home into multiple zones, each with its own thermostat and dampers to regulate temperature independently. These systems require additional wires for each zone’s thermostat to communicate with the main control panel and the HVAC system.
When considering a smart thermostat installation with advanced features, it’s crucial to review the manufacturer’s specifications and consult with an experienced HVAC technician. They can assess your existing wiring setup, determine the compatibility with the desired thermostat, and make any necessary modifications or additions to ensure proper functionality.
Remember, not all wiring setups will require these additional wires. They are only necessary if you intend to utilize the advanced features supported by your smart thermostat or if your HVAC system has specific requirements. Always consult the installation manual and seek professional guidance to ensure a successful installation.
Compatibility with existing wiring
When considering a smart thermostat installation, it’s essential to assess the compatibility of your existing wiring with the requirements of the smart thermostat. Most smart thermostats are designed to work with a variety of HVAC systems, but there may be cases where your current wiring setup needs to be modified or upgraded.
Begin by checking the specifications of your chosen smart thermostat. The manufacturer will usually provide information about the compatibility of their product with different wiring configurations. Ensure that your existing wiring matches the requirements outlined by the manufacturer.
If your current wiring setup lacks the necessary wires, there are a few possible solutions:
- Add or repurpose wires: In some cases, it may be possible to add or repurpose existing wires to meet the needs of a smart thermostat. This might involve running new wires or utilizing spare wires that are not currently in use.
- Use a power extender kit: If your existing wiring lacks a C wire (common wire) but your smart thermostat requires one, a power extender kit can be used. This kit allows the thermostat to draw power from the HVAC system’s transformer, even if a C wire is not present.
- Seek professional guidance: If you are uncertain about modifying or upgrading your wiring, it is best to consult with a professional HVAC technician. They can assess your system’s compatibility, identify any necessary modifications, and ensure a safe and successful installation.
Keep in mind that modifying or upgrading your existing wiring may require professional assistance. HVAC systems involve electricity and wiring, and it is crucial to ensure proper installation for both functional and safety reasons. A qualified technician will have the knowledge and expertise to make any required adjustments while adhering to local electrical codes.
Remember that compatibility is not only about the wiring but also about the compatibility of your HVAC system with the smart thermostat. Certain smart thermostats may have limitations or specific requirements for the type of heating and cooling systems they can support. Carefully review the compatibility information provided by the smart thermostat manufacturer to ensure a successful integration with your existing HVAC system.
Ensuring compatibility between your existing wiring and the smart thermostat is crucial for a seamless installation and optimal performance. By taking the necessary steps to evaluate compatibility and seeking professional assistance when needed, you can enjoy the convenience and energy-saving benefits that a smart thermostat offers.
Upgrading your wiring for a smart thermostat
If your existing wiring is incompatible with the requirements of a smart thermostat, or if you want to take advantage of advanced features that necessitate additional wires, upgrading your wiring may be necessary. While upgrading wiring can seem like a daunting task, it can be done with proper planning and the guidance of a professional HVAC technician.
Here are some steps to consider when upgrading your wiring for a smart thermostat:
- Evaluate your existing wiring: Start by assessing the current wiring setup in your home. Identify the number of wires, their condition, and their compatibility with the smart thermostat requirements. This will help you determine the extent of the upgrade needed.
- Consult with an HVAC technician: It is highly recommended to seek the expertise of an HVAC technician for a wiring upgrade. They can assess your system, ensure compliance with local electrical codes, and make any necessary modifications or additions to accommodate the smart thermostat.
- Plan the wiring upgrade: Work with the HVAC technician to develop a wiring plan that meets the requirements of the smart thermostat. Determine the additional wires needed for advanced features, such as the C wire for constant power supply, or the wires for dual-fuel systems, humidifiers, dehumidifiers, and ventilation systems.
- Run new wires, if required: If your existing wiring is insufficient, you may need to run new wires from the heating and cooling system to the location of the smart thermostat. This could involve drilling holes, routing wires through walls, or using conduits to protect the new wiring.
- Label and organize the wiring: As new wires are installed, ensure they are properly labeled and organized to avoid confusion during the smart thermostat installation. This will help both during the initial setup and any future troubleshooting or maintenance.
- Test and verify functionality: Once the new wiring is in place, the HVAC technician will test and verify the functionality of the system. This includes checking that all connections are secure, the wires are properly connected, and the smart thermostat is communicating effectively with the heating and cooling equipment.
It’s important to note that upgrading your wiring for a smart thermostat is not a DIY task unless you have proper experience and knowledge in electrical work. Hiring a professional not only ensures a safe and compliant installation but also prevents any damage to your HVAC system or the smart thermostat itself.
By upgrading your wiring to meet the requirements of a smart thermostat, you can fully enjoy its advanced features and energy-saving benefits. Working with an HVAC technician will ensure a smooth installation process and provide peace of mind knowing that your wiring is properly configured for optimal performance.
Conclusion
Installing a smart thermostat can enhance the comfort and energy efficiency of your home, but it’s important to understand the wiring requirements before getting started. By familiarizing yourself with the necessary wiring and compatibility considerations, you can ensure a successful installation and enjoy the full benefits of a smart thermostat.
Most smart thermostats require a minimum of four wires—the R, W, Y, and G wires—for basic functionality. These wires enable control over the heating and cooling systems as well as the fan. However, additional wires may be needed for advanced features such as dual fuel systems, humidifiers, dehumidifiers, ventilation, or zoning control.
Before embarking on a smart thermostat installation, check the compatibility of your existing wiring with the smart thermostat’s requirements. If necessary, consult with an HVAC technician to assess your system and make any required modifications or wiring upgrades. They have the expertise to ensure safe and compliant installations.
Upgrading your wiring for a smart thermostat may seem challenging, but with proper planning and professional guidance, it can be a straightforward process. These upgrades include adding or repurposing wires, using power extender kits, or running new wires as required.
Ultimately, upgrading your wiring allows for seamless integration of a smart thermostat into your home, enabling you to control your heating and cooling system conveniently and optimize energy usage. Whether you’re looking to save on energy costs, increase comfort, or integrate with a smart home system, a smart thermostat is a valuable investment.
When upgrading wiring, ensure that proper labeling and organization are implemented to facilitate future maintenance or troubleshooting. Additionally, testing and verifying the functionality of the system after the wiring upgrade is vital to ensure that the smart thermostat communicates effectively with the HVAC system.
By following these guidelines and working with professionals when needed, you can successfully install and enjoy the benefits of a smart thermostat, adding convenience, energy efficiency, and comfort to your home.