Introduction
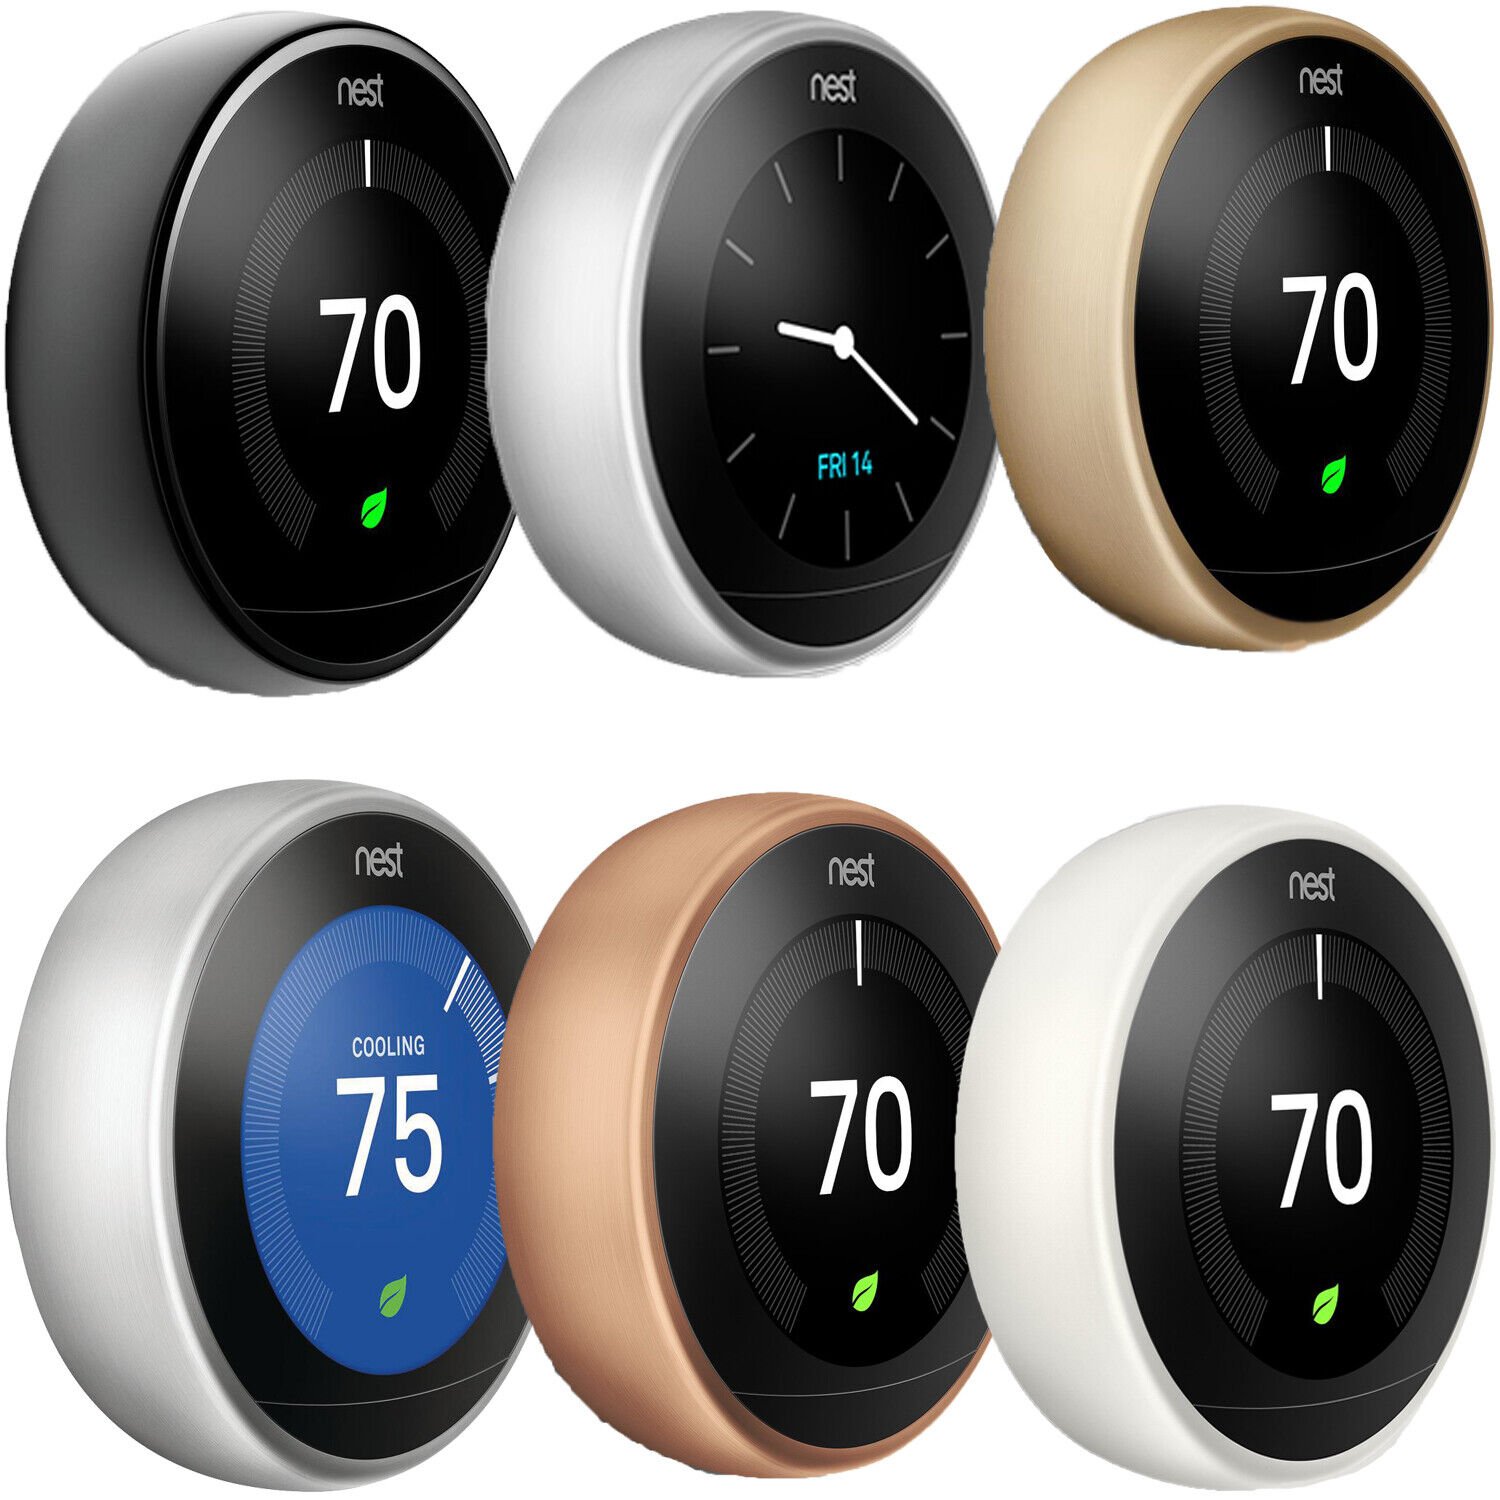
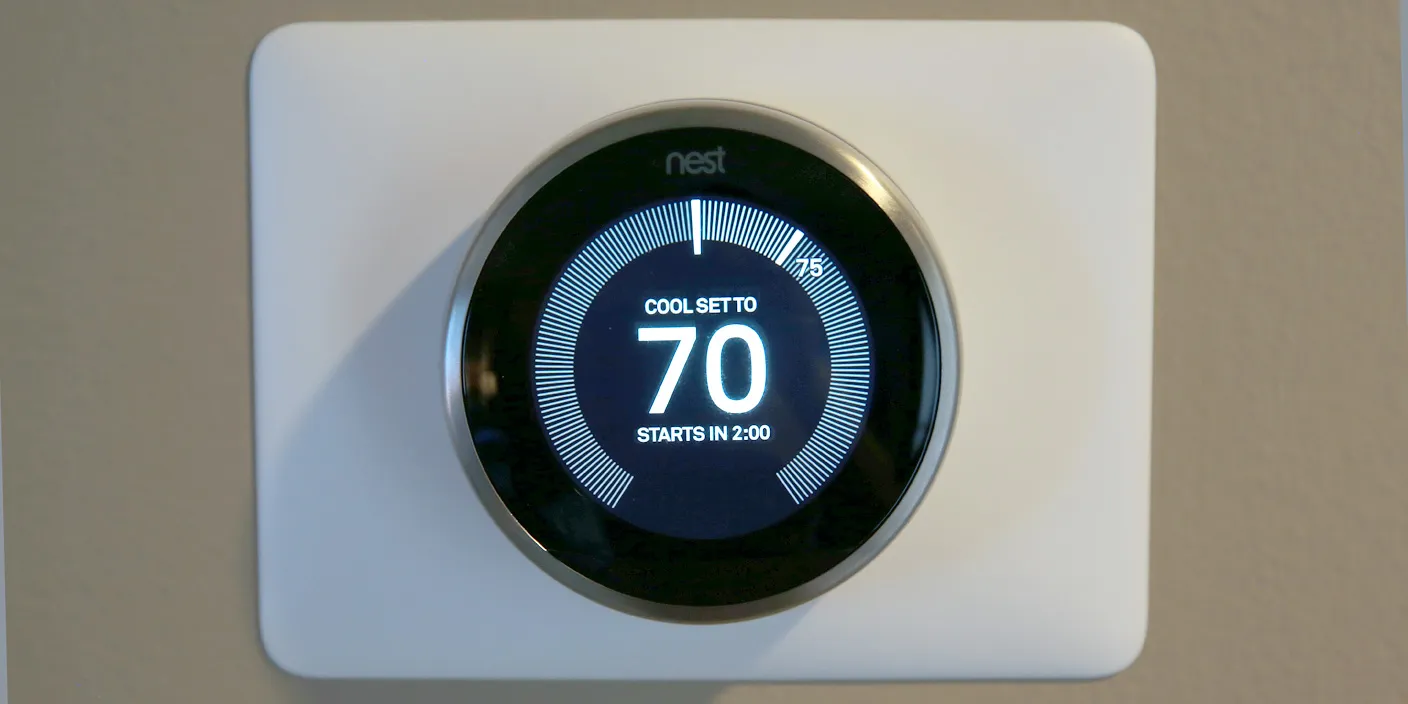
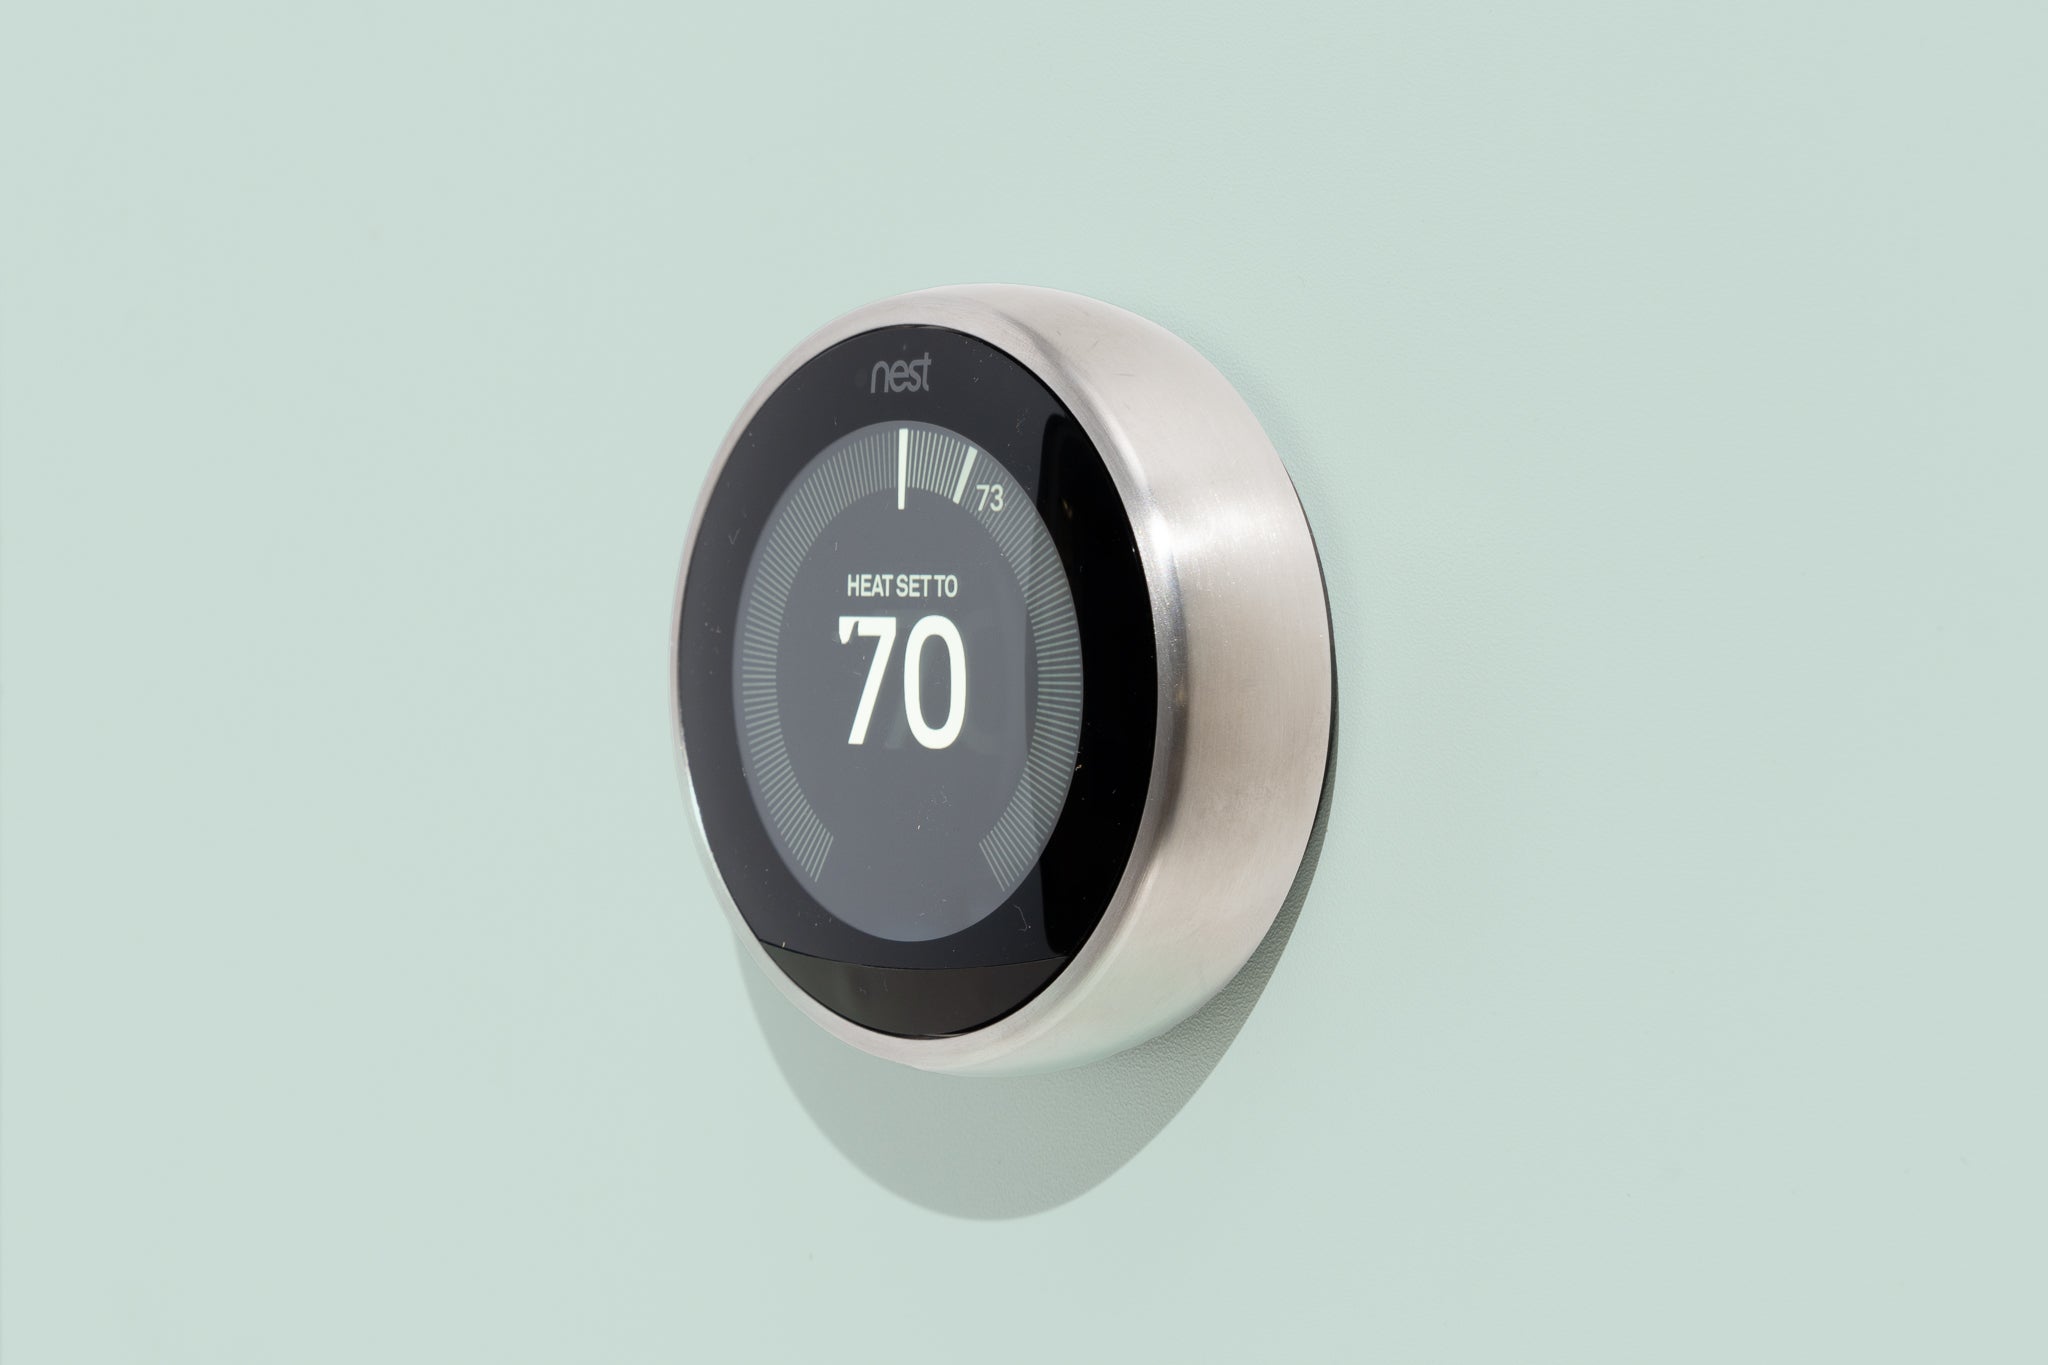
When it comes to controlling the temperature in your home, having a reliable and efficient thermostat is key. The Nest Thermostat has become a popular choice among homeowners for its smart features and energy-saving capabilities. But what if you have multiple zones or areas in your home that require individual temperature control? Can you have multiple Nest Thermostats?
The answer is yes! Having multiple Nest Thermostats allows you to have precise control over the temperature in every area of your home. Whether you have a large house with multiple floors, an open-concept living space, or a home with separate living areas, having multiple Nest Thermostats can provide you with greater comfort and energy efficiency.
In this article, we will explore the benefits of having multiple Nest Thermostats and guide you through the process of connecting and installing them in your home. We will also discuss the factors you need to consider when determining how many Nest Thermostats you need and offer troubleshooting tips for common issues you might encounter.
So, if you’re ready to take your home temperature control to the next level, let’s dive in and discover how many Nest Thermostats you can have and how to make the most of them!
Benefits of Having Multiple Nest Thermostats
Having multiple Nest Thermostats in your home can offer a range of benefits that go beyond just controlling the temperature. Here are some of the advantages you can enjoy:
- Zoned Temperature Control: One of the primary benefits of having multiple Nest Thermostats is the ability to have zoned temperature control. With individual thermostats in different areas of your home, you can set different temperatures in each zone according to your preferences and needs. This ensures that each room or area is comfortable and optimized for energy efficiency.
- Increased Energy Savings: By having precise control over the temperature in each zone, you can optimize your energy usage and potentially save on your heating and cooling bills. With multiple Nest Thermostats, you can set lower temperatures in areas that are not frequently used, while keeping occupied spaces at the desired temperature. This targeted approach to heating and cooling can lead to significant energy savings over time.
- Customized Schedules: Another advantage of having multiple Nest Thermostats is the ability to customize heating and cooling schedules for each zone. You can set different temperature schedules based on your daily routines and occupancy patterns. For example, you can have the living room set to a comfortable temperature in the evenings when you relax, while keeping the bedrooms cooler during the night for better sleep.
- Improved Comfort: With multiple thermostats, you can ensure that every room in your home is at the optimal temperature for maximum comfort. No more dealing with hot or cold spots in different areas. Each family member can also adjust the temperature in their room or space according to their personal preferences, enhancing individual comfort levels.
- Smart Features and Integration: Nest Thermostats come with advanced smart features, such as learning capabilities, remote control via mobile apps, and integration with other smart home devices. Having multiple Nest Thermostats allows you to leverage these features throughout your home, providing convenience and control from anywhere.
Overall, having multiple Nest Thermostats gives you greater control, energy efficiency, and comfort in your home. It allows you to create customized temperature zones and schedules, resulting in improved comfort and potential energy savings. So, let’s explore how you can connect and install multiple Nest Thermostats in your home!
How to Connect Multiple Nest Thermostats to Your Home
Connecting multiple Nest Thermostats to your home is a straightforward process. Here are the steps you need to follow:
- Check Compatibility: Before purchasing additional Nest Thermostats, ensure that your HVAC system supports multiple thermostats. Consult the Nest compatibility checker or reach out to a professional if you’re unsure.
- Set Up the Nest App: Download and install the Nest app on your smartphone or tablet. Create a Nest account or sign in if you already have one.
- Add a New Thermostat: In the Nest app, go to the settings and select “Add Product” or a similar option. Follow the on-screen instructions to add a new thermostat to your account.
- Connect to Wi-Fi: Ensure that your new thermostat is connected to a stable Wi-Fi network. This is crucial for remote control and accessing smart features.
- Complete the Setup: Follow the prompts in the app to complete the setup process for the new thermostat. This may involve providing your home address, configuring settings, and naming the thermostat based on its location.
- Repeat for Additional Thermostats: If you have more than one Nest Thermostat to connect, repeat the above steps for each additional thermostat. The Nest app will guide you through the process seamlessly.
- Grouping Thermostats: Once all the thermostats are connected, you can create groups to easily control multiple thermostats simultaneously. This is useful if you want to adjust temperatures in multiple zones at once or create a unified schedule for multiple thermostats.
- Test and Troubleshoot: After connecting and setting up all the thermostats, test their functionality by adjusting temperatures and checking if the changes are reflected correctly. If you encounter any issues, refer to the troubleshooting section in the Nest app or seek assistance from Nest customer support.
By following these steps, you can successfully connect multiple Nest Thermostats to your home and begin enjoying the benefits of zoned temperature control and smart features. Now, let’s delve into the factors you need to consider when determining how many Nest Thermostats you need.
Factors to Consider When Determining How Many Nest Thermostats You Need
Deciding on the number of Nest Thermostats you need for your home depends on several factors. Consider the following aspects when determining how many thermostats are required:
- Home Size and Layout: The size and layout of your home play a crucial role in determining the number of thermostats needed. Larger homes with multiple floors or separate living areas may require more thermostats to effectively control the temperature in each zone.
- Usage Patterns: Analyze how different areas of your home are used and occupied throughout the day. Identify areas that are frequently used and areas that are less utilized. This will help you determine the need for individual temperature control in each zone.
- Zoning Requirements: If specific zones in your home have distinct heating or cooling requirements, such as a sunroom that gets excessively warm or a basement that tends to be cooler, having separate thermostats can provide targeted temperature control in these areas.
- Family Preferences: Consider the preferences of your family members. If different individuals prefer different temperature levels in their bedrooms or living spaces, having separate thermostats can help accommodate everyone’s comfort preferences.
- Energy Efficiency Goals: If you prioritize energy efficiency and want to optimize temperature control based on occupancy patterns, having multiple thermostats allows you to create customized heating and cooling schedules for each zone, reducing energy wastage.
- Budget and Cost: Although having multiple Nest Thermostats can provide extensive control and comfort, it’s important to consider the budget. Assess your financial resources and prioritize the areas where you need temperature control the most.
- Future Expansion: If you have plans to expand or renovate your home in the future, it’s worth considering the potential need for additional thermostats. This foresight can save you the hassle of retrofitting later on.
Take into account these factors and evaluate your specific requirements to determine the number of Nest Thermostats that best suit your needs. Remember, every home is unique, and the number of thermostats required may vary accordingly. With these considerations in mind, you can make an informed decision and optimize temperature control in your home.
Next, let’s explore the steps involved in installing multiple Nest Thermostats.
Steps to Install Multiple Nest Thermostats
Installing multiple Nest Thermostats in your home is a relatively simple process. Follow these steps to ensure a successful installation:
- Gather the Necessary Tools: Before you begin, gather the tools you will need for the installation, which may include a screwdriver, level, wire strippers, and masking tape.
- Turn off Power: Start by turning off the power to your HVAC system at the circuit breaker to ensure safety during the installation process.
- Remove Existing Thermostat: If you already have a thermostat in place, carefully remove it from the wall. Take note of the wires and their corresponding labels to ensure proper connection with the Nest Thermostat.
- Prepare the Wiring: Strip the ends of the wires if necessary and organize them based on the labels provided by Nest. This will make it easier to connect the wires to the respective terminals on the Nest Thermostat.
- Mount the Nest Thermostat: Use the provided mounting plate to attach the Nest Thermostat to the wall. Ensure that it is level and securely fastened.
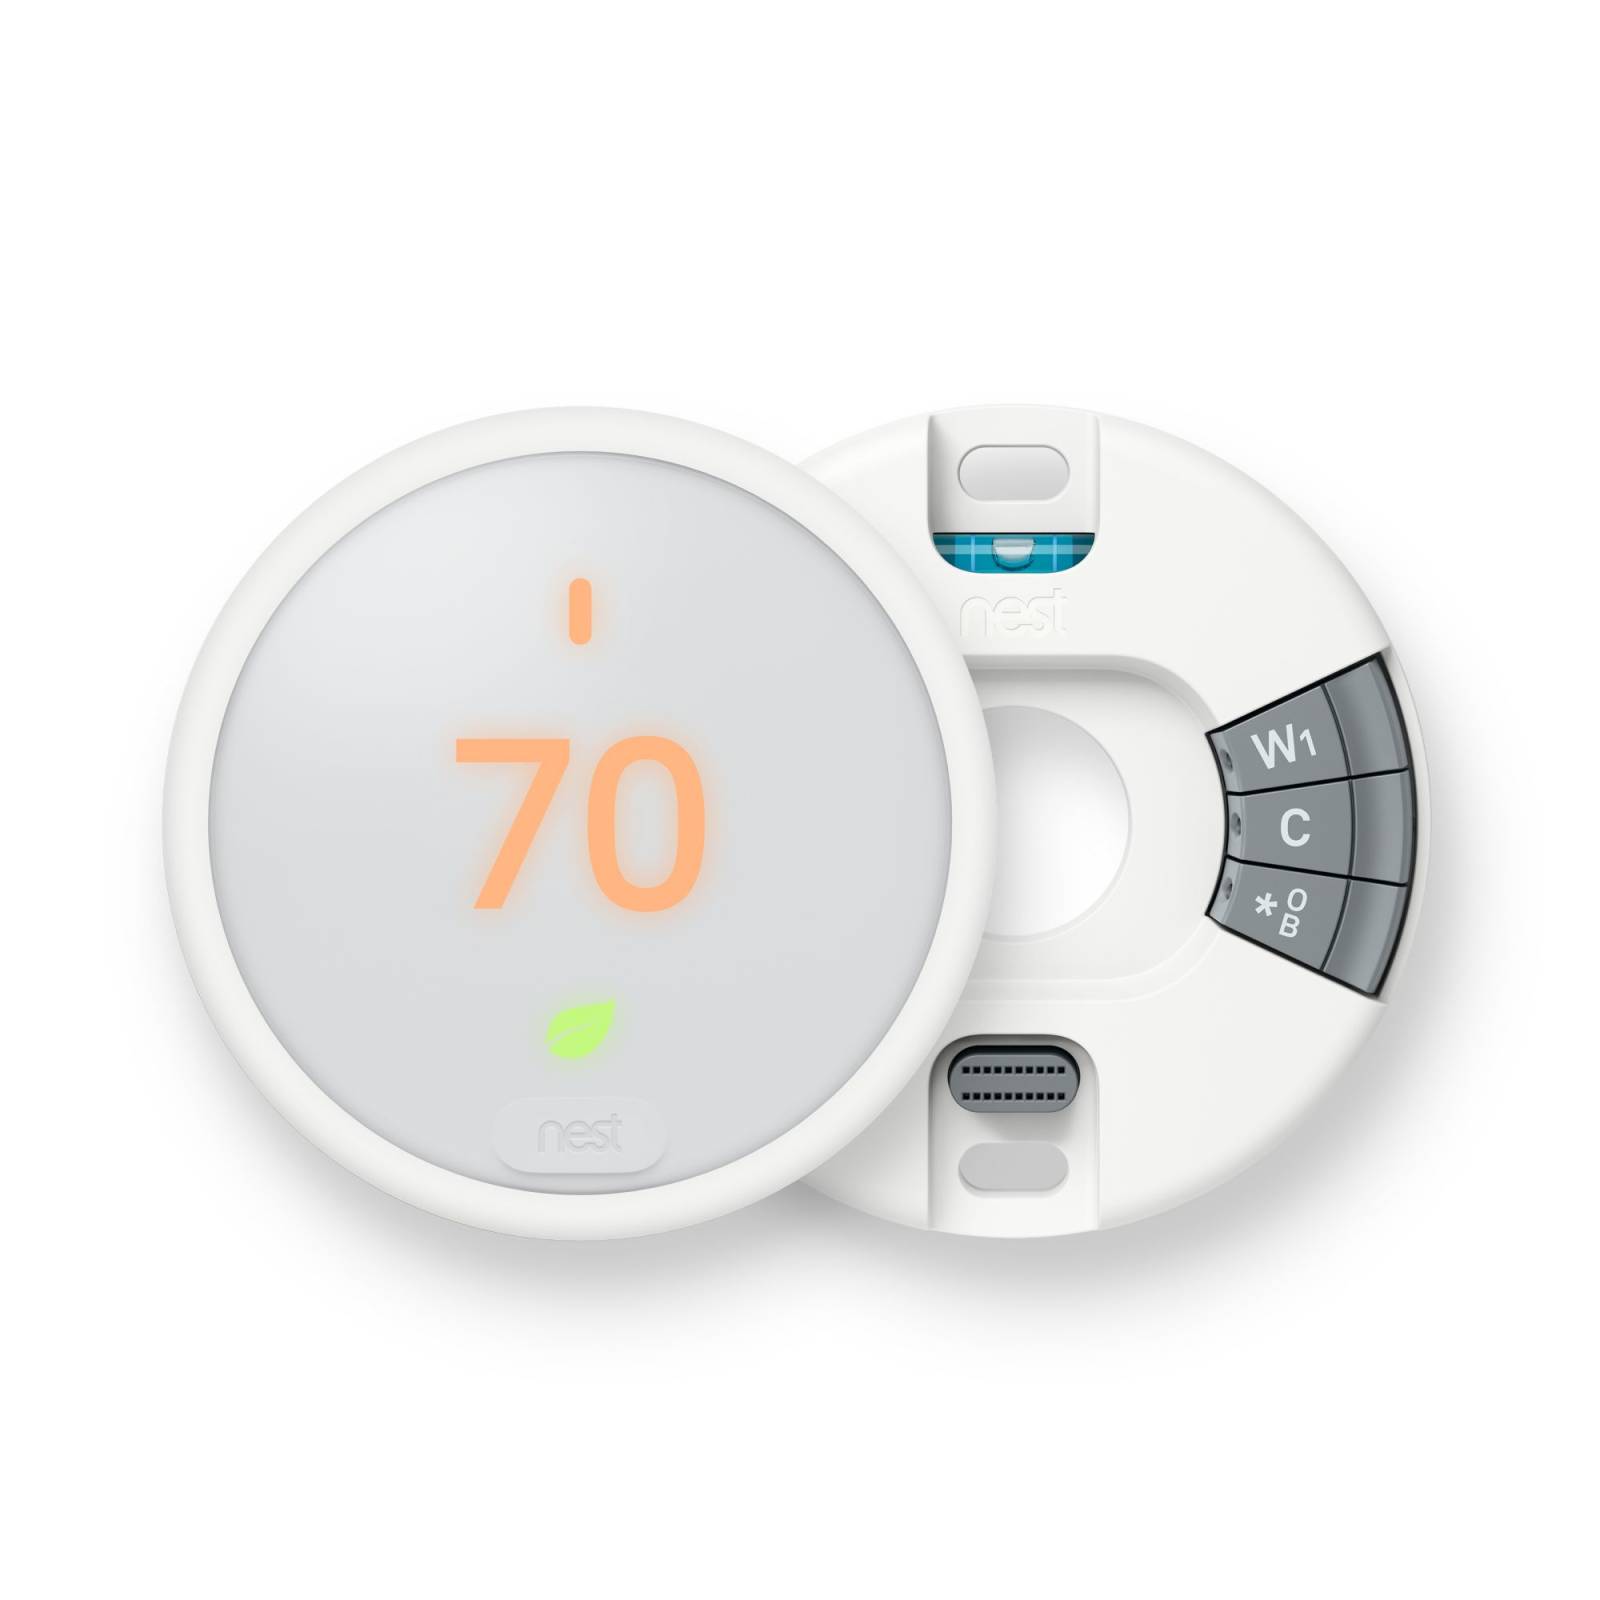
- Connect the Wires: Connect the labeled wires to the corresponding terminals on the Nest Thermostat. Use the wiring diagram provided by Nest to ensure proper connection.
- Attach the Thermostat Base: Once the wires are connected, attach the thermostat base to the mounting plate and ensure a secure fit.
- Restore Power: Turn the power back on at the circuit breaker to provide power to the HVAC system and the Nest Thermostat.
- Complete Setup: Follow the on-screen instructions on the Nest Thermostat to complete the setup. This may involve connecting to Wi-Fi, configuring settings, and setting up schedules.
- Repeat for Additional Thermostats: If you have multiple Nest Thermostats to install, repeat the above steps for each thermostat, ensuring that the wiring is connected correctly.
- Test and Adjust: Once all the thermostats are installed and set up, test their functionality by adjusting the temperature settings and ensuring that the changes are reflected correctly in each zone.
By following these steps, you can successfully install multiple Nest Thermostats in your home. Remember to refer to the installation guide provided by Nest for detailed instructions specific to your thermostat model.
In the next section, we will explore common issues that may arise when dealing with multiple Nest Thermostats and provide troubleshooting tips.
Troubleshooting Common Issues with Multiple Nest Thermostats
While Nest Thermostats are designed to be user-friendly and reliable, you may encounter a few common issues when dealing with multiple thermostats. Here are some troubleshooting tips to help you resolve these problems:
- Incorrect Temperature Readings: If you notice that the temperature displayed on the Nest Thermostats does not match the actual room temperature, try adjusting the temperature sensor settings in the Nest app. You can also check if there are any sources of heat or cold nearby that may be affecting the accuracy of the readings.
- Disconnected Thermostat: If a thermostat becomes disconnected from the Nest app or Wi-Fi, follow these steps to troubleshoot: check the Wi-Fi connection and network settings, restart the thermostat by removing it from the base and reattaching it, and ensure that the thermostat is within range of the Wi-Fi signal.
- Incorrect Schedule or Settings: If the thermostats are not following the programmed schedules or settings, double-check the schedules and settings in the Nest app. Make sure that the correct zones and temperatures are assigned to each thermostat and that the schedules are saved correctly.
- No Power to Thermostat: If a thermostat is not receiving power, check if the circuit breaker is switched on and supplying power to the HVAC system. Ensure that the wiring connections are secure and correct, and that any batteries in the thermostat are not depleted.
- Poor Wi-Fi Connection: If you are experiencing connectivity issues with the Nest Thermostats, try relocating the router or using a Wi-Fi extender to improve the signal strength. Ensure that there are no obstructions or interferences that may disrupt the Wi-Fi connection.
- Inconsistent Temperature Control: If the temperature in certain zones is inconsistent, check for any drafts or air leaks that may be affecting the thermostat’s ability to maintain the desired temperature. You can also adjust the temperature swing settings in the Nest app to allow for smaller temperature fluctuations.
- Software Updates: Keep the Nest app and the thermostats updated with the latest firmware versions. Regularly check for available software updates and install them to ensure optimal performance and compatibility.
- Consult Nest Support: If you are unable to resolve the issues on your own, reach out to Nest customer support for further assistance. They can provide personalized troubleshooting guidance or arrange for technical support if needed.
By following these troubleshooting tips, you can address common issues that may arise with multiple Nest Thermostats and ensure that they function properly. If you encounter persistent problems, don’t hesitate to seek professional help to identify and resolve any underlying issues.
Now that you have a better understanding of troubleshooting common issues, let’s summarize what we’ve covered so far.
Conclusion
Having multiple Nest Thermostats in your home provides a range of benefits, including zoned temperature control, increased energy savings, customized schedules, improved comfort, and integration with smart home devices. By following the steps outlined in this article, you can easily connect and install multiple Nest Thermostats to take control of your home’s temperature.
When determining how many Nest Thermostats you need, consider factors such as the size and layout of your home, usage patterns, zoning requirements, family preferences, energy efficiency goals, budget, and future expansion plans. These considerations will help you make an informed decision and optimize temperature control in your home.
During the installation process, ensure that you gather the necessary tools and follow the steps carefully. Properly connecting the wires and completing the setup in the Nest app will ensure a successful installation. Additionally, troubleshooting common issues such as temperature discrepancies, disconnected thermostats, incorrect settings, power issues, Wi-Fi connectivity problems, and inconsistent temperature control can help you overcome any challenges that may arise.
If you encounter persistent issues, do not hesitate to reach out to Nest customer support or seek professional assistance. They can provide valuable guidance and ensure that your Nest Thermostats operate smoothly and efficiently.
By taking advantage of the features and capabilities offered by multiple Nest Thermostats, you can create a more comfortable and energy-efficient home environment. So, go ahead and make the most of your Nest Thermostats to enjoy personalized comfort and savings in every corner of your home!


