Introduction
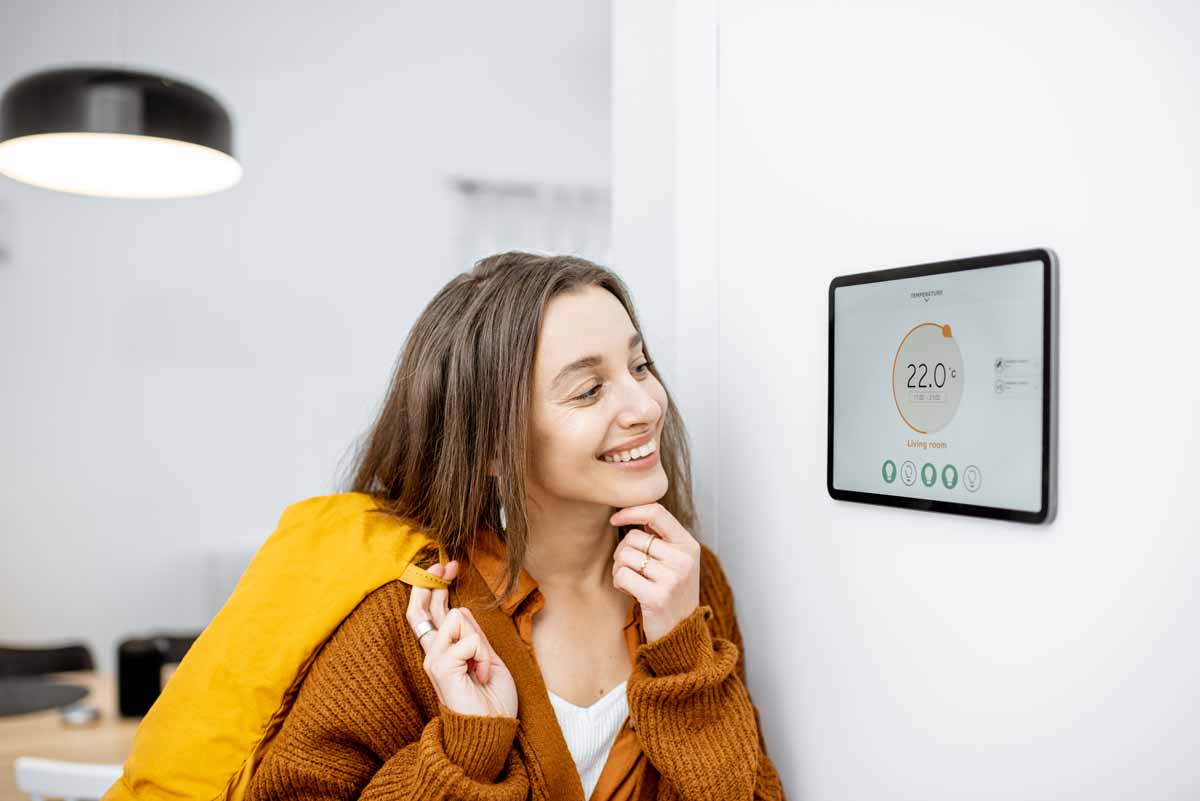
Smart thermostats are revolutionizing the way we control the temperature in our homes. These innovative devices offer convenience, energy savings, and enhanced comfort by allowing users to remotely adjust the temperature and create custom heating schedules. If you're considering installing a smart thermostat in your UK home, this guide will walk you through the process step by step. By following these instructions, you can upgrade your heating system and enjoy the benefits of a smart, connected home.
Installing a smart thermostat may seem daunting, but with the right guidance, it can be a straightforward and rewarding project. Whether you're looking to reduce your energy bills, improve your home's efficiency, or simply embrace the latest technology, a smart thermostat is a wise investment. This guide is tailored for UK homeowners, providing specific insights and considerations relevant to the UK heating systems and wiring standards.
In the following steps, we will cover everything from checking the compatibility of your current heating system to connecting your new smart thermostat to Wi-Fi and setting up the accompanying app. Additionally, we will address common troubleshooting tips to ensure a smooth installation process. By the end of this guide, you will have the knowledge and confidence to install a smart thermostat in your UK home and begin enjoying its many benefits.
Let's embark on this journey to upgrade your home's heating system, enhance your comfort, and embrace the convenience of smart technology. Whether you're a tech enthusiast or simply seeking ways to make your home more efficient, installing a smart thermostat is a step in the right direction. So, let's get started on this exciting and rewarding home improvement project.
Step 1: Check Compatibility
Before purchasing a smart thermostat, it’s crucial to ensure compatibility with your current heating system. In the UK, heating systems can vary, and not all smart thermostats are universally compatible. Start by identifying the type of heating system you have, whether it’s a conventional boiler, a system boiler, or a combination boiler. Additionally, determine if your system uses standard room thermostats, programmable thermostats, or is already equipped with smart controls.
Next, examine your existing thermostat wiring to see if it meets the requirements for the smart thermostat you intend to install. Some smart thermostats may need a common wire (C-wire) for power, which may not be present in older heating systems. However, there are workarounds such as using an adapter or a power extender kit to ensure compatibility.
It’s also essential to check if your heating system is compatible with the smart thermostat’s features, such as multi-zone control or underfloor heating support. Review the specifications of the smart thermostat and compare them with your heating system to ensure seamless integration.
Many smart thermostat manufacturers provide online compatibility checkers or helplines to assist with this process. Take advantage of these resources to verify that the smart thermostat you choose is suitable for your specific heating setup. By conducting this initial compatibility check, you can avoid potential installation challenges and ensure that your new smart thermostat will function optimally with your existing heating system.
Step 2: Turn Off Power
Prior to removing your old thermostat and beginning the installation of the new smart thermostat, it is crucial to turn off the power to your heating system. This precautionary measure is essential for safety and to avoid damaging the heating system or the new thermostat during the installation process.
Locate the power source for your heating system, which is typically a dedicated circuit breaker or a fused connection unit (FCU). Switch off the power at the circuit breaker or FCU to ensure that there is no electricity flowing to the thermostat and the heating system. It’s important to verify that the power is completely off by testing the thermostat and heating controls to ensure they are non-operational.
For added safety, it is advisable to use a voltage tester to confirm that there is no electrical current present at the thermostat wiring terminals before proceeding with the installation. This simple yet critical step can prevent accidental electric shocks and equipment damage.
By turning off the power to your heating system, you create a safe environment to proceed with the installation of the smart thermostat. This precautionary measure is an essential first step in the installation process and sets the stage for a smooth and secure transition to the new smart technology.
Step 3: Remove Old Thermostat
With the power to the heating system turned off, it’s time to remove the old thermostat. Start by carefully removing the cover or faceplate of the existing thermostat to access the wiring and mounting plate. Depending on the type of thermostat, you may need a screwdriver to detach it from the wall.
Once the cover is removed, take note of the existing wiring connections. It’s helpful to take a photograph or make a simple diagram to record the wire terminals and their corresponding labels. This step is crucial for correctly connecting the wires to the new smart thermostat later in the installation process.
After documenting the wiring, carefully disconnect the wires from the terminals on the old thermostat. Take care to avoid letting the wires fall back into the wall recess. If necessary, use masking tape to secure the wires and prevent them from slipping back into the wall cavity.
With the wires detached, remove the old mounting plate from the wall. This may involve unscrewing the mounting screws or releasing any clips that secure it in place. Once the mounting plate is removed, you should be left with a clean wall surface, free from the old thermostat and its mounting hardware.
Inspect the exposed wiring to ensure that it is in good condition and free from any damage. If any issues are identified, such as frayed wires or corrosion, it’s advisable to address them before proceeding with the installation of the new smart thermostat.
By carefully removing the old thermostat and preparing the wiring for the new installation, you are laying the groundwork for a successful transition to a smart thermostat. This meticulous approach sets the stage for a seamless and trouble-free installation process.
Step 4: Install New Thermostat
With the old thermostat removed and the wiring prepared, it’s time to install the new smart thermostat. Begin by unpacking the smart thermostat and familiarizing yourself with its components, including the thermostat display, mounting plate, and any additional accessories or wiring adapters that may be included.
Next, position the new mounting plate on the wall at the desired location for the smart thermostat. Use a level to ensure that the mounting plate is straight and aligned correctly. Once positioned, mark the locations for the mounting screws or wall anchors, depending on the wall surface, and secure the mounting plate in place using the provided hardware.
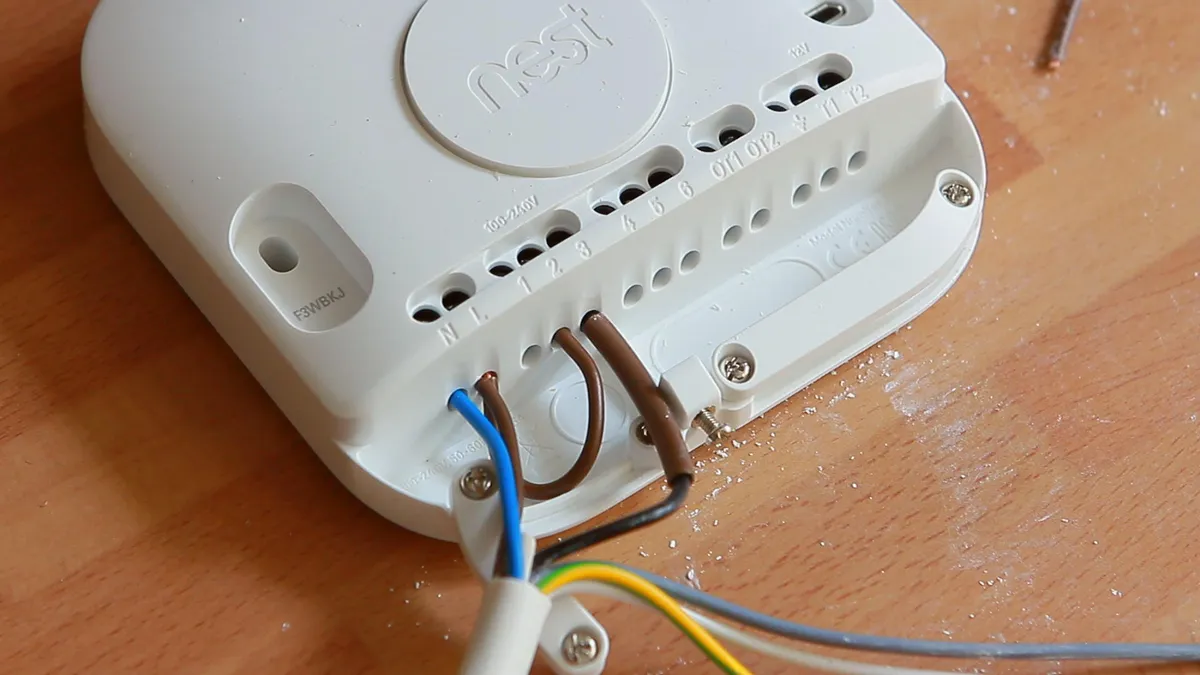
After the mounting plate is securely installed, it’s time to connect the wiring from your heating system to the terminals on the new smart thermostat. Refer to the documentation or labeling on the thermostat to identify the appropriate terminals for each wire. Carefully match each wire to its designated terminal on the thermostat, ensuring a secure and snug connection for each wire.
Once the wiring is connected, gently tuck any excess wire back into the wall cavity behind the mounting plate. Be mindful not to pinch or damage the wires during this process. With the wiring in place, attach the smart thermostat to the mounting plate, following the manufacturer’s instructions for securing the thermostat and ensuring a proper fit.
Before proceeding, double-check all the wiring connections and confirm that they are secure and correctly aligned with the terminal labels on the smart thermostat. This attention to detail will help prevent any wiring issues or connectivity problems once the thermostat is powered on.
By installing the new smart thermostat with precision and care, you are taking a significant step toward modernizing your home’s heating system. The meticulous installation process sets the stage for enjoying the advanced features and energy-saving capabilities of a smart thermostat.
Step 5: Connect to Wi-Fi
After successfully installing the new smart thermostat, the next crucial step is to connect it to your home’s Wi-Fi network. This wireless connectivity enables remote access and control of the thermostat through a dedicated mobile app or web interface, allowing you to adjust the temperature and heating schedules from anywhere.
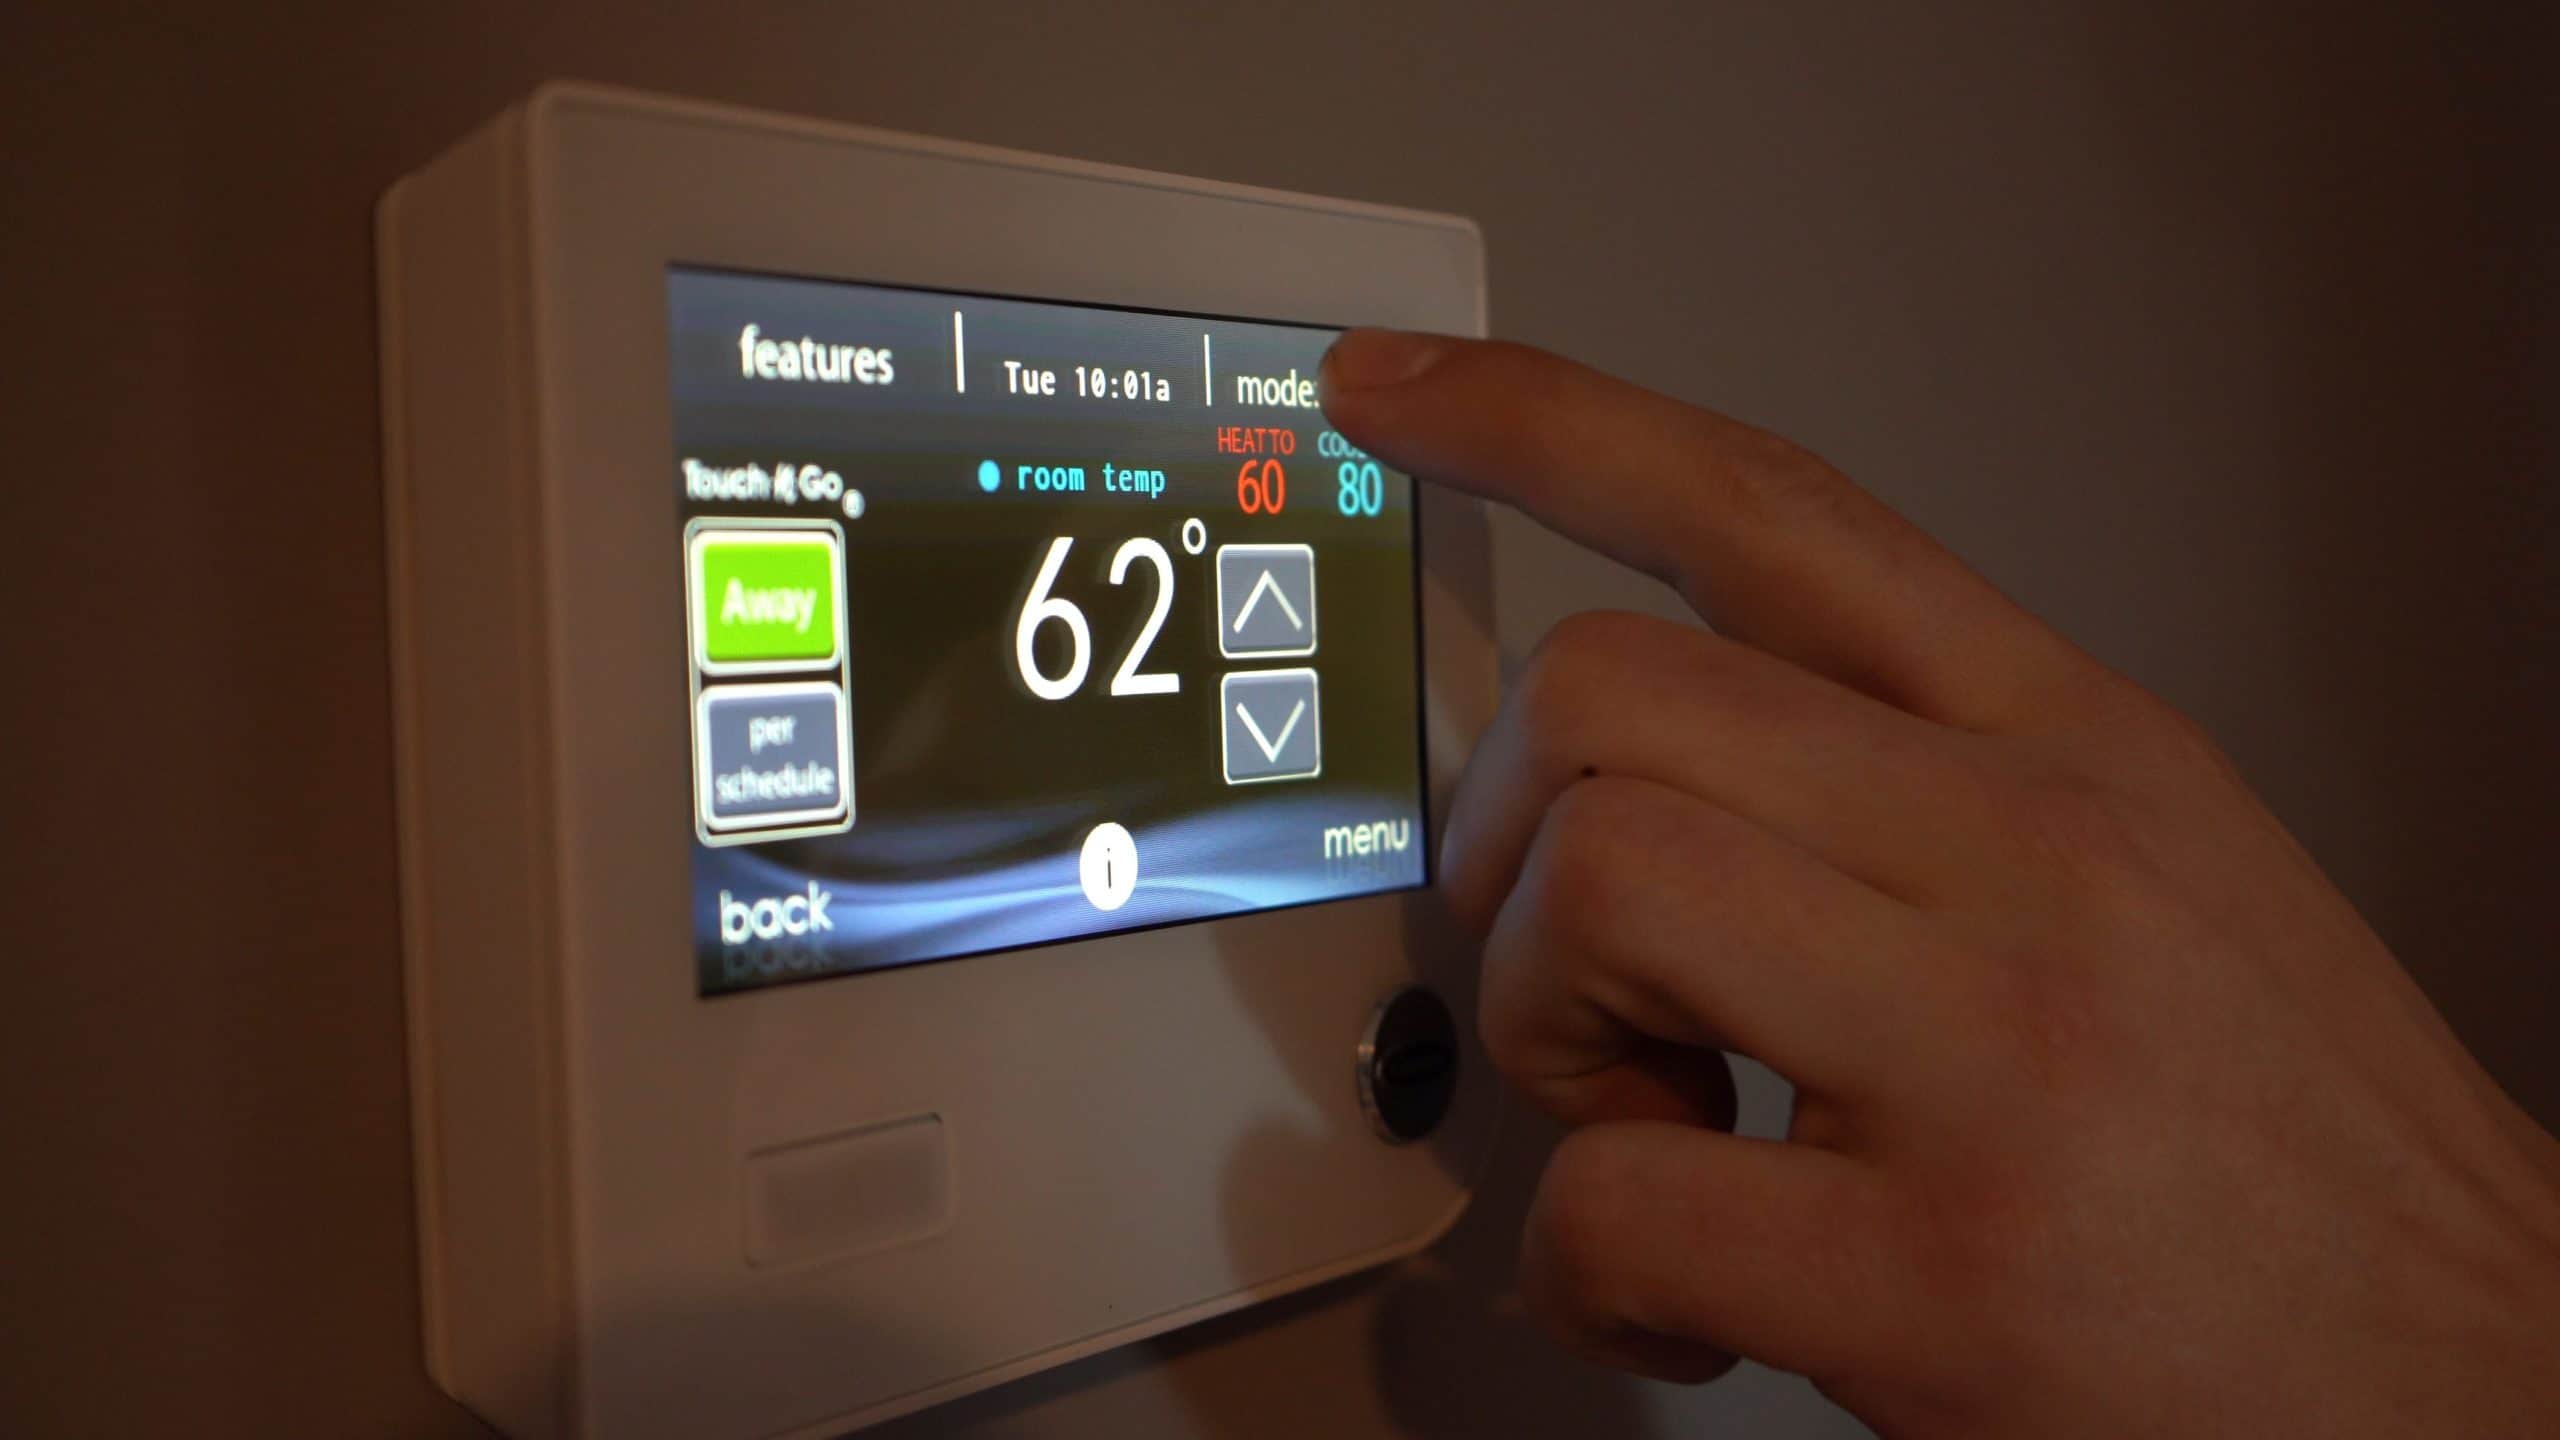
Begin by powering on the smart thermostat and accessing the settings menu on the thermostat display. Navigate to the Wi-Fi or network settings and select the option to connect to a new Wi-Fi network. Follow the on-screen prompts to search for available networks and enter the credentials for your home Wi-Fi network, including the network name (SSID) and password.
Once the smart thermostat has successfully connected to your Wi-Fi network, it will establish a secure link to the accompanying mobile app or online portal. Download the app onto your smartphone or tablet and follow the setup instructions to link the app to your smart thermostat. This typically involves creating an account, pairing the thermostat with the app, and verifying the connection between the two devices.
With the smart thermostat successfully connected to your Wi-Fi network and the accompanying app, you can now enjoy the convenience of remote temperature control and access to advanced scheduling features. From the app, you can set heating schedules, adjust the temperature, and monitor energy usage, all from the palm of your hand.
Additionally, many smart thermostats offer compatibility with voice assistants such as Amazon Alexa or Google Assistant, allowing you to control the thermostat using voice commands. If desired, you can explore the integration options with your preferred voice assistant to further enhance the accessibility and usability of your smart thermostat.
By seamlessly connecting your smart thermostat to your home Wi-Fi network and mobile app, you are unlocking its full potential and gaining the ability to manage your home’s heating system with unprecedented flexibility and convenience.
Step 6: Set Up App and Programming
With the smart thermostat connected to your Wi-Fi network and the accompanying app installed, it’s time to explore the app’s features and set up custom heating schedules tailored to your lifestyle and preferences. Launch the app on your mobile device and proceed with the initial setup and programming to maximize the benefits of your new smart thermostat.
Upon opening the app, you will typically be prompted to log in to your account or create a new account if you haven’t done so already. Once logged in, the app will guide you through the process of pairing it with your smart thermostat. This step is crucial for establishing a seamless connection between the app and the thermostat, enabling remote control and advanced programming.
After the app and thermostat are successfully paired, you can begin programming your desired heating schedules. Most smart thermostat apps offer intuitive interfaces for setting up daily or weekly schedules, allowing you to specify different temperature settings for various times of the day. Whether you prefer to conserve energy while you’re away or ensure a cozy home upon your return, the app provides the flexibility to create personalized heating routines.
Many smart thermostats also feature adaptive learning capabilities, where the thermostat learns your heating preferences over time and automatically adjusts the temperature based on your habits and schedule. This intelligent feature enhances energy efficiency and comfort by optimizing heating patterns without the need for constant manual adjustments.
Furthermore, explore the app’s additional features, such as energy usage monitoring, temperature history, and maintenance alerts. These insights empower you to track your heating system’s performance, identify potential energy-saving opportunities, and stay informed about any maintenance requirements or system issues.
As you familiarize yourself with the app and its programming options, take advantage of any available tutorials or guides provided by the manufacturer to make the most of your smart thermostat’s capabilities. By leveraging the app’s functionality and personalized programming, you can optimize your home’s heating efficiency and enjoy a tailored heating experience that aligns with your lifestyle.
Step 7: Test and Troubleshoot
After completing the setup of your smart thermostat and programming it to your preferences, it’s essential to conduct thorough testing to ensure that the system operates as intended. Start by verifying that the thermostat accurately responds to temperature adjustments and follows the programmed schedules without any discrepancies.
Test the remote control functionality by using the app to adjust the temperature while away from home. Confirm that the thermostat receives and executes the commands promptly, reflecting the desired temperature changes. This validation ensures that the remote access feature is functioning seamlessly, providing you with convenient control over your home’s heating system from anywhere.
Additionally, assess the performance of any auxiliary features, such as geofencing or occupancy detection, if supported by your smart thermostat. These capabilities enhance energy efficiency by adjusting the temperature based on your presence or absence, optimizing comfort while conserving energy when the home is unoccupied.
During the testing phase, pay close attention to any irregularities or unexpected behavior exhibited by the smart thermostat. If you encounter any issues, refer to the troubleshooting resources provided by the manufacturer, including the user manual, online support materials, or customer service channels. Common troubleshooting steps may involve resetting the thermostat, checking for firmware updates, or verifying the compatibility of connected devices and accessories.
If the smart thermostat displays error codes or alerts, consult the documentation to identify the meaning of these indicators and take appropriate action to address the underlying issues. Promptly addressing any potential issues during the testing phase ensures that your smart thermostat functions reliably and delivers the expected benefits of energy savings and enhanced comfort.
By diligently testing the functionality of your smart thermostat and promptly addressing any issues that arise, you can instill confidence in the system’s performance and enjoy the peace of mind that comes with a well-functioning and efficient home heating solution.
Conclusion
Embarking on the journey to install a smart thermostat in your UK home has not only modernized your heating system but also empowered you with greater control, convenience, and energy efficiency. By following the step-by-step process outlined in this guide, you have successfully transitioned to a smart, connected heating solution tailored to your lifestyle and preferences.
Through careful consideration of compatibility, meticulous installation, and seamless integration with your home’s Wi-Fi network, you have embraced the benefits of advanced technology while enhancing your home’s energy efficiency. The ability to remotely control your heating, create personalized schedules, and monitor energy usage via the accompanying app has revolutionized the way you interact with your home’s heating system.
Furthermore, the adaptive learning capabilities and auxiliary features of your smart thermostat have optimized comfort and energy conservation, aligning your heating patterns with your daily routines and occupancy. The newfound flexibility and insight into your heating system’s performance have elevated your home’s comfort while contributing to environmental sustainability through reduced energy consumption.
As you continue to enjoy the benefits of your smart thermostat, remember to periodically review and adjust your heating schedules to accommodate seasonal changes and evolving lifestyle patterns. Stay informed about firmware updates and new features offered by the manufacturer to ensure that your smart thermostat remains at the forefront of heating technology.
With the installation and successful integration of a smart thermostat, you have embraced the future of home heating, reaping the rewards of comfort, convenience, and energy savings. Your commitment to enhancing your home with smart technology has positioned you at the forefront of energy-efficient living, setting a precedent for a more sustainable and connected lifestyle.
Congratulations on successfully installing and integrating a smart thermostat in your UK home, ushering in a new era of modern comfort and efficiency.