Introduction
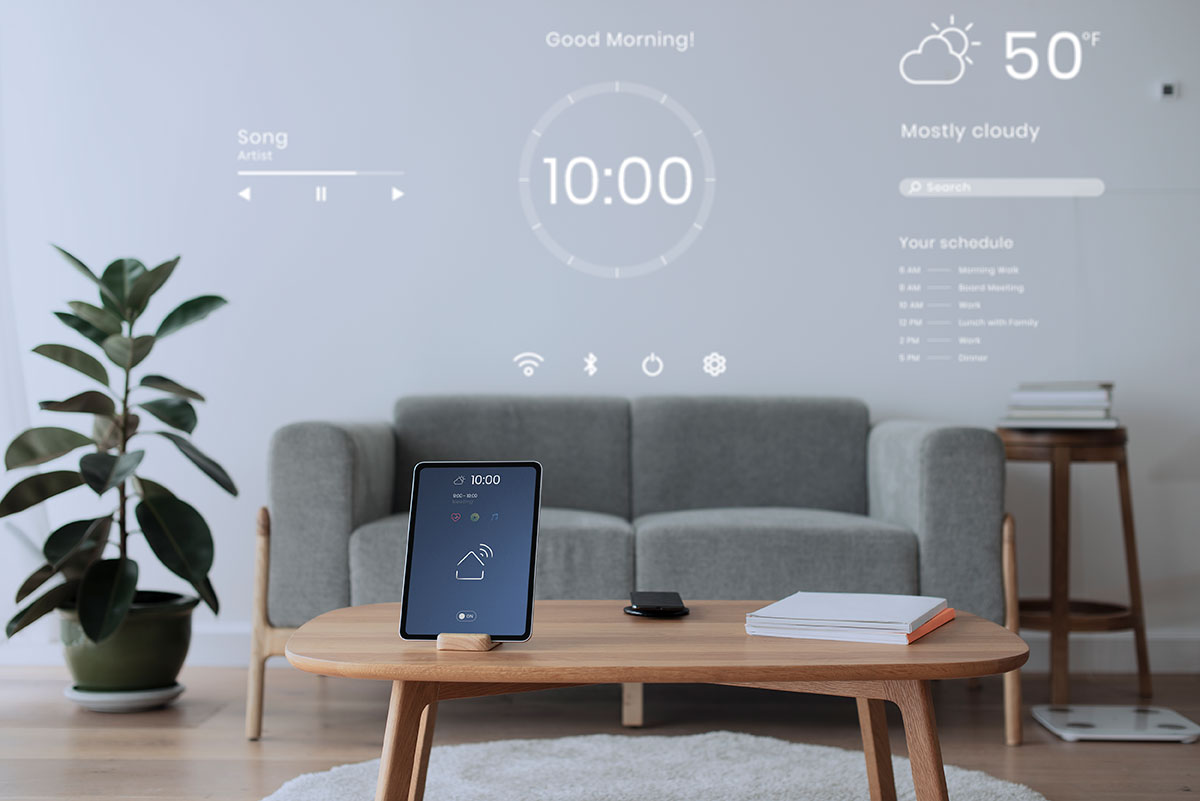
Welcome to the era of smart homes, where technology seamlessly integrates with our daily lives to make our homes more convenient, efficient, and secure. One of the key components of a smart home is the addition of a smart thermostat and doorbell. These devices not only offer advanced features and functionality but also provide increased accessibility and control through smartphone integration. If you’re considering upgrading your home with these smart devices, you’ve come to the right place.
In this article, we will guide you through the process of adding a smart thermostat and doorbell to your home, from choosing the right devices to installation and configuration. Whether you’re looking to save energy, enhance your home’s security, or simply enjoy the convenience of controlling your thermostat and doorbell from anywhere, we’ll walk you through the steps to make it happen.
Before we dive into the installation process, let’s take a moment to explore the benefits of upgrading to a smart thermostat and doorbell. These devices offer a wide range of advantages, from energy savings to increased security and convenience. By understanding the benefits, you can make an informed decision about investing in these smart home devices.
Once you are convinced of the benefits and ready to proceed, we’ll discuss the factors you should consider before making your purchase. This will ensure that you choose the right smart thermostat and doorbell for your specific needs and home setup. From there, we’ll take you step by step through the installation process, providing helpful tips and troubleshooting advice along the way.
By the end of this article, you’ll have all the information you need to successfully add a smart thermostat and doorbell to your home. So, let’s get started and take your home to the next level of smart living.
Why Upgrade to a Smart Thermostat and Doorbell?
Upgrading to a smart thermostat and doorbell offers a multitude of advantages and can significantly enhance your home’s functionality, convenience, and security. Here are some compelling reasons why investing in these smart devices is a wise choice:
- Energy Efficiency: One of the primary benefits of a smart thermostat is its ability to optimize energy usage. These devices employ advanced sensors and algorithms to learn your heating and cooling patterns, allowing them to adjust temperature settings automatically. This results in reduced energy consumption and lower utility bills, all while maintaining a comfortable living environment.
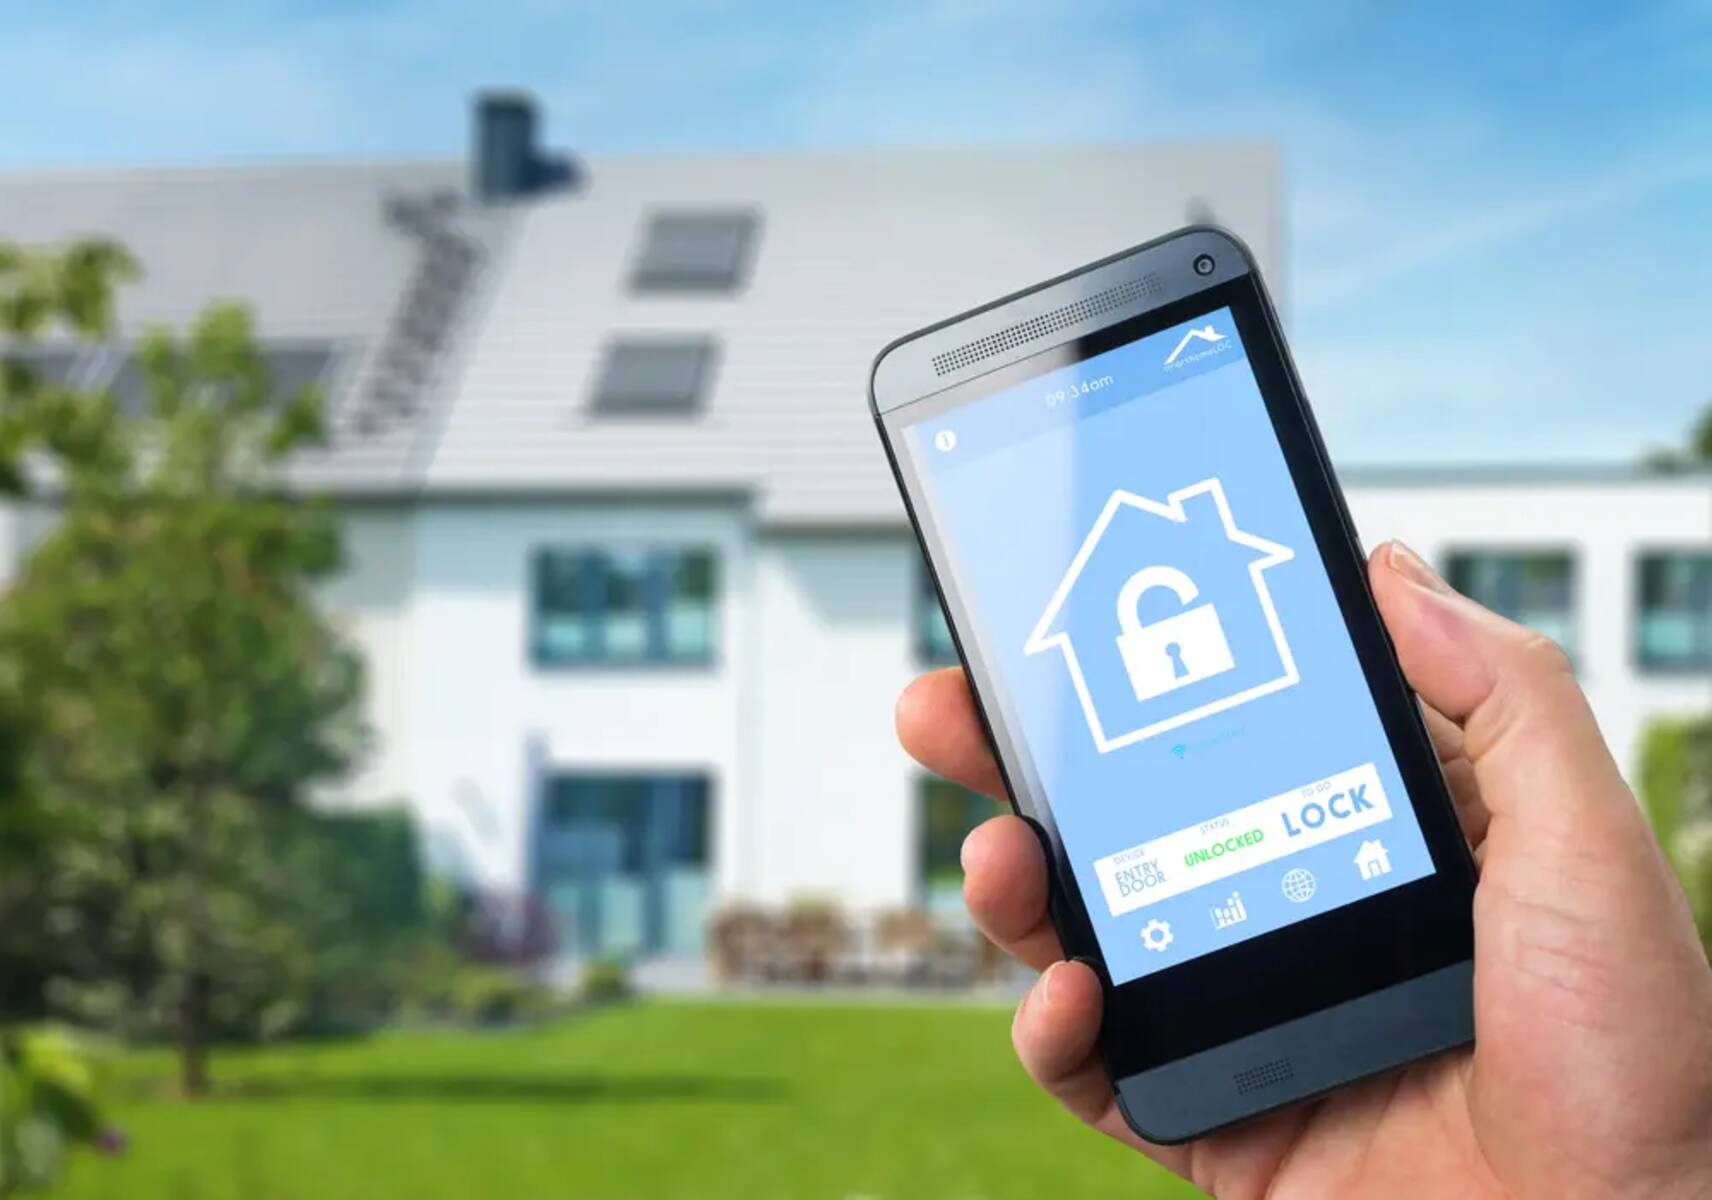
- Convenience: With a smart thermostat, you no longer have to manually adjust the temperature settings when you leave or arrive home. Through smartphone integration, you can control your thermostat remotely, ensuring that your home is always at the desired temperature when you walk through the door. Similarly, a smart doorbell allows you to see and speak to visitors from anywhere using your smartphone, adding an extra layer of convenience and peace of mind.
- Enhanced Security: A smart doorbell with a built-in camera and motion sensors provides an added level of security to your home. You can monitor activity at your front door, receive instant alerts for any suspicious movement, and even record video footage of visitors. Some smart doorbells also offer two-way audio, allowing you to communicate with delivery personnel or deter potential intruders, even when you’re not at home.
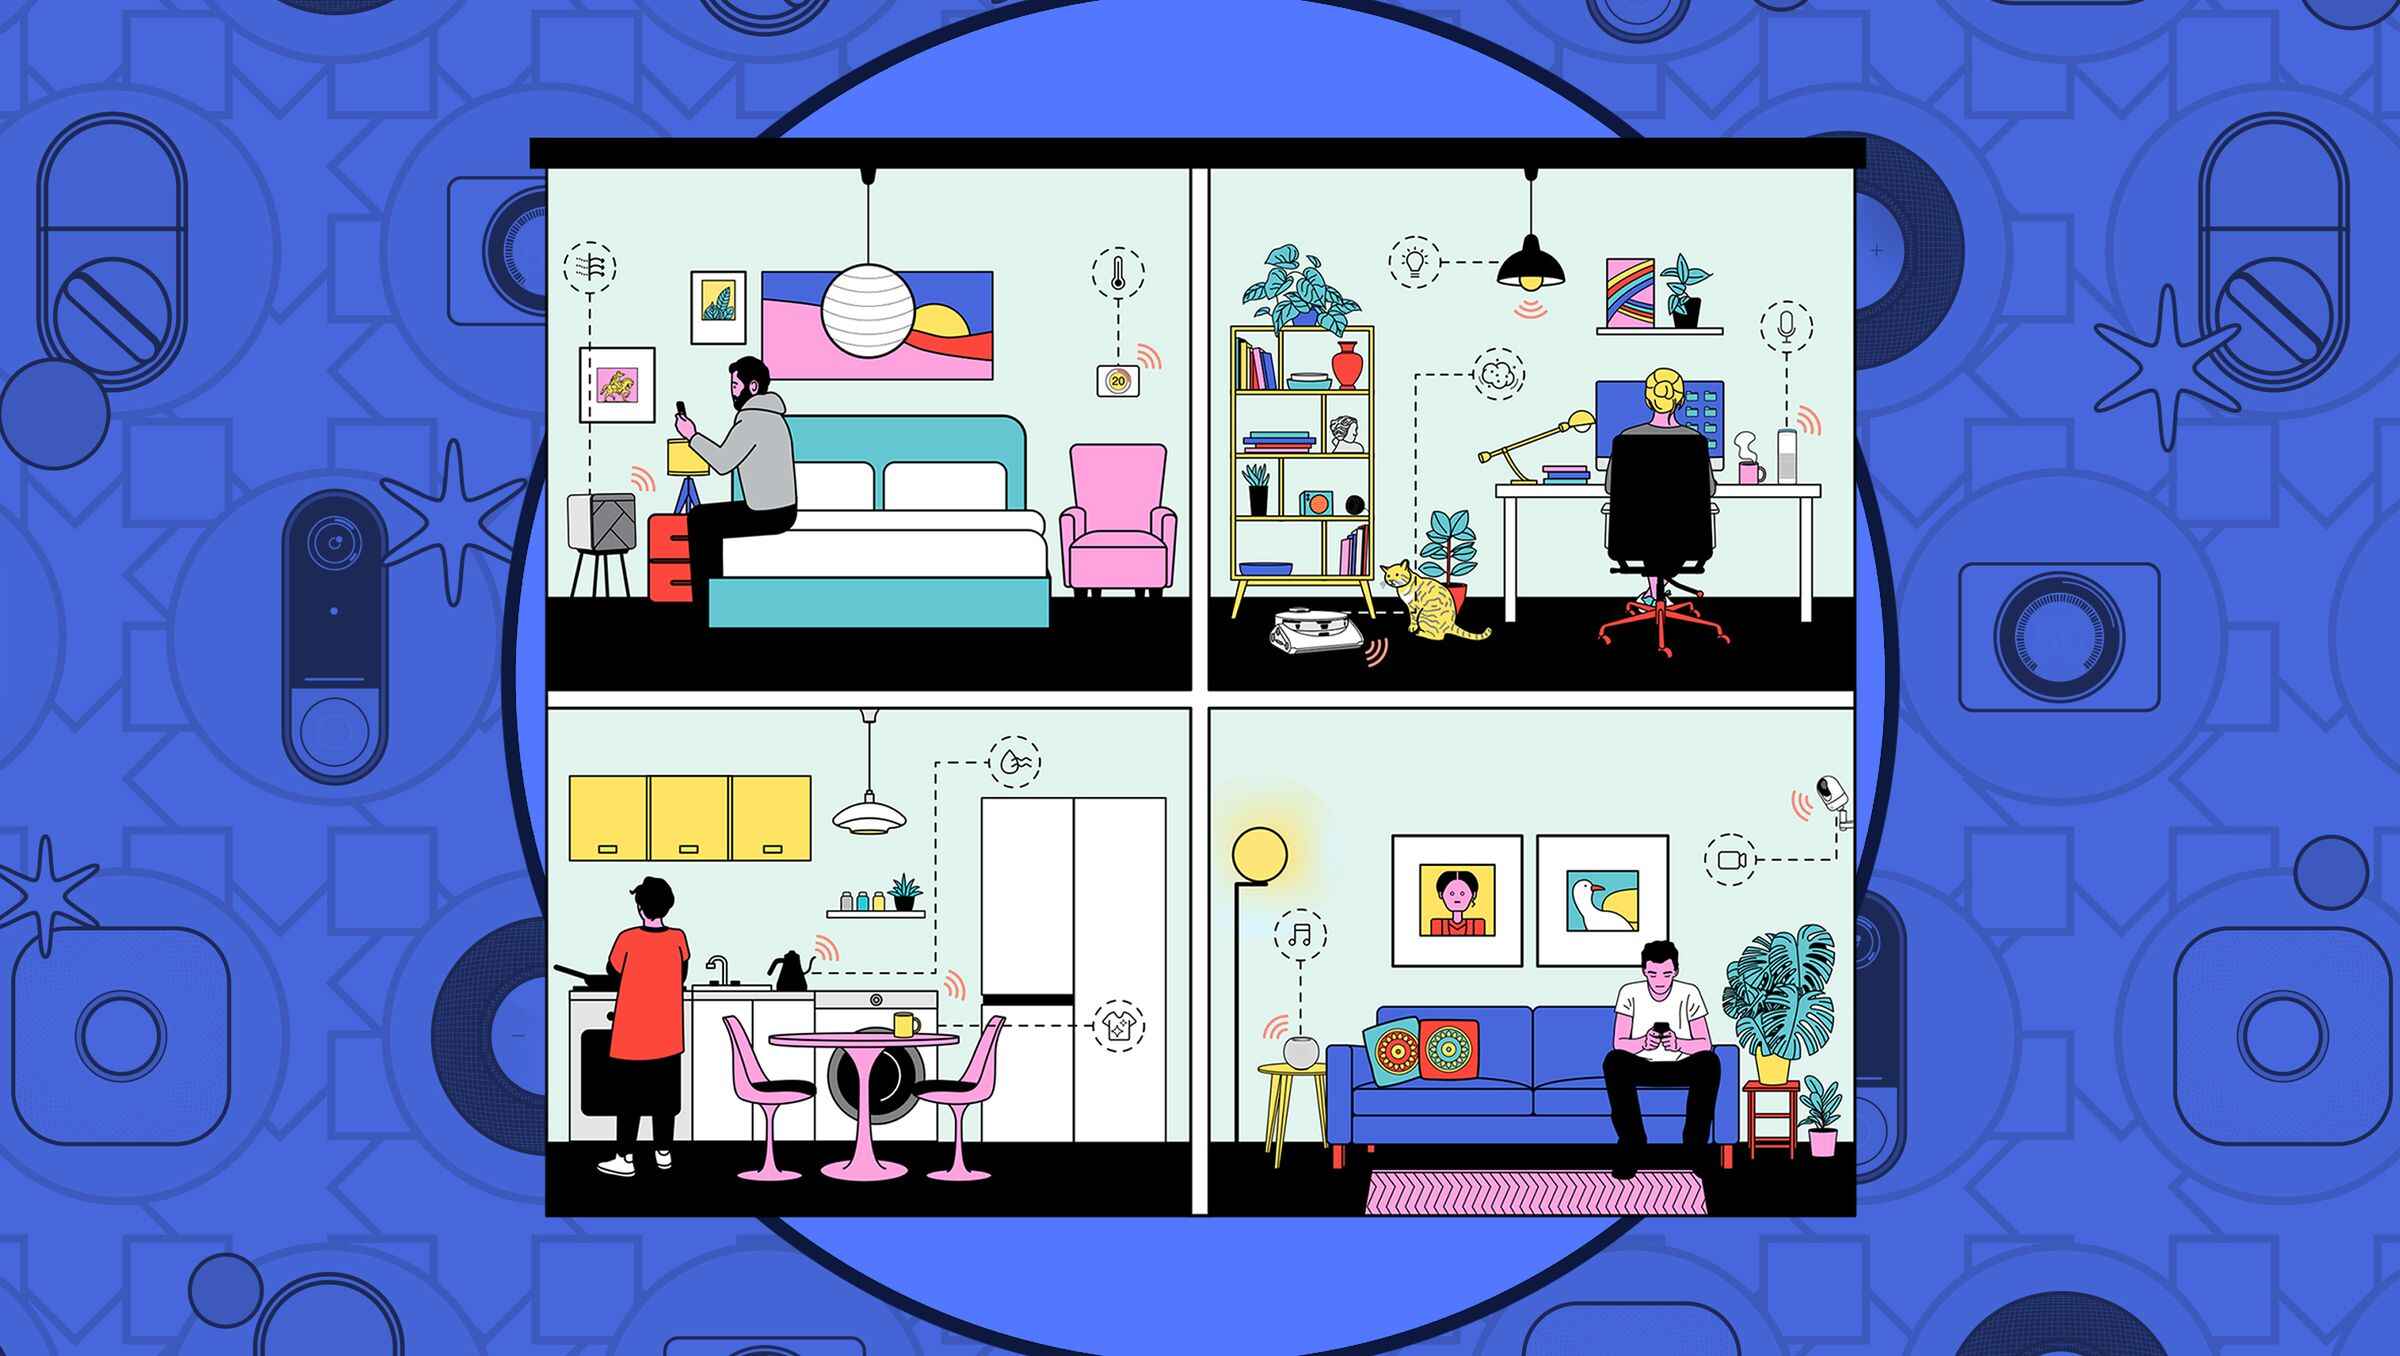
- Integration with Smart Home Ecosystem: Smart thermostats and doorbells are designed to seamlessly integrate with other smart devices in your home. This integration allows for centralized control and automation, enabling you to create personalized routines and scenarios. For example, you can set your thermostat to lower the temperature automatically when you lock your smart doorbell, saving energy in the process.
- Data Insights: Smart thermostats provide valuable insights into your energy usage. Through detailed reports and analytics, you can identify patterns, set goals, and make informed decisions to further optimize your energy consumption. Some smart doorbells also offer motion detection logs and visitor history, giving you a better understanding of who comes to your front door and when.
By upgrading to a smart thermostat and doorbell, you can enjoy improved energy efficiency, added convenience, enhanced security, and the ability to integrate within a smart home ecosystem. These benefits not only make your home more comfortable and efficient but also offer peace of mind and control, even when you’re away. So, why wait? Let’s dive into the process of choosing and installing these smart devices for your home.
Things to Consider Before Installing a Smart Thermostat and Doorbell
Before diving into the installation process of a smart thermostat and doorbell, there are a few important factors to consider. Taking the time to evaluate these aspects will ensure a smooth and successful integration of these devices into your home. Here are some key points to keep in mind:
- Compatibility: Not all smart thermostats and doorbells are compatible with every home heating and cooling system or existing doorbell setup. Before making a purchase, check the compatibility requirements and ensure that the device you choose is compatible with your specific HVAC system and doorbell wiring.
- Power Source: Smart thermostats and doorbells require a power source to operate. Some models can be powered by batteries, while others need to be connected to a constant power supply. Consider the availability of power sources near the installation location and choose a device that aligns with your preference and home setup.
- Wi-Fi Connectivity: Both smart thermostats and doorbells rely on a stable Wi-Fi connection to communicate with your smartphone and other smart devices. Ensure that your home has a reliable and strong Wi-Fi signal in the areas where you plan to install these devices.
- Mobile App Compatibility: Check if the smart thermostat and doorbell you’re considering are compatible with your smartphone’s operating system. Most devices offer dedicated mobile apps for controlling and monitoring them, so compatibility between the device and your smartphone is crucial for seamless integration.
- Installation Difficulty: Consider your level of comfort with DIY installations. While many smart thermostats and doorbells are designed for easy installation, some may require professional assistance, especially if they involve complex wiring or HVAC system compatibility. Assess your skills and capabilities before deciding if you can handle the installation process on your own.
- Budget: Smart thermostats and doorbells are available at various price points, offering different features and functionalities. Determine your budget and prioritize the features that are most important to you. Remember to consider long-term savings potential, as energy-efficient devices can lead to reduced utility bills over time.
By considering these factors, you can ensure that you choose the right smart thermostat and doorbell that align with your home’s specific requirements and your preferences. Taking these aspects into account will make the installation process smoother and increase your overall satisfaction with these smart devices. Now that you have a good understanding of what to consider, let’s move on to the exciting part—choosing the perfect smart thermostat for your home.
Step 1: Choosing the Right Smart Thermostat for Your Home
Choosing the right smart thermostat for your home is crucial to ensure compatibility, functionality, and satisfaction with the device. With a plethora of options available in the market, it’s important to understand the key factors to consider when making your selection. Follow these steps to choose the perfect smart thermostat:
- Compatibility: Start by checking the compatibility of the smart thermostat with your HVAC system. Some thermostats work with specific heating and cooling systems, while others offer more universal compatibility. Make sure to verify if the thermostat is compatible with your system before making a purchase.
- Features and Functionality: Consider the features you need in a thermostat. Do you want a programmable thermostat that allows you to set schedules, or do you prefer a thermostat that learns your patterns and adjusts accordingly? Look for features such as geofencing, remote access, humidity control, and energy usage reports, and select a thermostat that offers the functionalities that align with your requirements.
- Design and User Interface: Evaluate the design and user interface of the thermostat. Look for a device with a user-friendly interface and an intuitive, easy-to-navigate display. Consider the size, touchscreen capabilities, and the information displayed on the screen to ensure it meets your preferences and needs.
- Smart Home Integration: If you have other smart home devices, make sure the smart thermostat you choose is compatible with your existing ecosystem. Check if it integrates with platforms like Alexa, Google Assistant, or Apple HomeKit, allowing you to control your thermostat through voice commands or automate it within your smart home setup.
- Energy Efficiency: Look for a smart thermostat that promotes energy efficiency. Features like energy usage reports, smart scheduling, and adaptive learning can help optimize energy consumption in your home and save on utility bills. Check if the thermostat is ENERGY STAR certified for further assurance of its energy-saving capabilities.
- Budget: Consider your budget when selecting a smart thermostat. Prices can vary based on features, brand reputation, and additional functionalities. Determine a budget range and prioritize the features that are most important to you. Remember, while a more expensive thermostat may have additional bells and whistles, a more affordable option can still offer significant energy savings and convenience.
By considering these factors, you can make an informed decision and choose a smart thermostat that best fits your home’s requirements and your preferences. Once you’ve selected your ideal thermostat, it’s time to move on to the next step: preparing your home for installation. Let’s get started!
Step 2: Preparing Your Home for Installation
Before you can install your new smart thermostat, it’s important to prepare your home to ensure a smooth and successful installation process. Taking the time to prepare your home will help avoid any potential roadblocks and ensure that the installation goes as planned. Follow these steps to prepare your home:
- Gather Necessary Tools: Take inventory of the tools you’ll need for the installation. Common tools include a screwdriver (flathead and Phillips), wire strippers, electrical tape, and a voltage tester. Make sure you have all the necessary tools on hand before starting the installation process.
- Turn Off Power: Locate the breaker that controls the power to your HVAC system and switch it off. This step is essential to ensure your safety during the installation process. Use a voltage tester to double-check that the power is truly off before proceeding.
- Read Manufacturer’s Instructions: Carefully read the installation instructions provided by the manufacturer. Each smart thermostat may have specific requirements or procedures that need to be followed. Familiarize yourself with the instructions to ensure a smooth installation process.
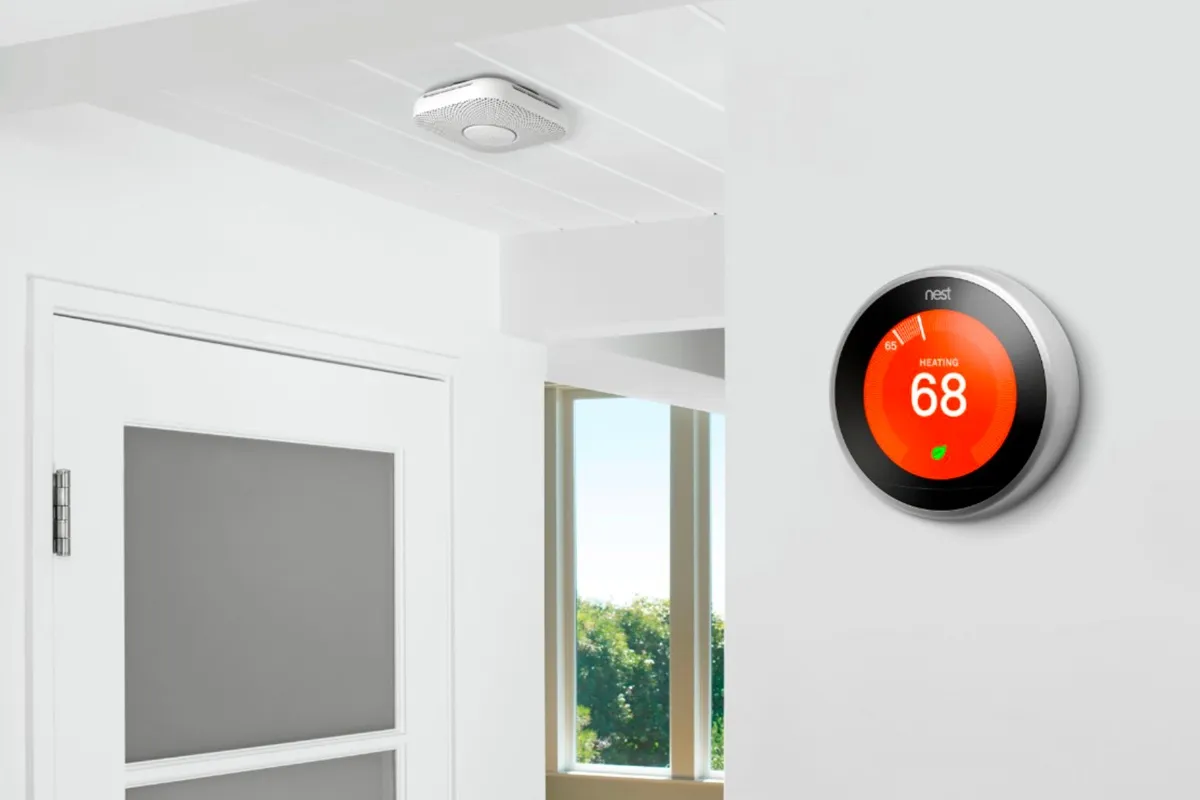
- Choose Ideal Location: Determine the ideal location for your smart thermostat. It should be centrally located in your home and away from direct sunlight, heat sources, drafts, and areas with high humidity. This will help ensure accurate temperature readings and optimal performance.
- Check Wiring Compatibility: Take note of your current thermostat’s wiring setup. Most smart thermostats require a C-wire (common wire) for proper power supply. If your current thermostat doesn’t have a C-wire, check if there are additional wires present that can be used as a C-wire or if you need to install a power adapter to provide power for your new thermostat.
- Ensure Strong Wi-Fi Signal: Check the Wi-Fi signal strength in the area where your smart thermostat will be installed. A weak Wi-Fi signal can lead to connectivity issues. If the signal is weak, consider installing a Wi-Fi extender to boost the signal strength.
- Clear the Area: Remove any obstacles or clutter from the area where the thermostat will be installed. This includes furniture, decorations, and any other items that may obstruct the thermostat or interfere with its operation.
- Take Photos: Take photos of the existing wiring configuration before disconnecting your current thermostat. This will serve as a reference when connecting the wires to your new smart thermostat later on.
By following these preparation steps, you’ll be equipped with the necessary tools, knowledge, and a clear plan to install your smart thermostat. Taking the time to prepare your home will help minimize any potential issues and ensure a successful installation process. Once you’ve completed these steps, you’re ready to move on to the exciting part – installing your new smart thermostat. Let’s dive in!
Step 3: Installing the Smart Thermostat
Now that you have prepared your home for installation, it’s time to install your smart thermostat. Follow these step-by-step instructions to ensure a successful installation:
- Remove Old Thermostat: Start by removing your old thermostat from the wall. Carefully disconnect the wires from the terminal screws and remove the mounting plate.
- Mount the New Thermostat: Use the provided mounting plate and screws to securely mount your new smart thermostat to the wall. Make sure it is level and firmly attached.
- Connect the Wires: Refer to the photos you took earlier or the manufacturer’s instructions to identify the correct terminals for each wire. Connect the wires from your HVAC system to the corresponding terminals on the smart thermostat. If you have a C-wire, ensure it is connected appropriately.
- Attach Backplate or Faceplate: Once the wires are connected, attach the backplate or faceplate to the thermostat. Follow the manufacturer’s instructions for this step, as each model may have different attachment methods.
- Power On and Test: Turn the power back on at the circuit breaker and observe your new smart thermostat. It should power on and display the initial setup screen. Follow the on-screen prompts and configure the necessary settings, such as Wi-Fi connection and initial setup preferences.
- Mounting Plate: If your smart thermostat comes with a separate mounting plate, carefully install it onto the wall, aligning the connectors on the thermostat with the corresponding terminals on the mounting plate. Ensure a secure fit.
- Calibration and Testing: Once the thermostat is securely mounted and connected, run a calibration and testing phase to ensure accurate temperature readings and proper functioning of the device. Follow the manufacturer’s instructions for calibration and perform any necessary tests.
- Download and Configure App: If applicable, download the manufacturer’s smartphone app for your smart thermostat. Follow the instructions to connect the thermostat to the app and configure any additional settings or preferences.
Completing these installation steps will ensure that your smart thermostat is properly installed and ready for use. Remember to refer to the manufacturer’s instructions for any model-specific details or considerations. With your smart thermostat successfully installed, you’re now ready to move on to the next step – setting up the thermostat on your smartphone. Exciting times are ahead, so let’s proceed!
Step 4: Setting up the Thermostat on Your Smartphone
Now that you have installed your smart thermostat, the next step is to set it up on your smartphone. By connecting your thermostat to your smartphone, you can enjoy remote access, control, and monitoring of your thermostat from anywhere. Follow these steps to set up your thermostat on your smartphone:
- Download the App: Start by downloading the dedicated mobile app for your smart thermostat. The app can usually be found in your smartphone’s app store (e.g., Google Play Store or Apple App Store). Install the app and open it on your device.
- Create an Account: Most smart thermostat apps require you to create an account. Follow the on-screen prompts to register and create a new account using your email address and a secure password. If you already have an account, simply log in.
- Add the Thermostat: Once you’re logged in, follow the instructions to add your newly installed smart thermostat to the app. This usually involves selecting the model and following the on-screen instructions to establish a connection between the app and the thermostat.
- Connect to Wi-Fi: Ensure that your smartphone is connected to a Wi-Fi network. Follow the instructions in the app to connect your thermostat to the same Wi-Fi network. This step is essential for enabling remote access and control of your thermostat.
- Configure Settings: Explore the app’s settings and configure your smart thermostat according to your preferences and needs. Set up schedules, adjust temperature thresholds, and explore additional features and settings offered by the app. Familiarize yourself with the app’s interface to make the most of your smart thermostat.
- Test Connection and Control: Once you have configured the settings, test the connection between the thermostat and your smartphone. Check if you can control the thermostat remotely, adjust temperature settings, and access any additional features through the app. Ensure that the app communicates effectively with the thermostat.
- Enable Notifications: Consider enabling notifications on the app. This allows you to receive important alerts and updates related to your thermostat, such as filter change reminders or abnormal temperature fluctuations.
- Explore Additional Features: Take the time to explore any additional features offered by the app. Some smart thermostat apps offer advanced functionalities like energy reports, geofencing, voice control, and integration with other smart home devices. Familiarize yourself with these features to make the most of your smart thermostat.
By following these steps, you can easily set up your smart thermostat on your smartphone, giving you convenient and remote control over your home’s temperature. Make sure to refer to the manufacturer’s instructions or the app’s user guide for any specific details or troubleshooting tips related to your smart thermostat model. With your thermostat set up on your smartphone, you’re now ready to enjoy the convenience and control of managing your home’s temperature from the palm of your hand!
Step 5: Understanding and Customizing Your Smart Thermostat Settings
Now that you have set up your smart thermostat on your smartphone, it’s time to dive into understanding and customizing its settings. Each smart thermostat comes with a variety of features and options that allow you to personalize and optimize your home’s temperature control. Follow these steps to understand and customize your smart thermostat settings:
- Temperature Settings: Familiarize yourself with the temperature settings available on your smart thermostat. Understand how to adjust the temperature up or down manually and explore any additional features like setting different temperatures for specific time periods or days of the week.
- Programmable Schedules: Take advantage of the programmable scheduling feature offered by your smart thermostat. Set up schedules based on your lifestyle and preferences. Adjust temperature settings to save energy when you’re away or ensure comfort when you’re at home.
- Adaptive Learning: If your smart thermostat offers adaptive learning capabilities, allow it to learn your temperature preferences and adjust accordingly. This feature can help optimize energy usage and provide increased comfort without the need for constant manual adjustments.
- Geofencing: Explore the geofencing feature, if available, which uses your smartphone’s location to automatically adjust the temperature when you leave or return home. Customize the geofence radius and temperature adjustments to suit your specific needs.
- Energy Reports: If your smart thermostat provides energy reporting, make sure to regularly review these reports. Gain insights into your energy usage, identify patterns, and make informed decisions about adjusting your thermostat settings to further optimize energy efficiency.
- Integration with Other Smart Home Devices: If your smart thermostat integrates with other smart home devices or platforms, explore the options for creating automated routines and scenarios. For example, you can set your thermostat to adjust automatically when you lock your smart door or when you activate your home security system.
- Voice Control: If your smart thermostat supports voice control, set it up and take advantage of this convenient feature. Use voice commands to adjust the temperature, change settings, or even ask for current temperature readings.
- Regularly Review and Adjust Settings: Finally, make it a habit to regularly review and adjust your thermostat settings as needed. Take into account changes in seasons, your schedule, and your home’s comfort needs. By staying proactive and making small adjustments, you can achieve optimal comfort and energy efficiency.
By understanding and customizing the settings of your smart thermostat, you can optimize your home’s temperature control, enhance energy efficiency, and ensure comfort that aligns with your lifestyle. Make sure to refer to the manufacturer’s instructions or the app’s user guide for specific details about the features and settings offered by your smart thermostat. With your thermostat settings customized to your preferences, you can fully enjoy the benefits of a smart and responsive heating and cooling system in your home.
Step 6: Choosing the Right Smart Doorbell for Your Home
Choosing the right smart doorbell is an important step in upgrading your home’s security and convenience. With various options available on the market, it’s essential to consider certain factors to ensure the doorbell you select meets your specific needs. Follow these steps to choose the perfect smart doorbell for your home:
- Power Source: Consider the power source options for the smart doorbell. Some doorbells are battery-powered, while others may require hardwiring to an existing doorbell system or a constant power supply. Evaluate your preferred power source based on the doorbell’s convenience and compatibility with your home’s setup.
- Video Quality: Check the video quality offered by the smart doorbell. Look for a doorbell with high-definition (HD) video resolution to ensure clear video footage of visitors. Higher video quality can provide more accurate identification and enhanced monitoring capabilities.
- Field of View: Consider the doorbell’s field of view, which determines the area captured by the camera. Look for a wide-angle lens or a doorbell with a larger field of view to ensure a broader coverage area and a better view of your doorstep and surrounding areas.
- Two-Way Audio: Determine if the smart doorbell offers two-way audio communication. This feature allows you to speak with visitors directly through your smartphone or other connected devices. Two-way audio can be useful for communicating with delivery personnel, greeting guests, or even deterring potential intruders.
- Motion Detection: Check if the doorbell has motion detection capabilities. Look for adjustable sensitivity levels and the ability to receive real-time motion alerts on your smartphone. Customizable motion detection settings can help prevent false alarms and ensure accurate notifications.
- Night Vision: Assess if the smart doorbell has night vision capabilities. This feature allows for clear video footage even in low-light or nighttime conditions. Look for infrared sensors or other night vision technologies to ensure optimal visibility during all hours of the day.
- Smart Home Integration: Determine if the smart doorbell integrates with other smart home devices or platforms. Compatibility with popular smart home ecosystems, such as Amazon Alexa or Google Assistant, can enhance the convenience and functionality of your home’s overall connected ecosystem.
- Cloud Storage and Subscription: Consider the cloud storage options offered by the smart doorbell. Some doorbells provide limited free storage, while others require a subscription for more extensive storage and access to advanced features. Evaluate the cloud storage options based on your preferences and needs.
- Reviews and Ratings: Before making a final decision, read reviews and ratings of the smart doorbell you’re considering. Feedback from other users can provide valuable insights into the doorbell’s performance, reliability, and ease of use.
- Budget: Set a budget for your smart doorbell purchase. Doorbell prices can vary significantly based on features, video quality, and brand reputation. Determine your budget range and prioritize the features that are most important to you.
By considering these factors and conducting thorough research, you’ll be well-equipped to select the ideal smart doorbell for your home. Take your time to evaluate the options, read product specifications, and compare the features and prices of different doorbells. Once you’ve found the perfect fit, it’s time to move on to the next step – preparing your home for doorbell installation. Let’s continue our journey towards a smarter and more secure home!
Step 7: Preparing Your Home for Doorbell Installation
Before you can install your new smart doorbell, it’s important to properly prepare your home for the installation process. Taking the time to prepare your home will help ensure a smooth and successful installation and guarantee that your smart doorbell functions properly. Follow these steps to prepare your home for doorbell installation:
- Check Wi-Fi Signal Strength: Check the Wi-Fi signal strength near your front door, which is where the smart doorbell will be installed. A strong and stable Wi-Fi connection is crucial for seamless operation and reliable communication with your smartphone or other connected devices.
- Assess Power Source: Determine the power source for your smart doorbell. If it requires hardwiring, locate your existing doorbell’s wiring setup to see if it is compatible. Ensure the power source is stable and can provide sufficient power for the operation of the doorbell.
- Choose the Mounting Location: Decide on the ideal location to mount your smart doorbell. Consider the visibility of the area, the field of view of the doorbell’s camera, and any potential obstructions that may impact its performance. Ensure that the location is easily accessible for wiring and maintenance purposes.
- Inspect Doorbell Wiring: Examine your existing doorbell’s wiring, if applicable. Ensure that the wires are in good condition and capable of supporting the installation of a smart doorbell. If there are any issues with the wiring, consider hiring a professional electrician to assist with repairs or upgrades.
- Clean the Mounting Area: Clean the mounting area where the smart doorbell will be installed. Remove any dust, dirt, or debris to ensure a secure and stable installation. A clean working area will also facilitate an easier and more precise installation process.
- Measure and Level: Use a tape measure and level to ensure accurate placement of the smart doorbell. Take measurements for the mounting holes and use a level to ensure that the doorbell will be properly aligned and straight once installed.
- Ensure Proper Lighting: Consider the lighting conditions near your front door. Adequate lighting will contribute to better video quality and visibility during day and night. If necessary, install additional lighting fixtures or adjust the existing ones for optimal visibility.
- Test Wi-Fi Connectivity: Before installing the doorbell, make sure to test the Wi-Fi connectivity in the mounting area. Ensure that the signal strength is sufficient for the doorbell to establish a stable and reliable connection to your smartphone or other devices.
- Secure Mounting Surface: Check the mounting surface for stability and durability. Ensure that it can support the weight of the smart doorbell and withstand outdoor conditions. Use appropriate screws or mounting hardware to securely attach the doorbell to the mounting surface.
By following these steps to prepare your home, you’ll be well-prepared for the installation of your smart doorbell. Taking the time to properly assess the power source, Wi-Fi connectivity, mounting location, and other important factors will ensure a smooth installation process and optimize the functionality of your smart doorbell. Now that your home is prepared, it’s time to move on to the exciting part – installing the smart doorbell. Let’s proceed and make your home smarter and more secure!
Step 8: Installing the Smart Doorbell
Now that you have prepared your home, it’s time to install your new smart doorbell. Follow these step-by-step instructions to ensure a successful installation:
- Turn Off Power: Prior to installation, locate and switch off the power supply for your existing doorbell at the circuit breaker. This step is crucial to ensure your safety during the installation process.
- Remove Existing Doorbell: If you have an existing doorbell, carefully remove it from its mounting location. Disconnect the wires from the terminals and set the old doorbell aside.
- Mounting Bracket Installation: Follow the manufacturer’s instructions to install the mounting bracket or plate provided with your smart doorbell. Use the appropriate screws or mounting hardware to securely attach it to the wall or door frame.
- Connect Wiring: Identify the wiring terminals on your smart doorbell and match them with the corresponding wires from your existing doorbell system. Connect the wires securely, ensuring proper alignment and tight connections.
- Attach Doorbell: Carefully align the smart doorbell with the mounting bracket or plate. Gently push it onto the bracket, ensuring a snug fit. Use the provided screws or mounting hardware to secure the doorbell in place.
- Confirm Power Supply: Once the doorbell is securely attached, switch the power back on at the circuit breaker. Confirm that the smart doorbell receives power and turns on.
- Perform Initial Setup: Follow the manufacturer’s instructions to complete the initial setup of your smart doorbell. This may include connecting it to your home’s Wi-Fi network, creating an account, and configuring settings such as motion detection sensitivity or notification preferences.
- Test Doorbell Functionality: Test the functionality of your smart doorbell to ensure that it is working properly. Press the doorbell button and verify that you receive a notification on your smartphone or connected device. Check the quality of audio and video, as well as the motion detection capabilities.
- Adjust Settings: Based on your preferences and needs, adjust the settings of your smart doorbell. This may include customizing motion detection zones, adjusting sensitivity levels, or exploring additional features offered by the manufacturer’s app.
- Secure the Doorbell: Take steps to secure the smart doorbell, such as enabling password protection or two-factor authentication. This will help protect your device and ensure that only authorized individuals can access the doorbell’s features and settings.
Completing these installation steps will ensure that your smart doorbell is properly installed and ready to enhance the security and convenience of your home. Remember to refer to the manufacturer’s instructions for any model-specific details or considerations. With your smart doorbell successfully installed, you are now ready to move on to the next step – connecting the doorbell to your smartphone. Let’s keep going and make your home smarter and more secure!
Step 9: Connecting the Doorbell to Your Smartphone
Connecting your smart doorbell to your smartphone is a crucial step in accessing its features and maintaining control over your home’s security. By establishing a connection, you can receive real-time notifications, view live video feeds, and interact with visitors remotely. Follow these steps to connect your doorbell to your smartphone:
- Download the App: Start by downloading the dedicated mobile app for your smart doorbell. The app can usually be found in your smartphone’s app store, such as the Google Play Store or Apple App Store. Install the app and open it on your device.
- Create an Account: If required, create an account within the app. Follow the registration process using your email address and a secure password. If you already have an account, simply log in.
- Add the Doorbell: Once you are logged in, follow the instructions to add your smart doorbell to the app. This typically involves scanning a QR code on the doorbell or selecting the device from a list of compatible options. Make sure your smartphone is connected to the same Wi-Fi network as the doorbell during this process.
- Configure Wi-Fi Settings: Once the doorbell is added to the app, proceed with configuring its Wi-Fi settings. Select your home’s Wi-Fi network and enter the necessary credentials to establish a connection between the doorbell and your home’s Wi-Fi network.
- Check Connectivity: After entering the Wi-Fi settings, the app will attempt to establish a connection between the doorbell and your smartphone. Confirm that the doorbell is successfully connected and receiving a strong Wi-Fi signal.
- Test Notifications and Video Feed: Test the doorbell’s functionality by pressing the doorbell button or activating a motion-triggered event. Verify that you receive real-time notifications on your smartphone and check the app to ensure that you can view the live video feed from the doorbell’s camera.
- Explore Additional Features: Take the time to explore and familiarize yourself with the app’s features and settings. Customize notification preferences, adjust motion detection settings, and explore any additional functionalities offered by the manufacturer.
- Test Integration with Other Devices: If your smart doorbell integrates with other smart home devices or platforms, test the integration and explore the available options. Connect the doorbell to your voice assistant or home automation system if desired, and experiment with automation and customization possibilities.
- Enable Cloud Storage and Subscription: If the smart doorbell offers cloud storage for video recordings, consider enabling this feature and subscribing to a suitable plan if necessary. Determine the desired storage duration and explore any other benefits provided by a subscription.
- Secure Access: Take steps to secure access to your smart doorbell’s app. Enable any available security features, such as two-factor authentication, to protect your account and ensure that only authorized individuals can access the doorbell’s features and settings.
By following these steps, you can successfully connect your smart doorbell to your smartphone and begin enjoying the convenience and control it offers. Make sure to refer to the manufacturer’s instructions or the app’s user guide for any specific details or troubleshooting tips related to your smart doorbell model. With your smart doorbell now connected to your smartphone, you’re ready to move on to the final step – customizing your smart doorbell settings. Let’s continue our journey towards a smarter and more secure home!
Step 10: Customizing Your Smart Doorbell Settings
Now that your smart doorbell is connected to your smartphone, it’s time to customize its settings to meet your specific preferences and needs. By customizing the settings, you can enhance the functionality and performance of your smart doorbell. Follow these steps to customize your smart doorbell settings:
- Notification Preferences: Access the settings menu in the app and customize your notification preferences. Choose whether you want to receive real-time alerts for doorbell rings, motion detection, or both. Adjust the frequency and type of notifications to match your desired level of awareness and convenience.
- Motion Detection Settings: Explore the motion detection settings in the app and adjust them to suit your preferences. Customize the sensitivity level, detection zones, and the length of recorded clips. Fine-tuning these settings will ensure that you receive accurate motion detection alerts and minimize false alarms.
- Video Recording Options: If your smart doorbell offers video recording options, customize the recording settings. Determine the desired recording duration and enable or disable continuous recording or event-triggered recording modes. Adjusting these settings can help you manage storage space and ensure you capture the moments you need.
- Two-Way Audio: If your smart doorbell supports two-way audio, configure the settings related to this feature. Adjust the audio volume and microphone sensitivity to ensure clear communication with visitors at your doorstep, whether you’re at home or away.
- Integration with Other Smart Devices: If your smart doorbell integrates with other smart home devices or platforms, explore the integration settings. Connect your doorbell with voice assistants, security systems, or other smart devices to create convenient and automated routines. Customize the interactions and scenarios to suit your needs.
- Visitor Interaction: Customize the settings related to visitor interaction. Set up pre-recorded messages or personalized greetings for visitors. Determine if you want the doorbell to ring your existing doorbell chime inside your home, or if you prefer to receive notifications solely on your smartphone.
- Share Access: If you want to grant access to family members or trusted individuals, configure the settings for sharing access to the doorbell app. Create separate accounts or allow guest access with limited permissions to ensure everyone can use the doorbell effectively.
- Data Security and Privacy: Check the security and privacy settings of your smart doorbell app. Ensure that your personal data and video recordings are protected. Explore options for enabling two-factor authentication or adjusting data storage and sharing settings.
- Regular Maintenance: Make sure to take care of your smart doorbell and perform regular maintenance. Clean the camera lens periodically to ensure clear video quality. Check for firmware updates and install them to ensure that your doorbell has the latest features and security enhancements.
By customizing the settings of your smart doorbell, you can tailor its functionality to suit your lifestyle and preferences. Make sure to refer to the manufacturer’s instructions or the app’s user guide for specific details about the features and settings offered by your smart doorbell. With your smart doorbell customized to your liking, you can enjoy a seamless and personalized experience, enhancing your home’s security and convenience. Congratulations on successfully installing and customizing your smart doorbell!
Troubleshooting Common Installation Issues
During the installation of a smart thermostat and doorbell, you may encounter common issues that can be easily resolved. By troubleshooting these problems, you can ensure a successful installation and optimal functionality. Here are some common installation issues and troubleshooting tips:
- No Power to the Device: If your smart thermostat or doorbell isn’t receiving power, double-check the wiring connections and ensure that the power source is switched on. Verify that the circuit breaker associated with the device is not tripped. If the problem persists, consult the manufacturer’s documentation or seek professional assistance.
- Wi-Fi Connectivity Problems: If you’re experiencing issues connecting your smart thermostat or doorbell to your Wi-Fi network, first ensure that your network is functioning properly and that the SSID and password are entered correctly. Check the distance between the device and the router, and try moving them closer together. If all else fails, consider boosting your Wi-Fi signal with a range extender.
- Incompatibility with HVAC Systems: If your smart thermostat is not compatible with your HVAC system, review the manufacturer’s instructions and verify the compatibility requirements. If necessary, consult with an HVAC professional to determine if any modifications or alternative options are available.
- Doorbell Chime Compatibility: If your smart doorbell is not functioning properly with your existing doorbell chime, check the compatibility requirements provided by the manufacturer. In some cases, a compatible chime kit or transformer may need to be installed to ensure proper functioning.
- Video or Audio Quality Issues: If your smart doorbell’s video or audio quality is poor, first check the Wi-Fi signal strength in the area where the doorbell is installed. Interference or a weak signal can affect the quality. Clear any obstructions that may be blocking the camera’s view, clean the lens, and adjust the positioning if necessary.
- App Connectivity Problems: If you’re experiencing connectivity issues between the device and the accompanying mobile app, ensure that you’ve followed the manufacturer’s instructions for app setup and connected to the appropriate Wi-Fi network. Restart your smartphone, clear the cache of the app, or reinstall the app if necessary.
- Failed Device Pairing: If the smart thermostat or doorbell fails to pair with your smartphone, make sure you’re following the correct pairing process as outlined in the manufacturer’s instructions. Restart both the device and your smartphone, ensure that Bluetooth is enabled, and try the pairing process again.
- Insufficient Battery Life: If your smart doorbell is battery-powered and you’re experiencing short battery life, check if motion detection settings are too sensitive or if the camera is capturing excessive motion. Adjust the settings to optimize battery usage. Consider using a high-quality, long-lasting battery or installing a wired power supply if compatible.
If you encounter any installation issues that you are unable to resolve, consult the troubleshooting section in the manufacturer’s documentation or contact their customer support for assistance. Remember to follow safety precautions and consult with professionals when necessary to ensure a safe and successful installation process. With troubleshooting tips in hand, you’ll be well-prepared to address any unexpected challenges and enjoy the benefits of your smart thermostat and doorbell in no time!
Conclusion
Congratulations! You have successfully navigated through the process of adding a smart thermostat and doorbell to your home. By following the step-by-step instructions, you have enhanced the convenience, energy efficiency, and security of your living space.
With your new smart thermostat, you can now enjoy energy savings through automated temperature control, improved comfort through customizable settings, and remote access through your smartphone. Its integration with your smart home ecosystem opens up a world of possibilities for automation and efficient energy management.
Your smart doorbell brings an added layer of security to your home. With features like video monitoring, two-way audio, and motion detection, you can keep an eye on your doorstep and communicate with visitors even when you’re away. The integration with your smartphone enables seamless access and control from anywhere.
Throughout the installation process, you learned how to choose the right devices, prepare your home, customize settings, and troubleshoot common issues. By taking these steps, you have gained valuable knowledge and skills to make the most of your smart thermostat and doorbell.
As technology continues to advance, there are always new features and updates being introduced. Stay informed by regularly checking for firmware updates and exploring new functionalities offered by the manufacturer’s app or other smart home platforms.
Remember to continue practicing proper maintenance and periodic checks to ensure your smart thermostat and doorbell remain in excellent condition. Regular upkeep, such as cleaning camera lenses and monitoring battery life, will help maintain optimal performance.
With your smart thermostat and doorbell installed, personalized, and running smoothly, you can now enjoy the convenience, energy savings, and security benefits that come with living in a smart home. Sit back, relax, and embrace the technology that makes your life easier and your home smarter.