Introduction
In today’s rapidly evolving world of technology, smart devices have become an integral part of our homes. From smart speakers to smart security systems, these devices are transforming the way we interact with and manage our living spaces. One such revolutionary device is the smart thermostat, which offers a host of benefits for homeowners.
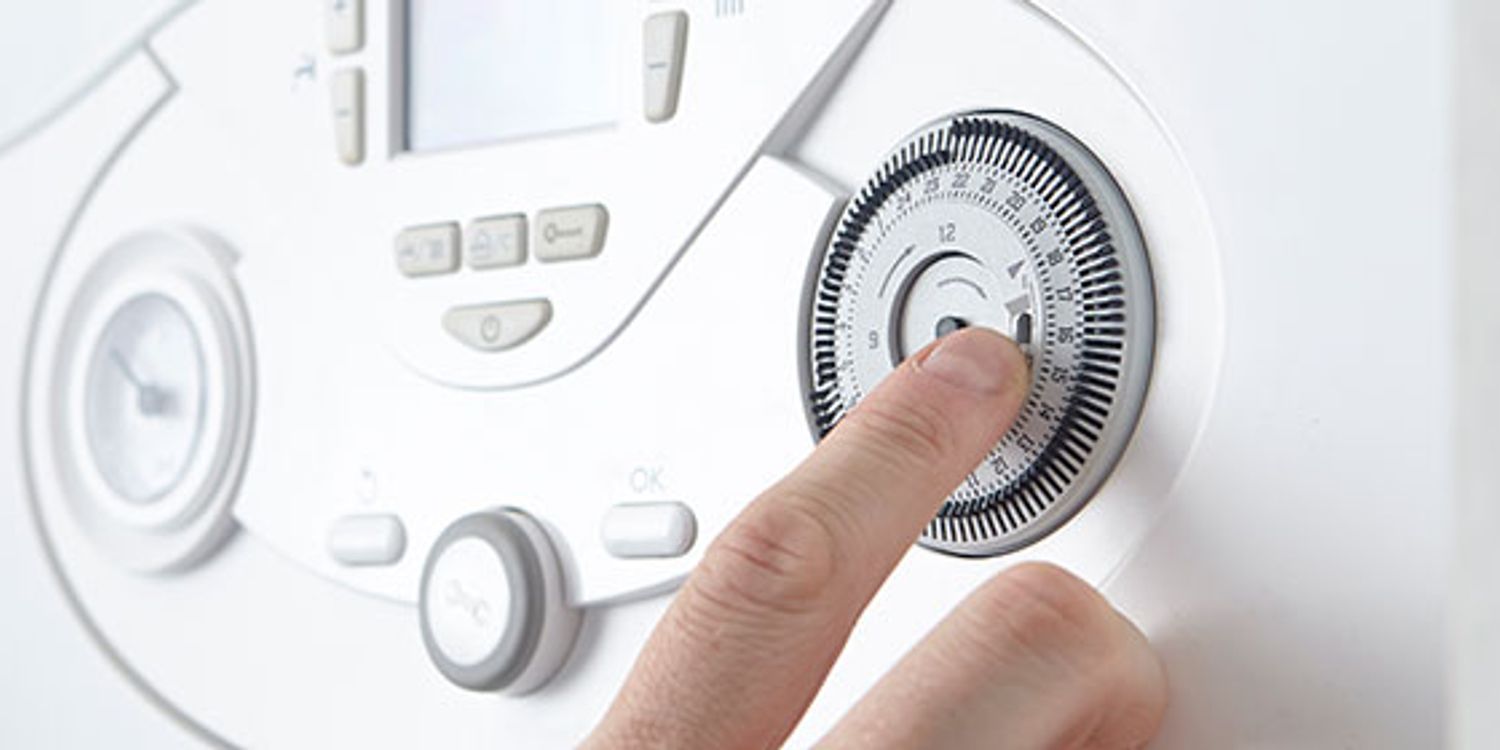
A smart thermostat is an advanced and programmable device designed to automate and optimize the heating and cooling of your home. It is a significant upgrade from traditional thermostats, allowing you to control the temperature and settings remotely through a smartphone app or by voice command. However, for a smart thermostat to function efficiently, it needs to be connected to a boiler.
In this article, we will delve into the world of smart thermostats and explore how they connect to a boiler. We will discuss the reasons for connecting a smart thermostat to a boiler, the different types of smart thermostats available, the communication protocols they use, and the step-by-step process of establishing a connection between the two devices. We will also touch on common troubleshooting issues that may arise during the setup.
Whether you are a tech enthusiast looking to upgrade your home or simply interested in understanding how smart thermostats work, this article will provide you with valuable insights and guidance on connecting a smart thermostat to a boiler. So, let’s dive in and discover how this innovative technology can revolutionize your home heating experience.
What is a smart thermostat?
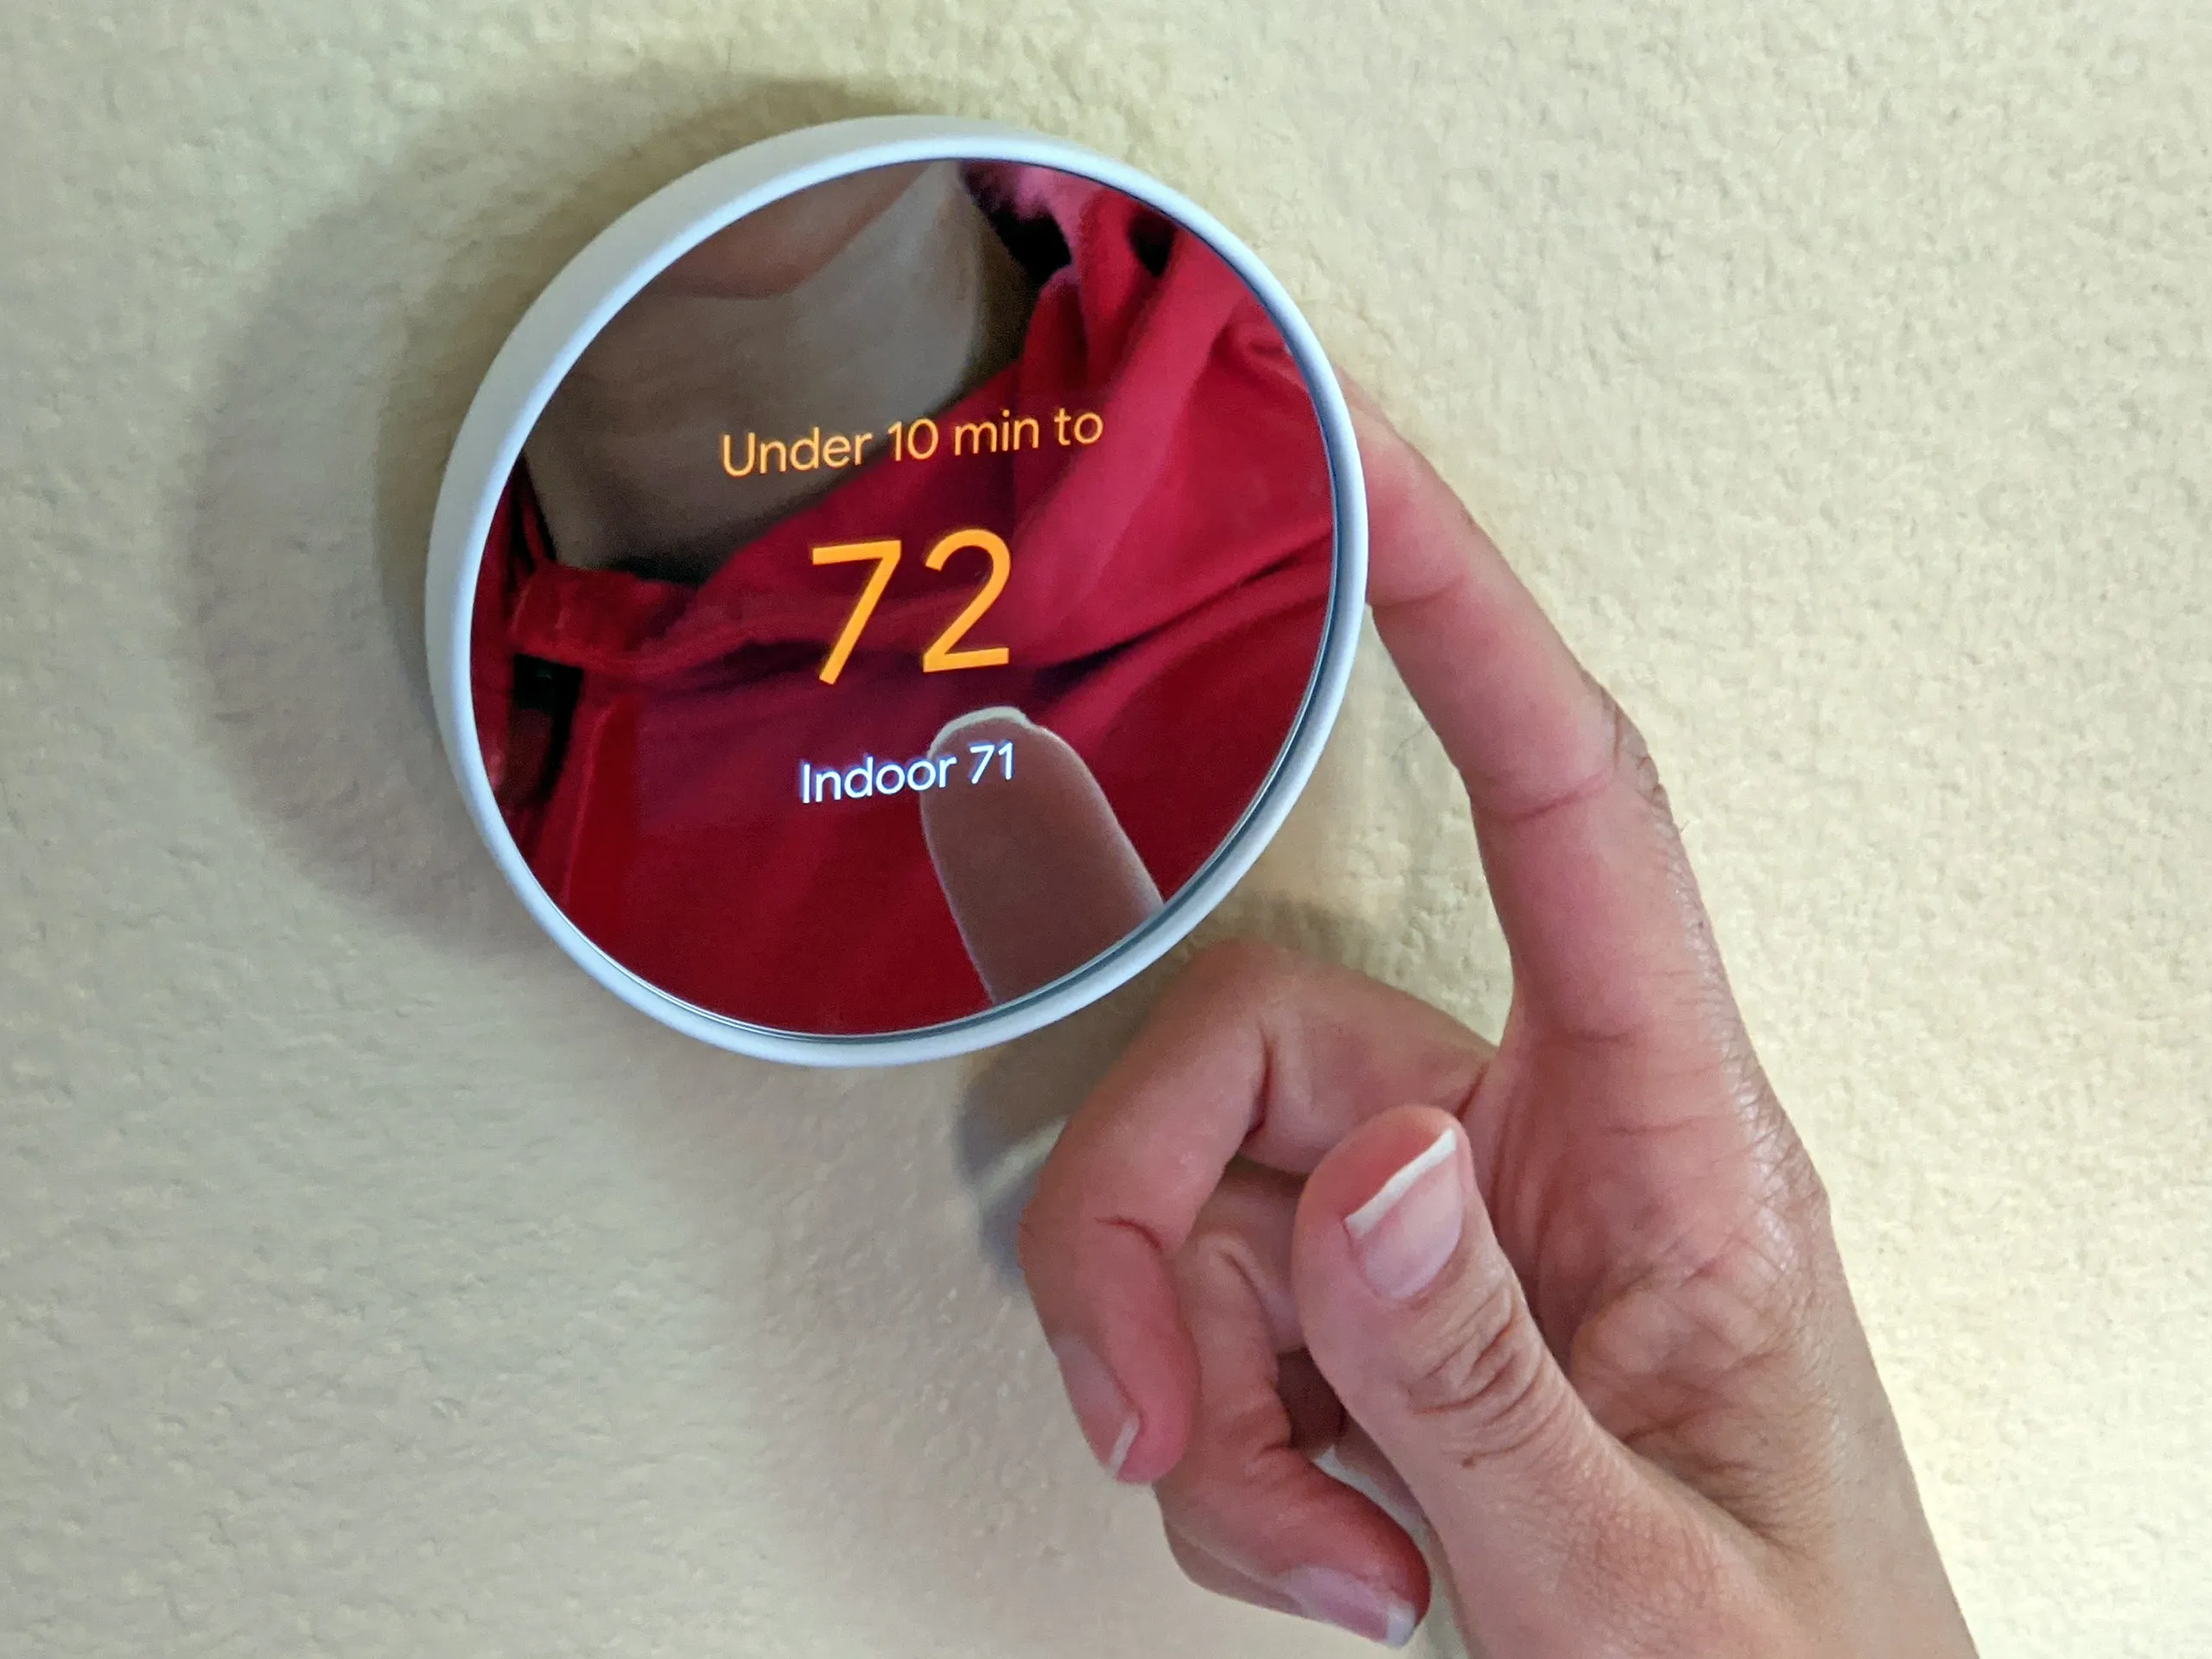
A smart thermostat is an advanced device that replaces traditional thermostats and offers enhanced functionalities for regulating the temperature in your home. It combines the convenience of modern technology with energy-efficient features to provide a comfortable and eco-friendly environment.
Unlike traditional thermostats which require manual adjustment, a smart thermostat automates temperature control based on various factors such as time of day, occupancy, and personal preferences. It uses sensors and algorithms to constantly monitor and analyze the conditions in your home, making intelligent decisions to optimize energy usage and comfort.
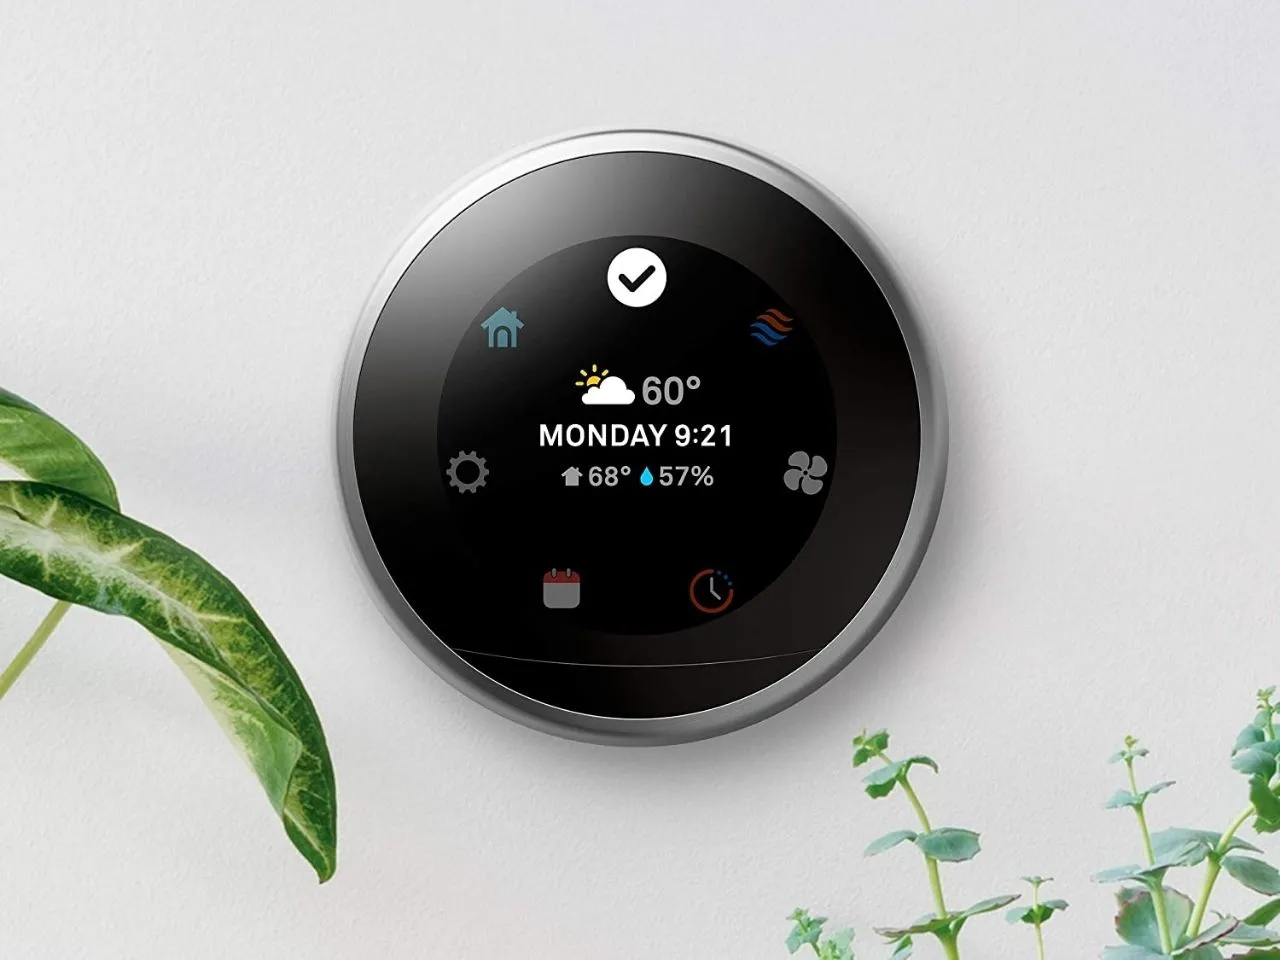
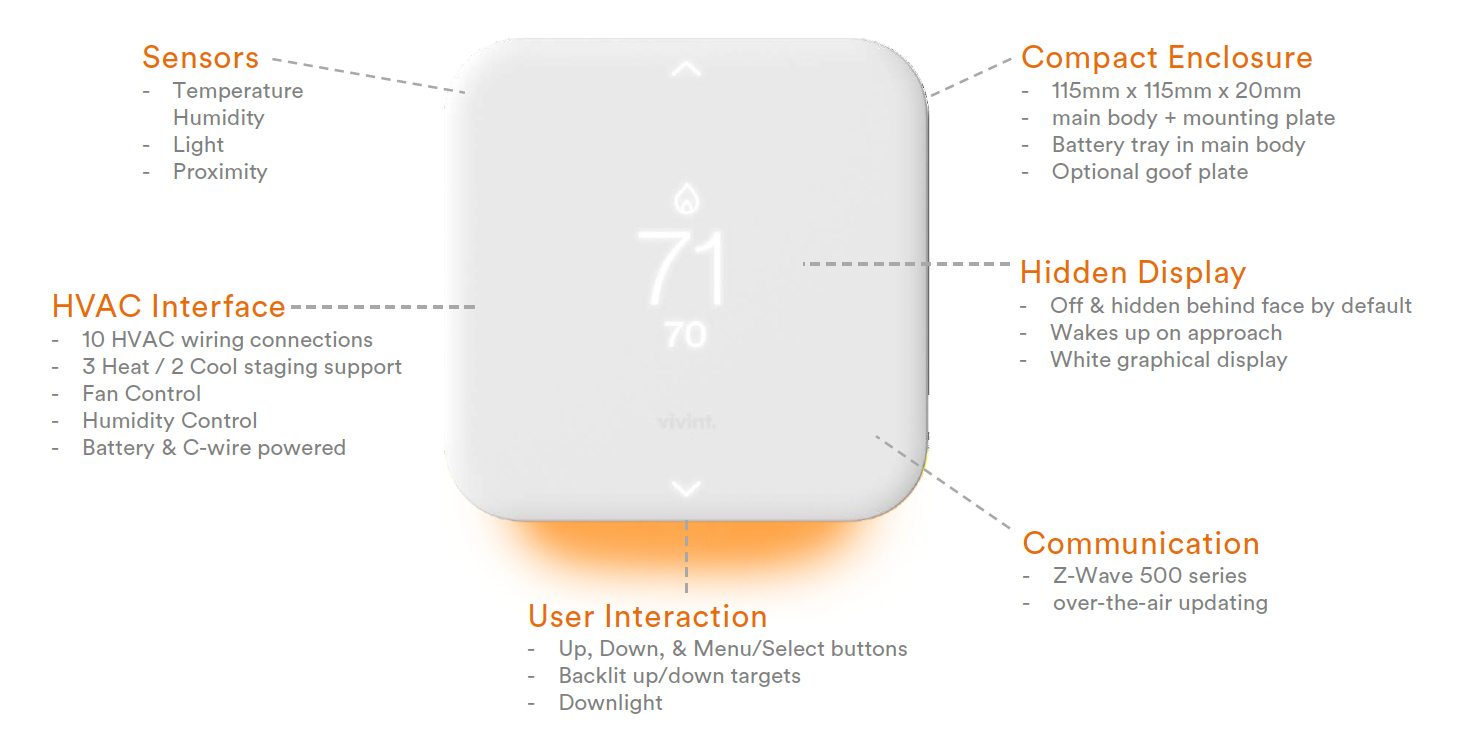
One of the key features of a smart thermostat is its connectivity. It can be connected to your home’s Wi-Fi network, enabling seamless remote control and access through a smartphone app or compatible virtual assistant devices. This means you can adjust the temperature, create schedules, monitor energy usage, and receive notifications from anywhere, providing convenience and flexibility in managing your home’s heating and cooling system.
In addition to remote control, smart thermostats often have advanced features such as geofencing, which uses the location of your smartphone to automatically adjust the temperature when you leave or arrive home. This ensures that your home is always at the desired temperature when you need it, while also reducing energy waste when you’re away.
Furthermore, smart thermostats are equipped with learning capabilities. They can analyze your heating and cooling patterns over time and suggest energy-saving adjustments to optimize your comfort and reduce energy consumption. This learning ability can lead to significant cost savings on your energy bills while maintaining a comfortable living environment.
Overall, a smart thermostat offers a multitude of benefits compared to traditional thermostats. It provides convenience, energy savings, and control over your home’s heating and cooling system, making it an indispensable device for modern homes. Now that we understand what a smart thermostat is, let’s explore why you would want to connect it to your boiler.
Why would you want to connect a smart thermostat to a boiler?
Connecting a smart thermostat to your boiler offers a range of advantages that enhance your comfort, save energy, and improve the overall efficiency of your heating system. Here are some compelling reasons why you would want to connect a smart thermostat to a boiler:
- Energy savings: One of the major benefits of a smart thermostat is its ability to optimize energy usage. By connecting it to your boiler, you can set precise temperature schedules based on your daily routines and heating needs. This ensures that your boiler operates only when necessary, reducing energy wastage and potentially lowering your heating bills.
- Remote control: Connecting a smart thermostat to your boiler enables you to control your heating system remotely. Whether you’re at work, on vacation, or simply lounging on the couch, you can easily adjust the temperature using your smartphone. This allows you to maintain a comfortable indoor environment and avoid wasting energy when you’re not at home.
- Smart features: Smart thermostats are equipped with advanced features that enhance convenience and comfort. For example, some models offer geofencing, which uses your smartphone’s GPS to detect when you’re nearing home and automatically adjusts the temperature accordingly. This ensures that your home is at the desired temperature when you arrive, without the need to manually adjust the thermostat.
- Integration with other smart devices: Smart thermostats can communicate and integrate with other smart home devices, such as voice assistants, smart speakers, and home automation systems. This allows for seamless control and coordination of various aspects of your home, creating a truly connected and convenient living environment.
- Smart learning: Many smart thermostats have learning capabilities that adapt to your heating preferences and adjust the temperature settings accordingly. By connecting the thermostat to your boiler, it can optimize heating cycles, preheat your home based on your schedule, and even provide energy-saving suggestions based on historical data. This ensures maximum comfort while minimizing energy waste.
By connecting a smart thermostat to your boiler, you can enjoy the benefits of energy savings, remote control, smart features, integration with other devices, and smart learning capabilities. These advantages not only enhance your comfort and convenience but also contribute to a more sustainable and eco-friendly home heating system.
Types of smart thermostats
Smart thermostats come in various types, each offering unique features and capabilities. It’s essential to understand these types to choose the one that best suits your needs and preferences. Here are the main types of smart thermostats available:
- Wi-Fi-enabled thermostats: These thermostats connect to your home’s Wi-Fi network, allowing for remote control and access through a smartphone app or web portal. They offer convenient features such as temperature adjustments, schedule programming, and energy usage monitoring from anywhere using your mobile device.
- Learning thermostats: Learning thermostats leverage advanced algorithms and sensors to learn your heating and cooling patterns over time. They can automatically adjust temperature settings based on your preferences and behavior, providing optimal comfort while optimizing energy usage. These thermostats continuously adapt and improve their programming without manual interventions.
- Geothermal thermostats: Geothermal thermostats are specifically designed for homes with geothermal heating and cooling systems. They are capable of managing the complex operations involved in controlling geothermal heat pumps, maximizing energy efficiency and comfort.
- Z-Wave thermostats: Z-Wave is a wireless communication protocol commonly used in home automation systems. Z-Wave thermostats can integrate with other Z-Wave devices, allowing for seamless control and automation of your home’s heating and cooling system.
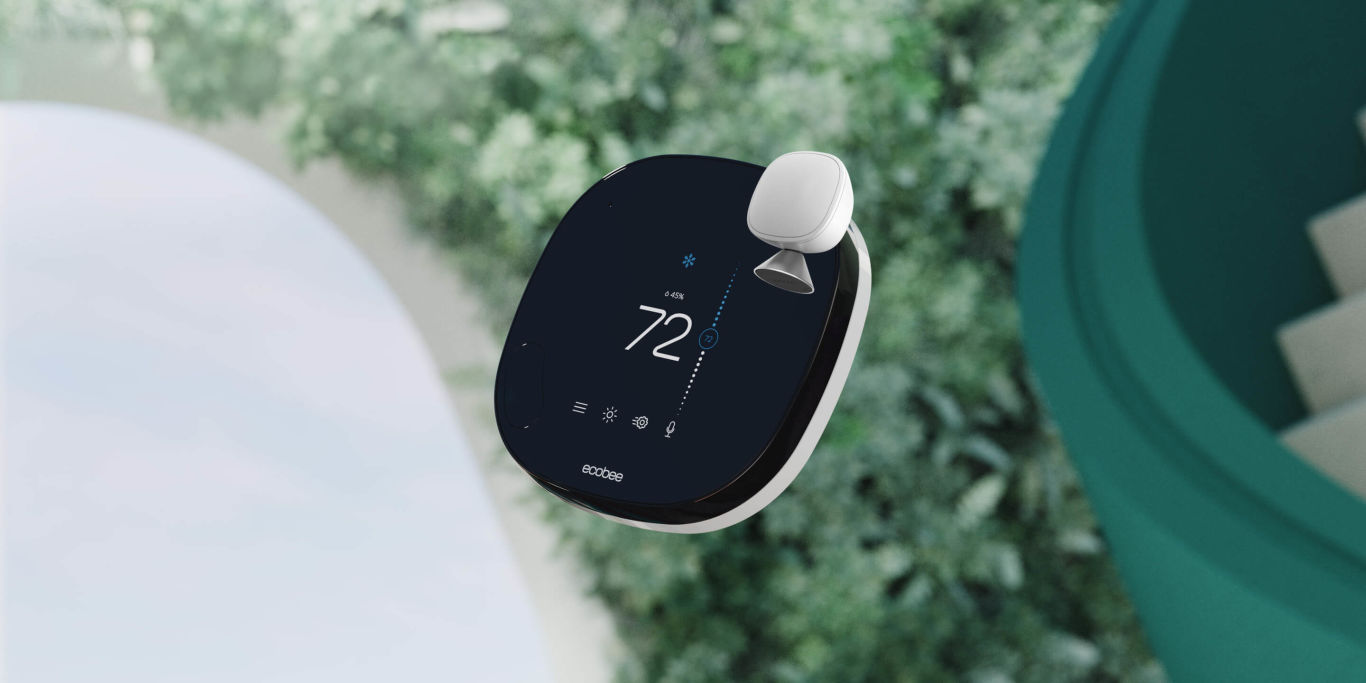
- Smart thermostats with voice control: These thermostats incorporate voice recognition technology, allowing you to control and adjust temperature settings using voice commands. They often integrate with popular voice assistants such as Amazon Alexa or Google Assistant, enabling a hands-free and intuitive user experience.
- Programmable thermostats: While not as advanced as other types of smart thermostats, programmable thermostats offer the ability to set temperature schedules in advance. You can program them to adjust temperature settings based on different times of the day or days of the week, providing energy savings and tailored comfort.
When choosing a smart thermostat, consider factors such as compatibility with your HVAC system, the level of automation and control you desire, the learning capabilities you prefer, and any integrations you may want with other smart home devices. Each type of smart thermostat has its own unique features and benefits, so take the time to research and select the one that aligns with your specific requirements.
Communication protocols used by smart thermostats
In order to connect and communicate with other devices, smart thermostats utilize different communication protocols. These protocols determine how the thermostat interacts with your home’s network and other smart devices. Understanding these communication protocols is crucial when it comes to compatibility and integration. Here are some common communication protocols used by smart thermostats:
- Wi-Fi: Wi-Fi is the most common communication protocol used by smart thermostats. Wi-Fi-enabled thermostats connect directly to your home’s Wi-Fi network, allowing for convenient remote control and access using a smartphone app or web portal. They rely on your home’s internet connection to communicate and transmit data, making them accessible from anywhere with an internet connection.
- Z-Wave: Z-Wave is a wireless communication protocol designed for home automation devices. Z-Wave-enabled thermostats use low-power radio waves to communicate with other Z-Wave devices within your home automation network. This protocol provides reliable and secure communication, allowing for seamless integration and control of various smart devices.
- Zigbee: Similar to Z-Wave, Zigbee is another wireless communication protocol commonly used in smart home automation. Zigbee-enabled thermostats create a mesh network, allowing for multiple devices to act as a bridge and extend the communication range. These thermostats can connect and interact with other Zigbee devices, providing comprehensive control over your smart home ecosystem.
- Bluetooth: Bluetooth is a short-range wireless communication protocol that enables direct communication between devices in close proximity. Bluetooth-enabled thermostats can typically connect to your smartphone or tablet, allowing for localized control and access. While their range is limited, they provide a convenient option for controlling the thermostat within the immediate vicinity.
- Thread: Thread is a low-power, wireless mesh networking protocol designed for smart home devices. It offers reliable and secure communication between devices without consuming excessive energy. Thread-enabled thermostats can seamlessly connect and interact with other Thread devices, creating a robust and interconnected smart home ecosystem.
It’s important to note that compatibility between smart thermostats and communication protocols may vary. Some thermostats support multiple protocols, while others are specific to a particular protocol. When choosing a smart thermostat, ensure that it is compatible with your existing network infrastructure and any other smart devices you plan to integrate with.
By understanding the communication protocols used by smart thermostats, you can make informed decisions when selecting devices for your smart home setup. This will ensure seamless connectivity, smooth integration, and enhanced control over your home’s heating system.
Connecting a smart thermostat to a boiler
Connecting a smart thermostat to a boiler is a straightforward process that requires proper installation and configuration to ensure seamless communication between the two devices. Here are the general steps involved in connecting a smart thermostat to a boiler:
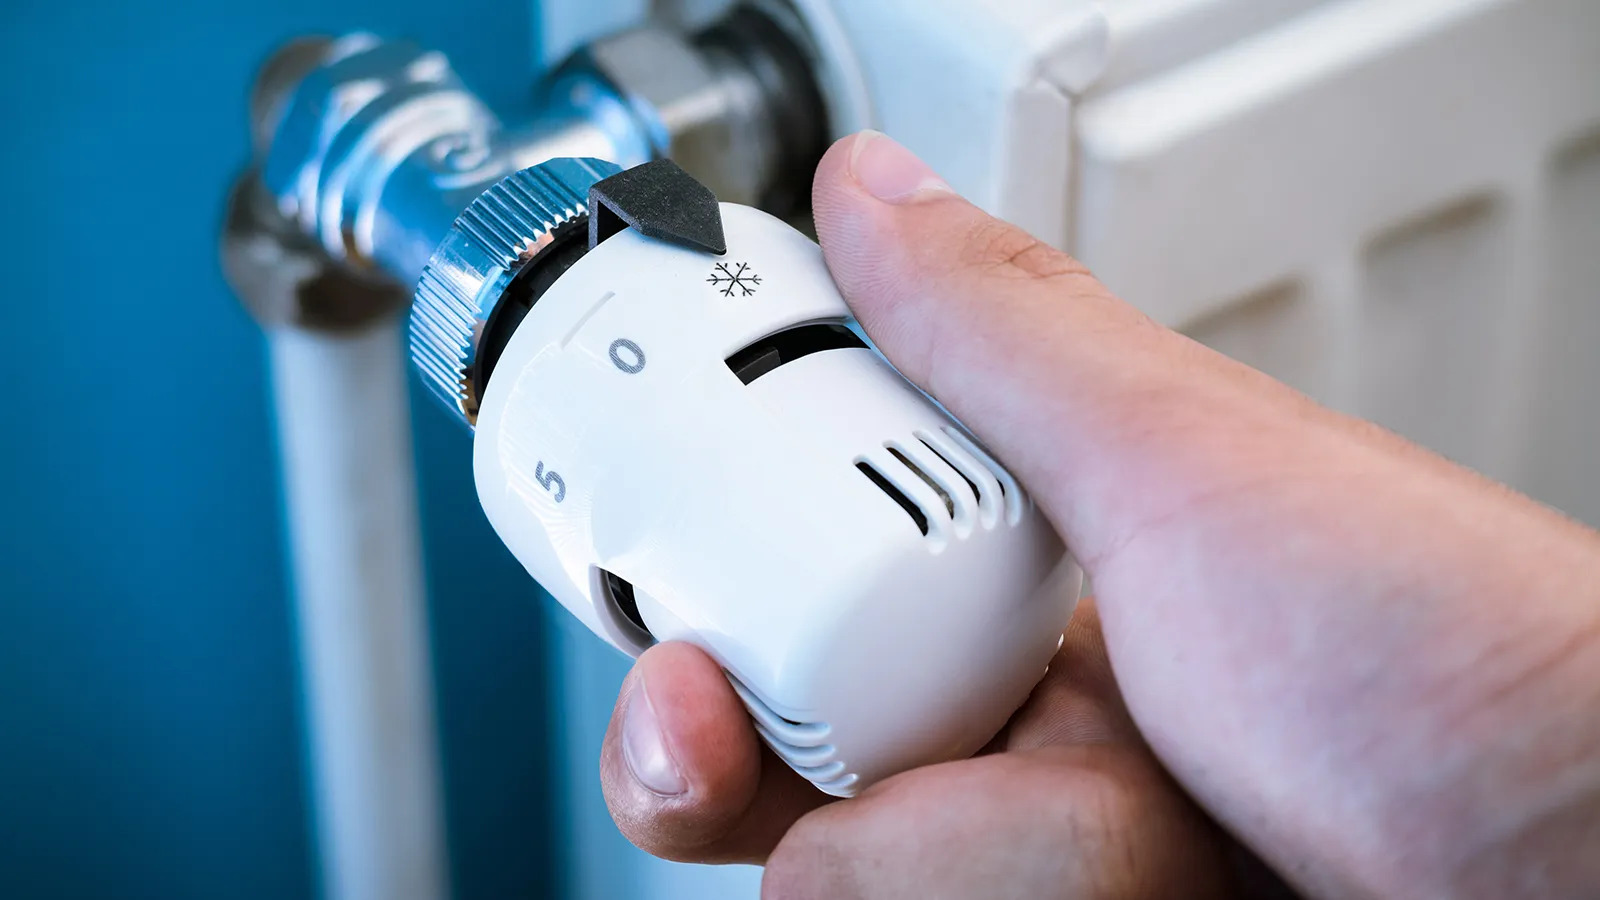
- Turn off the power: Before beginning the installation process, shut off the power to your boiler by switching off the circuit breaker dedicated to the boiler. This ensures your safety during the installation.
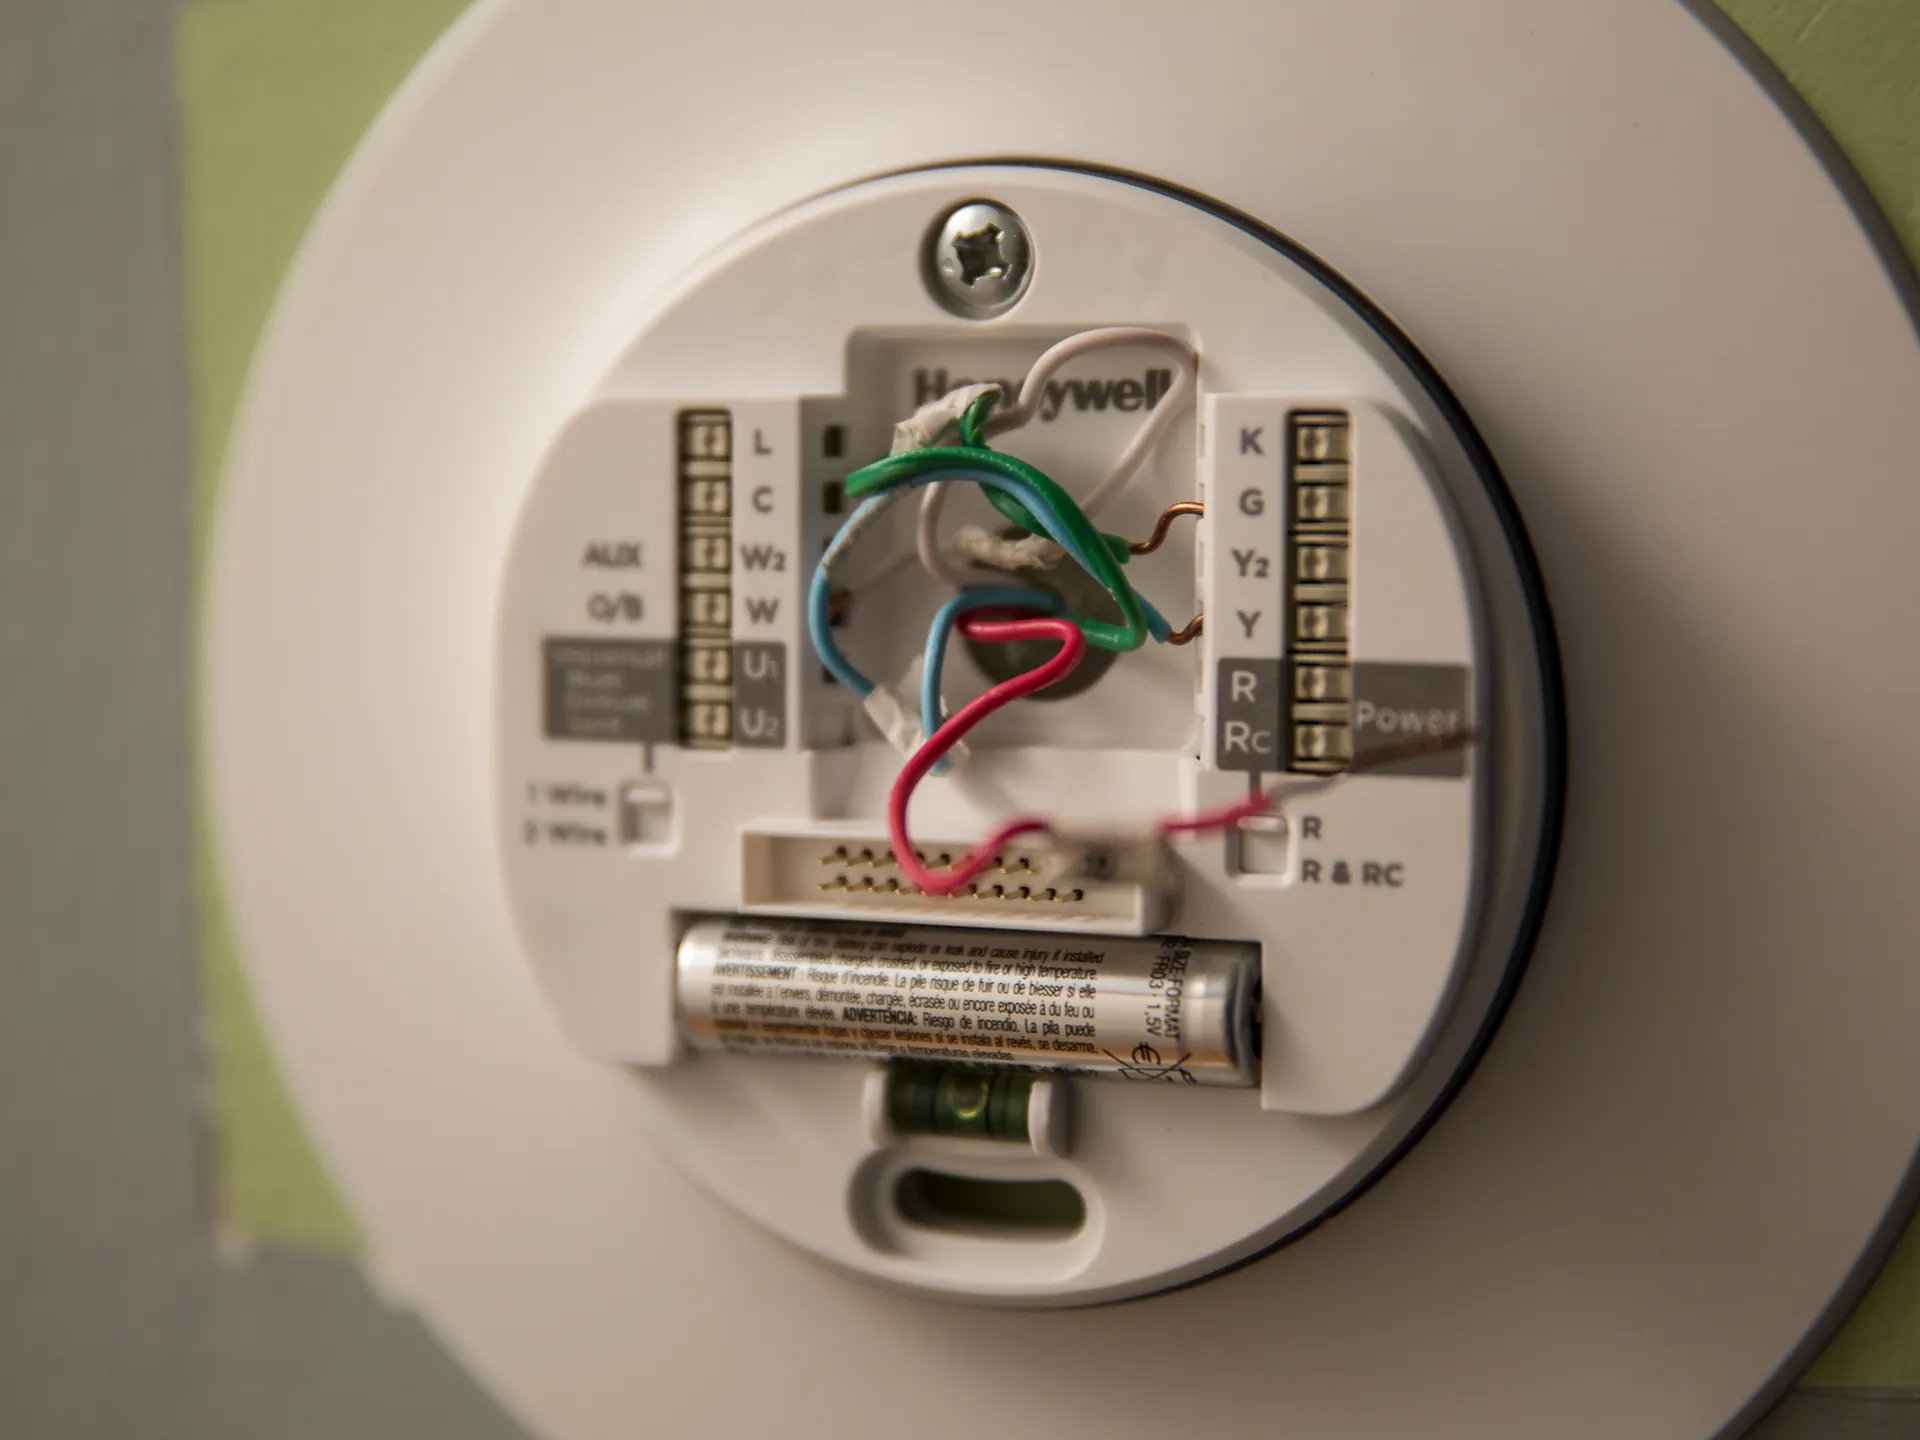
- Remove the existing thermostat: If you have a traditional thermostat installed, carefully remove it from the wall. Take note of the wiring connections, as you will need to reconnect them to the new smart thermostat.
- Check compatibility: Ensure that the smart thermostat you have chosen is compatible with your boiler system. Consult the manufacturer’s documentation or website to verify compatibility or seek professional guidance if needed.
- Mount the smart thermostat: Follow the instructions provided by the manufacturer to mount the smart thermostat on the wall. Use a level to ensure it is straight and securely fastened.
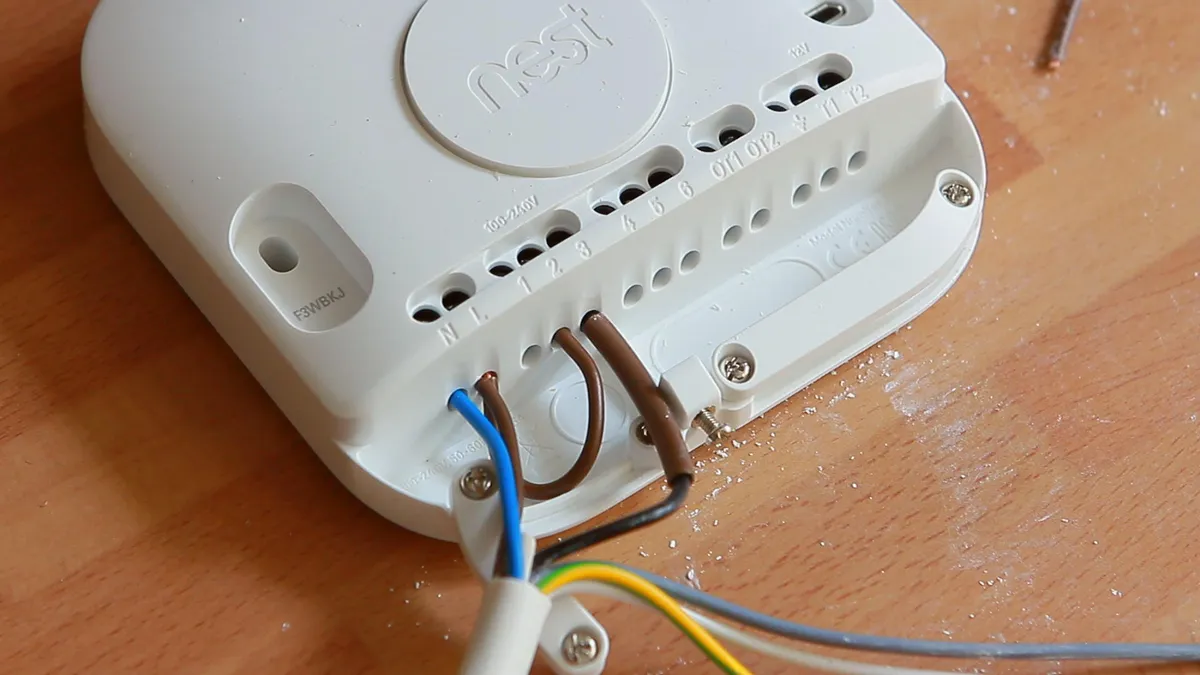
- Connect the wiring: Refer to the wiring diagram provided by the manufacturer to properly connect the wires from your boiler to the corresponding terminals on the smart thermostat. This may involve labeling and connecting wires such as R (power), C (common), W (heat), Y (cool), and G (fan).
- Power up the thermostat: Once the wiring is complete, restore power to the boiler by switching on the circuit breaker. The smart thermostat should power up, indicating that it is ready for configuration.
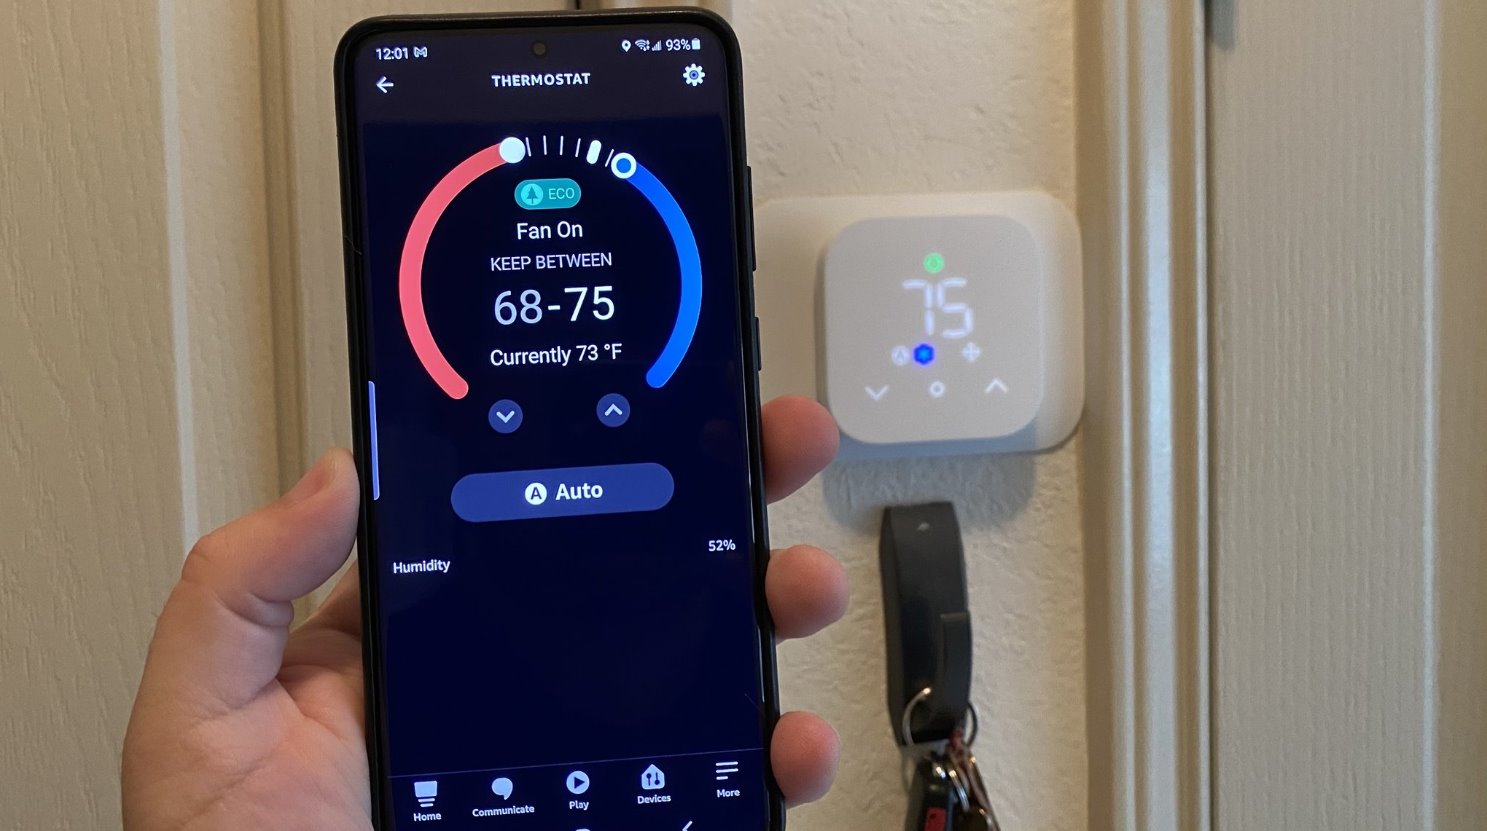
- Configure the smart thermostat: Follow the instructions provided by the manufacturer to set up and configure the smart thermostat. This typically involves connecting the thermostat to your home’s Wi-Fi network and setting preferences such as temperature ranges, scheduling, and any additional features.
- Test the connection: After configuration, test the connection by adjusting the temperature settings through the smart thermostat or using the associated smartphone app. Verify that the boiler responds accordingly and adjusts the temperature as desired.
- Monitor and troubleshoot: Keep an eye on the smart thermostat’s performance and address any issues that may arise. Regularly check for software updates and ensure that the connection between the smart thermostat and the boiler remains stable.
It’s important to note that these steps provide a general overview of the process and may vary depending on the specific smart thermostat and boiler system you have. To ensure a successful connection, carefully follow the instructions provided by the manufacturer and consult professional help if needed.
By following these steps, you can connect your smart thermostat to your boiler and enjoy the convenience of remote control, energy savings, and a more efficient heating system in your home.
Steps to connect a smart thermostat to a boiler
Connecting a smart thermostat to a boiler involves several steps to ensure a proper and successful installation. Here are the general steps to connect a smart thermostat to a boiler:
- Turn off the power: Before starting, switch off the power to your boiler by turning off the corresponding circuit breaker. This ensures your safety during the installation process.
- Remove the existing thermostat: Carefully remove the existing thermostat from the wall, taking note of the wiring connections. Label or take a photo of the wires for reference later.
- Check compatibility: Ensure that the smart thermostat you have chosen is compatible with your boiler system. Review the manufacturer’s documentation or contact their support for confirmation.
- Mount the smart thermostat: Follow the manufacturer’s instructions to mount the smart thermostat on the wall. Use a level to ensure it is positioned correctly and securely attached.
- Connect the wiring: Refer to the wiring diagram provided by the smart thermostat manufacturer and connect the wires from your boiler to the appropriate terminals on the thermostat. This may include connections for power, heating, cooling, and fan.
- Power up the thermostat: Once the wiring is complete, restore power to the boiler by turning on the circuit breaker. The smart thermostat should power up and display its initial setup screen or provide instructions for configuration.
- Configure the smart thermostat: Follow the on-screen prompts or the instructions provided by the manufacturer to configure the smart thermostat. This typically involves connecting it to your home’s Wi-Fi network, setting up scheduling preferences, and adjusting other necessary settings.
- Test the connection: Once the configuration is complete, test the connection between the smart thermostat and the boiler. Adjust the temperature settings through the thermostat or its accompanying app and verify that the boiler responds accordingly.
- Monitor and troubleshoot: Monitor the performance of the smart thermostat and address any issues that may arise. Stay up to date with firmware updates from the manufacturer and ensure that the connection between the thermostat and the boiler remains stable.
Please note that these steps serve as a general guideline for connecting a smart thermostat to a boiler. The specific process may vary depending on the make and model of your smart thermostat and boiler system. Always consult the manufacturer’s instructions and, if needed, seek professional assistance to ensure a proper and secure installation.
By following these steps, you can successfully connect a smart thermostat to your boiler, enabling remote control, energy-efficient heating, and a more convenient and comfortable home environment.
Troubleshooting common connection issues
While connecting a smart thermostat to a boiler is generally a straightforward process, there may be instances where you encounter connection issues. Here are some common problems and troubleshooting steps to help resolve them:
- No power: Ensure that the power to the boiler is turned on and that the circuit breaker is not tripped. Check the wiring connections between the smart thermostat and the boiler to verify that they are secure and properly connected.
- Weak Wi-Fi signal: If your smart thermostat relies on Wi-Fi connectivity, ensure that the signal is strong enough in the installation area. Move the router closer if necessary or consider installing a Wi-Fi extender to improve signal strength.
- Incompatible wiring: Double-check the compatibility between the wiring of your boiler and the terminals on the smart thermostat. Make sure the wires are correctly connected according to the wiring diagram provided by the manufacturer.
- Wrong configuration: Review the configuration settings of the smart thermostat to ensure they are accurately set. Verify that the Wi-Fi credentials entered are correct and double-check any scheduling or temperature preferences that may impact the connection.
- Firmware updates: Ensure that the smart thermostat’s firmware is up to date. Check the manufacturer’s website or the accompanying app for any available firmware updates and follow the instructions to update the device.
- Interference: Identify any potential sources of interference that could disrupt the communication between the smart thermostat and the boiler. Common sources include other wireless devices operating on the same frequency, such as cordless phones or baby monitors. Relocate or minimize the use of such devices if possible.
- Reset and reboot: Try resetting and rebooting both the smart thermostat and the boiler. Follow the manufacturer’s instructions to perform a reset, which typically involves pressing specific buttons or using a pin to access a reset hole. After resetting, reconfigure the smart thermostat and test the connection again.
- Consult manufacturer support: If all troubleshooting steps fail, refer to the manufacturer’s support resources. Contact their customer support helpline, visit their support website, or consult the user manual for further guidance and specific troubleshooting steps.
Remember to follow the instructions provided by the manufacturer for troubleshooting steps specific to your smart thermostat and boiler system. If needed, seek help from a professional technician or electrician who has experience with smart thermostat installations.
By systematically troubleshooting and addressing common connection issues, you can ensure a stable and reliable connection between your smart thermostat and boiler, allowing for seamless control and efficient heating in your home.
Conclusion
Connecting a smart thermostat to a boiler opens up a world of convenience, energy savings, and enhanced control over your home’s heating system. By replacing traditional thermostats with smart counterparts, you can enjoy the benefits of remote control, smart learning, and integration with other smart devices.
In this article, we explored what a smart thermostat is and why you would want to connect it to a boiler. We discussed the different types of smart thermostats available, the communication protocols they use, and the steps involved in connecting them to a boiler. We also provided troubleshooting tips to help resolve common connection issues that may arise.
Whether you’re looking to reduce energy consumption, improve comfort, or simply embrace the conveniences of modern technology, connecting a smart thermostat to your boiler is a wise investment. It allows you to have precise control over your heating system while saving energy and optimizing your home’s comfort levels.
When connecting a smart thermostat to your boiler, always refer to the manufacturer’s instructions for proper installation and configuration. If you encounter any difficulties, don’t hesitate to seek assistance from professionals or the manufacturer’s support staff.
Embrace the power of smart technology and take control of your home’s heating system. With a smart thermostat connected to your boiler, you can enjoy a more efficient, comfortable, and convenient living environment.