Introduction
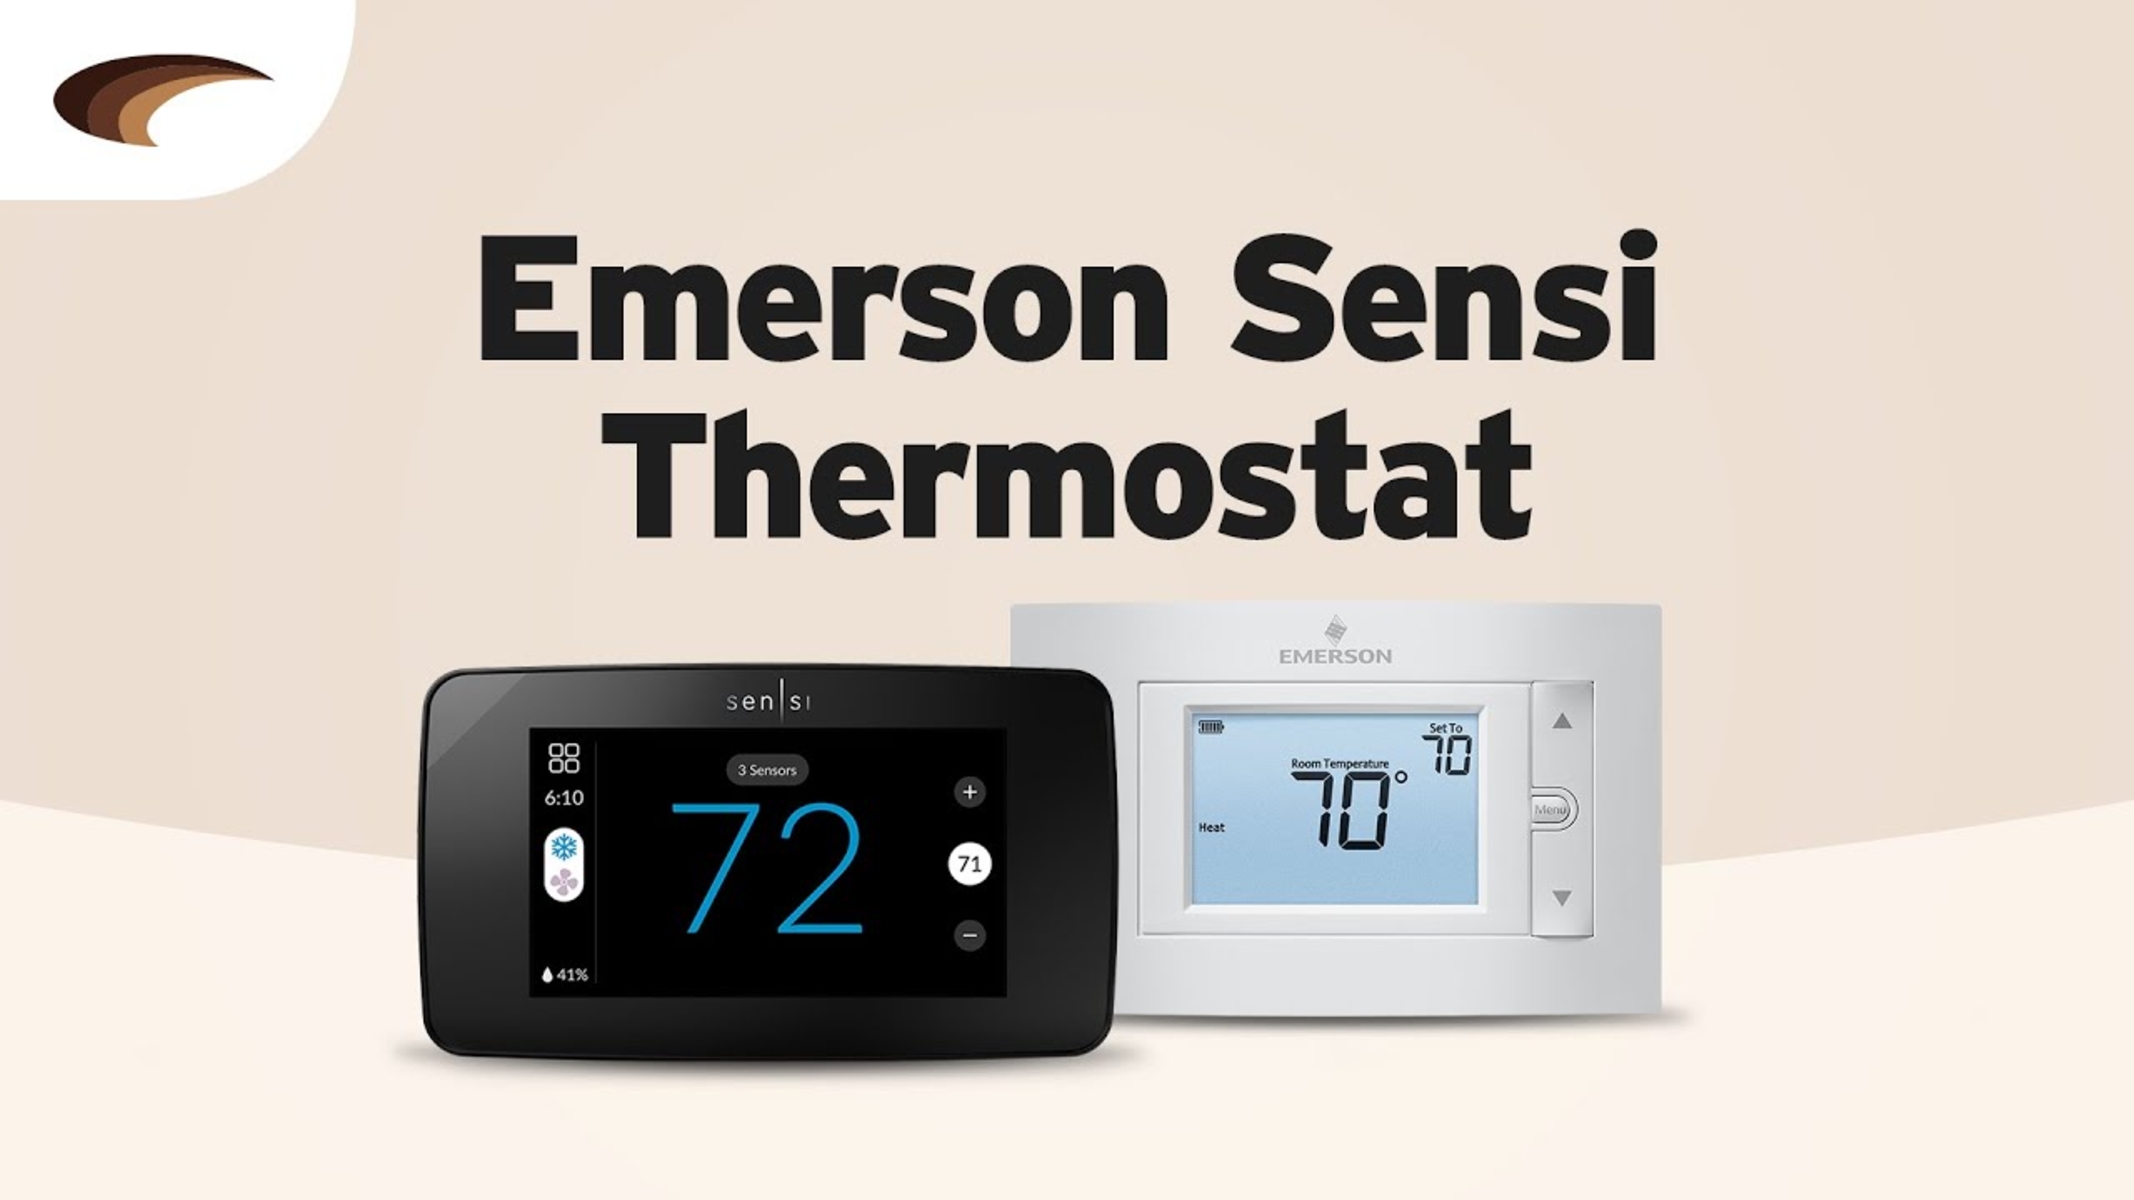
Welcome to our guide on how to install the Sensi Smart Thermostat! Upgrading to a smart thermostat not only adds convenience to your life but also helps you save on energy costs. The Sensi Smart Thermostat is a popular choice among homeowners due to its user-friendly interface and advanced features.
Installing a sensi smart thermostat may seem like a daunting task, but with a little guidance, it can be a straightforward process. In this article, we will walk you through the step-by-step installation process, from gathering the necessary materials to connecting the thermostat to your Wi-Fi network.
Before we get started, it’s important to note that although the installation process may vary slightly depending on your HVAC system and wiring setup, the general principles outlined in this guide should apply to most installations. It’s always a good idea to consult the user manual specific to your thermostat and refer to the manufacturer’s instructions for any specific requirements.
So, if you’re ready to enjoy the benefits of a smart thermostat and take control of your home’s heating and cooling system, let’s dive in and learn how to install the Sensi Smart Thermostat!
Step 1: Gather the materials needed
Before you begin the installation process, it’s essential to gather all the necessary materials to ensure a smooth and efficient installation. Here’s a list of items you’ll need:
- Sensi Smart Thermostat – Make sure you have the correct model that is compatible with your HVAC system. Check the packaging or the manufacturer’s website for compatibility information.
- Screwdriver – You’ll need a screwdriver to remove the old thermostat and secure the base of the Sensi Smart Thermostat.
- Drill and bits – If you need to drill new holes to mount the thermostat base, make sure you have the appropriate drill and bits for the job.
- Optional: Wire labels – If your thermostat wires are not already labeled, it’s a good idea to have wire labels on hand to avoid confusion during the installation process. You can purchase wire labels at most hardware stores, or you can use tape and a marker to label the wires.
- Wi-Fi network information – To connect your Sensi Smart Thermostat to your home Wi-Fi network, you’ll need the name and password of your Wi-Fi network. Make sure you have this information readily available.
It’s important to ensure that you have all the necessary materials before you get started to avoid any unnecessary delays during the installation process. Take a few moments to gather the items listed above, and let’s move on to the next step!
Step 2: Turn off power to the HVAC system
Before working on your HVAC system, it is crucial to ensure your safety by turning off the power. Here’s how to do it:
- Locate the main electrical panel in your home. This panel is usually found in the basement, garage, or utility room.
- Open the panel door and locate the circuit breaker or fuse that controls power to the HVAC system. This may be labeled as “heating” or “cooling.”
- Switch the circuit breaker to the “off” position or remove the fuse to disconnect power to the HVAC system. This step is essential to prevent any accidental electrical shocks during the installation process.
It’s important to note that some HVAC systems may have an additional power switch located near the unit itself. If you have trouble locating the main power source, consult the user manual for your HVAC system or consider seeking assistance from a qualified professional.
Once the power to the HVAC system is turned off, double-check that it is indeed disconnected by attempting to turn on the heating or cooling system. If there is no response, then you can proceed to the next step with peace of mind.
By turning off the power to your HVAC system, you are taking an important safety precaution before starting the installation process. Now that the power is successfully disconnected, we can move on to the next step of removing the old thermostat.
Step 3: Remove the old thermostat
Now that the power is turned off, it’s time to remove the old thermostat. Follow these steps:
- Begin by removing the thermostat cover. This can usually be done by gently pulling it away from the wall.
- Next, carefully unscrew the mounting plate that holds the thermostat to the wall. Most thermostats are attached with two or more screws.
- Once the screws are removed, gently pull the thermostat away from the wall to expose the wiring behind it.
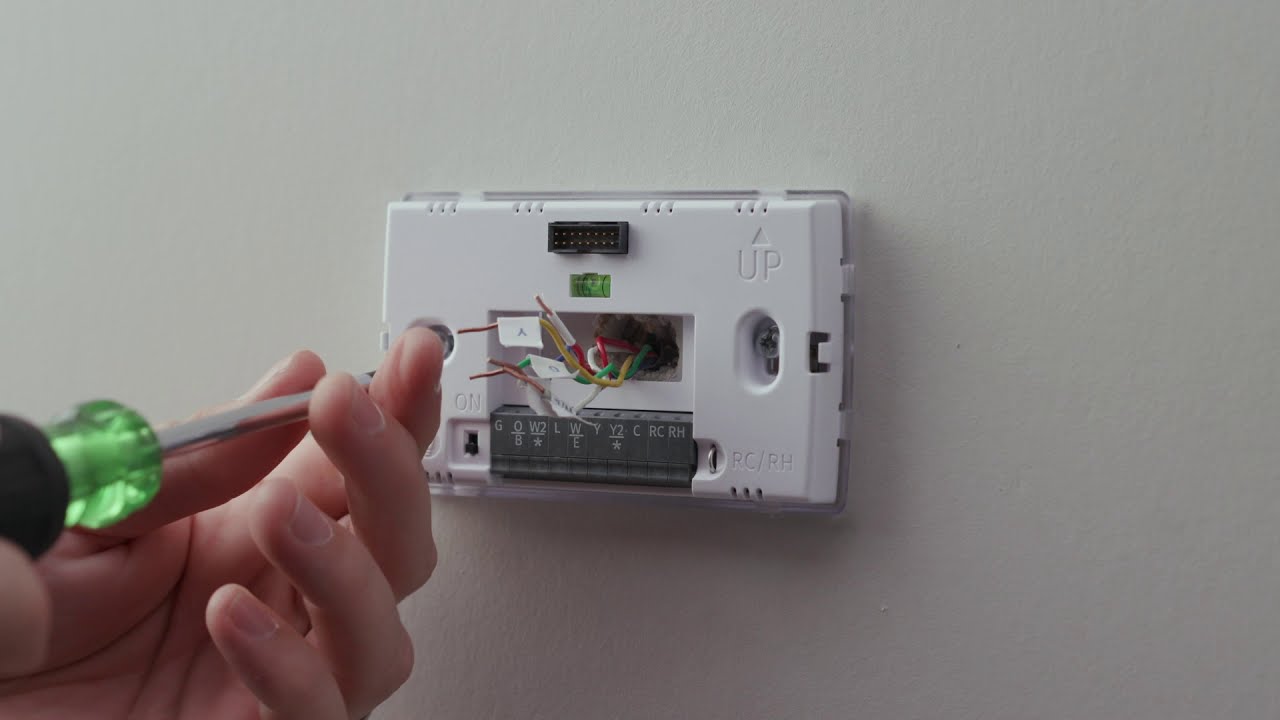
- Take a moment to examine the wiring and make note of the terminals to which each wire is connected. You may want to take a photo or make a diagram to ensure you reconnect the wires correctly later on.
- Using a screwdriver, loosen the terminal screws to disconnect the wires from the old thermostat. Be careful not to damage the wires or their insulation during this process.
- Once the wires are disconnected, remove the old thermostat from the mounting plate and set it aside.
With the old thermostat removed, you have taken a significant step towards installing the Sensi Smart Thermostat. Take this opportunity to clean the area around the mounting plate and ensure it is free from any debris or dust. This will provide a clean surface for the installation of the new thermostat.
Now that you have successfully removed the old thermostat, it’s time to move on to the next step of installing the Sensi Smart Thermostat base.
Step 4: Install the Sensi Smart Thermostat base
Now that you have removed the old thermostat, it’s time to install the base of the Sensi Smart Thermostat. Follow these steps:
- Start by aligning the base with the holes or marks left by the previous thermostat. Make sure it is level and straight against the wall.
- Using the screws provided with the Sensi Smart Thermostat, secure the base to the wall, making sure it is firmly in place.
- If necessary, use a drill and appropriate bits to create new holes for mounting the base. Ensure the holes are aligned with the wiring and that the base is securely fastened to the wall.
- Once the base is securely attached, take a moment to check for any gaps or unevenness. If needed, adjust the position of the base to ensure a clean and level installation.
The Sensi Smart Thermostat base serves as the foundation for the device, so it’s important to ensure it is installed securely. By following these steps, you’ll be well on your way to a successful installation.
Now that the base is securely in place, it’s time to move on to the next step and connect the wires to the Sensi Smart Thermostat base.
Step 5: Connect the wires to the Sensi Smart Thermostat base
With the Sensi Smart Thermostat base installed, it’s time to connect the wires from your HVAC system to the corresponding terminals on the base. Follow these steps:
- Start by referring to the diagram or photo you previously took of the wiring connections from the old thermostat. This will serve as a guide for reconnecting the wires correctly.
- Loosen the terminal screws on the base to create space to insert the wires.
- Take the first wire and match it to the corresponding terminal on the Sensi Smart Thermostat base. For example, the wire connected to the “R” terminal on the old thermostat should be connected to the “R” terminal on the Sensi base.
- Once you have matched the wire to the appropriate terminal, insert it into the opening and tighten the terminal screw to secure the wire in place. Ensure the connection is tight but be careful not to overtighten, which may damage the wire or the terminal.
- Repeat this process for each wire, connecting them to their respective terminals on the base. Common terminals include “C” for the common wire, “W” for heating, and “Y” for cooling.
It’s important to note that the Sensi Smart Thermostat may have slightly different terminal labels compared to your old thermostat. Refer to the installation guide provided with your Sensi Smart Thermostat to determine the correct terminals to use for your specific HVAC system.
After connecting all the wires to the appropriate terminals, double-check each connection to ensure they are secure. Give each wire a gentle tug to confirm it is properly seated in the terminal.
With the wires securely connected to the Sensi Smart Thermostat base, you’re ready to move on to the next step and attach the Sensi Smart Thermostat display.
Step 6: Attach the Sensi Smart Thermostat display
Now that the wires are connected to the Sensi Smart Thermostat base, it’s time to attach the display. Follow these steps:
- Align the pins on the back of the display with the corresponding slots on the base.
- Once aligned, gently push the display onto the base until it clicks into place.
- Ensure that the display is securely attached and sits evenly on the base.
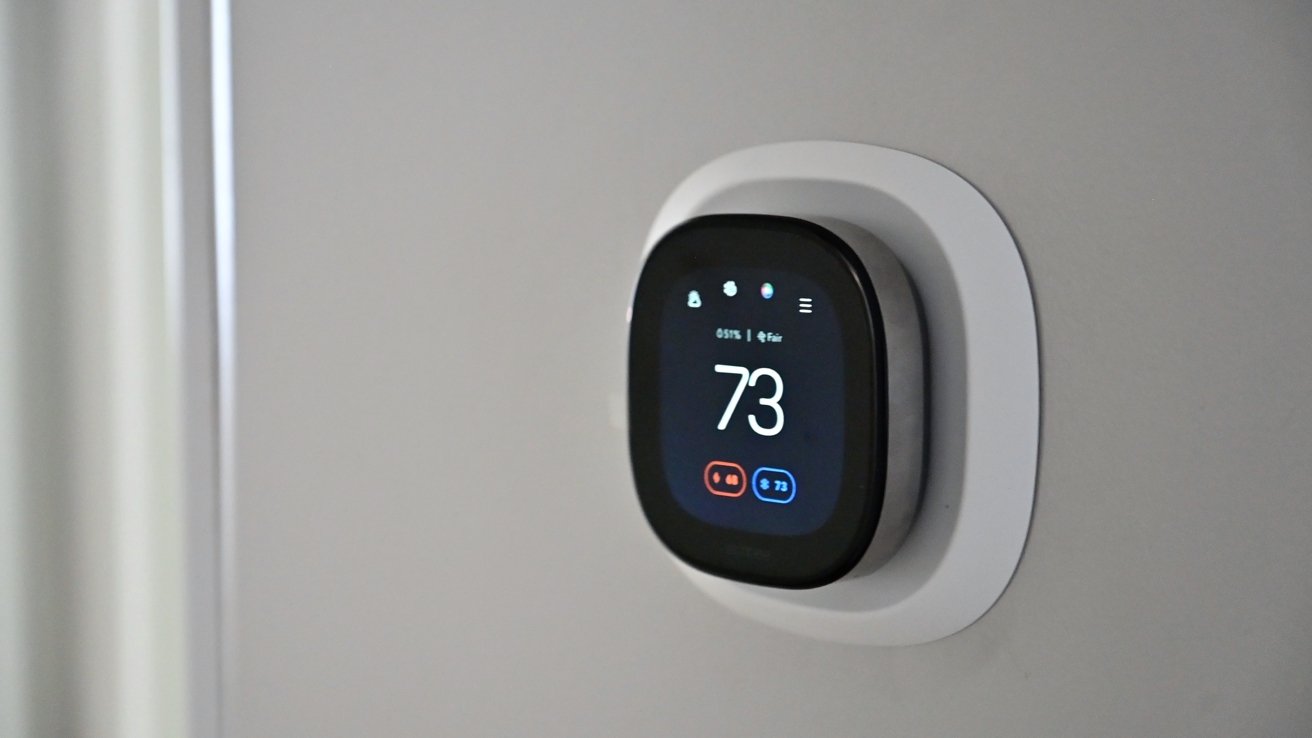
After attaching the display, take a moment to inspect the installation. Make sure there are no visible gaps between the display and the base, indicating a proper connection. If there are any issues, gently detach the display and reattach it, ensuring a proper fit.
The Sensi Smart Thermostat display provides an intuitive interface for you to control and program the settings. It’s essential to have it properly attached to the base to ensure smooth operation and accurate temperature readings.
With the Sensi Smart Thermostat display securely attached, you’re almost done with the physical installation. Now it’s time to move on to the next step and turn on the power to connect the thermostat to your Wi-Fi network.
Step 7: Turn on power and connect to Wi-Fi
Now that the Sensi Smart Thermostat is physically installed, it’s time to turn on the power and connect it to your Wi-Fi network. Here’s how:
- Go to your main electrical panel and switch the circuit breaker or replace the fuse that controls power to the HVAC system back to the “on” position.
- Wait for the system to power up, which may take a few moments.
- Once the power is restored, the Sensi Smart Thermostat will automatically begin its setup process.
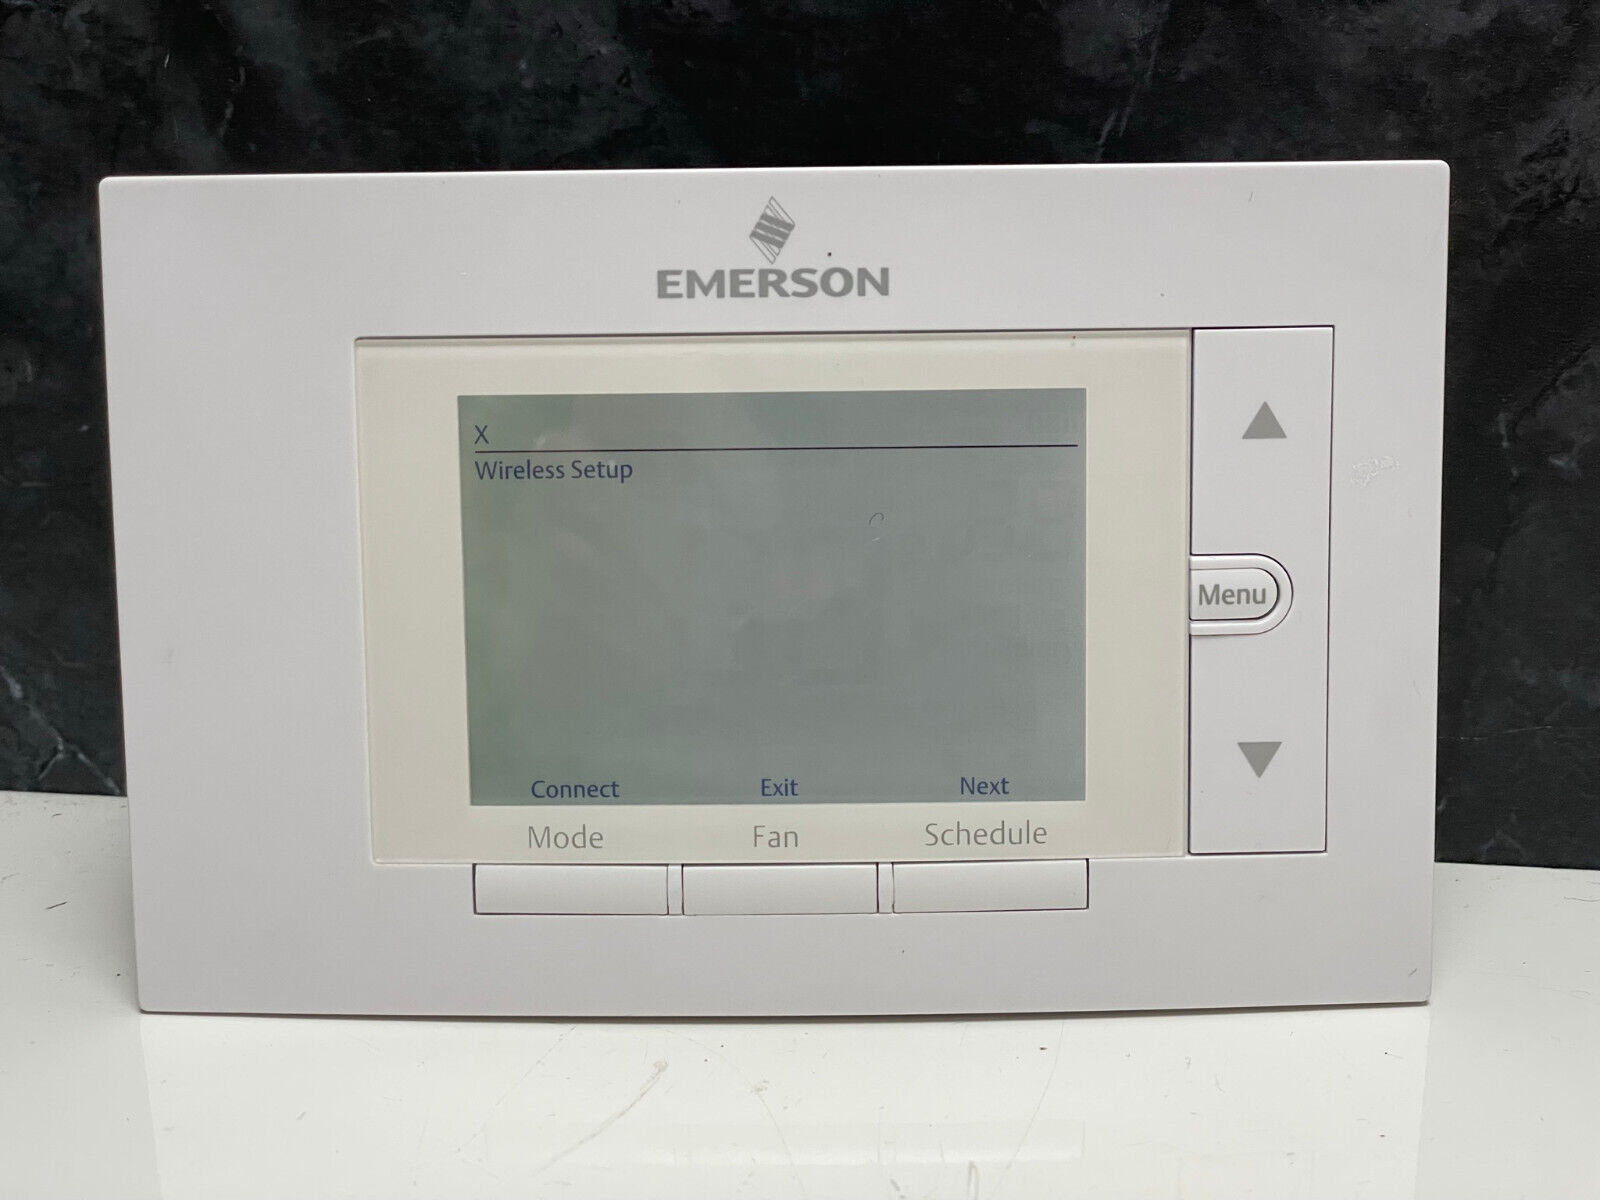
- On the thermostat display, follow the on-screen prompts to select your language and the Wi-Fi network you want to connect to.
- Use the touch display or buttons to enter the password for your Wi-Fi network. Ensure accuracy, as a wrong password will result in connection issues.
- Once you have entered the correct password, the thermostat will attempt to connect to the Wi-Fi network.
- Wait for the thermostat to establish a connection. This process may take a few minutes, so be patient.
- Once the connection is successful, the Sensi Smart Thermostat will be ready for use, and you can start controlling it remotely through the Sensi app on your smartphone or tablet.
It’s worth noting that during the Wi-Fi setup process, the Sensi Smart Thermostat may prompt you to create an account or log into an existing account on the Sensi app. Follow the on-screen instructions to complete this step.
With the power restored and the thermostat connected to your Wi-Fi network, you now have the convenience of controlling your heating and cooling system remotely. You can adjust the temperature, schedule settings, and monitor energy usage all from the palm of your hand.
Congratulations! You have successfully installed and connected your Sensi Smart Thermostat to your Wi-Fi network. Now it’s time to move on to the next step and install the Sensi app on your smartphone.
Step 8: Install the Sensi app on your smartphone
To fully utilize the features of your Sensi Smart Thermostat and control it remotely, you need to install the Sensi app on your smartphone. Follow these steps:
- Open the app store on your smartphone. If you are using an iPhone, go to the App Store. For Android users, go to the Google Play Store.
- In the search bar, type “Sensi” and look for the official Sensi app developed by Emerson Electric Co.
- Tap on the Sensi app to open its download page.
- Click on the “Install” or “Get” button to begin downloading and installing the app on your smartphone.
- Once the installation is complete, locate the Sensi app on your home screen or in your app drawer and open it.
- If prompted, log in to your Sensi account or create a new account if you haven’t already done so during the thermostat setup process.
- Follow the on-screen instructions to set up and pair the Sensi app with your Sensi Smart Thermostat.
- Once the pairing process is complete, you will be able to control your thermostat, adjust temperature settings, create schedules, and access advanced features directly from the app.
The Sensi app provides you with convenient access to your thermostat’s settings and allows you to monitor and control your HVAC system from anywhere. It puts the power of controlling your home’s temperature right at your fingertips.
With the Sensi app successfully installed on your smartphone and connected to your Sensi Smart Thermostat, you can now enjoy the full benefits of a smart and connected home.
In the next step, we will guide you through the setup process using the Sensi app on your smartphone. Stay tuned!
Step 9: Follow the on-screen instructions on the Sensi app
With the Sensi app successfully installed on your smartphone and connected to your Sensi Smart Thermostat, it’s time to follow the on-screen instructions to set up and customize your thermostat. Here’s how:
- Open the Sensi app on your smartphone. If you’re not already logged in, enter your credentials to access your account.
- Once you’re logged in, the app will guide you through the setup process. Follow the on-screen instructions carefully.
- The app may ask you to select your HVAC system type (such as gas, electric, or heat pump) and configure basic settings, including your preferred temperature scale (Fahrenheit or Celsius).
- You will also have the option to customize advanced settings, such as system type, fan circulation, and geofencing.
- During the setup process, the app may prompt you to create a schedule for your thermostat, allowing you to specify different temperature settings for various times of the day.
- Take advantage of the app’s features and options to tailor your thermostat settings to fit your preferences and lifestyle.
- Explore the app’s additional functionalities, such as energy usage monitoring, filter change reminders, and smart home integration (if applicable).
- Once you have completed the setup and customized your thermostat settings, the Sensi app will be ready to use.
The Sensi app offers a user-friendly interface, allowing you to conveniently control your thermostat, make adjustments, and monitor energy consumption all from the palm of your hand.
By following the on-screen instructions and utilizing the app’s features, you can optimize your home’s heating and cooling system to be more efficient, comfortable, and cost-effective.
Now that you have successfully set up the Sensi app, you’re ready to make the most of your Sensi Smart Thermostat. In the next step, we’ll guide you on how to test the functionality of your thermostat to ensure everything is working correctly.
Step 10: Test the Sensi Smart Thermostat
Now that you’ve completed the setup process and customized your thermostat settings on the Sensi app, it’s time to test the functionality of your Sensi Smart Thermostat. Here’s how:
- Ensure that your HVAC system is powered on and running. This step is crucial to test the heating or cooling functionality of the thermostat.
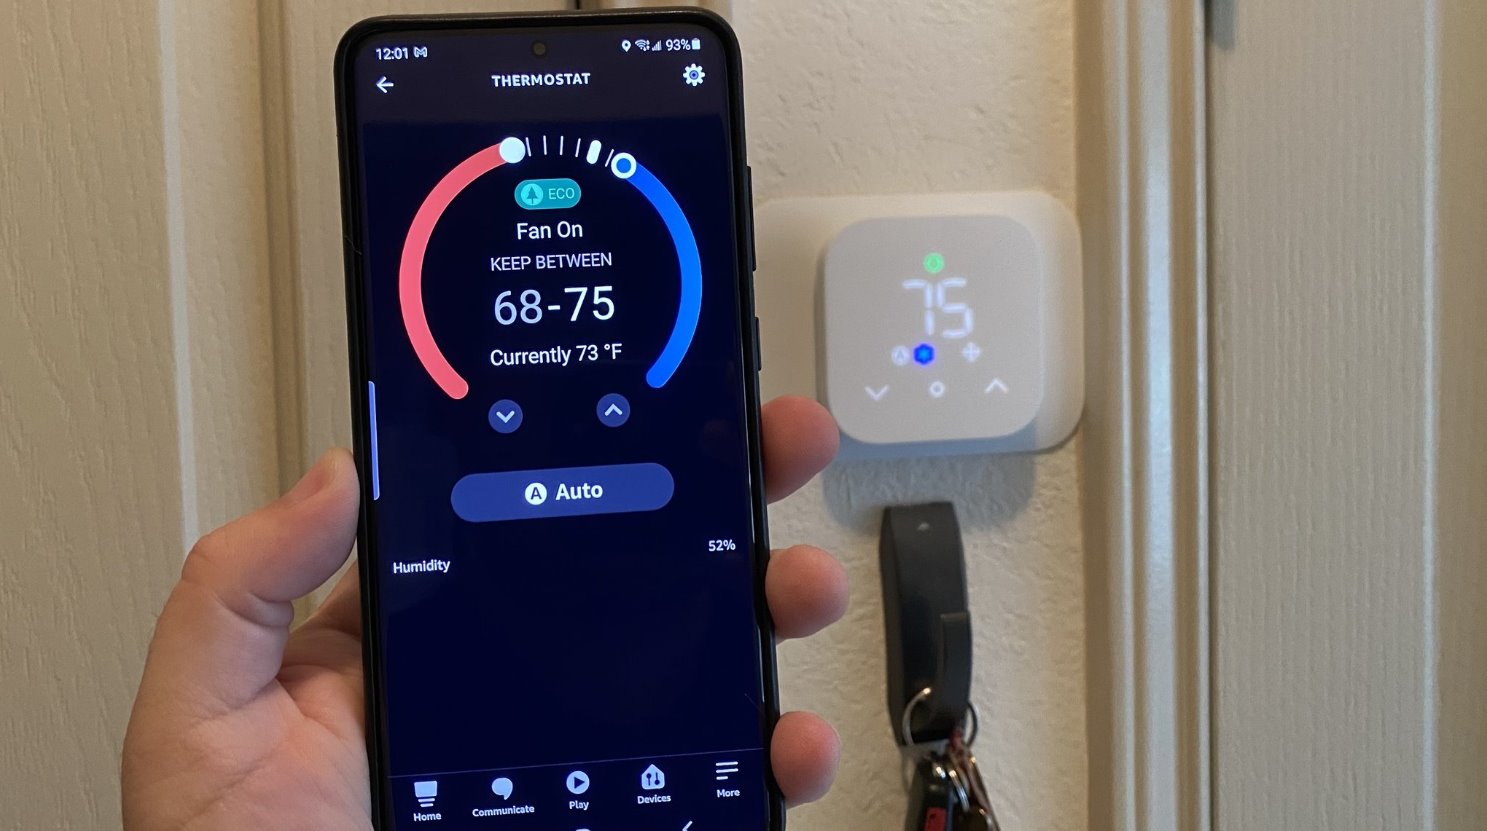
- On the Sensi app, check if the thermostat is displaying the current temperature accurately. The temperature reading should match the actual temperature in your home.
- Adjust the temperature setting on the Sensi app and observe if the thermostat responds accordingly. The HVAC system should start heating or cooling to reach the desired temperature.
- Test the scheduling feature by setting different temperature preferences for different times of the day. Check if the thermostat adjusts the temperature as per your schedule.
- Monitor the energy usage data on the app and ensure it reflects the changes in temperature settings and HVAC operation.
- Utilize the app’s remote control feature to make adjustments from anywhere and observe if the thermostat responds promptly.
- If your Sensi Smart Thermostat offers additional features such as geofencing or smart home integration, test those features as well to ensure they are functioning correctly.
- Throughout the testing process, pay attention to any irregularities or issues. If you notice any discrepancies, refer to the troubleshooting section in the Sensi app or consult the user manual for guidance.
Thoroughly testing your Sensi Smart Thermostat ensures that it is working properly and meeting your expectations. If you detect any issues, reach out to the Sensi customer support team for assistance.
Congratulations! By successfully testing the Sensi Smart Thermostat, you can now enjoy the convenience, energy efficiency, and comfort that it provides. Keep exploring the app’s features and settings to optimize your home’s heating and cooling experience.
Thank you for following our step-by-step guide on how to install and set up the Sensi Smart Thermostat. We hope you found it helpful, and we wish you a seamless and enjoyable experience with your new smart thermostat!
Conclusion
Congratulations on successfully installing and setting up your Sensi Smart Thermostat! By following the step-by-step guide provided in this article, you have taken control of your home’s heating and cooling system with a smart and efficient device.
The installation process may have seemed daunting at first, but with careful guidance and attention to detail, you have accomplished the task. From gathering the necessary materials to connecting the thermostat to your Wi-Fi network, each step has brought you closer to enjoying the benefits of a Sensi Smart Thermostat.
With the Sensi app on your smartphone, you now have the power to control your thermostat remotely, create schedules, monitor energy usage, and customize settings to fit your lifestyle. The seamless integration of the app with your Sensi Smart Thermostat ensures convenience and comfort at your fingertips.
By testing the functionality of your thermostat, you can ensure that it is operating correctly and efficiently. Adjusting temperature settings, exploring scheduling options, and monitoring energy usage will help you optimize your home’s heating and cooling experience while saving on energy costs.
Remember, if you encounter any issues or have questions along the way, consult the user manual provided with your Sensi Smart Thermostat or reach out to the Sensi customer support team for assistance. They are there to help you make the most of your smart thermostat.
Thank you for choosing the Sensi Smart Thermostat and for following this guide. We hope you enjoy the convenience, energy efficiency, and comfort that it brings to your home. Stay connected, stay comfortable!