Introduction
Welcome to the world of Google Authenticator! In this digital age, keeping our online accounts secure is of paramount importance. With the increasing number of cyber threats, it’s crucial to take proactive steps to protect our sensitive information. Google Authenticator is a powerful tool that adds an extra layer of security to your Gmail account, making it more resistant to unauthorized access.
But what exactly is Google Authenticator? In simple terms, it’s a two-factor authentication app developed by Google. Instead of relying solely on a password to access your Gmail account, Google Authenticator adds an additional step to the login process. It generates temporary, time-based codes that you need to enter along with your password to log in successfully.
Why should you set up Google Authenticator for Gmail? The answer is straightforward—enhanced security. Passwords can be compromised or hacked, leaving your accounts vulnerable. Two-factor authentication, like Google Authenticator, adds an extra layer of protection by requiring something you know (your password) and something you have (the code generated by the app). This greatly reduces the risk of unauthorized access to your Gmail account.
In this step-by-step guide, we’ll walk you through the process of setting up Google Authenticator for your Gmail account. By the end, you’ll have a secure and protected Gmail account that gives you peace of mind regarding your online privacy.
What is Google Authenticator?
Google Authenticator is a free two-factor authentication app developed by Google. It aims to provide an additional layer of security for your online accounts, including Gmail. The app generates time-based one-time passwords (TOTP) that you need to verify when logging into your account, along with your regular username and password.
So how does it work? When you enable two-factor authentication using Google Authenticator, your account will be linked to the app. This means that every time you try to log in, the app generates a unique code that you must enter within a specified timeframe. This code is only valid for a short period, usually 30 seconds, and it constantly changes, adding an extra level of security to your account.
The Google Authenticator app is available for both Android and iOS devices, making it accessible to a wide range of users. It uses industry-standard algorithms for generating the verification codes, ensuring reliability and compatibility with a variety of online services.
One of the key advantages of using Google Authenticator is its offline functionality. Once the app is installed and set up, it doesn’t require an internet connection to generate the verification codes. This makes it extremely convenient for situations where you may not have access to a stable internet connection, such as when traveling or in areas with poor signal coverage.
Moreover, Google Authenticator supports multiple accounts, allowing you to secure all your important online platforms with just one app. Whether it’s email, banking, social media, or any other service that supports two-factor authentication, you can manage them all within the Google Authenticator app.
Google Authenticator provides an additional layer of security to your Gmail account, reducing the risk of unauthorized access. By implementing this two-factor authentication method, you can rest assured that your sensitive emails, personal information, and important documents are well protected.
Why should you set up Google Authenticator for Gmail?
Setting up Google Authenticator for your Gmail account is a proactive and effective way to enhance the security of your emails and protect your sensitive information. Here are some compelling reasons why you should consider enabling this extra layer of authentication:
- Protection against unauthorized access: By adding two-factor authentication through Google Authenticator, you significantly reduce the risk of unauthorized individuals gaining access to your Gmail account. Even if someone manages to obtain or guess your password, they would still need the unique verification code generated by the app to log in successfully. This added security measure acts as a strong deterrent against hacking attempts.
- Defense against phishing attacks: Phishing attacks are a common method used by hackers to trick users into revealing their login credentials. They may create fake login pages that resemble legitimate websites, tricking users into entering their usernames and passwords. However, with Google Authenticator set up, even if you unknowingly provide your login credentials to a phishing site, the hackers would still be unable to log in to your account without the verification code from the app. This adds an extra layer of protection against such attacks.
- Secure your sensitive information: Your Gmail account likely contains a wealth of sensitive information, including personal emails, confidential documents, financial statements, and private conversations. By enabling Google Authenticator, you add an additional barrier that helps safeguard this information from falling into the wrong hands. It ensures that even if someone manages to crack or steal your password, they won’t be able to gain access to your account without the verification code.
- Peace of mind: With data breaches and cyber threats on the rise, it’s natural to feel concerned about the security of your online accounts. By setting up Google Authenticator, you can rest easy knowing that you’ve taken an important step towards fortifying your Gmail account. This peace of mind allows you to use your Gmail account with confidence, knowing that your emails and personal information are well protected.
- Support for multiple devices: Google Authenticator conveniently supports multiple devices. Whether you have an Android phone, iPhone, or even multiple devices, you can easily install and sync the app across all your devices. This ensures that you can generate verification codes even when you don’t have immediate access to a particular device. It adds flexibility and convenience to the authentication process.
By setting up Google Authenticator for your Gmail account, you take a proactive step in fortifying the security of your emails and personal information. It provides an additional layer of protection, making it much more difficult for unauthorized individuals to gain access. Don’t wait—take the necessary measures to enhance the security of your Gmail account today!
Step 1: Download Google Authenticator
The first step in setting up Google Authenticator for your Gmail account is to download the app on your mobile device. The Google Authenticator app is available for free on both the Google Play Store for Android devices and the App Store for iOS devices.
To download and install the app, follow these simple steps:
- Open the respective app store on your mobile device (Google Play Store for Android or App Store for iOS).
- Search for “Google Authenticator” in the search bar.
- Locate the official Google Authenticator app, developed by Google LLC.
- Tap on the “Install” or “Get” button to start the download and installation process.
- Once the app is successfully installed, you will find the Google Authenticator icon on your home screen or app drawer.
It’s important to note that there are several other apps available in the app stores that have similar names to Google Authenticator. To ensure you are downloading the official app, always verify the developer as Google LLC.
Once you have downloaded and installed Google Authenticator on your mobile device, you are ready to move on to the next step in the setup process. Keep the app handy, as you will need it to complete the remaining steps of enabling two-step verification for your Gmail account.
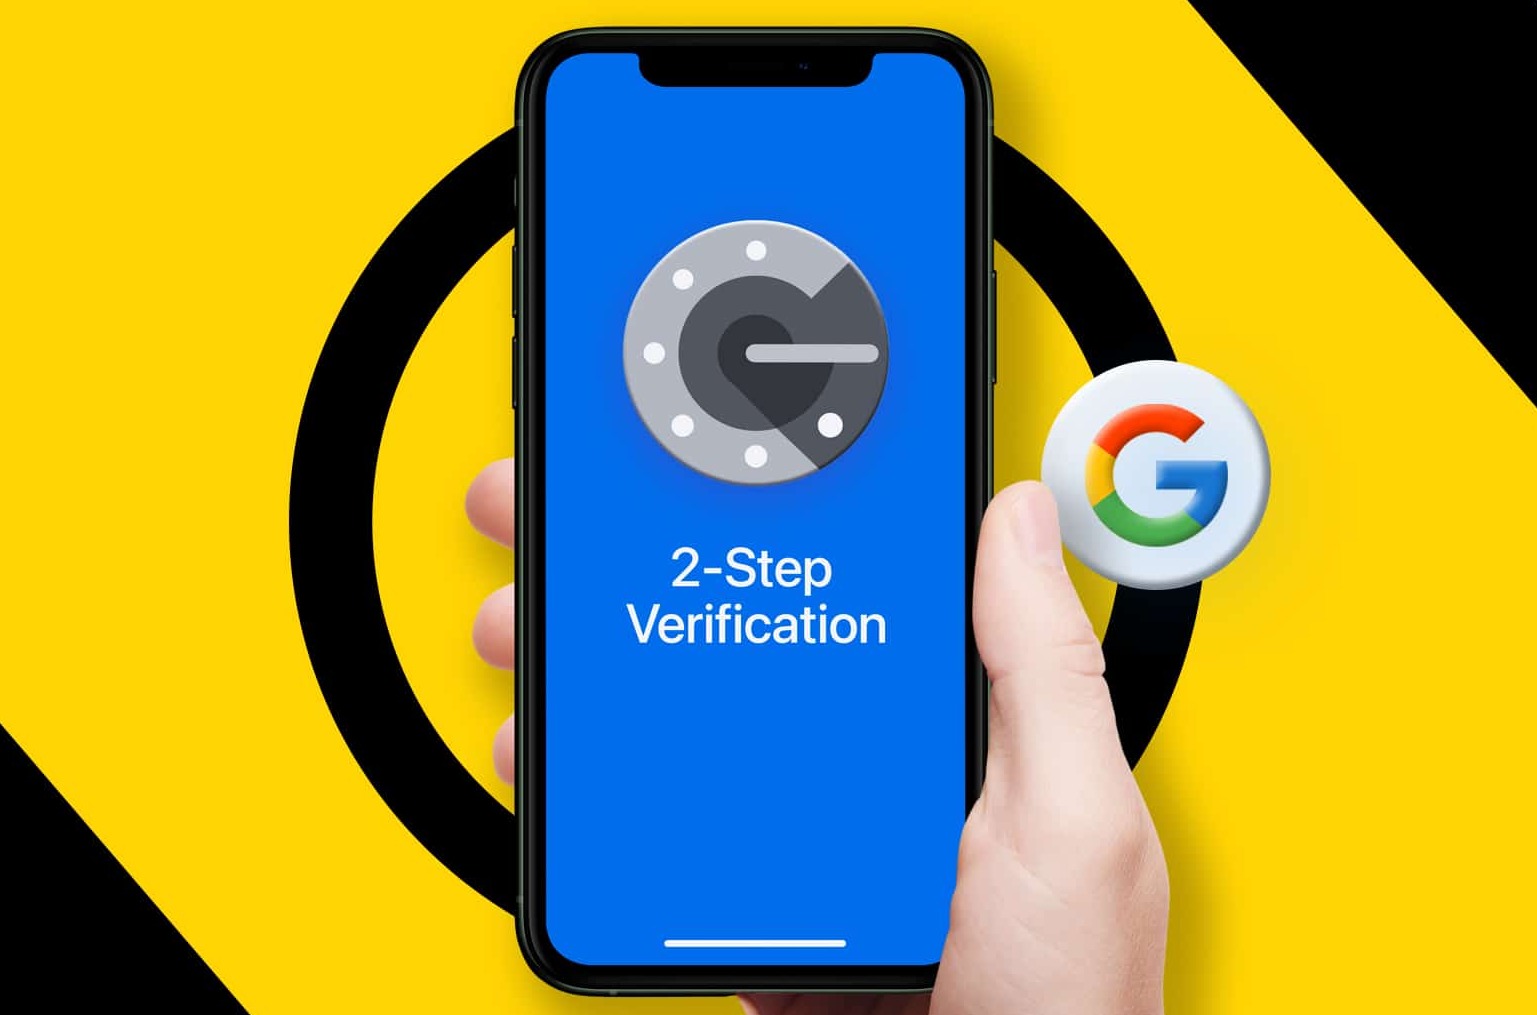
Step 2: Enable 2-Step Verification for Gmail
Now that you have the Google Authenticator app installed on your mobile device, it’s time to enable 2-Step Verification for your Gmail account. This additional security measure adds another layer of protection, ensuring only authorized individuals can access your account.
To enable 2-Step Verification for your Gmail account, follow these steps:
- Open a web browser on your computer or mobile device and go to the Gmail website (www.gmail.com).
- Sign in to your Gmail account using your username and password.
- Click on your profile picture or the initial icon in the top-right corner of the Gmail interface. A dropdown menu will appear.
- Select “Manage your Google Account” from the dropdown menu. You will be redirected to the Google Account settings page.
- In the left-hand menu, click on “Security”.
- Scroll down until you find the “Signing in to Google” section. Here, you’ll see the “2-Step Verification” option. Click on “2-Step Verification”.
- Click on the “Get Started” button.
- Enter your Gmail password when prompted.
- On the next screen, verify your phone number. You can choose to receive verification codes through text message or voice call. Select the option that is most convenient for you and follow the instructions provided.
- Once you have successfully verified your phone number, click on the “Turn On” button to enable 2-Step Verification.
That’s it! You have now enabled 2-Step Verification for your Gmail account. This means that in addition to your password, you will need to enter a verification code generated by the Google Authenticator app to successfully log in to your account.
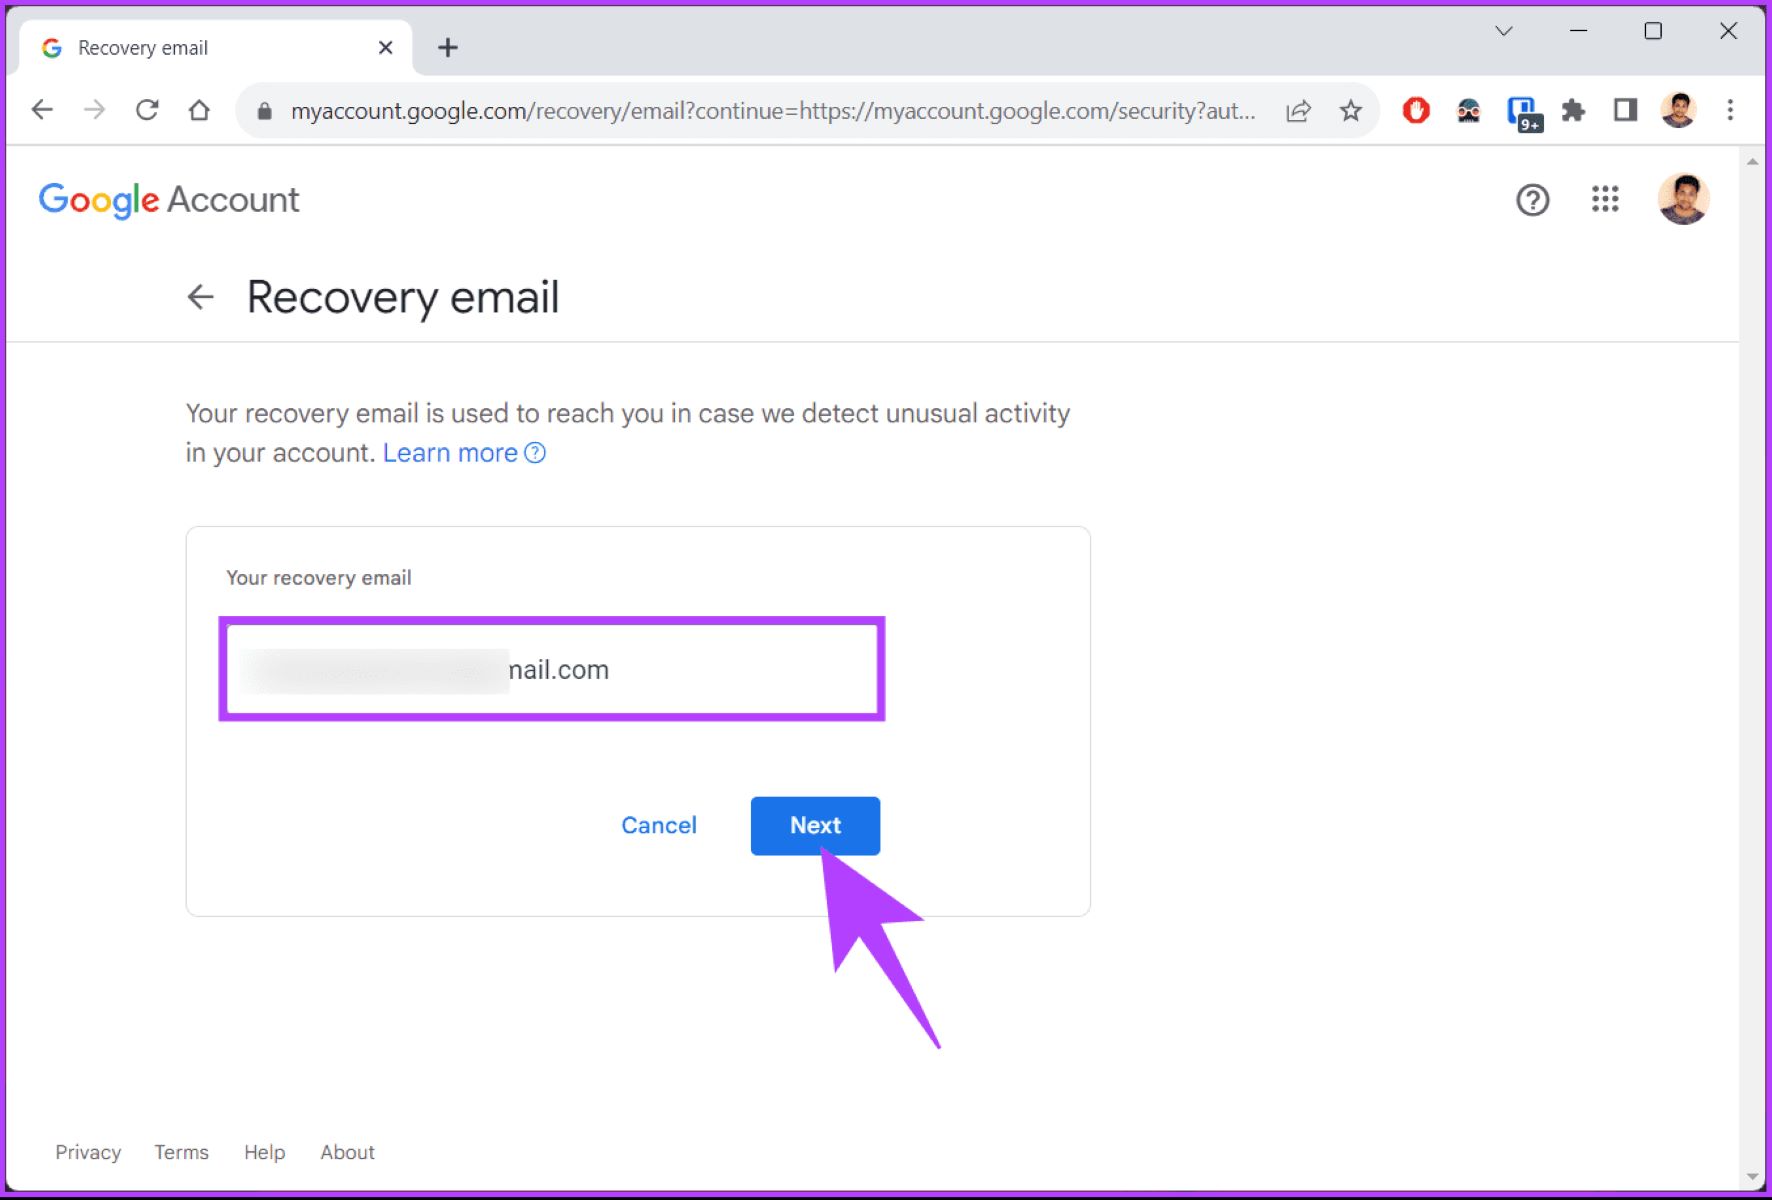
Note that you can also choose to set up backup options to receive verification codes if you don’t have access to your mobile device. These options include adding a secondary phone number or setting up backup codes. It’s important to keep these backup options secure and easily accessible in case of emergencies.
With 2-Step Verification enabled, your Gmail account is now even more secure, and you’re ready to proceed to the next step of adding your Gmail account to the Google Authenticator app.
Step 3: Add Gmail to Google Authenticator
With 2-Step Verification enabled for your Gmail account, the next step is to add your Gmail account to the Google Authenticator app on your mobile device. This will link your account to the app and allow it to generate the time-based verification codes for logging in.
To add Gmail to Google Authenticator, follow these instructions:
- Open the Google Authenticator app on your mobile device.
- If this is your first time using the app, you’ll be prompted to set it up. Follow the on-screen instructions to set up a new account within the app.
- Once you’re on the main screen of the app, tap on the “+” icon or the “Add Account” button to add a new account.
- Choose the option to “Scan a barcode” or “Enter provided key”, depending on the setup method you prefer.
- If you choose to scan a barcode, the app will open your device’s camera. Point it towards the QR code displayed on the Gmail 2-Step Verification page on your computer or other device. The app will automatically detect and add the account.
- If you choose to enter the key manually, you’ll need to copy the “Secret Key” provided on the Gmail 2-Step Verification page and paste it into the app. Be sure to enter it accurately to avoid any issues.
- Once you have scanned the barcode or entered the key, the Gmail account will be added to Google Authenticator.
- The app will now show your Gmail account along with a constantly changing verification code (TOTP) associated with it.
It’s important to keep in mind that each account added to Google Authenticator will have its own unique verification code. This ensures that the codes generated by the app are specific to each account, enhancing the security of each individual account.
By adding your Gmail account to Google Authenticator, you now have the app ready to generate the verification codes needed for logging in to your Gmail account securely. Now, let’s move on to the next step to set up the Google Authenticator app on your mobile device.
Step 4: Set up Google Authenticator on your mobile device
Now that you have added your Gmail account to the Google Authenticator app, it’s time to set up the app on your mobile device. This step ensures that the app is running smoothly and that you can easily access the verification codes whenever you need them.
To set up Google Authenticator on your mobile device, follow these steps:
- Open the Google Authenticator app on your mobile device.
- Find the Gmail account you added in the previous step. It should be listed along with the constantly changing verification code (TOTP) associated with it.
- Tap on the Gmail account to access the settings for that account.
- In the settings, you’ll see an option to change the account name. You can provide a custom name for the account if desired. This can be helpful if you have multiple accounts added to the app.
- Next, you’ll see an option to enable/disable the “Time correction for codes”. It’s recommended to leave this enabled, as it helps ensure the accuracy of the generated verification codes.
- Under the account settings, you’ll also find the option to remove the account from the Google Authenticator app if needed. Use caution when removing an account, as it will no longer generate verification codes for that account.
- Repeat the above steps for any additional Gmail accounts you want to add to the Google Authenticator app.
- Exit the settings and return to the main screen of the Google Authenticator app.
That’s it! You have successfully set up Google Authenticator on your mobile device. The app is now configured to generate the time-based verification codes for your Gmail accounts whenever you need them.
It’s important to keep your mobile device secure, as it contains the Google Authenticator app with access to your Gmail accounts. Ensure that you have strong device passcodes or biometric authentication enabled to prevent unauthorized access to the app.
With Google Authenticator set up on your mobile device, you’re now ready to move on to the final step—verifying the setup.
Step 5: Verify the setup
After setting up Google Authenticator for your Gmail accounts, it’s important to verify that the setup is working correctly. This final step ensures that you can successfully use the generated verification codes to log in to your Gmail account. Let’s go through the verification process:
- Open a web browser on your computer or another device.
- Go to the Gmail website (www.gmail.com).
- Click on the “Sign in” button to access the Gmail login page.
- Enter your Gmail username and password as usual.
- When prompted for the verification code, open the Google Authenticator app on your mobile device.
- Find the Gmail account for which you want to generate a verification code.
- Take note of the constantly changing verification code displayed in the Google Authenticator app.
- Enter the verification code in the prompted field on the Gmail login page.
- Click on the “Next” or “Sign in” button to proceed.
If the verification code you entered is correct, you will be successfully logged in to your Gmail account. Congratulations! Your Google Authenticator setup is now verified, and you can rest assured that your Gmail account is well protected with an extra layer of security.
If you encounter any issues with the verification process, double-check that you have entered the correct verification code from the Google Authenticator app. Remember that the codes generated by the app are time-sensitive and constantly change, so it’s important to enter the most recent code displayed in the app.
Also, make sure that the time on your device and the device running Google Authenticator are accurately synchronized. Any time discrepancies can cause issues when verifying the setup. If necessary, you can enable time correction in the Google Authenticator app settings to help align the time with the correct internet time servers.
By successfully verifying the setup of Google Authenticator, you have completed the entire process of adding an extra layer of security to your Gmail account. Enjoy the enhanced protection and peace of mind that comes with two-step verification!
Conclusion
Congratulations on successfully setting up Google Authenticator for your Gmail account! By enabling this powerful two-factor authentication method, you have taken a proactive step towards enhancing the security of your emails and personal information.
Throughout this guide, we’ve covered the necessary steps to download and install Google Authenticator, enable 2-Step Verification for your Gmail account, add your account to the app, set up Google Authenticator on your mobile device, and verify the setup. With these steps completed, you can now enjoy the additional layer of protection provided by Google Authenticator.
Remember to keep your mobile device secure, as it contains access to your Google Authenticator app and the verification codes for your Gmail accounts. Use strong device passcodes or biometric authentication to prevent unauthorized access.
It’s worth noting that two-step verification with Google Authenticator is not limited to Gmail alone. You can use this powerful authentication method for various other online accounts and services that support two-factor authentication. The convenience of having multiple accounts managed through a single app makes Google Authenticator a valuable tool in safeguarding your online presence.
By implementing Google Authenticator, you’ve significantly reduced the risk of unauthorized access to your Gmail account, protected your sensitive information from phishing attacks, and gained peace of mind regarding the security of your online communications.
Remember to periodically review and update your security settings and stay informed about the latest best practices in online security. Continued vigilance and a proactive approach will help you maintain a secure digital environment for your personal and professional activities.
Thank you for following this step-by-step guide. Now that you’re equipped with the knowledge to set up Google Authenticator for your Gmail account, take control of your online security and enjoy the benefits of heightened protection!