Introduction
Welcome to our step-by-step guide on how to set up Google Workspace email in Outlook. If you’re a Google Workspace user and prefer to manage your email through the familiar interface of Microsoft Outlook, this guide is for you. By following these instructions, you’ll be able to seamlessly access and send emails from your Google Workspace account directly in Outlook.
Google Workspace, formerly known as G Suite, provides businesses with a suite of productivity tools, including Gmail for email communication. While Gmail has its own user-friendly interface, some users prefer the features and layout of Outlook. By integrating your Google Workspace email with Outlook, you can take advantage of Outlook’s powerful email management capabilities while still utilizing your Google Workspace account.
This guide will walk you through the process of setting up your Google Workspace email in Outlook step by step. We’ll cover how to enable IMAP in Google Workspace, add a new account in Outlook, and configure the incoming and outgoing mail server settings. Whether you’re using Outlook for Windows or Outlook for Mac, the process is similar, and we’ll highlight any differences along the way.
Before we get started, please make sure you have the necessary login credentials for your Google Workspace account and have Outlook installed on your computer. If you’re ready, let’s dive in and get your Google Workspace email set up in Outlook!
Step 1: Enable IMAP in Google Workspace
The first step in setting up your Google Workspace email in Outlook is to enable IMAP (Internet Message Access Protocol) in your Google Workspace account settings. IMAP allows you to access your email messages on multiple devices, including Outlook, while keeping them synchronized. Here’s how to enable IMAP:
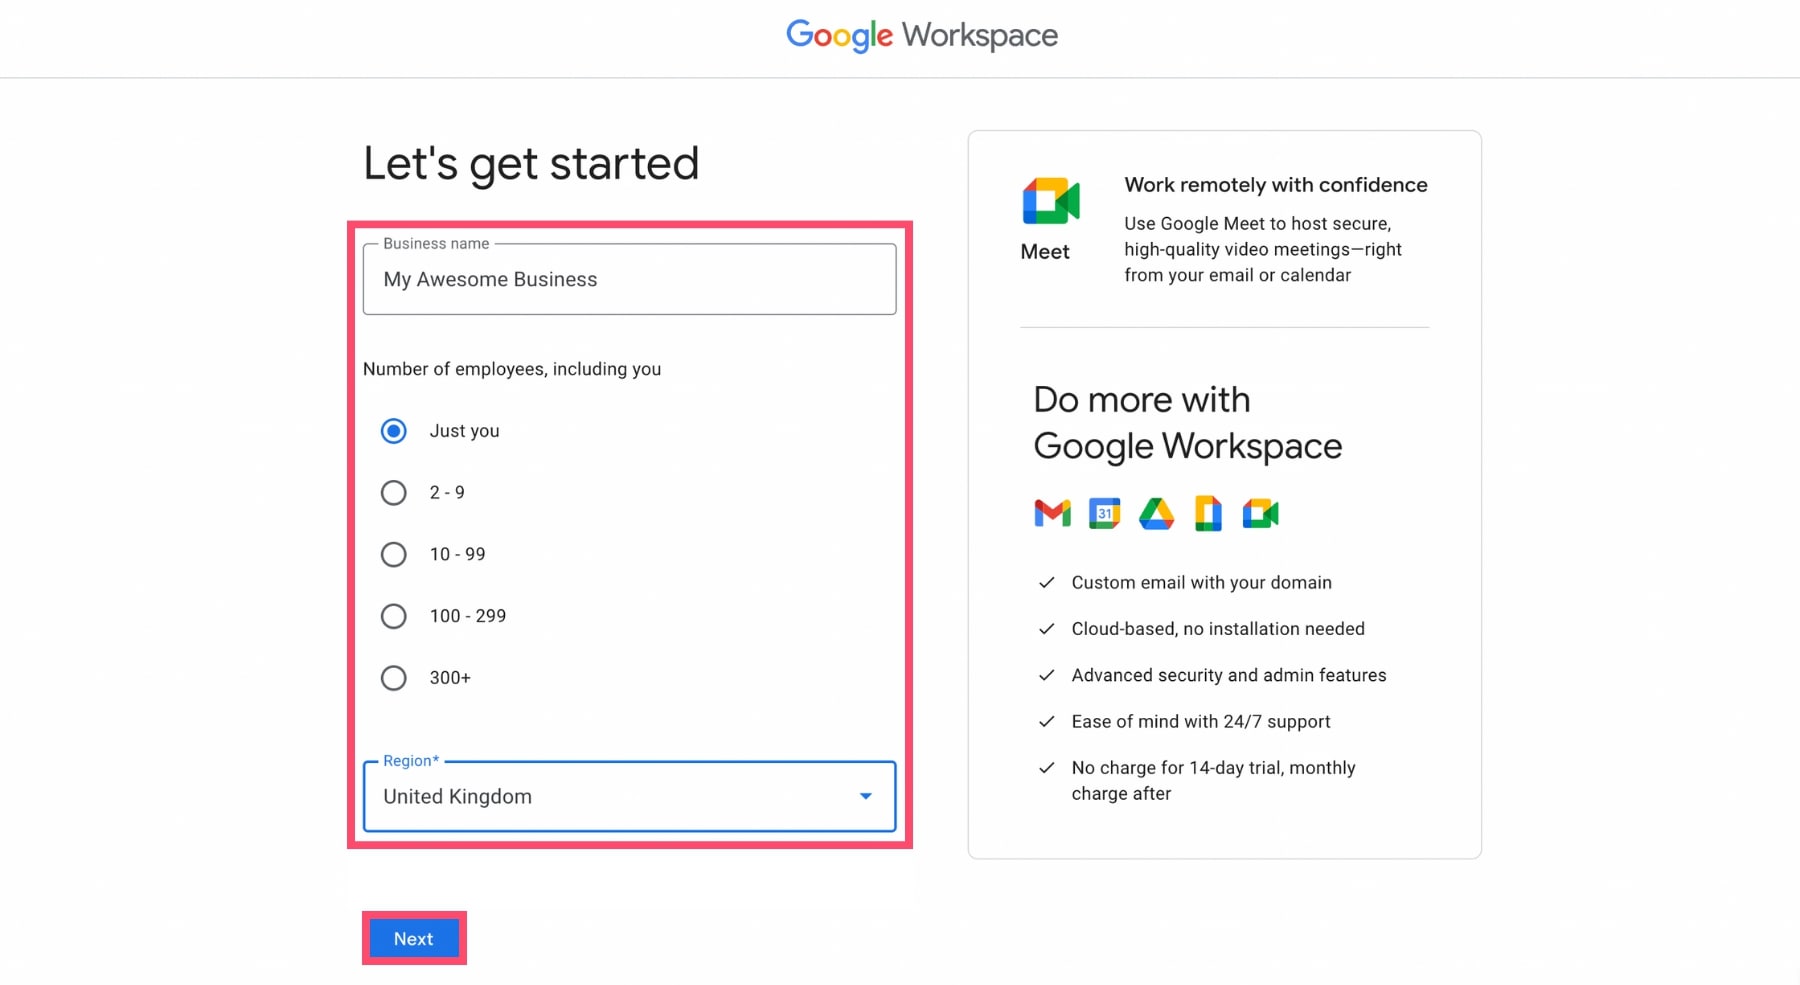
- Open your web browser and log in to your Google Workspace account.
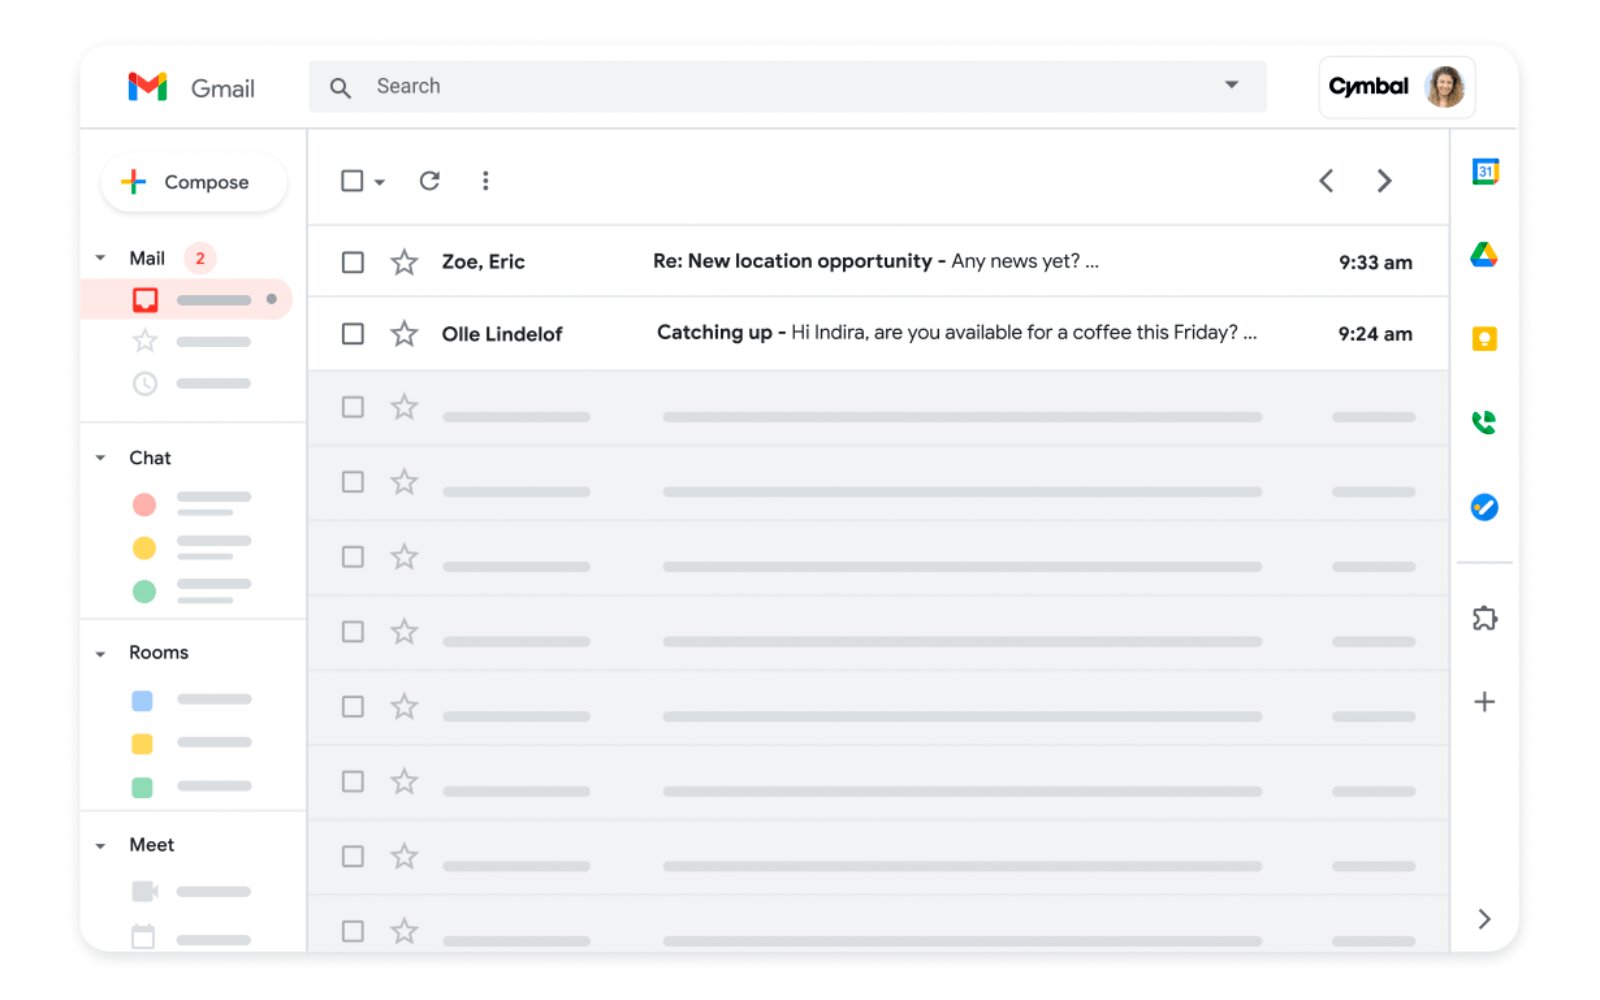
- Click on the “Apps” icon (nine dots in a square) in the top right corner, and select “Gmail” from the list of available apps.
- In the Gmail interface, click on the gear icon in the top right corner and select “Settings” from the dropdown menu.
- In the Settings menu, go to the “Forwarding and POP/IMAP” tab.
- Under the “IMAP Access” section, select “Enable IMAP” if it’s not already enabled.
- Scroll down to the bottom of the page and click on the “Save Changes” button.
Once you have enabled IMAP in your Google Workspace account, you’re ready to proceed to the next step of adding your Google Workspace email to Outlook. Keep in mind that it may take a few minutes for the changes to take effect.
If you’re planning to use Outlook on multiple devices, such as a desktop computer and a mobile device, enabling IMAP will ensure that your emails and folders remain synchronized across all devices. This way, any changes you make in Outlook, such as deleting or organizing emails, will be reflected in your Google Workspace account and vice versa.
Enabling IMAP in your Google Workspace account is a one-time setup, and you won’t need to repeat this step unless you decide to disable IMAP in the future. With IMAP enabled, you’re ready to move on and set up your Google Workspace email account in Outlook.
Step 2: Open Outlook and Add a New Account
Now that you have enabled IMAP in your Google Workspace account, it’s time to open Outlook and add a new account to start integrating your Google Workspace email. Follow the steps below:
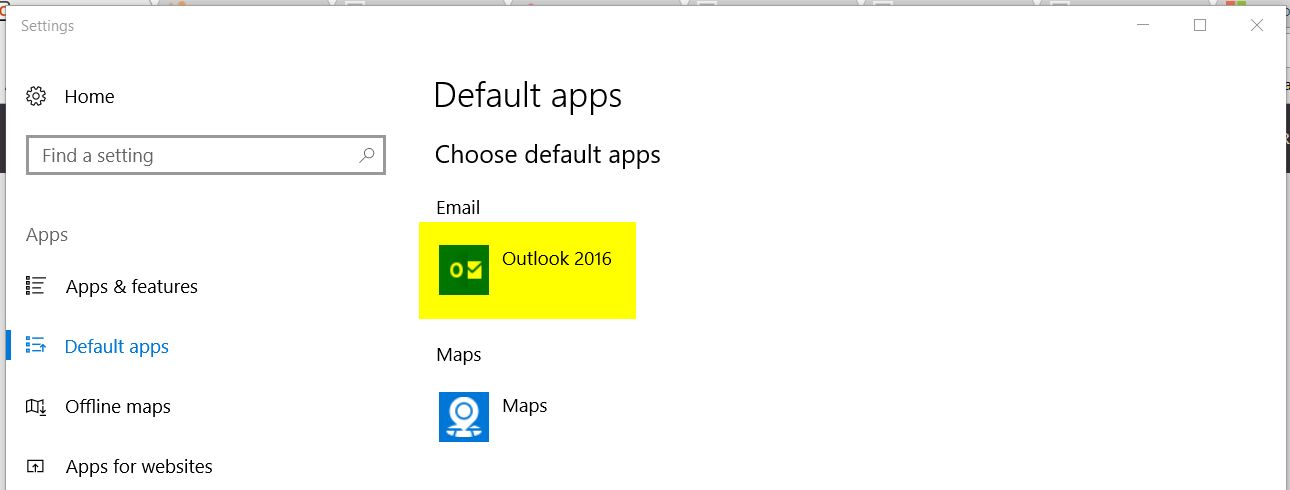
- Launch Outlook on your computer. The steps may vary slightly depending on whether you’re using Outlook for Windows or Outlook for Mac, but the overall process remains the same.
- In the Outlook application, go to the “File” tab located in the top menu bar.
- Click on the “Add Account” button. This will open the account setup wizard.
- On the first page of the setup wizard, enter your Google Workspace email address in the provided field.
- Tick the box that says “Let me set up my account manually” and click “Connect”.
Outlook will now attempt to automatically configure the account settings, but since we’re setting up a Google Workspace email, manual configuration is required. Proceed to the next step to enter the necessary details.
If you’re using Outlook for Mac, you will see a slightly different setup process. Instead of entering the email address in the initial setup page, you should select “Exchange or Office 365” and enter your Google Workspace email address in the subsequent window. Follow the instructions provided by the setup wizard on your specific version of Outlook for Mac.
Next, we’ll move on to entering your Google Workspace email details for a successful setup in Outlook.
Step 3: Enter Your Google Workspace Email Details
In this step, you will need to enter your Google Workspace email details to connect it with Outlook. Follow these instructions:
- After clicking on “Connect” in the previous step, Outlook will display the “Choose Account Type” page.
- Select “IMAP” as the account type.
- Now, you need to provide the following information:
- Username: Enter your full Google Workspace email address.
- Password: Type in your Google Workspace account password.
- IMAP Server: Enter “imap.gmail.com” as the incoming mail server.
- Port: Keep the default IMAP port as “993”.
- Encryption: Choose “SSL/TLS” to secure your connection.
- Click on the “Connect” button to proceed.
Outlook will now verify your account credentials and connect to your Google Workspace email. This process may take a few moments as Outlook establishes the connection to the IMAP server.
If the provided information is correct, Outlook will successfully connect to your Google Workspace email account. However, if there are any issues with the login details, Outlook will prompt you to verify the information or enter the correct credentials.
Once the account is successfully added, you can customize the account settings further, such as specifying the display name and adjusting synchronization options. Outlook will start downloading your email messages, and you will be able to access your Google Workspace emails within Outlook’s interface.
Congratulations! You have completed the third step of adding your Google Workspace email to Outlook. In the next step, we will configure the incoming mail server settings, so you can receive emails seamlessly.
Step 4: Set up the Incoming Mail Server Settings
Now that you have entered your Google Workspace email details and successfully connected it to Outlook, it’s time to configure the incoming mail server settings. This will allow you to receive emails in Outlook. Follow these steps:
- Once your Google Workspace email account is added to Outlook, go to the “File” tab in the top menu.
- Select “Account Settings” and then choose “Account Settings” again from the dropdown menu. This will open the Account Settings window.
- In the Account Settings window, select the “Email” tab and click on your Google Workspace email account.
- Click on the “Change” button located above the account list.
- In the subsequent window, you will see the “Server Settings” section.
- Make sure the following settings are configured correctly:
- Server: Enter “imap.gmail.com” as the incoming mail server.
- Port: Keep the default port as “993” for IMAP.
- Encryption Method: Choose “SSL/TLS” to ensure a secure connection.
- Login Credentials: Ensure that your Google Workspace email address is listed as the username, and the password is saved correctly.
- Click “Next” to proceed.
Outlook will now test the server settings and establish a connection to the incoming mail server. If everything is configured properly, you will see a message indicating that the test was successful. If any settings are incorrect, Outlook will prompt you to verify and correct the information.
Once the settings are verified and the connection is established, click “Close” to exit the Account Settings window. Outlook will now begin to synchronize your Google Workspace email inbox with Outlook, and you will be able to view and manage your incoming emails within the Outlook interface.
Great job! You have completed the fourth step of setting up your Google Workspace email in Outlook. In the next step, we will configure the outgoing mail server settings so that you can send emails directly from Outlook using your Google Workspace account.
Step 5: Set up the Outgoing Mail Server Settings
After successfully configuring the incoming mail server settings, the next step is to set up the outgoing mail server settings in Outlook. This will allow you to send emails directly from Outlook using your Google Workspace email account. Follow these steps:
- In Outlook, go to the “File” tab and select “Account Settings”.
- In the Account Settings window, click on your Google Workspace email account and then click on the “Change” button.
- In the subsequent window, scroll down to the “Server Settings” section.
- Under the “Outgoing Mail Server (SMTP)” section, click on the “More Settings” button.
- A new window will appear. Go to the “Outgoing Server” tab. Make sure the checkbox for “My outgoing server (SMTP) requires authentication” is checked.
- Next, select the “Advanced” tab in the same window.
- Check if the following settings match the ones below:
- Outgoing Server: Enter “smtp.gmail.com” as the outgoing mail server.
- Port: Set the port number to “587”.
- Encryption Method: Choose “SSL/TLS”.
- Click “OK” to save the changes and close the window.
- Back in the Account Settings window, click “Next” and then “Finish” to complete the setup process.
With these settings configured, Outlook is now ready to send emails using your Google Workspace email account. You can compose emails and select your Google Workspace email address as the “From” address when sending messages. All outgoing emails will be sent through the Google SMTP server with the authenticated login credentials, ensuring a secure and reliable email delivery process.
Congratulations! You have successfully set up the outgoing mail server settings in Outlook for your Google Workspace email account. In the next and final step, we will complete the account setup and finalize the integration between Google Workspace and Outlook.
Step 6: Complete the Account Setup
You’re almost there! In this final step, we will complete the account setup process and ensure that everything is ready for seamless integration between Google Workspace and Outlook. Follow these instructions:
- After setting up the incoming and outgoing mail server settings, click “Next” on the Account Settings window.
- Outlook will perform a quick test to ensure that all settings are configured correctly. If the test is successful, you will see a “Congratulations!” message. Click “Close” to exit.
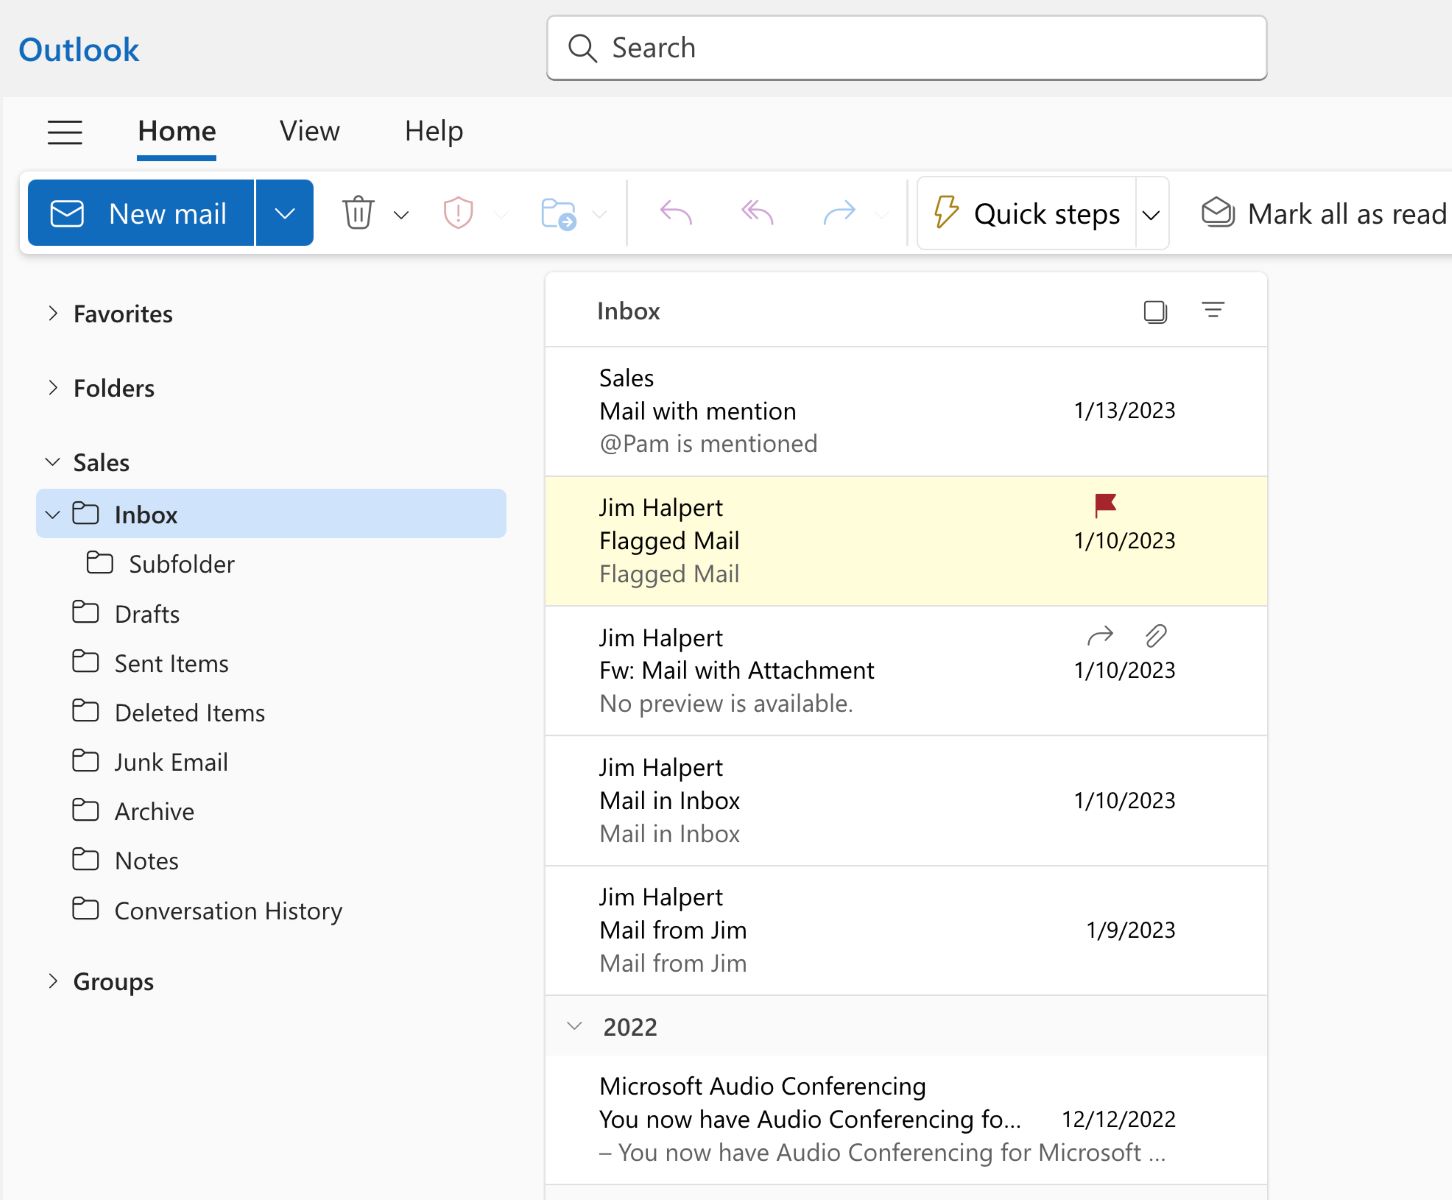
- Back in the main Outlook interface, you will now see your Google Workspace email account listed in the left-hand sidebar. Click on it to expand and access the various folders, such as Inbox, Sent Items, and Drafts.
- Take a moment to explore the different features and options available within Outlook. You can create new folders, organize your emails, and customize the settings to your preferences.
- To compose a new email, click on the “New Email” button in the top left corner, and select your Google Workspace email account as the “From” address.
- You can now start sending, receiving, and managing your Google Workspace emails directly in Outlook.
It’s important to note that any changes made in Outlook, such as deleting or moving emails, will be reflected in your Google Workspace account. Similarly, any changes made in your Google Workspace account, such as creating labels or folders, will be mirrored in Outlook. This synchronization ensures that your email management is seamless across both platforms.
Congratulations! You have successfully completed the account setup for integrating your Google Workspace email with Outlook. Enjoy the convenience and features of using Outlook while staying connected to your Google Workspace account.
If you encounter any issues or difficulties throughout the process, double-check the settings and ensure that you have entered the correct information for your Google Workspace email account. And of course, don’t hesitate to reach out to Google Workspace or Outlook support for further assistance.
Conclusion
Congratulations on successfully setting up your Google Workspace email in Outlook! You have now seamlessly integrated your Google Workspace account with Outlook, allowing you to manage your emails using the familiar interface and powerful features of Outlook. By following the step-by-step process outlined in this guide, you have enabled IMAP in Google Workspace, added your Google Workspace email account to Outlook, and configured both the incoming and outgoing mail server settings.
Now, you can enjoy the convenience of accessing your Google Workspace emails directly within Outlook. Whether you prefer the organization capabilities of Outlook, need to collaborate with colleagues using Google Workspace, or simply appreciate having all your digital communications in one place, this integration provides you with the best of both worlds.
Remember, any changes you make in Outlook will be reflected in your Google Workspace account, and vice versa. This synchronization ensures that you can stay up to date and manage your emails effortlessly across different devices and platforms.
If you encounter any issues or have questions along the way, be sure to consult the support resources provided by Google Workspace and Outlook. They can provide guidance and assistance to help you make the most of this integration.
Thank you for following this guide, and we hope it has been helpful in setting up your Google Workspace email in Outlook. Enjoy the seamless email experience and enhanced productivity that comes with using these powerful tools together!