Introduction
Setting up email for your business is an essential step to streamline communication and establish a professional online presence. Google Workspace, formerly known as G Suite, offers a comprehensive suite of productivity tools, including Gmail, that can help you manage your business email effectively.
In this guide, we will walk you through the process of setting up email using Google Workspace. Whether you are a small business owner, a freelancer, or an entrepreneur, by following these steps, you will be able to create personalized email addresses for your domain and manage your email communications efficiently.
Google Workspace provides several advantages over traditional email services. Apart from the well-known Gmail interface, you also get access to a range of additional features, such as shared calendars, online storage, and video meetings, all integrated into a unified platform.
With Google Workspace, you can easily collaborate with colleagues, share files securely, and access important information from anywhere. It also offers robust security measures, including advanced spam protection, two-step verification, and data encryption, ensuring the confidentiality and integrity of your emails.
Now, let’s dive into the step-by-step process of setting up your email using Google Workspace. By the end of this guide, you will have a professional email address associated with your domain, enabling you to communicate effectively and leave a lasting impression on customers and clients.
Step 1: Sign up for Google Workspace
The first step in setting up email using Google Workspace is to sign up for an account. To do this, follow these simple steps:
- Go to the Google Workspace website.
- Click on the “Get Started” button.
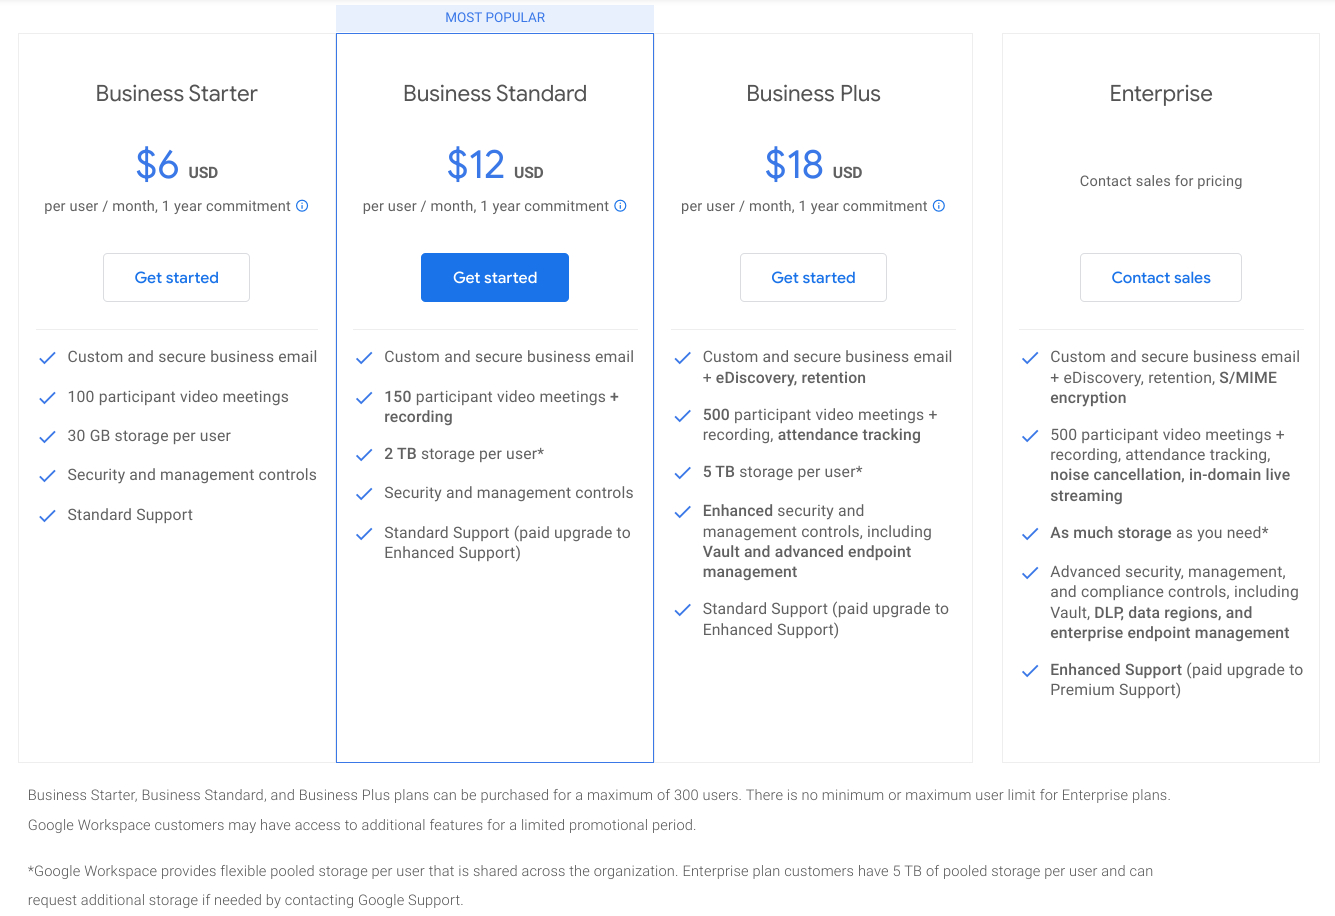
- Choose the plan that best suits your business needs. Google Workspace offers a variety of plans, including Basic, Business, and Enterprise.
- Enter your domain name. If you don’t have a domain, you can purchase one directly through Google Workspace or use an existing domain you already own.
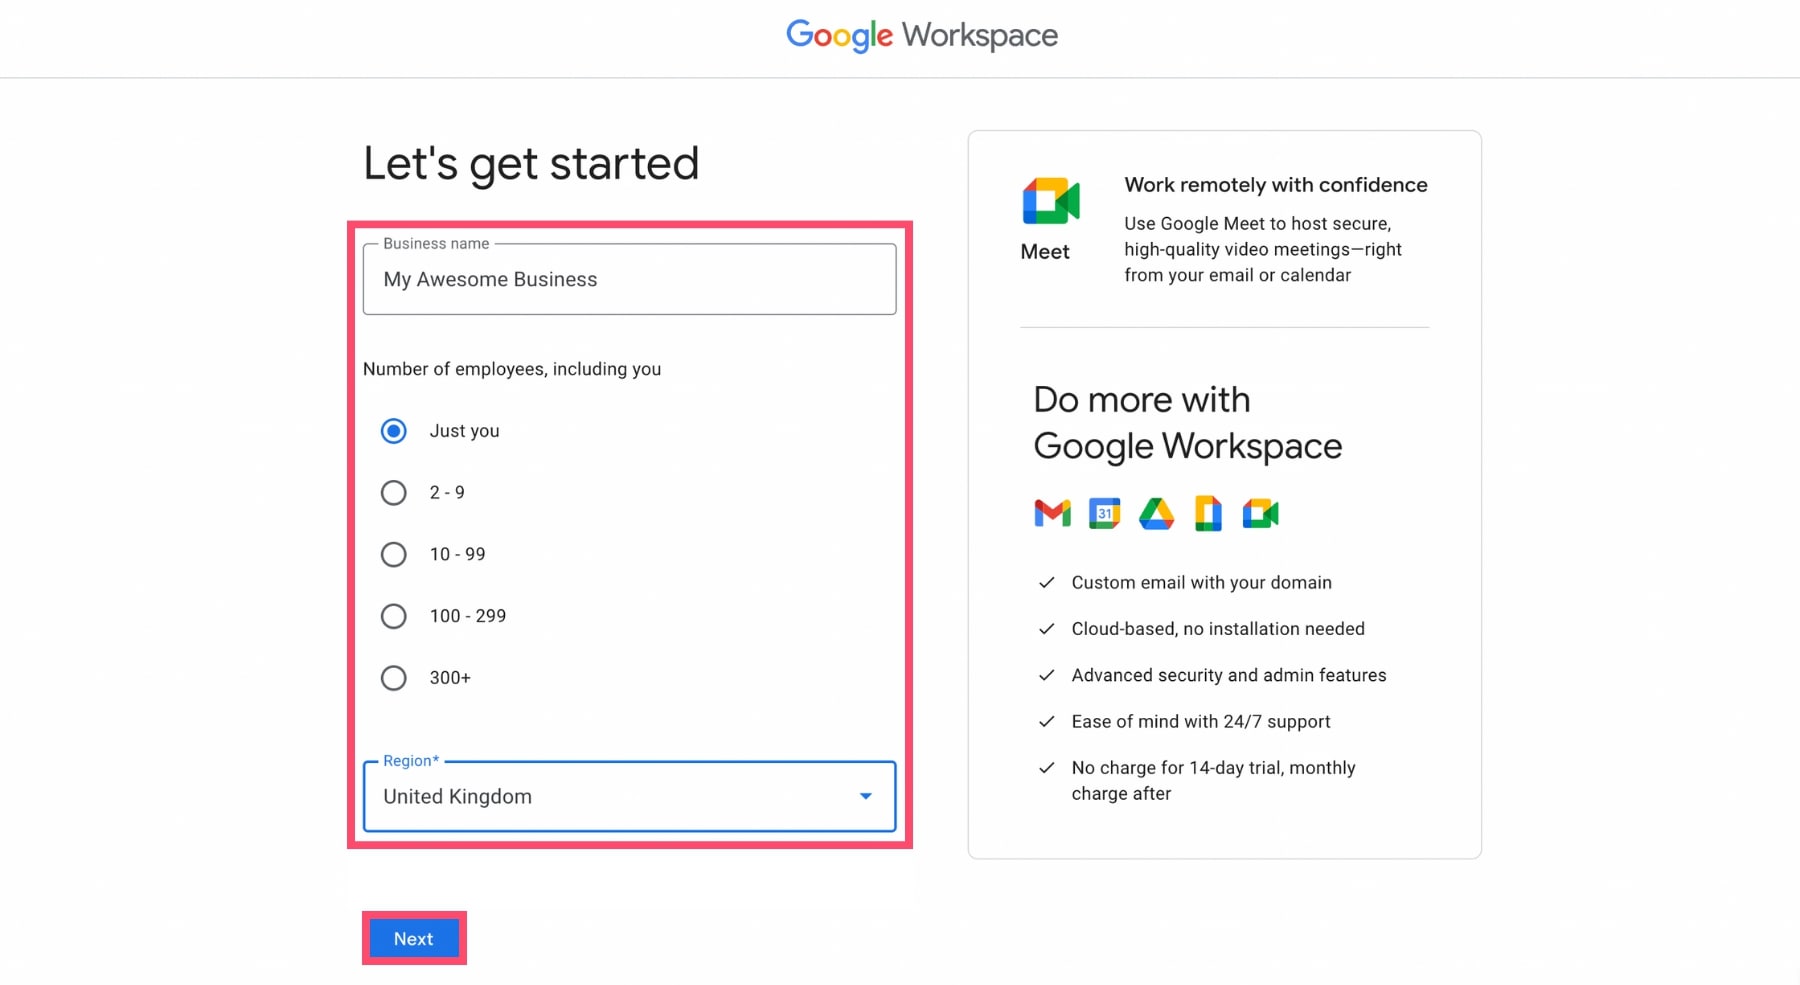
- Fill in your personal information, including your name, business name, and contact details.
- Select the number of user accounts you need. Consider the size of your team and how many email addresses you require.
- Review the terms and conditions, and if you agree, click on the “Agree and continue” button.
- Choose your payment method and provide the necessary billing information.
- Click on the “Submit” button to complete the sign-up process.
Once you have signed up, Google Workspace will guide you through the next steps to verify your domain and set up your email addresses.
Note: Google Workspace offers a free 14-day trial, which allows you to explore the features and functionalities before committing to a paid plan. Take advantage of this trial period to ensure that Google Workspace meets your business requirements.
Now that you have successfully signed up for Google Workspace, let’s move on to the next step in setting up your email: verifying your domain.
Step 2: Verify your domain
After signing up for Google Workspace, the next step is to verify your domain. Verifying your domain is essential to prove that you own the domain and have the authority to set up email addresses for it. Follow these steps to verify your domain:
- Sign in to your Google Workspace admin console using the email address and password associated with your Google Workspace account.
- Click on the “Setup” tab and then select “Domains” from the left-hand menu.
- Click on the “Add a domain or domain alias” button and enter your domain name.
- Select the verification method. Google Workspace offers several options, including adding a DNS record, uploading an HTML file to your website, or adding a meta tag to your website’s homepage.
- Choose the method that is most convenient for you and follow the provided instructions to complete the verification process. You may need to access your domain registrar or web hosting provider’s dashboard to make changes to your DNS settings.
- Once you have completed the verification steps, click on the “Verify” button.
It may take some time for the verification to be processed. Google Workspace will provide you with status updates, and once your domain is successfully verified, you can proceed to the next step of setting up your email addresses.
Note: If you encounter any issues during the verification process, Google Workspace provides support resources and documentation to assist you. Additionally, you can reach out to their customer support for further assistance.
Now that your domain is successfully verified, let’s move on to the next step: setting up your email addresses.
Step 3: Set up your email addresses
Now that your domain is verified, it’s time to set up your email addresses using Google Workspace. Follow these steps to create personalized email addresses:
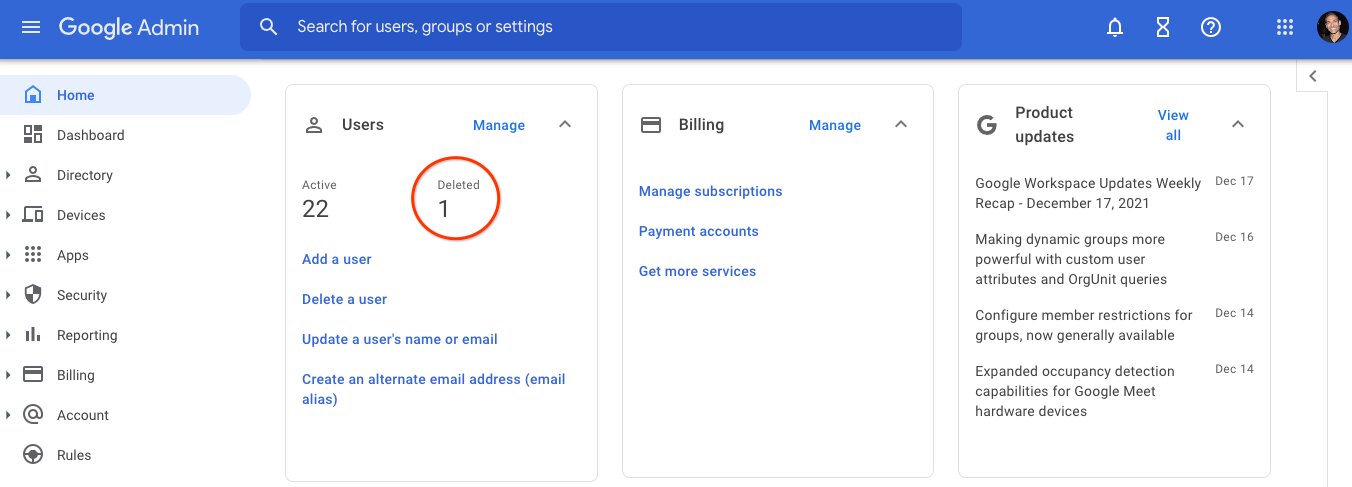
- Go to the Google Workspace admin console and sign in with your admin account.
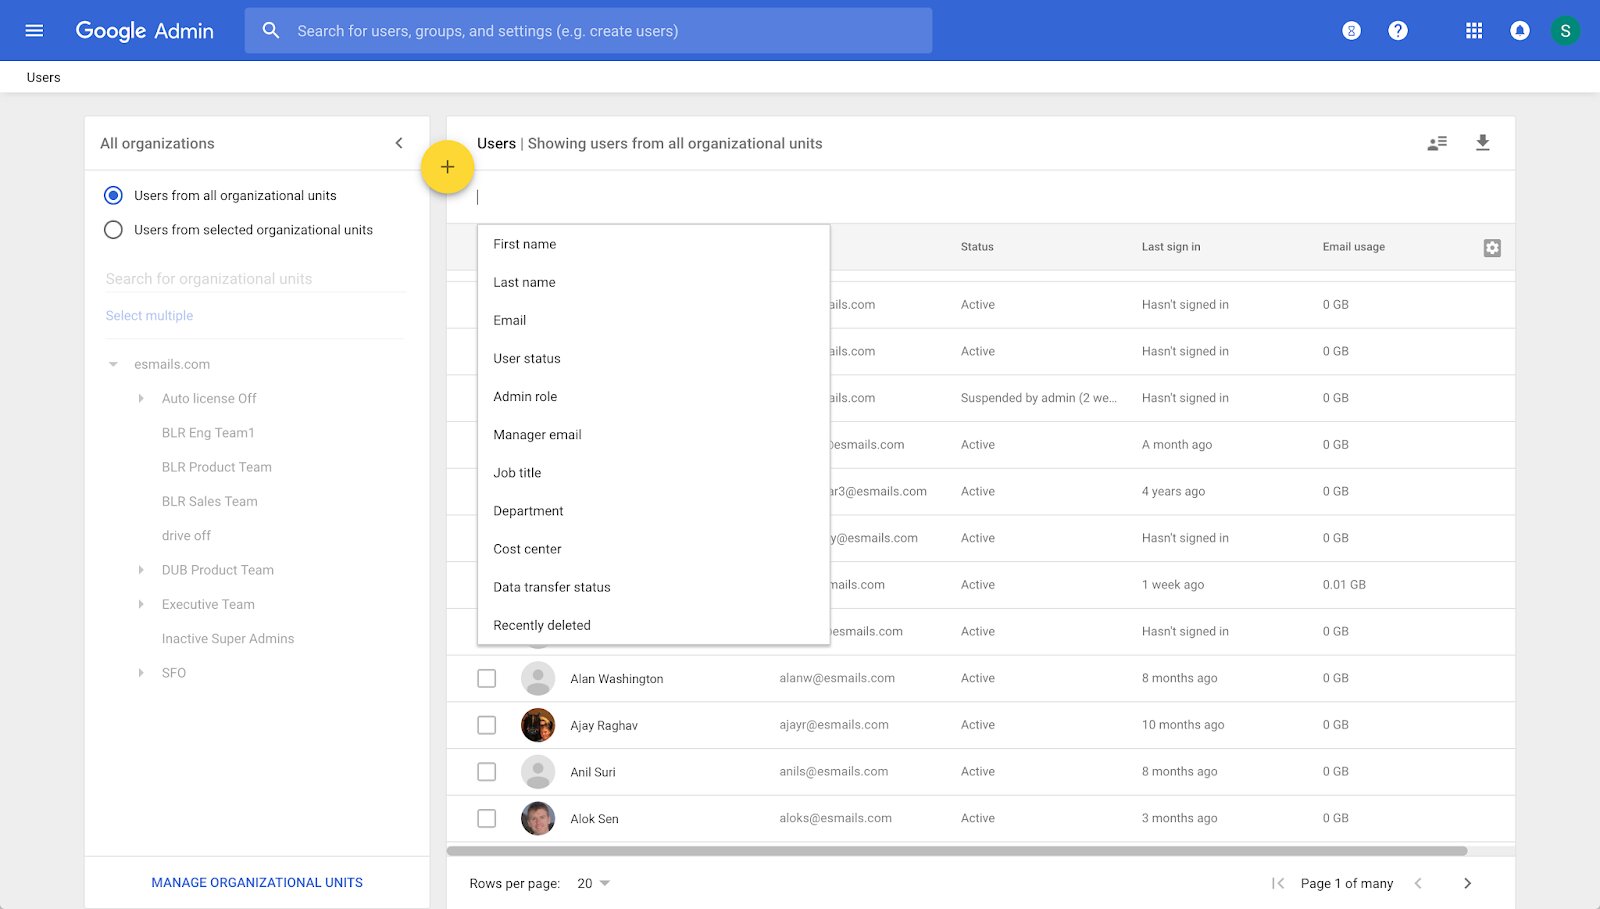
- Click on the “Users” tab and then select “Add new user” to create a new user account.
- Enter the required information for the user, including their first and last name, desired email address, and password.
- Choose the appropriate settings for the user account, such as the user’s role and access privileges.
- Click on the “Create” button to add the user and create their email address.
- Repeat these steps for each individual you want to create an email address for.
Google Workspace allows you to create multiple email addresses for different team members or departments. Make sure to customize each email address to reflect the individual or department it belongs to.
In addition to creating individual email addresses, you can also set up distribution lists or groups to easily send emails to multiple recipients. This is particularly useful for team collaborations or departmental announcements.
As you create email addresses, Google Workspace will automatically provision corresponding Google Workspace accounts, giving each user access to a suite of productivity tools, including Gmail, Google Drive, Google Calendar, and more.
Once you have set up all the necessary email addresses for your team, you can move on to the next step: choosing your preferred email client to access your email.
Step 4: Choose your email client
Google Workspace offers multiple options for accessing your email. Whether you prefer a web-based interface or want to use a desktop or mobile app, Google Workspace has you covered. Here are the available options:
1. Gmail Web App: The web-based Gmail interface is accessible from any browser. It provides a user-friendly and feature-rich environment for managing your email. You can access Gmail by visiting mail.google.com and signing in with your Google Workspace account credentials.
2. Gmail Mobile App: Google offers dedicated Gmail apps for both iOS and Android devices. You can download the Gmail app from the respective app stores and log in using your Google Workspace account to access your email on the go.
3. Email Clients: If you prefer using a desktop or mobile email client, such as Microsoft Outlook or Apple Mail, you can configure it to connect to your Google Workspace email account using IMAP or POP settings. Instructions for setting up email clients can be found in the Google Workspace Help Center.
When choosing an email client, consider your preferred method of accessing and managing your email, as well as any additional features or integration you may require.
Keep in mind that regardless of the email client you choose, your emails will be synchronized across all devices. This means that when you read, delete, or reply to an email from one device, the changes will be reflected on all other devices as well.
Now that you have chosen your preferred email client, let’s move on to the next step: configuring your email settings.
Step 5: Configure email settings
After choosing your email client, it’s time to configure your email settings to ensure optimal functionality and customization. Here are the key settings you should consider:
1. Signature: Set up a personalized email signature that will be automatically added to the end of your outgoing emails. Include your name, job title, contact information, and any other relevant details that reflect your professional identity.
2. Filters and Labels: Create filters and labels to automatically organize incoming emails into specific categories or folders. This allows you to prioritize and easily locate important messages, saving you time and improving email management.
3. Auto-reply: If you’re away or unable to respond to emails promptly, set up an automatic reply to let people know. Customize the message, specify the date range for the auto-reply, and choose whether it should be sent to all senders or only those in your contacts.
4. Forwarding: If you prefer to receive emails from your Google Workspace account in another email client, you can set up email forwarding. This will automatically forward incoming messages to another email address while still keeping a copy in your Google Workspace inbox.
5. Spam and Security: Review the spam and security settings to ensure you have the appropriate level of protection against suspicious or malicious emails. Customize the spam filter sensitivity and enable additional security features like two-factor authentication for enhanced account security.
6. Language and Appearance: Customize the language, theme, and general appearance of your email client to suit your preferences. You can also choose to display email threads as conversations or as individual messages, depending on your preferred email viewing style.
Configuring these settings will help you personalize your email experience and make your workflow more efficient. Take some time to explore the various options available in your chosen email client to tailor it to your needs.
Now that you have configured your email settings, let’s move on to the next step: adding additional features to enhance your email setup.
Step 6: Add additional email features
In addition to the core email functionality, Google Workspace offers several additional features that can enhance your email setup and productivity. Here are some valuable features to consider:
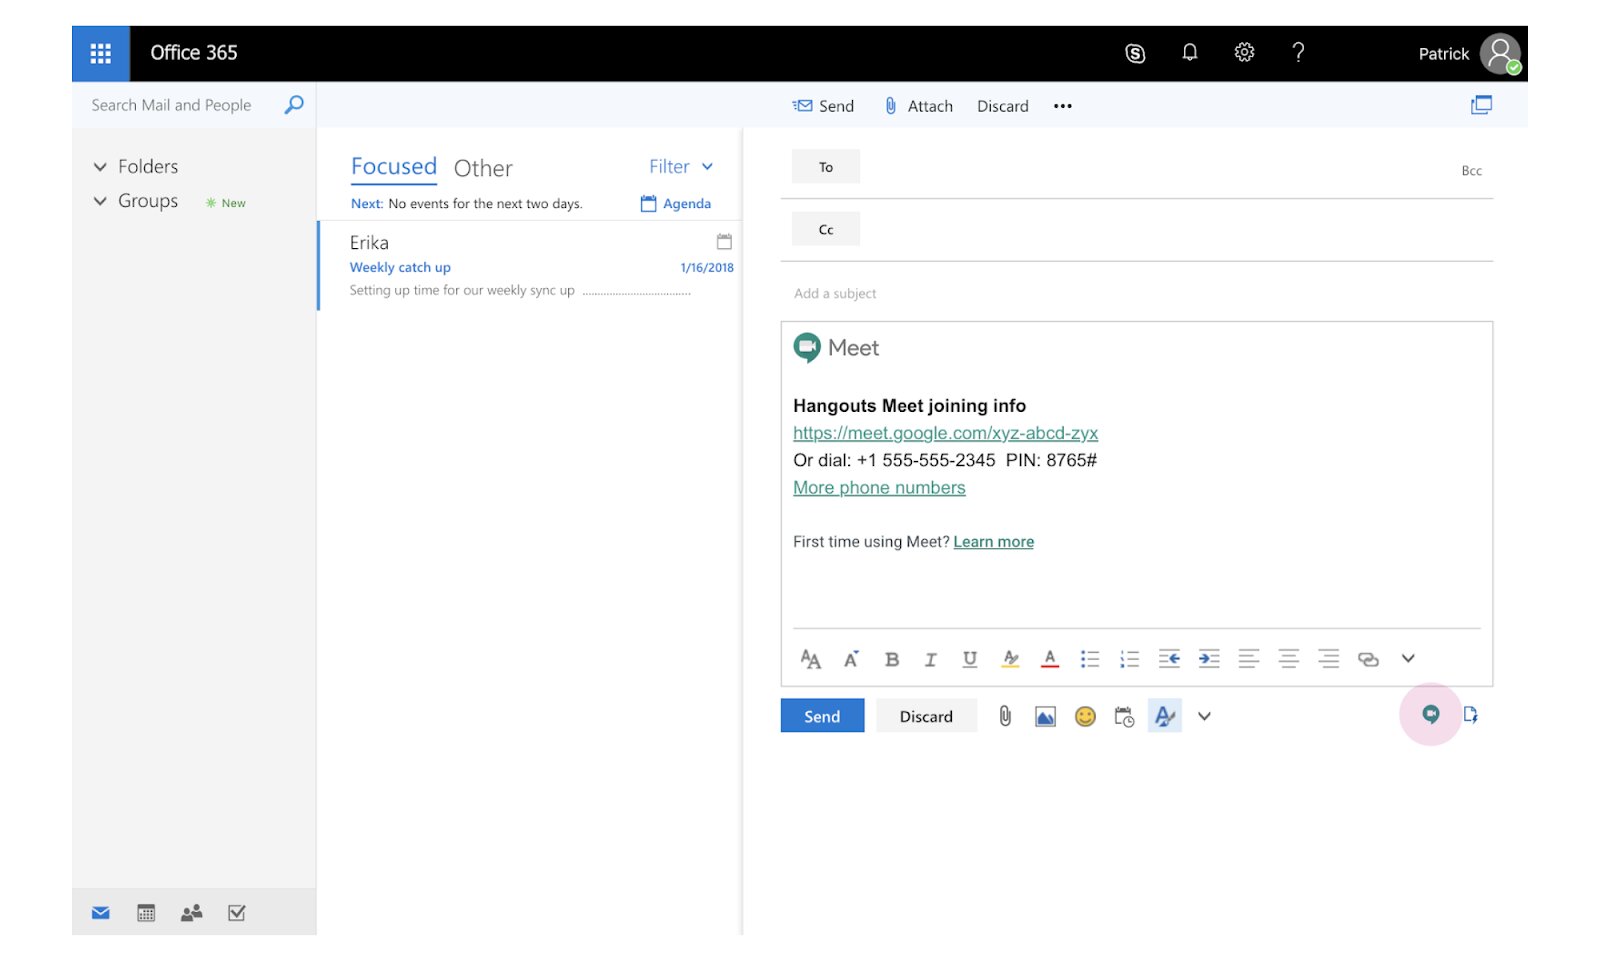
1. Google Meet Integration: With Google Meet, you can seamlessly schedule and join video meetings directly from your email. This feature allows you to collaborate with team members or clients in real-time, making communication more efficient and convenient.
2. Google Drive Integration: Google Drive provides secure online storage for your files, allowing you to easily attach and share files and documents within your email conversations. You can also collaborate on files in real-time, enabling seamless teamwork and version control.
3. Email Search and Filtering: Google Workspace’s powerful search and filtering capabilities help you quickly find specific emails or conversations. You can search for keywords, filter emails by sender, date range, or other criteria, making it easier to locate important information within your mailbox.
4. Priority Inbox: Google Workspace offers a Priority Inbox feature that automatically prioritizes incoming emails based on your previous interactions and email patterns. This helps you focus on the most important messages and reduces clutter in your inbox.
5. Calendar Integration: Google Workspace seamlessly integrates with Google Calendar, allowing you to schedule and manage appointments, events, and meetings directly from your email. You can send meeting invitations, view your colleagues’ availability, and even receive notifications for upcoming events.
6. Mobile Accessibility: Google Workspace apps are available for iOS and Android devices, enabling you to access your email and other productivity tools on the go. This ensures that you stay connected and can manage your business communications from anywhere.
By taking advantage of these additional features, you can maximize the benefits of Google Workspace and optimize your email workflow. Assess your specific needs and consider enabling the features that will be most valuable for your business.
Now that you have explored these additional email features, let’s move on to the final step: testing and troubleshooting your email setup.
Step 7: Test and troubleshoot your email setup
Once you have completed the setup process for your email using Google Workspace, it’s important to thoroughly test and troubleshoot your email setup to ensure everything is working as expected. Here are some key steps to follow:
1. Send and Receive Test Emails: Send test emails to various accounts, including both external and internal addresses, to verify that you can send and receive emails successfully. Check for any delays, bounce backs, or issues with attachments.
2. Verify Email Delivery: Confirm that emails are being delivered to the intended recipients without any errors or spam filtering issues. Ask recipients to check their spam or junk folders if they don’t see your emails in their inbox.
3. Test Email Formatting and Signatures: Ensure that your email signatures, font styles, images, and formatting appear correctly in different email clients. Test emails with different devices and email clients to ensure a consistent experience.
4. Check Email Archiving and Retention: If you have enabled email archiving or retention policies in Google Workspace, verify that emails are being properly archived and retained according to your specified settings.
5. Review User Permissions: Double-check the user permissions for each email address to ensure that they have appropriate access to the required features and settings. Adjust permissions as needed to align with your business requirements.
6. Test Integrated Features: If you have integrated Google Meet, Google Drive, or other Google Workspace features with your email, test their functionality to ensure seamless collaboration and file sharing within your email interface.
7. Troubleshoot Issues: If you encounter any issues or errors during the testing process, consult the Google Workspace Help Center or reach out to the Google Workspace support team for guidance and assistance. They can help troubleshoot specific issues and provide solutions to resolve any problems encountered.
By thoroughly testing and troubleshooting your email setup, you can identify and resolve any issues early on, ensuring that your email system operates smoothly and efficiently.
Congratulations! You have successfully completed the process of setting up and testing your email using Google Workspace. Your business now has a professional email solution that empowers efficient communication and collaboration.
Remember, ongoing monitoring and management of your email setup is essential. Regularly review your email settings, security measures, and additional features to optimize your email workflow and stay ahead of any potential issues or changes in your business requirements.
Conclusion
Setting up email using Google Workspace is a crucial step in establishing a professional online presence and improving communication within your business. By following the step-by-step guide outlined in this article, you have successfully created personalized email addresses for your domain, configured email settings, and explored additional features to enhance your email setup.
With Google Workspace, you have access to a powerful suite of tools, including Gmail, Google Drive, Google Calendar, and more. These integrated features allow for seamless collaboration, efficient file sharing, and convenient scheduling, all within your email interface.
Remember to regularly test and troubleshoot your email setup, ensuring that emails are delivered properly, formatting is consistent, and any integrated features are functioning as expected. This will help you maintain a reliable and efficient email system for your business communications.
Should you encounter any issues or questions along the way, Google Workspace provides robust support resources, including documentation and customer support, to assist you in resolving any challenges you may face.
Now, armed with a well-configured and feature-rich email system, you are ready to engage with clients, partners, and colleagues confidently, knowing that you have a professional and reliable means of communication.
Embrace the power of Google Workspace and maximize the benefits of streamlined and efficient email management for your business. Enjoy the ease, productivity, and peace of mind that comes with a well-optimized email setup.
Get started today and elevate your business communication with Google Workspace!