Introduction
Transferring Google Workspace to another account can be a complex process, but with the right steps and precautions, it can be accomplished smoothly. Whether you are switching your Google Workspace account to a different email address or transferring it to someone else, this guide will walk you through the necessary steps to ensure a seamless transition.
Google Workspace, formerly known as G Suite, offers a comprehensive suite of productivity tools including Gmail, Drive, Calendar, Docs, and more. It is widely used by individuals, businesses, and organizations for streamlined communication, collaboration, and data management. However, there may come a time when you need to transfer your Google Workspace account to another account, such as when you change your email address or transfer ownership of a company.
This process involves creating a new Google Workspace account, backing up your data from the old account, transferring the data to the new account, and ensuring the integrity of the transferred data. Additionally, you will need to inform your contacts about the transition through email forwarding and update your personal information and settings in the new account.
In this guide, we will provide you with step-by-step instructions on how to transfer your Google Workspace account to another account. By following these steps, you can avoid any potential data loss or disruption in your communication and workflow.
Before proceeding with the transfer process, it is essential to familiarize yourself with the prerequisites for transferring Google Workspace accounts. We will cover these prerequisites in the next section to ensure that you have everything you need before embarking on the transfer journey.
Prerequisites
Before transferring your Google Workspace account to another account, there are a few prerequisites to be aware of. These requirements will help ensure a smooth and successful transfer. Make sure you have the following ready before proceeding:
1. Access to both the old and new Google Workspace accounts: You will need login credentials for both accounts in order to perform the transfer. If you don’t have access to either account, you may need to reset passwords or contact the respective account owners for assistance.
2. Sufficient storage space in the new Google Workspace account: Depending on the size of your data, such as emails or files, make sure the new account has enough storage to accommodate your transferred data. If necessary, you can upgrade the storage capacity of the new account before initiating the transfer.
3. Familiarity with Google Workspace data types: It is important to understand the different types of data that exist within your Google Workspace account. This includes emails, contacts, calendars, documents, spreadsheets, presentations, and more. Knowing the specific data types you want to transfer will help you navigate the transfer process more efficiently.
4. Back up important data from the old account: Before initiating the transfer, it is highly recommended to create backups of your important data from the old account. This includes exporting emails, downloading files from Google Drive, and saving any other necessary information. Having backups ensures you have a copy of your data in case of any unforeseen issues during the transfer.
5. Time availability: The transfer process may take some time, depending on the size and complexity of your Google Workspace account. It is important to allocate enough time for the transfer and avoid interrupting the process midway. Make sure you have ample time to complete the transfer without rushing.
Once you have fulfilled these prerequisites, you are ready to proceed with transferring your Google Workspace account to another account. In the following sections, we will guide you through the step-by-step process to ensure a successful transfer and minimal disruption to your productivity and communication.
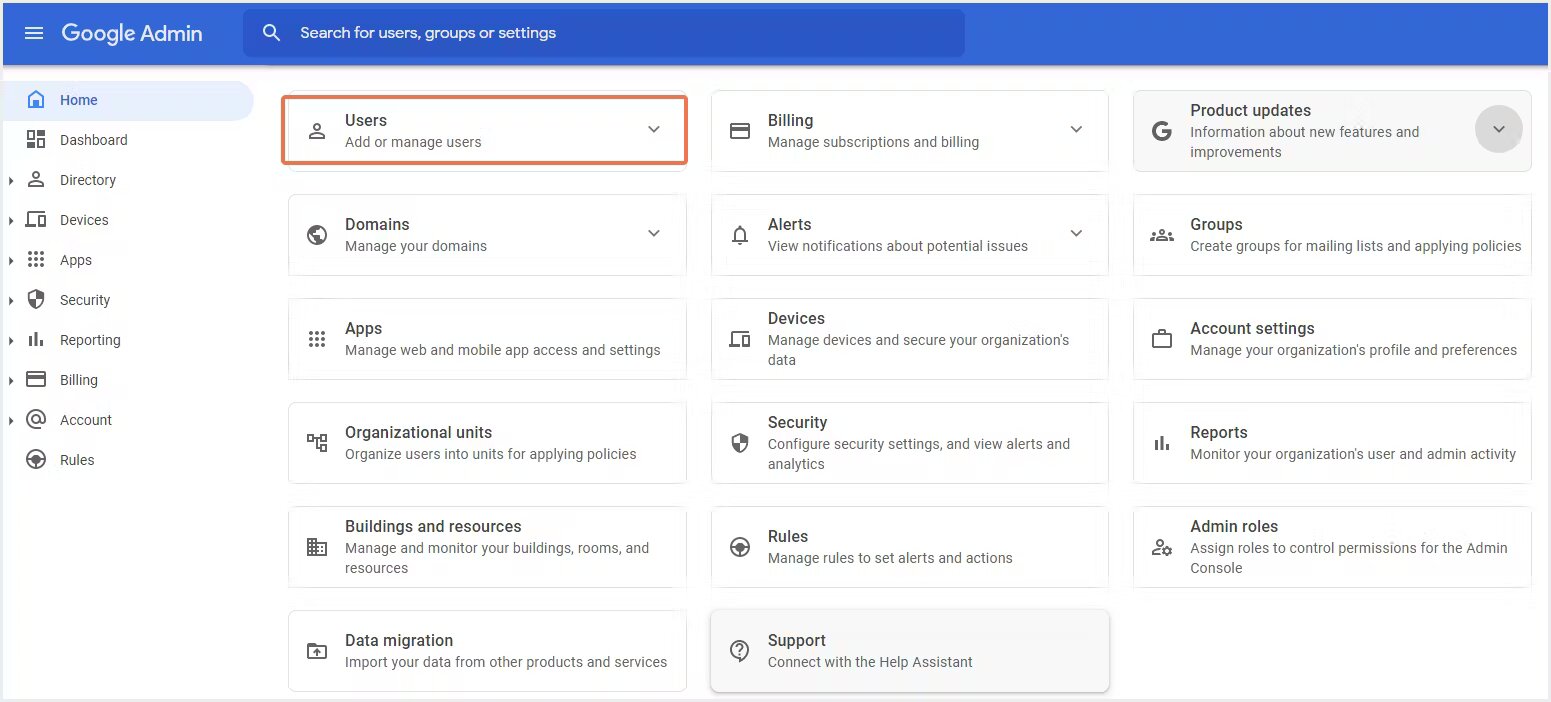
Step 1: Create a new Google Workspace account
The first step in transferring your Google Workspace account to another account is to create a new Google Workspace account. This account will serve as the destination for your transferred data.
To create a new Google Workspace account, follow these steps:
- Open your web browser and go to the Google Workspace signup page.
- Click on the “Get Started” button to begin the account creation process.
- Fill in the required information, including your desired domain name for the new account.
- Choose a unique username and password for the new account.
- Click on the “Next” button to proceed.
- Select the desired Google Workspace plan that suits your needs and budget.
- Review the terms of service and click on the “Agree and Continue” button.
- Complete the payment process, if applicable, and follow any additional prompts to finish creating the new account.
Once you have successfully created the new Google Workspace account, you will have access to a new set of Google Workspace tools and features.
It’s important to note that creating a new Google Workspace account does not automatically transfer your data from the old account. The next steps will guide you on how to back up and transfer your data to the new account.
Now that you have set up the new Google Workspace account, you are ready to proceed to the next step, which involves backing up your data from the old account.
Step 2: Back up your data from the old account
Before transferring your Google Workspace account to another account, it’s crucial to back up your data from the old account. This ensures that you have a copy of all your important information, minimizing the risk of data loss during the transfer process. Here’s how to back up your data:
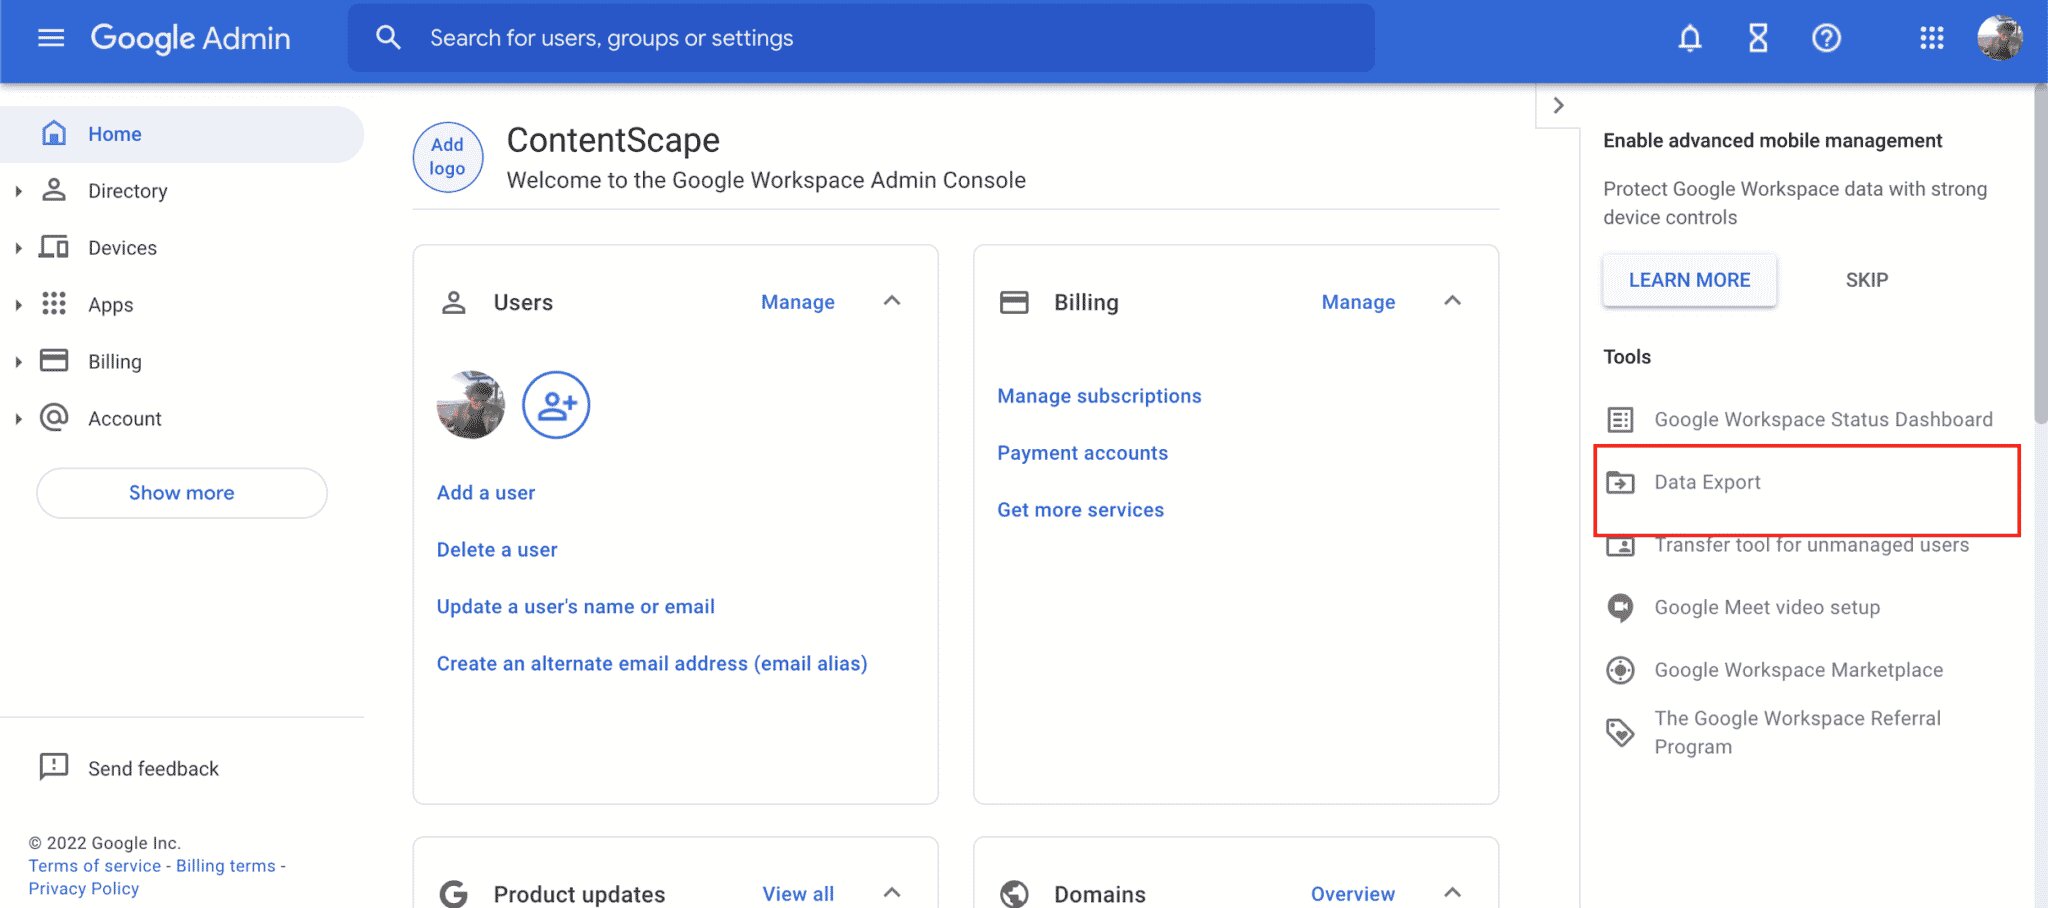
- Emails: To back up your emails, you can use the Google Takeout service. Access Google Takeout by visiting theTakeout page and select the Gmail data you want to export. Choose your desired export format and delivery method, and initiate the backup process.
- Files and Documents: If you have important files stored in Google Drive, you can easily back them up by downloading them to your local computer. Go to Google Drive, select the files or folders you want to back up, right-click, and choose “Download” or use the “Export” option if you want to convert Google Docs, Sheets, or Slides files to different formats.
- Calendar events: To back up your calendar events, go to Google Calendar, click on the gear icon, and select “Settings.” From there, choose the “Export calendars” option and select the calendars you want to back up. You will receive an email with a download link to the exported calendar file.
- Contacts: To back up your contacts, go to Google Contacts, click on the “More” button (three vertical dots), and choose the “Export” option. Select the desired export format, such as Google CSV or vCard, and initiate the backup process.
- Other data: Depending on your usage of other Google Workspace tools, such as Google Docs, Sheets, Slides, or other integrated services, consider exporting or backing up the relevant data from those tools as well.
By taking the time to back up your data, you ensure that it’s safely stored and easily accessible in case of any unforeseen issues or discrepancies during the transfer process. Once you have completed the backup, you can confidently proceed to the next step, which involves transferring your Google Workspace data to the new account.
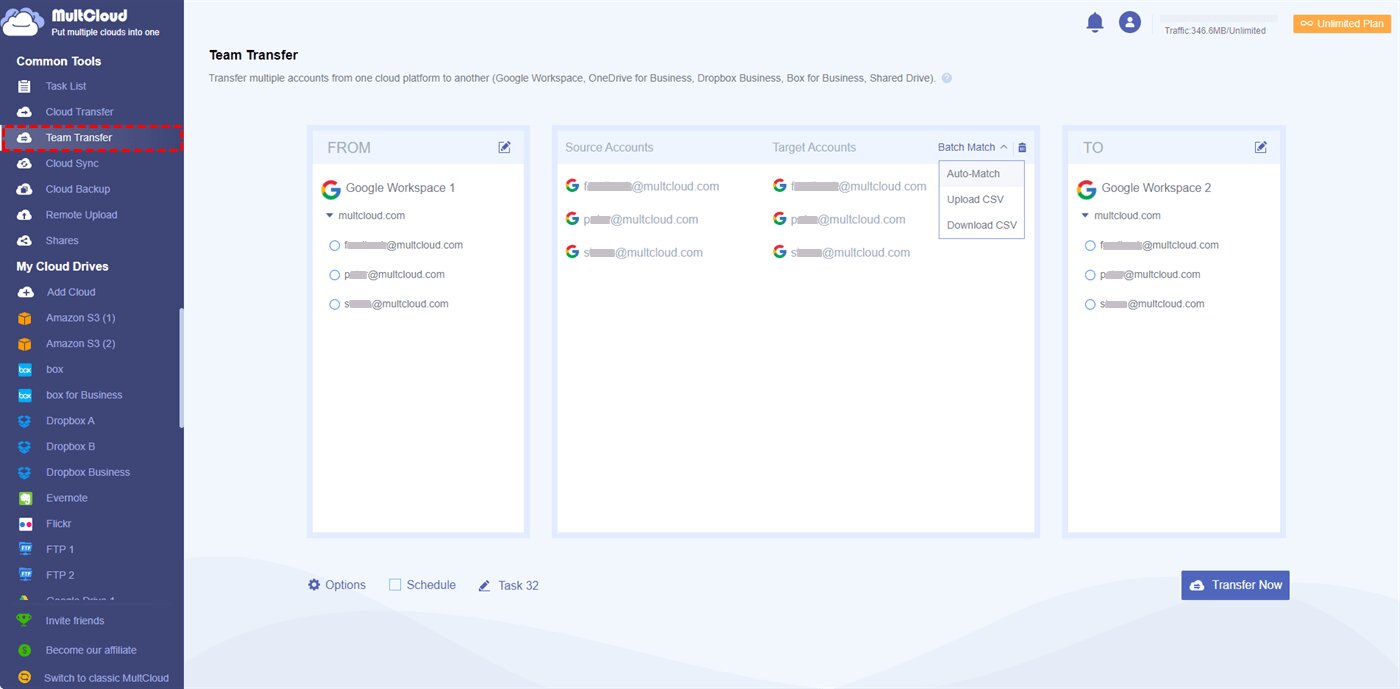
Step 3: Transfer Google Workspace data to the new account
After successfully backing up your data from the old Google Workspace account, it’s time to transfer that data to your new account. This step ensures that your emails, files, calendars, and other important information are seamlessly transitioned to the new account. Follow the steps below to transfer your Google Workspace data:
- Emails: To transfer your emails, you can use the Gmail migration tool provided by Google. Log in to your new Google Workspace account and go to the Gmail settings. From there, choose the “Accounts and Import” tab and select the “Import mail and contacts” option. Follow the prompts to import your emails from the old account to the new account.
- Files and Documents: To transfer your files and documents from Google Drive, you can either share them with your new account or use the Google Drive transfer tool. Open Google Drive in your old account and select the files or folders you want to transfer. Right-click and choose the “Share” option. Enter your new account’s email address and select the appropriate sharing permissions. Alternatively, you can use the Google Drive transfer tool to transfer ownership of the files to your new account.
- Calendar events: Transferring your calendar events can be done by exporting the calendar data from the old account and importing it into the new account. Go to Google Calendar in your old account and click on the gear icon. Select “Settings” and go to the “Calendars” tab. Locate the calendar you want to transfer and choose the “Export” option. Save the exported calendar file to your computer. Switch to your new Google Workspace account’s calendar, click on the gear icon, select “Settings,” and go to the “Calendars” tab. Choose the “Import” option and select the exported calendar file to import the events into your new account.
- Contacts: To transfer your contacts, go to Google Contacts in your old account and choose the “Export” option. Save the exported contact file to your computer. Sign in to your new Google Workspace account and go to Google Contacts. Choose the “Import” option and select the exported contact file to import your contacts into the new account.
- Other data: If you have data in other Google Workspace tools, such as Google Docs, Sheets, or Slides, you can transfer them by sharing the files with your new account or using the appropriate transfer tools provided by Google.
By following these steps, you can ensure that your Google Workspace data is successfully transferred to your new account, allowing you to seamlessly continue your work and access your important information. Once you have completed the transfer, it’s important to verify the data integrity and make any necessary adjustments, which we will cover in the next step.
Step 4: Verify the transfer and ensure data integrity
After transferring your Google Workspace data to the new account, it’s crucial to verify the transfer and ensure the integrity of your data. This step helps guarantee that all your files, emails, contacts, and other information have been accurately transferred without any loss or corruption. Follow these steps to verify the transfer and ensure data integrity:
- Emails: Log in to your new Google Workspace account and navigate to the Gmail inbox. Make sure that all your emails from the old account have been successfully transferred and are accessible in the new account. Double-check for any missing or misplaced emails.
- Files and Documents: Open Google Drive in your new account and browse through the transferred folders and files. Confirm that all the important files and documents have been successfully transferred and are accessible. Check for any missing or corrupted files.
- Calendar events: Navigate to the calendar in your new Google Workspace account and ensure that all the events from the previous account have been accurately transferred. Verify the dates, times, and details of the events to ensure there are no discrepancies or missing events.
- Contacts: Open Google Contacts in your new account and confirm that all your contacts have been transferred correctly. Check for any missing or duplicated contacts, and make sure that the contact details are accurate and up to date.
- Other data: If you have transferred data from other Google Workspace tools, such as Google Docs, Sheets, or Slides, review the transferred files to ensure they are intact and accessible. Check the formatting, content, and any embedded elements to ensure there are no issues.
If you discover any discrepancies, missing data, or other issues during the verification process, it is recommended to go back and retrace the transfer steps for the affected data. This may involve re-exporting, re-importing, or addressing any potential errors or conflicts that occurred during the transfer.
By verifying the transfer and ensuring data integrity, you can feel confident that your Google Workspace data has been successfully migrated to the new account. Now that the transfer is complete and the data is verified, it’s time to take additional steps to ensure a smooth transition for your contacts and update your personal information and settings.
Step 5: Set up email forwarding and inform contacts of the transition
Once you have transferred your Google Workspace data to the new account, it’s important to set up email forwarding and notify your contacts about the transition. This step ensures that you don’t miss any important emails during the transition period and that your contacts are aware of the change. Follow these steps to set up email forwarding and inform your contacts:
- Email forwarding: In your old Google Workspace account, set up email forwarding to automatically forward incoming emails to your new account. This way, any emails sent to your old account will be redirected to the new account, ensuring you don’t miss any important messages. Log in to your old account and go to the email settings. Look for the forwarding options and enter your new account’s email address as the forwarding address. Save the settings to activate email forwarding.
- Notify contacts: Inform your contacts about the transition by sending a notification email. Create a personalized email stating that you have migrated to a new Google Workspace account and provide your new email address for future correspondence. You can either send the email individually to each contact or use email groups or mailing lists if applicable. Be sure to clearly communicate the date of the transition and any other relevant information to minimize confusion.
- Update email signatures: Update your email signatures in both the old and new accounts to reflect the change. Include a note mentioning the transition and provide your new email address. This helps ensure that anyone receiving emails from you is aware of your new contact details.
- Update online profiles: If you have any online profiles or business listings that display your contact information, such as on a website, social media platforms, or professional directories, update them with your new email address. This helps ensure that anyone searching for your contact information finds the correct and up-to-date details.
- Monitor old account: It’s advisable to continue monitoring your old Google Workspace account for a certain period, even after setting up email forwarding. This allows you to catch any stray emails that may not have been properly forwarded. Gradually reduce your reliance on the old account as contacts start using your new email address.
By setting up email forwarding and informing your contacts about the transition, you ensure that there is a smooth transition in your communication and your contacts are aware of the change in your email address. Now that you have taken these steps, it’s time to update your personal information and settings in the new Google Workspace account.
Step 6: Update your personal information and settings
After transferring your Google Workspace data and informing your contacts about the transition, the next step is to update your personal information and settings in the new account. This ensures that your new account is properly customized and reflects your preferences and identity. Follow these steps to update your personal information and settings:
- Profile information: Go to the settings section of your new Google Workspace account and update your profile information. This may include your name, job title, profile picture, and any other relevant details. Make sure your profile accurately represents your identity in the new account.
- Email settings: Review and customize the email settings in your new account. This may include preferences for email notifications, auto-responses, email signature, and other options. Adjust the settings according to your preferences and workflow to optimize your email experience.
- Calendar settings: Customize the calendar settings in your new account. Set your preferred timezone, notification preferences, event defaults, and any other settings that match your needs. This ensures that your calendar functions according to your requirements and helps you stay organized.
- Drive settings: Adjust the settings for Google Drive in your new account. This may include folder preferences, sharing settings, storage options, and syncing preferences. Customize the settings to align with your file management and collaboration needs.
- Security settings: Review the security settings in your new Google Workspace account. Enable two-factor authentication for added security. Configure privacy settings, app access settings, and any other security measures as needed. This helps ensure the safety of your account and data.
Take the time to explore and familiarize yourself with the different settings available in your new Google Workspace account. By customizing these settings to your preferences and needs, you can optimize your experience and ensure that your new account operates smoothly.
Now that you have updated your personal information and settings in the new account, it’s time to proceed to the final step of decommissioning the old Google Workspace account.
Step 7: Decommission the old Google Workspace account
Once you have successfully transferred your Google Workspace data, informed your contacts of the transition, and updated your personal information and settings in the new account, it’s time to decommission the old Google Workspace account. Decommissioning the old account ensures that you no longer rely on it for your work or communication. Follow these steps to properly decommission the old Google Workspace account:
- Review data and confirm transfer: Before decommissioning the old account, review the data in the new account and confirm that all necessary information has been successfully transferred. Double-check that emails, files, calendars, contacts, and other important data are accessible and intact in the new account.
- Notify stakeholders: If you are transitioning a company-owned Google Workspace account, inform all relevant stakeholders, team members, and employees about the decommissioning of the old account. Clearly communicate that the new account is now the primary account and provide any necessary instructions or guidelines for the transition.
- Redirect domain and services: If the old account was associated with a custom domain or utilized specific Google Workspace services, redirect those services to the new account. This may involve updating DNS records, reconfiguring service settings, or transferring ownership of domain and service subscriptions.
- Confirm data deletion: Ensure that any sensitive or confidential data in the old account is securely deleted. This includes permanently deleting emails, files, or any other data that should not be retained. Follow the appropriate deletion procedures for each type of data to comply with privacy and data protection regulations.
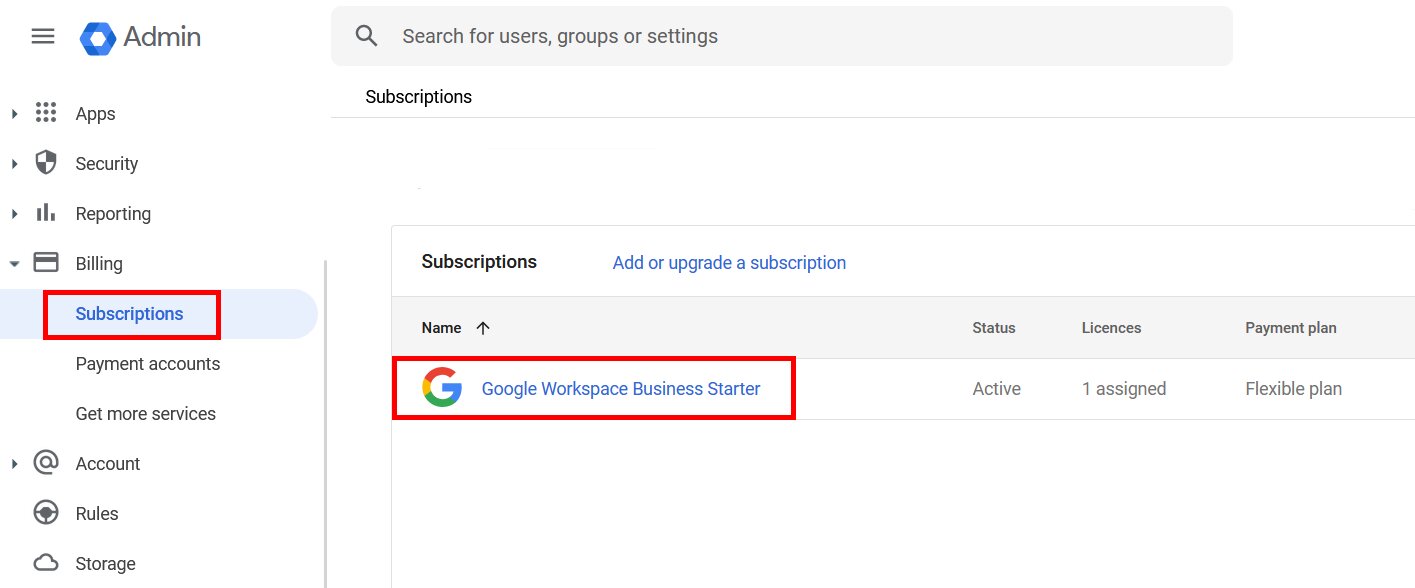
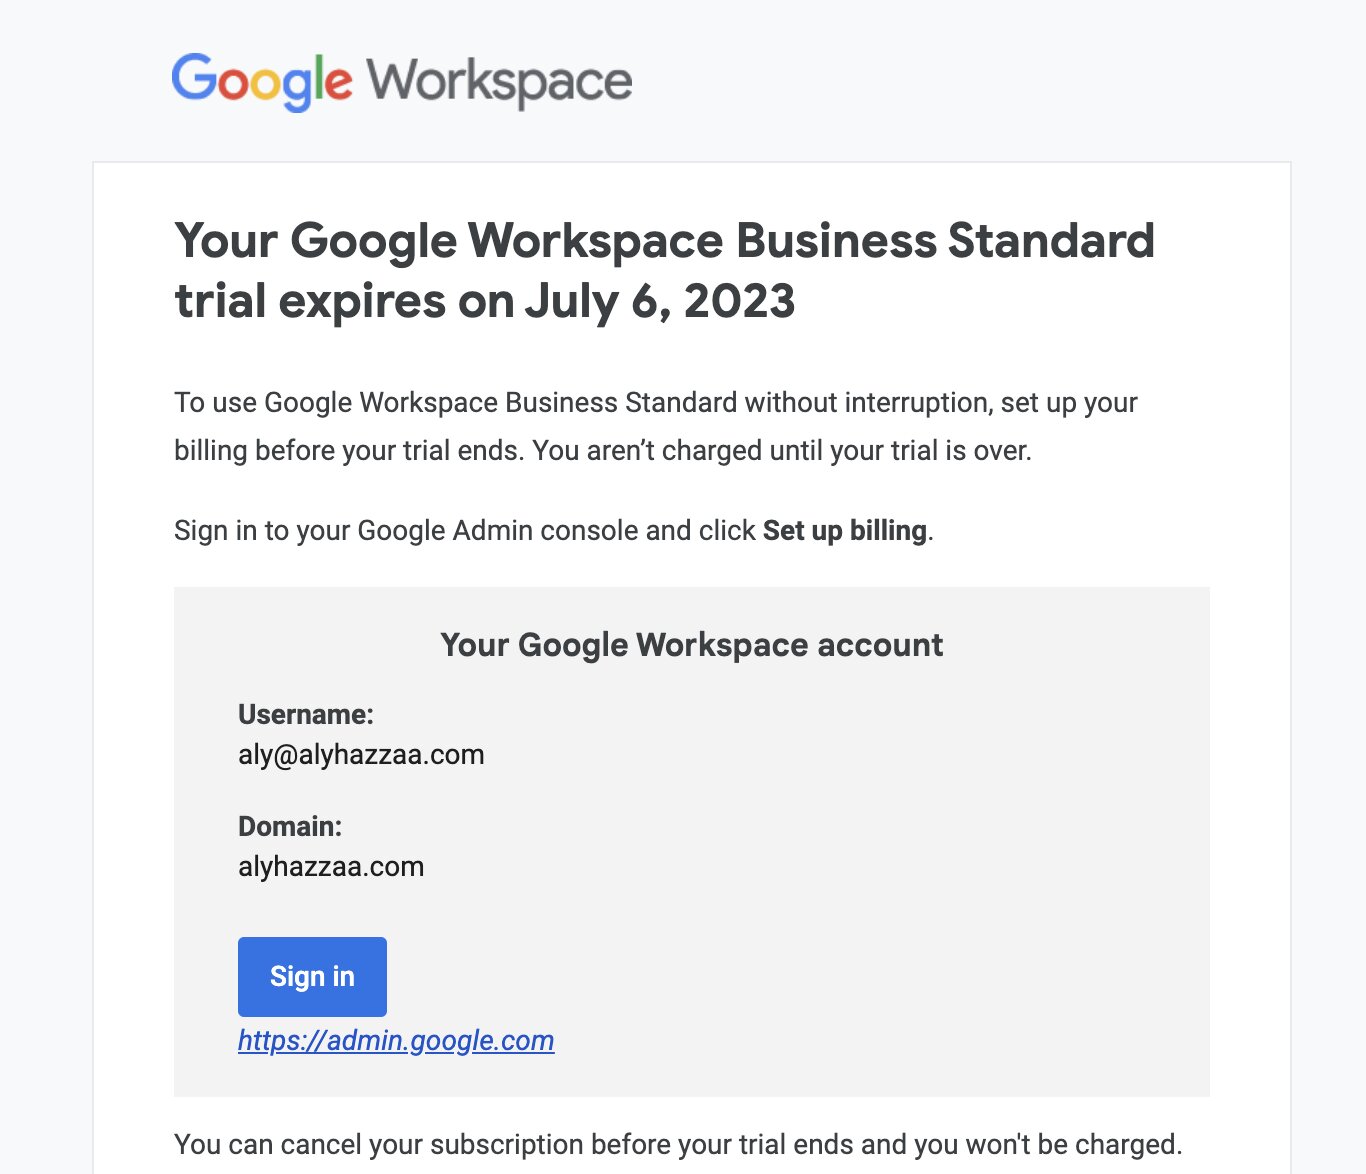
- Cancellation and billing: If the old account was a paid Google Workspace subscription, make sure to cancel the subscription and update billing information accordingly. This prevents any unnecessary charges or confusion regarding the old account’s billing status.
By properly decommissioning the old Google Workspace account, you finalize the transition to the new account and ensure that you no longer rely on the old account for your work or communication. Take the necessary steps to securely manage data, inform stakeholders, and redirect services to smoothly integrate the new account into your workflow.
With the successful completion of these steps, you have successfully transferred your Google Workspace account to another account. Ensure that you regularly maintain and update your new account to optimize your productivity and communication moving forward.
Conclusion
Transferring your Google Workspace account to another account may seem like a daunting process, but by following the step-by-step guide outlined above, you can ensure a smooth transition with minimal disruption to your productivity and communication.
As highlighted in this guide, it is crucial to have a clear understanding of the prerequisites for transferring your Google Workspace account, such as accessing both the old and new accounts, having sufficient storage space, and backing up your data.
The step-by-step process covers creating a new Google Workspace account, backing up data from the old account, transferring the data to the new account, verifying the transfer, setting up email forwarding, updating personal information and settings, and decommissioning the old account.
Each step is important in ensuring a successful transfer and maintaining data integrity throughout the process. By following these steps, you can seamlessly transfer your emails, files, calendar events, contacts, and other important data to your new account.
Remember to inform your contacts about the transition, set up email forwarding, and update your personal information and settings in the new account to ensure a smooth transition. Monitor the old account temporarily and gradually transition fully to the new account.
Lastly, don’t forget to decommission the old Google Workspace account by reviewing data, notifying stakeholders, redirecting domains and services, confirming data deletion, and canceling any paid subscriptions to avoid unnecessary charges.
By following these steps and maintaining an organized approach, you can successfully transfer your Google Workspace account to another account and continue your work and communication seamlessly. Stay proactive throughout the process to address any challenges or issues that may arise.
Remember, a successful transfer relies on proper planning, careful execution, and attention to detail. With this guide, you have acquired the knowledge and steps necessary to complete the transfer process with confidence.