Introduction
Welcome to our comprehensive guide on how to migrate your email to Google Workspace! Whether you’re a small business owner, an entrepreneur, or an IT professional, transferring your email to Google Workspace can boost productivity, improve collaboration, and provide enhanced security features. In this guide, we will walk you through the step-by-step process of migrating your email to Google Workspace, ensuring a smooth transition with minimal disruption.
Moving to Google Workspace offers a plethora of benefits, including a powerful suite of productivity tools, reliable email hosting, and seamless integration with other Google services. By migrating your email to Google Workspace, you can take advantage of features like advanced spam filtering, shared calendars, real-time collaboration on documents, video conferencing, and much more.
However, we understand that the migration process can be overwhelming, especially if you’re not familiar with the intricacies of email migration. That’s why we have put together this comprehensive guide to help you navigate through each step, ensuring a successful migration without any data loss or downtime.
Whether you’re migrating from another email provider or upgrading from a personal email account, this guide covers everything you need to know. We will discuss setting up your Google Workspace account, preparing your domain for migration, choosing the right migration method, configuring migration settings, executing the migration process, and troubleshooting common issues that may arise along the way.
With our easy-to-follow instructions, you’ll have all the necessary information to migrate your email to Google Workspace with confidence. So, let’s dive in and get started on this exciting journey of streamlining your email communication and reaping the countless benefits of Google Workspace!
Step 1: Set Up Your Google Workspace Account
Before you can migrate your email to Google Workspace, the first step is to set up your Google Workspace account. If you don’t already have one, you’ll need to create a new account by visiting the Google Workspace website and selecting the appropriate plan for your needs.
During the account setup process, you’ll be prompted to provide your business or organization’s name, domain name, and other relevant details. You may also have the option to choose additional services or features, such as Google Drive storage or advanced security options.
Once you have completed the registration process, Google will guide you through the verification process to confirm that you are the owner of the domain. This typically involves adding a specific DNS record or uploading a verification file to your domain’s hosting provider.
After the verification process is complete, you will gain access to your Google Workspace admin console. This is where you will manage your account settings, user accounts, and other administrative tasks.
Within the admin console, you can customize your Google Workspace account to fit your specific needs. You can set up branding, create user accounts, define organizational structures, and configure security settings. Take your time to explore the various options and familiarize yourself with the admin console to ensure you make the most of your Google Workspace experience.
It’s important to note that if you already have a Google account using your domain email address, you can easily upgrade it to a Google Workspace account. This allows you to retain all your existing data, settings, and access to services while enjoying the additional features and capabilities offered by Google Workspace.
Once you have set up your Google Workspace account and tailored it to your requirements, you are now ready to move on to the next step: preparing your domain for email migration.
Step 2: Prepare Your Domain for Migration
Before you begin the email migration process, it’s crucial to prepare your domain to ensure a seamless transition to Google Workspace. Here are the key steps to follow:
1. Verify Domain Ownership: Verify that you own the domain associated with your email accounts. This process may differ depending on your domain registrar, but typically involves adding a TXT or CNAME record to your domain’s DNS settings. Google provides detailed instructions based on your domain registrar to help you complete this verification step.
2. Notify Users: Inform your email users about the upcoming migration. This will help them understand any changes they may experience during the process and ensure they are prepared. Communicate the benefits of Google Workspace, such as improved collaboration tools and enhanced security features, to encourage user buy-in.
3. Create User Accounts: Set up user accounts for all individuals who require access to email within your organization. This can be done manually through the Google Workspace admin console or through automated methods, such as bulk user creation or synchronization with your existing directory service.
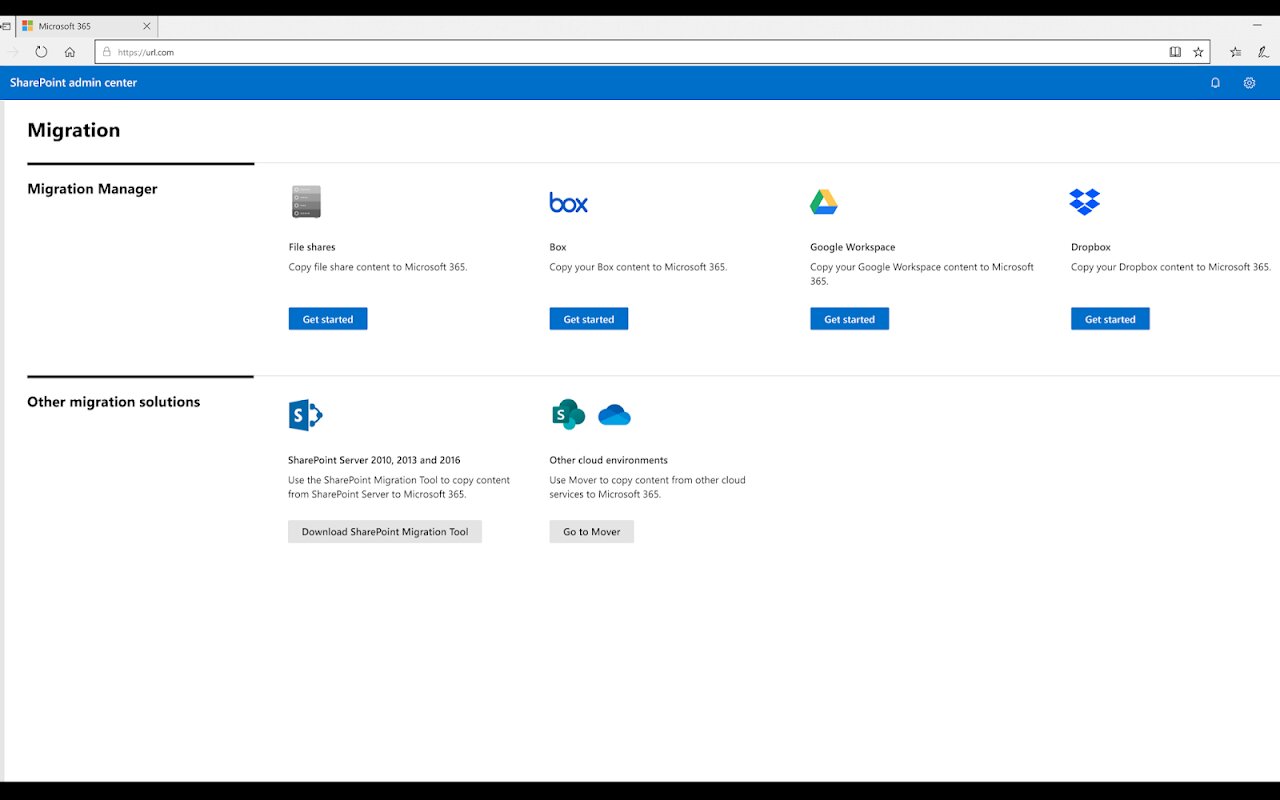
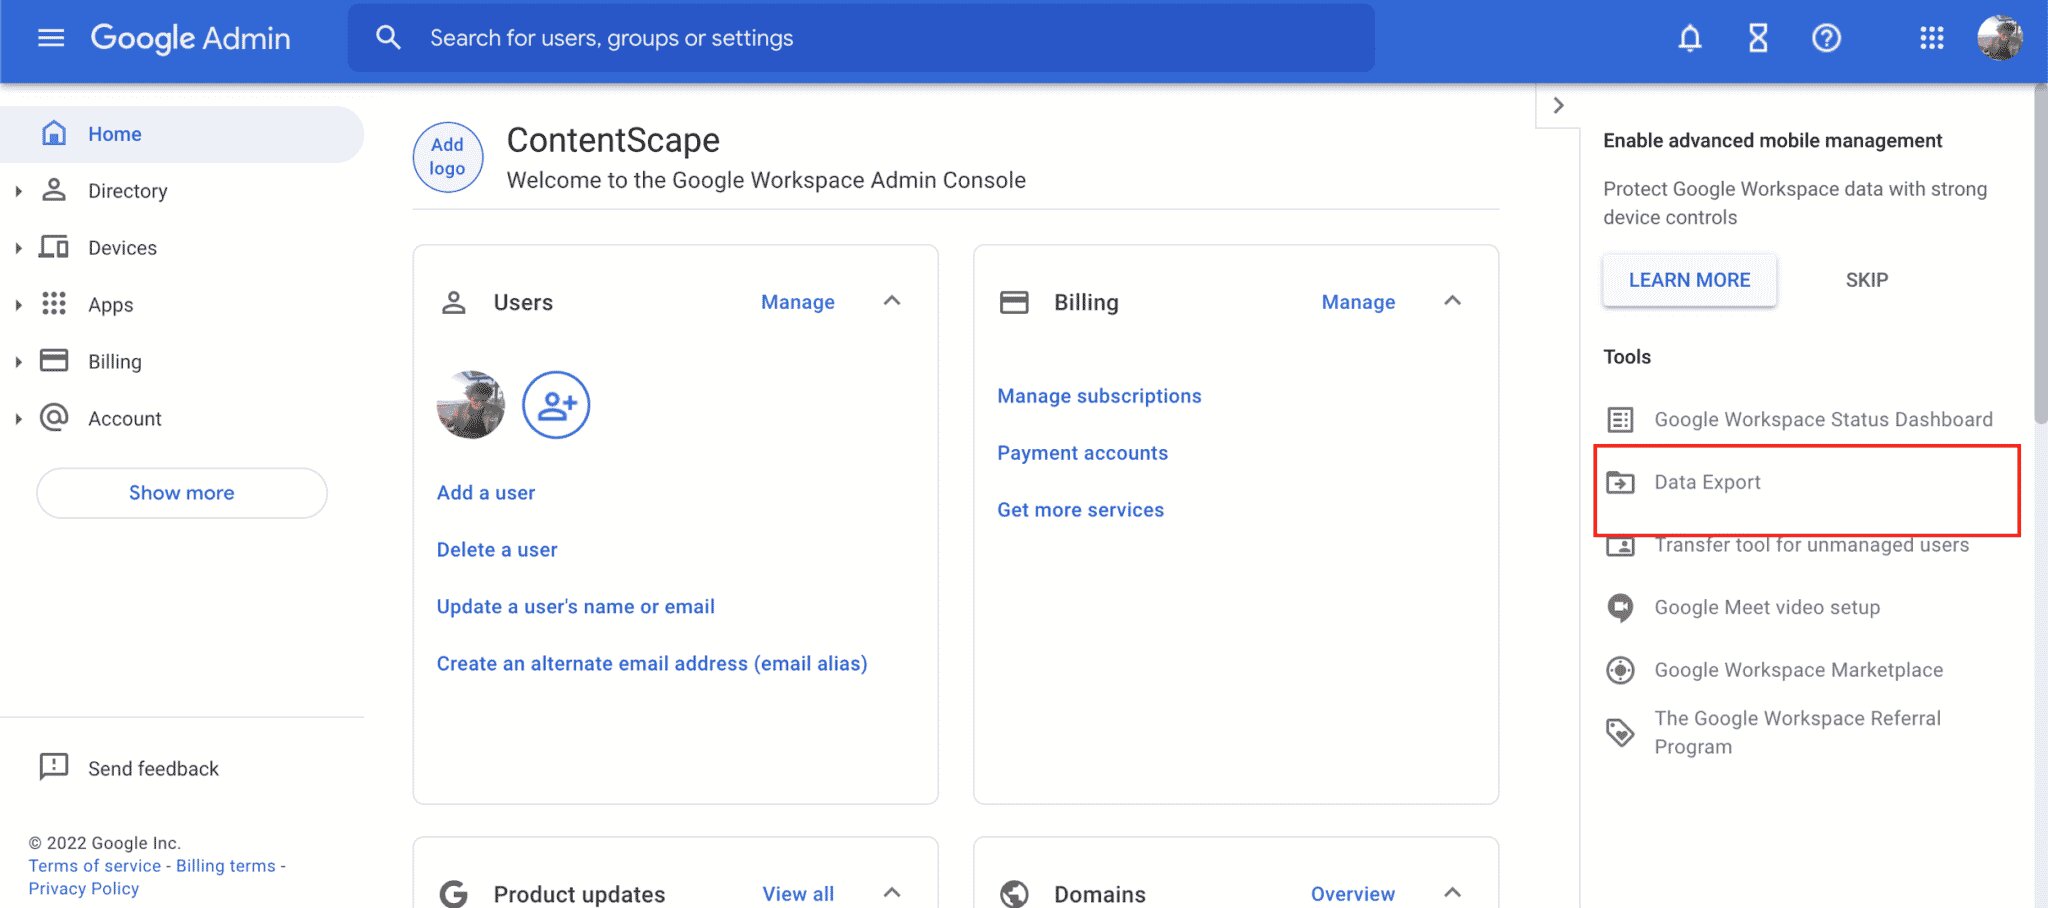
4. Plan for Data Migration: Decide how you want to migrate your existing email data. Google offers several methods, including a data migration service, IMAP migration, or using a third-party migration tool. Consider the volume of data, any special requirements, and the timeframe for migration when choosing the appropriate method.
5. Backup Data: Before initiating the migration, it’s essential to create backups of your existing email data. This ensures that you have a copy of your emails and any associated data in case of any unforeseen issues or data loss during the migration process.
6. Review DNS Settings: Check your domain’s DNS settings to ensure they are correctly set up for Google Workspace. You may need to update MX records, which control email routing, as well as SPF, DKIM, and DMARC records for email authentication and security purposes. Refer to Google’s documentation for specific instructions based on your domain registrar.
By following these steps, you’ll be well-prepared to migrate your domain to Google Workspace. Taking the time to prepare and communicate with users will result in a smoother transition and minimize any potential disruptions to your email services.
Step 3: Choose the Right Migration Method
When it comes to migrating your email to Google Workspace, choosing the right migration method is crucial to ensure a successful and efficient transition. Google offers several migration options, and selecting the one that best suits your needs is essential. Here are the common migration methods to consider:
1. Data Migration Service: This method is suitable for organizations with larger mailboxes or complex email structures. The data migration service allows you to transfer email, calendar events, and contacts from supported email servers to Google Workspace. This service provides a secure and automated approach to migrate data with minimal user disruption.
2. IMAP Migration: If you’re using an email server that supports the IMAP protocol, you can use the IMAP migration method. IMAP migration allows you to migrate emails from individual mailboxes over a period of time. This method is suitable for smaller organizations or for gradually migrating email accounts over time.
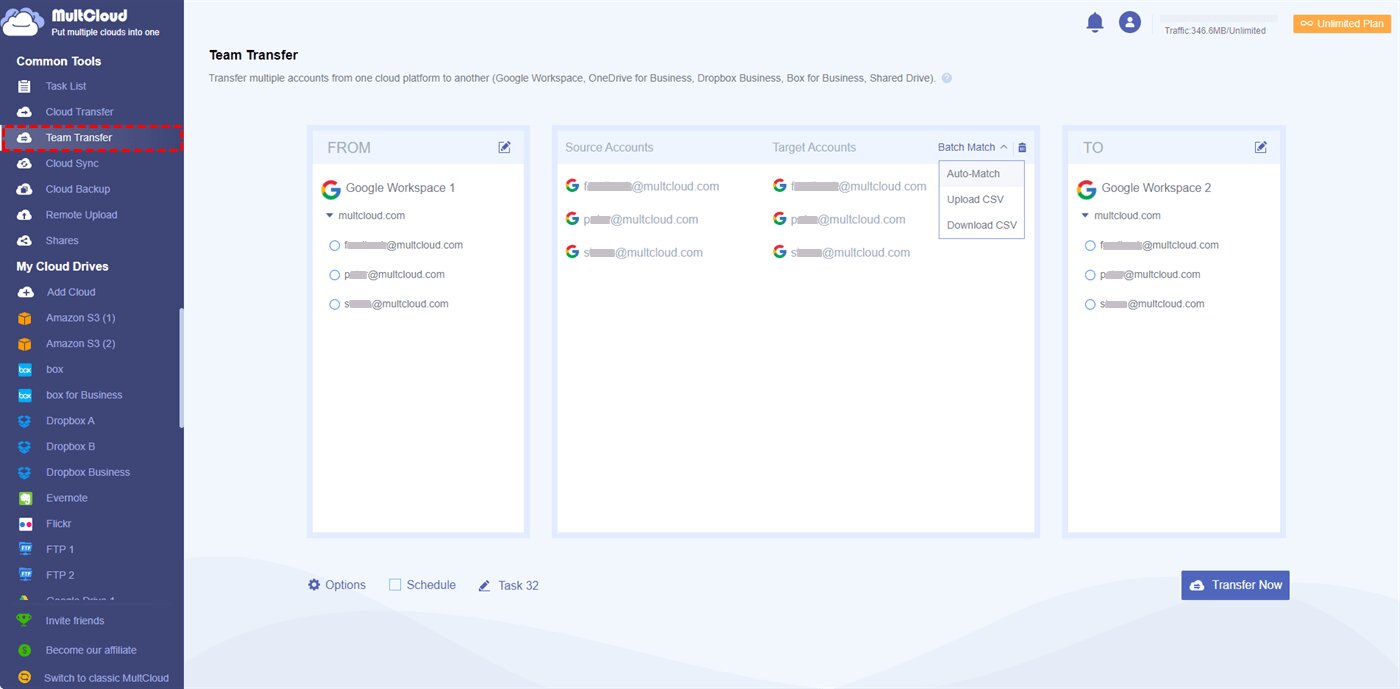
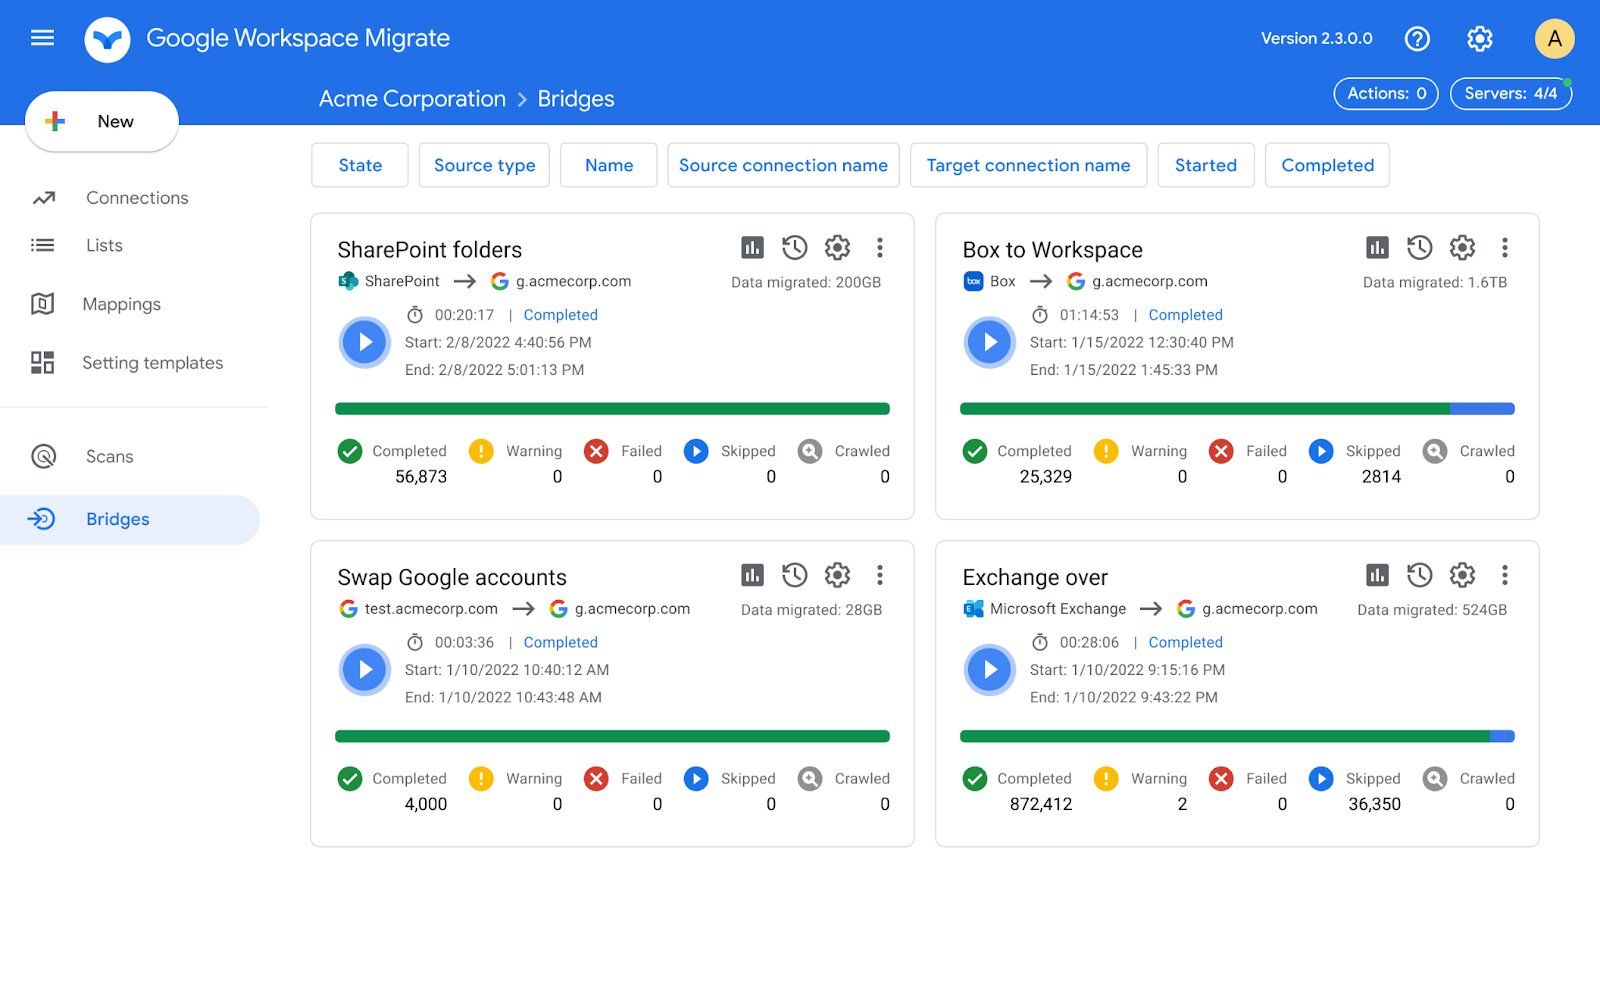
3. Third-Party Migration Tools: Depending on your specific requirements, you may choose to use third-party migration tools. These tools offer additional features and flexibility, allowing you to migrate email data, calendars, contacts, and other relevant information from various sources to Google Workspace. This option is ideal for organizations with complex migration needs.
When selecting the migration method, consider factors such as the size of your organization, the amount of data to be migrated, the timeframe for migration, and any specific requirements or restrictions you may have. It’s essential to carefully evaluate each method and choose the one that aligns best with your organizational needs and capabilities.
Additionally, it’s important to note that some migration methods may require technical expertise or assistance from IT professionals. If you’re unsure about which method to choose or need guidance in executing the migration, it’s recommended to consult with Google Workspace support or engage the services of a certified Google Workspace partner.
Once you have determined the appropriate migration method, you can proceed to the next step of configuring the migration settings to ensure a smooth and accurate transfer of your email data to Google Workspace.
Step 4: Configure Migration Settings
After choosing the appropriate migration method, the next step is to configure the migration settings to ensure a successful transfer of your email data to Google Workspace. The specific settings and configurations may vary depending on the chosen migration method, but here are some general steps to follow:
1. Define the Migration Scope: Determine which email accounts and data you want to migrate. This could include specific mailboxes, calendars, contacts, or any other relevant data. Make sure to consider any legal or compliance requirements when selecting the data to be migrated.
2. Set the Migration Schedule: Decide on the migration schedule that works best for your organization. Consider factors such as peak hours of email usage, employee availability, and any time constraints you may have. It’s recommended to perform the migration during a less busy period to minimize any potential disruptions.
3. Configure Migration Filters: Depending on your migration method, you may have the option to set up migration filters. These filters allow you to specify criteria for migrating specific emails or data based on attributes like date range, sender, recipient, or subject. Customizing migration filters can help streamline the migration process and focus on the most essential data.
4. Specify Destination Accounts: Provide the necessary information for the destination accounts in Google Workspace. This includes the email addresses, usernames, or any other identifiers for the target accounts. This ensures that the migrated data lands in the correct locations within Google Workspace.
5. Verify Connectivity and Credentials: Check the connectivity between your source email server and Google Workspace. Ensure that the necessary credentials, such as usernames and passwords, are accurate and up to date for the migration process to proceed smoothly. This step is particularly important for methods like IMAP migrations.
6. Test and Validate: Before initiating the migration, perform a test migration to verify that all settings are properly configured. This allows you to identify and rectify any potential issues or errors in the migration process before migrating the entire dataset.
It’s important to remember that the specific steps and options for configuring migration settings may vary depending on the chosen migration method and the tools or services used. It’s recommended to refer to the documentation provided by Google Workspace or the third-party migration tool you are using for detailed instructions and best practices.
By taking the time to properly configure the migration settings, you can ensure a smooth and accurate transfer of your email data to Google Workspace, minimizing the risk of data loss or disruption during the migration process.
Step 5: Start the Migration Process
After configuring the migration settings, it’s time to initiate the migration process and start transferring your email data to Google Workspace. The steps may vary depending on the chosen migration method, but here are some general steps to follow:
1. Begin the Migration: Depending on the migration method you selected, there are different ways to start the migration process. For example, if you are using the Google data migration service, you can initiate the migration from the Google Workspace admin console. If you are using a third-party migration tool, you will follow the instructions provided by the tool to start the migration.
2. Monitor the Migration Progress: Once the migration is initiated, it’s essential to closely monitor the progress. This allows you to ensure that the migration is proceeding smoothly and to identify any issues that may arise during the process. Check the migration status regularly within the admin console or monitoring dashboard provided by your migration tool.
3. Address Errors and Issues: During the migration process, you may encounter errors or issues. It’s important to address them promptly to avoid any data loss or disruptions. Common issues may include email items failing to migrate, connectivity problems, or authentication errors. Consult the documentation or seek support to troubleshoot and resolve these issues effectively.
4. Communicate with Users: Keep your users informed about the progress of the migration. Provide them with updates on the migration status, any anticipated downtime, or temporary changes to their email access. Clear communication helps to manage expectations and minimize any potential disruption to their workflow.
5. Monitor Completion and Data Accuracy: Once the migration is completed, verify that all the migrated data is accurate and accessible in the appropriate Google Workspace accounts. Double-check the migrated emails, calendars, contacts, and other relevant data to ensure that nothing was left behind or corrupted during the migration.
6. Perform a Final Data Check: Conduct a final data check to confirm that all essential information has been successfully migrated. This includes verifying that email attachments, folder structures, and any specialized data (such as labels or tags) have been transferred accurately. Address any missing or incorrect data promptly to ensure a seamless transition.
Remember that the duration of the migration process can vary depending on factors such as the volume of data to be migrated, network connectivity, and any issues encountered along the way. Be patient and allow the migration process to complete, keeping a close eye on the progress to ensure a successful migration to Google Workspace.
Step 6: Verify and Review Migrated Data
After completing the migration process, it is crucial to verify and review the migrated data to ensure its accuracy and integrity. This step allows you to confirm that all your emails, calendars, contacts, and other relevant data have been successfully transferred to Google Workspace. Here’s what you should do:
1. Check Email Folders and Labels: Navigate through your migrated emails to ensure that all your folders, labels, and tags have been replicated correctly. Verify that the folder structure is intact, and email messages are organized as they were in the source email system. Pay close attention to any specialized folders or categories that you may have utilized in your previous system.
2. Review Email Metadata: Review the metadata of your migrated emails, including sender, recipient, subject, date, and time. Ensure that this information has been accurately preserved during the migration process. This step is crucial, especially if you rely heavily on email metadata for business purposes or compliance requirements.
3. Test Email Search and Filters: Perform searches within your newly migrated email accounts to validate that the search functionality is working correctly. Test different search queries, keywords, and filters to ensure that you can retrieve the desired emails effectively. This step is particularly important if your organization handles large volumes of emails.
4. Verify Calendar Events: Check your calendar entries to make sure that all your events and appointments have been successfully migrated. Verify the accuracy of event details, including date, time, location, attendees, and any attached documents or notes. Pay close attention to recurring events to ensure they have migrated correctly.
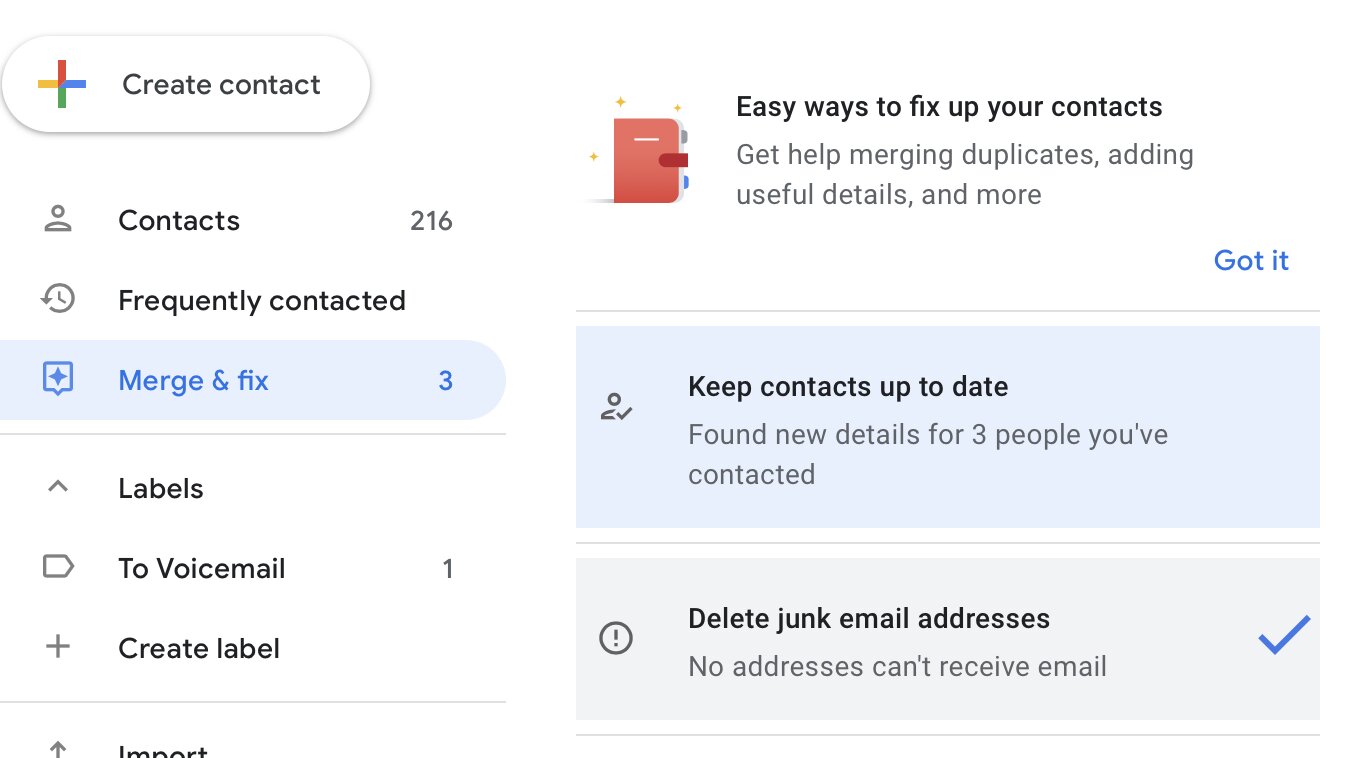
5. Validate Contact Information: Review your migrated contacts to ensure that all your important contact details have been transferred accurately. Check names, email addresses, phone numbers, and any additional information associated with each contact. Confirm that contact groups or distribution lists have been recreated correctly.
6. Test Collaboration Features: If your organization relies on collaboration features like shared calendars, document collaboration, or team drives, verify that these features are functioning as expected in Google Workspace. Test sharing permissions, document editing capabilities, and real-time collaboration to ensure a seamless transition for your teams.
7. Seek User Feedback: Encourage your users to test the migrated data and provide feedback on any discrepancies or issues they may encounter. This feedback can help identify any missed or incorrectly migrated data that needs to be addressed. Creating an open line of communication with your users fosters a collaborative environment during the transition to Google Workspace.
By verifying and reviewing your migrated data, you can ensure that all critical information has been successfully transferred to Google Workspace. Address any discrepancies or issues promptly to mitigate any potential disruptions to your workflows and maximize the benefits of using Google Workspace.
Step 7: Update DNS Settings
Once you have verified and reviewed the migrated data in Google Workspace, the next step is to update your DNS (Domain Name System) settings. DNS settings control how internet traffic is routed to your email servers and other services associated with your domain. By updating your DNS settings, you ensure that incoming and outgoing emails are properly directed to and from your Google Workspace account. Here’s what you need to do:
1. Access Your DNS Management: Log in to your domain registrar or DNS hosting provider’s website. Locate the DNS management section for the domain you are migrating to Google Workspace. This is where you will make changes to your DNS settings.
2. Update the MX Records: The MX (Mail Exchanger) records determine where email for your domain is routed. Remove any existing MX records that may be pointing to your previous email provider. Then, add the new MX records provided by Google Workspace. These records will direct incoming emails to Google’s mail servers.
3. Add SPF and DKIM Records: Enhance the security of your email by adding SPF (Sender Policy Framework) and DKIM (DomainKeys Identified Mail) records to your DNS settings. These records authenticate your email to prevent spoofing and ensure a higher deliverability rate for your outgoing emails. Follow the instructions provided by Google Workspace to add these records.
4. Set up DMARC Record (Optional): Consider adding a DMARC (Domain-based Message Authentication, Reporting, and Conformance) record to your DNS settings. DMARC adds an extra layer of email authentication and enables you to receive reports about email activity related to your domain. Consult Google Workspace documentation for guidelines on setting up a DMARC record.
5. Configure Other DNS Records: Check if there are any other DNS records that affect your email delivery or other Google Workspace services, such as CNAME or TXT records. Make sure these records are correctly configured according to Google Workspace’s recommendations.
6. Prioritize the Changes: If you have just completed the migration, it’s essential to prioritize the changes to ensure a seamless transition. Consider lowering the time-to-live (TTL) value for your DNS records to reduce the propagation time. This will help speed up the process of updating DNS records across the internet.
7. Validate DNS Changes: After making the necessary DNS changes, wait for the changes to propagate. This process may take up to 48 hours, although it is typically much faster. Use online DNS propagation checkers or the Google Workspace Toolbox MX checker to validate that your DNS changes are applied correctly across different locations.
By updating your DNS settings to point to Google Workspace, you ensure that your email traffic is properly directed to your new email environment. This step is crucial for a seamless transition to Google Workspace and uninterrupted email communication for your organization.
Step 8: Troubleshooting Common Issues
During the email migration process to Google Workspace, you may encounter common issues that can impact the smooth transition of your email accounts. Troubleshooting these issues promptly is essential to minimize any disruptions and ensure a successful migration. Here are some common issues you may come across and their potential solutions:
1. Email Delivery Delays: If you notice delays in email delivery after the migration, it could be due to DNS propagation or misconfigured DNS settings. Double-check your MX, SPF, DKIM, and other relevant DNS records to ensure they are correctly updated and propagated. Adjust your DNS TTL (Time-to-Live) value to expedite the DNS record propagation process.
2. Missing or Incomplete Data: If certain emails or data are missing or incomplete in the migrated accounts, verify that the migration settings were configured correctly. Check for any error messages or warnings during the migration process. Consult the documentation or seek support from Google Workspace or your migration tool provider for assistance in troubleshooting and resolving the issue.
3. Authentication Failures: If users are experiencing authentication failures or are unable to access their accounts after the migration, ensure that the correct usernames and passwords are being used. Verify that the migrated user accounts are active and that the necessary credentials are entered accurately. If the issue persists, reset the passwords for affected accounts and communicate the new credentials to users.
4. Calendar Sync Issues: If you encounter synchronization issues with calendar events, such as events showing up with incorrect dates or times, ensure that the time zones are correctly configured both in the source email system and Google Workspace. Verify the calendar sharing settings and permissions for affected users to ensure they align with your organization’s requirements.
5. Spam or False Positive Issues: If you notice an increase in the number of spam emails being delivered to your Google Workspace accounts, review your spam filtering settings. Adjust the sensitivity level or add custom filters to minimize false positives. Also, educate users on how to mark emails as spam or unsubscribe from unwanted mailing lists to improve the spam filtering effectiveness.
6. Slow Performance: If you experience slow performance or latency in accessing email or other Google Workspace services after the migration, monitor the network connectivity and bandwidth usage. Optimize your network configuration, including the use of recommended DNS servers, to ensure optimal performance. Verify that your internet service provider can handle the increased traffic resulting from the migration.
7. User Training and Support: Employees may need training and support to familiarize themselves with the new Google Workspace environment. Provide user guides, training sessions, or access to online resources to help users navigate the new email system effectively. Establish a support channel where users can report issues and receive assistance to resolve any individual or recurring problems.
If you encounter any issues during the email migration process to Google Workspace, it’s important to address them promptly. Consult the Google Workspace documentation, forums, or reach out to their support team for assistance. Utilize the available resources and expertise to troubleshoot and resolve issues in order to ensure a smooth and successful migration experience.
Conclusion
Congratulations! You have successfully migrated your email to Google Workspace. By following the step-by-step process outlined in this guide, you have streamlined your email communication, enhanced collaboration, and benefited from the numerous features and advantages provided by Google Workspace.
Throughout this journey, you learned how to set up your Google Workspace account, prepare your domain for migration, choose the right migration method, configure migration settings, initiate the migration process, verify and review the migrated data, update DNS settings, and troubleshoot common issues that may arise along the way.
Remember, a successful email migration requires careful planning, attention to detail, effective communication with users, and timely troubleshooting. By taking the necessary steps to ensure a smooth transition, you have minimized disruptions and potential data loss during the migration process.
As you explore and utilize Google Workspace, continue to optimize your email management and take full advantage of the advanced features and tools it offers. Encourage your users to embrace the benefits and explore the array of collaboration features available to enhance productivity and teamwork within your organization.
In addition, maintain open channels of communication with your employees. Address any concerns or questions they may have regarding the new email system, and provide ongoing training and support to facilitate a seamless transition to Google Workspace.
Lastly, stay updated with the latest product updates, service enhancements, and security features offered by Google Workspace. Regularly review and fine-tune your settings to adapt to your organization’s evolving needs and ensure the best possible email experience for your users.
Embracing Google Workspace for your email needs not only streamlines your communication but also integrates seamlessly with other Google collaboration tools, opening up a world of possibilities for productivity and efficiency in your organization.
Thank you for following this guide and choosing Google Workspace for your email migration. Enjoy the benefits of enhanced productivity, improved collaboration, and robust email services as you embark on this exciting new chapter with Google Workspace!