Introduction
Welcome to this comprehensive guide on how to set up an email. In today’s digital age, having a functional and personalized email account is essential for communication, both personal and professional. Whether you’re a first-time email user or looking to create a new email address, this step-by-step tutorial will help you navigate the process with ease and confidence.
Emails are a convenient and efficient way to stay connected with friends, family, colleagues, and clients around the world. Not only can you send and receive messages, but email accounts also provide features like file attachments, calendar scheduling, and secure storage for important documents. Setting up your email correctly ensures a smooth experience and allows you to access the full range of features and benefits.
In this guide, we will walk you through each step of the email setup process, from choosing an email provider to personalizing your account and protecting your sensitive information. By following these steps, you’ll be able to create your own email address and start sending and receiving messages in no time.
Before we dive into the details, it’s important to note that there are several email providers to choose from. Some popular options include Gmail, Outlook, Yahoo Mail, and ProtonMail. Each provider has its own unique features and user interface, so you can select the one that best fits your needs and preferences. In this guide, we will use Gmail as an example, but the general steps can be applied to other email providers as well.
Now, let’s get started on the journey of setting up your email and opening up a world of communication possibilities!
Step 1: Choose an Email Provider
The first step in setting up your email is to choose an email provider. An email provider is a company or service that offers email hosting and management. There are several reputable email providers to choose from, each with its own set of features and benefits.
One of the most popular email providers is Gmail, powered by Google. Gmail offers a user-friendly interface, robust spam filters, and ample storage space. It also seamlessly integrates with other Google services like Google Drive, Google Calendar, and Google Docs, making it a convenient choice for individuals and businesses alike.
Another widely used email provider is Outlook, which is part of the Microsoft Office suite. Outlook offers a professional and polished email experience, with advanced organizational features, a powerful search function, and a unified inbox for managing multiple email accounts.
Yahoo Mail is another option to consider, offering a clean and intuitive interface, generous storage space, and a variety of customization options. It also provides access to other Yahoo services such as Yahoo News, Yahoo Finance, and Yahoo Sports.
If privacy and security are your top concerns, you may want to consider ProtonMail. ProtonMail is an encrypted email service that focuses on protecting user data and ensuring privacy. It offers end-to-end encryption, anonymous sign-up options, and additional security features like two-factor authentication.
Before making a decision, take some time to research and compare the features and benefits of each email provider. Consider factors such as storage space, user interface, accessibility across devices, security and privacy measures, and integration with other services you may use.
Once you have chosen an email provider, proceed to the next step to create your email address and begin the setup process.
Step 2: Create An Email Address
Now that you have chosen an email provider, it’s time to create your email address. An email address is a unique identifier that allows others to send messages to your inbox. It typically consists of a username, followed by the “@” symbol and the domain name of your email provider.
When creating an email address, it’s important to choose a username that is easy to remember and reflects your identity or brand. Many people opt to use their first and last names or a combination of their initials and a word related to their profession or interests. Avoid using overly complex or obscure usernames that may be difficult for others to remember or type correctly.
When it comes to selecting a domain name, you generally have two options: using the domain name provided by your email provider or using your own custom domain name. If you are using Gmail, for example, your email address will end with “@gmail.com”. This is a popular and widely recognized domain name that is associated with Google’s email service.
If you prefer a more personalized email address, you can register your own domain name and use it for your email. This allows you to have an email address that is unique to you or your business. Many domain registrars offer email hosting services, allowing you to create email addresses using your custom domain name.
Once you have decided on your desired username and domain name, follow the instructions provided by your email provider to create your email address. In most cases, this involves filling out a registration form with your personal information, choosing a username, and selecting a password.
While creating your email address, it’s important to choose a strong and secure password. Avoid using common passwords like “123456” or “password” as these are easily guessable. Instead, opt for a combination of uppercase and lowercase letters, numbers, and special characters. This will help protect your email account from unauthorized access.
Keep in mind that some email providers may have specific requirements for usernames and passwords, such as a minimum length or restrictions on special characters. Make sure to review and follow any guidelines provided by your email provider.
Once you have successfully created your email address, you’re ready to move on to the next step to choose a username and password for your email account.
Step 3: Choose a Username and Password
With your email address created, the next step is to choose a username and password for your email account. Your username is the unique identifier that will be displayed to others when they receive an email from you, while your password is the key to accessing your email account securely.
When selecting a username, it’s important to choose something that is easy to remember and reflects your identity or brand. Many people opt to use variations of their name, such as their first name and last initial or a combination of their initials and a word that is meaningful to them.
Avoid using usernames that are overly complex or difficult to remember, as this may make it challenging for others to find and recognize your email address. Additionally, it’s generally a good idea to avoid including personal information or sensitive details in your username to protect your privacy.
When it comes to choosing a password, strong security is paramount. Your password should be unique and difficult for others to guess. Avoid using common passwords like “password” or “123456”, as these are easily compromised.
A strong password typically includes a combination of uppercase and lowercase letters, numbers, and special characters. Aim for a password that is at least 8-12 characters long and not easily associated with personal information or common phrases.
It’s also important to use a different password for your email account than for other online accounts you may have. This ensures that if one of your passwords is compromised, your other accounts remain protected. Consider using a password manager to securely store and generate unique passwords for all your online accounts.
Remember to keep your password confidential and avoid sharing it with anyone. Email providers will never ask for your password via email or other insecure means, so be cautious of any suspicious requests for your login information.
Once you have chosen a username and password, it’s a good idea to write them down and store them in a secure place. You may also want to enable two-factor authentication (2FA), if available, to provide an additional layer of security for your email account.
By carefully choosing a username and password, you can help ensure the security and integrity of your email account, protecting your personal information and keeping your communications private.
Step 4: Set Up Email Client
Once you have created your email address and chosen a username and password, the next step is to set up an email client. An email client is a software program or application that allows you to access and manage your email account on your computer or mobile device.
There are several popular email clients to choose from, such as Microsoft Outlook, Mozilla Thunderbird, and Apple Mail. These clients provide a convenient and user-friendly interface for managing your emails, organizing your inbox, and composing and sending messages.
To set up your email client, you will need to provide certain information about your email account. This typically includes your email address, username, and password, as well as the incoming and outgoing mail server settings of your email provider.
To find the server settings for your email provider, you can usually refer to their support website or contact their customer service. The server settings typically include the server address, port number, and the type of encryption used for secure communication.
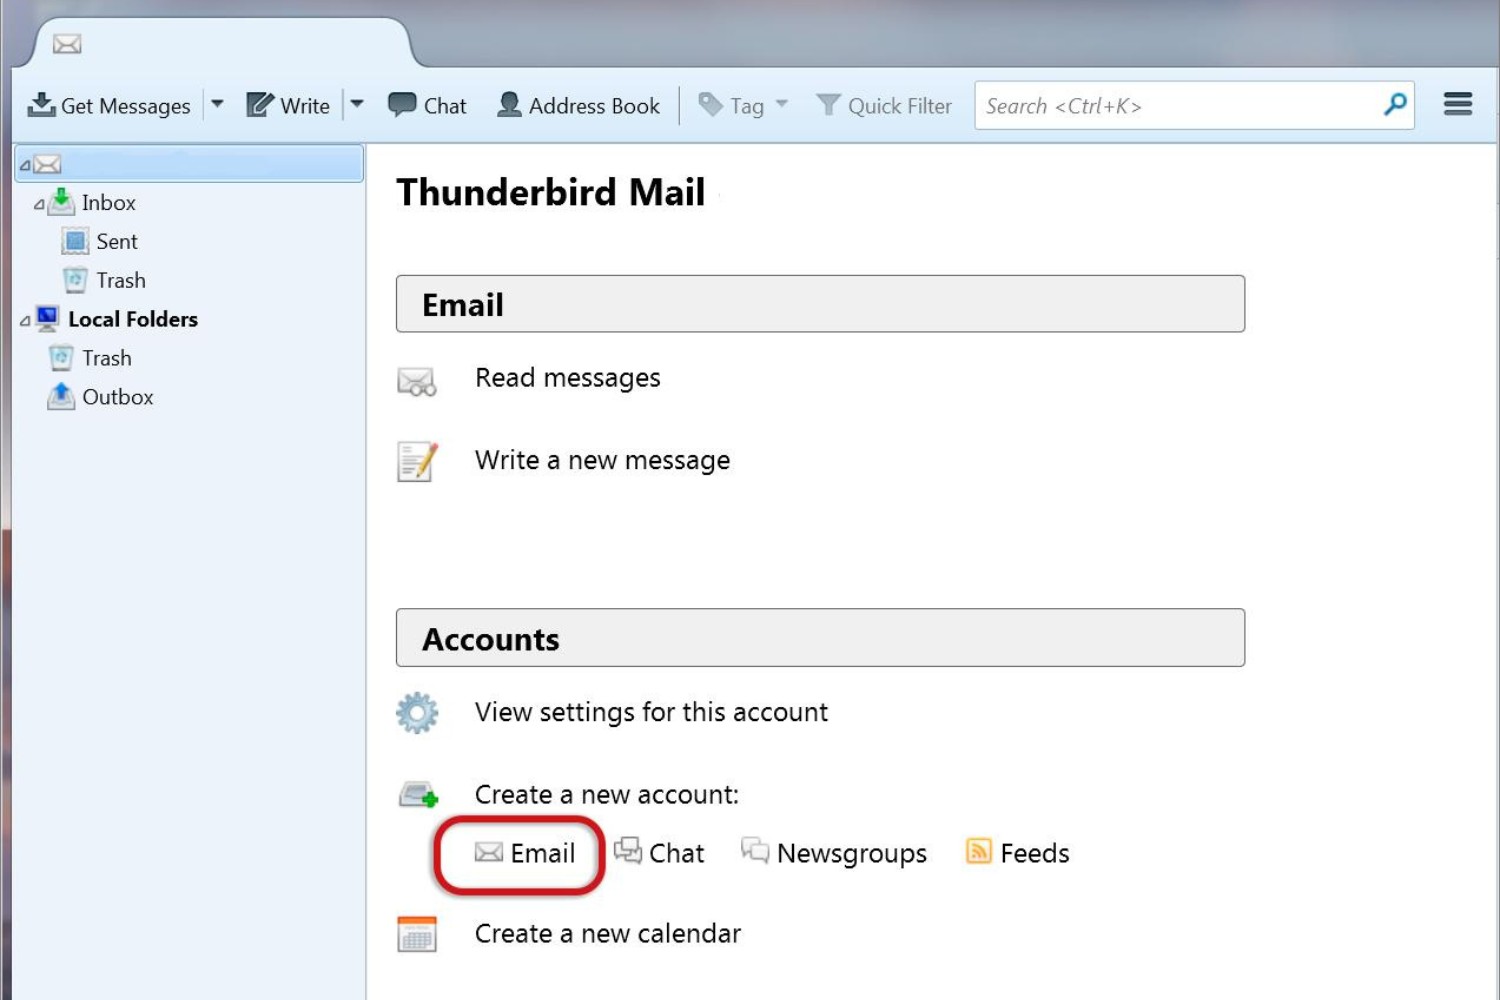
Once you have gathered all the necessary information, open your email client and navigate to the settings or preferences section. Look for an option to add a new email account or to manage existing accounts, depending on the email client you are using.
Click on the option to add a new account and follow the on-screen instructions. Enter your email address, username, and password when prompted, and then input the incoming and outgoing server settings provided by your email provider.
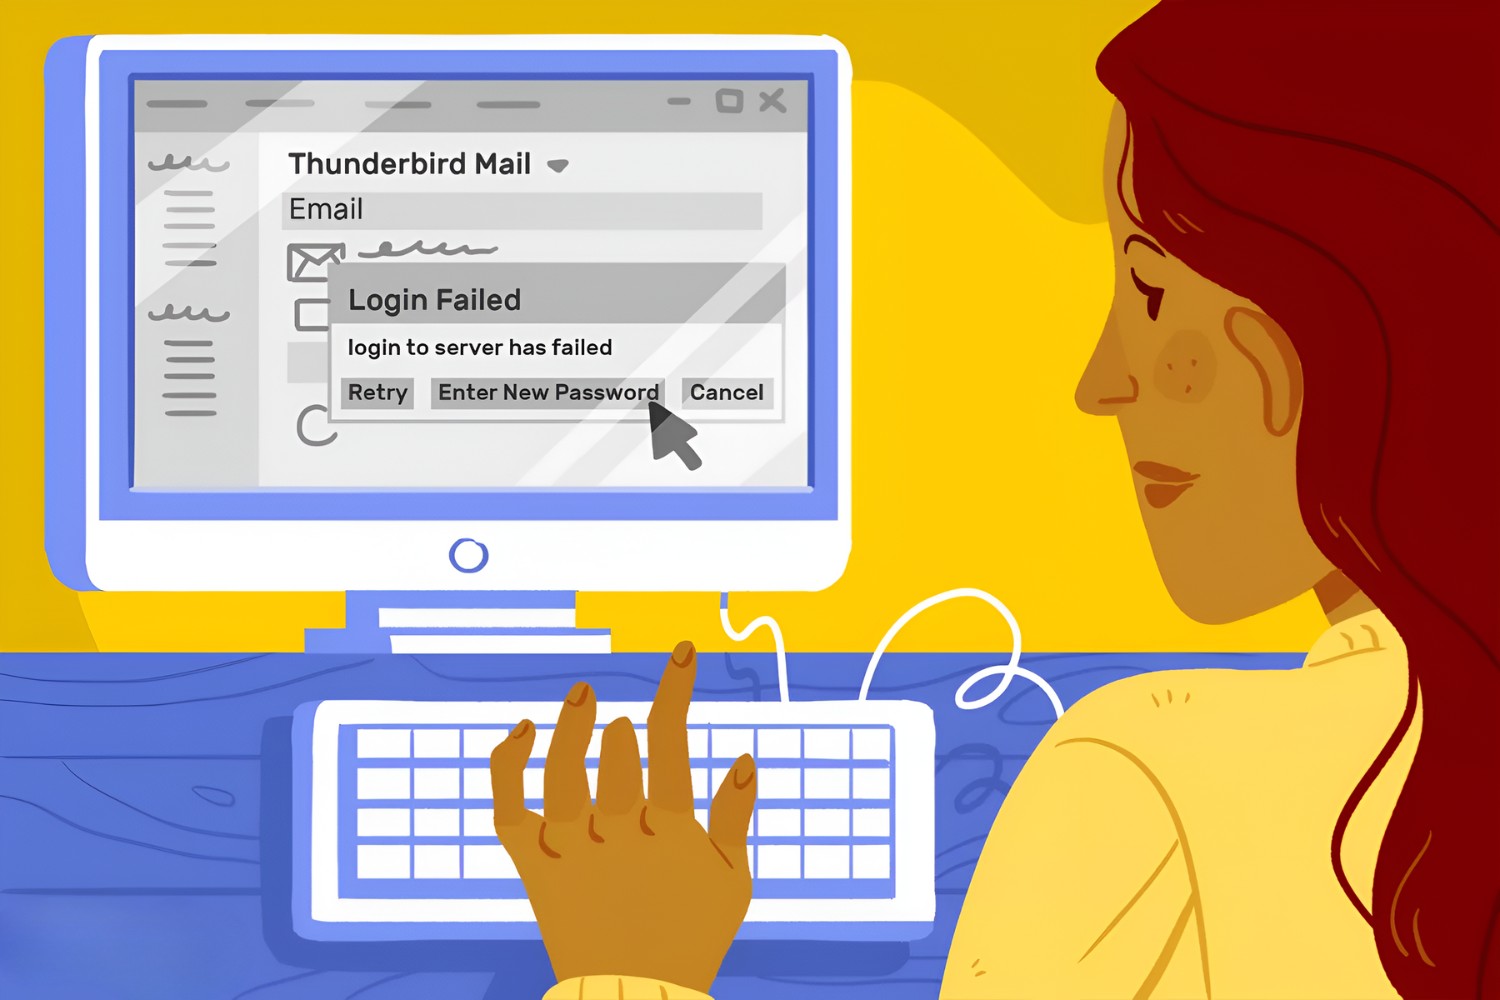
After you have entered the necessary information, proceed to test the connection to your email account. Most email clients will automatically detect the server settings and establish a secure connection. If any errors occur during this process, double-check the server settings and ensure that you have entered the correct information.
Once the connection is successfully established, your email client will download your email messages and display them in your inbox. You can now start managing your emails, organizing them into folders, and composing new messages to send to others.
Remember to regularly update your email client to the latest version to ensure optimal performance and security. Additionally, make sure to adjust any additional settings according to your preferences, such as notifications, signature, and email synchronization interval.
By setting up an email client, you can conveniently access and manage your email account from your preferred device, making it easier to stay connected and organized.
Step 5: Configure Account Settings
After setting up your email client and successfully connecting to your email account, it’s time to configure the account settings. Account settings determine how your email client behaves, such as how often it checks for new messages, how messages are displayed, and what actions are taken when replying or forwarding emails.
To configure account settings, open your email client and navigate to the settings or preferences section. Look for an option to manage email accounts or account settings, depending on the email client you are using.
One of the important settings to configure is the synchronization frequency. This determines how often your email client checks for new messages in your inbox and updates your email folders. You can choose the frequency that suits your needs, whether it’s checking for new messages every few minutes or every hour. Keep in mind that frequent syncing may consume more battery power on mobile devices.
Another setting to consider is the display format of your email. You can choose to have emails displayed in a list view, conversation view, or preview pane. Experiment with different options to find the layout that works best for you and helps you efficiently manage your emails.
You may also want to configure the behavior of your email client when replying or forwarding messages. Some clients allow you to choose whether to include the original message in your reply or forward, or to reply using the same format as the original email. Consider your preferences and adjust these settings accordingly.
Additionally, take the time to explore other advanced settings offered by your email client. These may include options for creating filters, setting up automatic email signatures, managing junk mail filters, or customizing notifications for new emails.
It’s important to periodically review and update your account settings to ensure they align with your changing needs and preferences. This allows you to personalize your email experience and optimize your productivity.
If you’re using multiple email accounts, make sure to configure the settings for each account separately. This allows you to customize the behavior of each account and keep them organized and distinct within your email client.
Remember to save your settings after making any changes and test their functionality to ensure they are working as expected.
By taking the time to configure your account settings, you can tailor your email client to your specific requirements, making it a powerful tool for effective communication and organization.
Step 6: Personalize Your Email
Once you have set up your email account and configured the basic settings, it’s time to personalize your email to reflect your unique style and brand. Personalizing your email helps create a professional and memorable impression on recipients and makes your communication more engaging and visually appealing.
One way to personalize your email is by customizing the theme or color scheme of your email interface. Many email clients offer a range of pre-designed themes or allow you to choose your own color palette. Select a theme or color scheme that resonates with your personality or represents your brand identity.
Additionally, you can add a custom email signature to your outgoing messages. An email signature is a block of text that is automatically appended to the bottom of every email you send. It typically includes your name, contact information, and any relevant links or branding elements.
Creating an effective email signature involves striking a balance between professionalism and creativity. Include the essential information, such as your full name, job title, and contact details. You can also add a memorable quote, social media icons, or a link to your website or portfolio.
Consider using a consistent and legible font for your email messages. Choose a font that is easy to read across different devices and email clients. Using a consistent font helps maintain a cohesive and professional appearance in your communication.
Another way to personalize your emails is by creating custom folders and labels to organize your inbox. This can help you efficiently categorize and access different types of emails, such as work-related, personal, or specific projects. Customize the names and colors of the folders to suit your preferences and make it easier to locate and manage your messages.
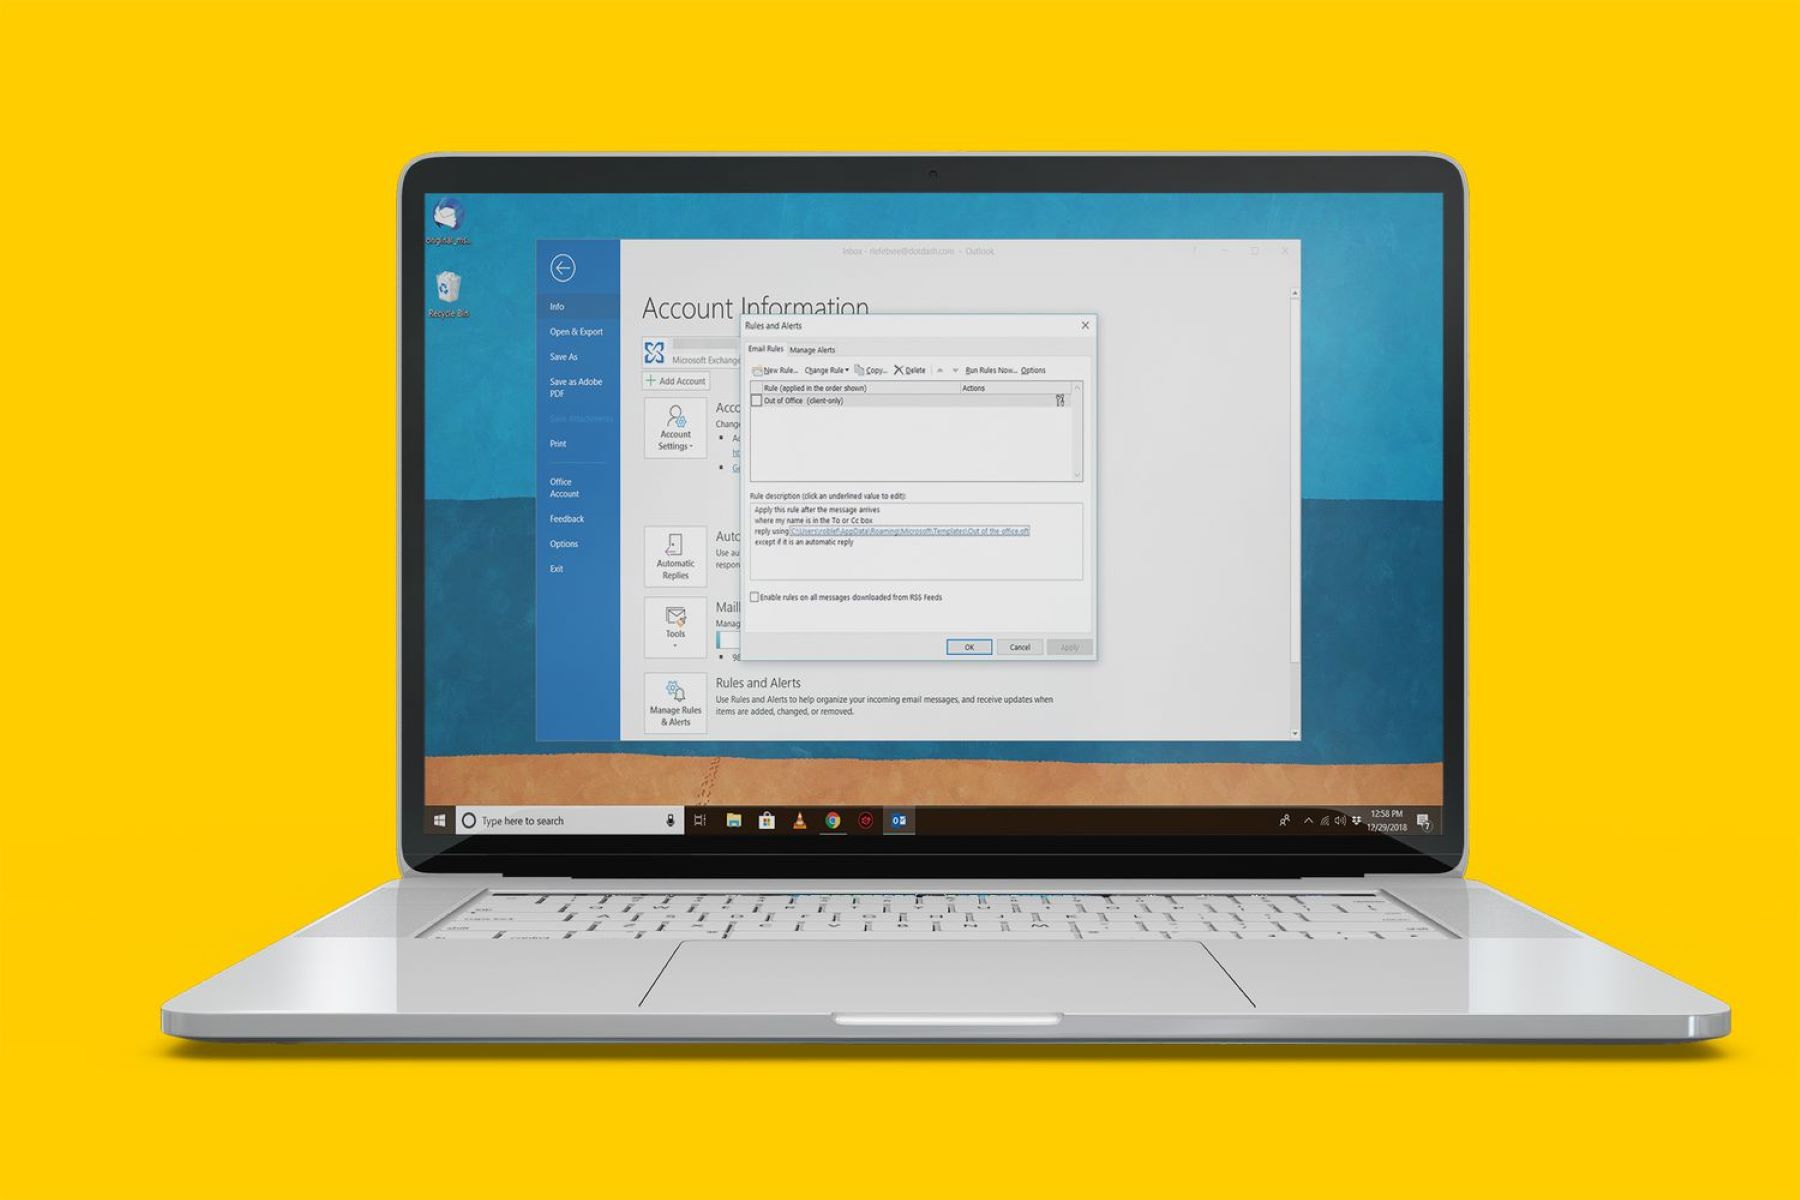
Some email clients also offer the option to create email rules or filters. These rules allow you to automatically sort incoming emails into specific folders based on predefined criteria. For example, you can create a rule to automatically move all emails from a certain sender or with specific keywords into a designated folder. Creating rules can help streamline your inbox and prioritize important messages.
Finally, consider using email add-ons or plugins to enhance the functionality and personalization of your email client. These add-ons can range from features like email tracking, scheduling, and productivity tools to integration with third-party apps and services that you frequently use.
Remember that personalization should not compromise the professionalism and clarity of your email communication. Avoid excessive use of colors, fonts, or graphics that may distract or confuse recipients. Strive for a balance that reflects your personality while maintaining a clean and professional appearance.
By personalizing your email, you can make a lasting impression on recipients and create a cohesive and visually appealing communication experience.
Step 7: Organize Your Inbox
Having an organized inbox is crucial for efficient email management and productivity. A cluttered and disorganized inbox can lead to missed messages, confusion, and unnecessary stress. By implementing effective organization strategies, you can keep your inbox tidy and easily locate important emails.
One of the first steps in organizing your inbox is to declutter and delete unnecessary emails. Go through your inbox and identify emails that are no longer relevant or needed. Delete or archive these emails to clear up space and reduce visual clutter.
Next, create folders or labels to categorize and store different types of emails. This helps ensure that your inbox remains streamlined and easy to navigate. Consider creating folders for different projects, clients, or specific email topics. You can move emails manually to these folders or set up rules to automatically direct certain types of emails to the appropriate folders.
Develop a consistent filing system for organizing emails within the folders. For example, you can sort emails by date, sender, subject, or a combination of these factors. Stick to the chosen system to ensure consistency and ease of retrieval when needed.
Utilize the search functionality of your email client to quickly locate specific emails. Most email clients have a search bar that allows you to search by keyword, sender, date, or other criteria. This can be a time-saving feature, especially when you need to find specific information buried within a large volume of emails.
Consider using flags or stars to mark important emails that require further attention or follow-up. This can help you prioritize your tasks and ensure that important emails are not overlooked or forgotten amidst the influx of new messages.
Regularly review and unsubscribe from mailing lists or newsletters that you no longer find useful or relevant. This reduces the number of unnecessary emails in your inbox and helps maintain a focused and manageable email flow.
Set aside dedicated time each day or week to process and respond to emails. Designate specific blocks of time to focus solely on email management, allowing you to address emails in a timely manner and avoid email overload.
Finally, periodically review and reassess your email organization system. As your needs and priorities change, adjust your folders, labels, and rules accordingly. Effective inbox organization is an ongoing process that requires regular maintenance and fine-tuning.
By implementing these strategies and maintaining an organized inbox, you can streamline your email management, improve productivity, and reduce the time and effort spent searching for specific emails.
Step 8: Set Up Email Signature
An email signature is an important component of professional communication. It serves as a digital business card, providing recipients with essential contact information and making your emails more personalized and memorable. Setting up an email signature is a simple yet impactful way to enhance your professional image and brand.
The first step in setting up your email signature is to decide what information to include. Typically, an email signature includes your full name, job title, company name, phone number, and website. You can also include links to your social media profiles or other relevant contact information.
In addition to contact details, consider adding a quote or tagline that reflects your professional values or personal brand. This can help make your email signature more memorable and create a positive impression on recipients.
Once you have determined the content of your email signature, it’s time to format it. Use a consistent and legible font size and type that aligns with your overall email style. Consider using bold or italic formatting sparingly to draw attention to specific details or emphasize certain elements.
For a professional email signature, be mindful of its visual appeal. Avoid cluttering the signature with excessive graphics, images, or long blocks of text. Aim for a clean and minimalist design that is visually appealing and easy to read on different screens and devices.
Most email clients provide built-in settings for creating and managing email signatures. Open your email client’s settings or preferences menu and locate the option to add an email signature. Copy and paste your prepared signature into the designated field and ensure that it is displayed correctly in the preview section.
Some email clients allow you to create multiple signatures for different purposes or for different email accounts you may have. This is helpful if you have multiple professional roles or if you want to tailor your signature for specific recipients or email contexts.
As you finalize your email signature, it’s important to test it across different email clients and devices. Send test messages to yourself and view them on various devices to ensure that the signature is correctly displayed and formatted. Make any necessary adjustments to ensure a consistent and professional appearance.
Regularly review and update your email signature to keep it relevant and reflective of your current professional identity. It’s also a good practice to periodically check that all the contact information in your signature is accurate and up to date.
By setting up a well-designed and informative email signature, you can enhance your professional communication, promote your brand, and provide recipients with the necessary information to easily reach out to you.
Step 9: Protect Your Email Account
Protecting your email account is crucial to safeguard your sensitive information and maintain the privacy and security of your communications. With cyber threats becoming increasingly sophisticated, it’s important to take proactive measures to keep your email account secure. Here are some essential steps to protect your email account:
1. Use a Strong and Unique Password:
Create a strong password for your email account that includes a combination of upper and lowercase letters, numbers, and special characters. Avoid using easily guessable passwords and refrain from reusing passwords across different accounts.
2. Enable Two-Factor Authentication (2FA):
Two-factor authentication adds an extra layer of security to your email account. It requires you to provide a second verification method, such as a unique code sent to your mobile device, in addition to your password when logging in. Enable this feature to prevent unauthorized access to your account.
3. Be Wary of Phishing Attempts:
Phishing emails are designed to trick you into revealing your login credentials or other sensitive information. Exercise caution when clicking on links or downloading attachments from unfamiliar senders. Verify the legitimacy of emails by checking the sender’s email address and never provide personal information in response to suspicious requests.
4. Regularly Update Your Email Client:
Keep your email client updated to ensure you have the latest security patches and bug fixes. Updates often contain important security enhancements that can protect your email account from potential vulnerabilities.
5. Be Mindful of Public Wi-Fi:
Avoid accessing your email account on public Wi-Fi networks, as they are often unsecured and can be easily compromised. If you must use public Wi-Fi, consider using a virtual private network (VPN) to encrypt your internet connection and protect your data.
6. Monitor Your Account Activity:
Regularly review your account activity for any suspicious or unauthorized access. Most email providers offer features that allow you to monitor login attempts and view recent login activity. If you notice any unusual activity, change your password immediately.
7. Use Anti-Malware Software:
Install and regularly update reliable anti-malware software on your devices to protect against viruses, malware, and other cyber threats that can compromise the security of your email account.
8. Be Cautious with Email Forwarding and Auto-Forwarding:
Avoid enabling automatic email forwarding or be cautious when redirecting emails to other accounts. This can potentially expose your messages to unauthorized individuals and compromise the security of your email account.
9. Educate Yourself on Email Security Best Practices:
Stay informed about the latest email security best practices. This includes regularly reviewing your email provider’s security guidelines, staying updated on common phishing techniques, and being cautious with the information you share via email.
By following these steps and proactively protecting your email account, you can minimize the risk of unauthorized access, data breaches, and other security incidents. Prioritize the security of your email communications and take the necessary precautions to keep your sensitive information safe.
Conclusion
Setting up and optimizing your email account is an essential step towards effective communication in today’s digital world. By following the steps outlined in this guide, you can create an email address, choose a provider, personalize your account, and protect your sensitive information.
Choosing a reliable email provider that suits your needs is the first step. Whether you opt for Gmail, Outlook, Yahoo Mail, or ProtonMail, ensure it offers the features and security measures necessary for your communication requirements.
Creating a unique email address with a strong username and password helps maintain the integrity of your account. Choosing a memorable and professional username and password combination is key to protecting your privacy and preventing unauthorized access.
Setting up an email client and configuring the account settings allows for a personalized and efficient email management experience. Organizing your inbox, creating folders, and utilizing search and filtering options streamline your workflow and save valuable time.
Customizing your email with a professional and visually appealing signature adds a personal touch to your messages. Including essential contact information and optional features like quotes or taglines helps create a lasting impression on recipients.
Lastly, protecting your email account is of utmost importance. Implementing strong passwords, enabling two-factor authentication, and being mindful of phishing attempts are critical steps to safeguard your information and maintain account security.
In conclusion,
By following these steps and implementing these best practices, you can ensure that your email account is fully optimized, secure, and tailored to your needs. Don’t hesitate to make changes, updates, and adjustments as your requirements evolve over time.
Mastering the setup and management of your email account empowers you to communicate efficiently, maintain professional relationships, and stay organized amidst the constant influx of information. By leveraging the power of email, you can enhance your personal and professional interactions in the digital age.