Introduction
Changing the email associated with your Microsoft account is a simple and straightforward process that can be done in just a few easy steps. Whether you want to update your email address due to a change in personal or professional circumstances, or simply to improve the security of your account, Microsoft provides a user-friendly interface for managing your account settings.
By changing your email address on your Microsoft account, you can ensure that you receive important notifications, communicate seamlessly, and access Microsoft services without any issues. Additionally, updating your email address can help you maintain a tidy and organized online presence by using an email that reflects your current situation.
In this article, we will guide you through the step-by-step process of changing your email address on your Microsoft account. We will also provide helpful tips to ensure a smooth transition without losing any important data or access to connected services.
Before we dive into the steps, it’s important to note that you should be cautious and double-check all the information you provide during the process. This will help prevent any unintended consequences or disruptions to your account and associated services.
Now, without further ado, let’s get started with the process of changing the email address on your Microsoft account!
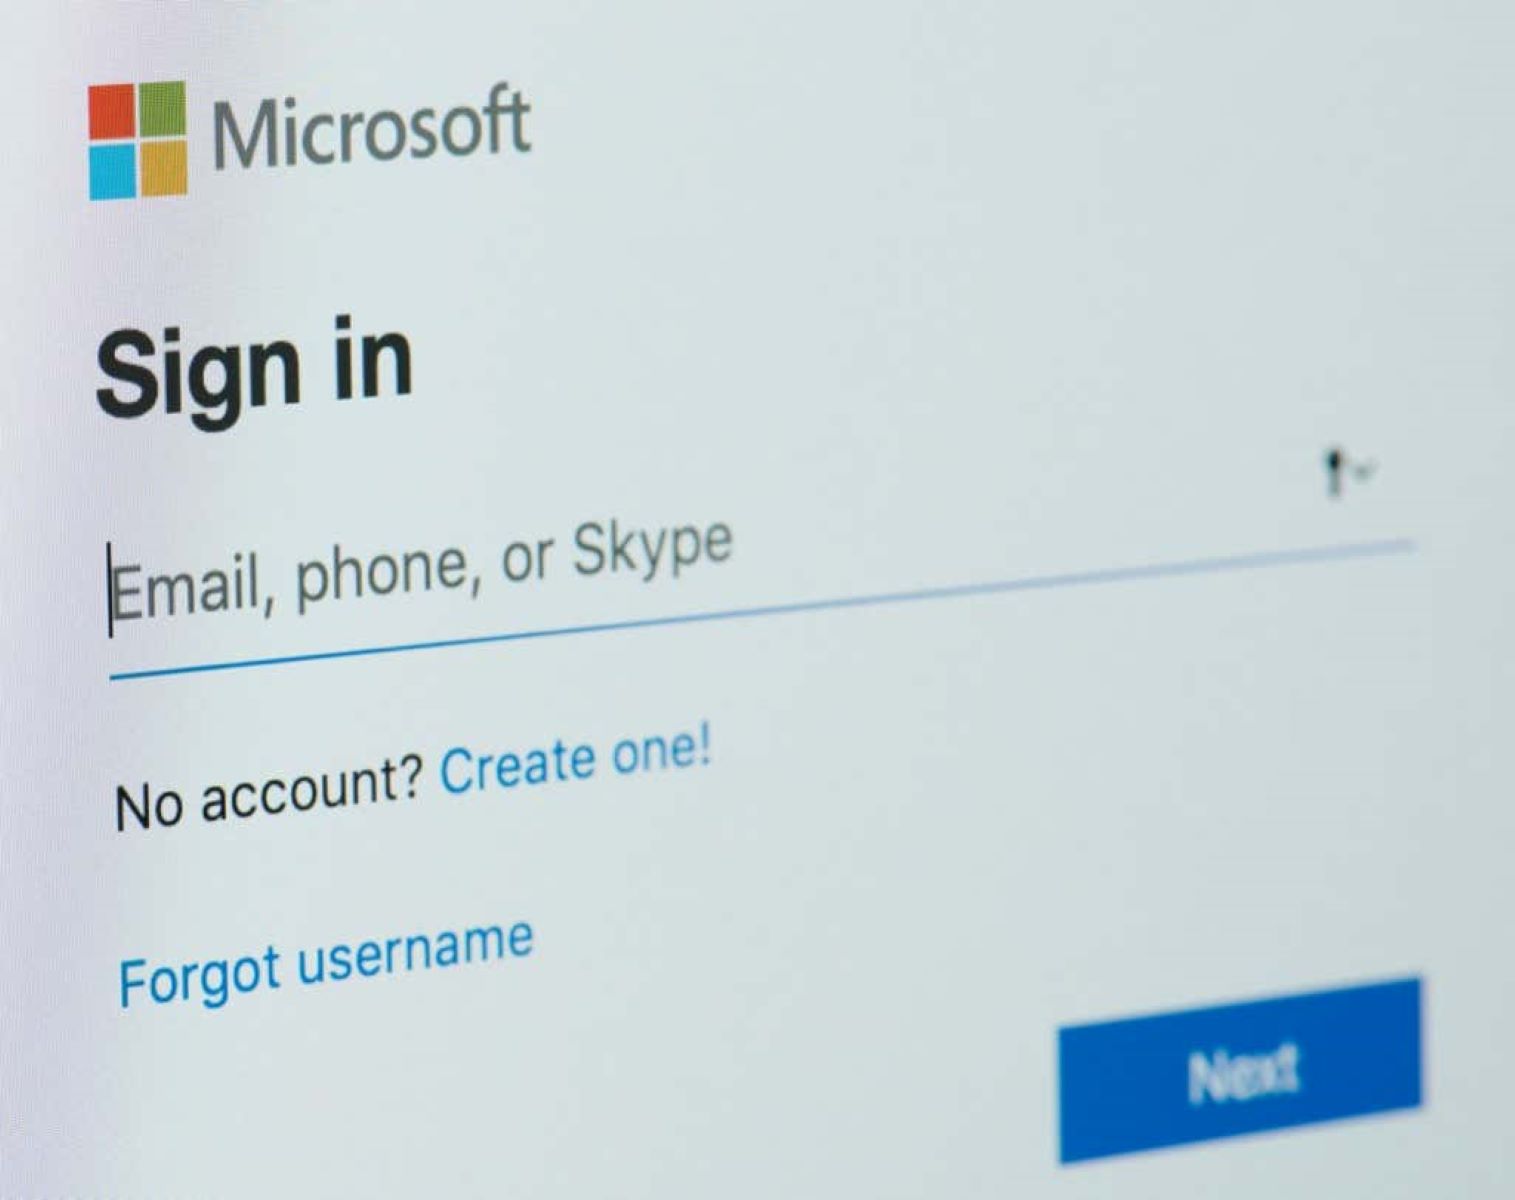
Step 1: Sign in to your Microsoft Account
The first step to changing your email address on your Microsoft account is to sign in to your account. Open your preferred web browser and navigate to the official Microsoft website. Click on the “Sign In” button located at the top right corner of the page.
Enter your current email address or username and the corresponding password. If you have enabled two-factor authentication for your Microsoft account, you may need to provide the verification code sent to your registered phone number or email address.
Once you have entered the required information, click on the “Sign In” button to access your Microsoft account.
If you don’t have a Microsoft account, you can create one by clicking on the “Create One!” link on the sign-in page and following the provided instructions. Having a Microsoft account allows you to access a wide range of Microsoft services such as Outlook, Office 365, OneDrive, Xbox, and more.
Signing in to your Microsoft account is essential to proceed with the process of changing your email address. It ensures that you have the necessary permissions and control over your account settings.
Once you have successfully signed in to your Microsoft account, you are ready to move on to the next step of changing your email address.
Step 2: Go to the Account Settings
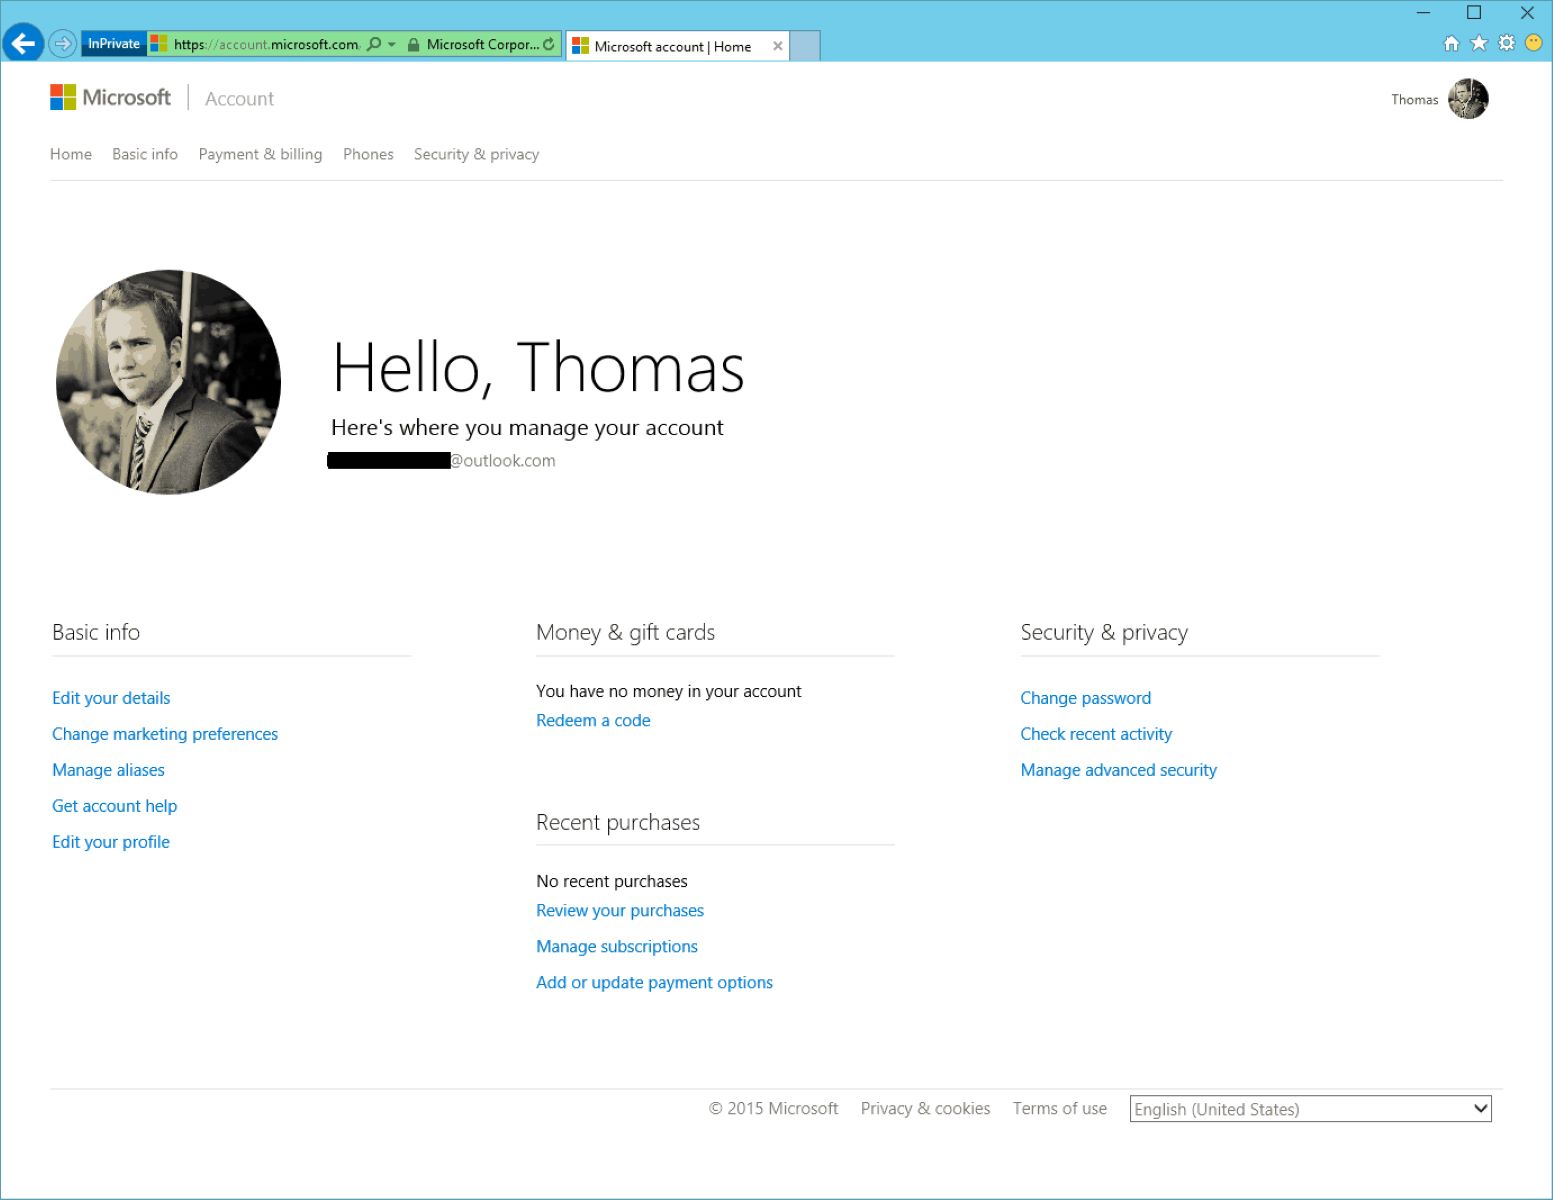
After signing in to your Microsoft account, the next step is to navigate to the account settings. To do this, locate and click on your account avatar or profile picture, usually displayed in the top right corner of the page. A drop-down menu will appear with various options.
From the drop-down menu, select the “Account settings” or “Account profile” option. This will redirect you to a new page where you can manage your Microsoft account settings.
The account settings page is where you can make changes and updates to your account information, including your email address.
Alternatively, depending on the Microsoft service you are using, you may find the account settings option in a different location. For example, if you are using Outlook, you can access the account settings by clicking on the “Settings” gear icon in the top right corner and selecting “View all Outlook settings” from the drop-down menu.
Regardless of the specific location, the goal is to access the account settings area where you can modify your email address. Take a moment to familiarize yourself with the layout and options available on the account settings page before proceeding to the next step.
Now that you have successfully reached the account settings page, it’s time to move on to the next step and make the necessary changes to your email address.
Step 3: Choose the “Your Info” Tab
Once you have accessed the account settings page, the next step is to locate and select the “Your Info” tab. This tab contains the essential information associated with your Microsoft account, including your email address.
On the account settings page, you will find a sidebar or a menu with different tabs or options. Look for the “Your Info” tab and click on it to proceed.
In some cases, the “Your Info” tab may be labeled as “Personal Info” or “Profile.” The exact wording may vary depending on the version of Microsoft services you are using. The key is to find the tab that allows you to manage your personal information.
By selecting the “Your Info” tab, you will be taken to a new page or section where you can view and modify the details associated with your Microsoft account, including your email address.
Take a moment to review the other information displayed on the “Your Info” tab. It may include your name, contact details, profile picture, and other relevant personal information. This will give you a comprehensive overview of the account information you can manage.
Once you have located and clicked on the “Your Info” tab, you are now ready to proceed with the next step of changing your email address on your Microsoft account.
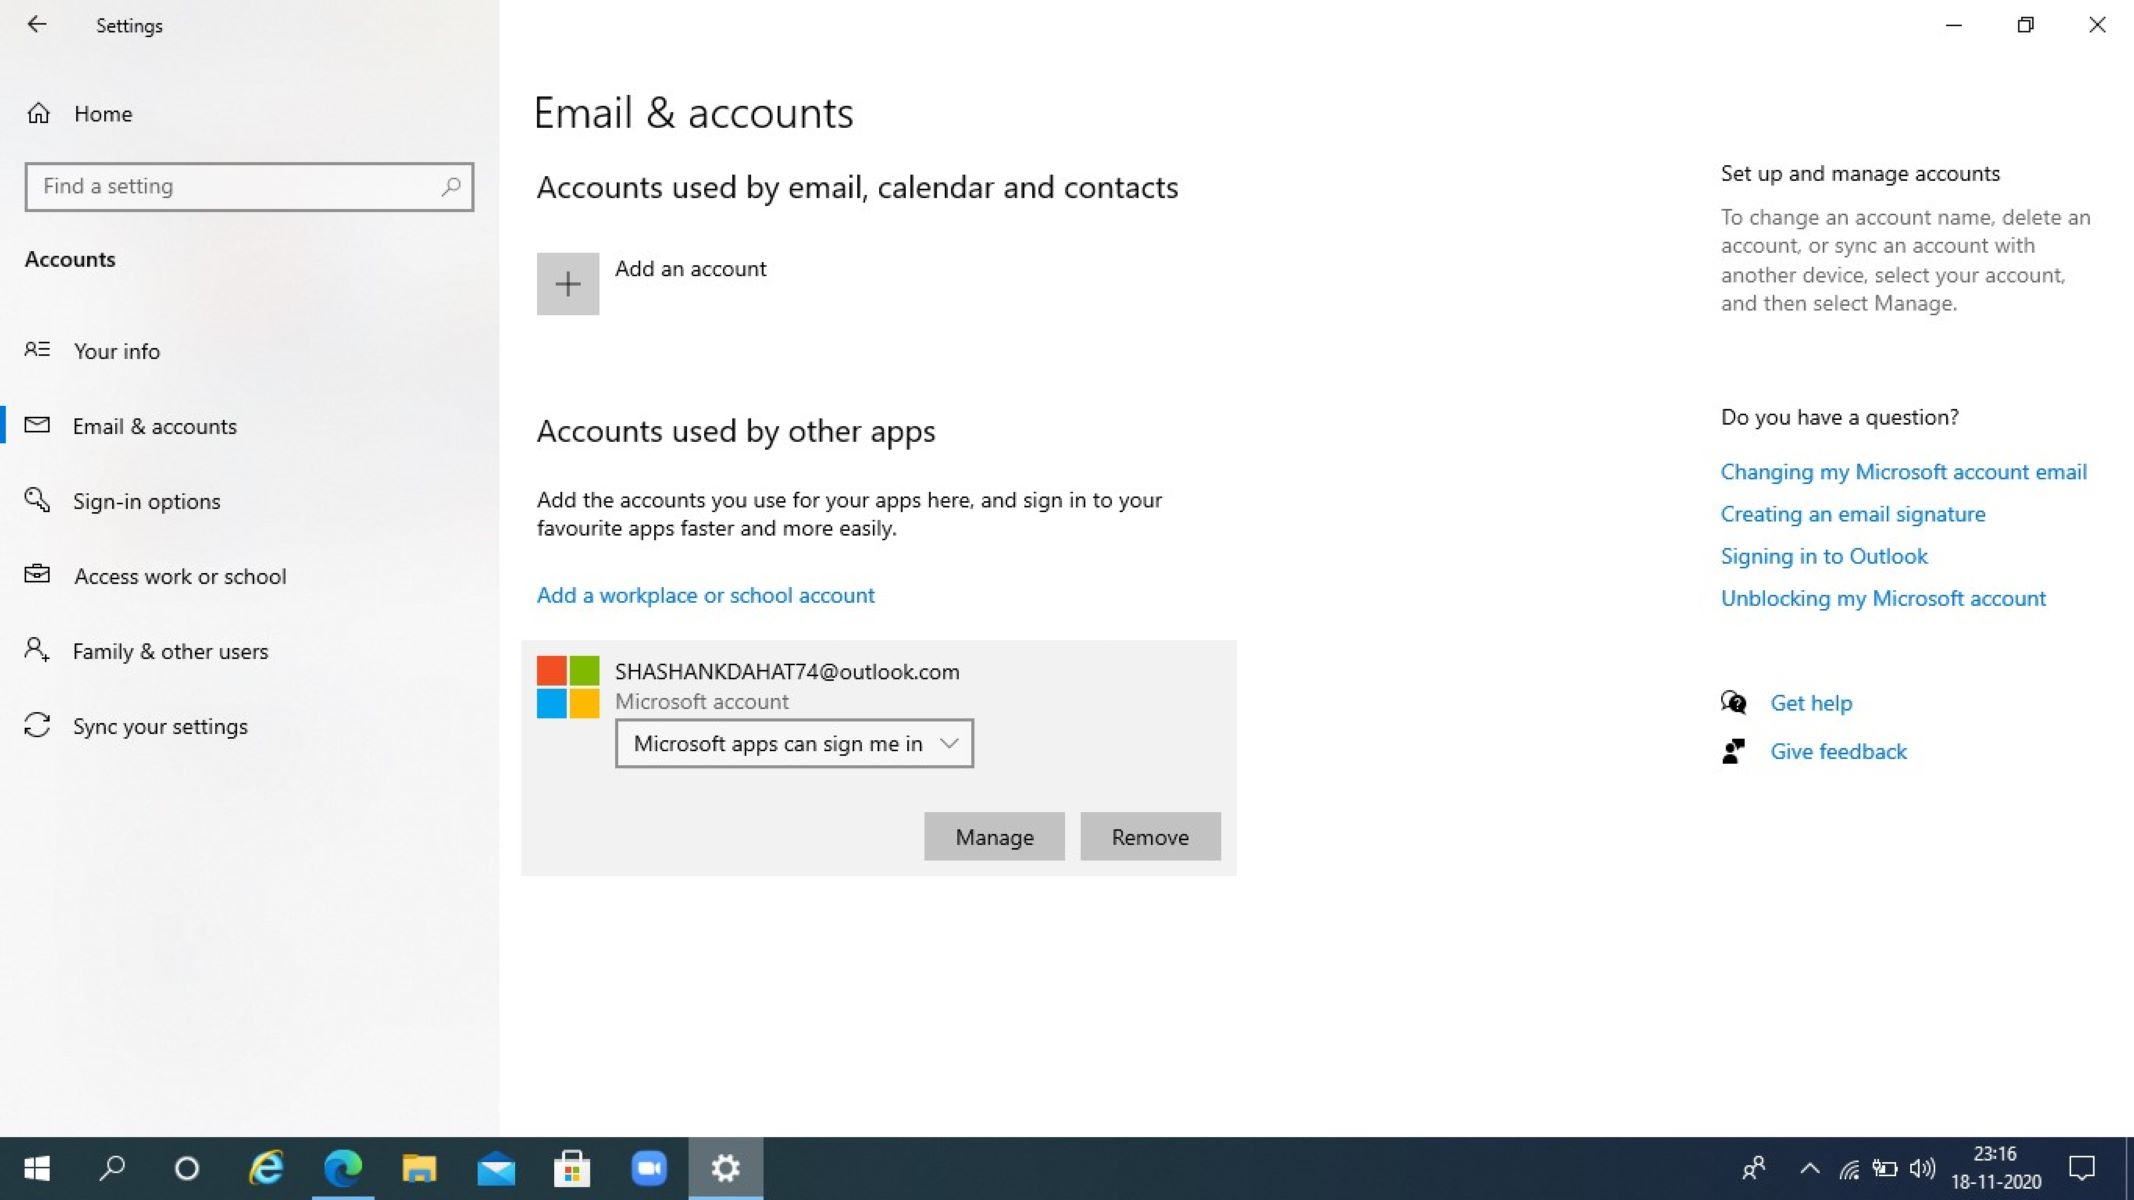
Step 4: Click on “Manage your sign-in email or phone number”
After selecting the “Your Info” tab, you will be presented with various options related to managing your personal information. Look for the option or link that says “Manage your sign-in email or phone number” and click on it.
This option allows you to make changes to the email address associated with your Microsoft account.
By clicking on “Manage your sign-in email or phone number,” you will be directed to a new section or page specifically designed for managing your email address and associated contact information.
It’s important to note that you may be prompted to re-enter your password or undergo an additional verification process for security purposes. Follow the on-screen instructions and provide the necessary information to proceed to the next step.
Once you have successfully clicked on “Manage your sign-in email or phone number,” you are now ready to enter the process of adding and verifying your new email address.
Before making any changes, double-check your current email address displayed on the screen to ensure accuracy. This will help you avoid any potential mistakes that may result in the loss of access to your Microsoft account.
Now that you have clicked on “Manage your sign-in email or phone number,” let’s move on to the next step and add your new email address to your Microsoft account.
Step 5: Add a new email address
Once you have accessed the section for managing your sign-in email or phone number, it’s time to add a new email address to your Microsoft account.
On the page, you will see an option to add a new email address. Look for a button or link that says “Add email” or something similar and click on it.
A new field will appear where you can enter your new email address. Carefully type in your desired email address, ensuring that it is spelled correctly and follows the necessary format (e.g., example@example.com).
Take a moment to double-check the email address you have entered to avoid any mistakes. Typos or incorrect email addresses can cause issues with account access and communication.
After entering your new email address, you may be prompted to re-enter your Microsoft account password or undergo an additional verification process to ensure the security of your account. Follow the provided instructions and provide the necessary information to proceed.
Once you have successfully added your new email address, you will see it listed as an additional email option associated with your Microsoft account. At this stage, the new email address is not yet set as your primary email.
Now that you have added the new email address, it’s time to move on to the next step and verify it to ensure that it is valid and belongs to you.
Step 6: Verify the new email address
After adding the new email address to your Microsoft account, it is essential to verify that you have access to it and confirm its ownership. Verification ensures the security and legitimacy of the email address associated with your account.
To verify the new email address, go to your email inbox and look for a verification email from Microsoft. Open the email and locate the verification link or code provided.
Click on the verification link or copy the code and return to the Microsoft account settings page on your web browser. Look for the section where you added the new email address and find the option to verify it.
Paste the verification code or click on the corresponding button to complete the verification process. This step confirms that you have access to the email address and ensures that it is properly linked to your Microsoft account.
If you can’t find the verification email in your inbox, check your spam or junk folder. Sometimes, emails from new senders or automated systems may be filtered out and placed in these folders.
If you still haven’t received the verification email after a reasonable amount of time, you may need to resend the verification email from the Microsoft account settings page. Look for the option to resend the verification email and follow the instructions provided.
Once you have successfully verified the new email address, it will be marked as verified in your Microsoft account settings. This means that you can proceed to make it your primary email address, ensuring that all future communications and notifications are sent to this address.
Now that you have successfully verified the new email address, let’s move on to the next step and make it your primary email address for your Microsoft account.
Step 7: Make the new email address your primary email
Once you have verified the new email address, you can make it the primary email address associated with your Microsoft account. This step ensures that all future communications and notifications from Microsoft services will be sent to this email address.
To make the new email address your primary email, go back to the Microsoft account settings page in your web browser. Look for the section where you added the new email address and find the option to set it as the primary email.
Click on the “Make primary” button or select the option provided to designate the new email address as your primary email for your Microsoft account.
Confirm your choice when prompted and review the changes before proceeding.
Setting the new email address as your primary means that the previous email address associated with your Microsoft account will become a secondary or alternate contact. Nevertheless, you can still use it to sign in and receive communications if necessary.
After making the new email address your primary, double-check your account settings to ensure that the changes have been successfully applied. Verify that the new email address is listed as the primary contact and that your account information is up to date.
It is also recommended to update your email address on any linked services or accounts that use your Microsoft account. This will ensure that there are no disruptions in access or communication, and that all relevant accounts are updated with your new email address.
With the new email address set as your primary, you have successfully completed the process of changing your email address on your Microsoft account. Congratulations!
Now that the new email address is your primary, you can enjoy a seamless experience with Microsoft services, receiving important notifications and communication at your preferred email address.
Before we conclude, let’s go over the final step of updating your email address on linked services.
Step 8: Update email address on linked services
After changing your email address on your Microsoft account, it’s important to update the email address on any linked services or accounts. This ensures that you can seamlessly access and manage those services without any disruptions.
Start by identifying the services or accounts that are connected to your Microsoft account. These may include Office 365, Outlook, Xbox Live, Skype, and other Microsoft services.
For each service or account, visit the respective website or application and sign in using your new email address and password. Once signed in, navigate to the account settings or profile section and update your email address to match the new one associated with your Microsoft account.
In some cases, you may need to verify the new email address on the linked services or reconfigure certain settings. Follow the instructions provided by each service or account to ensure a smooth transition and avoid any access issues.
Remember to update your email address on any devices or applications that are connected to your Microsoft account as well. This includes smartphones, tablets, email clients, and any other devices where you access your Microsoft services.
By updating your email address on linked services, you can ensure that all your accounts and services are synchronized and up to date. This prevents any confusion or complications arising from using different email addresses across different platforms.
Take the time to review each linked service or account to ensure that your email address has been successfully updated and that everything is functioning correctly.
Once you have updated your email address on all the linked services and accounts, you can enjoy a seamless experience across all Microsoft services using your new email address.
Congratulations! You have successfully completed the process of changing your email address on your Microsoft account and updating it on linked services.
Keep in mind that it’s always a good idea to regularly review and update your account settings to maintain a secure and personalized digital experience.
Thank you for following this guide, and we hope that the steps provided have been helpful in changing your email address on your Microsoft account.
If you have any further questions or encounter any issues, consult the official Microsoft support documentation or reach out to their customer support for assistance.
Conclusion
Changing the email address on your Microsoft account is a straightforward process that can be done in a few simple steps. By following the instructions outlined in this guide, you can update your email address and ensure a seamless experience across all Microsoft services.
We started by signing in to your Microsoft account and navigating to the account settings. From there, we proceeded to the “Your Info” tab and clicked on “Manage your sign-in email or phone number.” We then added a new email address and verified it through the verification link or code received in our inbox.
After verifying the new email address, we made it the primary email associated with our Microsoft account. This ensures that all future communications and notifications will be sent to the new email address.
Finally, we emphasized the importance of updating the email address on any linked services or accounts to maintain seamless access and communication.
Remember, it’s crucial to double-check all the information you provide during the process and ensure the accuracy of your new email address. This will help prevent any unintended consequences or disruptions to your account and associated services.
We hope that this guide has been helpful in assisting you with changing your email address on your Microsoft account. If you have any further questions or concerns, it is recommended to refer to the official Microsoft support documentation or reach out to their customer support for assistance.
Thank you for following along, and we wish you a smooth and successful transition to your new email address on your Microsoft account!