Introduction
Welcome to the step-by-step guide on how to install and set up Microsoft Outlook on your Vensmile W10 Wintel Mini PC Atom Baytrail CR Z3735F. Outlook is a powerful email and personal information management software that allows you to efficiently manage your emails, contacts, calendar, and tasks. By installing Outlook on your Vensmile W10 Wintel Mini PC, you can have access to all your important data and stay organized even while on the go.
Before we begin, it’s important to note that the installation process may vary slightly depending on the version of Windows operating system installed on your Vensmile W10 Wintel Mini PC. However, the general steps provided in this guide should apply to most versions of Windows.
In this guide, we will cover everything from downloading and installing Outlook to setting up your email accounts and customizing the application according to your preferences. By the end of this tutorial, you will be ready to use Outlook seamlessly on your Vensmile W10 Wintel Mini PC.
Whether you use Outlook for personal or professional purposes, its efficient organization and productivity features will make managing your emails and schedule a breeze. So, without further ado, let’s dive into the installation process and get your Outlook up and running on your Vensmile W10 Wintel Mini PC.
Prerequisites
Before you begin the installation process, make sure you have the following prerequisites in place:
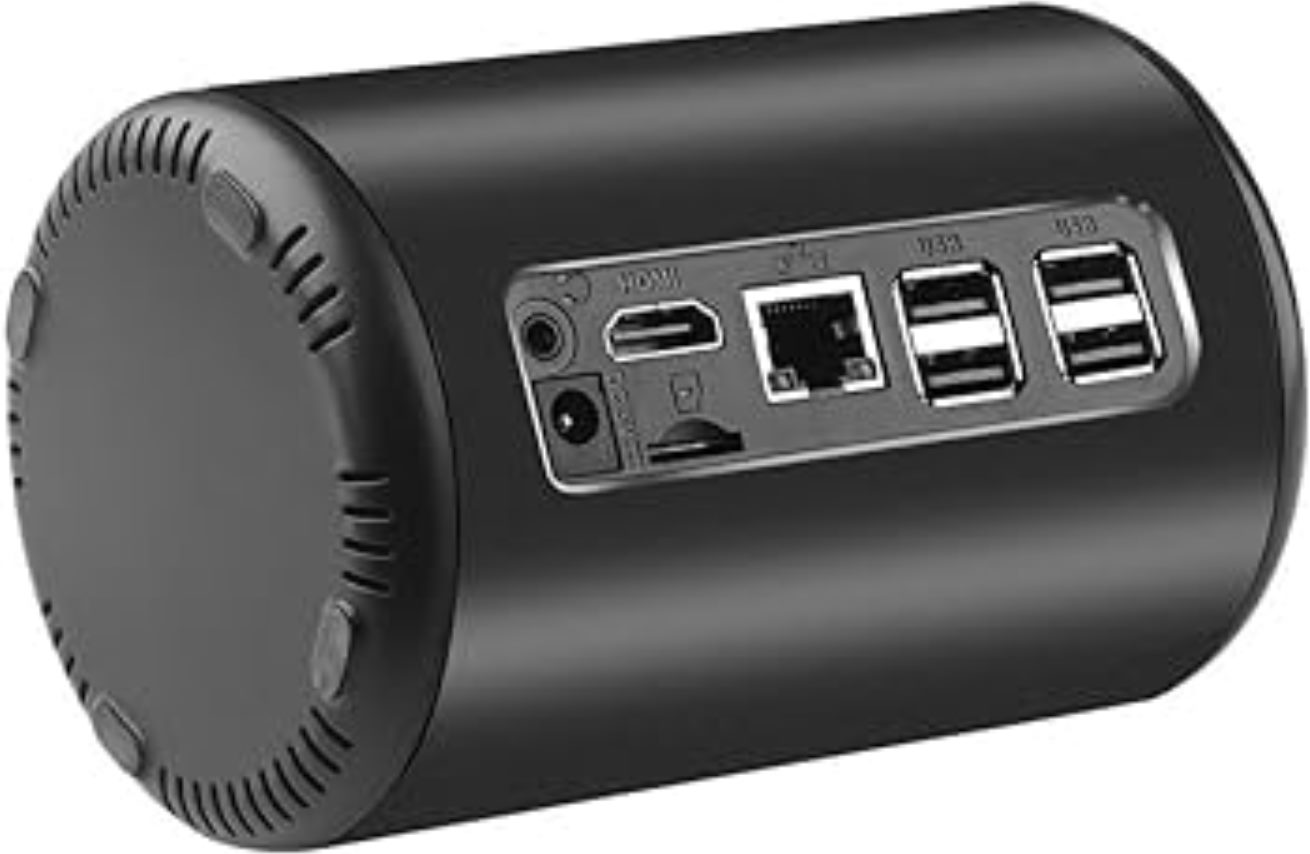
- A Vensmile W10 Wintel Mini PC Atom Baytrail CR Z3735F
- An active internet connection
- Administrator access to your Vensmile W10 Wintel Mini PC
- A valid Microsoft account or an email account that supports Outlook
- The latest version of Windows operating system installed on your Vensmile W10 Wintel Mini PC
- A sufficient amount of storage space on your device to install and store Outlook
It’s important to ensure that your Vensmile W10 Wintel Mini PC meets these requirements to have a smooth installation and optimal performance of Outlook. If you are unsure about any of these prerequisites, check the system specifications of your device or contact the manufacturer for assistance.
Additionally, ensure that you have a reliable internet connection throughout the installation process. This is crucial as Outlook will need to connect to Microsoft servers to download and install the necessary files.
If you haven’t already done so, create a Microsoft account or have the login credentials for the email account you will be using with Outlook. This will be required to set up your email accounts within the application.
Lastly, make sure you have enough storage space available on your Vensmile W10 Wintel Mini PC to accommodate the installation of Outlook and any additional data that might be downloaded or generated by the application.
Once you have verified these prerequisites, you are ready to proceed with the installation of Outlook on your Vensmile W10 Wintel Mini PC.
Step 1: Downloading Outlook
To begin the installation process, you will first need to download the Outlook installation file on your Vensmile W10 Wintel Mini PC. Follow these steps to download Outlook:
- Open a web browser on your Vensmile W10 Wintel Mini PC.
- Navigate to the Microsoft website or the official Microsoft Outlook download page.
- Once on the download page, look for the option to download Outlook. This may be labeled as “Download Outlook” or “Get Outlook.”
- Click on the download button to initiate the download of the Outlook installation file.
- Depending on your browser settings, you may be prompted to choose a download location or the file may start downloading automatically.
- Wait for the download to complete. The time taken for the download will depend on your internet connection speed.
Once the download is complete, you are now ready to move on to the next step, which is the installation of Outlook on your Vensmile W10 Wintel Mini PC. Ensure that you have the downloaded installation file available and accessible before proceeding.
Downloading the Outlook installation file is an essential first step in setting up Outlook on your Vensmile W10 Wintel Mini PC. By having the installation file saved on your device, you can easily proceed with the installation process and have Outlook up and running in no time.
Step 2: Installing Outlook
Now that you have downloaded the Outlook installation file, it’s time to proceed with the installation process. Follow these steps to install Outlook on your Vensmile W10 Wintel Mini PC:
- Navigate to the location where you downloaded the Outlook installation file.
- Double-click on the installation file to run it. This will initiate the installation process.
- You may be prompted by User Account Control (UAC) to allow the installation process to make changes to your device. Click “Yes” to proceed.
- Read and accept the Microsoft Software License Terms, then click “Next” or “Install” to continue.
- Wait for the installation process to complete. This may take a few minutes and will depend on the speed of your device and the resources required by the installation.
- Once the installation is complete, click “Finish” to close the installation wizard.
After completing these steps, Outlook is now successfully installed on your Vensmile W10 Wintel Mini PC. You can now move on to the next step, which is setting up Outlook to start using it.
Note that during the installation process, the Outlook program files will be installed in the appropriate location on your device. The installation wizard will take care of the necessary configurations and dependencies to ensure that Outlook runs smoothly on your Vensmile W10 Wintel Mini PC.
By following these steps, you have successfully installed Outlook on your Vensmile W10 Wintel Mini PC. The next step is to set up Outlook by configuring your email accounts and personalizing the application to meet your preferences.
Step 3: Setting up Outlook
Now that Outlook is installed on your Vensmile W10 Wintel Mini PC, it’s time to set it up and configure it to start using the application. Follow these steps to set up Outlook:
- Launch Outlook from the Start menu or desktop shortcut.
- On the welcome screen, you will be prompted to set up an email account. Click on the “Next” button to proceed.
- Enter your email address in the provided field and click “Connect.” Outlook will attempt to automatically configure the account settings based on the email domain.
- If Outlook is unable to set up the account automatically, you will need to manually enter the email settings. Click on the “Advanced options” link and follow the on-screen instructions to enter the necessary details.
- Once the account setup is complete, click “Done” or “Finish” to finalize the setup process.
- Repeat these steps for any additional email accounts you want to add to Outlook.
After setting up your email accounts, Outlook will start synchronizing your emails and other data. This may take some time depending on the amount of data to be synchronized and your internet connection speed. Once the synchronization is complete, you can start using Outlook to manage your emails, calendar, contacts, and more.
During the setup process, you may also have the option to customize various settings in Outlook, such as the default email signature, the appearance of the application, and the advanced email settings. Take some time to explore these settings and make adjustments according to your preferences.
Setting up Outlook is a crucial step to ensure that you can make the most out of the application’s features and functionalities. By following these steps, you have successfully set up Outlook on your Vensmile W10 Wintel Mini PC, and you are now ready to start managing your email accounts with ease.
Step 4: Customizing Outlook Settings
After setting up Outlook on your Vensmile W10 Wintel Mini PC, you have the option to customize various settings to personalize the application and make it work the way you want. Follow these steps to customize the Outlook settings:
- Open Outlook on your Vensmile W10 Wintel Mini PC.
- Click on the “File” tab located in the top-left corner of the Outlook window.
- In the sidebar menu, click on “Options.” This will open the Outlook Options window.
- From the options menu, you can customize various settings. Here are a few key settings you might want to customize:
- General Settings: Customize the appearance of Outlook, change the default startup folder, or modify the message format.
- Email Settings: Configure options such as email signatures, automatic replies, and reading pane settings.
- Calendar Settings: Adjust settings related to the calendar, including work hours, time zones, and notifications.
- People Settings: Customize contact and address book settings, such as the display name format or the address book source.
- Advanced Settings: Configure advanced options, including data files, privacy settings, and performance optimizations.
- Once you have customized the necessary settings, click “OK” to save your changes.
Customizing the Outlook settings allows you to tailor the application to your specific needs and preferences. Whether it’s adjusting the appearance, fine-tuning email settings, or optimizing calendar configurations, customizing the settings ensures a more personalized and efficient experience when using Outlook on your Vensmile W10 Wintel Mini PC.
Take some time to explore the various options and settings available in Outlook. Adjust them according to your preferences and requirements to make the most out of the application’s features and functionalities.
Step 5: Adding Email Accounts
Now that you have set up Outlook and customized the necessary settings, it’s time to add your email accounts to the application. Follow these steps to add email accounts to Outlook:
- Open Outlook on your Vensmile W10 Wintel Mini PC.
- Click on the “File” tab located in the top-left corner of the Outlook window.
- In the sidebar menu, click on “Add Account.” This will open the Add Account wizard.
- Enter your email address in the provided field and click “Connect.” Outlook will attempt to automatically configure the account settings based on the email domain.
- If Outlook is unable to set up the account automatically, you will need to manually enter the email settings. Click on the “Advanced options” link and follow the on-screen instructions to enter the necessary details.
- Once the account setup is complete, click “Done” or “Finish” to finalize the process.
- Repeat these steps for any additional email accounts you want to add to Outlook.
After adding your email accounts, Outlook will start synchronizing your emails, contacts, and calendar events. This may take some time depending on the amount of data to be synchronized and your internet connection speed. Once the synchronization is complete, you can start managing and organizing your emails from within Outlook.
By adding your email accounts to Outlook, you can access and manage all your email accounts from a single application. This not only helps in keeping your emails organized but also saves you time and effort by eliminating the need to switch between different email clients or web interfaces.
Take advantage of the powerful features and functionalities offered by Outlook to effectively manage your email accounts and streamline your communication process.
Step 6: Managing Emails in Outlook
Now that you have added your email accounts to Outlook on your Vensmile W10 Wintel Mini PC, it’s time to learn how to effectively manage your emails within the application. Follow these steps to manage your emails in Outlook:
- Launch Outlook on your Vensmile W10 Wintel Mini PC.
- In the navigation pane, select the email account or folder where you want to manage your emails.
- To view a specific email, simply click on it in the list view. The email will open in the reading pane on the right side of the Outlook window.
- To reply to an email, click on the “Reply” button in the reading pane. A new email window will open with the sender’s email address already filled in.
- To compose a new email, click on the “New Email” button in the Outlook toolbar. A blank email window will open, allowing you to enter the recipient’s email address, subject, and message.
- To organize your emails, you can use folders. Right-click on your email account or an existing folder and select “New Folder” to create a new folder. You can then drag and drop emails into the desired folder to keep them organized.
- You can also use email rules to automatically sort and manage incoming emails. In the Outlook toolbar, click on “File,” then select “Manage Rules & Alerts.” From here, you can create rules to move emails to specific folders, flag important emails, or automatically forward emails to another account.
- To delete an email, select it and click on the “Delete” button in the Outlook toolbar. Alternatively, you can use the “Delete” key on your keyboard.
Managing your emails efficiently is essential for staying organized and ensuring that important emails don’t get overlooked. Outlook provides various tools and features to help you manage and organize your emails effectively.
By following these steps, you can easily navigate, reply to, compose, organize, and delete emails within Outlook. Take some time to explore the different features and functionalities of Outlook to further enhance your email management experience.
Remember to regularly clean up your inbox, archive important emails, and use folders and rules to keep your emails organized. This will not only save you time but also enhance your overall productivity.
Step 7: Syncing Outlook with other Devices
In addition to using Outlook on your Vensmile W10 Wintel Mini PC, you may also want to sync your Outlook data with other devices such as smartphones, tablets, or laptops. Follow these steps to sync Outlook with other devices:
- Make sure you have a stable internet connection on both your Vensmile W10 Wintel Mini PC and the device you want to sync with.
- On your Vensmile W10 Wintel Mini PC, open Outlook and click on the “File” tab in the top-left corner of the Outlook window.
- In the sidebar menu, click on “Options” and then select “Advanced.”
- Under the “Export” section, click on “Export.”
- In the Export wizard, select the option to export to a file and choose the desired file type (e.g., .pst or .csv) for the export.
- Select the folders or data you want to export and choose a location on your Vensmile W10 Wintel Mini PC to save the exported file.
- Click on “Finish” to complete the export process.
- Transfer the exported file to your other device, such as via email, cloud storage, or a USB drive.
- On the other device, open Outlook or the email client you use and import the exported file. This process may vary depending on the device and email client you are using.
- Follow the on-screen instructions to import the exported file and synchronize your Outlook data with the other device.
By syncing Outlook with other devices, you can access your emails, contacts, calendar events, and other data across multiple devices. This ensures that you have the most up-to-date information and allows for seamless productivity and communication whether you’re at your Vensmile W10 Wintel Mini PC or on the go.
It’s important to note that the steps for syncing Outlook data may vary depending on the devices and email clients you are using. Consult the documentation or support resources available for your specific devices and email clients to ensure a smooth syncing process.
By following these steps and syncing Outlook with other devices, you can stay connected and organized no matter which device you’re using.
Conclusion
Congratulations! You have now successfully installed Microsoft Outlook on your Vensmile W10 Wintel Mini PC and learned how to set it up, customize the settings, and manage your email accounts. Outlook is a powerful email and personal information management software that offers a range of features to help you stay organized and productive.
By following the step-by-step guide outlined in this article, you are now equipped with the knowledge to fully utilize Outlook on your Vensmile W10 Wintel Mini PC. Whether it’s composing and replying to emails, organizing your inbox, or syncing Outlook with other devices, you have learned how to make the most out of this versatile application.
Remember, Outlook offers many additional features and functions that can further enhance your email management experience. It is worth exploring different settings and options to customize Outlook to suit your specific needs and preferences.
By integrating Outlook into your workflow, you can streamline your communication, boost productivity, and have better control over your email accounts and personal information. Take advantage of the powerful features of Outlook to manage your emails and stay on top of your schedule effectively.
Thank you for following this guide, and we hope that Outlook enhances your productivity and simplifies your email management tasks on your Vensmile W10 Wintel Mini PC. Happy emailing!