Introduction
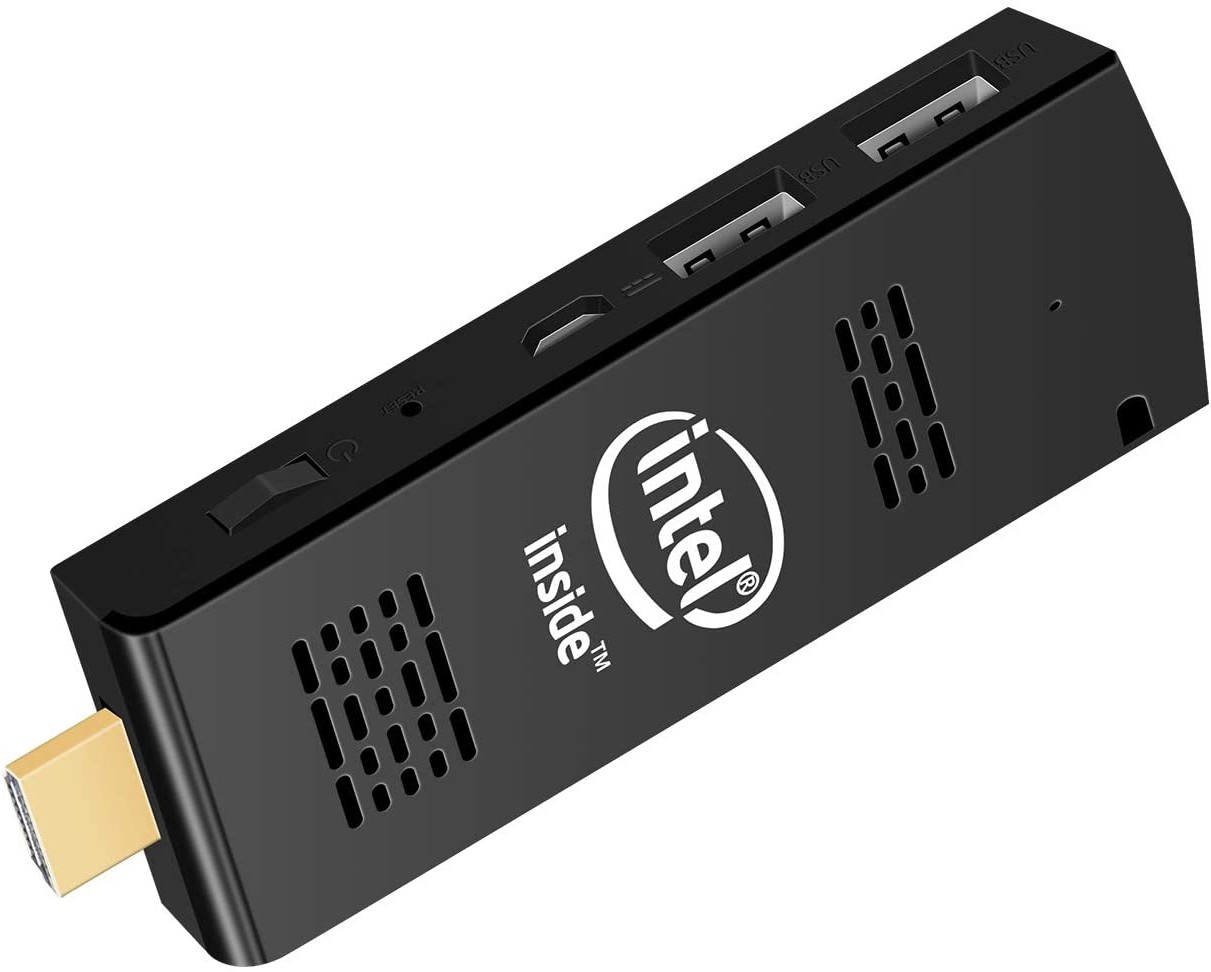
Welcome to the guide on how to turn on the Wintel Pro Mini PC powered by the Intel Atom X5-Z8350 processor. This compact and powerful device is perfect for those looking to have a convenient and portable computing experience. Whether you’re using it for work or leisure, the Wintel Pro Mini PC is designed to deliver excellent performance in a small package.
Before we dive into the steps, it’s important to note that setting up and turning on the Wintel Pro Mini PC is a straightforward process that can be done in just a few minutes. By following the steps outlined in this guide, you’ll be able to start using your mini PC in no time.
One of the first things you’ll need to do is connect the power supply to the Wintel Pro Mini PC. This ensures that your device has the necessary power to operate effectively. Next, you’ll need to connect the mini PC to a display, whether it’s a monitor or a TV. This will allow you to see what’s happening on the screen and interact with your device.
Once you have the power supply and display connected, it’s time to power on the mini PC. After turning it on, you’ll be guided through the initial setup process, including Windows activation. This ensures that your operating system is properly licensed and ready to use. You’ll also have the option to connect to Wi-Fi or Ethernet for internet access.
Updating drivers and Windows is an essential step to ensure that your mini PC is running smoothly and efficiently. It’s also recommended to customize your settings to suit your preferences. This includes personalizing the desktop background, adjusting power settings, and managing notifications.
Lastly, installing additional software can further enhance your mini PC experience. Whether it’s productivity tools, media players, or games, you can tailor your software selection to meet your specific needs. And in case you encounter any issues along the way, we’ll provide troubleshooting tips to help you overcome common problems.
Now that you have a brief overview of what’s to come, let’s dive into the steps in detail to turn on your Wintel Pro Mini PC and unleash its full potential.
Step 1: Connect the power supply
The first step in turning on your Wintel Pro Mini PC is to connect the power supply. Locate the power adapter that came with your mini PC. It usually consists of two parts: the power brick and the cable. Attach the cable to the power brick and then plug it into a power outlet.
Next, find the power port on the back of your mini PC. It is usually labeled as “DC IN” or “Power”. Take the other end of the cable and connect it to the power port on the mini PC. Make sure it fits securely into the port.
Once the power supply is connected, you will notice a small LED indicator light on the front or side of the mini PC. This light indicates that the device is receiving power. It may be solid or flashing, depending on the model.
It’s important to use the provided power supply that came with your mini PC or a compatible one. Using an incompatible power supply may cause damage to the device or result in improper functioning.
Once the power supply is connected, you are ready to move on to the next step – connecting the mini PC to a display.
Key points:
- Locate the power adapter and the cable that came with your mini PC
- Connect the cable to the power brick, and then plug it into a power outlet
- Connect the other end of the cable to the power port on the mini PC
- Ensure the LED indicator light on the mini PC confirms that power is being supplied
- Use the provided power supply or a compatible one to avoid any potential damage or issues
Step 2: Connect the mini PC to a display
Now that you have connected the power supply, it’s time to connect your Wintel Pro Mini PC to a display. The mini PC supports various types of displays, including monitors, TVs, and projectors. Simply choose the display device that suits your needs.
Start by identifying the video output port on your mini PC. It is typically an HDMI or VGA port located on the back or side of the device. If you’re using an HDMI cable, connect one end to the HDMI port on your mini PC. If you’re using a VGA cable, connect one end to the VGA port on your mini PC.
Next, take the other end of the HDMI or VGA cable and connect it to the corresponding port on your display device. Make sure the cable is securely plugged in to prevent any loose connections.
If your display device supports multiple input sources (e.g., HDMI 1, HDMI 2, VGA), use the input/source button on the display or the remote control to select the correct input source that corresponds to the port you connected your mini PC to.
Once the mini PC is connected to the display, turn on the display device. You should now see the desktop or the initial setup screen of your mini PC on the display.
In some cases, you may need to adjust the display settings on your mini PC to ensure the best visual experience. This can be done by accessing the display settings within the operating system. You may need to navigate to the “Display” or “Graphics” section in the settings menu.
Key points:
- Identify the video output port (HDMI or VGA) on your mini PC
- Connect the HDMI or VGA cable to the corresponding port on the mini PC
- Connect the other end of the cable to the HDMI or VGA port on your display device
- Select the correct input source on your display device
- Turn on the display device to see the desktop or initial setup screen
- Adjust display settings if necessary for optimal visual experience
Step 3: Power on the mini PC
Now that you have successfully connected the power supply and the mini PC to a display, it’s time to power on your Wintel Pro Mini PC. Locate the power button on your mini PC, which is typically located on the front or side of the device. Press and hold the power button for a few seconds until you see the device powering on.
As the mini PC boots up, you will see the manufacturer’s logo or a splash screen on the display. This indicates that the device is starting up and initializing the operating system. Depending on the speed of your mini PC, this process may take a few moments.
After the initial boot-up process, you will be prompted to set up Windows on your mini PC. Follow the on-screen instructions to choose your language, region, and other preferences. You may also be asked to create a user account and set a password for security purposes.
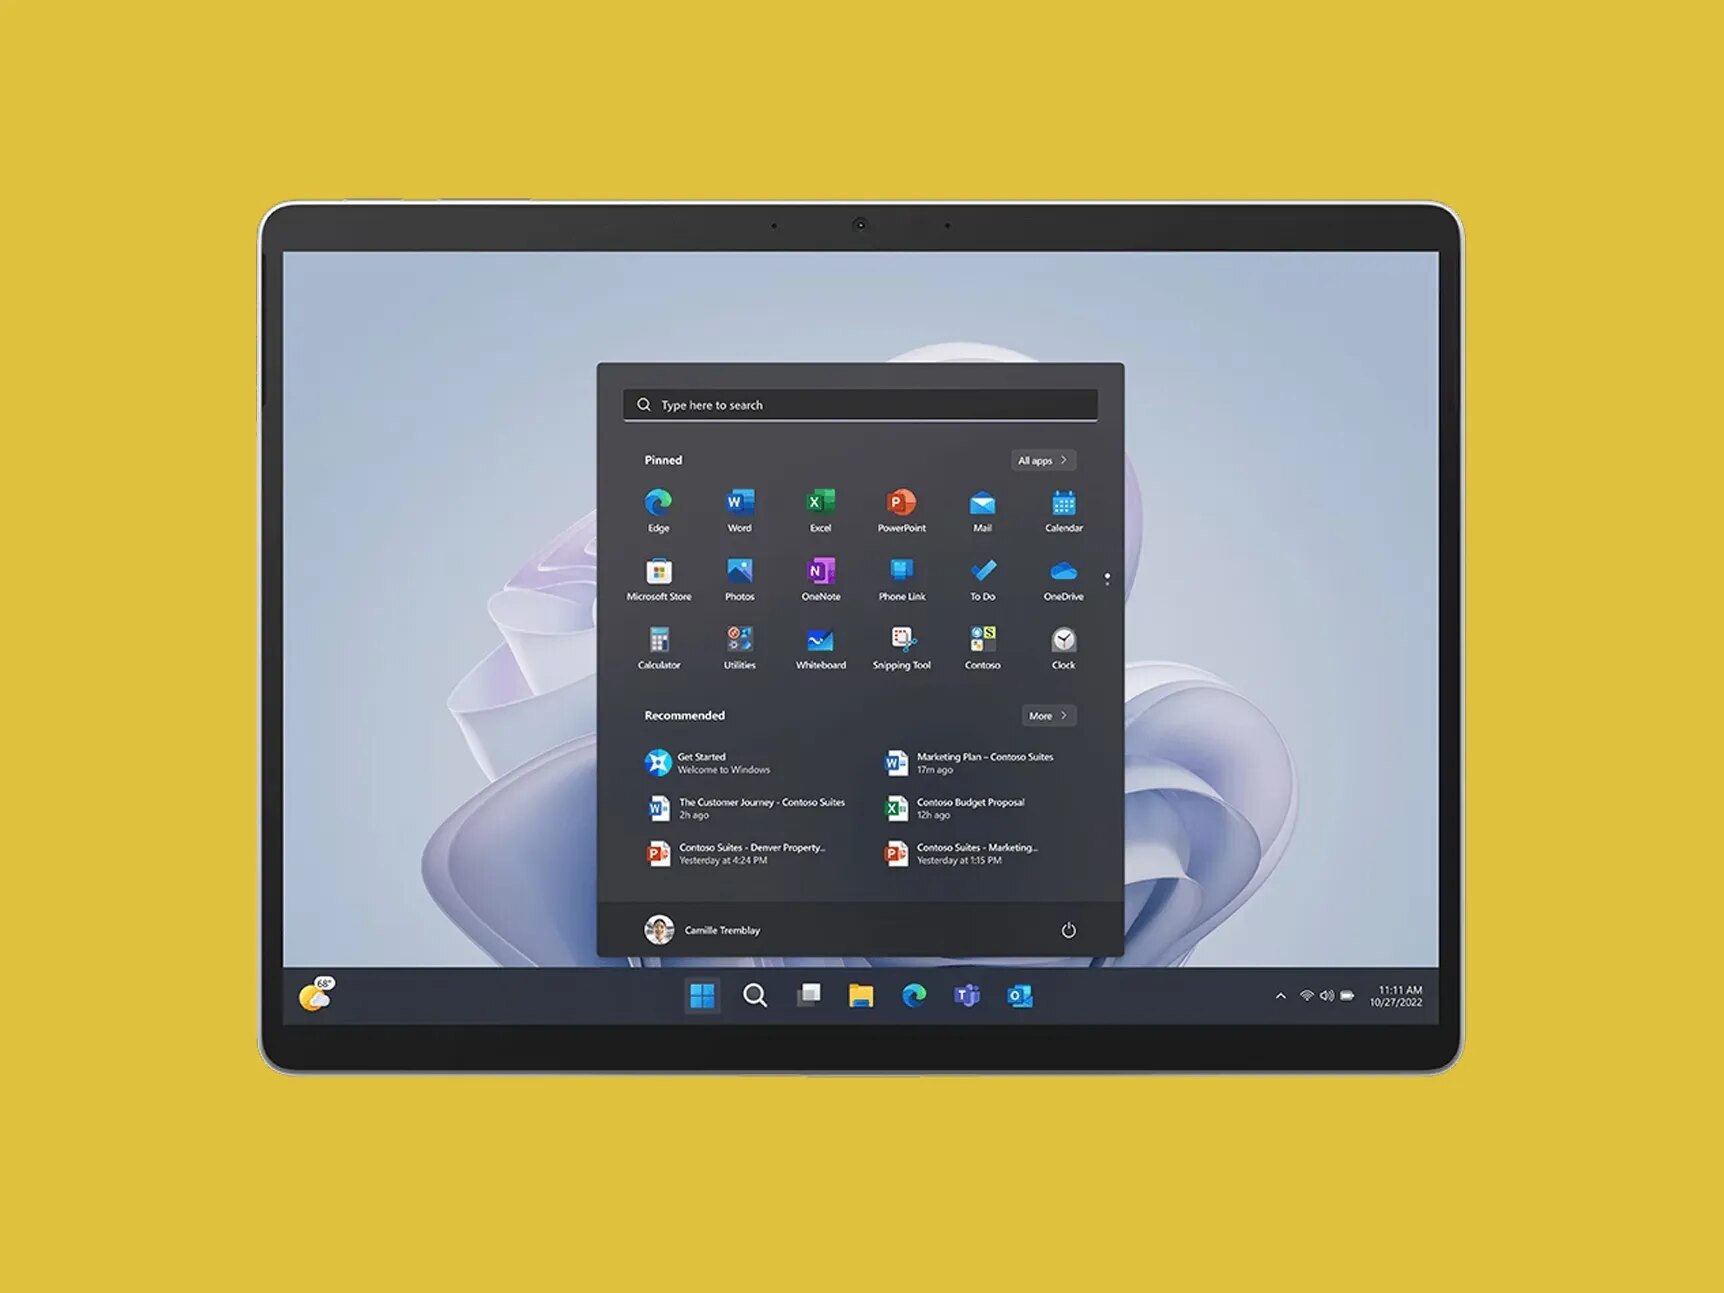
Once you have completed the initial setup, you will be greeted with the Windows desktop. Congratulations! Your Wintel Pro Mini PC is now powered on and ready to use.
It’s important to note that if you ever want to turn off your mini PC, you can do so by clicking on the Start menu, selecting the Power option, and choosing Shut down. This will safely shut down your device.
Key points:
- Locate the power button on your mini PC
- Press and hold the power button to turn on the mini PC
- Wait for the startup process, including the manufacturer’s logo or splash screen
- Follow the on-screen instructions to set up Windows on your mini PC
- Create a user account and set a password for security
- Once the setup is complete, you will see the Windows desktop
- To turn off the mini PC, click on Start, select Power, and choose Shut down
Step 4: Initial setup and Windows activation
After powering on your Wintel Pro Mini PC, you will go through the initial setup process and activate Windows. This step is crucial to ensure that you have a properly licensed operating system.
Once you reach the Windows desktop, you may be prompted to choose your language, region, time zone, and keyboard layout. Make the appropriate selections to customize your mini PC to your preferences.
Next, you may be asked to connect your mini PC to a Wi-Fi network. If you have a Wi-Fi network available, select it from the list and enter the password if required. Alternatively, you can choose to connect your mini PC to an Ethernet connection for internet access.
After connecting to the internet, Windows will automatically check for updates. It’s important to install the latest updates to ensure that your mini PC is up to date and secure. This may take some time, depending on your internet connection speed and the number of available updates.
During this initial setup process, you may also encounter the option to sign in with a Microsoft account. This is optional, and you can choose to create a local account instead. A Microsoft account allows you to sync settings and access additional features, but it’s not necessary for basic functionality.
Once the initial setup is complete and any updates have been installed, Windows may prompt you to activate your copy of the operating system. Follow the on-screen instructions to activate Windows using the product key provided with your mini PC. If you don’t have a product key, you may have the option to activate Windows later.
Activating Windows ensures that you have a genuine and licensed copy of the operating system. It also enables you to receive updates and security patches from Microsoft.
Key points:
- Proceed with the initial setup process on the Windows desktop
- Customize language, region, time zone, and keyboard layout preferences
- Connect to a Wi-Fi network or Ethernet for internet access
- Allow Windows to check for and install updates
- Consider signing in with a Microsoft account or creating a local account
- Activate Windows using the provided product key
- Activation ensures a genuine and licensed copy of the operating system
Step 5: Connecting to Wi-Fi or Ethernet
Once you have completed the initial setup and activated Windows on your Wintel Pro Mini PC, the next step is to connect to the internet. You have the option to connect using Wi-Fi or Ethernet, depending on your network setup and preferences.
If you want to connect to a Wi-Fi network, click on the network icon in the taskbar at the bottom right corner of the desktop. A list of available Wi-Fi networks will appear. Select the network you want to connect to and enter the password if prompted. Once connected, you will see the Wi-Fi icon in the taskbar showing the signal strength.
If you prefer a wired connection, you can connect your mini PC to your router or modem using an Ethernet cable. Simply plug one end of the Ethernet cable into the Ethernet port on the mini PC and the other end into an available LAN port on your router or modem. Once connected, your mini PC will automatically detect the Ethernet connection.
When connected to the internet, you can browse the web, download files, stream videos, and engage in various online activities. It’s important to have a stable and reliable internet connection for a seamless experience with your Wintel Pro Mini PC.
If you experience any issues connecting to the internet, make sure that you are within range of the Wi-Fi network and that you have entered the correct password. If using Ethernet, confirm that the cable is securely plugged in and that your router or modem is powered on and operational.
Key points:
- To connect to a Wi-Fi network, click on the network icon and select the desired network
- Enter the password if prompted and wait for the connection to establish
- You will see the Wi-Fi icon in the taskbar showing the signal strength
- To connect via Ethernet, plug one end of the Ethernet cable into the mini PC and the other end into your router or modem
- Your mini PC will detect the Ethernet connection automatically
- Ensure a stable and reliable internet connection for a seamless experience
- Troubleshoot any connection issues by checking range, password, cable, and router or modem functionality
Step 6: Updating drivers and Windows
Once your Wintel Pro Mini PC is connected to the internet, it’s essential to update the drivers and Windows to ensure optimal performance and compatibility with the latest software and hardware.
Updating the drivers is important because it ensures that all components of your mini PC, such as the graphics card, sound card, and network adapter, are functioning properly. To update drivers, you can either go to the manufacturer’s website and download the latest versions or use the built-in Windows Device Manager to search for updates.
To access the Device Manager, right-click on the Start button and select “Device Manager” from the menu. In the Device Manager window, expand the categories and look for any devices with a yellow exclamation mark or a red “X” mark. Right-click on those devices and choose “Update driver” to search for updated drivers online.
In addition to updating drivers, it’s crucial to keep Windows up to date with the latest updates and security patches. Windows updates can be automatically downloaded and installed by enabling the Windows Update feature. To do this, go to Settings > Update & Security > Windows Update and click on “Check for updates.”
Windows will search for available updates and download them in the background. It’s recommended to install all available updates to ensure your mini PC is protected from security vulnerabilities and has access to the latest features and improvements.
During the update process, it’s important to keep your mini PC connected to a stable internet connection and have enough battery or continuous power supply to avoid any interruptions. Some updates may require a system restart, so make sure to save any open files or projects before installing updates.
By regularly updating drivers and Windows, you can enhance the performance, stability, and security of your Wintel Pro Mini PC, ensuring a smoother and more reliable computing experience.
Key points:
- Update drivers to ensure proper functionality of mini PC components
- Go to the manufacturer’s website or use Device Manager to search for driver updates
- Access Device Manager by right-clicking on the Start button and selecting “Device Manager”
- Use Windows Update to download and install the latest updates and security patches
- Enable Windows Update in Settings > Update & Security > Windows Update
- Keep your mini PC connected to a stable internet connection during the update process
- Save any open files or projects before installing updates that require a system restart
Step 7: Customizing settings
Once you have updated drivers and Windows on your Wintel Pro Mini PC, you can customize various settings to personalize your computing experience. Customizing settings allows you to tailor your mini PC to your preferences and optimize its performance.
Start by accessing the Settings menu in Windows. You can do this by clicking on the Start button and selecting “Settings” or by pressing the Windows key + I on your keyboard. From there, you can explore different categories and customize settings as needed.
Here are some settings you may consider customizing:
- Personalization: Customize your desktop background, apply themes, and choose the color scheme that suits your taste.
- Start menu: Customize the layout and appearance of the Start menu, including which shortcuts and tiles are displayed.
- Notifications: Manage which apps have permission to send notifications and choose how they are displayed.
- Power & sleep: Adjust power settings to optimize battery life or performance when your mini PC is running on battery or connected to a power source.
- Accounts: Manage user accounts and sign-in options. You can also enable or disable features like facial recognition or fingerprint authentication.
- Privacy: Control which apps have access to your location, microphone, camera, and other sensitive data.
- Accessibility: Customize accessibility settings to accommodate your specific needs, such as screen magnification or text-to-speech.
Exploring the settings menu allows you to delve into more specific options, such as setting up additional peripherals, adjusting display settings, configuring network connections, and managing storage.
Remember to save your settings after making changes and explore further options to fully personalize and optimize your Wintel Pro Mini PC.
Key points:
- Access the Settings menu to customize various aspects of your mini PC
- Personalize the desktop background, themes, and color scheme
- Customize the Start menu layout and appearance
- Manage app notifications according to your preferences
- Adjust power settings for battery optimization or performance
- Manage user accounts and sign-in options
- Control privacy settings for apps and data access
- Customize accessibility settings to meet your specific needs
- Explore additional settings for peripherals, display, network, and storage
Step 8: Installing additional software
Now that you have customized the settings on your Wintel Pro Mini PC, it’s time to enhance its functionality by installing additional software. Installing software allows you to expand the capabilities of your mini PC and tailor it to your specific needs and preferences.
There are various types of software you can consider installing, depending on your requirements. Here are a few examples:
- Productivity software: Install office suites, such as Microsoft Office or LibreOffice, for word processing, spreadsheet calculations, presentations, and more.
- Media players: Install media players, such as VLC or Windows Media Player, to enjoy multimedia content, including videos, music, and podcasts.
- Web browsers: Install popular web browsers like Google Chrome, Mozilla Firefox, or Microsoft Edge, to browse the internet smoothly and securely.
- Security software: Install antivirus software and enable a firewall to protect your mini PC from malware and unauthorized access.
- Graphics and design tools: Install graphic design software, like Adobe Photoshop or GIMP, for editing images or creating digital artwork.
- Utilities: Install utilities such as file compression tools, backup software, or disk cleanup utilities to optimize performance and manage files efficiently.
- Entertainment and gaming: Install games, streaming apps, or entertainment platforms to enjoy a wide range of digital entertainment options.
When installing software, make sure to download it from official and trusted sources to avoid any potential security risks. It’s also recommended to keep your software up to date by enabling automatic updates, which often provide bug fixes, stability improvements, and new features.
To install software, visit the software provider’s website, locate the download section, and follow the instructions provided. Most software installations involve running an installer file, following the setup wizard, and accepting the terms and conditions. Some software may require a product key or license for activation.
Remember to review the system requirements of the software you want to install and ensure that your mini PC meets or exceeds those requirements for optimal performance.
Key points:
- Consider the type of software you need for your mini PC’s functionality
- Examples include productivity software, media players, web browsers, security software, and graphic design tools
- Download software from official and trusted sources
- Keep your software up to date by enabling automatic updates
- Follow the installation instructions provided by the software provider
- Review system requirements and ensure your mini PC meets them for optimal performance
Step 9: Troubleshooting common issues
While using your Wintel Pro Mini PC, you may encounter some common issues. Knowing how to troubleshoot these issues can help you quickly resolve them and ensure smooth and uninterrupted usage. Here are some common issues and troubleshooting tips:
- No power or booting issues: Check the power supply connection and ensure that it is securely plugged in. Try using a different power outlet or power adapter if available. If the mini PC still doesn’t power on, contact technical support for further assistance.
- Display issues: Check the display connection to ensure it is securely connected. If using HDMI, ensure that the correct input source is selected on the display. Try using a different HDMI or VGA cable or connecting the mini PC to a different display to rule out any cable or display issues.
- Internet connection problems: Check your Wi-Fi or Ethernet connection to ensure it is properly set up. Restart your router or modem and restart your mini PC to refresh the network connection. Ensure that the correct Wi-Fi network is selected and that the password is entered correctly. Verify that other devices can connect to the network to determine if the issue is with the mini PC or the network itself.
- Software compatibility issues: If you encounter issues with specific software, ensure that your mini PC meets the system requirements for that software. Check for any available updates or patches for the software and install them. You may also try running the software in compatibility mode or contacting the software provider for support.
- Slow performance: If your mini PC is running slowly, check for and close any unnecessary background programs or processes. Free up disk space by deleting unnecessary files or using disk cleanup tools. Consider upgrading your mini PC’s RAM or storage if it does not meet your computing demands.
- Audio or sound issues: Check the audio output settings in the Windows settings menu and ensure that the correct audio device is selected. Verify that the volume is not muted and that the speakers or headphones are connected properly. Update your audio drivers to the latest version and test the sound with different media files or applications.
If you encounter any other specific issues, consult the user manual or the manufacturer’s website for troubleshooting guides or contact their technical support for assistance. They will be able to provide specialized support for your Wintel Pro Mini PC.
With these troubleshooting tips, you’ll be able to overcome common issues and enjoy a smooth and hassle-free experience with your Wintel Pro Mini PC.
Key points:
- Troubleshoot no power or booting issues by checking power connections
- Resolve display issues by verifying display connections and input sources
- Fix internet connection problems by checking network setup and restarting devices
- Solve software compatibility issues by verifying system requirements and updating software
- Improve slow performance by closing unnecessary programs and freeing up disk space
- Resolve audio or sound issues by checking settings, connections, and updating drivers
- Consult user manuals, online guides, or manufacturer support for specific issues
Conclusion
Congratulations! You have successfully learned how to turn on and set up your Wintel Pro Mini PC powered by the Intel Atom X5-Z8350 processor. By following the step-by-step guide in this article, you have connected the power supply, connected the mini PC to a display, powered on the mini PC, completed the initial setup, connected to Wi-Fi or Ethernet, updated drivers and Windows, customized settings, installed additional software, and learned how to troubleshoot common issues.
With your mini PC up and running, you can now enjoy a portable and convenient computing experience. Whether you use it for work, entertainment, or both, the Wintel Pro Mini PC offers the performance and versatility you need. Remember to regularly update your drivers and Windows to keep your mini PC functioning optimally and ensure security.
As you continue to explore and use your mini PC, don’t hesitate to reach out to the manufacturer’s support team or consult user guides and online resources for further assistance. They can provide additional information and troubleshooting tips specific to your device.
Now that you have the necessary knowledge and tools, it’s time to make the most of your Wintel Pro Mini PC. Customize it to your liking, install the software you need, and enjoy the benefits of this compact and powerful device. Happy computing!