Introduction
Welcome to the world of Beelink Mini PCs! These compact and powerful devices have revolutionized the way we experience computing, providing all the features and functionalities of a traditional desktop in a small and portable package. Whether you’re a tech enthusiast, a digital nomad, or just someone looking for a versatile and space-saving computer setup, a Beelink Mini PC is the perfect solution.
In this article, we will guide you through the process of setting up your Beelink Mini PC, from choosing the right model to customizing it as per your needs. Whether you’re a beginner or a seasoned user, we’ve got you covered.
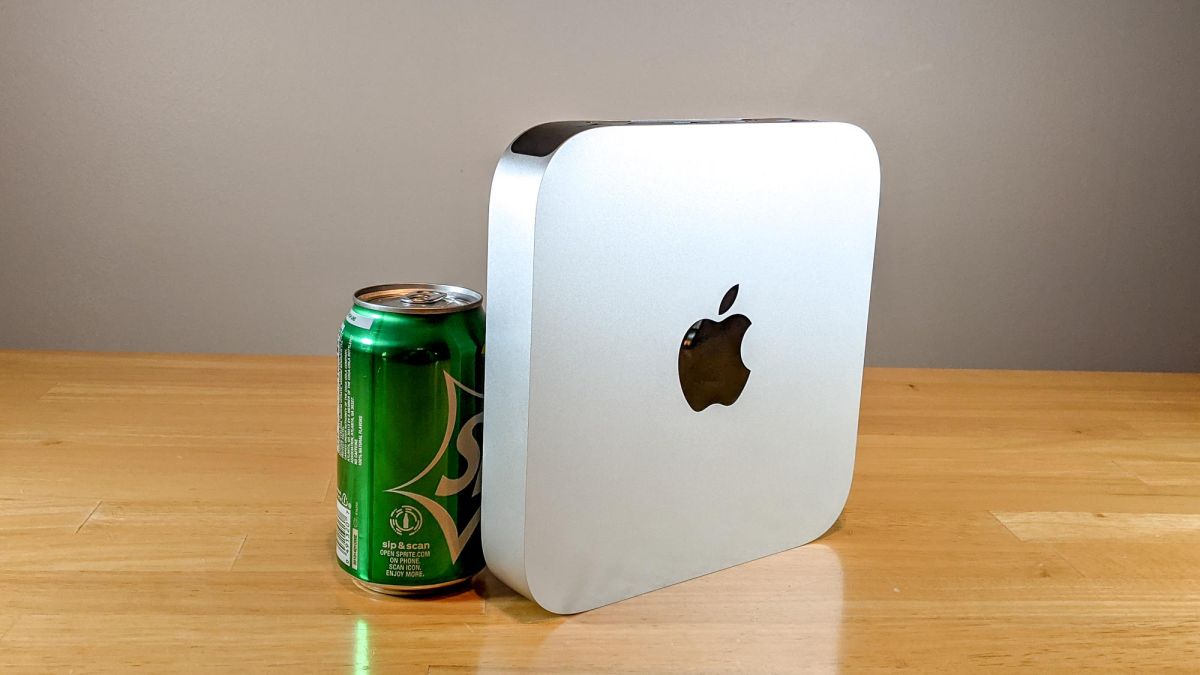
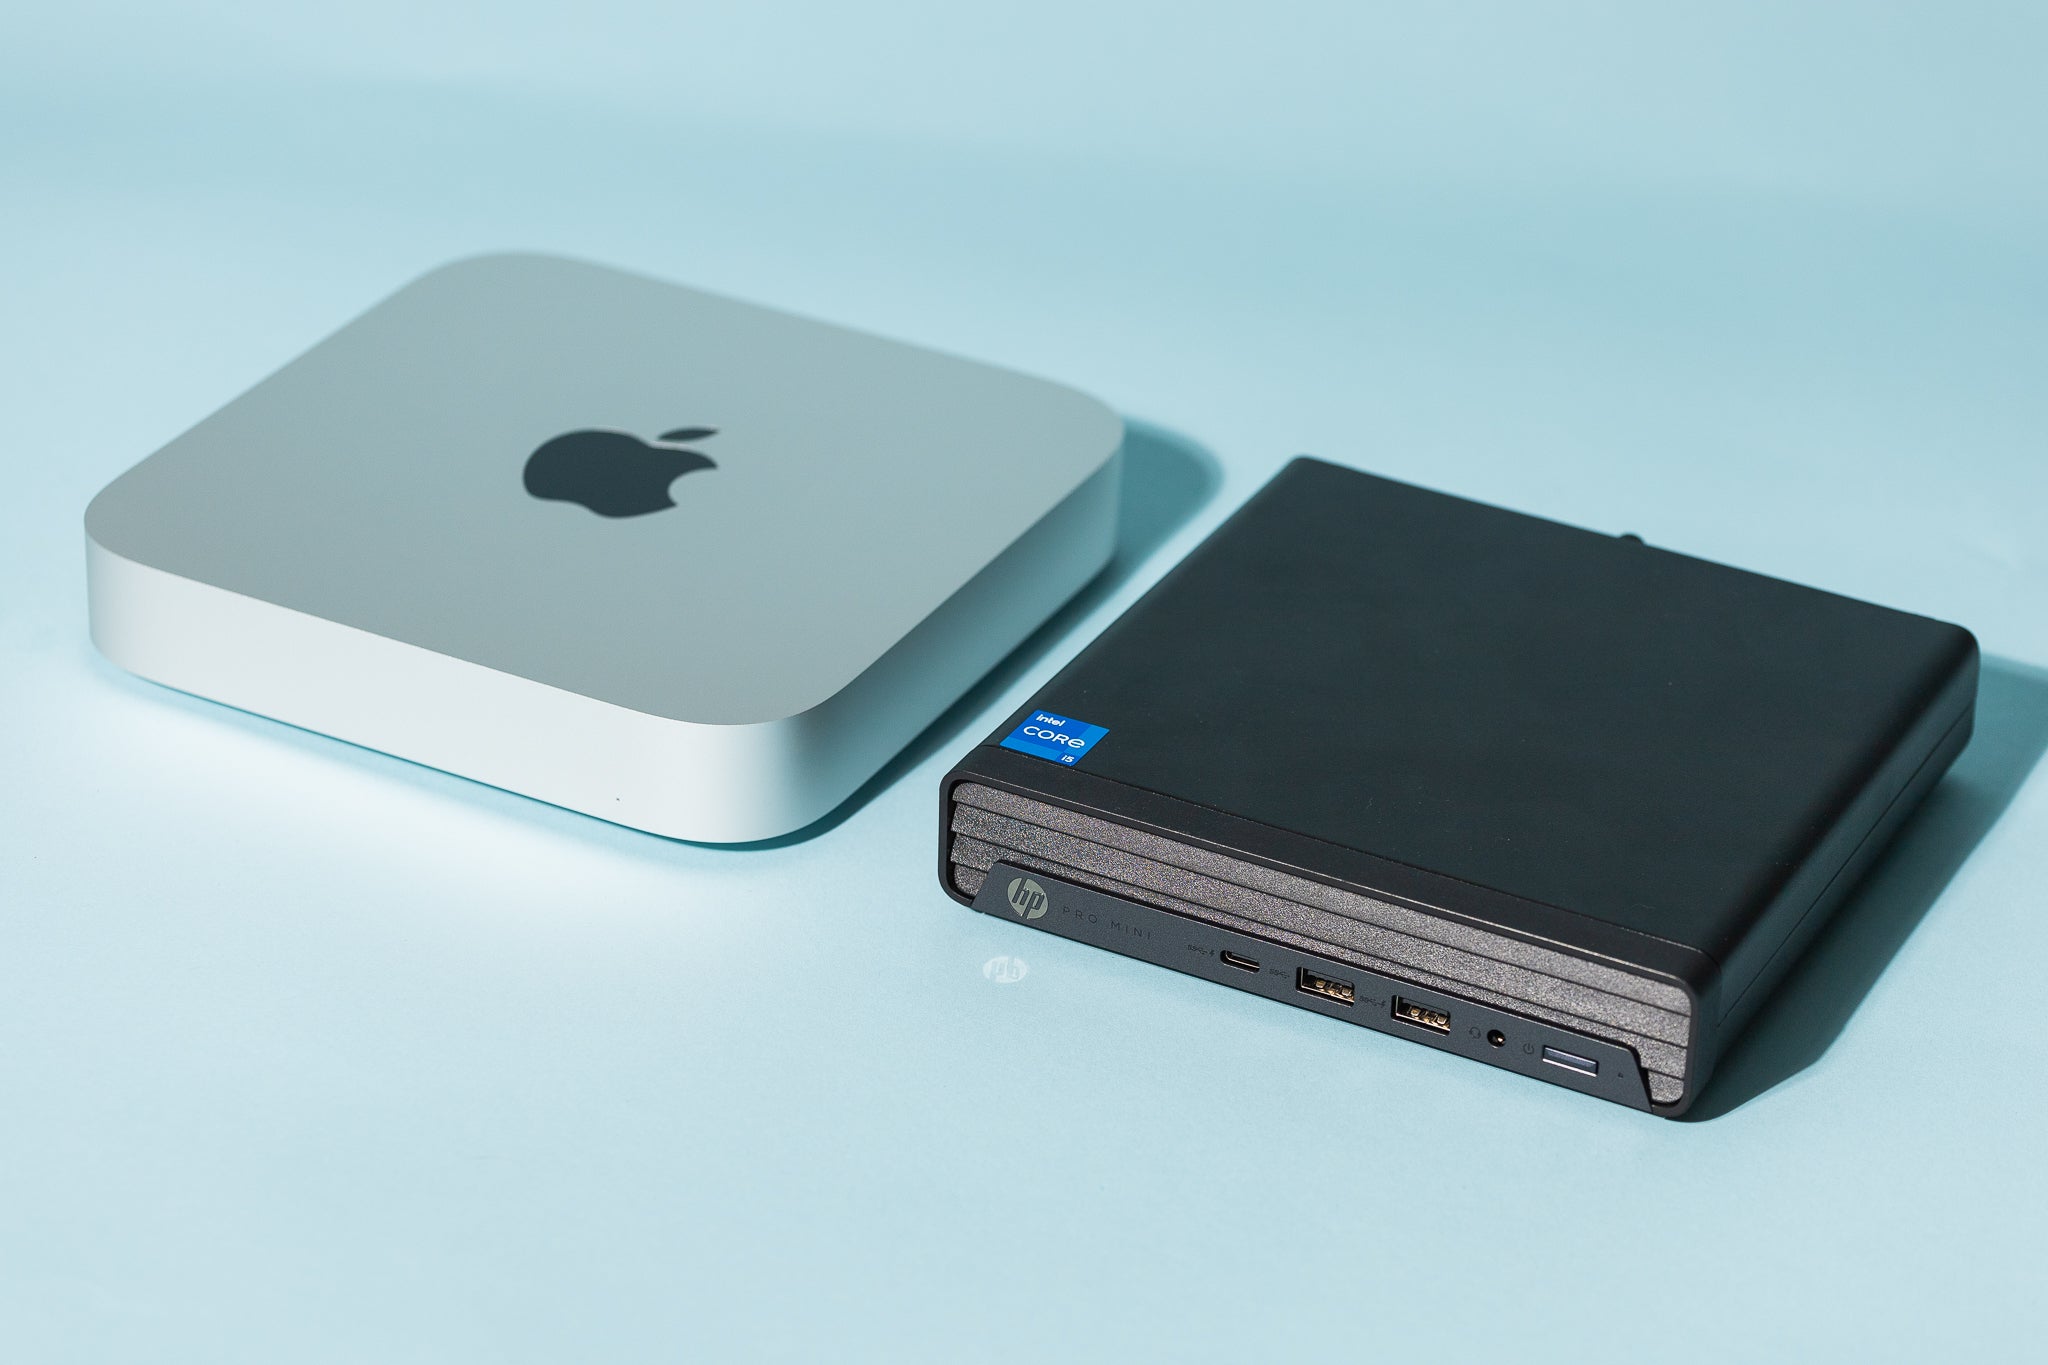
Before we dive into the technical details, let’s take a moment to appreciate the benefits of owning a Beelink Mini PC. Firstly, these devices are incredibly compact, making them ideal for small spaces such as apartments, dorm rooms, or even offices. They take up very little desk space and can easily be tucked away when not in use.
Secondly, Beelink Mini PCs are highly energy-efficient, consuming significantly less power compared to traditional desktop computers. This not only helps reduce your electricity bill but also makes them environmentally friendly. So, you can enjoy seamless computing while being conscious of your carbon footprint.
Despite their small size, Beelink Mini PCs pack a punch when it comes to performance. Equipped with powerful processors, ample storage, and high-speed memory, these devices can handle tasks ranging from basic web browsing and document editing to multimedia streaming and even light gaming.
Furthermore, Beelink Mini PCs often come with a variety of connectivity options. You can easily connect them to your monitor or TV, use wireless peripherals, and enjoy seamless internet connectivity with their built-in Wi-Fi capabilities. This versatility makes them perfect for both work and entertainment purposes.
Now that you understand the advantages of owning a Beelink Mini PC, it’s time to delve into the specifics of setting up and customizing your device. In the following sections, we will guide you through each step of the process, giving you the confidence to unleash the full potential of your Beelink Mini PC.
Choosing the Right Beelink Mini PC
When it comes to choosing the right Beelink Mini PC, there are a few factors you should consider to ensure that it meets your specific requirements. Here are some important considerations to help you make an informed decision:
- Processor Power: The processor is the heart of any computer system, and a Beelink Mini PC is no exception. Determine the level of processing power you’ll need based on your intended usage. If you plan on using the Mini PC for basic tasks like web browsing and word processing, an entry-level processor will suffice. However, if you need more intensive capabilities like video editing or gaming, opt for a Mini PC with a higher-end processor.
- Memory and Storage: The amount of memory (RAM) and storage space (internal storage) is crucial to ensure smooth multitasking and sufficient space for your files. For basic usage, 4GB of RAM and a 64GB SSD should be sufficient. However, for more demanding tasks and storage needs, consider models with 8GB or more of RAM and a larger storage capacity.
- Operating System: Beelink Mini PCs usually come with pre-installed operating systems such as Windows or Linux. Determine which operating system aligns with your preferences and needs. It’s important to check for compatibility with the software and applications you plan to use.
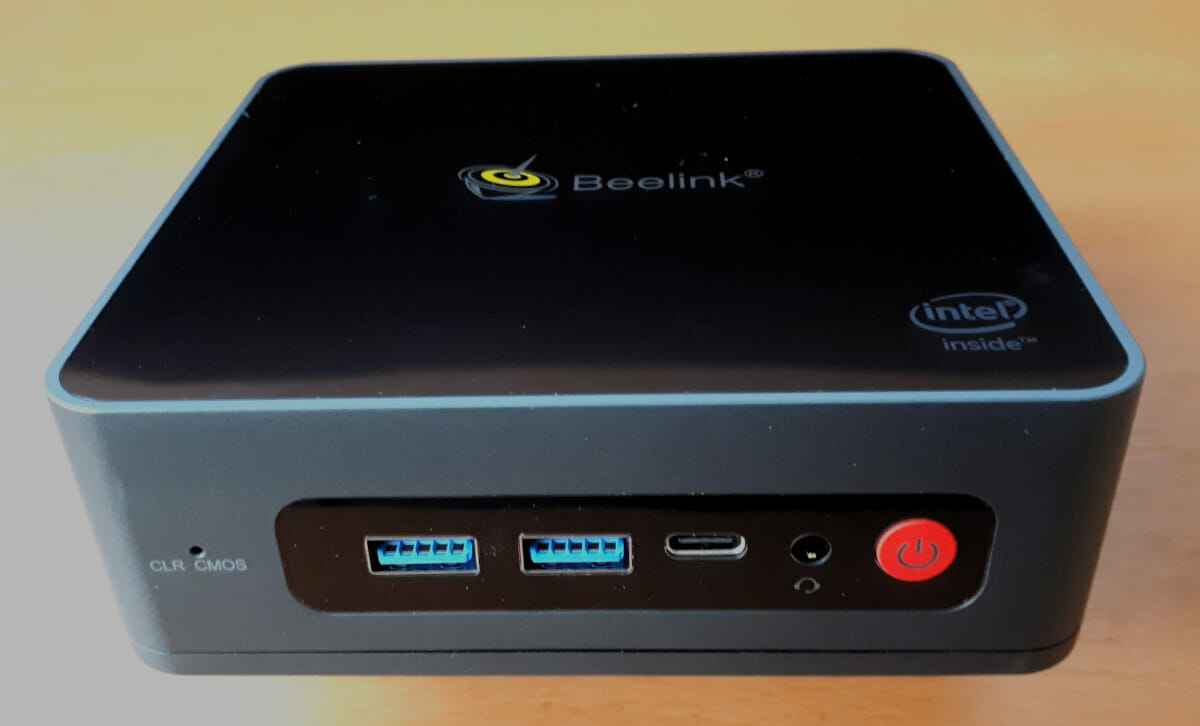
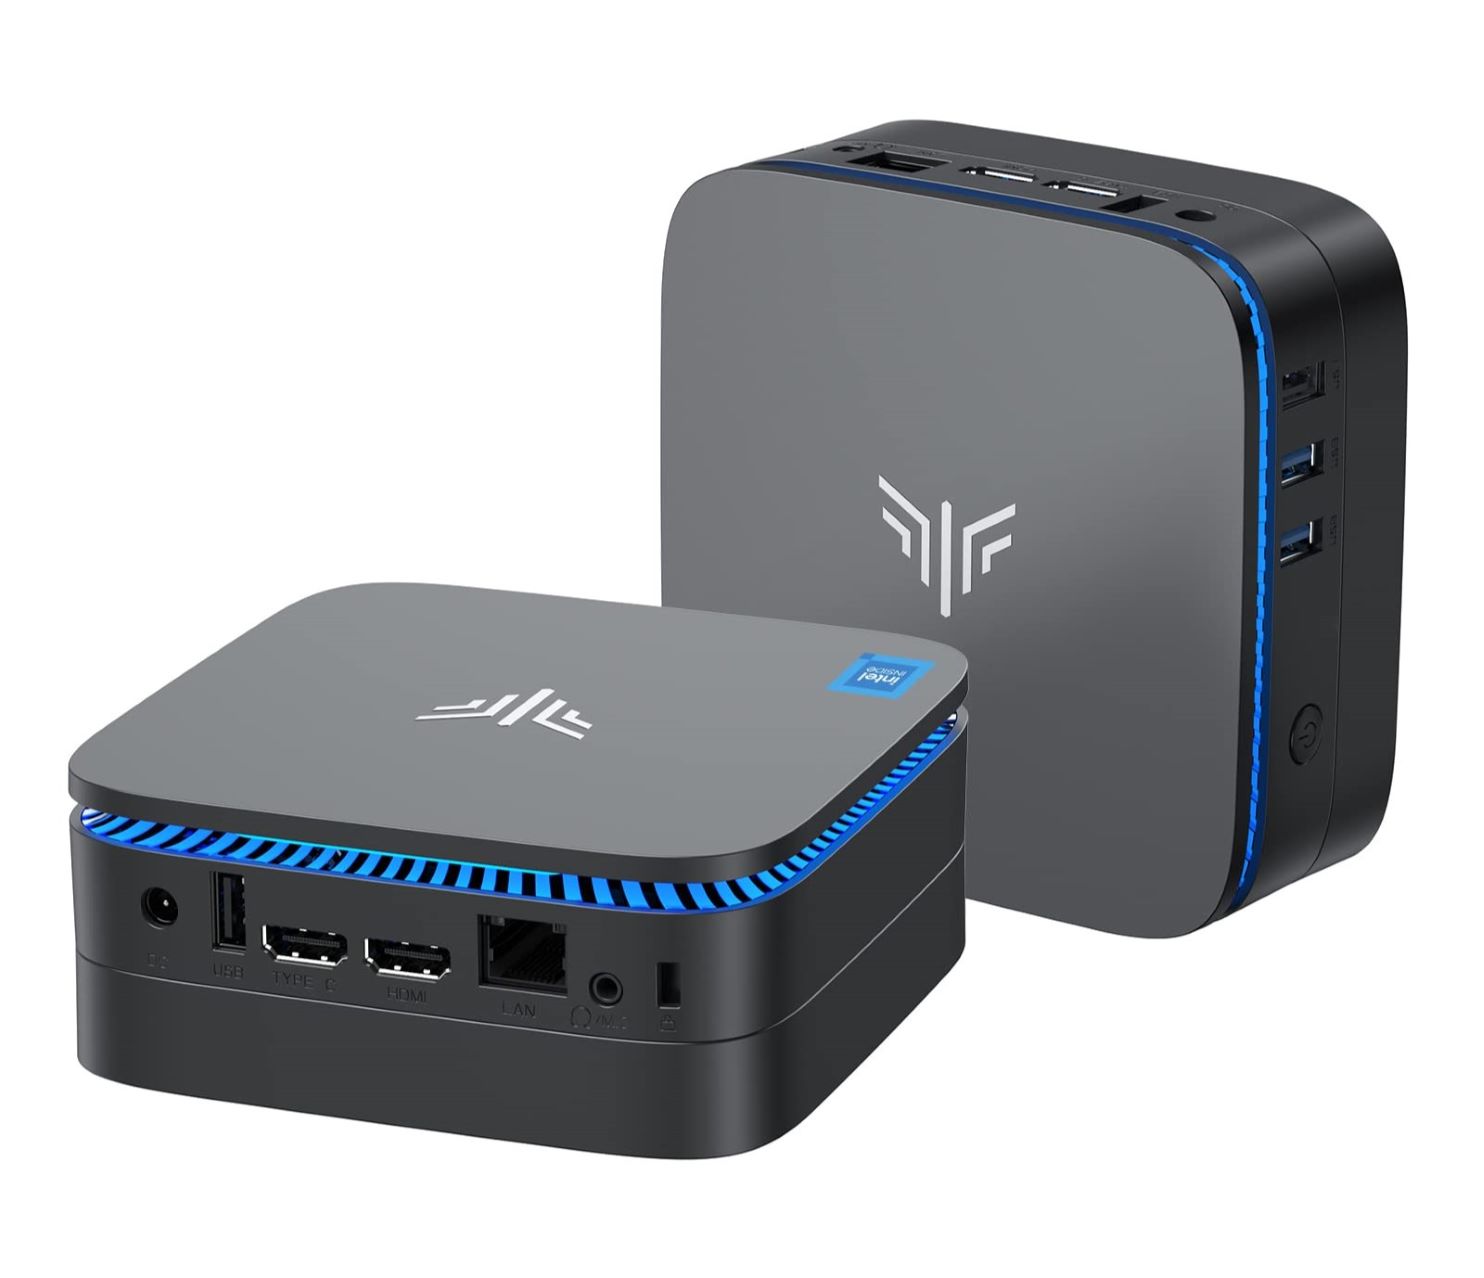
- Connectivity: Consider the connectivity options that you require. Most Beelink Mini PCs come equipped with USB ports, HDMI ports, Ethernet, and Wi-Fi capabilities. Ensure that the Mini PC has the necessary ports and connections to accommodate your peripherals and devices.
- Graphics Performance: If you plan on using your Mini PC for multimedia or gaming purposes, it’s important to consider the graphics performance. Look for Mini PCs that have dedicated graphics cards or integrated graphics with higher performance capabilities.
Additionally, it’s always helpful to read reviews and compare different models to get a better understanding of their performance, reliability, and user satisfaction. Consider factors such as build quality, customer support, and warranty options to ensure a well-rounded purchase.
By carefully considering these factors, you can choose the right Beelink Mini PC that is tailored to your specific needs and budget. Once you have selected the perfect model, it’s time to move on to the exciting process of unboxing and setting up your Mini PC, which we will explore in the next section.
Unboxing and Setting Up Your Beelink Mini PC
Now that you have your brand new Beelink Mini PC in hand, it’s time to get it set up and ready to use. Follow these steps to ensure a smooth and hassle-free setup:
- Unbox with Care: Carefully remove the Beelink Mini PC from its packaging, ensuring not to damage any components. Keep the packaging in case you need to return or transport the Mini PC in the future.
- Inspect the Contents: Take a moment to inspect the contents of the package. Along with the Mini PC, you should find the power adapter, HDMI cable, and any other accessories that may have been included.
- Connect the Power: Locate the power adapter and connect it to the Mini PC. Then, plug the adapter into a power outlet. Ensure that the voltage settings match the local power supply to prevent any electric damage.
- Connect to a Display: Use the provided HDMI cable to connect the Mini PC to a monitor or TV. Insert one end of the cable into the HDMI port on the Mini PC and the other end into the corresponding HDMI port on the display device.
- Power On: Once all the necessary connections are made, press the power button on the Mini PC to turn it on. You should see the startup screen on your display device.
- Follow the Setup Instructions: Depending on the operating system pre-installed on your Mini PC, you will be guided through a series of setup instructions. This includes selecting your language, setting up your Wi-Fi connection, and creating a user account.
- Install Updates: After setting up the basic configurations, it is recommended to check for and install any available system updates. This ensures that your Mini PC is running on the latest software version, which often includes important security patches and performance improvements.
- Personalize Your Mini PC: Once the updates are installed, take some time to customize your Mini PC according to your preferences. This may include changing the desktop background, adjusting display settings, and installing your favorite applications.
With these steps, you have successfully unboxed and set up your Beelink Mini PC. Now, it’s time to explore the full potential of your device by connecting peripherals, installing additional software, and customizing it to suit your individual needs. In the next section, we will discuss the various options for connecting your Mini PC to a monitor or TV.
Connecting Your Mini PC to a Monitor or TV
One of the key advantages of a Beelink Mini PC is its versatility when it comes to connecting to different display devices. Whether you prefer working on a monitor or enjoying multimedia content on a larger TV screen, here’s how you can connect your Mini PC:
1. HDMI Connection: The most common and straightforward method is to use an HDMI cable. Simply connect one end of the HDMI cable to the HDMI port on your Mini PC and the other end to the HDMI port on your monitor or TV. Make sure to select the correct input source on your display device to see the Mini PC’s output.
2. DisplayPort / DVI / VGA: If your monitor or TV doesn’t have an HDMI port, you can use other available ports on your Mini PC such as DisplayPort, DVI, or VGA. Use the respective cables to connect the Mini PC to the display device. In some cases, you may need to use an adapter to convert the signal between different connectors.
3. Multiple Displays: Beelink Mini PCs often support multiple displays. This means you can connect your Mini PC to more than one monitor or TV simultaneously. Check the specifications of your Mini PC to determine the supported number of displays and the available ports for connecting them.
4. Wireless Display: If you prefer a cable-free setup, some Beelink Mini PCs have built-in wireless display technology, such as Miracast or AirPlay. This allows you to mirror your Mini PC’s screen wirelessly to a compatible TV or monitor. Ensure that both the Mini PC and the display device support the same wireless display technology for seamless connectivity.
5. Audio Output: Don’t forget to connect the audio output from your Mini PC to speakers or headphones for sound. Most Mini PCs have a 3.5mm audio jack or support audio output through the HDMI port, allowing you to enjoy immersive audio along with the visuals.
Once you have connected your Mini PC to a monitor or TV, make sure to adjust the display settings according to your preferences. This may include setting the screen resolution, refresh rate, and orientation. You can access these settings through the operating system’s display settings or dedicated graphics control panel if available.
With your Mini PC successfully connected to a display device, you’re now ready to experience the full power and capabilities of your device. In the next section, we will guide you through the process of installing the operating system on your Beelink Mini PC.
Installing the Operating System
Once your Beelink Mini PC is set up and connected to a display device, it’s time to install the operating system. Here’s a step-by-step guide to help you get started:
- Prepare the Installation Media: Depending on your Mini PC’s specifications and your preferred operating system, you may need to create a bootable installation media. This can be a USB flash drive or a DVD containing the installation files. Consult the operating system’s documentation or the manufacturer’s website for detailed instructions on how to create the installation media.
- Access the Boot Menu: Restart your Mini PC and access the boot menu by pressing the designated key. This is usually Esc, F12, or Del. The specific key varies depending on the Mini PC’s manufacturer. Refer to your Mini PC’s user manual or the manufacturer’s website for the correct key.
- Select the Installation Media: In the boot menu, choose the option that corresponds to the installation media you created in the first step. Use the arrow keys to navigate and press Enter to select.
- Follow the Installation Wizard: Once the Mini PC boots from the installation media, you will be guided through an installation wizard. Select your language, region, and keyboard layout preferences. Then, follow the prompts to proceed with the installation.
- Partition and Format the Drive: During the installation process, you will be prompted to partition and format the drive on which the operating system will be installed. Choose the desired partitioning scheme and formatting options. If you’re unsure, leave the default settings or consult the operating system’s documentation for guidance.
- Enter the License Key and User Details: If prompted, enter the license key for your operating system and provide your user details, such as your name and password. These details will be used to create your user account on the Mini PC.
- Wait for the Installation to Complete: Sit back and relax while the operating system is installed. The duration may vary depending on the speed of your Mini PC and the size of the operating system files. Once the installation is finished, your Mini PC will restart.
- Configure Additional Settings: After restarting, you may need to configure additional settings specific to the operating system. This may include setting up Wi-Fi, adjusting power options, and personalizing the desktop environment. Follow the prompts and make the necessary configurations.
Once the operating system is installed and configured, your Beelink Mini PC is ready for action. Ensure that you keep your operating system up to date by installing the latest updates and security patches. This will help improve performance and protect your Mini PC from potential vulnerabilities.
In the next section, we will discuss how you can further customize your Beelink Mini PC to optimize its performance and suit your specific needs.
Customizing Your Beelink Mini PC
Now that you have installed the operating system on your Beelink Mini PC, it’s time to take it a step further and customize it to suit your preferences and optimize its performance. Here are some customization options to consider:
- Desktop Environment: Depending on your operating system, you may have the option to choose different desktop environments or themes. Explore the available options and select the one that appeals to you visually and functionally.
- Installed Applications: Install the applications that you frequently use and that align with your workflow. Whether it’s productivity software, creative tools, or entertainment apps, adding the right applications will enhance your Mini PC experience.
- System Settings: Tweak the system settings according to your preferences. Customize aspects such as appearance, privacy settings, notification preferences, and accessibility options. Tailor the system to enhance your workflow and make it more user-friendly.
- Storage Management: Optimize your storage by organizing files into relevant folders and deleting unnecessary files or applications. This will not only help you find files easily but also free up valuable storage space for improved performance.
- Security Measures: Strengthen the security of your Mini PC by enabling features such as firewall protection, antivirus software, and automatic updates. Regularly update your security software to stay protected against the latest threats.
- Peripheral and Accessories: Connect and customize your Mini PC with peripherals and accessories for added functionality. This may include keyboards, mice, external storage devices, printers, or speakers. Ensure that the drivers and software for these peripherals are installed to ensure smooth integration with your Mini PC.
- Backup and Recovery: Establish a reliable backup system to protect your important data. Create regular backups of your files and consider using cloud storage or external hard drives for added security. In the event of a system failure, a backup will help you restore your Mini PC to its previous state.
Remember to keep your Mini PC regularly updated with the latest system updates, driver updates, and firmware updates. These updates often bring performance enhancements, bug fixes, and security improvements that help keep your Mini PC running smoothly.
By personalizing and customizing your Beelink Mini PC, you can optimize its functionality and create a computing experience that suits your specific needs and preferences. Enjoy exploring the various customization options and make your Mini PC truly your own.
In the next section, we will address some common issues that you may encounter while using your Beelink Mini PC and provide troubleshooting suggestions to help resolve them.
Connecting Peripherals and Accessories
One of the advantages of using a Beelink Mini PC is its ability to connect to a wide range of peripherals and accessories. This allows you to customize your setup and expand your Mini PC’s capabilities. Here’s a guide on how to connect various peripherals and accessories to your Beelink Mini PC:
- Keyboard and Mouse: Connect a USB or wireless keyboard and mouse to your Mini PC. Most Mini PCs have multiple USB ports, so you can easily plug in your preferred input devices. For wireless peripherals, follow the manufacturer’s instructions to pair them with your Mini PC.
- Monitor or Display: Connect your Mini PC to a monitor or display using an HDMI, DisplayPort, DVI, or VGA cable, depending on the available ports on your Mini PC and display device. Make sure to select the correct input source on your display device to see the output from the Mini PC.
- Speakers or Headphones: Connect external speakers or headphones to your Mini PC for better audio output. Look for the audio jack on your Mini PC and plug in your preferred audio device. For devices that use USB or wireless connectivity, follow the manufacturer’s instructions for connecting and setting them up.
- Printers and Scanners: Connect your printer or scanner to your Mini PC using a USB cable or through a network connection, depending on the device and available options. Install the necessary drivers and software for the printer or scanner to ensure proper functionality.
- External Storage: Expand the storage capacity of your Mini PC by connecting external storage devices such as USB flash drives, external hard drives, or memory cards. Simply plug in the storage device into an available USB port on your Mini PC and access the additional storage space.
- Webcam and Microphone: If your Mini PC doesn’t have an integrated webcam or microphone, you can connect external devices for video calls, online meetings, or recording audio. Connect the webcam and microphone to the USB ports on your Mini PC and ensure they are set as the default devices in your operating system’s settings.
- Gaming Controllers: For gaming enthusiasts, you can connect gaming controllers such as gamepads, joysticks, or steering wheels to your Mini PC. Most controllers can be connected via USB or wirelessly using Bluetooth. Install any necessary drivers or software to ensure compatibility and configure the controller’s settings as needed.
When connecting peripherals and accessories, it’s important to install any provided drivers or software to ensure proper functionality and compatibility. Check the manufacturer’s website or documentation for specific instructions and recommendations for your devices.
With these peripherals and accessories connected, your Beelink Mini PC can be personalized to suit your specific needs and activities. Whether you’re working, gaming, or enjoying multimedia content, the expanded capabilities of your Mini PC enhance your overall computing experience.
In the next section, we will address some common issues that you may encounter while using your Beelink Mini PC and provide troubleshooting suggestions to help resolve them.
Troubleshooting Common Issues
While Beelink Mini PCs are known for their reliable performance, you may still encounter some common issues during the course of using your device. Here are some troubleshooting suggestions to help you resolve these issues:
- No Display: If you’re not getting any display output, ensure that the HDMI cable is securely connected to both the Mini PC and the display device. Check that the input source on the display device is set correctly for the Mini PC. If using multiple displays, confirm that all connections are properly established.
- No Power: If your Mini PC is not turning on, check if the power adapter is properly plugged into the Mini PC and the power outlet. Ensure that the voltage setting on the power adapter matches the local power supply. Try a different power outlet or power cable to eliminate any potential issues with the power source.
- Slow Performance: If your Mini PC is experiencing sluggish performance, check for any running applications or processes that may be using excessive system resources. Close unnecessary applications and consider disabling startup programs. Additionally, ensure that your Mini PC has sufficient storage space and run regular disk cleanup and optimization to maintain performance.
- Internet Connectivity Issues: If you’re having trouble connecting to the internet, ensure that your Mini PC is within range of a stable Wi-Fi network. Check that the Wi-Fi adapter is enabled and properly connected. Try resetting or restarting your router. Consider connecting via Ethernet if available to test for connectivity issues.
- Driver or Software Compatibility: If you encounter compatibility issues with drivers or software, ensure that you have the latest updates installed for your operating system. Visit the Beelink website or the specific manufacturer’s website to download and install the most up-to-date drivers for your Mini PC. If a particular software is causing issues, check for updates or contact the software’s support for assistance.
- Audio Problems: If you’re experiencing audio issues, check that your speakers or headphones are correctly connected to the audio output of your Mini PC. Ensure that the volume settings are adjusted appropriately. Try updating the audio drivers and confirming that the correct audio output device is selected in the system settings.
- Overheating: If your Mini PC is overheating, ensure that it is placed in a well-ventilated area to allow proper airflow. Check that the cooling fans or vents are not obstructed by dust or debris. Consider using a laptop cooling pad or external fan to assist with heat dissipation. If necessary, clean the internal components of the Mini PC to remove any accumulated dust.
If the issue persists, restarting your Mini PC or performing a system reboot may help resolve certain temporary software or operating system glitches. For more complex issues, consider referring to the user manual or contacting Beelink support for further assistance.
Troubleshooting common issues can help you maintain a smooth and uninterrupted experience with your Beelink Mini PC. By addressing these issues promptly, you can ensure that your Mini PC continues to perform optimally.
Conclusion
Congratulations on successfully setting up and customizing your Beelink Mini PC! We have covered various aspects of the setup process, from choosing the right model to troubleshooting common issues. By following the steps outlined in this guide, you can make the most out of your Mini PC and enjoy its compact yet powerful capabilities.
A Beelink Mini PC offers a versatile computing solution, whether you’re a student, professional, or casual user. Its small form factor, energy efficiency, and powerful performance make it ideal for various use cases, from basic web browsing and productivity tasks to multimedia streaming and light gaming.
Remember to regularly update your Mini PC’s operating system, drivers, and software to ensure optimal performance, security, and compatibility. Customizing your Mini PC with peripherals and accessories can further enhance its functionality and cater to your specific needs, whether it’s through expanding its storage, connecting additional input devices, or improving audio output.
If you encounter any issues along the way, don’t hesitate to refer back to this guide or reach out to Beelink support for assistance. They are there to help you resolve any technical challenges you may face.
Now that you’re well-equipped with the knowledge and resources to make the most of your Beelink Mini PC, unleash its potential and enjoy a seamless and efficient computing experience. Whether it’s for work, entertainment, or both, your Beelink Mini PC will serve as your reliable companion in the digital realm.
Thank you for choosing Beelink and happy computing!