Introduction
Welcome to this guide on how to factory reset your Beelink Mini PC. Whether you are experiencing performance issues, software glitches, or simply want to start afresh, a factory reset can help resolve these issues and bring your Mini PC back to its original settings. In this article, we will explore the different methods to perform a factory reset on your Beelink Mini PC.
A Beelink Mini PC is a compact and portable computer that offers similar functionality to a traditional desktop computer, but in a smaller form factor. It is commonly used for media playback, web browsing, and light productivity tasks. These mini PCs often run on Windows or Android operating systems, providing users with a familiar desktop environment or a mobile-like interface.
Performing a factory reset can be beneficial in various situations. If you have been using your Beelink Mini PC for a while, you might have accumulated unnecessary files, software installations, or configuration changes that could affect its performance. A factory reset will revert your Mini PC to its original state, eliminating any clutter and restoring optimal performance.
Additionally, if you are encountering software issues, such as frequent crashes, error messages, or unresponsive applications, a factory reset can help. It will remove any software-related problems by reinstalling the operating system and erasing all the installed programs, drivers, and settings.
Before proceeding with the factory reset, it is crucial to back up any important data or files that you want to keep. The process will erase all the data on your Mini PC, including documents, photos, videos, and applications. By backing up your data, you can ensure nothing is lost during the reset process.
In the following sections, we will explore three different methods to perform a factory reset on your Beelink Mini PC: using the settings menu, using the physical reset button, or using a USB recovery disk. Each method has its own advantages and suitability, depending on your specific situation. Let’s dive into the details of each method to find the one that works best for you.
What is a Beelink Mini PC?
A Beelink Mini PC is a small, compact computer that offers the functionality of a traditional desktop computer in a smaller form factor. These mini PCs are designed to be portable, energy-efficient, and versatile, making them ideal for a variety of uses.
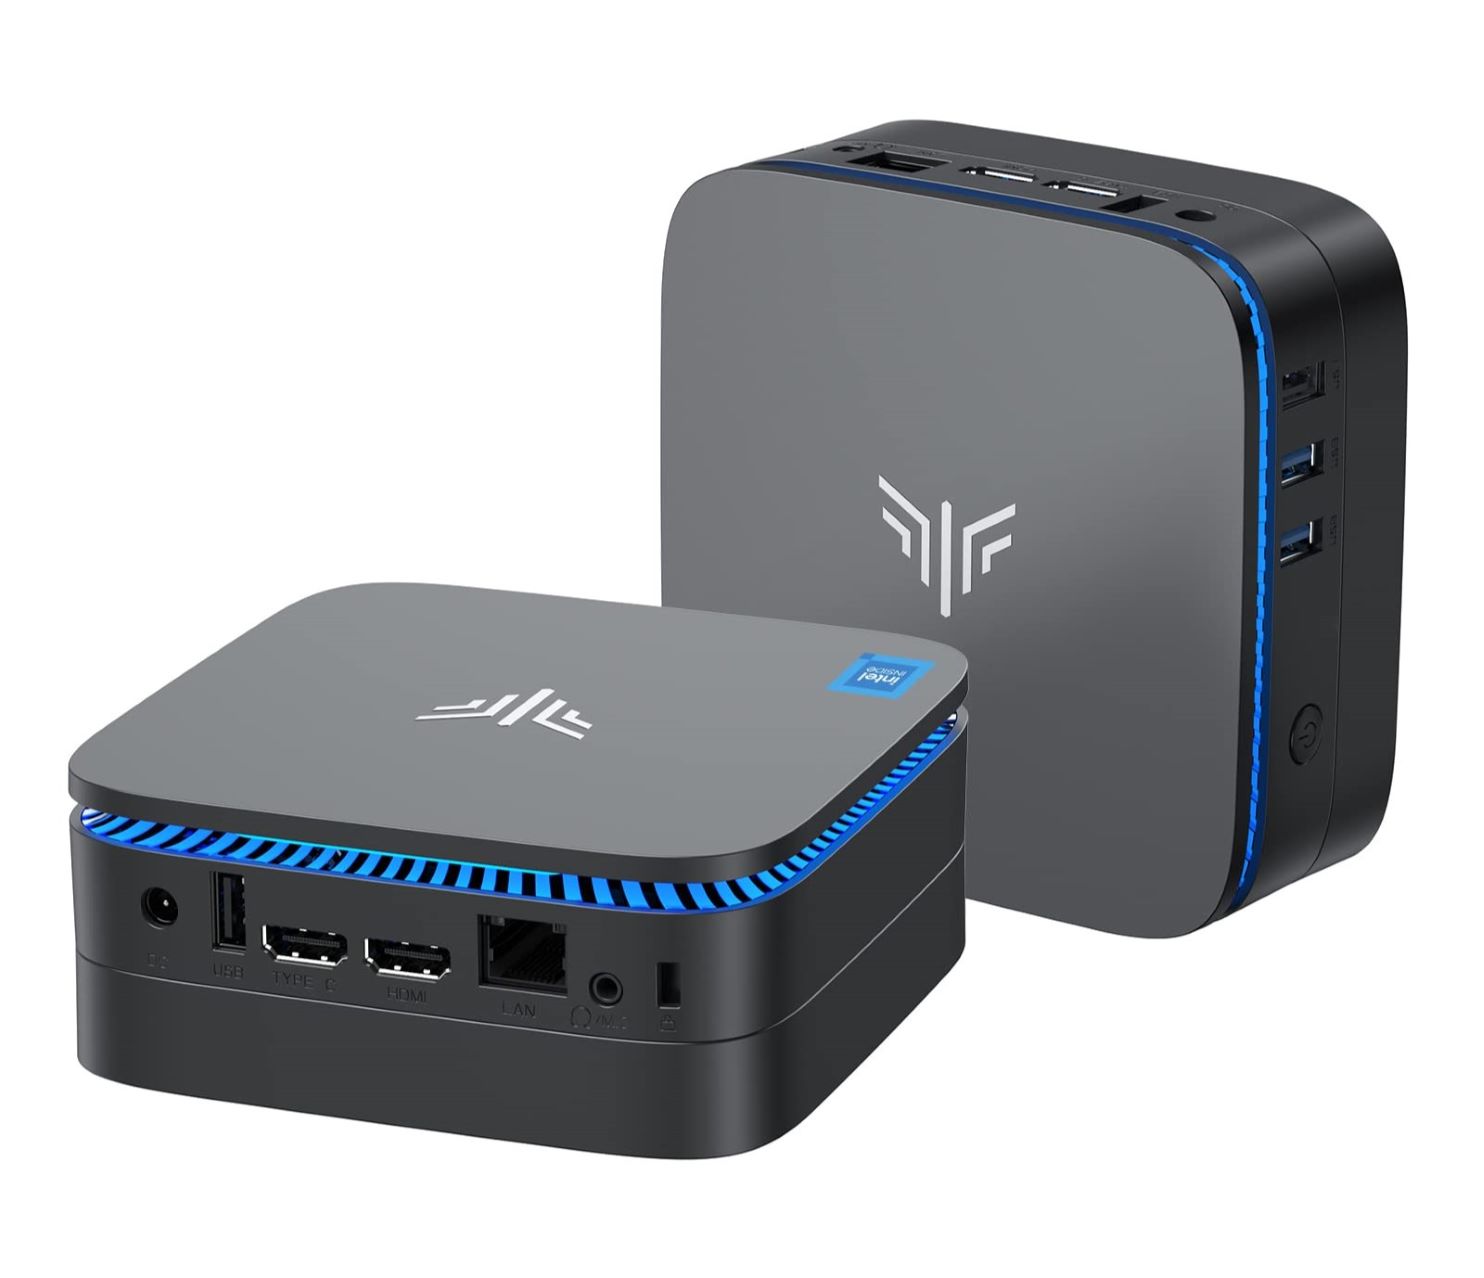
Beelink is a well-known brand that specializes in manufacturing Mini PCs. Their devices are equipped with powerful processors, ample storage, and a range of connectivity options, including USB ports, HDMI ports, and wireless capabilities such as Bluetooth and Wi-Fi. This allows users to connect the Mini PC to various peripherals, such as monitors, keyboards, and mice, making it a versatile computing solution.
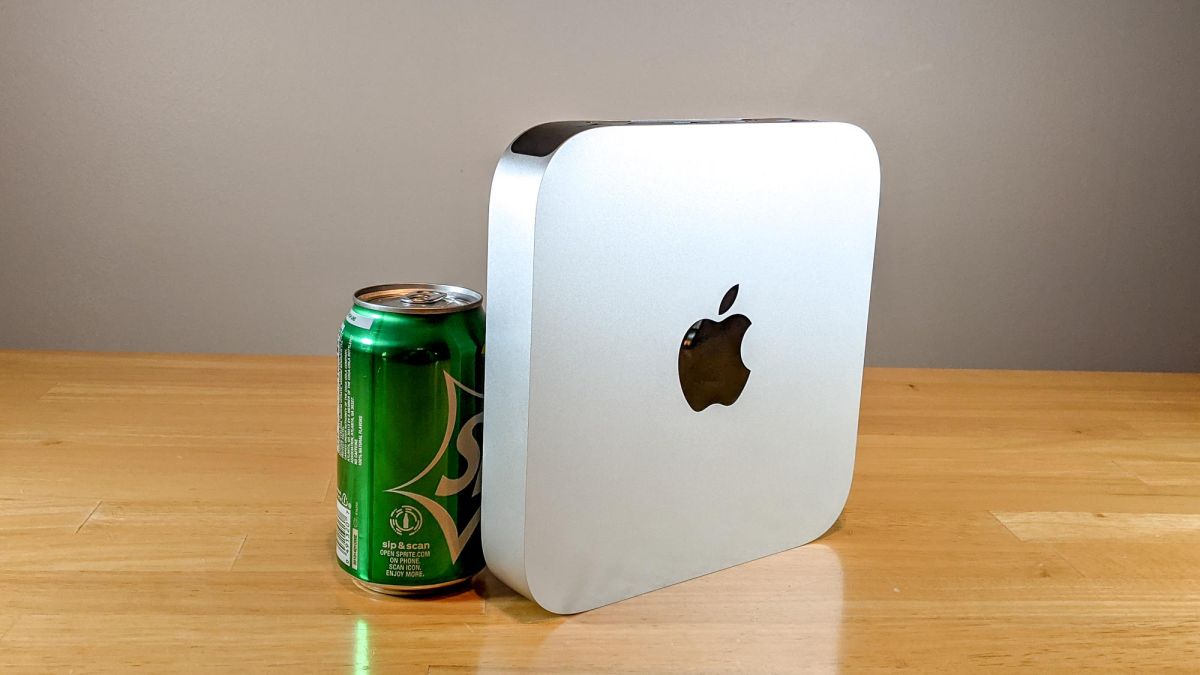
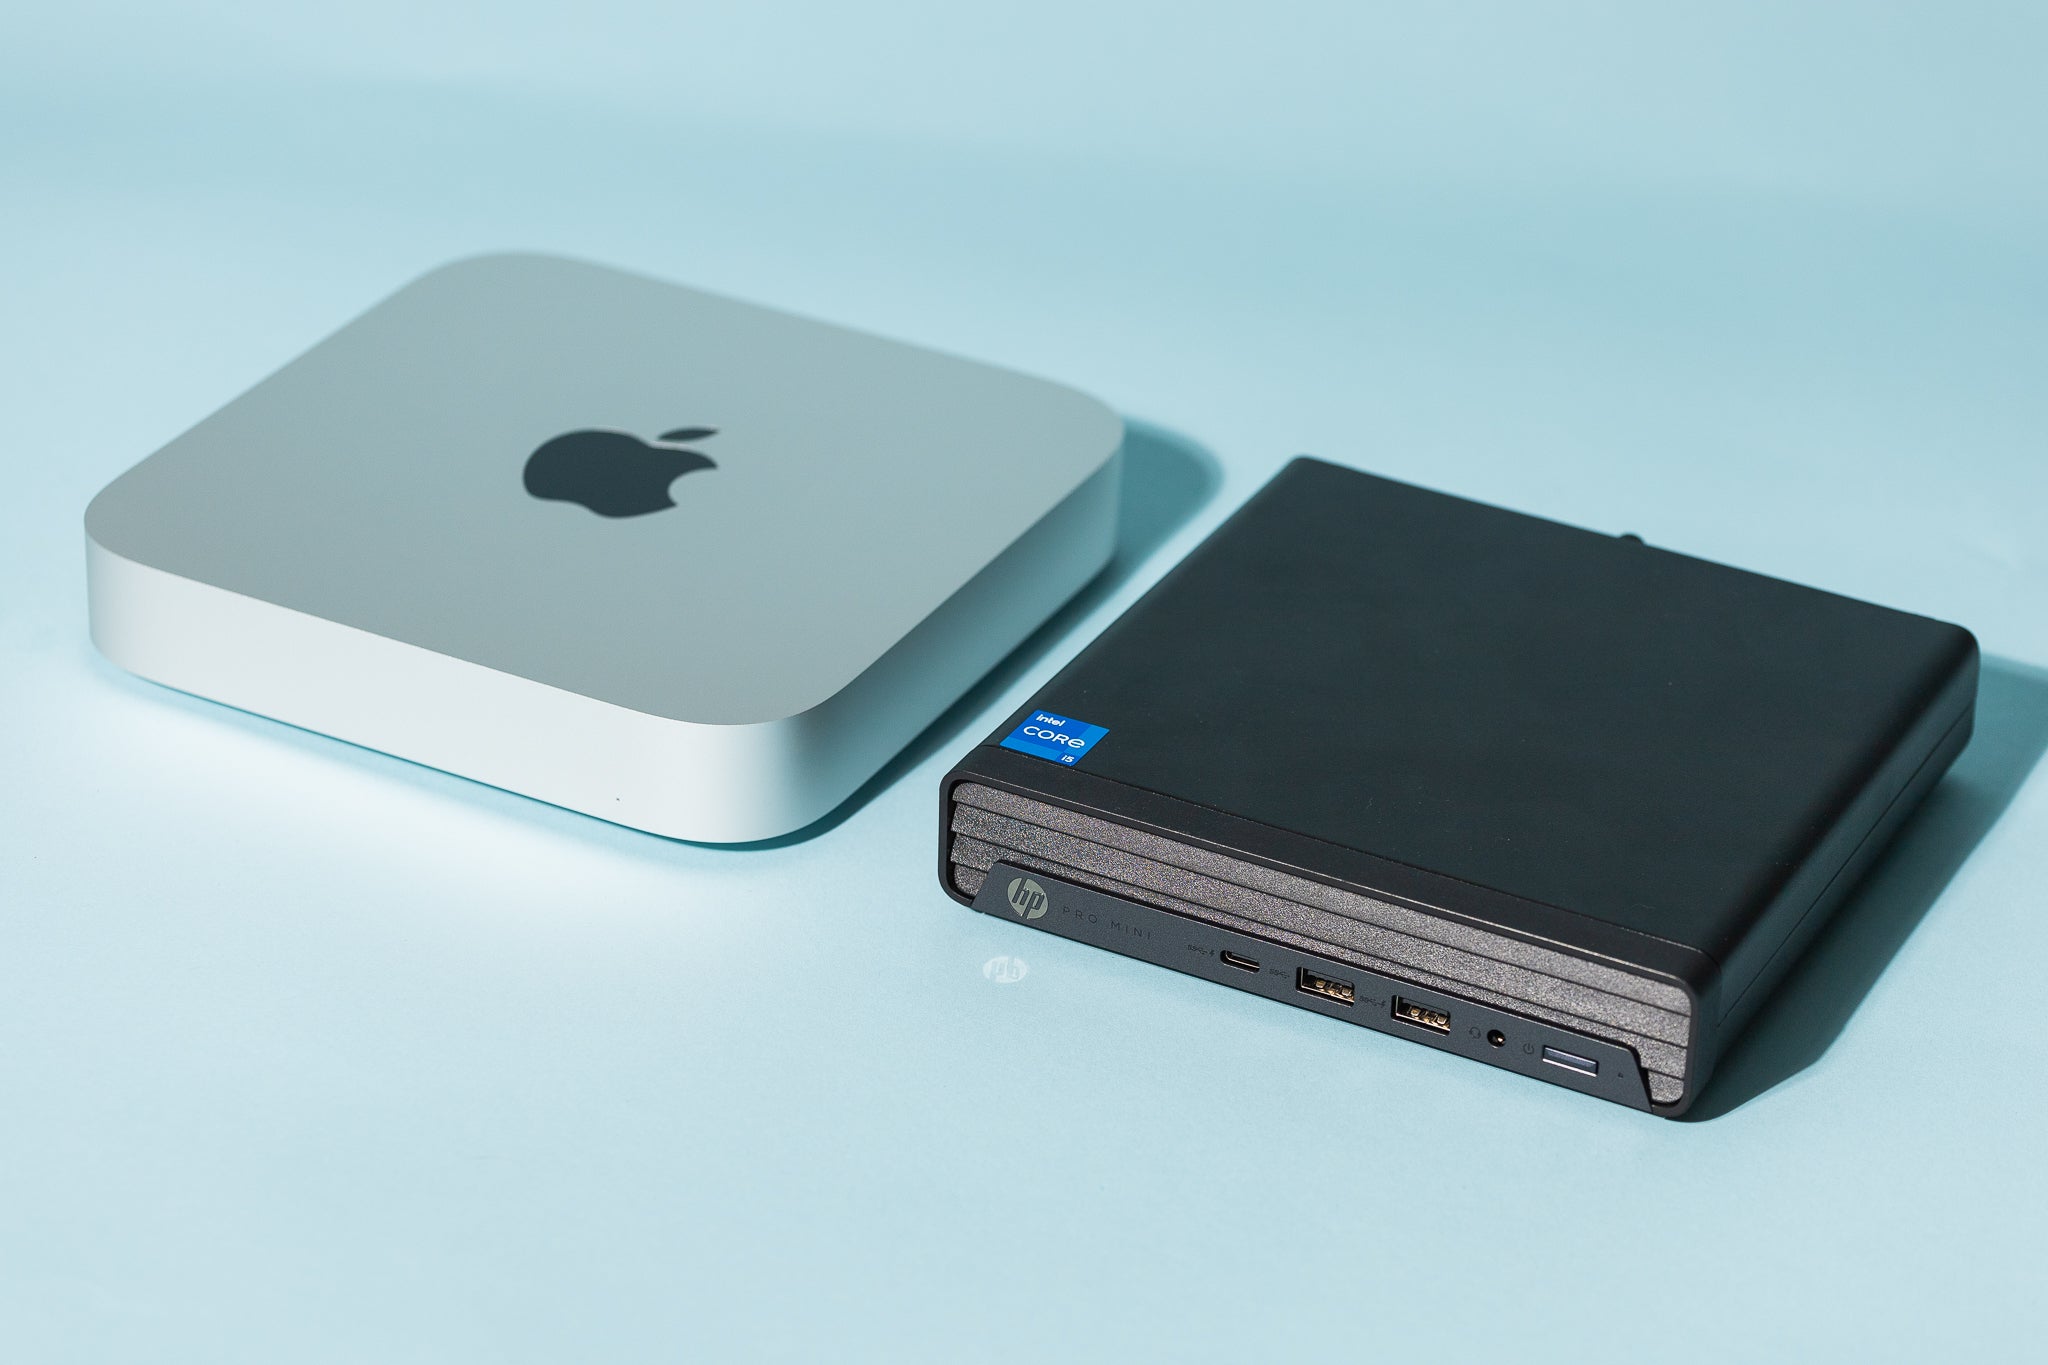
One of the key advantages of a Beelink Mini PC is its compact size. These devices are significantly smaller than traditional desktop computers, making them easy to carry and transport. This makes them ideal for users who need a portable computer for work, travel, or entertainment purposes.
Despite their small size, Beelink Mini PCs offer impressive performance. They are equipped with powerful processors, such as Intel Core i5 or i7, which ensure smooth multitasking and efficient handling of resource-intensive tasks. The devices also come with ample RAM and storage options, allowing users to store their files, media, and applications without any constraints.
Beelink Mini PCs run on popular operating systems such as Windows or Android, providing users with a familiar and user-friendly interface. This allows users to enjoy a seamless computing experience and access a wide range of software applications.
These Mini PCs can be used for a variety of purposes. They are great for media playback, allowing users to stream movies, TV shows, and online content in high definition. The compact size also makes Beelink Mini PCs suitable for use as a home theater PC or a media center, where they can be connected to a TV and used to access streaming services and digital media libraries.
In addition, Beelink Mini PCs are perfect for office use. Their small footprint takes up minimal desk space, while still providing the processing power and connectivity options required for productivity tasks. They can be used for word processing, spreadsheet management, web browsing, and other office-related activities.
Overall, Beelink Mini PCs offer a convenient and versatile computing solution. Their compact size, powerful performance, and extensive connectivity options make them suitable for a wide range of uses, from entertainment and media playback to productivity and office work.
Why would you want to factory reset your Beelink Mini PC?
There are several reasons why you might want to perform a factory reset on your Beelink Mini PC. Let’s explore some of the most common scenarios where a factory reset can be beneficial:
1. Performance Issues: Over time, your Mini PC may accumulate unnecessary files, temporary data, or outdated software installations that can slow down its performance. A factory reset can help eliminate these issues by clearing out the clutter and restoring your Mini PC to its original state.
2. Software Glitches: If you are experiencing frequent crashes, error messages, or unresponsive applications, it could be due to software glitches or conflicts. Performing a factory reset can resolve these issues by reinstalling the operating system and removing any problematic software installations or configurations.
3. Preparing for a Fresh Start: Sometimes, you may simply want to start afresh with your Beelink Mini PC. This could be the case if you have been using it for a long time and want to clear out all the personal data, applications, and settings. A factory reset will wipe everything clean and give you a clean slate to work with.
4. Selling or Transferring the Mini PC: If you plan to sell or transfer your Beelink Mini PC to someone else, performing a factory reset is essential to ensure that all your personal data is securely erased. This protects your privacy and prevents any potential misuse of your information.
5. Resolving Persistent Issues: In some cases, you may encounter persistent issues with your Mini PC that are not resolved by other troubleshooting methods. A factory reset can be a last resort to address any deep-rooted problems and provide a fresh start for troubleshooting.
It is important to note that performing a factory reset will erase all the data and settings on your Beelink Mini PC. Therefore, it is crucial to back up any important files or data before proceeding with the reset. This ensures that you do not lose any valuable information during the process.
In the next sections, we will explore different methods for performing a factory reset on your Beelink Mini PC. Whether you prefer using the settings menu, the physical reset button, or a USB recovery disk, you can choose the method that suits your needs and resolves the issues you are facing.
Backing up your data
Before proceeding with a factory reset on your Beelink Mini PC, it’s crucial to back up any important data or files that you want to keep. Performing a factory reset will erase all the data on your Mini PC, including documents, photos, videos, and applications. By backing up your data, you can ensure that nothing is lost during the reset process.
Here are a few methods to consider for backing up your data:
1. External Storage Devices: One of the simplest ways to back up your data is by transferring it to an external storage device, such as a USB flash drive or an external hard drive. Copy and paste the files you want to keep onto the external device, ensuring that you have a separate copy of your important data.
2. Cloud Storage Services: Cloud storage services, such as Google Drive, Dropbox, or OneDrive, provide a convenient way to back up your data online. Sign up for a cloud storage account, upload your files to the cloud, and they will be safely stored online. You can access your files from any device with an internet connection.
3. Network Attached Storage (NAS): If you have a network-attached storage device or a home server, you can back up your files directly to your local network. Set up file sharing on your Mini PC and transfer the files to the NAS device for safekeeping.
4. Disk Imaging Software: Disk imaging software allows you to create a complete image or snapshot of your Mini PC’s hard drive, including the operating system, applications, and data. This method is useful if you want to restore your entire system to its previous state after the factory reset.
5. Online Backup Services: Online backup services, such as Carbonite or Backblaze, offer automatic and continuous data backup. Install the backup software provided by the service, and it will automatically back up your selected files and folders in the background.
Ensure that you have verified the completeness and integrity of your backup files before proceeding with the factory reset. Double-check that all your important documents, photos, videos, and other files are safely backed up in a separate location.
By taking the time to back up your data, you can have peace of mind knowing that your important files are secure and can easily be restored after the factory reset. This precaution will help prevent any potential loss of data during the reset process.
Method 1: Using the settings menu
One of the easiest ways to perform a factory reset on your Beelink Mini PC is by using the settings menu. This method allows you to reset your Mini PC to its factory settings without the need for any additional hardware or tools. Here’s how you can do it:
Step 1: Access the settings menu
First, navigate to the Start menu on your Beelink Mini PC and click on the gear icon to open the settings menu. Alternatively, you can press the Windows key + I on your keyboard to directly access the settings menu.
Step 2: Open the Recovery settings
Within the settings menu, locate and click on “Update & Security”. From the left-side panel, select “Recovery”. This will open the recovery settings, where you can initiate the factory reset process.
Step 3: Start the factory reset
Under the “Reset this PC” section, click on the “Get started” button. You will be presented with two options:
a. Keep my files: This option will remove applications and settings, but keep your personal files intact. It is recommended to choose this option if you want to retain your documents, photos, and other important files.
b. Remove everything: Selecting this option will remove all personal files, applications, and settings. Use this option if you want a complete wipe of your Mini PC, starting from a fresh state.
Choose the option that suits your requirements. You may be prompted to provide an administrator password or confirm your selection before the reset process begins.
Step 4: Wait for the reset to complete
Once you have selected an option, the factory reset process will begin. Your Beelink Mini PC will restart and go through the resetting process. During this time, do not turn off or interrupt the device, as it may lead to system instability or data loss.
After the reset is complete, your Mini PC will be restored to its factory settings, with the operating system and default applications installed. You can then go through the initial setup process and start using your Mini PC as if it were brand new.
It’s important to note that performing a factory reset will erase all the data on your Mini PC, so make sure you have backed up any important files or data before proceeding with this method.
This method provides a convenient and straightforward way to reset your Beelink Mini PC using the built-in settings menu. However, if you encounter any issues or are unable to access the settings menu, there are alternative methods available, which we will explore in the next sections.
Method 2: Using the physical reset button
If you are unable to access the settings menu or prefer a hardware-based method, you can perform a factory reset on your Beelink Mini PC using the physical reset button. This method allows you to initiate the reset process without having to access the operating system. Here’s how you can do it:
Step 1: Locate the physical reset button
On most Beelink Mini PCs, there is a small physical reset button located on the device. It is usually located on the back or side of the Mini PC. Refer to your Mini PC’s user manual or manufacturer’s website to find the exact location of the reset button.
Step 2: Power off your Mini PC
Before pressing the reset button, ensure that your Mini PC is powered off. You can either shut down the device through the operating system or simply unplug the power source.
Step 3: Press and hold the reset button
Using a small, pointed object such as a pen or paperclip, press and hold the reset button. You will need to hold the button for a few seconds, typically around 10-15 seconds.
Step 4: Release the reset button
After holding the reset button for the required time, release it. Your Beelink Mini PC will reset and start the factory reset process. This may take a few minutes, so be patient and do not interrupt the process.
Step 5: Complete the initial setup
Once the factory reset is complete, your Mini PC will restart and begin the initial setup process. Follow the on-screen instructions to configure your language, region, and other settings.
It’s important to note that performing a factory reset using the physical reset button will erase all the data on your Mini PC, similar to the method using the settings menu. Therefore, be sure to back up any important files or data before proceeding with this method.
The physical reset button method can be helpful if you are unable to access the settings menu, experiencing software issues, or want a quick and straightforward way to reset your Beelink Mini PC. However, if this method does not work or you prefer an alternative method, there is one more option available, which we will explore in the next section.
Method 3: Using a USB recovery disk
If you are unable to access the settings menu or use the physical reset button, another option to perform a factory reset on your Beelink Mini PC is by using a USB recovery disk. This method allows you to boot your Mini PC from a USB drive containing a recovery image to initiate the reset process. Here’s how you can do it:
Step 1: Create a USB recovery disk
Before proceeding, you will need to create a USB recovery disk. This involves downloading a recovery image specific to your Beelink Mini PC model and using a tool like Rufus or the Windows 10 Media Creation Tool to create a bootable USB drive.
Step 2: Connect the USB recovery disk
Insert the USB recovery disk into one of the available USB ports on your Beelink Mini PC. Ensure that the Mini PC is powered off before connecting the USB drive.
Step 3: Power on your Mini PC
Power on your Beelink Mini PC and access the device’s BIOS or UEFI settings. The key to enter the BIOS/UEFI settings may vary depending on your Mini PC model. Common keys include F2, Del, F10, or Esc. Refer to your Mini PC’s user manual or manufacturer’s website for the specific key.
Step 4: Set the USB drive as the boot device
In the BIOS/UEFI settings, navigate to the “Boot” or “Boot Options” section. Set the USB drive as the primary boot device or change the boot order so that the Mini PC boots from the USB drive first.
Step 5: Start the factory reset
Save the changes and exit the BIOS/UEFI settings. Your Beelink Mini PC will restart and boot from the USB recovery disk. Follow the on-screen instructions provided by the recovery image to initiate the factory reset process.
Once the factory reset is complete, your Mini PC will restart and begin the initial setup process. Configure your language, region, and other settings as prompted to complete the reset process.
Using a USB recovery disk can be an effective method to perform a factory reset if the previous methods are not accessible or not yielding the desired results. However, keep in mind that this method requires creating a recovery disk in advance and modifying the boot settings in the BIOS/UEFI, so it may be more technically involved compared to the other methods.
Remember to back up any important files or data before proceeding with the factory reset, as it will erase all the data on your Beelink Mini PC.
Conclusion
Performing a factory reset on your Beelink Mini PC can be a useful solution for various situations, including performance issues, software glitches, starting afresh, or preparing for transfer or sale. In this guide, we explored three different methods to perform a factory reset on your Beelink Mini PC: using the settings menu, the physical reset button, or a USB recovery disk.
The method you choose depends on your specific requirements and the accessible resources. Using the settings menu is the simplest and most straightforward method, allowing you to reset your Mini PC to its factory settings without additional tools. However, if you are unable to access the settings menu or prefer a hardware-based approach, you can utilize the physical reset button. This provides a quick and convenient way to initiate the factory reset process.
If both of these methods are not viable or you want a more advanced approach, you can use a USB recovery disk to boot your Mini PC and initiate the factory reset. This method requires creating a recovery image and modifying the boot settings in the BIOS/UEFI, making it more technically involved.
Whichever method you choose, it’s crucial to back up any important files or data before proceeding with the factory reset. This ensures that your valuable data remains safe and can be easily restored after the reset process is complete.
By performing a factory reset, you can bring your Beelink Mini PC back to its original settings, eliminate performance issues, and start afresh. Remember to carefully follow the instructions specific to your Mini PC model and manufacturer to ensure a successful factory reset.
We hope this guide has provided you with the necessary information to perform a factory reset on your Beelink Mini PC. Enjoy the benefits of a refreshed and optimized Mini PC experience!