Introduction
Welcome to the world of a portable and versatile computing experience with your mini PC. Mini PCs have gained popularity for their compact size and powerful performance. However, their limited storage capacity can sometimes pose a challenge. If you find yourself running out of storage space on your mini PC or simply want the flexibility of expanding your storage options, running your mini PC from an external hard drive is a great solution.
By utilizing an external hard drive, you can enjoy the convenience of additional storage space, while also maintaining the agility of your mini PC. Whether you need more space for storing large files, running resource-heavy applications, or maintaining a backup of your important data, running your mini PC from an external hard drive offers numerous benefits.
In this article, we will guide you through the process of running your mini PC from an external hard drive. We will discuss selecting the right external hard drive, preparing your mini PC, configuring boot settings, transferring your operating system, troubleshooting common issues, and the benefits of this setup.
So if you’re ready to unlock the potential of your mini PC and take control of your storage options, let’s dive in!
Choosing the Right External Hard Drive
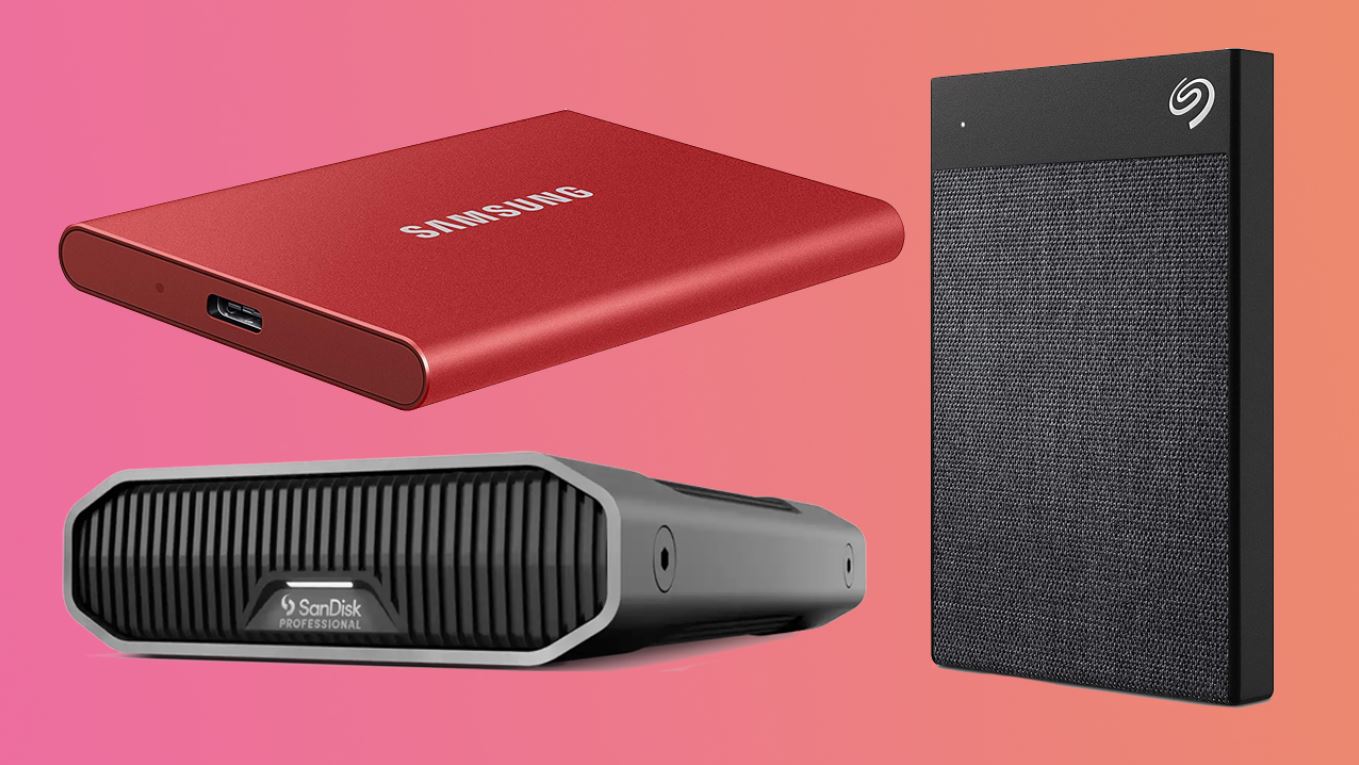
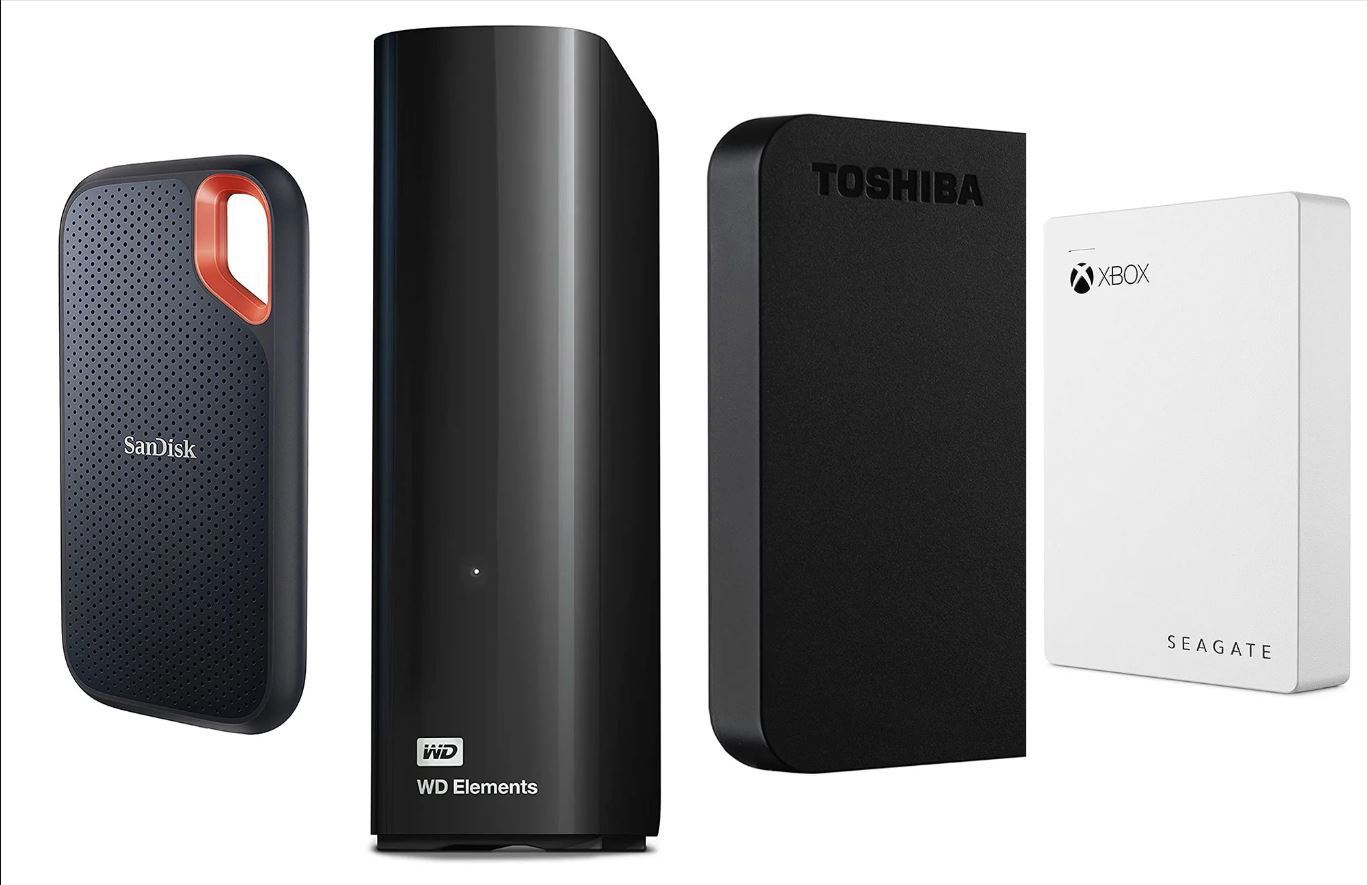
When it comes to running your mini PC from an external hard drive, choosing the right one is crucial. The external hard drive you select should meet your storage requirements, be compatible with your mini PC, and provide reliable performance. Here are some factors to consider when choosing the right external hard drive:
- Storage Capacity: Determine your storage needs before purchasing an external hard drive. Consider the size of your operating system, applications, and files you plan to store on the external drive. It’s always recommended to choose a drive with ample storage capacity to accommodate future needs.
- Interface: The interface of the external hard drive determines its speed and compatibility with your mini PC. USB 3.0 is a popular interface that offers faster data transfer rates compared to USB 2.0. If your mini PC supports other interfaces like Thunderbolt or eSATA, consider them for even faster performance.
- Form Factor: External hard drives are available in different form factors, such as 2.5-inch and 3.5-inch. The 2.5-inch form factor is more compact and portable, while the 3.5-inch form factor provides higher storage capacities and may require an external power source.
- Transfer Speed: Look for an external hard drive that offers fast transfer speeds. This will ensure quick and efficient data transfer between your mini PC and the external drive. Check the specifications of the drive to find its transfer speed, which is typically measured in megabytes per second (MB/s).
- Reliability: Consider the reliability and durability of the external hard drive. Look for features like shock resistance and solid build quality to protect your data from accidental drops or impacts. Reading reviews and choosing a reputable brand can also help ensure a reliable drive.
- Encryption and Security: If data security is a concern, opt for an external hard drive that offers built-in encryption or security features. This can help protect your sensitive information and prevent unauthorized access to your data.
By considering these factors and finding the right balance between storage capacity, interface, speed, and reliability, you can choose an external hard drive that perfectly complements your mini PC setup. Now that you have selected the ideal external hard drive, let’s move on to the next steps in running your mini PC from it.
Preparing Your Mini PC for Running from an External Hard Drive
Before you can start running your mini PC from an external hard drive, there are a few preparations you need to make. Here’s a step-by-step guide to get your mini PC ready:
- Backup Your Data: It’s always a good practice to create a backup of your important files and data before making any changes to your system. This ensures that your data is safe in case of any unforeseen issues during the process.
- Check Your Mini PC Specifications: Make sure that your mini PC supports booting from an external device. Check the manufacturer’s website or refer to the user manual to confirm if your mini PC has this capability. This is an essential requirement for running your mini PC from an external hard drive.
- Update Your BIOS: Updating your mini PC’s BIOS to the latest version is recommended before proceeding. The BIOS update may include compatibility improvements and bug fixes that can enhance the overall performance and stability of your system.
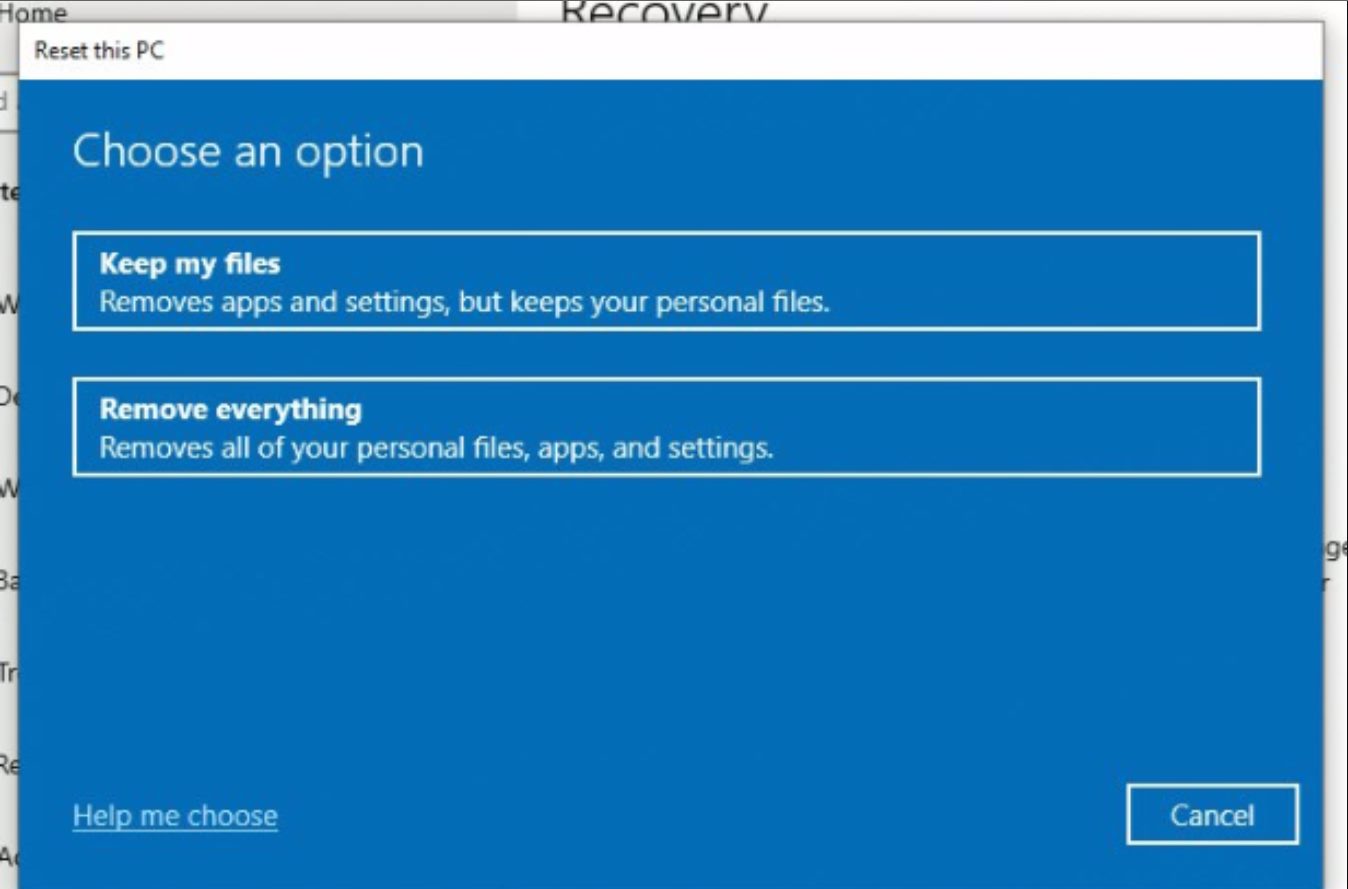
- Disable Secure Boot: Secure Boot is a security feature that ensures only trusted software can run on your mini PC. However, it may prevent booting from an external device. You may need to disable Secure Boot in your BIOS settings to allow booting from the external hard drive. Consult your user manual or manufacturer’s website for instructions on how to disable Secure Boot.
- Configure Boot Order: Access the mini PC’s BIOS settings and set the boot order to prioritize booting from the external hard drive. This ensures that your mini PC will check the external drive for the operating system first. Refer to the user manual or manufacturer’s website for specific instructions on how to configure the boot order.
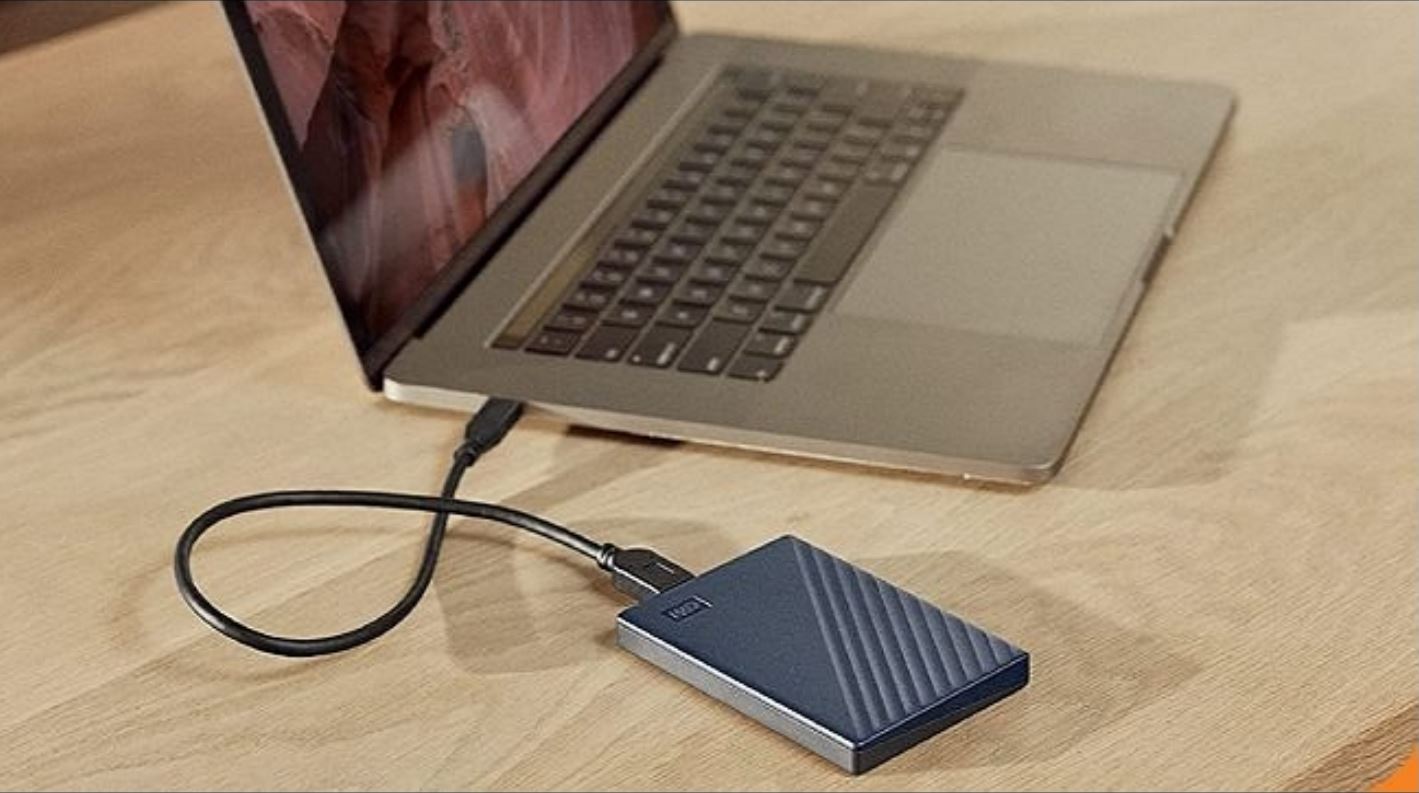
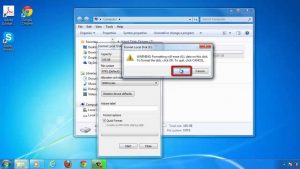
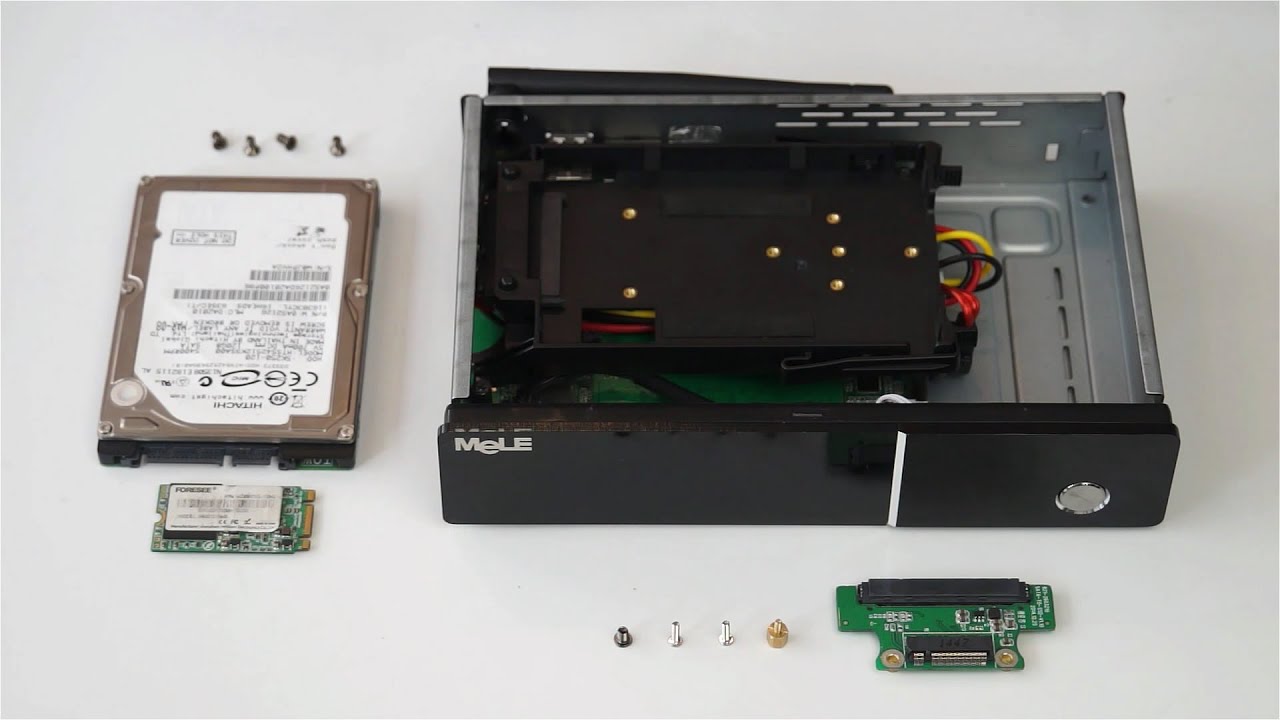
- Prepare the External Hard Drive: Connect the external hard drive to your mini PC using the appropriate interface cable. Format the drive to the file system compatible with your operating system, such as NTFS for Windows or APFS for macOS. This will prepare the external drive for transferring the operating system.
- Install Required Software: Depending on your mini PC and operating system, you may need to install specific software or drivers to ensure compatibility with the external hard drive. Check the manufacturer’s website for any required software updates or drivers.
By following these steps, you will have prepared your mini PC for running from an external hard drive. With the necessary backups, updates, and BIOS configuration in place, you’re now ready to move on to the next phase of transferring your operating system to the external hard drive.
Configuring Boot Settings on Your Mini PC
Once you have prepared your mini PC and external hard drive, the next step is to configure the boot settings to ensure that your mini PC can properly boot from the external drive. Here’s how you can do it:
- Access the BIOS: Restart your mini PC and enter the BIOS settings. The method for accessing the BIOS may vary depending on the manufacturer, so refer to your user manual or the manufacturer’s website for specific instructions.
- Navigate to Boot Options: Within the BIOS settings, look for the boot options or boot settings. This section allows you to control the boot order of the devices connected to your mini PC.
- Set External Hard Drive as the Primary Boot Device: In the boot options, set the external hard drive as the primary boot device. This ensures that your mini PC will attempt to boot from the external drive before any other device. Save the changes and exit the BIOS settings.
- Enable Legacy Boot (If Required): Some older mini PCs may require enabling the Legacy Boot option in the BIOS settings to boot from an external device. If your mini PC is not able to boot from the external drive, check if the Legacy Boot option is available and enable it.
- Save and Exit: After making the necessary changes, save the BIOS settings and exit. Your mini PC will now attempt to boot from the external hard drive as the primary device.
It’s important to note that the specific steps and options in the BIOS settings may vary depending on your mini PC model and manufacturer. Taking the time to consult the user manual or the manufacturer’s website will provide you with accurate and detailed instructions for configuring the boot settings.
Once you have successfully configured the boot settings, your mini PC is now ready to load the operating system from the external hard drive. In the next section, we will explore the process of transferring your operating system to the external hard drive.
Transferring Your Operating System to the External Hard Drive
Now that you have configured the boot settings on your mini PC, it’s time to transfer your operating system to the external hard drive. Here are the steps to follow:
- Create an Operating System Backup: Before you can transfer your operating system, it’s crucial to create a backup. This ensures that you have a copy of your OS in case anything goes wrong during the transfer process.
- Use Disk Cloning Software: Disk cloning software can help you transfer your operating system and all its files to the external hard drive. There are several reliable options available, such as Clonezilla, Macrium Reflect, and EaseUS Todo Backup.
- Connect the External Hard Drive: Ensure that the external hard drive is properly connected to your mini PC and recognized by the system. It should appear as a separate drive within the file explorer or disk management utility.
- Launch the Disk Cloning Software: Open the disk cloning software and follow the on-screen instructions to start the cloning process. Select the source disk, which is the internal drive containing your operating system, and the destination disk, which is the external hard drive.
- Start the Cloning Process: Begin the cloning process and wait for it to complete. This may take some time depending on the speed of the drives and the size of the operating system.
- Verify the Cloned Operating System: Once the cloning process is finished, verify that the operating system has been successfully transferred to the external hard drive. Restart your mini PC and select the external drive as the boot device. The system should load into your operating system without any issues.
It’s important to note that the exact steps and options within the disk cloning software may vary. Therefore, it’s advisable to refer to the software’s user guide or documentation for detailed instructions on how to clone your operating system.
Once you have successfully transferred your operating system to the external hard drive, you can enjoy the benefits of running your mini PC from it. In the next section, we will discuss some common issues that you may encounter during this setup and how to troubleshoot them.
Troubleshooting Common Issues
While running your mini PC from an external hard drive offers many benefits, it’s not uncommon to encounter some issues along the way. Here are some common issues you may face and how to troubleshoot them:
- Boot Failure: If your mini PC fails to boot from the external hard drive, double-check the boot settings in the BIOS. Ensure that the external drive is set as the primary boot device and that Secure Boot is disabled. If the issue persists, try reconnecting the external hard drive and make sure it is properly recognized by the system.
- Slow Performance: If you experience slower performance after transferring the operating system, check the transfer speed of your external hard drive. Use a USB 3.0 port for faster data transfer. Additionally, make sure that the drive is not nearly full, as a full drive can result in slower performance. Consider upgrading to a higher performance external hard drive if needed.
- Incompatibility Issues: In some cases, certain mini PCs may not be fully compatible with running from an external hard drive. This could be due to hardware or firmware limitations. Ensure that your mini PC meets the necessary requirements and check for any firmware updates from the manufacturer that may address compatibility issues.
- Data Corruption: While transferring your operating system or accessing files on the external hard drive, you may encounter data corruption or file errors. Ensure that your mini PC and external hard drive are protected from power surges or sudden disconnections. It’s also recommended to periodically backup your important files and maintain a reliable backup system to mitigate the risk of data loss.
- Driver or Software Issues: If you experience compatibility issues or errors with certain drivers or software after running your mini PC from an external hard drive, check for any driver updates or software patches from the manufacturers. Updating your drivers and software to the latest versions can often resolve compatibility issues.
If you encounter any other issues not mentioned here, it’s recommended to consult the user manual of your mini PC, the documentation of the external hard drive, or reach out to the respective customer support for further assistance.
By troubleshooting these common issues, you can overcome any obstacles and maximize the performance and reliability of your mini PC running from an external hard drive. In the next section, let’s explore the benefits of this setup.
Benefits of Running Your Mini PC from an External Hard Drive
Running your mini PC from an external hard drive offers a range of benefits that can enhance your computing experience. Here are some key advantages of this setup:
- Expanded Storage Capacity: One of the primary benefits is the ability to significantly expand your storage capacity. External hard drives come in larger capacities than the internal storage of most mini PCs, allowing you to store more files, applications, and multimedia content without worrying about running out of space.
- Improved Performance: External hard drives with fast transfer speeds, such as USB 3.0, can deliver improved performance for your mini PC. Large files can be accessed and transferred quickly, resulting in smoother multitasking, faster application load times, and improved overall system responsiveness.
- Portability and Flexibility: Running your mini PC from an external hard drive provides enhanced portability. You can easily disconnect the external drive and take your entire system with you wherever you go. This flexibility allows you to work or play on different devices without the need for multiple installations or configurations.
- Data Protection and Backup: With the option to run your operating system and store important files on an external drive, you have an additional layer of data protection. In the event of a hardware failure or system issues, your data remains secure and accessible. Additionally, you can easily perform backups and restore your system without worrying about losing crucial data.
- Upgrade Possibilities: Running your mini PC from an external hard drive opens up opportunities for easy upgrades. If you require more storage space or desire a faster drive, you can simply replace or upgrade the external hard drive without affecting your mini PC. This eliminates the need to open up the mini PC or deal with hardware installation complexities.
- Separate Operating System Environments: By running your mini PC from an external hard drive, you have the option to maintain separate operating system environments. You can set up different operating systems on different external drives and choose the one you want to boot into depending on your specific needs. This is beneficial for developers, testers, or individuals who require multiple operating systems for various purposes.
These benefits make running your mini PC from an external hard drive a versatile and practical solution for expanding storage, improving performance, and increasing flexibility. It gives you the freedom to customize and optimize your computing experience according to your requirements.
Now that you are aware of the benefits, you can fully leverage the potential of running your mini PC from an external hard drive. Before we wrap up, let’s summarize the key points discussed throughout this article.
Conclusion
Running your mini PC from an external hard drive offers a range of advantages, including expanded storage capacity, improved performance, portability, data protection, upgrade possibilities, and the ability to maintain separate operating system environments. By selecting the right external hard drive, preparing your mini PC, configuring the boot settings, and transferring your operating system, you can enjoy the benefits of this setup.
When choosing an external hard drive, consider factors such as storage capacity, interface, form factor, transfer speed, reliability, and encryption/security features. Preparing your mini PC involves backing up your data, checking specifications, updating the BIOS, disabling secure boot, configuring the boot order, and preparing the external hard drive.
To transfer the operating system, create a backup, use disk cloning software, connect the external hard drive, launch the cloning process, and verify the cloned operating system. If you encounter any issues, troubleshoot them by checking the boot settings, ensuring fast transfer speeds, addressing compatibility issues, preventing data corruption, and resolving driver or software issues.
Running your mini PC from an external hard drive provides a versatile and flexible computing experience, allowing you to expand storage, improve performance, and easily upgrade. It also offers the convenience of portable data and separate operating system environments.
By following the steps outlined in this article and leveraging the benefits of running your mini PC from an external hard drive, you can enhance your productivity, storage capacity, and overall computing experience. Enjoy the freedom and flexibility that this setup provides.