Introduction
Reformatting a Mate A Mira Mini PC can be a daunting task for some, but with the right guidance, it can be a smooth and straightforward process. Whether you’re experiencing performance issues, want to upgrade your operating system, or simply want a fresh start, reformatting can help solve these problems. In this guide, we’ll walk you through the necessary steps to reformat your Mate A Mira Mini PC and get it up and running like new.
Before we dive into the steps, it’s important to note that reformatting a computer will erase all data on the hard drive. Therefore, it’s crucial to back up any important files or documents you want to keep. This ensures that you won’t lose any valuable information during the reformatting process.
Additionally, reformatting your Mate A Mira Mini PC will require a bootable USB drive containing the operating system you want to install. Therefore, it’s essential to have a backup of your desired operating system and any necessary drivers on a USB drive before proceeding with the reformatting process.
Now that we’ve covered the basics, let’s move on to the step-by-step guide to reformatting a Mate A Mira Mini PC. By following these instructions carefully, you’ll be able to achieve a successful reformatting without any issues.
Step 1: Back up Your Data
Before you proceed with reformatting your Mate A Mira Mini PC, it’s crucial to back up all your important data. Reformatting will erase all the files and documents on your computer, so it’s essential to create a backup to ensure that you don’t lose any valuable information.
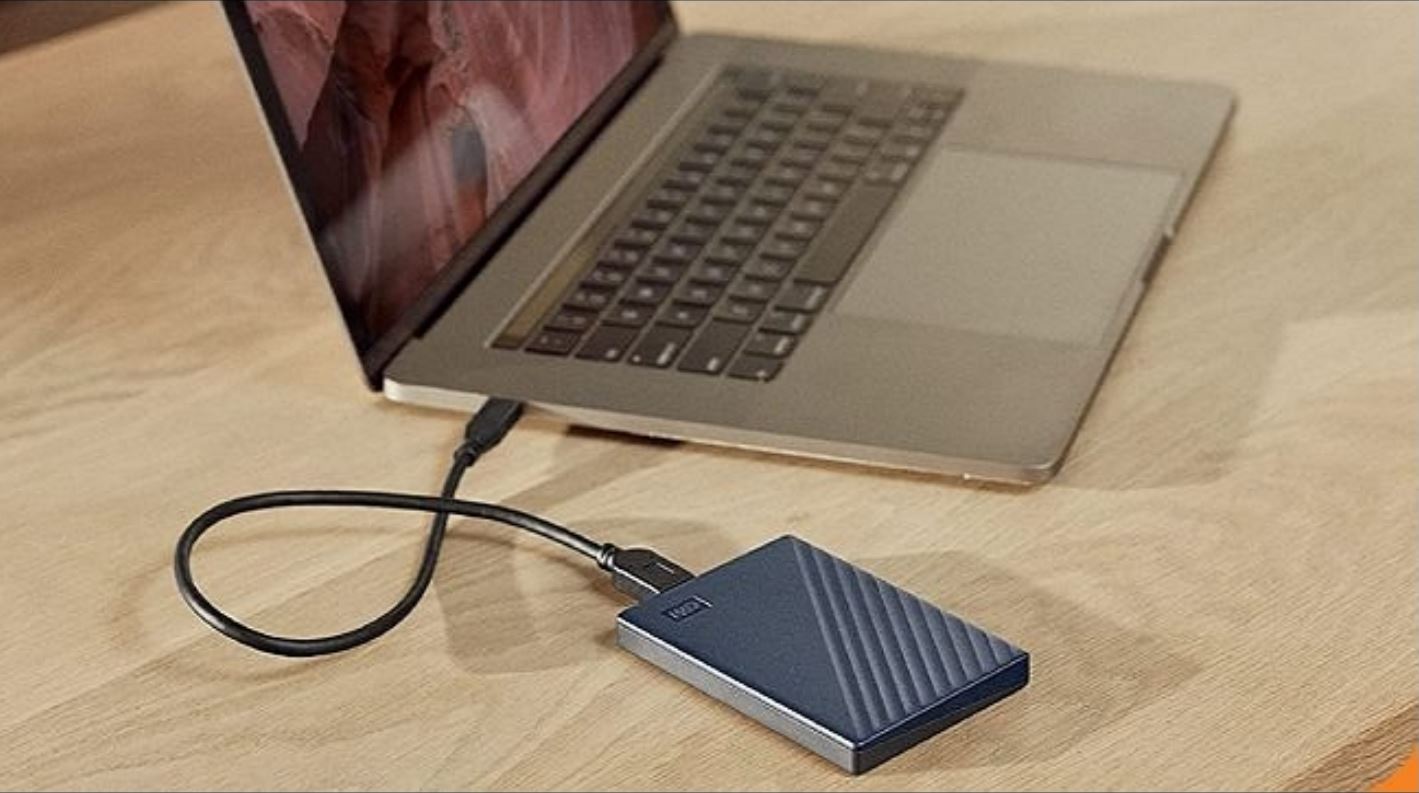
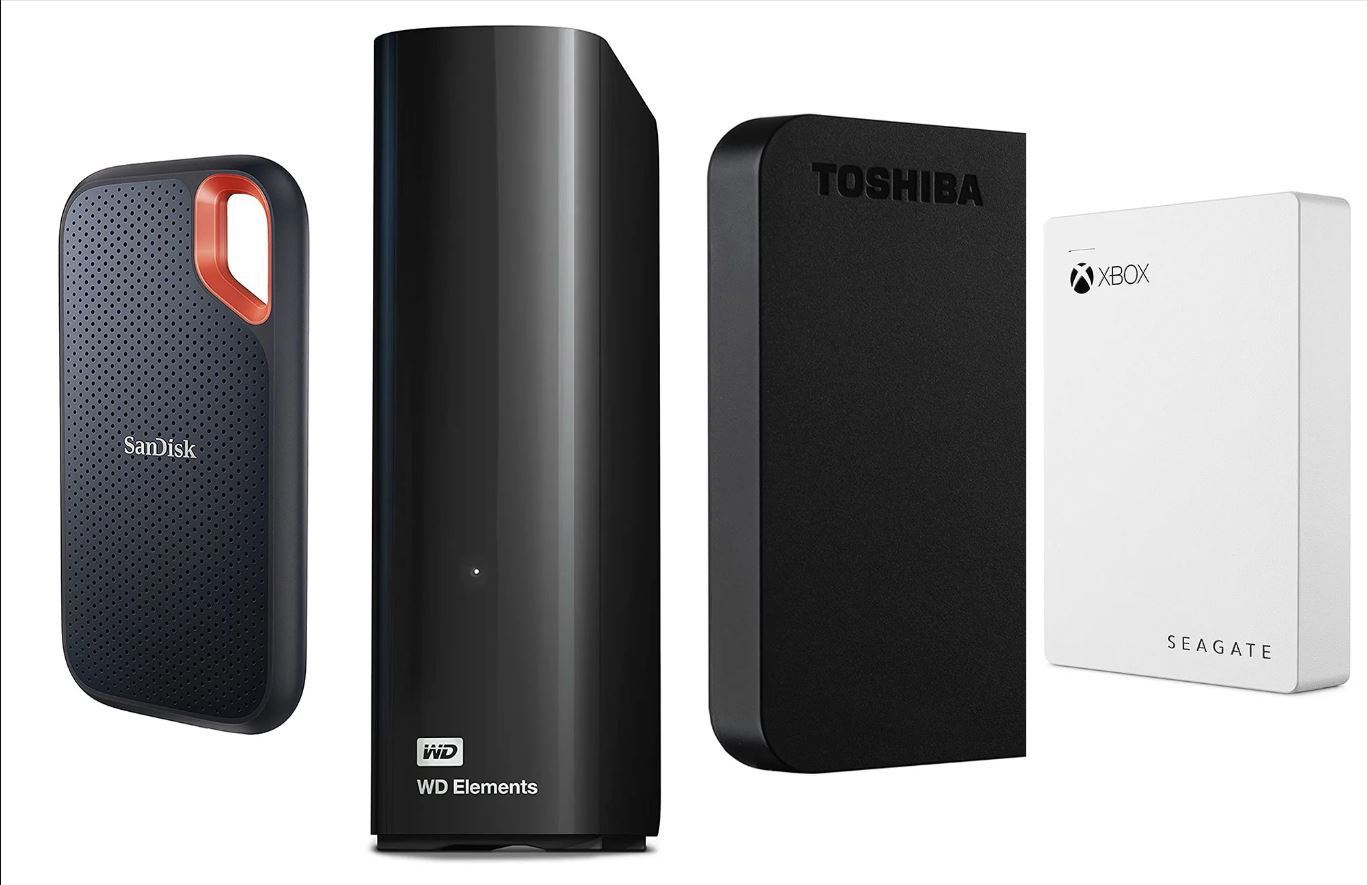
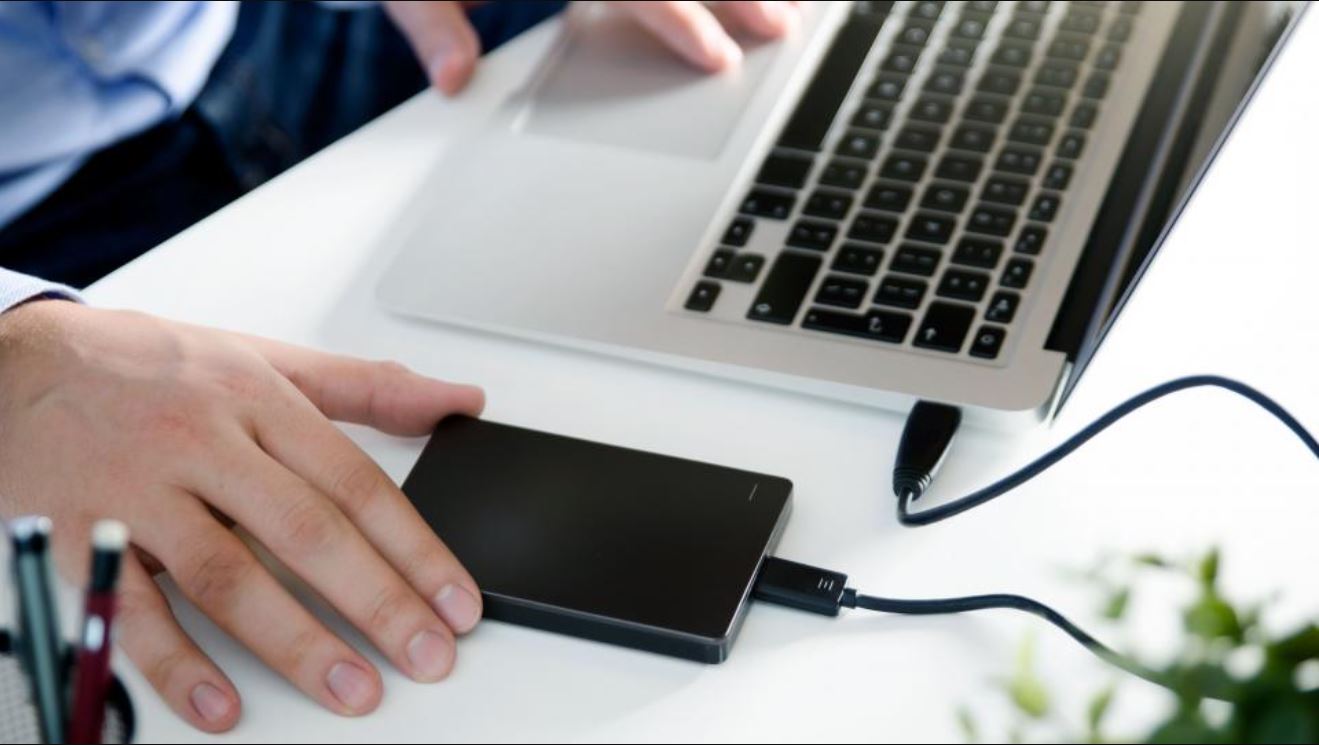
To back up your data, you have several options. One common method is to use an external hard drive or USB flash drive to store your files. Simply connect the external storage device to your Mini PC and copy all the necessary files onto it. Make sure to organize your files systematically, so it’s easier to restore them after the reformatting process.
Another option is to take advantage of cloud storage services like Google Drive or Dropbox. These platforms allow you to upload and store your files securely in the cloud, accessible from any device with an internet connection. Simply upload your important files to the cloud storage service of your choice and ensure that they are synced and up to date before proceeding with the reformatting process.
Additionally, you may want to consider creating a system image backup. This method allows you to create a complete copy of your Mini PC’s hard drive, including the operating system, installed programs, and files. If anything goes wrong during the reformatting process, you can easily restore your Mini PC to its previous state using the system image backup.
No matter which method you choose, it’s crucial to double-check and ensure that all your important files have been successfully backed up. Take the time to browse through the backup location and verify that all the necessary files are present. Additionally, make a list of the essential programs and applications you currently have installed, so you can easily reinstall them after the reformatting process.
Once you have successfully backed up all your data, you can proceed to the next step of creating a bootable USB drive to initiate the reformatting process. Remember, taking the time to back up your data will give you peace of mind and ensure that you don’t lose any important files during the reformatting process.
Step 2: Create a Bootable USB Drive
In order to reformat your Mate A Mira Mini PC, you’ll need to create a bootable USB drive containing the operating system you want to install. This USB drive will serve as the installation media that allows you to initiate the reformatting process. Here’s how you can create a bootable USB drive:
1. Start by downloading the ISO file of the operating system you want to install. Make sure to choose the version and edition that is compatible with your Mate A Mira Mini PC.
2. Insert a USB flash drive with at least 4GB of storage capacity into an available USB port.
3. Open a web browser and search for a reliable tool that can create bootable USB drives. There are various free tools available, such as Rufus or UNetbootin. Download and install the tool of your choice.
4. Launch the tool and follow the on-screen instructions to create a bootable USB drive. Typically, you’ll be asked to select the ISO file you downloaded in step 1 and choose the USB drive as the destination. Make sure to select the correct USB drive, as all data on the drive will be erased during the process.
5. Once the bootable USB drive is created, safely eject it from your computer.
Congratulations! You have successfully created a bootable USB drive. This USB drive will now be used to reformat your Mate A Mira Mini PC. Keep it in a safe place as you’ll need it in the following steps.
Now that you have a bootable USB drive ready, you can proceed to the next step of accessing the boot menu on your Mate A Mira Mini PC.
Step 3: Access the Boot Menu
In order to reformat your Mate A Mira Mini PC, you’ll need to access the boot menu. The boot menu allows you to choose the bootable USB drive as the primary boot device, enabling you to initiate the reformatting process. Here’s how you can access the boot menu:
1. Start by shutting down your Mate A Mira Mini PC if it’s currently powered on. Make sure that all external devices, such as printers or scanners, are disconnected.
2. Insert the bootable USB drive that we created in the previous step into an available USB port on your Mate A Mira Mini PC.
3. Turn on your Mini PC and immediately press the designated key to access the boot menu. The key to access the boot menu may vary depending on your computer’s manufacturer. Common keys include F11, F12, or Esc. Consult the user manual or do a quick search online to find the specific key for your Mini PC.
4. Once you’ve successfully entered the boot menu, use the arrow keys on your keyboard to navigate through the options. Look for the USB drive in the list of available devices.
5. Select the USB drive as the primary boot device by highlighting it and pressing the Enter key. This will ensure that your Mini PC boots from the USB drive and initiates the reformatting process.
Congratulations! You have successfully accessed the boot menu and set the USB drive as the primary boot device. Now, you can proceed to the next step and choose the reformatting option.
It’s important to note that the steps to access the boot menu may vary slightly depending on your Mini PC’s manufacturer and model. If you’re having trouble accessing the boot menu, refer to the user manual or contact the manufacturer’s support for assistance.
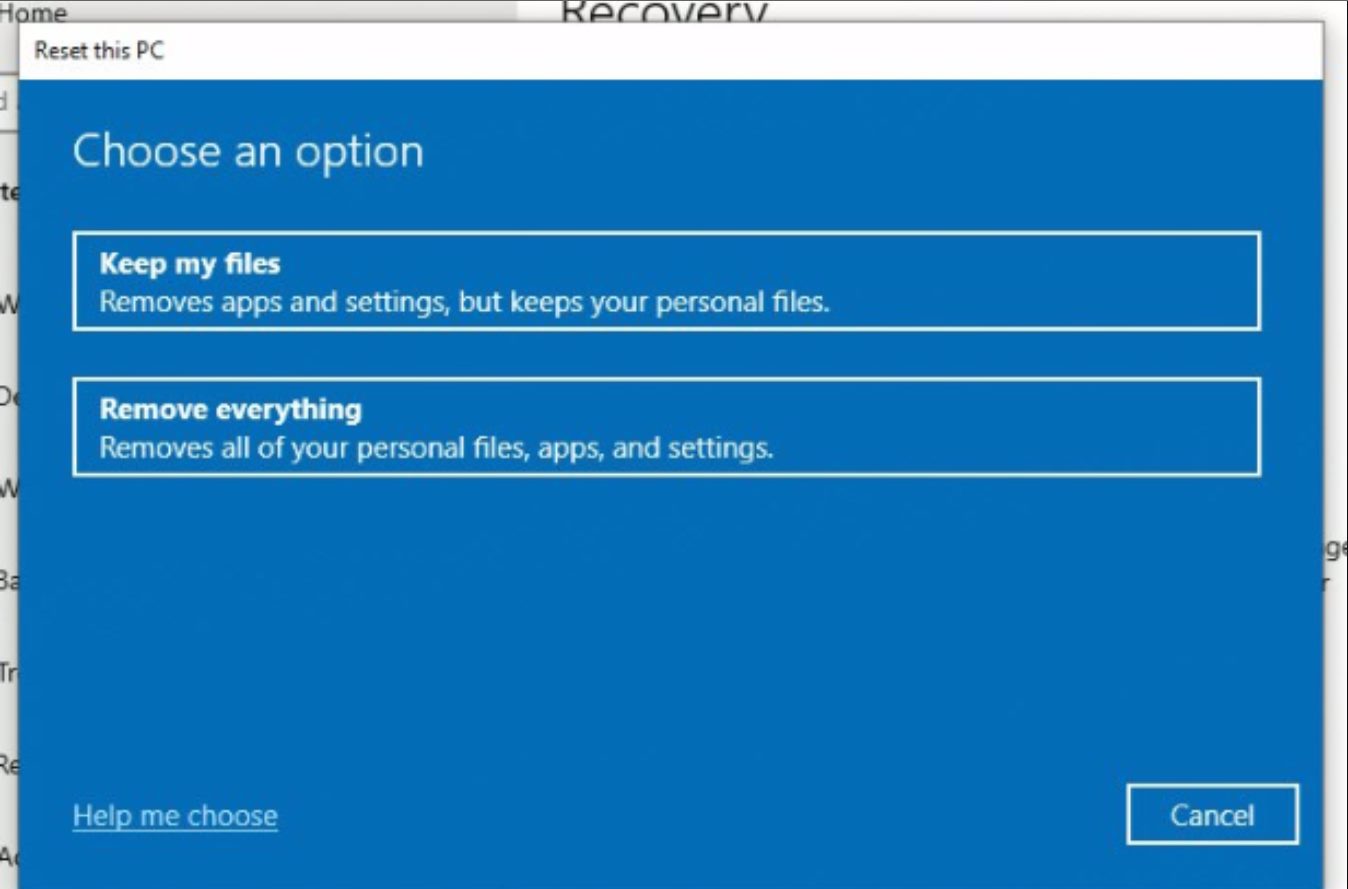
Step 4: Choose the Reformatting Option
After accessing the boot menu, it’s time to choose the reformatting option to proceed with resetting your Mate A Mira Mini PC. The available options may vary depending on the operating system you’re installing, but typically you’ll have the choice to customize the installation or perform a clean installation, which includes reformatting the hard drive. Here’s what you need to do:
1. Once you’re in the boot menu, use the arrow keys on your keyboard to navigate through the options. Find the option that corresponds to the installation of the operating system.
2. Select the option that allows you to customize the installation or perform a clean installation of the operating system. This will typically include reformatting the hard drive as part of the process.
3. Depending on the installation process, you may be prompted to confirm the reformatting. Read the on-screen instructions carefully and follow them to proceed.
4. Keep in mind that reformatting the hard drive will erase all data on the drive, including the operating system and installed programs. Therefore, it’s important to ensure that you have backed up all your important files and have a backup of the desired operating system before proceeding.
It’s important to note that the exact steps for choosing the reformatting option may vary depending on the operating system and installation process. Make sure to read the on-screen instructions carefully to ensure you choose the correct reformatting option.
Now that you have chosen the reformatting option, you’re one step closer to resetting your Mate A Mira Mini PC. In the next step, we’ll discuss how to confirm the reformatting and initiate the installation of the operating system.
Step 5: Confirm Reformatting
After selecting the reformatting option, it’s important to confirm your decision before proceeding with the process. Confirming the reformatting ensures that you fully understand the consequences and are ready to proceed with the erasure of all data on your Mate A Mira Mini PC. Here’s how you can confirm the reformatting:
1. Once you have selected the reformatting option in the previous step, carefully review the on-screen instructions and prompts provided by the installation process.
2. Look for a confirmation message or prompt that asks for your consent to proceed with the reformatting. This message will typically inform you that all data on the hard drive will be erased, and the process is irreversible.
3. Read the confirmation message thoroughly, as it may contain important information about the consequences of reformatting. Make sure you have backed up any critical files or documents that you want to keep.
4. Once you have fully understood the implications and confirmed that you are ready to proceed, follow the instructions provided to confirm the reformatting process.
By confirming the reformatting, you acknowledge that all data on your Mini PC’s hard drive will be erased. This includes the operating system, installed programs, and personal files. It’s crucial to double-check that you have backed up all necessary files and have a backup of the desired operating system before proceeding.
Once you have confirmed the reformatting, you’re ready to initiate the installation of the operating system and proceed with reinstalling the necessary drivers. The next step will guide you through this process.
Step 6: Follow On-Screen Instructions
After confirming the reformatting process, you will begin the installation of the operating system and follow the on-screen instructions to complete the process. The installation process may vary depending on the specific operating system you’re installing, but here are some general steps to follow:
1. Once you have confirmed the reformatting, the installation process will begin. Follow the on-screen instructions carefully as they guide you through each step of the installation.
2. You’ll be prompted to choose the language, time zone, and keyboard layout preferences. Select the options that suit your needs and continue with the installation.
3. It’s common for the installer to prompt you to agree to the software license terms. Read the terms and conditions carefully, and if you agree to them, select the checkbox or click on the “Agree” button to proceed.
4. Depending on the operating system, you may have the option to choose the installation type or partition the hard drive during the installation process. Follow the on-screen instructions to make your selection. If you’re unsure, you can typically choose the recommended settings.
5. Throughout the installation process, the installer may prompt you to provide additional information or input, such as creating a user account or setting up a password. Follow the instructions to complete these steps.
6. After providing all the necessary information, the installation process will proceed, and you’ll see a progress bar indicating the installation status. The time it takes to complete the installation may vary depending on the speed of your Mini PC and the specific operating system.
7. Once the installation is complete, you may be prompted to restart your Mini PC. Follow the instructions to restart the system and boot into the newly installed operating system.
It’s important to note that the on-screen instructions during the installation process may vary depending on the operating system you’re installing. Always read the instructions carefully and follow them to ensure a successful installation.
After completing the installation process, you can proceed to the next step, which involves reinstalling the necessary drivers for your Mini PC.
Step 7: Reinstall Operating System and Drivers
After successfully installing the operating system, it’s time to reinstall any necessary drivers for your Mate A Mira Mini PC. Drivers are software programs that allow your hardware devices to communicate with the operating system. Here’s how you can reinstall the operating system and drivers:
1. Begin by connecting your Mate A Mira Mini PC to the internet. This will allow the operating system to search for and download the latest drivers automatically.
2. Once connected to the internet, go to the manufacturer’s website or the support page for your Mini PC.
3. Locate the section or page that provides drivers and downloads for your specific model.
4. Look for and download the appropriate drivers for your Mini PC’s hardware components and operating system. It’s essential to download the latest versions of the drivers to ensure compatibility and optimal performance.
5. Once the drivers are downloaded, double-click on each driver file to start the installation process. Follow the on-screen instructions provided by the driver installer to complete the installation.
6. Repeat the above step for each driver you downloaded until all necessary drivers are installed.
7. After installing the drivers, it’s a good practice to restart your Mini PC to ensure the changes take effect.
Reinstalling the operating system and drivers is crucial to ensure that your Mate A Mira Mini PC functions properly and takes full advantage of its hardware capabilities. By installing the latest drivers, you can enhance system performance, fix compatibility issues, and ensure a stable computing experience.
It’s important to note that in some cases, the operating system may automatically detect and install certain drivers during the installation process. However, it’s still a good idea to double-check and manually install any missing drivers to ensure complete functionality.
Now that you have successfully reinstalled the operating system and drivers, you can proceed to the final step, which involves restoring your backed-up data to your Mate A Mira Mini PC.
Step 8: Restore Backed Up Data
Now that you have reformatted your Mate A Mira Mini PC, installed the operating system, and reinstalled the necessary drivers, it’s time to restore your backed-up data. By restoring your files, documents, and settings, you can bring your Mini PC back to its previous state and regain access to your important information. Here’s how you can restore your backed-up data:
1. Connect the storage device that contains your backed-up data to your Mate A Mira Mini PC. This can be an external hard drive, USB flash drive, or cloud storage service.
2. If you backed up your data to an external storage device, simply copy and paste the files and folders to their respective locations on your Mini PC. Make sure to organize the files so that they are easily accessible and searchable.
3. If you used a cloud storage service, such as Google Drive or Dropbox, simply sign in to your account and download the necessary files and documents to your Mini PC. You may need to reorganize the files and folders to match your preferences.
4. If you created a system image backup, you can use the system recovery tools provided by the operating system to restore your Mini PC to its previous state. Follow the instructions provided by the system recovery tools and choose the option to restore files and settings from the system image backup.
It’s important to be patient and thorough when restoring your backed-up data. Take the time to make sure that all your important files, documents, and settings have been successfully restored. Double-check that everything is in its proper place and that you haven’t missed any crucial information.
After restoring your backed-up data, you should perform a final check to ensure that all your applications and programs are functioning correctly. Test the functionality of each application and verify that your settings are configured as you prefer.
Congratulations! You have now successfully reformatted your Mate A Mira Mini PC, reinstalled the operating system, drivers, and restored your backed-up data. Your Mini PC should now be running smoothly and ready for you to resume your work or play.
Remember to regularly back up your data and maintain good computing habits to prevent the need for extensive reformatting in the future. By doing so, you can keep your Mate A Mira Mini PC in optimal condition and ensure the safety and accessibility of your important files.
Conclusion
Reformatting your Mate A Mira Mini PC can be a daunting task, but with the right guidance, it becomes a manageable process. By following the steps outlined in this guide, you can successfully reformat your Mini PC, reinstall the operating system and drivers, and restore your backed-up data. This not only helps resolve performance issues but also gives you a fresh start, with a clean and optimized system.
Remember, before you begin the reformatting process, always back up your important data to ensure that you don’t lose any valuable information. Creating a bootable USB drive with the operating system you want to install is also crucial for a smooth reformatting process. Accessing the boot menu allows you to choose the bootable USB drive as the primary boot device and initiate the reformatting process.
Throughout the reformatting process, it’s essential to carefully follow the on-screen instructions and confirm each step, especially when it comes to formatting the hard drive. Once the operating system is installed, don’t forget to reinstall the necessary drivers to ensure the proper function of your Mini PC’s hardware components.
Restoring your backed-up data is the final step in the process, allowing you to regain access to your files, documents, and settings. Take your time to verify that all your important data has been successfully restored and test the functionality of each application to ensure everything is working as expected.
By completing these steps, you can enjoy a freshly formatted and optimized Mate A Mira Mini PC, free from performance issues and clutter. Don’t forget to regularly back up your data and maintain good computing habits to prevent future issues and make the reformatting process smoother in the future.
Now that you’re familiar with the reformatting process, you can confidently tackle any performance issues or desire for a fresh start on your Mate A Mira Mini PC. Happy computing!