Introduction
Welcome to the world of Android Mini PCs! These compact devices offer a convenient way to enjoy all the benefits of Android operating system on your TV or monitor. Whether you’re streaming your favorite shows, playing games, or browsing the web, an Android Mini PC can transform your viewing experience.
However, like any electronic device, there may come a time when you need to reformat your Android Mini PC. This could be due to performance issues, software glitches, or simply wanting a fresh start. In this guide, we will walk you through the steps to reformat your Android Mini PC and get it back to its optimal state.
It’s important to note that reformatting your Android Mini PC will erase all your data, including applications, settings, and files. Therefore, it’s crucial to back up any important data before proceeding with the reformatting process. Once you’ve completed the reformat, you’ll need to reinstall the operating system and set up your Android Mini PC again.
Don’t worry if you’re not a tech-savvy individual – the steps we’ll outline are straightforward and easy to follow. By the end of this guide, you’ll have a freshly formatted Android Mini PC that’s ready to be customized and enjoyed to the fullest.
So, without further ado, let’s dive into the step-by-step process of reformatting your Android Mini PC and experience the joy of a clean and optimized device.
Step 1: Back Up Your Data
Before you reformat your Android Mini PC, it’s crucial to back up all your important data to ensure you don’t lose any valuable files or settings. Here’s how you can backup your data:
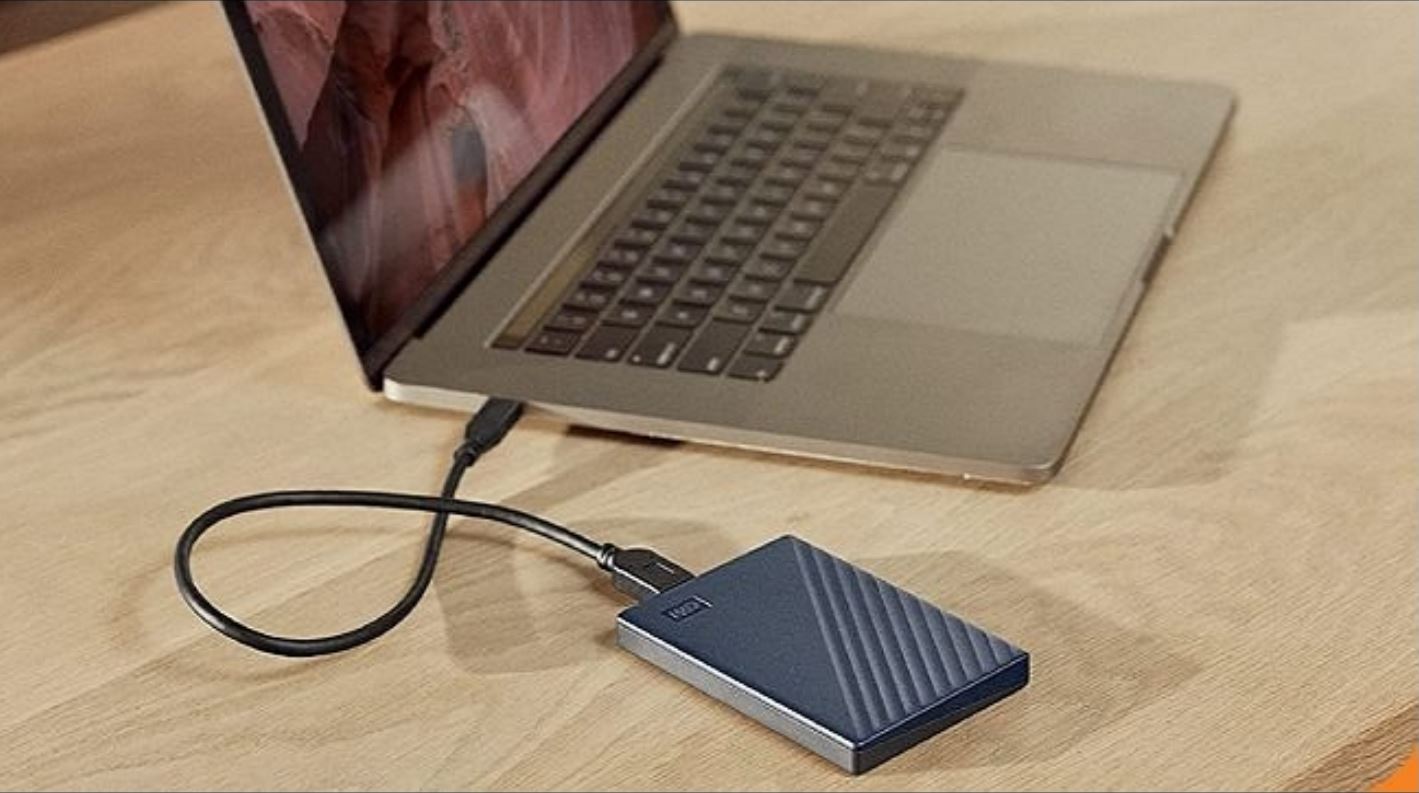
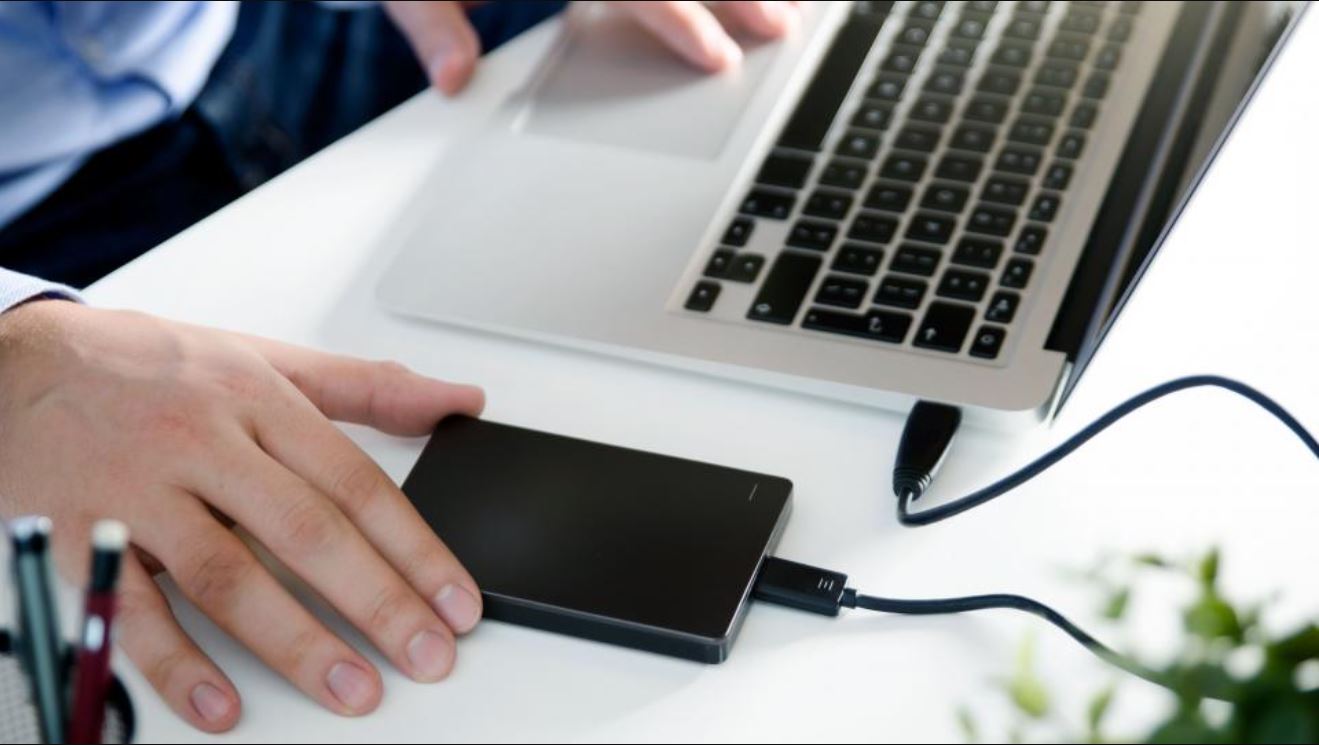
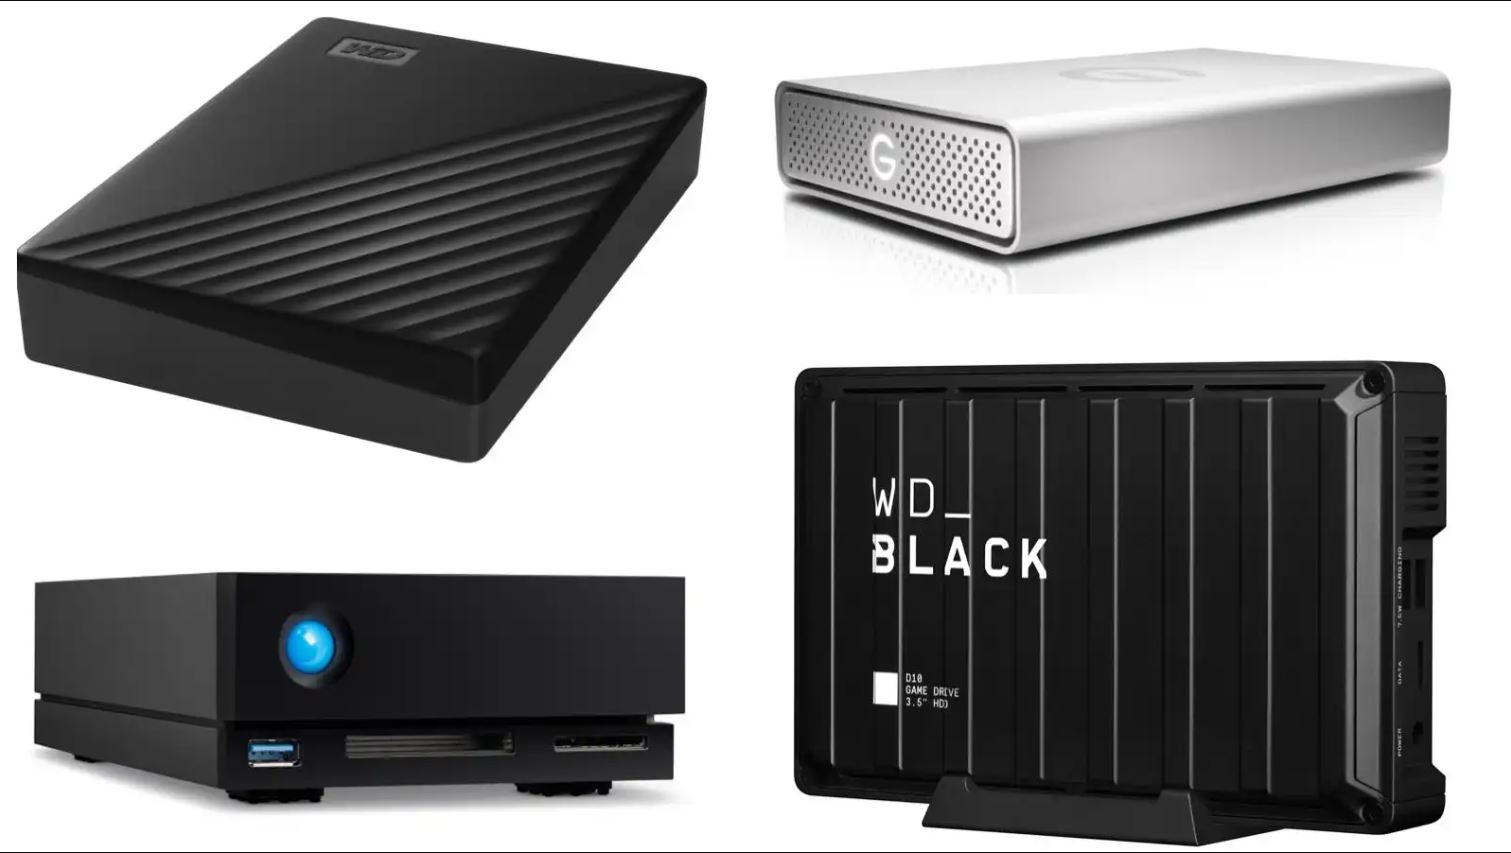
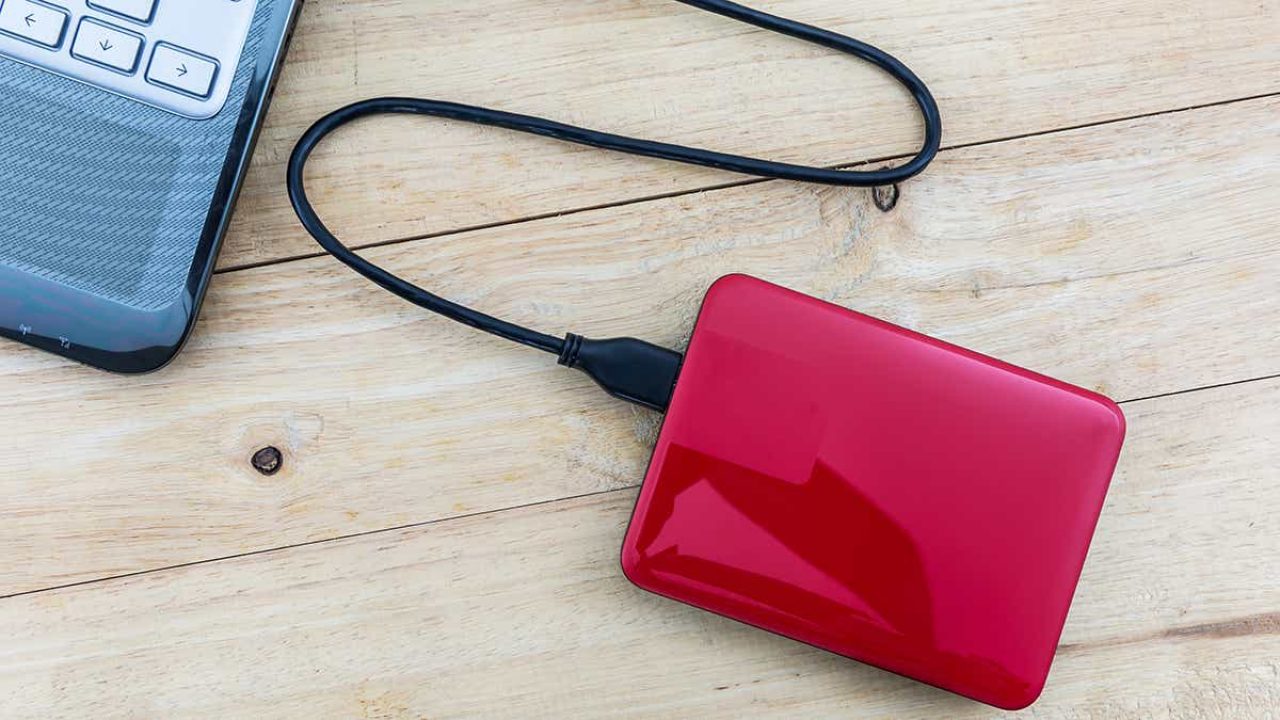
1. Connect an external storage device: Connect a USB flash drive or an external hard drive to your Android Mini PC. Make sure the device has enough storage space to accommodate your data.
2. Navigate to the backup settings: On your Android Mini PC, go to the “Settings” menu and find the “Backup & Reset” or “Backup” option. Tap on it to access the backup settings.
3. Choose the type of data to back up: In the backup settings, you’ll have the option to select the types of data you want to back up, such as apps, app data, contacts, and media files. Ensure that all the desired data is selected.
4. Start the backup process: Once you’ve selected the data to back up, initiate the backup process by tapping on the “Backup” or “Start Backup” button. Depending on the amount of data, this process may take some time, so be patient.
5. Verify the backup: After the backup process completes, it’s essential to verify that the backup was successful. You can do this by accessing the external storage device and checking if all the files and data are present.
It’s important to note that some apps may have their own built-in backup features. If you have specific apps with important data, it’s worth checking if they offer a backup option within the app settings.
By following these steps, you’ll have a secure backup of your data before proceeding with the reformatting process. This way, if anything goes wrong during the reformat or if you accidentally delete any files, you can easily restore your data and continue where you left off.
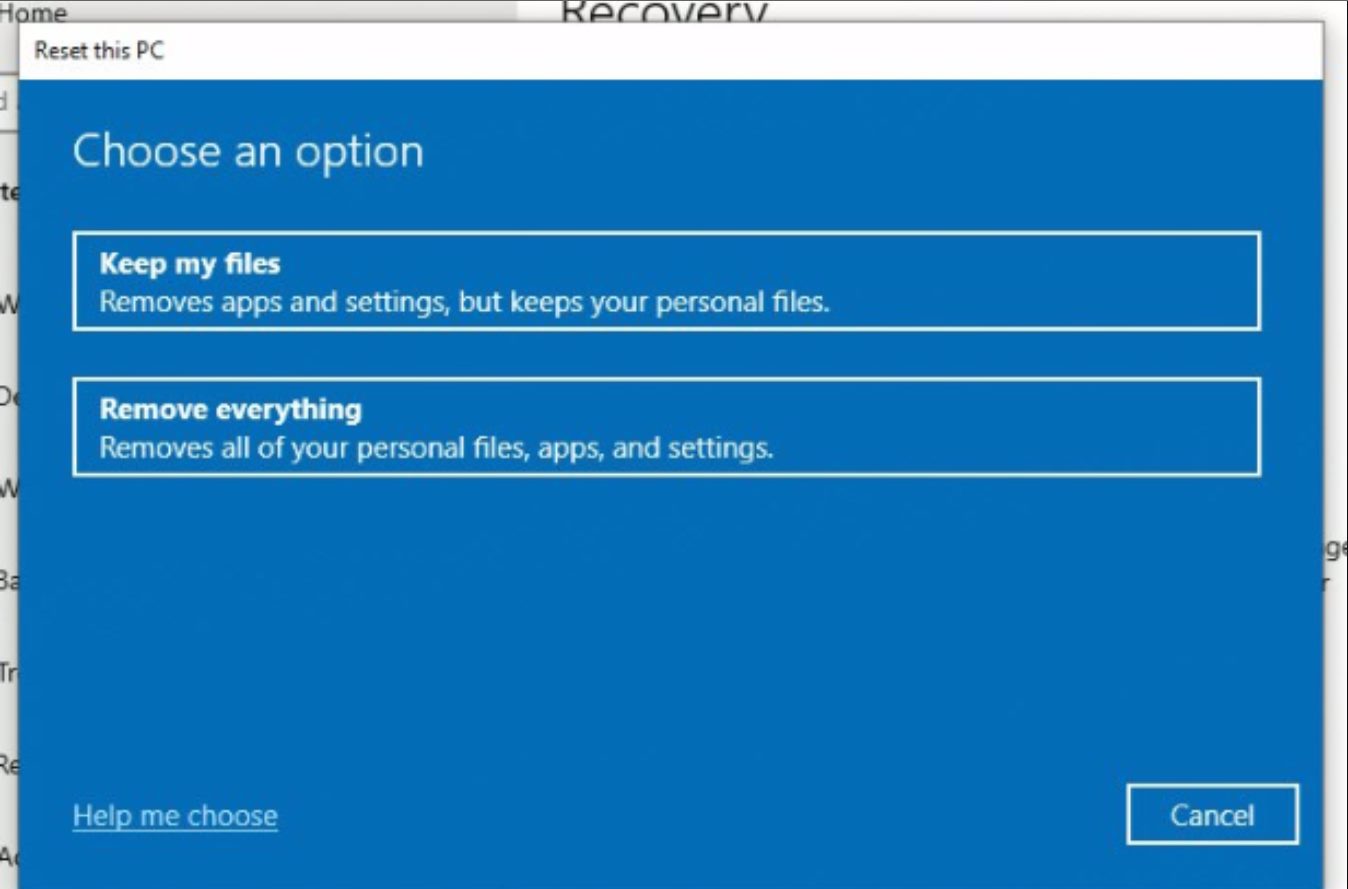
Step 2: Factory Reset
Once you have successfully backed up your data, the next step is to perform a factory reset on your Android Mini PC. This will erase all the existing settings and data on your device and restore it to its original factory state. Here’s how you can do it:
1. Open the Settings menu: Navigate to the “Settings” menu on your Android Mini PC. You can usually find it in the app drawer or by swiping down from the top of the screen and tapping on the gear icon.
2. Locate the “Backup & Reset” option: In the Settings menu, look for the “Backup & Reset” or “Privacy and Security” option. Tap on it to access the reset options.
3. Select “Factory Data Reset”: Within the backup and reset options, you’ll find the “Factory Data Reset” or “Factory Reset” option. Tap on it to proceed.
4. Confirm the reset: A warning message will appear, informing you that all your data will be erased. Take a moment to ensure you have backed up everything you need. If you’re ready to proceed, tap on the “Reset” or “Erase Everything” button.
5. Wait for the reset process: Your Android Mini PC will now initiate the factory reset process. This may take a few minutes, and during this time, your device may reboot multiple times. Be patient and let the process complete.
6. Set up your device: Once the factory reset is complete, your Android Mini PC will restart and present you with the initial setup screen, just like when you first bought the device. Follow the on-screen instructions to set up your device, including language selection, Wi-Fi connection, and Google account login.
By following these steps, you can perform a factory reset on your Android Mini PC and start with a clean slate. This will remove any software glitches or performance issues that you may have been experiencing and give your device a fresh start. Remember, though, that all your data will be erased, so make sure you have backed up everything you need before proceeding.
Step 3: Reinstall Operating System
After performing a factory reset, the next step is to reinstall the operating system on your Android Mini PC. This will ensure that you have the latest version of the operating system with all the necessary updates and security patches. Follow these steps to reinstall the operating system:
1. Determine the appropriate operating system: Start by identifying the correct operating system version for your Android Mini PC. Visit the manufacturer’s website or consult the user manual to find the recommended operating system for your specific device model.
2. Download the operating system: Once you know the correct operating system version, visit the official website or reliable sources to download the appropriate operating system file. Ensure that you download from trusted sources to avoid malware or fake operating system files.
3. Transfer the operating system to a USB drive: Most Android Mini PCs support booting from an external USB drive. Transfer the downloaded operating system file to a USB drive using a computer. Make sure the USB drive is properly formatted and has enough free space.
4. Connect the USB drive to your Android Mini PC: Plug the USB drive into one of the available USB ports on your Android Mini PC. Ensure that your device is powered off before proceeding to the next step.
5. Boot from the USB drive: Power on your Android Mini PC and enter the boot menu. The specific key combination to access the boot menu may vary depending on the device model. Common keys include Escape, F2, F10, or Del. Consult the user manual or manufacturer’s website for the exact key combination.
6. Select the USB drive as the boot device: In the boot menu, navigate to the “Boot” or “Boot Order” section and select the USB drive as the primary boot device. Save the changes and exit the boot menu. Your Android Mini PC will now reboot.
7. Follow the on-screen instructions: Once the device boots from the USB drive, you will be guided through the operating system installation process. Follow the on-screen instructions to install the operating system on your Android Mini PC. This may include selecting language settings, agreeing to terms and conditions, and customizing certain preferences.
After the operating system installation is complete, your Android Mini PC will restart and boot into the newly installed operating system. You can then proceed to the next step to complete the setup process and configure your device according to your preferences.
Reinstalling the operating system will ensure that your Android Mini PC performs optimally and has the latest features and security updates. It’s an essential step after a factory reset to ensure that your device is up to date and functioning at its best.
Step 4: Set Up Your Android Mini PC
After reformatting and reinstalling the operating system on your Android Mini PC, it’s time to complete the setup process and customize your device according to your preferences. Follow these steps to set up your Android Mini PC:
1. Select Language and Region: When your Android Mini PC boots up after the operating system installation, you will be prompted to choose your preferred language and region. Select the appropriate options and proceed.
2. Connect to Wi-Fi: To access the internet and download apps, you’ll need to connect your Android Mini PC to a Wi-Fi network. Navigate to the Wi-Fi settings and select your network. Enter the password if required.
3. Sign in with Google: To fully utilize the features of your Android Mini PC, sign in with your Google account. This will sync your contacts, email, calendar, and other Google services to your device. If you don’t have a Google account, you can create one during the setup process.
4. Skip or Restore apps and data: Depending on your preference, you can choose to skip or restore your apps and data from your previous backup. If you want a fresh start, select “Skip.” If you want to restore your apps and data, choose the appropriate option and follow the on-screen instructions.
5. Customize Settings: Take a moment to customize various settings according to your preferences. This includes display settings, sound settings, notification settings, and more. Explore the settings menu to customize your device to your liking.
6. Install Essential Apps: Visit the Google Play Store to install the essential apps you need. This might include media streaming services, productivity apps, games, and more. Take your time to explore the vast library of apps available and install the ones that cater to your needs.
7. Personalize Your Home Screen: Customize your Android Mini PC’s home screen by adding widgets, shortcuts, and wallpapers. Rearrange the app icons to your liking and organize them into folders for easy access.
8. Set Up Security Measures: Protect your device and data by setting up security measures such as a PIN, password, or fingerprint lock. This will prevent unauthorized access and ensure the safety of your personal information.
Once you’ve completed these steps, your Android Mini PC will be fully set up and ready to use. Take the time to familiarize yourself with the various features and functionalities of your device, and enjoy the seamless Android experience on your TV or monitor.
Conclusion
Reformatting your Android Mini PC can help resolve performance issues, software glitches, and provide a fresh start for your device. By following the steps outlined in this guide, you can successfully backup your data, perform a factory reset, reinstall the operating system, and set up your Android Mini PC to your preferences.
Remember to back up your important data before proceeding with the reformatting process to avoid losing any valuable files or settings. Take the time to choose the right operating system version, download it from trusted sources, and transfer it to a USB drive for installation.
After completing the reformat and setup, you’ll have a clean and optimized Android Mini PC ready for you to enjoy. Customize your device, install essential apps, and personalize your home screen to tailor it to your needs and preferences.
It’s important to note that reformatting your Android Mini PC will erase all existing data and settings. Therefore, it’s crucial to backup everything you need and double-check before proceeding with the reformatting process.
By reformatting your Android Mini PC, you can revitalize its performance, eliminate any software issues, and start fresh with the latest operating system and settings. Experience the joy of a seamlessly functioning Android Mini PC and make the most of its features, whether it’s streaming your favorite shows, playing games, or browsing the web.
We hope this guide has been helpful in guiding you through the process of reformatting your Android Mini PC. Enjoy your newly optimized device and make the most of its capabilities!