Introduction
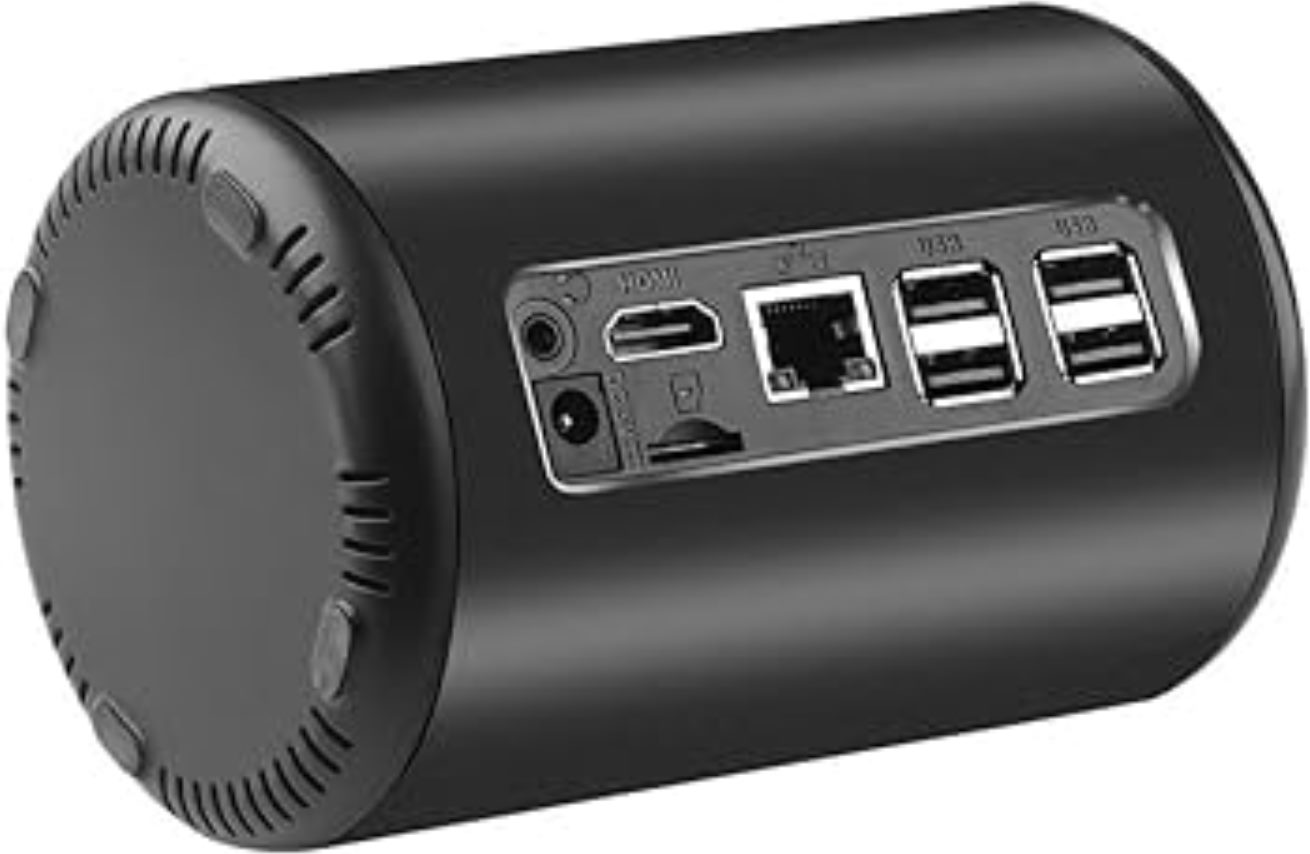
When it comes to accessing the BIOS (Basic Input/Output System) of your Z83-W Mini PC, you gain the ability to make important changes to the hardware settings and configuration of your device. The BIOS serves as the foundation for your computer’s operating system, controlling how the hardware interacts and functions.
Accessing the BIOS may be necessary in various situations, such as installing a new operating system, troubleshooting hardware issues, or adjusting performance settings. By having the knowledge and know-how to access the BIOS of your Z83-W Mini PC, you can take control of your device’s functionality and optimize its performance.
In this article, we will guide you through the step-by-step process of accessing the BIOS on your Z83-W Mini PC. Whether you are a beginner or an experienced user, this tutorial will help you navigate through the BIOS menu and make the necessary changes to your device.
Before we dive into the steps, it’s important to note that accessing the BIOS may vary slightly depending on the manufacturer and model of your Z83-W Mini PC. However, the general principles and steps outlined in this guide can be followed for most BIOS versions.
Now, let’s get started and learn how to access the BIOS of your Z83-W Mini PC!
Why Accessing BIOS Z83-W Mini PC is Important
Accessing the BIOS of your Z83-W Mini PC is crucial for several reasons. Let’s explore why it’s important to have the ability to access and make changes in the BIOS settings:
- Hardware Configuration: The BIOS allows you to configure various hardware settings of your Z83-W Mini PC. You can adjust parameters such as boot order, power management options, and overclocking settings. By accessing the BIOS, you can ensure that the hardware is set up optimally for your specific needs.
- Operating System Installation: If you plan to install a new operating system on your Z83-W Mini PC, accessing the BIOS is essential. You may need to change the boot order to prioritize the installation media, such as a USB drive or DVD, before the internal storage. This enables a smooth installation process and ensures that the new operating system is properly installed.
- Troubleshooting Hardware Issues: The BIOS provides valuable diagnostic tools that can help identify and resolve hardware-related problems. By accessing the BIOS, you can check the system health, monitor temperatures, and modify settings to troubleshoot issues effectively. This can be especially useful if you encounter stability issues or hardware errors.
- Performance Optimization: Some advanced BIOS settings allow you to tweak the performance of your Z83-W Mini PC. For example, you can adjust the CPU frequency, memory timings, and graphics settings to enhance overall performance. Accessing the BIOS gives you the ability to fine-tune these settings according to your specific requirements, leading to improved system performance.
- Security Features: The BIOS also provides security features that allow you to protect your Z83-W Mini PC from unauthorized access. You can set up passwords, enable Secure Boot, and configure other security options to safeguard your device and data. By accessing the BIOS, you can ensure that your system is fortified against potential security threats and unauthorized access.
By now, it should be clear why accessing the BIOS of your Z83-W Mini PC is important. It empowers you to customize and optimize your device’s hardware settings, troubleshoot issues, install operating systems, and enhance performance and security. Now let’s move on and learn the step-by-step process of accessing the BIOS on your Z83-W Mini PC.
Step 1: Turn on Your Z83-W Mini PC
The first step to accessing the BIOS of your Z83-W Mini PC is to ensure that the device is powered on. Follow these steps:
- Connect your Z83-W Mini PC to a power source and make sure it is properly plugged in.
- Press the power button on your Z83-W Mini PC to turn it on.
- Wait for the device to boot up. You will see the manufacturer’s logo or a blank screen with a cursor.
Now that your Z83-W Mini PC is powered on, we can proceed to the next step of accessing the BIOS setup menu. Remember to stay patient during the boot process, as it may take a few moments for the device to load the necessary components.
Note: If you have recently restarted your Z83-W Mini PC and it is displaying the BIOS setup menu, you can skip to Step 3 directly. The BIOS setup menu can be accessed by pressing a specific key or combination of keys during the boot process, which we will discuss in the next step.
Step 2: Access the BIOS Setup Menu
Once your Z83-W Mini PC is powered on, the next step is to access the BIOS setup menu. Here’s how you can do it:
- Pay close attention to the screen as your Z83-W Mini PC starts up. Look for a message that indicates the key or combination of keys to press to enter the BIOS setup menu. This message is usually displayed briefly and may say something like “Press [key] to enter setup” or “BIOS setup: [key]”. Common keys are F2, Del, or Esc, but it can vary depending on the manufacturer.
- Press the specified key or combination of keys immediately when you see the message. Be quick but not too hasty, as pressing the key too late or too early may result in missing the opportunity to access the BIOS setup menu.
- If you press the correct key(s) at the right time, you will be redirected to the BIOS setup menu. It typically appears as a text-based interface with various settings and options.
Keep in mind that different Z83-W Mini PC models may have slightly different procedures for accessing the BIOS setup menu. If none of the keys mentioned earlier work, consult the manual or the manufacturer’s website for specific instructions.
Note: If you accidentally miss the opportunity to enter the BIOS setup menu, don’t worry. Simply power off your Z83-W Mini PC and repeat the above steps again until you successfully enter the BIOS setup menu.
Now that you have successfully accessed the BIOS setup menu, let’s move on to the next step and learn how to navigate through the menu and make changes in the BIOS settings.
Step 3: Navigate through the BIOS Menu
Once you have entered the BIOS setup menu on your Z83-W Mini PC, you will be presented with a series of menus and settings. Navigating through the BIOS menu is essential to make changes and configure the various options. Follow these steps to navigate through the BIOS menu:
- Use the arrow keys on your keyboard (usually the up and down arrows) to move through the menu options. The menu options may vary depending on the BIOS version and manufacturer, but common sections include Main, Advanced, Boot, Security, and Exit.
- To enter a submenu or select a specific menu option, use the Enter key on your keyboard. This will allow you to access further settings and options within each menu section.
- Most BIOS menus use the Esc key to go back to the previous menu. If you want to exit the BIOS setup without saving any changes, you can use this key to discard the modifications.
- Take your time to explore the different menu options and familiarize yourself with the various settings available. Be careful not to make any unintended changes that could adversely affect your Z83-W Mini PC’s performance or functionality.
It’s important to note that the BIOS menu navigation may differ slightly between different Z83-W Mini PC models and BIOS versions. Always refer to the user manual or consult the manufacturer’s website for precise instructions on navigating through the specific BIOS interface.
Now that you know how to navigate through the BIOS menu, let’s proceed to the next step and learn how to make changes in the BIOS settings to optimize your Z83-W Mini PC.
Step 4: Make Changes in the BIOS Settings
After successfully navigating through the BIOS menu on your Z83-W Mini PC, you can make changes to the BIOS settings to optimize its performance and customize the hardware configuration. Follow these steps to make changes in the BIOS settings:
- Using the arrow keys, navigate to the desired setting or option that you want to modify. Each menu section will have different settings, such as boot order, power management, CPU settings, and more.
- Once you’ve selected a setting, press Enter to access the available options for that setting. These options may include different values, on/off toggles, or specific configuration parameters.
- Use the arrow keys to highlight and select the desired option or value for the setting. Some settings may have specific instructions or restrictions, so read the information presented on the screen or refer to the user manual for guidance.
- After making your desired changes, navigate to the “Save Changes and Exit” or similar option in the BIOS menu. Press Enter to confirm and save the modifications you made.
- If prompted, select the option to save and exit the BIOS setup. This will restart your Z83-W Mini PC with the new settings applied.
It’s crucial to remember that incorrect changes in the BIOS settings can potentially cause issues with your Z83-W Mini PC’s functionality. Take extra care when modifying settings related to voltage, clock speeds, or advanced configurations that you may not fully understand.
If you encounter any difficulties or want to revert to the default settings, most BIOS menus offer an option to load the default settings or revert to the original configuration. Refer to the user manual or the manufacturer’s website for specific details on how to accomplish this.
With the ability to make changes in the BIOS settings, you can optimize the performance, customize the hardware, and fine-tune your Z83-W Mini PC to suit your specific needs.
Let’s move on to the final step, where we will save the changes and exit the BIOS setup on your Z83-W Mini PC.
Step 5: Save and Exit the BIOS
Once you have made the necessary changes in the BIOS settings of your Z83-W Mini PC, it is crucial to save the modifications and exit the BIOS setup properly. Follow these steps to save and exit the BIOS:
- Navigate to the “Save Changes and Exit” or a similar option in the BIOS menu. This option is typically located in the Exit or Main menu section.
- Press Enter to select the “Save Changes and Exit” option. This will save the modifications you made to the BIOS settings.
- If prompted, confirm your selection by selecting “Yes” or “OK” to save the changes and exit the BIOS setup.
- Your Z83-W Mini PC will then restart with the new BIOS settings applied.
It’s important to be patient during the restart process, as it may take a few moments for your Z83-W Mini PC to boot up with the updated settings. Avoid interrupting the startup process or turning off the device abruptly.
Once your Z83-W Mini PC has successfully restarted, it will operate with the newly configured settings you made in the BIOS. Take note of any changes you made and observe the performance or functionality of your device to ensure that everything is working as expected.
If you encounter any issues or wish to make further changes in the future, simply follow the steps outlined in the previous sections to access the BIOS setup menu and modify the settings accordingly.
Congratulations! You have successfully learned how to access the BIOS of your Z83-W Mini PC, navigate through the BIOS menu, make changes in the settings, and save the modifications.
Remember to always approach BIOS settings with caution and only make changes that you understand and are confident about. This will help you optimize the performance and functionality of your Z83-W Mini PC in a safe and effective manner.
Conclusion
Accessing the BIOS of your Z83-W Mini PC is a valuable skill that allows you to take control of your device’s hardware configuration and optimize its performance. By following the step-by-step process outlined in this guide, you have learned how to access the BIOS setup menu, navigate through the different options, make changes to the settings, and save the modifications.
Through accessing the BIOS, you can configure hardware settings, install operating systems, troubleshoot issues, and customize performance. However, it’s important to approach BIOS settings with caution and only make changes that you understand and are confident about. Incorrect modifications can potentially cause problems with your Z83-W Mini PC’s functionality.
Remember to consult the user manual or the manufacturer’s website for specific instructions and details about accessing the BIOS on your particular Z83-W Mini PC model. Different models may have slight variations in the key(s) to enter the BIOS setup menu or the menu structure within the BIOS interface.
Now that you have unlocked the power of the BIOS, explore and experiment with the various settings to optimize your Z83-W Mini PC’s performance according to your specific needs. Whether it’s adjusting hardware configurations, troubleshooting issues, or enhancing security and efficiency, the BIOS provides you with a toolkit to tailor your device to your requirements.
Congratulations on gaining the knowledge and skills to access and navigate through the BIOS of your Z83-W Mini PC. Have fun exploring the possibilities and making the most out of your device!