Introduction
Are you looking to unlink your PlayStation account from your Microsoft account? Whether you’ve switched gaming preferences or simply want to separate the two accounts, we’ve got you covered. This step-by-step guide will walk you through the process of unlinking your PlayStation and Microsoft accounts, ensuring a smooth transition without any hiccups along the way.
Many gamers have multiple accounts across different platforms, and at times, it becomes necessary to detach them. Whether you initially linked your PlayStation account to your Microsoft account for cross-platform play or for other reasons, we understand that circumstances change and you may want to unlink them. The process may seem complicated, but with our detailed instructions, you’ll be able to complete it effortlessly.
It’s important to note that unlinking your accounts doesn’t delete any of your gaming progress or achievements. It simply severs the connection between the two accounts, allowing you to use them independently without any intermingling. Once you have successfully unlinked your PlayStation account from your Microsoft account, you’ll be able to log into each one separately and manage them as distinct entities.
In the following sections, we’ll guide you through the step-by-step process of unlinking your PlayStation account from your Microsoft account. By following these instructions carefully, you’ll be able to navigate the necessary settings and complete the unlinking process seamlessly. So, let’s dive in and get started with our first step—signing in to your Microsoft account.
Step 1: Sign in to your Microsoft account
The first step in unlinking your PlayStation account from your Microsoft account is to sign in to your Microsoft account. This is necessary to access the settings and options that allow you to manage your account connections. Follow the steps below to sign in to your Microsoft account:
- Open your preferred web browser and go to the Microsoft website.
- Click on the “Sign In” button located at the top-right corner of the page.
- Enter your Microsoft account email address and password in the provided fields.
- Click on the “Sign In” button to proceed.
If you have enabled two-factor authentication for your Microsoft account, you may be prompted to enter a verification code sent to your registered mobile device or email address. Follow the additional steps as prompted to successfully sign in to your Microsoft account.
Once you have successfully signed in to your Microsoft account, you will have access to various account management options and settings. This will allow you to proceed with the next steps in unlinking your PlayStation account. Now that you’re signed in, let’s move on to Step 2.
Step 2: Go to the Xbox settings
To continue with the process of unlinking your PlayStation account from your Microsoft account, you’ll need to navigate to the Xbox settings. The Xbox settings provide you with the necessary options to manage your account connections. Here’s how you can access the Xbox settings:
- After signing in to your Microsoft account, locate the profile icon or your account name at the top-right corner of the page.
- Click on the profile icon or account name to open a dropdown menu.
- From the dropdown menu, select “Settings” or “Xbox settings.” This will direct you to the settings page for your Xbox account.
Alternatively, you can directly visit the Xbox settings page by navigating to the URL: https://account.xbox.com/settings.
Once you’re on the Xbox settings page, you’ll have access to various options and preferences that allow you to customize your Xbox account. These settings also include the option to manage your account connections. In the next step, we’ll guide you through the process of locating the “Account” section within the Xbox settings page. So, let’s move on to Step 3.
Step 3: Select “Account”
In order to proceed with unlinking your PlayStation account from your Microsoft account, you need to access the “Account” section within the Xbox settings. This section contains the options and settings related to your account details and connections. Follow the steps below to select the “Account” section:
- Once you’re on the Xbox settings page, look for the sidebar navigation menu on the left side of the screen.
- Scroll down the menu until you find the “Account” option.
- Click on the “Account” option to expand the submenu.
In the “Account” submenu, you’ll find various options related to your account information, privacy, and social connections. These options allow you to manage different aspects of your Xbox account. Now that you’ve successfully accessed the “Account” section within the Xbox settings, let’s move on to Step 4 where we will choose the “Unlink account” option to proceed with the unlinking process.
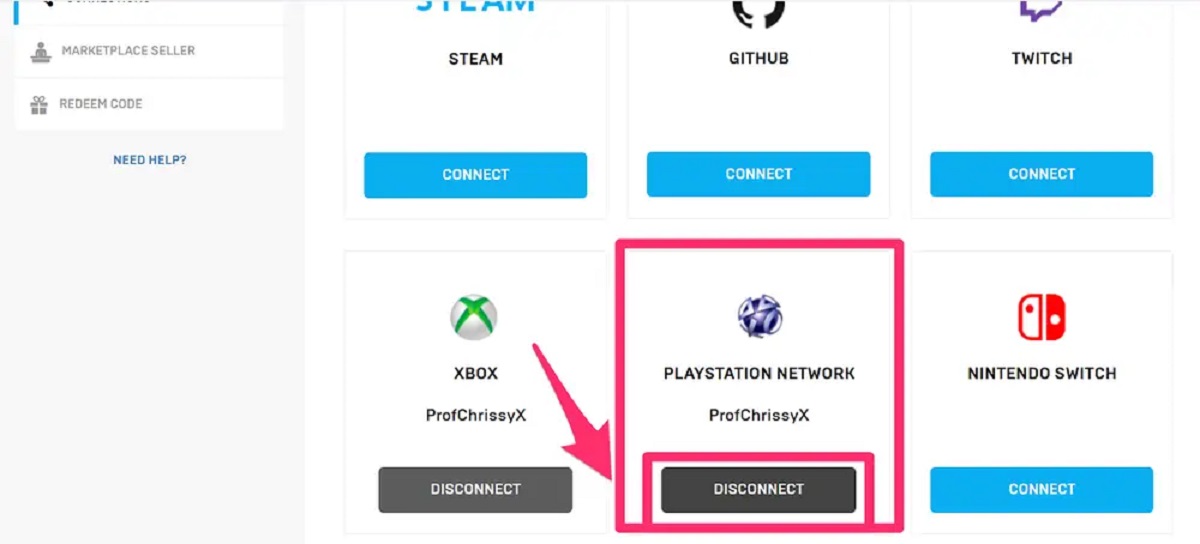
Step 4: Choose “Unlink account”
Once you have accessed the “Account” section within the Xbox settings, the next step is to choose the “Unlink account” option. This option allows you to begin the process of unlinking your PlayStation account from your Microsoft account. Follow the steps below to select the “Unlink account” option:
- In the “Account” section, navigate to the list of options available.
- Look for the option that corresponds to managing your connected accounts or linked platforms.
- Within that list of options, you should find “Unlink account” or a similar phrase.
- Click on the “Unlink account” option to proceed.
It’s important to note that the exact placement and wording of the “Unlink account” option may vary depending on the current layout of the Xbox settings. However, it is typically located within the account management options and is labeled in a way that clearly indicates its purpose.
By choosing the “Unlink account” option, you are signaling your intention to separate your PlayStation account from your Microsoft account. This step is crucial as it sets the stage for the actual unlinking process. In the next step, we will guide you through confirming the unlinking of your accounts. So, let’s move on to Step 5.
Step 5: Confirm the unlinking
After choosing the “Unlink account” option in the previous step, it’s time to confirm the unlinking of your PlayStation account from your Microsoft account. This confirmation step ensures that you are intentional about the account separation and prevents any accidental unlinking. Follow the steps below to confirm the unlinking process:
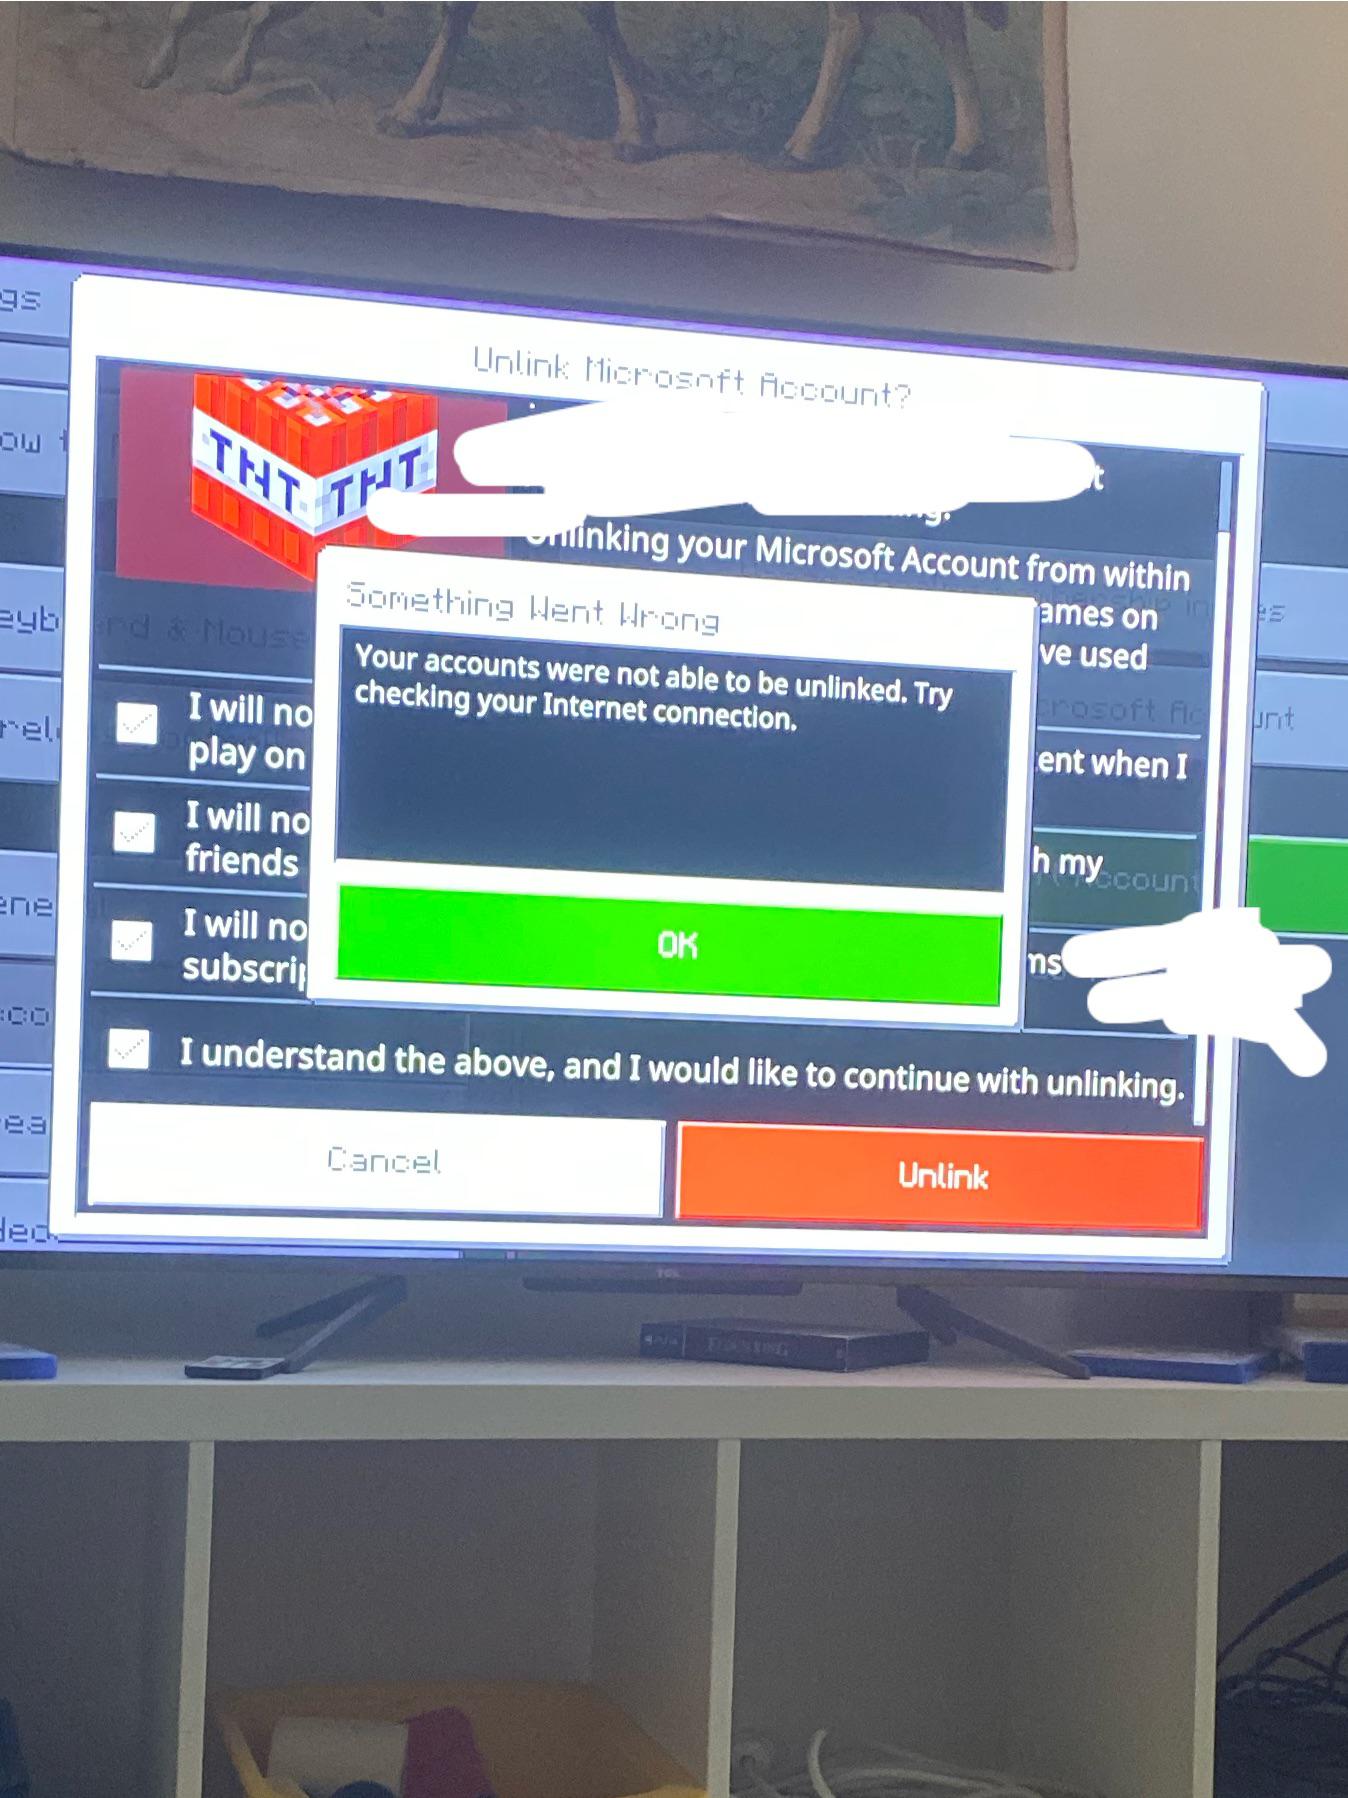
- Upon selecting the “Unlink account” option, a confirmation prompt or dialog box will appear on your screen.
- Read the information provided in the prompt carefully to ensure you understand the consequences of unlinking your accounts.
- If you are certain about unlinking your accounts, click on the “Confirm” or “Unlink” button.
It’s crucial to take a moment to review the details and consider the consequences before confirming the unlinking of your accounts. Once you’ve confirmed the unlinking process, your PlayStation account will no longer be connected to your Microsoft account. This means that any cross-platform functionalities or shared content between the two accounts will be disabled. However, keep in mind that your game progress, achievements, and other individual account data will remain intact.
By confirming the unlinking, you have successfully separated your PlayStation and Microsoft accounts. This allows you to use each account independently without any interconnection. In the next steps, we will guide you through the process of signing in to your PlayStation Network account and updating your PSN account details. So, let’s move on to Step 6.
Step 6: Sign in to your PlayStation Network account
Now that you have successfully unlinked your PlayStation account from your Microsoft account, it’s time to sign in to your PlayStation Network (PSN) account. By signing in to your PSN account, you’ll be able to access your PlayStation games, trophies, friends, and other PSN features. Follow the steps below to sign in to your PlayStation Network account:
- Open a web browser on your computer or launch the PlayStation app on your mobile device.
- Go to the official PlayStation website or open the PlayStation app.
- Click on the “Sign In” button or select the “Sign In” option from the menu.
- Enter your PSN account email address and password in the provided fields.
- Click on the “Sign In” button to proceed.
If you have enabled two-factor authentication for your PSN account, you may be required to enter a verification code sent to your registered mobile device or email address. Follow the additional steps as prompted to successfully sign in to your PlayStation Network account.
Once you have successfully signed in to your PSN account, you can start enjoying your PlayStation gaming experience and reaping the benefits of an independent PlayStation account. In the next step, we will guide you through updating your PSN account details to ensure everything is up to date. So, let’s move on to Step 7.
Step 7: Update your PSN account details
After signing in to your PlayStation Network (PSN) account, it’s important to update your account details to ensure they are accurate and up to date. This step ensures that your information reflects your current preferences and allows you to customize your PSN experience. Follow the steps below to update your PSN account details:
- Once you are signed in to your PSN account, navigate to the account settings page.
- Look for the “Account Settings” option, typically located in the account drop-down menu or sidebar navigation.
- Click on the “Account Settings” option to access your PSN account settings.
- Within the account settings, you will find various options to update your personal information, privacy settings, and communication preferences.
- Take the time to review and update each section of your account details as needed, such as your profile picture, display name, email address, and password.
- Make any necessary changes or edits to ensure your PSN account details are accurate and reflect your current preferences.
- Click on the “Save” or “Update” button to apply the changes to your PSN account.
Updating your PSN account details not only ensures that your information is accurate but also allows you to customize your profile and tailor your gaming experience to your liking. Take advantage of the available options to personalize your account and make it truly yours.
By completing this step, you have successfully updated your PSN account details. Your PlayStation Network account is now ready for you to fully enjoy your gaming experience with your PlayStation console or PSN-connected devices. In the next step, we will guide you through the verification process to confirm the unlinking of your accounts. So, let’s move on to Step 8.
Step 8: Verify the unlinking process
Once you have completed the process of unlinking your PlayStation account from your Microsoft account and updated your PSN account details, it’s important to verify that the unlinking process was successful. Verifying the unlinking ensures that your accounts are no longer connected and that you can enjoy the independent use of each account. Follow the steps below to verify the unlinking process:
- After updating your PSN account details, sign out of your PSN account.
- Clear your browser cache and cookies to ensure a fresh start.
- Sign in to your Microsoft account again.
- Navigate to the Xbox settings, similar to Step 2.
- Locate the “Account” section, similar to Step 3.
- Check the account connections or linked platforms within the “Account” settings.
- Ensure that your PlayStation account is no longer listed or connected to your Microsoft account.
If you no longer see your PlayStation account listed or connected, congratulations! This means that the unlinking process was successful and your PlayStation account is truly independent from your Microsoft account. You can now enjoy the benefits of separate accounts, including managing your gaming progress, trophies, friends, and other features exclusive to each platform.
In the event that your PlayStation account is still listed or connected to your Microsoft account, double-check that you have followed each step correctly. It’s possible that a mistake was made during the process, and you should repeat the necessary steps to ensure a successful unlinking.
By successfully verifying the unlinking process, you have effectively separated your PlayStation account from your Microsoft account. Enjoy the freedom of using each account independently and make the most of your gaming experiences on both platforms.
Conclusion
Unlinking your PlayStation account from your Microsoft account may seem like a daunting task, but with the step-by-step guide provided above, you can easily navigate through the process. By following these instructions, you can successfully detach your PlayStation account from your Microsoft account and enjoy the independence of each platform.
Throughout the guide, we covered the crucial steps involved in the unlinking process. You started by signing in to your Microsoft account and accessing the Xbox settings. From there, you selected the “Account” section and chose the “Unlink account” option to initiate the unlinking process. After confirming the unlinking and signing in to your PlayStation Network account, you updated your PSN account details. Finally, you verified the unlinking process to ensure its success.
Remember that unlinking your accounts does not delete any of your gaming progress or achievements. It simply severs the connection between the two accounts, allowing you to use them independently. You can now manage each account separately, customize your gaming experiences, and enjoy the unique features and benefits of both platforms.
We hope this guide has been helpful to you in unlinking your PlayStation account from your Microsoft account. If you encounter any challenges or have any further questions, don’t hesitate to refer back to this guide or reach out to the official support channels for assistance.
Thank you for choosing us as your guide in this process. We wish you an enjoyable journey as you explore the world of gaming on your PlayStation and Microsoft platforms, now unlinked and ready for individual greatness.