Introduction
Are you a gaming enthusiast looking to explore the world of online gaming on your PlayStation console? Creating a PlayStation Network (PSN) account is the first step to unlocking a multitude of gaming experiences, connecting with friends, and accessing exclusive content. Whether you’re a die-hard gamer or a casual player, having a PSN account opens up a whole new dimension of entertainment.
In this article, we will guide you through the simple process of creating a PlayStation Network account. We’ll walk you through each step, from setting up a Sony Entertainment Network account to personalizing your PSN profile. So grab your controller and get ready to join the vibrant gaming community!
Before we delve into the details, it’s important to clarify a few points about the PlayStation Network. The PSN is an online gaming service provided by Sony for PlayStation consoles, including the PlayStation 4 and the PlayStation 5. It offers a range of features, including online multiplayer gaming, access to exclusive discounts and deals, downloadable content, and the ability to connect with friends and gaming communities.
Creating a PSN account allows you to access all of these features and more. With a PSN account, you can join multiplayer matches, chat with friends via voice or text, track your gaming achievements, and even stream or share gameplay videos. So, if you’re ready to take your PlayStation gaming experience to the next level, let’s get started!
Step 1: Creating a Sony Entertainment Network Account
Before you can create a PlayStation Network account, you need to set up a Sony Entertainment Network (SEN) account. The SEN account serves as the foundation for your PSN profile and allows you to access a variety of Sony’s services, including the PlayStation Network.
To create a Sony Entertainment Network account, follow these simple steps:
- Open a web browser on your computer or mobile device.
- Go to the Sony Entertainment Network website.
- Click on the “Sign Up” or “Create Account” button.
- Fill in the required information, including your email address and password. Make sure to choose a strong and unique password to protect your account.
- Verify your email address by clicking on the confirmation link sent to your inbox. This step is crucial to ensure the security of your account and to receive important notifications from Sony.
- Once your email address is verified, you will be prompted to enter additional personal details, such as your name, date of birth, and country of residence. Provide accurate information as it will be associated with your PSN account.
- Agree to the terms of service and privacy policy by checking the respective boxes. It’s essential to review these policies to understand the rules and guidelines that govern your Sony Entertainment Network and PlayStation Network usage.
- Click on the “Create Account” or “Sign Up” button to complete the process.
Once your Sony Entertainment Network account is created, you’ll be one step closer to joining the PlayStation Network. The next step involves creating your actual PlayStation Network account, where you’ll choose your unique username and personalize your gaming profile. So, let’s move on to the next step!
Step 2: Choosing a Username and Password
Now that you have your Sony Entertainment Network account all set up, it’s time to create your PlayStation Network (PSN) account. The PSN account is what you’ll use to access the various features and services offered by the PlayStation Network.
Follow these steps to choose your username and password for your PSN account:
- Visit the PlayStation Network website or open the PlayStation app on your console.
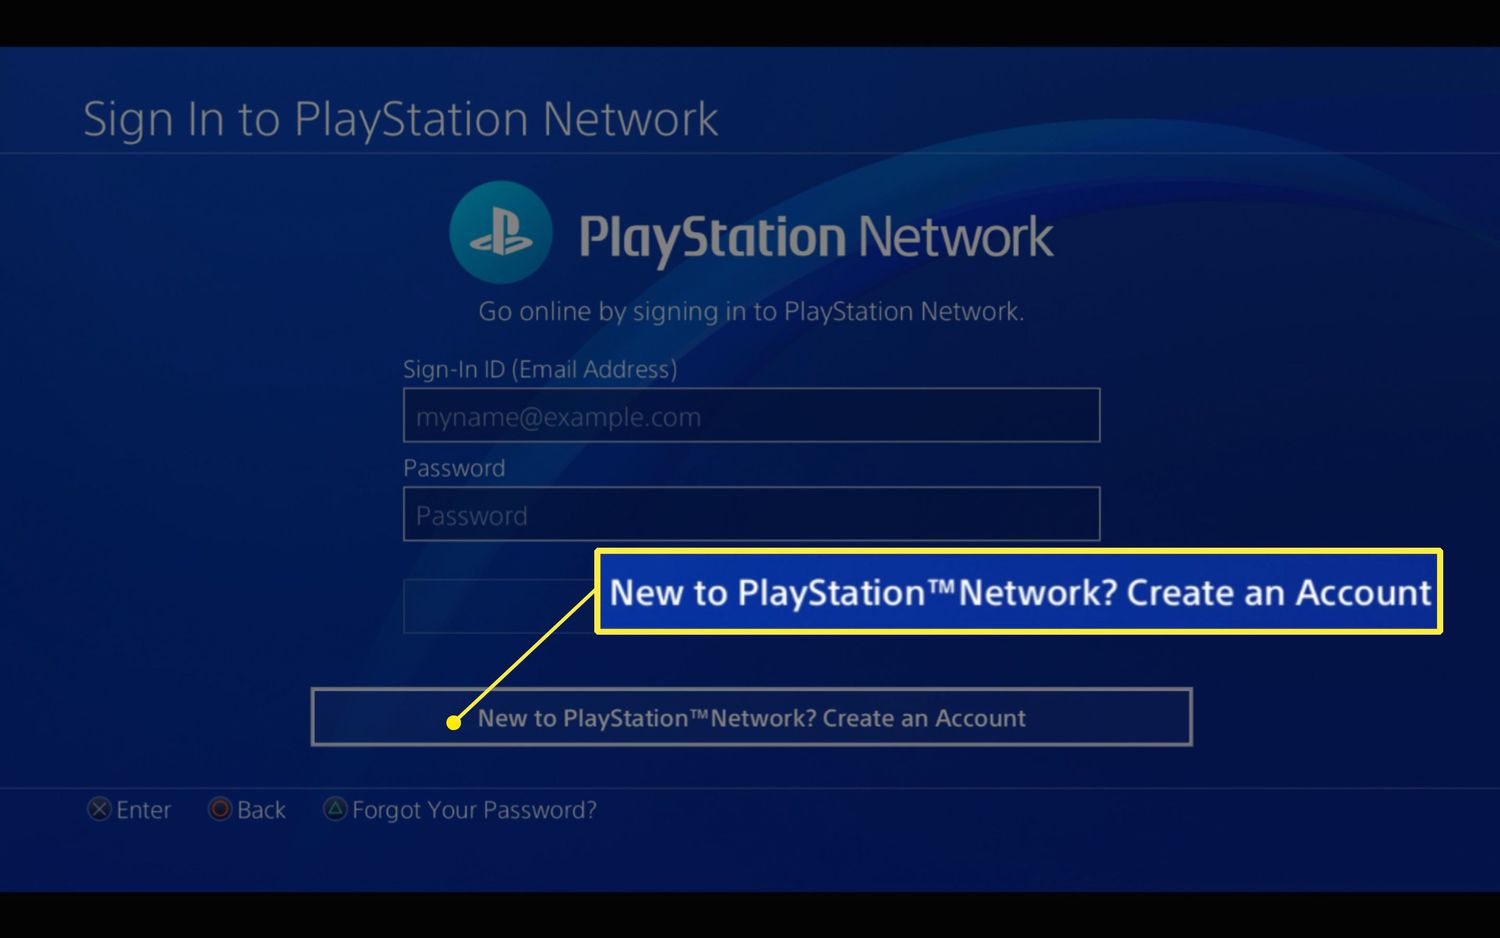
- Click on the “Sign In” or “Create Account” button, depending on your current status.
- Enter your Sony Entertainment Network (SEN) account email address and password.
- If you haven’t signed up for a Sony Entertainment Network account yet, you’ll be given the option to create one. Follow the previous steps to create your SEN account first.
- Once you’ve signed in with your SEN account, you’ll be prompted to choose a unique username for your PSN account. This username will be displayed to other players and is how they’ll identify you within the PlayStation Network community. Choose a name that represents you or something you like, but remember to follow the guidelines provided by Sony, as inappropriate or offensive usernames will be rejected.
- After selecting your username, create a strong and secure password for your PSN account. Make sure to include a combination of letters, numbers, and special characters, and avoid using common or easily guessable passwords to safeguard your account.
- Confirm your password to ensure accuracy.
- Click on the “Continue,” “Create Account,” or similar button to finalize the creation of your PSN account.
Congratulations! You’ve successfully chosen a username and password for your PlayStation Network account. Now you’re ready to dive into the world of online gaming, connect with friends, and explore exciting gaming experiences. In the next step, we’ll guide you through verifying your email address to complete the setup of your PSN account.
Step 3: Verifying Your Email Address
Verifying your email address is an essential step to ensure the security and authenticity of your PlayStation Network (PSN) account. It helps verify that the email address associated with your account belongs to you and allows you to receive important notifications and updates from Sony.
Here’s how you can verify your email address for your PSN account:
- After creating your PSN account and choosing a username, you will receive an email from Sony on the email address you provided during the registration process.
- Check your email inbox and locate the email from “PlayStation Network” or a similar sender.
- Open the email and look for the verification link or button provided.
- Click on the verification link or button to validate your email address.
Once you have clicked on the verification link, your email address will be successfully verified, and your PSN account setup will be complete. Email verification is crucial as it serves as an additional layer of security, enhances account protection, and allows you to reset your password or recover your account if needed.
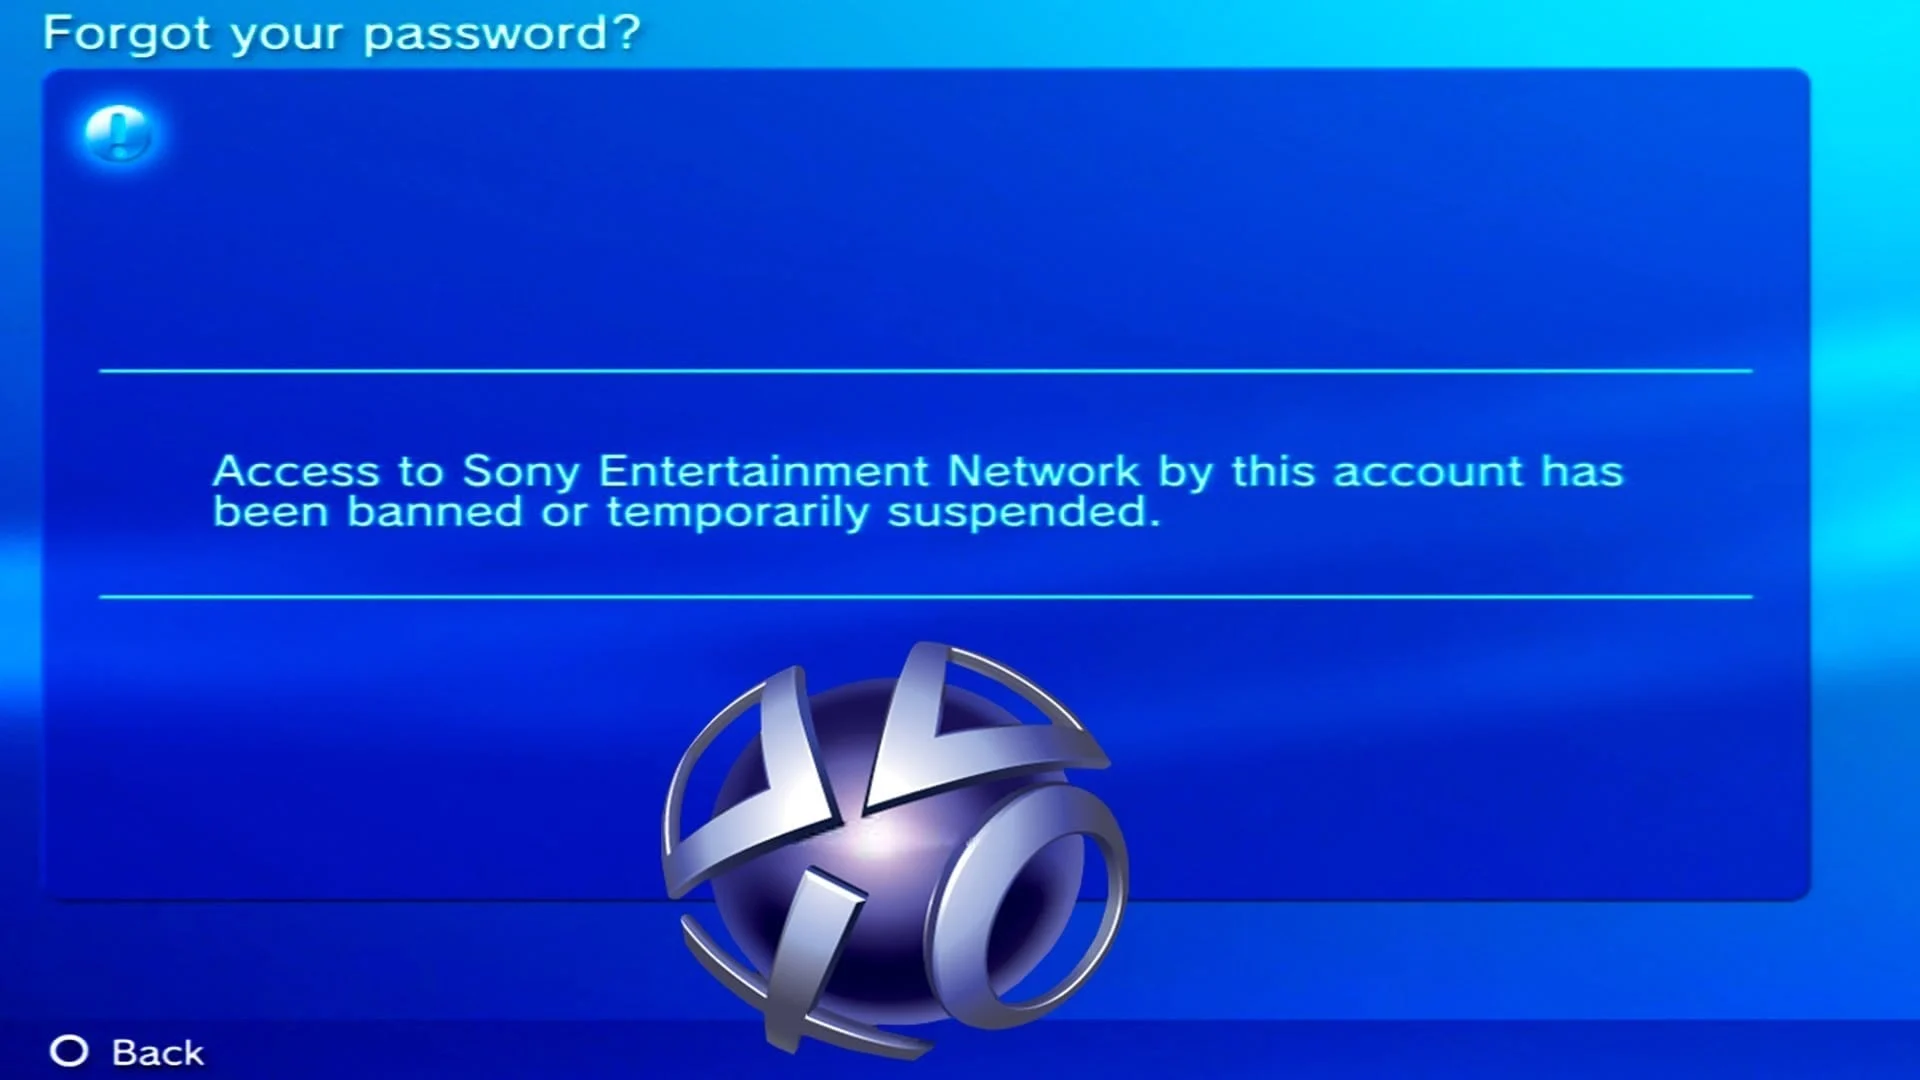
It’s important to note that if you do not verify your email address within a certain timeframe specified by Sony, your PSN account may be subject to suspension or deactivation. Therefore, it’s recommended to verify your email address as soon as possible to avoid any disruptions to your gaming experience.
With your email address verified, you’re now ready to move on to the next step, which involves providing personal information to enhance your PlayStation Network profile. Stay tuned!
Step 4: Providing Personal Information
In order to create a complete and personalized PlayStation Network (PSN) profile, you’ll need to provide some personal information. This information helps Sony tailor your gaming experience and connect you with like-minded gamers.
Follow these steps to provide your personal information for your PSN account:
- Log in to your PlayStation Network account using your username and password.
- Navigate to the account settings or profile section of your PSN account. This can usually be found in the settings menu.
- Look for the option to edit your personal information or profile details.
- Fill in the required fields, such as your name, gender, and date of birth. Ensure that the information you provide is accurate and up to date.
- Some PSN profiles allow you to add additional details, such as your location, profile picture, or a short bio. Take the opportunity to personalize your profile and make it reflect your gaming preferences.
- Review your personal information and make any necessary changes or corrections.
- Click on the save or update button to apply the changes to your PSN account.
By providing your personal information, you allow Sony to offer a more personalized gaming experience. This information helps Sony recommend games, connect you with friends, and suggest relevant content based on your preferences and demographics.
It’s important to note that the visibility of your personal information may vary depending on your privacy settings. You can choose to keep certain details private or visible to your friends only, ensuring that you have control over who can access your information within the PlayStation Network community.
Now that you have provided your personal information, it’s time to move on to the next step and agree to the terms and conditions for your PSN account. Stay tuned for more!
Step 5: Agreeing to the Terms and Conditions
When creating a PlayStation Network (PSN) account, it is important to review and agree to the terms and conditions set forth by Sony. These terms and conditions outline the rules and guidelines for using the PlayStation Network and ensure a fair and secure gaming environment for all players.
Follow these steps to agree to the terms and conditions for your PSN account:
- Log in to your PlayStation Network account using your username and password.
- Navigate to the account settings or profile section of your PSN account.
- Look for the option to review and agree to the terms and conditions.
- Read through the terms and conditions carefully. It is crucial to understand the rules and responsibilities associated with using the PlayStation Network.
- Once you have reviewed the terms and conditions, check the box or click on the button indicating that you agree to them.
- Some terms and conditions may require additional steps, such as confirming your age or entering a verification code. Follow the provided instructions to complete the process.
- After agreeing to the terms and conditions, click on the save or update button to apply the changes to your PSN account.
Agreeing to the terms and conditions is a mandatory step in creating a PSN account. By doing so, you acknowledge and accept the responsibilities and obligations associated with using the PlayStation Network, including respecting the rights of other players and adhering to the community guidelines.
It’s important to periodically review the terms and conditions as they may be updated by Sony. Staying informed about any changes helps you stay compliant with the latest policies and ensures a positive gaming experience for all PSN users.
Now that you have agreed to the terms and conditions, it’s time to move on to the next step and create your PlayStation Network account. We’ll guide you through the process in the upcoming section, so keep reading!
Step 6: Creating a PlayStation Network Account
Now that you have set up your Sony Entertainment Network account, verified your email address, provided your personal information, and agreed to the terms and conditions, it’s time to create your actual PlayStation Network (PSN) account.
Follow these steps to create your PSN account:
- Log in to your Sony Entertainment Network (SEN) account using your username and password.
- Navigate to the PlayStation Network section or settings in your account.
- Look for the option to create a new PSN account. This may be labeled as “Create PSN Account,” “Add New Account,” or something similar.
- Follow the prompts and provide the required information, which may include your username, password, email address, and other details associated with your account.
- Choose a unique and memorable username for your PSN account. This name will be visible to other players and will be how they can identify you within the PlayStation Network community.
- Create a strong password for your PSN account to enhance security.
- Confirm the creation of your PSN account by clicking on the final submission button or similar action.
Once your PSN account is created, you gain access to a range of exciting features within the PlayStation Network. You can now participate in online multiplayer gaming, connect with friends, join gaming communities, and access exclusive content and discounts.
It’s important to note that your PSN account is linked to your Sony Entertainment Network account, allowing you to manage your PSN profile, settings, and purchases through the central portal of your SEN account.
Congratulations! You have successfully created your PlayStation Network account. In the next step, we’ll guide you through the optional process of adding payment information to your PSN account, which allows you to make purchases and access additional content or services. Keep reading to find out more!
Step 7: Adding Payment Information (Optional)
Adding payment information to your PlayStation Network (PSN) account is an optional step, but it is recommended if you plan to make purchases, subscribe to gaming services, or access exclusive content on the PlayStation Store. Having a valid payment method on file allows for a seamless and convenient experience when purchasing games, add-ons, or subscriptions.
Follow these steps to add payment information to your PSN account:
- Log in to your PlayStation Network account using your username and password.
- Navigate to the account settings or profile section of your PSN account.
- Look for the option to add a payment method. This may be labeled as “Payment Information,” “Billing,” or something similar.
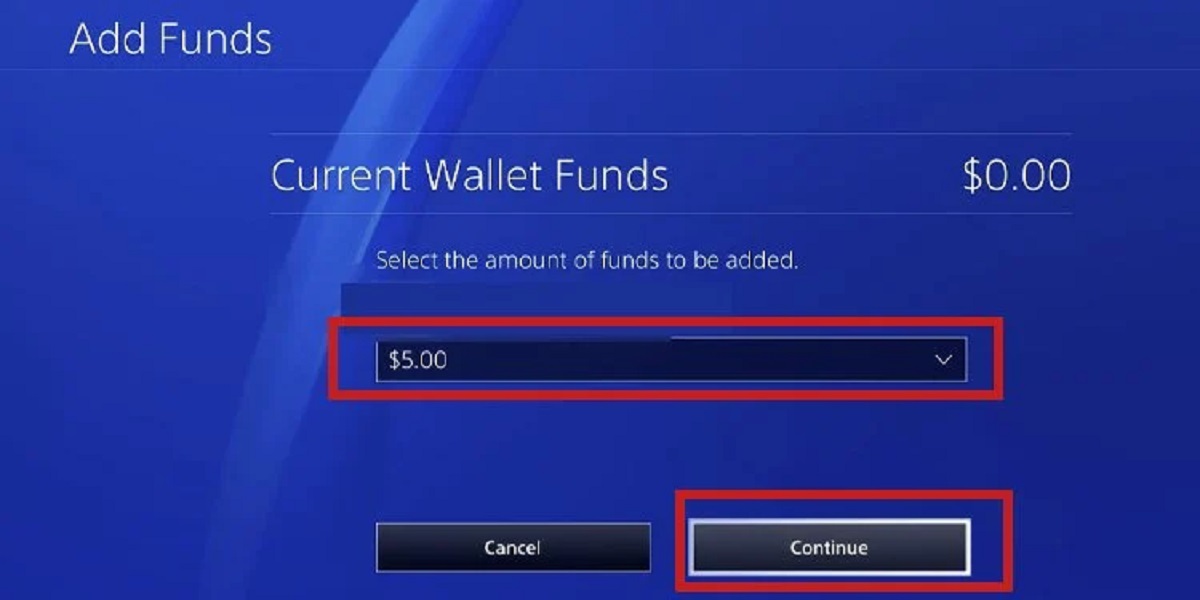
- Select the type of payment method you wish to add, such as a credit or debit card, PayPal, or a PlayStation Network wallet.
- Enter the required information for the chosen payment method. This may include card details, billing address, PayPal login, or voucher codes.
- If adding a credit or debit card, make sure to provide accurate and up-to-date information to ensure successful transactions. If using PayPal, log in to your PayPal account and authorize the connection with your PSN account.
- Review the entered information and click on the save, update, or confirm button to add the payment method to your PSN account.
By adding payment information, you open up a world of possibilities on the PlayStation Network. With a valid payment method on file, you can purchase games, downloadable content, subscriptions, or even participate in crowdfunding projects and special promotions.
It’s important to keep your payment information secure and always monitor your transactions for any unauthorized activity. Sony employs various security measures to protect your payment information, but it’s advisable to regularly review your account activity and report any suspicious behavior to customer support.
If you prefer not to add payment information at the moment, you can still enjoy the free content and services available on the PlayStation Network. You can always revisit this step in the future if you decide to make purchases or upgrade your gaming experience.
With payment information added (or not), you have completed the final step in creating your PlayStation Network account. Congratulations! Now you’re ready to explore the vast world of online gaming, connect with friends, and immerse yourself in exciting gaming experiences. Enjoy your PlayStation Network journey!
Conclusion
Creating a PlayStation Network (PSN) account opens up a world of gaming possibilities, allowing you to connect with friends, access exclusive content, and enhance your gaming experience on your PlayStation console. By following the simple steps outlined in this article, you can easily create your own PSN account and embark on an exciting gaming journey.
We started by guiding you through the process of setting up a Sony Entertainment Network (SEN) account and verifying your email address. This served as the foundation for creating your PSN account. Then, we walked you through choosing a unique username and password to personalize your account and protect your information.
We emphasized the importance of reviewing and agreeing to the terms and conditions set forth by Sony, as this ensures a fair and secure gaming environment for all players. We also highlighted the significance of providing accurate personal information, which helps Sony tailor your gaming experience and connect you with like-minded gamers.
We explained the optional step of adding payment information to your PSN account, which allows for convenient purchases and access to exclusive content. We emphasized the importance of keeping your payment information secure and monitoring account activity for any unauthorized transactions.
With your PSN account created, you’re now ready to explore a vibrant gaming community, engage in multiplayer battles, and experience all the exciting features offered by the PlayStation Network. Whether you’re a hardcore gamer or a casual player, the PSN account unlocks a world of entertainment right at your fingertips.
Remember, as you embark on your PlayStation Network journey, it’s essential to always prioritize your online safety and adhere to the community guidelines to ensure a positive gaming experience for everyone.
So, grab your controller, log into your PlayStation Network account, and get ready to dive into an extraordinary gaming world that awaits you. Have fun, make new friends, and enjoy the endless adventures that the PlayStation Network has to offer!