Introduction
In today’s digital age, having a professional email signature is an essential part of your online presence. A well-designed and informative email signature not only adds credibility to your emails but also showcases your professionalism and helps you make a lasting impression on your recipients.
Creating a professional email signature may seem like a daunting task, but with the right guidance, it can be a straightforward and rewarding process. In this article, we will guide you through the step-by-step process of creating a professional email signature that reflects your unique identity and effectively communicates your contact information.
Your email signature is like your digital business card, providing important details about you and your brand. It’s an opportunity to showcase your personal and professional information in a concise and visually appealing manner. By following the steps outlined in this article, you will be able to create a standout email signature that leaves a lasting impression on your recipients and helps you build your professional network.
Throughout this article, we will cover various aspects of designing a professional email signature, including choosing the perfect font, including your contact information, adding your job title and company details, including a professional headshot, adding social media icons and links, creating a compelling call-to-action or personal tagline, formatting and styling your signature, and finally, previewing and testing your email signature to ensure it appears correctly across different devices and email clients.
So, whether you’re an entrepreneur, freelancer, or a professional working in a corporate environment, read on to discover how to create a professional email signature that not only facilitates effective communication but also leaves a lasting impression on your recipients.
Step 1: Choosing the perfect font
When it comes to designing your email signature, one of the most important considerations is choosing the right font. The font you select not only impacts the readability of your signature but also reflects your personal brand and professionalism.
First and foremost, it’s crucial to choose a font that is easy to read. Opt for fonts that are clean, clear, and legible, even at smaller sizes. Avoid overly decorative or cursive fonts that may be challenging to read, especially on mobile devices or when viewed in different email clients.
Additionally, it’s essential to select a font that aligns with your personal or brand identity. Consider the tone and style you want to convey through your email signature. If you’re aiming for a professional and corporate look, choose a classic and timeless font like Arial, Helvetica, or Times New Roman. These fonts are widely accepted and ensure that your signature appears clean and polished.
On the other hand, if you’re in a creative industry or want to add a touch of personality to your signature, you can experiment with more unique and modern fonts. Just ensure that the font you choose remains readable and doesn’t distract from the overall message of your email signature.
It’s recommended to stick with one or two fonts for your email signature to maintain a cohesive visual appeal. Using too many different fonts can make your signature look cluttered and unprofessional.
Remember to consider the formatting and styling options provided by your email client. Some fonts may appear differently across different email clients or devices, so it’s important to choose a font that is widely supported and renders consistently.
Finally, test your chosen font by sending a sample email to different devices and email clients to ensure that it appears as intended. Pay attention to any spacing, alignment, or display issues that may arise.
Taking the time to choose the perfect font for your email signature sets the foundation for a well-designed and professional signature. By selecting a font that is easy to read, aligns with your personal or brand identity, and works well across different email clients, you will create an email signature that enhances your professional image and effectively communicates with your recipients.
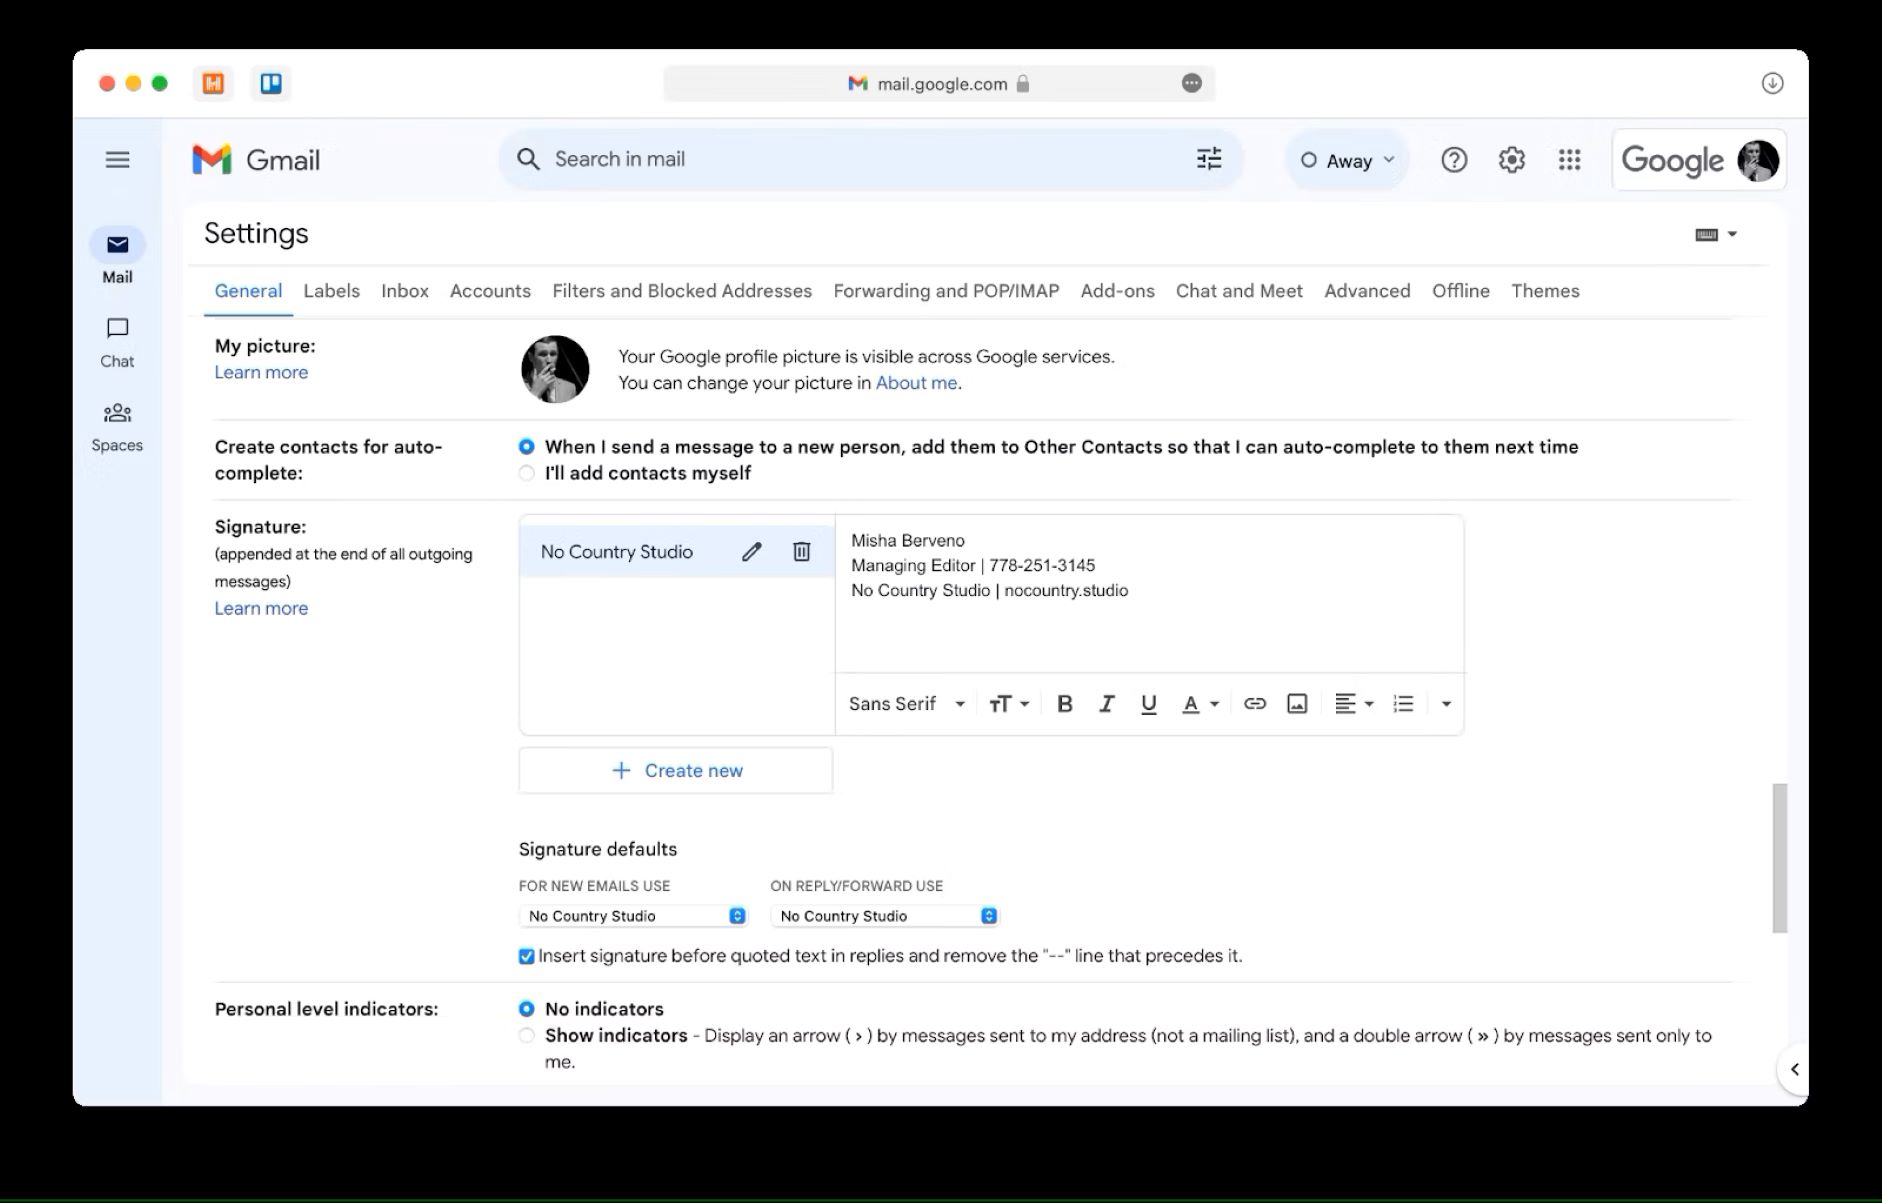
Step 2: Include your contact information
One of the primary purposes of your email signature is to provide recipients with your contact information. Including relevant and up-to-date contact details ensures that your recipients can easily get in touch with you.
Start by including your full name in your email signature. This allows recipients to identify you and puts a personal touch on your emails. If you have any professional credentials or designations, such as “CPA” or “M.D.,” you can also include them after your name to highlight your expertise.
Next, add your email address. While it may seem redundant, including your email address in your signature ensures that even if your recipient is unable to directly reply to your email, they still have a means of contacting you.
Additionally, include your phone number in your email signature. This is especially important for business contacts or clients who may prefer to communicate via phone. Make sure to include the appropriate country code and any extension number, if applicable.
If you have a physical office or business address, consider adding it to your signature. This is particularly useful if you have face-to-face interactions with clients or if you want to establish your business’s location.
Furthermore, including a website link in your email signature allows recipients to easily access more information about you or your business. If you have a personal website or a professional portfolio, this is a great opportunity to drive traffic and showcase your work.
Finally, consider adding a link to your LinkedIn profile. LinkedIn is a professional networking platform, and including a link to your profile helps recipients connect with you professionally. It also provides an avenue for them to learn more about your skills, experience, and professional background.
Remember to carefully consider the order and formatting of your contact information. Place the most crucial details, such as your name and email address, at the beginning of your signature for easy visibility. You can use icons or separators to visually separate each element and ensure clarity.
By including your contact information in your email signature, you make it effortless for recipients to reach out to you, fostering effective communication and professional relationships.
Step 3: Adding your job title and company
Including your job title and company information in your email signature adds a level of professionalism and credibility to your emails. It helps recipients understand your role and affiliation, establishing trust and providing context for your communication.
Start by including your job title or professional designation. This helps recipients quickly grasp your role within your organization or industry. For example, if you are a graphic designer, you can mention “Graphic Designer” or “Creative Director” under your name. If you hold a specific position or have a notable job title, such as “Vice President of Marketing,” be sure to include it.
After your job title, include the name of your company. This identifies your affiliation and helps recipients understand the context in which you are reaching out to them. Include the full legal name of your company or organization to avoid any confusion. If applicable, you can also include a shortened version of your company name or a well-known abbreviation.
If you work for a large company or have multiple affiliations, you may want to consider adding the department or division you belong to. This provides additional clarity and ensures that recipients know which part of the organization you represent. Additionally, if your company has multiple locations, you can specify your office location or city to give recipients a better understanding of your geographical presence.
In some cases, you may also want to include a brief one-liner or tagline that highlights your expertise or the unique value of your company. This can be a short, captivating sentence that summarizes your brand or showcases your core competencies. Just make sure it’s concise and aligns with your overall professional image.
Remember that the placement and formatting of your job title and company information should be visually cohesive with the rest of your email signature. You can use different font styles, sizes, or formatting techniques to differentiate this information from your contact details.
By adding your job title and company information to your email signature, you establish your professional identity, showcase your affiliation, and provide recipients with valuable context about who you are and your expertise.
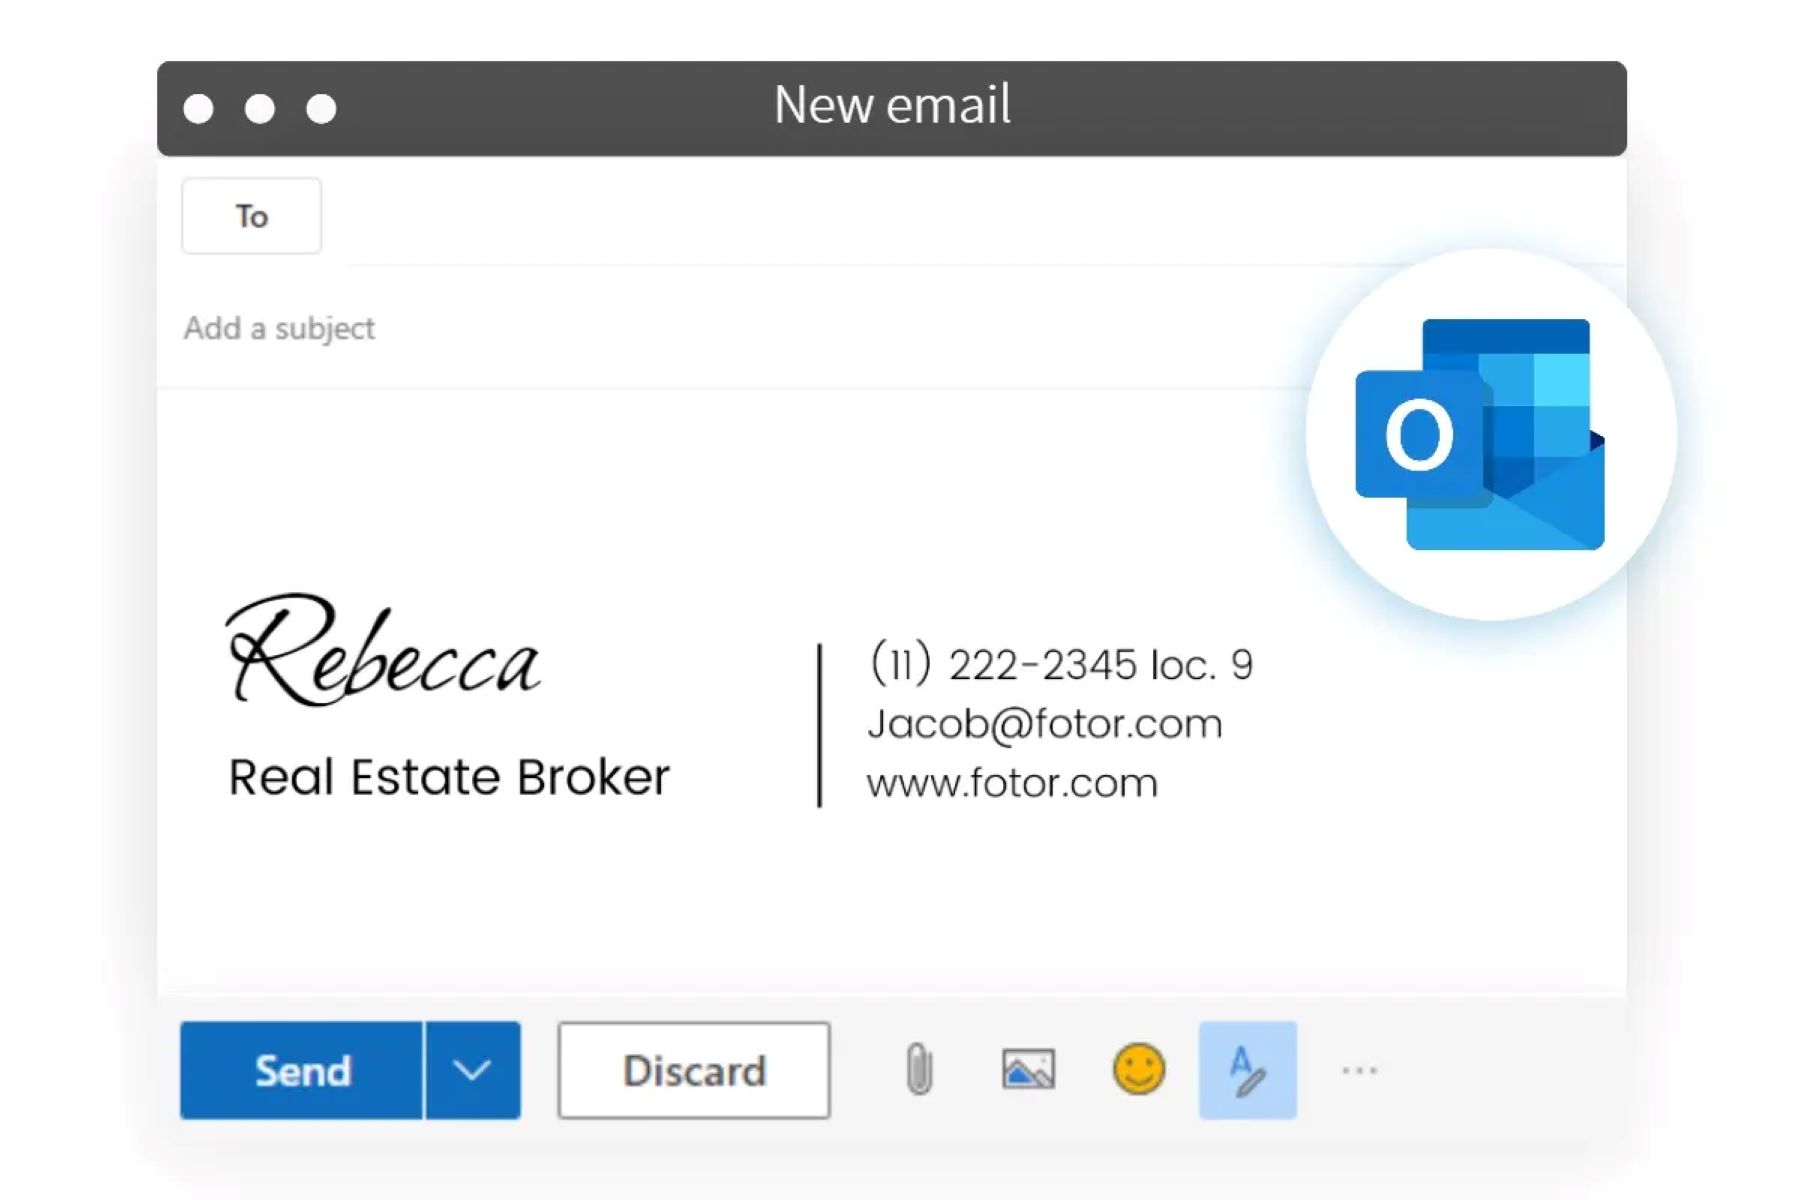
Step 4: Adding Your Professional Headshot
Incorporating a professional headshot in your email signature can add a personal touch and enhance your credibility. A well-chosen and high-quality photograph can leave a strong visual impression on recipients and help them connect a face to your name.
When selecting a professional headshot for your email signature, keep in mind the following tips:
1. Choose a high-quality photo: Make sure your headshot is clear, well-lit, and in focus. Avoid using low-resolution or pixelated images as they can undermine the professional appearance of your signature.
2. Dress professionally: Opt for attire that is appropriate for your industry or position. Dressing professionally in your headshot helps establish your credibility and showcases your dedication to your work.
3. Maintain consistency: If you already have a professional headshot that you use on other platforms or marketing materials, it’s a good idea to use the same photo in your email signature. Maintaining consistency across different channels helps build recognition and strengthens your personal brand.
4. Use a neutral background: Choose a background that is simple and uncluttered. A plain background or a background that relates to your industry can work well. Avoid distracting elements that may divert attention away from your face.
5. Display professionalism and approachability: Smile naturally and exude confidence in your headshot. Aim for a professional yet friendly look that creates a positive impression.
Once you have your professional headshot ready, it’s time to add it to your email signature. Typically, the headshot is placed either above your name or to the side of your contact information. Experiment with different layouts to find what works best for you and ensures a balanced and visually appealing signature.
Remember to resize and optimize the image for email. Large image files can slow down the loading time of your email and may cause compatibility issues. Aim for a resolution that maintains image quality while keeping the file size small.
Adding a professional headshot to your email signature adds a personal touch and helps you connect with recipients on a more human level. It creates a sense of familiarity and trust, making your communication more effective and impactful.
Step 5: Including Social Media Icons and Links
In today’s interconnected world, social media has become an integral part of professional networking and personal branding. Including social media icons and links in your email signature allows recipients to easily connect with you on various platforms, enhancing your online presence and promoting engagement.
Start by selecting the social media platforms that are most relevant to your professional goals and target audience. LinkedIn is a must-have for professional networking, but depending on your industry, you may also want to include platforms like Twitter, Instagram, or Facebook. Consider the platforms where you are most active and share content related to your professional expertise.
Next, look for social media icons that align with your signature’s style and aesthetic. You can find a wide variety of icons in different styles, sizes, and colors on websites like Font Awesome or Flaticon. Choose icons that are visually consistent and reflective of your personal or brand identity.
Once you have the icons, you’ll need to hyperlink them to your respective social media profiles. To do this, follow these steps:
1. Upload the social media icons to an image hosting platform or your own website.
2. Copy the URL of your social media profile (e.g., your LinkedIn profile or Twitter page).
3. Wrap the icon image with an <a> tag using HTML. Set the href attribute to your social media profile URL.
<a href="URL_OF_YOUR_SOCIAL_MEDIA_PROFILE"><img src="URL_OF_SOCIAL_MEDIA_ICON"></a>
Repeat these steps for each social media platform you want to include. You can arrange the icons horizontally or vertically, depending on your preference and the available space in your signature.
Remember to test the hyperlinks and ensure they open your social media profiles correctly. Preview your email signature on different devices and email clients to verify that the icons are displayed properly and the hyperlinks function as intended.
By including social media icons and links in your email signature, you provide recipients with alternative ways to connect with you, explore your professional content, and engage with your online presence. It adds another layer of accessibility and establishes your digital footprint in the professional arena.
Step 6: Adding a Call-to-Action or Personal Tagline
A call-to-action (CTA) or personal tagline in your email signature is a powerful way to engage recipients and leave a lasting impression. It provides a clear next step or highlights the unique value you bring, directing recipients towards a desired action.
Consider what action you want recipients to take after reading your email. Do you want them to visit your website, schedule a meeting, or download a resource? Craft a compelling CTA that motivates them to take that action.
Your CTA should be concise, clear, and action-oriented. Use strong verbs and powerful language that prompts recipients to act. For example:
- “Schedule a consultation today”
- “Get your free e-book now”
- “Visit my website for more information”
Alternatively, you can use a personal tagline to showcase your unique selling proposition or what sets you apart from others in your industry. This can be a short sentence or phrase that encapsulates your expertise or the value you bring. For example:
- “Driving innovation through technology”
- “Delivering exceptional customer experiences”
- “Transforming businesses with creative solutions”
Make sure your CTA or personal tagline aligns with your professional goals, personal brand, and the context of your email. It should resonate with your recipients and compel them to take action or remember you.
Consider the placement and formatting of your CTA or tagline in your email signature. You can position it below your contact information or beside your name. Use font styles, colors, or formatting techniques to make it stand out and catch the recipient’s attention without overpowering the rest of your signature.
Lastly, remember to regularly review and update your CTA or personal tagline to ensure it remains relevant and impactful. As your objectives or branding evolves, you may need to revise your messaging to align with your current goals.
By adding a compelling CTA or personal tagline to your email signature, you motivate recipients to take action or showcase your unique value proposition. It adds a layer of engagement and distinguishes you from the crowd, leaving a lasting impression on your recipients.
Step 7: Formatting and Styling Your Signature
The formatting and styling of your email signature play a crucial role in creating a visually appealing and cohesive design. It helps your signature stand out and reflects your attention to detail and professionalism. Here are some key considerations for formatting and styling your signature:
1. Keep it clean and clutter-free: Avoid overcrowding your signature with excessive text or unnecessary elements. Aim for a clean and minimalist design that allows your information to be easily read and understood.
2. Use hierarchy and spacing: Organize the elements of your signature hierarchy, placing essential details such as your name and contact information prominently. Use proper spacing and alignment to ensure a visually balanced and digestible signature.
3. Choose colors wisely: Select colors that are consistent with your personal brand or company branding. Use colors sparingly and strategically to create visual interest and draw attention to important elements. Ensure that your color choices do not compromise readability.
4. Consider font styles and sizes: Use fonts that are legible and reflect your professional identity. Aim for a consistent font throughout your signature, using different font sizes and styles to differentiate between elements. Larger font sizes can be used for your name or headings, while smaller font sizes may be appropriate for contact information or legal disclaimers.
5. Limit the use of images: While a professional headshot is recommended, be cautious when adding additional images to your signature. Too many images can create clutter and slow down the loading time of your emails. Stick to one or two images max, and ensure they are optimized for email delivery.
6. Consider mobile optimization: With the majority of emails being read on mobile devices, it’s crucial to ensure your signature is responsive and looks good on different screen sizes. Test your signature on various mobile devices and adjust the formatting if needed.
7. Add separators or dividers: Use lines, dividers, or other visual elements to separate different sections of your signature. This enhances readability and creates a more structured and organized appearance.
8. Pay attention to email client compatibility: Different email clients may render HTML and CSS differently. While it’s hard to achieve 100% consistency across all clients, test your signature in popular email clients to ensure it appears correctly. Consider providing a plain text alternative for clients that may not support HTML formatting.
Remember, your email signature is a reflection of your professionalism, so ensure that your formatting and styling choices align with your personal or brand image. Experiment with different designs, and don’t be afraid to seek feedback from colleagues or friends to ensure your signature looks polished and visually appealing.
By taking the time to format and style your email signature, you elevate its visual impact and create a professional and memorable impression on your recipients.
Step 8: Preview and Test Your Email Signature
Before finalizing your email signature, it’s crucial to preview and test it across different devices, email clients, and screen sizes. This step ensures that your signature appears as intended and functions optimally for all recipients.
Start by sending a test email to yourself and colleagues or friends who use different email clients. This allows you to see how your signature appears on various platforms, such as Outlook, Gmail, Apple Mail, or Thunderbird. Pay attention to any formatting issues, image distortions, or font rendering problems that may arise.
Make sure your signature displays correctly on both desktop and mobile devices. With the increasing use of smartphones and tablets for email communication, it’s crucial that your signature is responsive and adapts to different screen sizes. Test it on iOS and Android devices, as well as different email apps, to ensure optimal display.
Verify that all your links are functional. Click on each hyperlink within your signature to ensure they lead to the correct destinations, such as your website, social media profiles, or other online resources. Broken or incorrect links can undermine the effectiveness of your signature.
Check the load time of your email signature. If it takes too long to load, recipients may lose interest or encounter difficulties, especially if they have a slow internet connection. Optimize the size of your images and consider reducing any unnecessary elements or HTML code that could impact loading times.
Double-check the spelling, grammar, and accuracy of your contact information. Ensure that names, phone numbers, email addresses, and other details are correct, as any errors can create confusion and harm your professional image.
Consider testing your email signature in different email account configurations. For example, send emails to accounts with different settings, such as plain text-only or security settings that block HTML content. This allows you to ensure that your signature still appears clean and readable, even in non-HTML email clients.
Repeat the testing process periodically, especially when you make updates or changes to your email signature. Technology and email clients evolve, so it’s essential to stay up to date and ensure your signature remains functional and visually appealing.
By thoroughly previewing and testing your email signature, you can confidently deploy it knowing that it will be consistent, professional, and effective across all platforms and devices. This attention to detail will help you create a positive impression and communicate your professionalism to recipients.
Conclusion
Creating a professional email signature is a valuable investment of your time and effort. It serves as a powerful tool for enhancing your online presence, establishing credibility, and making a lasting impression on your recipients.
Throughout this article, we have discussed the step-by-step process of creating a professional email signature. From choosing the perfect font to including your contact information, job title, and company details, we explored the importance of adding a professional headshot and incorporating social media icons and links. We also highlighted the significance of including a compelling call-to-action or personal tagline, and we discussed the importance of formatting and styling your signature to make it visually appealing and cohesive. Lastly, we emphasized the need to thoroughly preview and test your email signature to ensure optimal performance and compatibility across various devices and email clients.
By following these steps and incorporating best practices, you can create an email signature that reflects your professionalism, reinforces your personal or brand identity, and facilitates effective communication with your recipients.
Remember, your email signature speaks volumes about you and your business. It’s an opportunity to leave a positive and memorable impression on your clients, colleagues, and professional contacts. Take the time to craft a well-designed and informative signature that aligns with your personal or brand image. Regularly review and update it to reflect any changes in your contact information, job title, or social media presence.
Now that you have the knowledge and tools to create a professional email signature, put it into practice and start implementing a signature that represents your professionalism, uniqueness, and competence. By consistently presenting yourself in a professional manner, you will undoubtedly establish a strong online presence, foster meaningful connections, and leave a lasting positive impression in every email you send.