Introduction
When it comes to professional email communication, having a well-crafted email signature can leave a lasting impression on your recipients. Your email signature is like your virtual business card, providing essential contact information and adding a touch of professionalism to your emails. If you’re using Microsoft Outlook as your email client, you have the ability to customize your email signature to reflect your personal or business brand.
In this article, we will guide you through the process of changing your email signature in Outlook, ensuring that you can showcase your professional identity and make a strong impact with every email you send.
Whether you want to update your contact details, promote an upcoming event, or simply add a personal touch to your emails, Outlook offers a simple and intuitive way to customize your email signature according to your preferences. By following a few easy steps, you can create a signature that represents your brand, increases your credibility, and enhances your overall email communication.
So, if you’re ready to elevate your email game and make a memorable impression on your recipients, let’s dive into the step-by-step process of changing your email signature in Outlook.
Step 1: Open Outlook
The first step in changing your email signature in Outlook is to open the application. Locate and double-click on the Outlook icon on your desktop or search for “Outlook” in the Start menu and click on the appropriate result.
Once you open Outlook, you will be taken to your inbox, where you can view your received emails and manage your mailbox. Take a moment to ensure that you are logged in to the correct email account before proceeding to the next step.
Note that the exact appearance of Outlook may vary depending on the version you are using. However, the general steps to change your email signature remain consistent across versions.
If prompted, enter your email address and password to log in to your account. Outlook will connect to your email server and synchronize your emails, contacts, and other data.
Once you are logged in and have access to your inbox, you are ready to move on to the next step of changing your email signature.
To summarize, the first step in changing your email signature in Outlook is to open the application. Ensure that you are logged in to the correct email account before proceeding further.
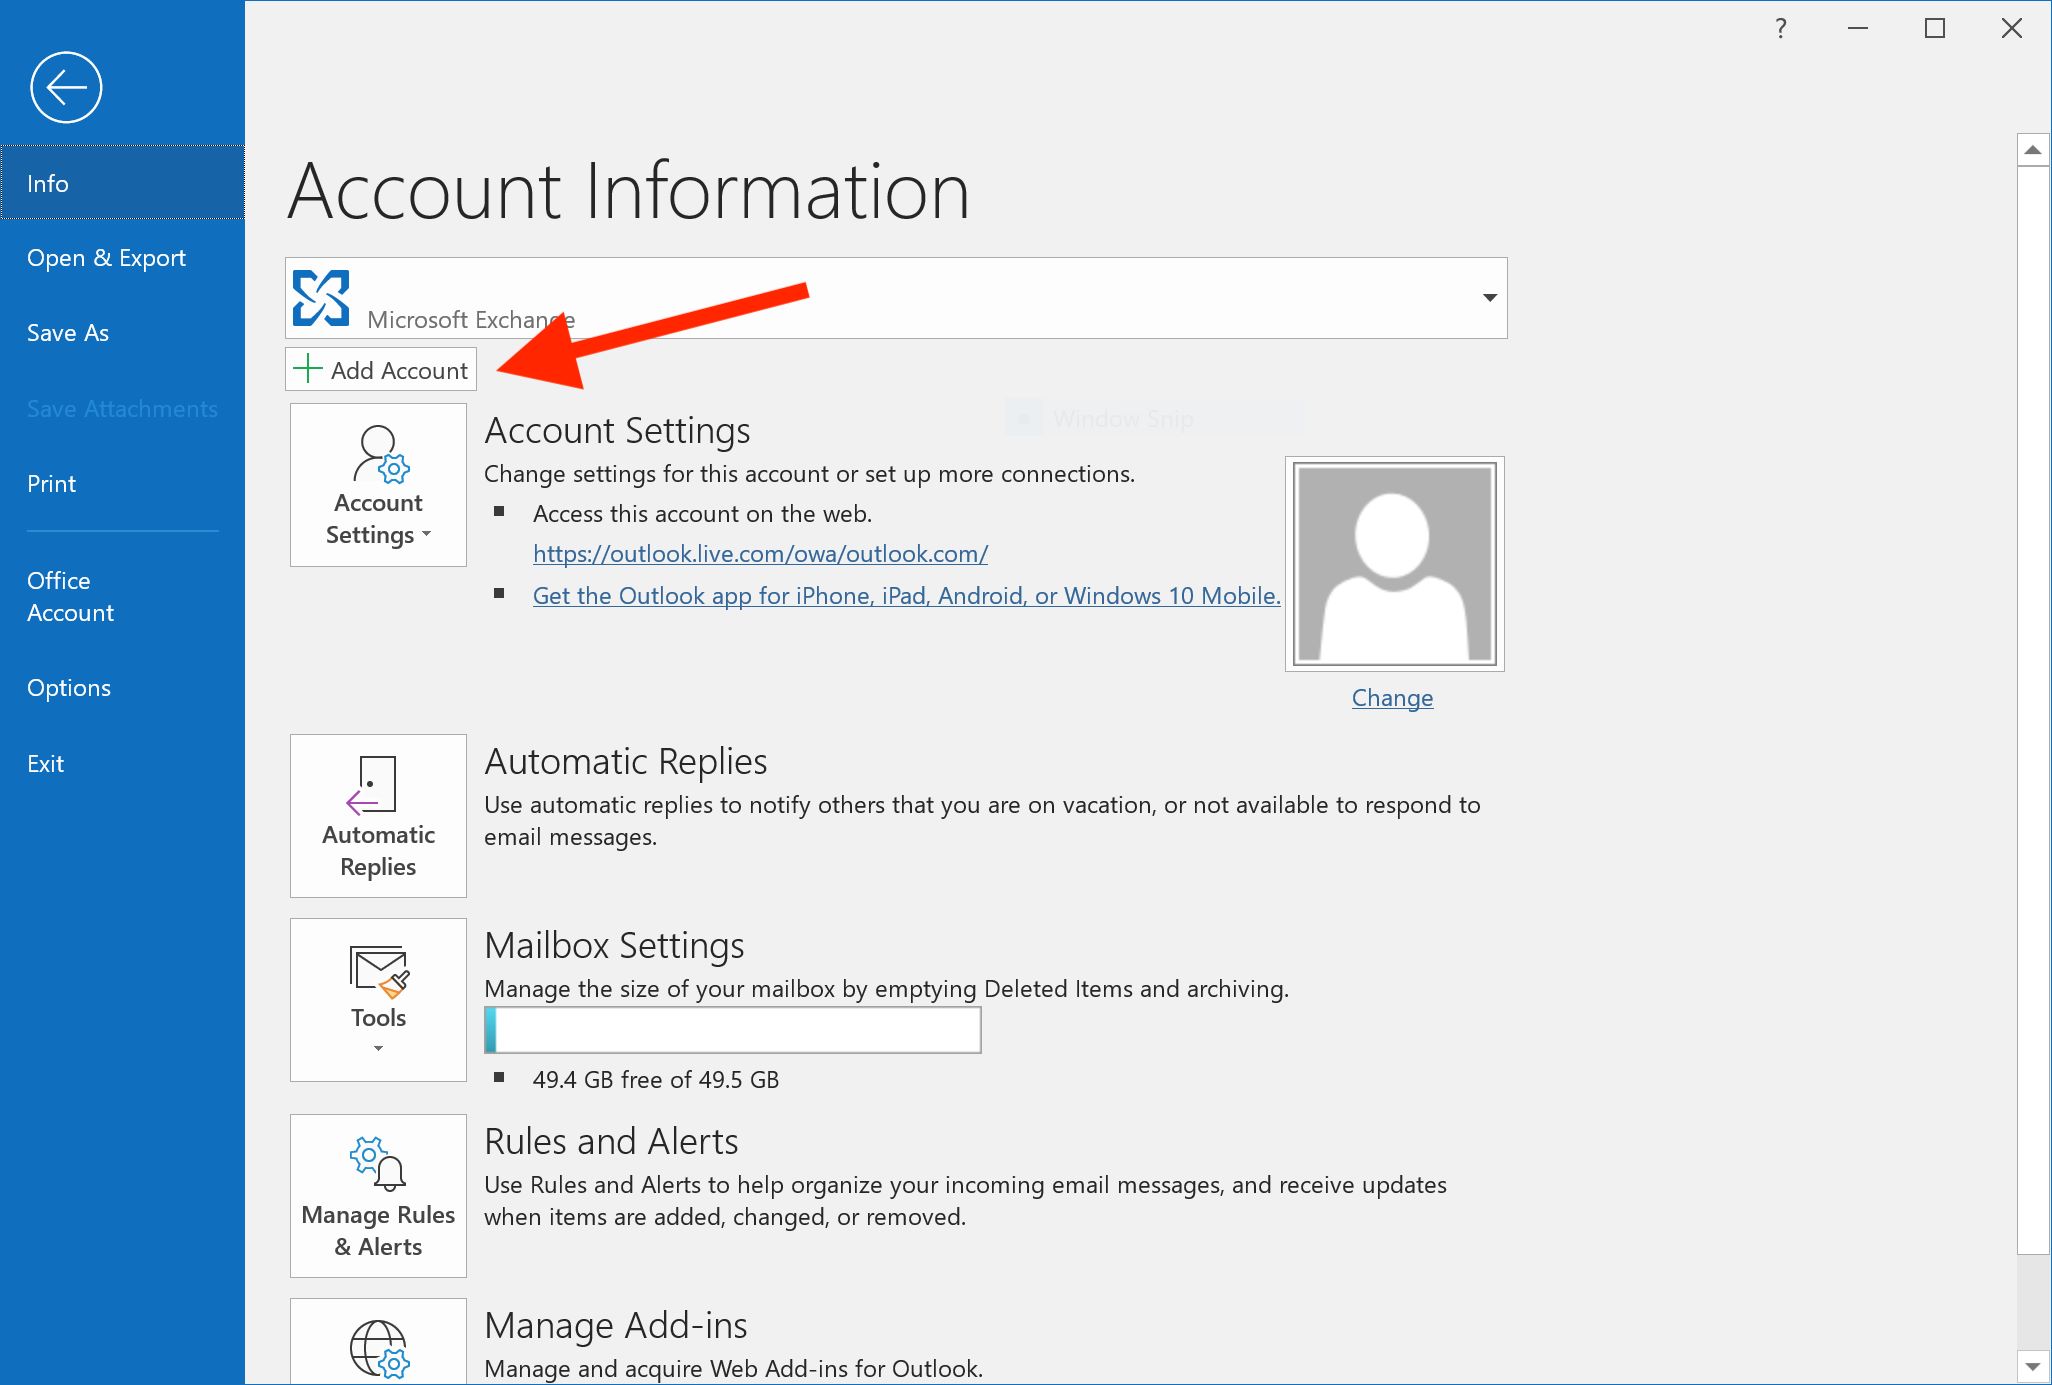
Step 2: Click on “File”
After opening Outlook and logging in to your email account, the next step in changing your email signature is to click on the “File” tab located at the top-left corner of the Outlook window. The “File” tab contains various options and settings for managing your Outlook account.
When you click on the “File” tab, a dropdown menu will appear, providing you with several options related to your account and email settings. This menu serves as a central hub for accessing important features within Outlook.
Take a moment to explore the different options available in the dropdown menu. You will find options such as “New,” “Open,” “Save,” “Options,” and more. For changing your email signature, we need to access the “Options” menu, which contains various settings for customizing your Outlook experience.
Ensure that you have clicked on the “File” tab and are viewing the dropdown menu with the available options. This step is crucial as it will lead you to the next step in changing your email signature successfully.
To sum up, the second step in changing your email signature is to click on the “File” tab located at the top-left corner of the Outlook window. This will open a dropdown menu with various options for managing your Outlook account.
Step 3: Go to “Options”
Once you have clicked on the “File” tab in Outlook, a dropdown menu will appear with various options. From this menu, select the “Options” tab. The “Options” tab allows you to access and modify the settings and preferences of your Outlook account.
By clicking on “Options,” a new window will open, presenting you with a wide range of Outlook settings. These settings include customization options for your email, calendar, contacts, and more. It’s important to navigate to the correct section to modify your email signature.
Depending on the version of Outlook you are using, the “Options” tab may appear as a separate button instead of a dropdown menu. Regardless of the visual appearance, the functionality remains the same – it is the central place where you can configure your Outlook settings.
Make sure that you are in the “Options” menu or section to proceed with changing your email signature. This is where you will find the necessary tools and options to customize your signature according to your preferences.
To summarize, the third step in changing your email signature is to go to the “Options” menu or section. Clicking on the “Options” tab within the “File” dropdown menu will open a new window where you can modify the various settings and preferences of your Outlook account.
Step 4: Select “Mail” from the left sidebar
After accessing the “Options” menu in Outlook, you will be presented with a variety of settings and customization options. To change your email signature, we need to navigate to the “Mail” section, where email-related settings can be modified.
In most versions of Outlook, the left sidebar of the “Options” window provides a list of different categories or tabs, such as “General,” “Calendar,” “Contacts,” and more. Look for and click on the “Mail” tab or category to proceed.
When you select the “Mail” section, the corresponding settings for email-related preferences will be displayed in the main area of the “Options” window. This is where you will find the necessary tools and options to customize your email signature within Outlook.
Take a moment to explore the various options and configurations available in the “Mail” section. You may find settings related to email composition, message handling, reading pane preferences, and more. However, for changing your email signature, we will focus on a specific option within this section.
To summarize, the fourth step in changing your email signature is to select the “Mail” tab or category from the left sidebar within the “Options” window. This will display the email-related settings and options, allowing you to proceed with customizing your email signature within Outlook.
Step 5: Click on “Signatures”
Now that you have entered the “Mail” section of the Outlook “Options” window, it’s time to locate and click on the “Signatures” button. This button is where you can access and manage your email signatures, including creating new ones and making changes to existing ones.
The “Signatures” button is typically found within the “Compose messages” or “Message format” section of the “Mail” tab. Look for a button or link labeled “Signatures,” which should be located in a prominent position.
By clicking on the “Signatures” button, a new window will open, displaying all the available email signatures for the selected email account. If you haven’t created any signatures before, the list will be empty.
Within the “Signatures” window, you can create, edit, and delete email signatures. You will also have the option to set a default signature for new messages or replies/forwards.
Take a moment to familiarize yourself with the options and actions available within the “Signatures” window. Understanding how to navigate this window will enable you to modify and manage your email signatures effectively.
To sum up, the fifth step in changing your email signature is to click on the “Signatures” button within the “Mail” section of the Outlook “Options” window. This will open the “Signatures” window, where you can create, edit, and delete email signatures according to your preferences.
Step 6: Choose the email account
After opening the “Signatures” window, the next step in changing your email signature is to choose the email account for which you want to create or update the signature. If you have multiple email accounts configured in Outlook, you will need to select the specific account you wish to modify.
Within the “Signatures” window, you will see a list of email accounts on the left-hand side. These accounts could be your personal email, work email, or any additional email accounts you have added to Outlook.
To choose the desired email account, simply click on it in the list. Once selected, the associated signatures for that particular account will be displayed on the right-hand side of the window.
If you want to create a new email signature for a specific account, you can click on the “New” button within the “Choose default signature” section. This will allow you to create a unique signature tailored to that account.
If you wish to edit an existing email signature for a particular account, you can select the signature from the list on the right-hand side and click on the “Edit” button. You can then make any necessary changes to the signature.
It’s important to choose the correct email account to ensure that the changes you make to the signature apply to the intended account.
To summarize, the sixth step in changing your email signature is to choose the specific email account for which you want to create or update the signature. Consider whether you need to create a new signature or make changes to an existing signature and select the appropriate account from the list in the “Signatures” window.
Step 7: Click on “New”
Once you have selected the desired email account in the “Signatures” window, the next step in changing your email signature is to click on the “New” button. This button allows you to create a new email signature specifically for the chosen account.
By clicking on the “New” button, a dialog box will appear, prompting you to enter a name for the new signature. This name will help you identify and differentiate the signature from others, especially if you have multiple signatures for different purposes or accounts.
Choose a clear and descriptive name for your new signature, which will make it easier to manage and select it when composing emails. It could be something like “Work Signature,” “Personal Signature,” or any other title that accurately reflects the purpose of the signature.
After entering the name for the new signature, click on the “OK” button to proceed. This will create a blank signature template that you can customize according to your preferences.
It’s important to note that if you already have an existing signature for the selected email account and you want to create an additional signature, you can still click on the “New” button. This will allow you to create multiple signatures for the same account and switch among them as needed.
To sum up, the seventh step in changing your email signature is to click on the “New” button in the “Signatures” window. This will prompt you to enter a name for the new signature and create a blank template that you can customize according to your preferences.
Step 8: Enter a name for the signature
After clicking on the “New” button in the “Signatures” window, the next step in changing your email signature is to enter a name for the newly created signature. This name will serve as a reference to identify and distinguish this signature from others you may have.
Upon clicking “New,” a dialog box will appear, prompting you to enter a name for the signature. It is important to choose a name that is descriptive and easy to remember, especially if you plan to have multiple signatures for different purposes or email accounts.
Consider naming your signature based on its intended use or associated email account. For example, if you are creating a signature for your work email, you might name it “Work Signature” or include the name of your company or organization. If it’s a personal signature, you could name it “Personal Signature” or include your name or any other relevant detail.
Choosing a clear and recognizable name will make it convenient for you to select the correct signature when composing emails or switching between different signatures in Outlook.
After entering the desired name for your new signature, click on the “OK” button to save it. This will populate the blank signature template with the name you provided, preparing it for customization.
To summarize, the eighth step in changing your email signature is to enter a name for the newly created signature. Choose a descriptive and distinguishable name that reflects the purpose or associated email account of the signature. Once entered, click “OK” to save the name and proceed to customize the signature.
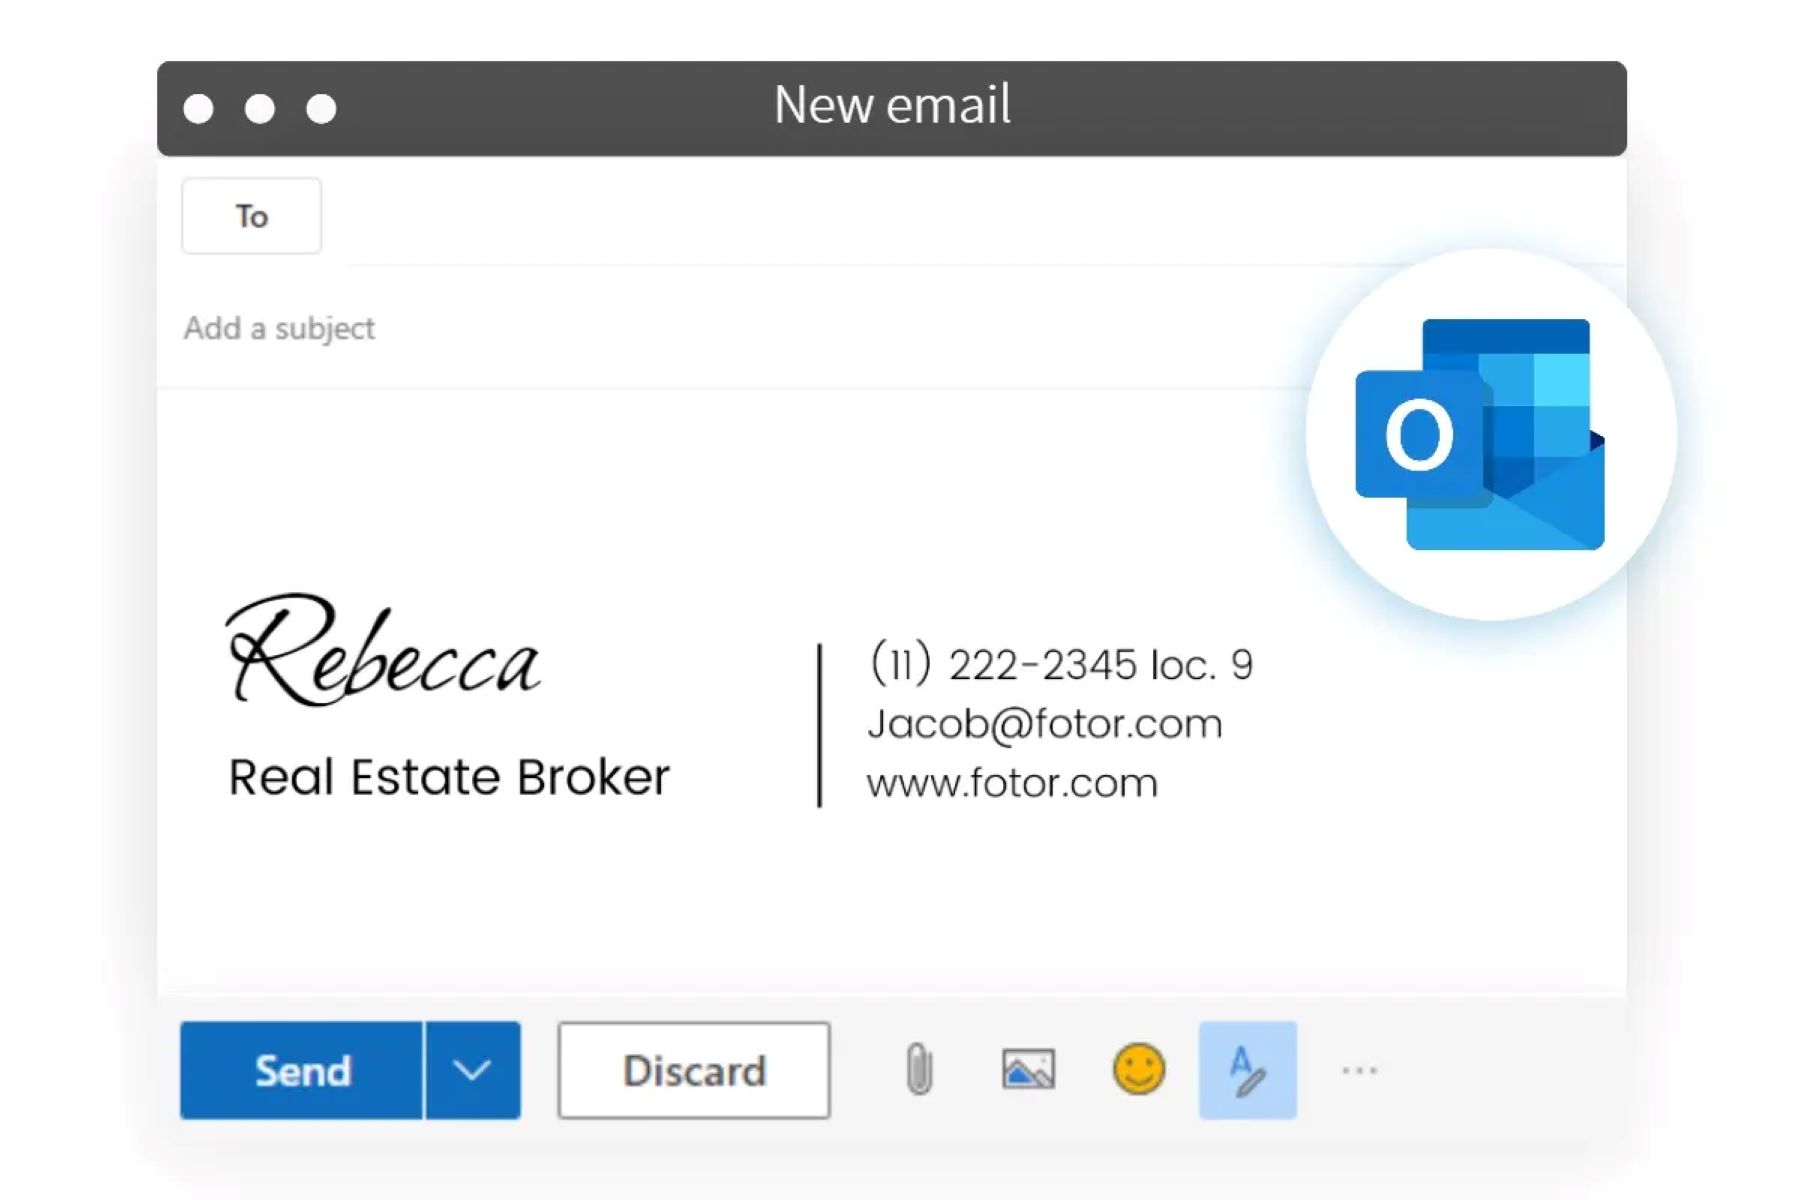
Step 9: Customize the signature
After entering a name for your signature, the next step in changing your email signature is to customize it according to your preferences. The customization options in Outlook allow you to add various elements such as text, images, links, and formatting styles.
Within the “Signatures” window, you will see a blank template that represents your newly created signature. This template provides a space where you can design and configure the content that will appear in your email signature.
To start customizing your signature, you can begin by adding your name, job title, contact information, and any other relevant details. This helps recipients identify you and provides them with the necessary information to reach out to you.
In addition to text, you can also include images such as your company logo, headshot, or any other visual elements that align with your personal or brand identity. Images can be added by clicking on the appropriate icon within the signature editor and selecting the image file from your computer.
Furthermore, you have the option to add clickable links to your website, social media profiles, or any other webpages you wish to direct recipients to. To insert a link, highlight the desired text or image within the signature editor, click on the hyperlink icon, and enter the URL.
Take advantage of formatting tools to style your signature. You can choose font types, sizes, colors, alignments, and other formatting options to make your signature visually appealing and consistent with your professional or personal branding.
Remember to keep your signature concise and avoid cluttering it with unnecessary information. A clean and well-organized signature tends to be more visually pleasing and easier to read.
Once you have completed customizing your signature, consider using the preview feature within the signature editor to see how it will appear in a sample email. This allows you to make any final adjustments before saving your changes.
To sum up, the ninth step in changing your email signature is to customize it according to your preferences. You can add text, images, links, and formatting styles to personalize your signature and make it visually appealing. Ensure that your signature is concise, relevant, and well-organized. Use the preview feature to review and make any necessary adjustments before saving your changes.
Step 10: Save the changes
After customizing your email signature to your satisfaction, the final step in changing your email signature is to save the changes you have made. This ensures that your newly designed signature will be applied to all outgoing emails from the selected email account in Outlook.
To save the changes, click on the “OK” button within the “Signatures” window. This will close the signature editor and return you to the main Outlook interface.
Your newly created or modified signature will now be available for use when composing a new email or replying to an existing one. It will be automatically inserted into the email body whenever you begin typing or replying to a message.
It’s important to note that you can have multiple signatures for different email accounts, giving you the flexibility to switch between them based on your needs.
If you want to set a specific signature as your default for new emails, you can do so within the “Signatures” window by using the drop-down menus under the “Choose default signature” section.
Remember to test your newly updated signature by sending a sample email to yourself or a colleague to ensure that it appears as intended and contains all the necessary information.
If you ever need to make further changes to your email signature, you can follow the same steps outlined here to access the “Signatures” window and edit your existing signatures or create new ones.
To summarize, the final step in changing your email signature is to save the changes you have made. Click on the “OK” button within the “Signatures” window to finalize your signature design. Your newly created or modified signature will now be ready for use in your outgoing emails from the selected email account in Outlook.
Conclusion
Changing your email signature in Outlook is a simple yet powerful way to enhance your professional image and leave a lasting impression on your recipients. Through a few easy steps, you can customize your signature to reflect your personal or business brand, making each email you send more impactful and professional.
In this article, we have provided a comprehensive guide on how to change your email signature in Outlook. We started by opening Outlook and navigating to the “Options” menu. From there, we accessed the “Signatures” window, where we could create or modify our email signatures.
By choosing the appropriate email account and clicking “New,” we were able to create a new signature template and enter a name for it. From there, we took advantage of the customization options to add text, images, links, and formatting styles to our signature.
Finally, we saved our changes and ensured that our new signature would automatically appear in our outgoing emails. We also discussed the option to set a default signature for new emails and the possibility of having multiple signatures for different email accounts.
Remember, a well-crafted email signature can make a significant impact in your professional communication. It not only provides essential contact information but also adds a touch of professionalism and personalization to your emails.
So, take the time to customize your email signature in Outlook and create a signature that represents you or your brand effectively. Whether you’re a business professional, freelancer, or an individual looking to make a statement, your email signature is an excellent opportunity to put your best foot forward and leave a professional mark in every correspondence.
Now it’s time to put these steps into action and change your email signature in Outlook. Start by opening Outlook, navigating to the “Options” menu, and getting creative with your signature. Embrace the opportunity to showcase your personal or business brand and make a memorable impression on your recipients.