Introduction
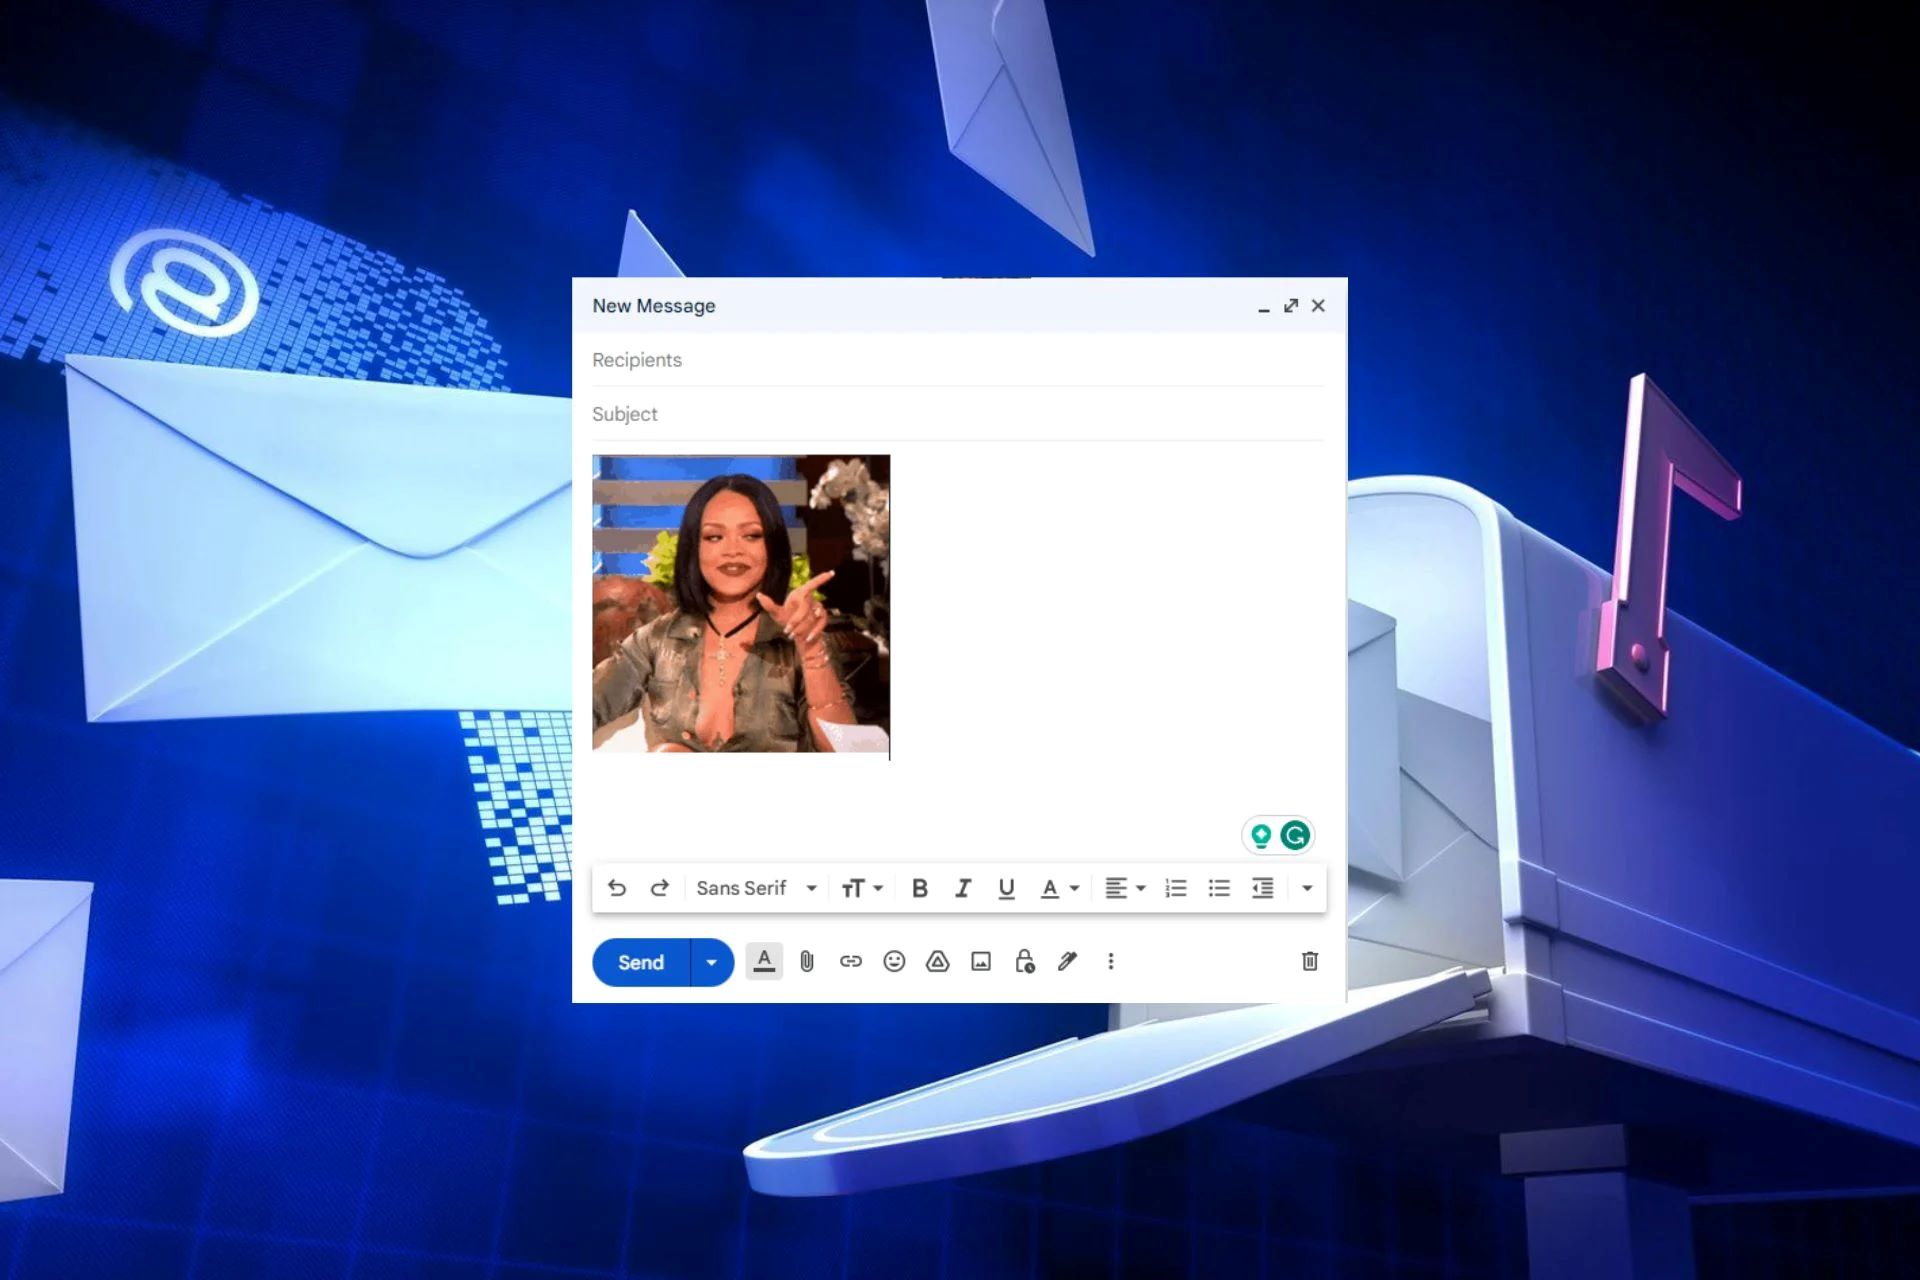
Adding a picture to your Outlook email can be a great way to enhance your message and captivate your recipients. Whether you want to include a stunning image, a funny meme, or a professional logo, Outlook provides a straightforward process to seamlessly incorporate pictures into your emails.
With the growing importance of visual content in communication, including an appealing image can help to convey your message more effectively and leave a lasting impression on your recipients. Whether you’re sending a personal email, a marketing campaign, or a business proposal, adding a picture can elevate the overall impact of your message.
In this article, we will guide you through the essential steps to add a picture to your Outlook email. You don’t need to be a tech expert or have any design skills – Outlook makes it simple for anyone to include visuals in their email correspondence.
So, if you’re ready to learn how to take your emails to the next level with images, let’s get started with the step-by-step instructions for adding a picture to Outlook email.
Step 1: Create a new email in Outlook
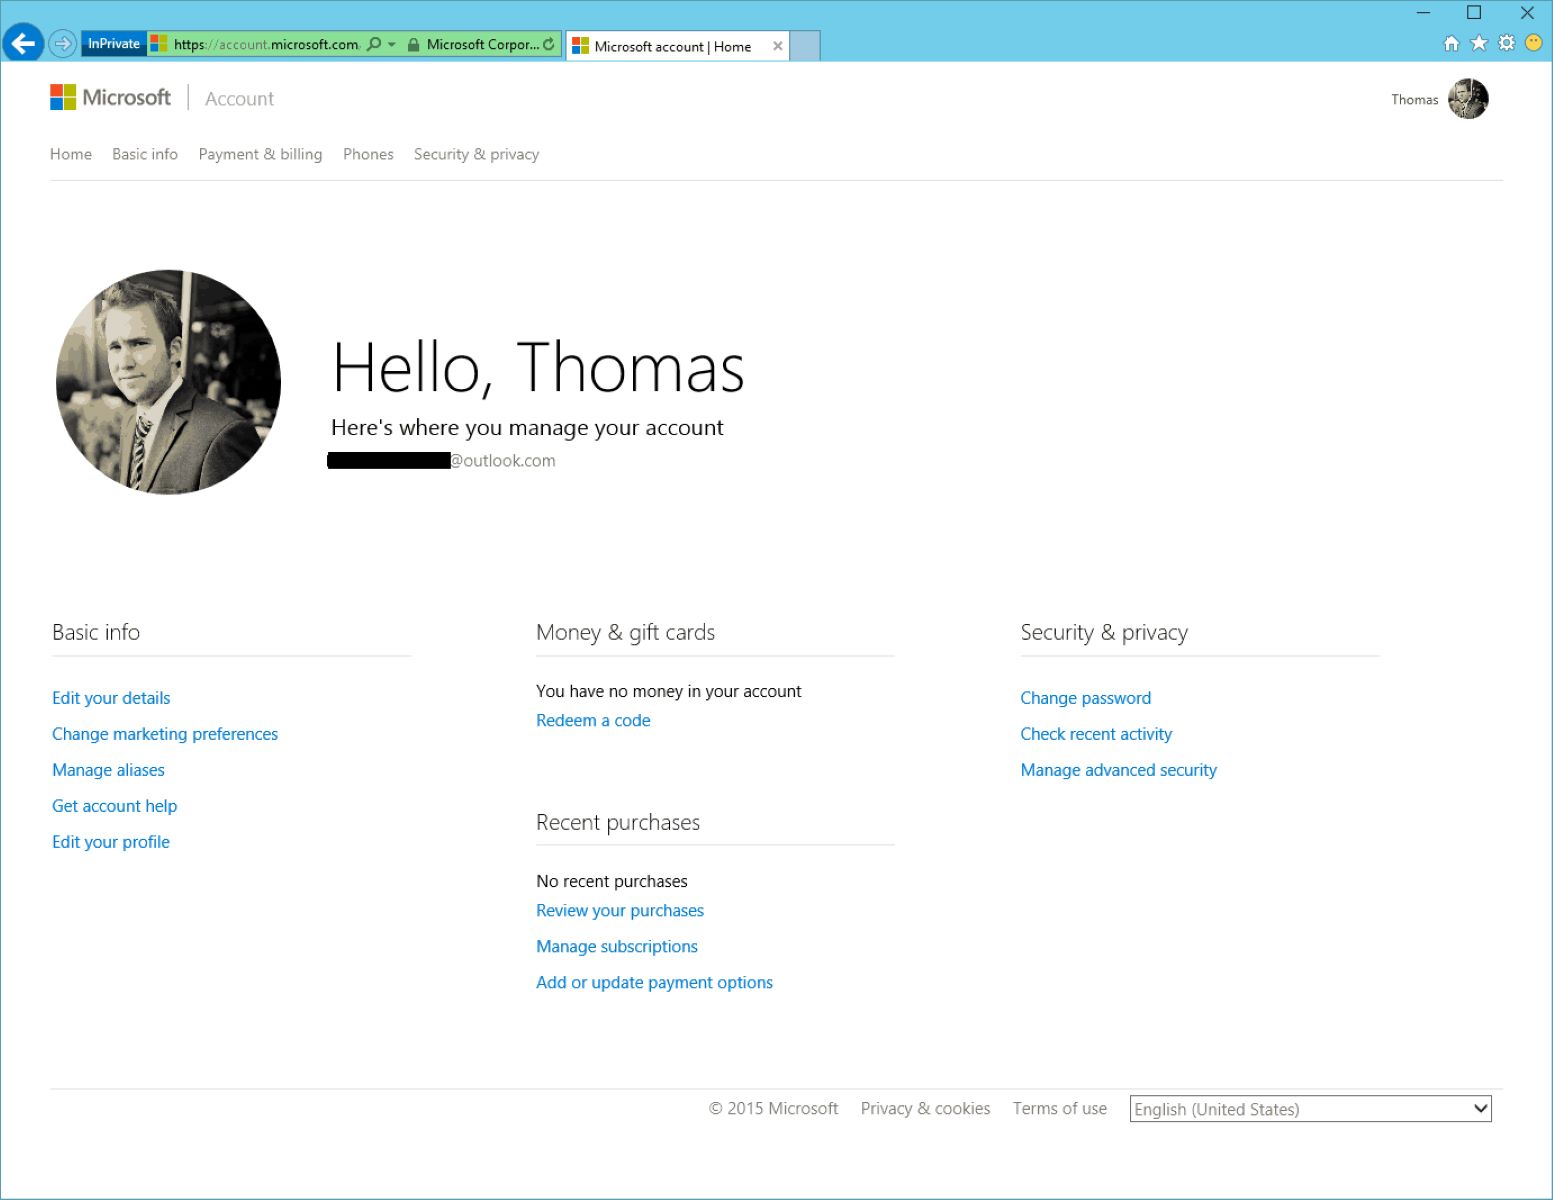
The first step in adding a picture to your Outlook email is to start by creating a new email. Open the Outlook application or sign in to your Outlook account through your web browser.
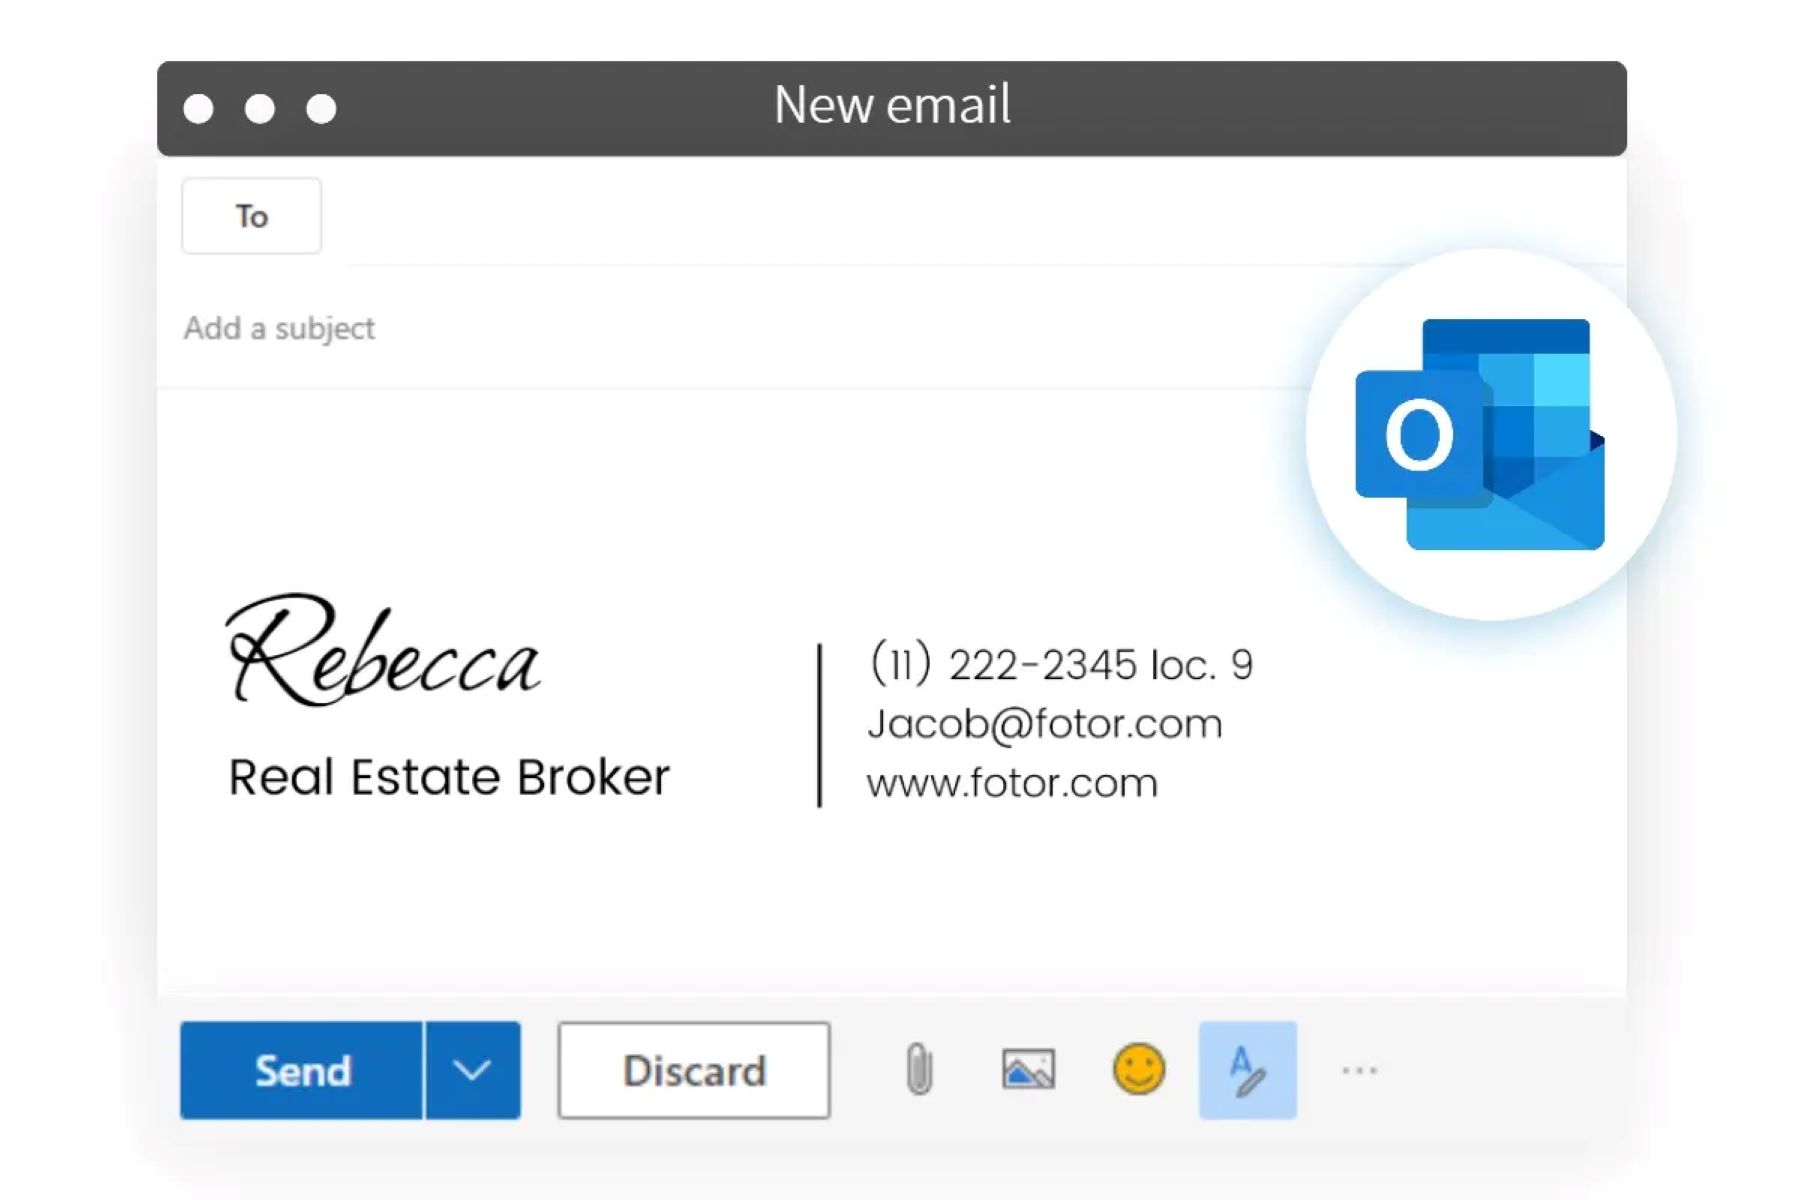
If you are using the Outlook application, locate the “New Email” button in the toolbar at the top of the screen. Click on it to open a blank email composition window. If you are using the web version of Outlook, navigate to your inbox and click on the “New Email” button, usually located at the top left corner of the screen.
Once you have opened a new email, you will see a familiar layout with fields for the recipient’s email address, subject line, and the body of the email.
If you have a specific recipient in mind, enter their email address in the “To” field. You can also add multiple recipients by separating their addresses with commas.
Next, in the subject line field, briefly summarize the purpose of your email. This will help your recipients understand the content of the email and give them a preview of what to expect.
Now, you are ready to proceed to the next step and add a picture to your email.
Step 2: Click on the “Insert” tab
After creating a new email in Outlook, the next step is to click on the “Insert” tab. The “Insert” tab is located at the top of the email composition window, alongside other tabs such as “File,” “Message,” and “Options.”
When you click on the “Insert” tab, a new set of options will appear, specifically tailored to inserting various elements into your email. These options include attachments, tables, links, symbols, and of course, pictures.
By clicking on the “Insert” tab, you are signaling to Outlook that you want to include additional content in your email, beyond just plain text. This is where you will find the tools to add pictures that will enhance and enrich your email communication.
Once you have clicked on the “Insert” tab, get ready for the next step, where we will explore the specific option to insert pictures into your Outlook email.
Step 3: Select “Pictures” from the toolbar
Now that you have reached the “Insert” tab in your Outlook email, it’s time to select the “Pictures” option from the toolbar. This option allows you to choose and insert an image file from your computer or other storage devices into your email.
When you click on the “Pictures” option, a file explorer window will appear, enabling you to navigate through your files and folders to locate the desired image. This window will typically display your most recently accessed folders, making it easier to find the picture you want to include.
Take a moment to browse through your folders and select the image you want to insert. You can use the file explorer window to expand folders, view thumbnail previews of images, and even sort files by name, size, or date modified to help you locate the picture more efficiently.
Once you have selected the picture you wish to include, click on the “Insert” or “Open” button located at the bottom right corner of the file explorer window. This action will insert the chosen image into your email composition window.
With the “Pictures” option selected and your desired image inserted, you are now ready to move on to the next step, where we will explore how to properly insert and adjust the picture within your email.
Step 4: Choose the picture you want to add to your email
Now that you have selected the “Pictures” option in the Outlook toolbar, it’s time to choose the specific picture you want to add to your email. This step requires you to navigate through your files and find the desired image.
After clicking on the “Pictures” option, a file explorer window will open, displaying your most recently accessed folders. Use the navigation panel on the left side of the window to browse through your computer’s folders and locate the folder that contains the picture you wish to include.
Once you have located the folder, click on it to reveal its contents. The file explorer window will display the files within that folder, including images in formats such as JPEG, PNG, GIF, or BMP.
Take your time to browse through the files and find the specific image you want to add to your email. You can utilize the thumbnails and file names to identify the correct picture. If you have trouble finding the image, use the search bar located at the top-right corner of the file explorer window to search for the file by name or file type.
When you have found the desired picture, click on it to select it. The file explorer window will highlight the selected image, indicating that it is ready to be inserted into your email.
Once you have chosen the picture you want to add to your email, proceed to the next step to actually insert it into your email composition.
Step 5: Insert the picture into your email
With the desired picture selected, it’s time to insert it into your email composition. Once you have clicked on the picture, the file explorer window will close, and you will be returned to the email composition window in Outlook.
You will now see that the selected picture is inserted into your email, displayed within the body of the message. By default, Outlook will place the picture at the location of your cursor within the email body. However, you can later move or adjust the picture as needed.
The inserted picture will appear as a visual representation within your email, allowing you to see how it will appear to your recipients. This gives you an opportunity to review the picture’s placement and make any necessary adjustments before finalizing the email.
At this stage, take a moment to review your email and ensure that the picture is accurately inserted. Depending on the size and resolution of the image, you may need to resize or make further adjustments to optimize its appearance within the email.
Now that you have successfully inserted the picture into your email, you are ready to move on to the next step, where we will explore methods for resizing or adjusting the picture if necessary.
Step 6: Resize or adjust the picture if necessary
After inserting the picture into your Outlook email, you may find it necessary to resize or make adjustments to ensure it fits and enhances your message appropriately. Outlook provides several options to help you modify the appearance of the inserted picture.
To resize the picture, click on it to activate the “Picture Tools” tab at the top of the screen. This tab contains various options and controls for formatting and editing the picture.
Within the “Picture Tools” tab, locate the “Size” group, which includes controls for adjusting the dimensions of the picture. You can manually enter specific values for width and height, or you can use the drag handles on the corners of the picture to resize it proportionally.
Additionally, you can click on the “Crop” option within the “Size” group to further adjust the picture’s crop area. This allows you to focus on specific elements of the picture, removing any unwanted portions.
If you want to rotate or flip the picture, you can find these options in the “Arrange” group in the “Picture Tools” tab. Use the “Rotate” or “Flip” buttons to change the orientation of the picture as desired.
While adjusting the picture, it’s important to maintain its aspect ratio to prevent distortion. By keeping the aspect ratio locked, any changes you make to one dimension (e.g., width) will automatically adjust the other dimension (e.g., height) proportionally.
Once you have resized or adjusted the picture to your satisfaction, take a moment to review its appearance within the email. Make any necessary fine-tuning to ensure the picture appears as intended and enhances the overall message you want to convey.
Now that you have resized or adjusted the picture, proceed to the next step to explore optional features like adding captions or alt text to the picture.
Step 7: Add a caption or alt text to the picture (optional)
Adding a caption or alternative text (alt text) to the picture in your Outlook email can provide additional context or improve accessibility for recipients who may be using screen readers or have visual impairments. While optional, it is a good practice to include captions or alt text whenever possible.
To add a caption to the picture, click on the inserted picture to activate the “Picture Tools” tab at the top of the screen. Within this tab, locate the “Caption” group where you will find the option to add a caption.
Click on the “Caption” option, and a text box will appear below the picture. Enter the desired caption to provide a brief description or explanation of the picture. Captions can be used to enhance understanding, provide context, or add a touch of creativity to your email.
To add alt text to the picture, right-click on the image and select “Edit Alt Text” from the context menu. This will open a dialog box where you can enter a description of the image. Alt text is primarily used by screen readers to describe the picture to users who are unable to see it.
When adding captions or alt text, it’s important to keep them concise, clear, and relevant. Captions should be brief and descriptive, while alt text should provide a succinct but accurate representation of the image.
After adding the caption or alt text, take a moment to review your email and ensure the text is accurately written and conveys the intended message.
Now that you have the option to add captions or alt text to the picture, proceed to the final step, where we summarize the process of sending the email with the picture attached.
Step 8: Send the email with the picture attached
Once you have finished inserting the picture, resizing it if needed, and optionally adding captions or alt text, you are now ready to send the email with the picture attached to your desired recipients. Now, let’s take a look at how you can complete this final step.
In the email composition window, review the entire email to ensure that the picture is correctly inserted, properly sized, and appropriately positioned. Double-check the caption or alt text if you have added them to ensure accuracy.
Next, if you haven’t already done so, enter the recipient’s email address or addresses in the “To” field. You can also add additional recipients in the “Cc” (carbon copy) or “Bcc” (blind carbon copy) fields if necessary.
Take a moment to compose your email text, providing any additional information, context, or instructions that you want to include along with the attached picture.
Once you are satisfied with your email, you can click on the “Send” button, typically located in the toolbar at the top of the email composition window. By clicking this button, Outlook will send the email along with the attached picture to the specified recipients.
After sending the email, it is recommended to check your “Sent” folder or outbox to confirm that the email was successfully sent and the picture was attached as intended. This step gives you peace of mind and allows you to verify that everything looks as expected before the recipients receive the email.
Now that you have successfully sent the email with the picture attached, you can rest assured that your message will stand out and leave a lasting impact on your recipients.
That concludes our step-by-step guide on how to add a picture to your Outlook email. By following these instructions, you can effectively incorporate visuals into your email communication, enhancing your message and capturing the attention of your recipients.