Introduction
Welcome to our guide on how to set up an email account. In today’s digital age, having an email account is essential for personal and professional communication. Whether you need an email address for work, to keep in touch with friends and family, or to sign up for online services, this step-by-step guide will walk you through the process of setting up a new email account.
Setting up an email account is a fairly straightforward process, but it can be overwhelming if you’re new to the world of email. Don’t worry, though – we’re here to help! In this guide, we’ll cover everything you need to know, from choosing the right email provider to customizing your email account and using advanced features.
Before we dive into the steps, it’s important to note that there are many email providers to choose from. Some of the most popular options include Gmail, Outlook, Yahoo Mail, and iCloud Mail. Each provider has its own unique features and interface, so we’ll guide you through the process using general instructions that can be applied to most email services.
Now, let’s get started on our journey to creating your own email account. Whether you’re a beginner or just need a refresher, this guide has you covered. By the end of this process, you’ll have a fully functional email account that you can use to send and receive messages, share important information, and stay connected with the world.
Step 1: Choosing an Email Provider
The first step in setting up an email account is to choose an email provider. As mentioned earlier, there are several popular email providers to choose from, each with its own set of features and benefits.
When selecting an email provider, there are a few factors to consider:
- Reliability: You want a provider that offers a stable and reliable email service, ensuring that your messages are delivered and received without any issues.
- Storage capacity: Consider the amount of storage space available for your emails and attachments. If you anticipate receiving and storing a large volume of emails, choose a provider that offers ample storage space.
- User interface: The user interface should be intuitive and easy to navigate. Look for a provider that offers a clean and user-friendly interface for a seamless email experience.
- Security: Email security is crucial to protect your personal information. Ensure that the email provider has robust security measures in place, including encryption protocols, spam filters, and virus scanning.
- Additional features: Some providers offer additional features like integrated calendars, task managers, and cloud storage. Consider what features are important to you and choose a provider that meets your needs.
Popular email providers like Gmail, Outlook, and Yahoo Mail offer a reliable and feature-rich email experience. Gmail, for example, provides a spacious inbox, excellent spam filtering, and seamless integration with other Google services like Google Drive and Google Calendar. Outlook, on the other hand, offers a professional and polished interface with advanced features like email scheduling and customizable folders.
Take some time to research and compare different email providers. Consider reading user reviews and exploring the features and functionalities of each provider to make an informed decision that aligns with your requirements.
Once you’ve chosen an email provider, you’re ready to move on to the next step: setting up your email account.
Step 2: Setting Up Your Email Account
Now that you’ve chosen an email provider, it’s time to set up your email account. The process may vary slightly depending on the provider you’ve selected, but the general steps remain the same.
Here’s how to set up your email account:
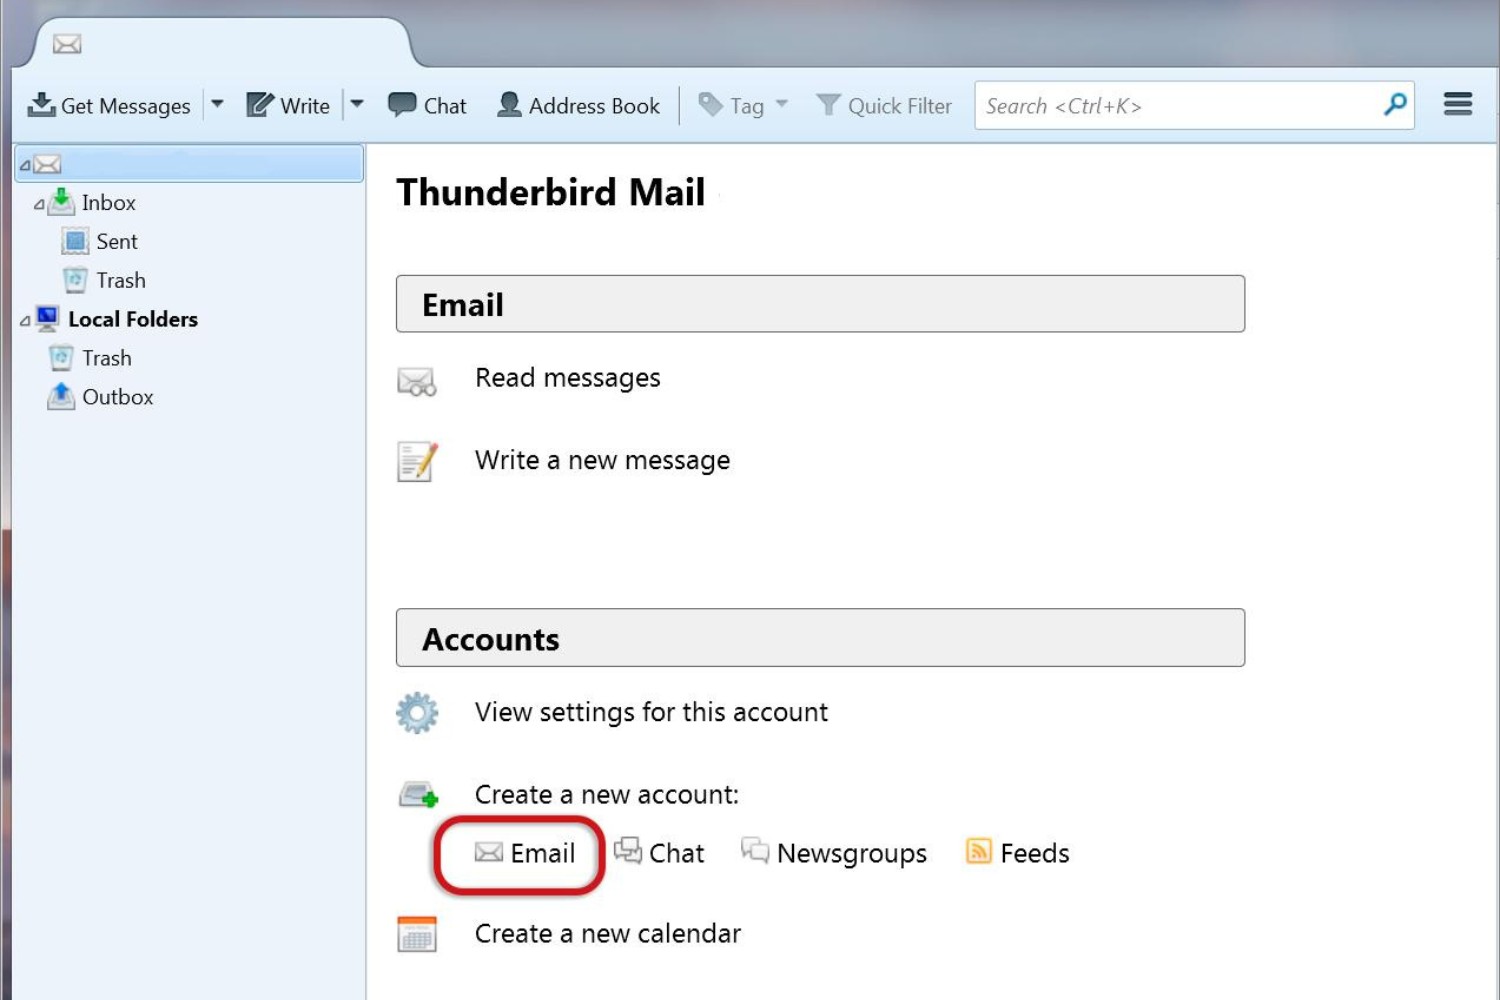
- Go to the website of the email provider you’ve chosen. Look for the “Sign Up” or “Create Account” option, usually located on the homepage.
- Click on the sign-up button and you’ll be directed to the account creation page. Fill in your personal information, including your name, desired email address, and a secure password.
- Choose a unique and memorable email address. Most email providers offer a variety of domain options, such as @gmail.com, @outlook.com, or @yahoo.com. You can select the one that suits you best or aligns with your personal or business brand.
- Ensure that your password is strong and secure. Use a combination of uppercase and lowercase letters, numbers, and special characters. Avoid using common words or easily guessable information.
- Complete any additional steps required by the email provider, such as phone verification or agreeing to terms of service.
- Once the account setup is complete, you’ll have access to your new email account. Sign in using your email address and password, and you’re ready to start using your email!
Remember to keep your login credentials secure and confidential. It’s best to avoid sharing your password with anyone and periodically change it to ensure the safety of your account.
Setting up your email account is an exciting process as it marks the beginning of your digital communication journey. With your newly created account, you can now start sending and receiving emails, adding contacts, and exploring the various features and settings offered by your chosen email provider.
In the next step, we’ll discuss creating a strong password to protect your email account from unauthorized access.
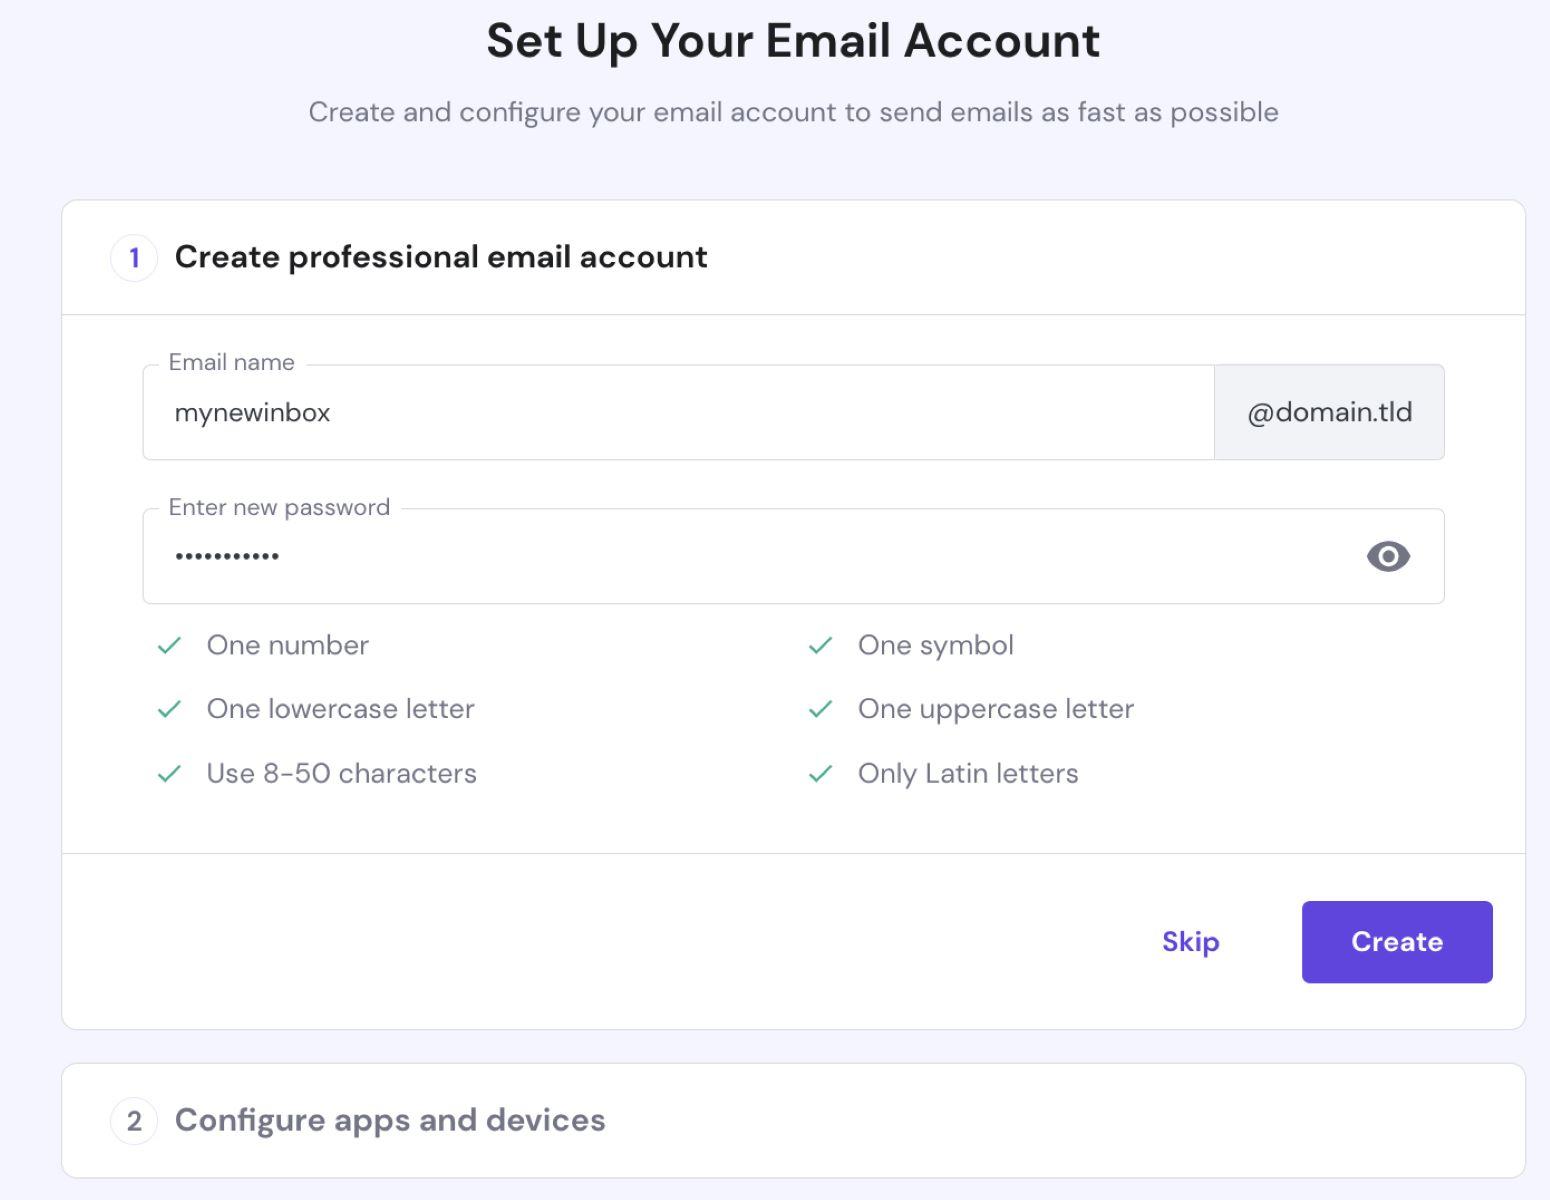
Step 3: Creating a Strong Password
Creating a strong and secure password is crucial to protect your email account from unauthorized access. With the increasing prevalence of cybersecurity threats, it’s essential to take steps to safeguard your personal information.
When creating a password for your email account, consider the following guidelines:
- Length: Choose a password with a minimum of 8 characters. The longer the password, the more secure it is.
- Complexity: Use a combination of uppercase and lowercase letters, numbers, and special characters. Avoid using easily guessable information such as your name, birthdate, or common words.
- Uniqueness: Avoid using the same password for multiple accounts. Each online account should have a unique and distinct password to prevent a security breach from affecting multiple accounts.
- Randomness: Generate a password that is random and does not follow a predictable pattern. Password managers can assist in creating and storing complex passwords securely.
- Regular Updates: Change your password periodically, ideally every three to six months. Regularly updating your password adds an extra layer of security to your email account.
Remember, a strong password acts as a strong defense against hackers and unauthorized access. It is worth investing time and effort in creating a robust password to protect your sensitive information.
In addition to the password itself, it’s essential to keep your password confidential. Avoid sharing it with anyone and be cautious of phishing attempts or suspicious emails requesting your login information.
By following these guidelines and creating a strong password, you can significantly enhance the security of your email account, ensuring that your personal and confidential information remains protected.
Now that your email account is set up and secured with a strong password, you’re ready to move on to the next steps, where we’ll discuss personalizing your email account and adding contacts to your address book.
Step 4: Personalizing Your Email Account
Once you’ve created your email account and set a strong password, it’s time to personalize your account to make it feel more like your own. Personalizing your email account not only adds a touch of uniqueness but also helps you organize and manage your emails more efficiently.
Here are some ways to personalize your email account:
- Profile Picture: Add a profile picture to your email account to make it more personal. This picture can be a photo of yourself or an avatar that represents your identity.
- Signature: Create an email signature that will automatically appear at the end of each email you send. Include your name, job title, contact information, or any other relevant details you want to share.
- Theme and Layout: Customize the visual appearance of your email interface by choosing a theme or changing the layout. Many email providers offer a range of themes and options to suit your preferences.
- Folders and Labels: Set up folders or labels to organize your incoming and outgoing emails. Create categories such as work, personal, or specific projects, and move emails into the appropriate folders for easy retrieval.
- Filters and Rules: Take advantage of the filtering and rules options provided by your email provider. These features allow you to automatically sort incoming emails, forward specific messages, or mark emails as important based on defined criteria.
Personalizing your email account not only adds a personal touch but also enhances your productivity and efficiency. By customizing your settings, organizing your emails, and automating certain tasks, you’ll have a streamlined experience and be able to focus on what matters most.
Remember to periodically review and update your personalization choices to align with any changes in your preferences or work requirements.
Now that you’ve personalized your email account, it’s time to move on to the next step, which is adding contacts to your address book so that you can easily communicate with your connections.
Step 5: Adding Contacts to Your Address Book
One of the key benefits of having an email account is the ability to easily communicate with others. To make this process even more convenient, it’s essential to add your contacts to your email’s address book or contact list.
Here’s how you can add contacts to your address book:
- Open your email account and look for the “Contacts” or “Address Book” option. This is usually located in the navigation menu.
- Click on the “Add Contact” or “New Contact” button to create a new entry in your address book.
- Enter the contact’s name, email address, and any other relevant details you want to include, such as their phone number or business information.
- Save the contact. Some email providers may offer additional options, such as adding a profile picture or categorizing the contact into groups or labels.
- Repeat these steps for each contact you want to add to your address book.
Having your contacts stored in your address book makes it easy to find and email them whenever you need to. You can simply start typing their name or email address in the recipient field, and the email provider will suggest the matching contacts for you to select.
In addition to manually adding contacts, many email providers allow you to import contacts from other sources, such as a CSV file or from your social media accounts. This can save you time if you have a large number of contacts to add.
Keep your address book organized by periodically reviewing and updating your contacts. Remove any outdated or duplicate entries and make sure to update contact details as necessary.
With your contacts added to your address book, you’re now ready to start composing and sending emails to your friends, colleagues, and other connections.
Next, we will explore how to manage your email account settings to further customize and optimize your email experience.
Step 6: Managing Your Email Account Settings
Managing your email account settings allows you to customize and optimize your email experience according to your preferences and needs. By accessing these settings, you can fine-tune various aspects of your email account to enhance your productivity and ensure a smooth communication process.
Here’s how you can manage your email account settings:
- Look for the “Settings” or “Options” menu in your email account. This is usually represented by a gear icon or a similar symbol.
- Click on the settings menu and explore the different options available to you. Some common settings you may come across include:
- Email Signature: Customize or edit your email signature, which appears at the end of your outgoing messages.
- Notification Preferences: Control how you receive notifications for new emails, including sound alerts, pop-up notifications, or email notifications on your mobile device.
- Language and Region Settings: Adjust the language and timezone settings for your email account.
- Autoresponder: Set up an autoresponder or out-of-office message to automatically reply to incoming emails with a predefined message when you’re away from your computer.
- Blocked Senders: Manage a list of blocked senders or create filters to automatically mark certain types of emails as spam.
- Email Forwarding: Set up email forwarding to automatically redirect emails from your current account to another email address.
- Privacy and Security Settings: Customize privacy and security settings, such as enabling two-factor authentication or reviewing app permissions.
- Adjust these settings according to your preferences and requirements. Take some time to explore each setting and understand how it can enhance your email experience.
- Save your changes once you’ve finished updating your email account settings.
By managing your email account settings, you can tailor your email experience to suit your individual needs. Whether it’s setting up an autoresponder for when you’re on vacation or adjusting notification preferences to minimize distractions, these settings allow you to optimize your email workflow.
Remember to regularly review and update these settings as your needs change or new features become available. This way, you can ensure your email account is always configured to meet your current requirements.
Now that you’ve customized your email account settings, you’re ready to start sending and receiving emails with ease.
Next, we will discuss the process of composing and sending emails, as well as organizing your inbox effectively.
Step 7: Sending and Receiving Emails
Sending and receiving emails is the core functionality of any email account. Whether you’re communicating with colleagues, friends, or clients, mastering the process of composing and managing your emails is essential for effective communication.
Here’s how you can send and receive emails:
- To compose a new email, click on the “Compose” or “New Email” button in your email account. This will open a new email composition window.
- Enter the email address of the recipient in the “To” field. If you want to send the email to multiple recipients, separate the addresses with commas.
- Compose your email by entering a subject line and typing your message in the message body. You can format your text, add attachments, or include hyperlinks as needed.
- Once your email is ready, review it for accuracy, spelling, and clarity. Ensure you’ve included all the necessary details before sending it.
- Click the “Send” button to send your email. It will then be delivered to the recipient’s inbox.
To receive emails, simply navigate to your inbox. Your incoming emails will be displayed in chronological order, with the most recent ones appearing at the top. Email providers often offer features to organize your inbox, such as sorting emails by different categories or creating filters to automatically route incoming messages to specific folders.
When receiving emails, it’s important to manage them efficiently to maintain an organized inbox. Some best practices for managing your incoming emails include:
- Regularly check and respond to your emails to ensure timely communication.
- Create folders or labels to categorize and store important emails for easier access.
- Delete or archive emails that are no longer needed to declutter your inbox.
- Use search and filter options to locate specific emails quickly.
- Set up email notifications or reminders to help you stay on top of important messages.
By mastering the art of sending and receiving emails and effectively managing your inbox, you can ensure that your communication remains efficient and organized.
Next, we will explore how to organize your emails into folders for better email management.
Step 8: Organizing Emails into Folders
Organizing your emails into folders is a valuable technique for effective email management. By creating specific folders and categorizing your emails, you can easily locate and retrieve important messages when needed.
Here’s how you can organize your emails into folders:
- Assess your email flow and identify common categories or themes that your emails fall into. For example, you may have folders for work-related emails, personal correspondence, newsletters, or specific projects.
- Create folders in your email account based on the categories you’ve identified. Most email providers offer an option to add folders or labels to your account, which can be accessed in the settings or by right-clicking on your inbox.
- Once you have your folders set up, start organizing your emails. To move an email to a folder, simply select the email or emails you want to organize, and click on the “Move” or “Move to” option. Choose the desired folder from the drop-down menu.
- Continue moving emails to their respective folders as they arrive in your inbox. This way, your emails will be automatically sorted and easily accessible.
By organizing your emails into folders, you can declutter your inbox and have a clear overview of your messages according to their categories. This not only makes it easier to find specific emails but also helps in prioritizing tasks and efficiently managing your correspondence.
It’s important to periodically review and declutter your folders by deleting or archiving emails that are no longer relevant. This will ensure that your folders remain organized and your email storage does not become overloaded.
Additionally, take advantage of any filtering or automatic sorting options provided by your email provider. You can create rules or filters to automatically move specific types of emails to designated folders, making your email organization even more efficient.
With your emails organized into folders, you’ll have greater control and a more streamlined approach to managing your email account.
In the next step, we will dive into using filters and rules to further automate and manage your email workflow.
Step 9: Using Filters and Rules
To further automate and manage your email workflow, you can take advantage of filters and rules. These powerful features offered by most email providers allow you to automatically organize, prioritize, and handle incoming emails based on specific criteria.
Here’s how you can use filters and rules to optimize your email management:
- Access the settings or options menu in your email account and look for the “Filters” or “Rules” section.
- Create a new filter or rule by specifying the conditions that determine which emails should be affected by the rule.
- You can set filters based on various criteria, such as the sender’s email address, specific keywords in the subject or body, or whether the email has an attachment.
- Once you’ve defined the conditions, specify the actions that should be taken when these conditions are met.
- You can choose to automatically move the email to a specific folder, mark it as important, forward it to another email address, or apply a specific label or category.
- Save the filter or rule, and it will start automatically managing future incoming emails according to your defined criteria.
By using filters and rules, you can automate the organization and handling of your incoming emails. For example, you can set up a filter to automatically archive all newsletters into a designated folder or mark emails from a specific client as important and flag them for immediate attention.
Filters and rules can greatly enhance your email management by reducing the time and effort required to manually sort and handle each email. They allow you to prioritize important messages and categorize incoming emails based on different criteria.
Regularly review and adjust your filters and rules to ensure they align with your evolving needs and preferences. You may find that as your email usage changes, you need to modify or create new filters to effectively manage your inbox.
Once you’ve set up filters and rules to automate your email management, you’ll experience a more streamlined workflow and greater efficiency in handling your emails.
Next, we’ll discuss setting up automatic replies and out-of-office messages for times when you’re unavailable.
Step 10: Setting Up Automatic Replies and Out-of-Office Messages
When you’re away from your email for an extended period or unavailable to respond promptly, setting up automatic replies or out-of-office messages can help manage expectations and ensure that important contacts receive a timely response. These features allow you to inform others about your absence and provide alternative contacts or important details.
Here’s how you can set up automatic replies or out-of-office messages:
- Access the settings or options menu in your email account and look for the “Automatic Replies” or “Out-of-Office” section.
- Enable the automatic reply feature and specify the start and end dates for your absence.
- Compose your message, which will be sent as an automatic reply to incoming emails during the defined period.
- In your message, you can include details such as the reason for your absence, when you’ll be back, and alternative contacts for urgent matters.
- Save the automatic reply or out-of-office message settings.
With automatic replies or out-of-office messages set up, anyone who sends you an email while you’re away will receive a notification informing them of your absence and when they can expect a response. This helps manage expectations and prevents delayed or unanswered emails.
Remember to disable the automatic reply or out-of-office feature once you’re back to ensure that your emails are handled promptly.
Setting up automatic replies and out-of-office messages is particularly useful for times when you’re on vacation, attending conferences, or facing any situation where you won’t be able to respond to emails immediately. It allows you to maintain professionalism, manage communication, and provide necessary information to those reaching out to you.
Make sure your automatic reply or out-of-office message is clear, concise, and professional. Avoid sharing sensitive information and ensure that the alternative contacts provided are reliable and authorized to handle any urgent matters.
With automatic replies and out-of-office messages properly set up, you can enjoy your time away from your email, knowing that your contacts will be informed and your communication will be managed effectively in your absence.
Congratulations! You have successfully completed all the steps to set up and manage your email account. With these skills, you’ll be able to navigate the world of email communication with confidence and efficiency.
Conclusion
Congratulations on completing our guide to setting up and managing your email account! By following the ten steps outlined in this guide, you have gained the knowledge and skills necessary to navigate the world of email communication with ease and efficiency.
We started by choosing an email provider that aligns with your needs and preferences. Then, we walked you through the process of setting up your email account, creating a strong password, and personalizing your account to make it feel more like your own. You learned how to add contacts to your address book and explored various settings to customize your email experience.
Organizing your emails into folders and utilizing filters and rules allowed you to effectively manage your inbox and automate certain aspects of your email workflow. You also learned how to set up automatic replies and out-of-office messages for times when you’re away or unable to respond promptly.
By mastering these steps, you have equipped yourself with the necessary skills to efficiently send and receive emails, stay organized, and optimize your email management. Remember to regularly review and update your settings, folders, and rules to adapt to your changing needs.
Effective email management is crucial in today’s digital age, where communication plays a vital role in personal and professional relationships. By implementing the techniques learned in this guide, you can save time, increase productivity, and maintain clear and organized communication with your contacts.
Thank you for joining us on this journey to set up and manage your email account. We hope this guide has been insightful and helpful in enhancing your email experience. Embrace these skills and continue to explore the features and capabilities of your email provider to make the most of your email communication.
Wishing you success in all your email endeavors!