Introduction
Changing your email account on a Samsung tablet can be a straightforward process that allows you to easily manage your email correspondence. Whether you want to switch to a different email provider or simply update the account details of your current email, following a few simple steps will help you accomplish this task.
Our email accounts contain important information, including personal and professional communications. Therefore, it’s essential to keep our email settings up to date and ensure that our messages are being delivered to the correct account. By changing your email account on a Samsung tablet, you can ensure that you stay connected and organized.
In this article, we will guide you through the step-by-step process of changing your email account on a Samsung tablet. We will cover how to remove your current email account and add a new one, as well as how to update account settings to ensure proper functionality. So, whether you are migrating to a new email service or need to update your existing email account, let’s dive into the simple process of changing your email account on a Samsung tablet.
Step 1: Open the Email App
To begin the process of changing your email account on a Samsung tablet, you first need to open the Email app. The Email app is pre-installed on your Samsung tablet and allows you to access and manage your email accounts conveniently.
Locate the Email app icon on your tablet’s home screen or in the app drawer. It is typically represented by an envelope icon with the word “Email” written beneath it. Tap on the Email app icon to open it.
Once the Email app is launched, you will be directed to the email inbox screen, where you can view your incoming messages. At this point, do not worry if you see your current email account displayed. We will guide you through the process of adding a new email account and removing the current one later on.
The Email app on Samsung tablets offers a user-friendly interface, making it easy to navigate and manage your emails effectively. With this app, you can easily switch between multiple email accounts and access various features to customize your email experience.
Now that you have successfully opened the Email app on your Samsung tablet, it’s time to proceed to the next step and navigate to the account settings to change your email account.
Step 2: Go to Account Settings
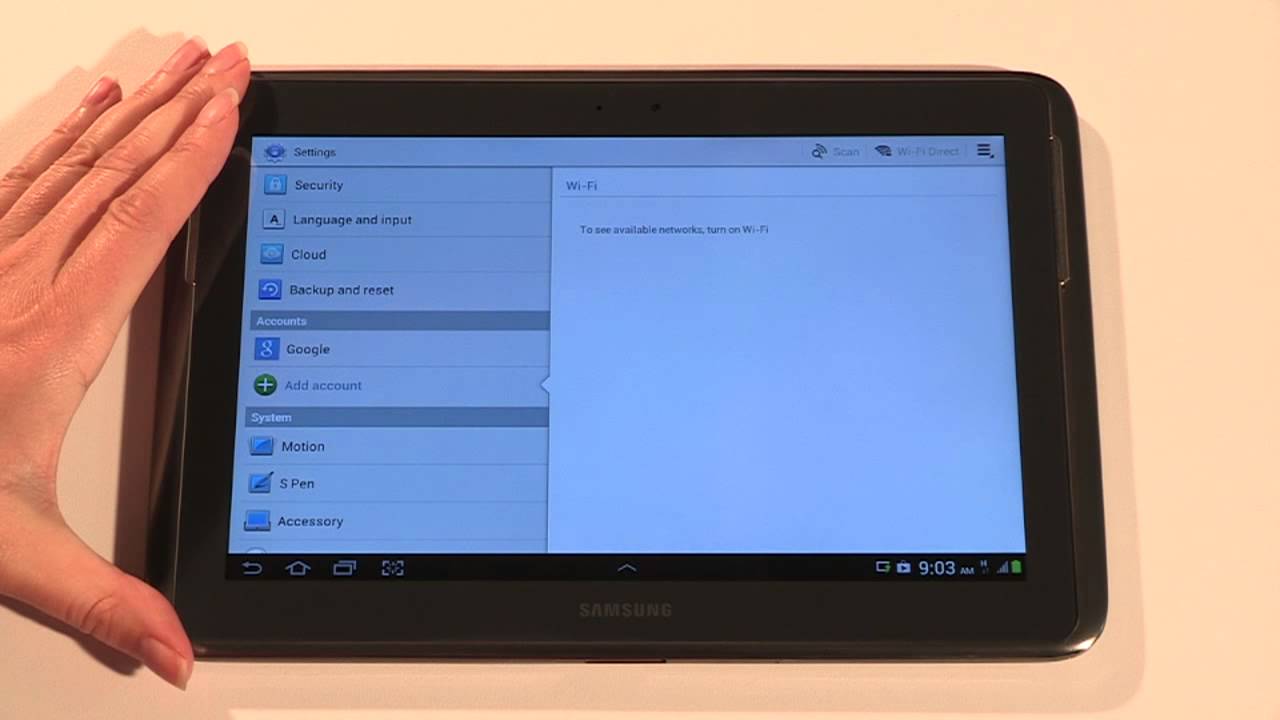
Once you have the Email app open on your Samsung tablet, the next step is to navigate to the account settings. In the account settings, you will have the option to manage your current email account and make any desired changes.
To access the account settings, look for the menu icon in the top-left corner of the Email app screen. The menu icon is typically represented by three horizontal lines or three vertical dots. Tap on the menu icon to open the options menu.
In the options menu, you will see a list of different settings and features that you can explore. Scroll through the menu until you find the “Settings” option and tap on it. This will take you to the settings page where you can customize various aspects of the Email app.
On the settings page, search for the section labeled “Accounts” or “Email Accounts.” This is where you will find a list of all the email accounts that are currently configured on your Samsung tablet.
Tap on the “Accounts” or “Email Accounts” section to view the list of accounts. Here, you will see your current email account listed along with any other email accounts you may have added previously. You can also see options to add a new account and manage the settings for each account.
Now that you have successfully navigated to the account settings page, you are ready to move on to the next step and select the current email account that you want to change.
Step 3: Select the Current Email Account
After accessing the account settings page in the Email app, the next step is to select the current email account that you want to change. By selecting the account, you will have the option to remove it and make way for a new email account.
On the account settings page, you will see a list of email accounts that are currently configured on your Samsung tablet. Look for the email account that you want to change and tap on it to select it.
When you select the email account, a new screen will appear with options related to that specific account. These options may include account settings, notifications, syncing preferences, and more, depending on the Email app version and your tablet’s software.
Take a moment to review the options and settings related to the selected email account. This will give you a better understanding of the current configuration and help you make any necessary adjustments when adding a new email account.
By selecting the current email account, you are one step closer to changing your email account on your Samsung tablet. The upcoming steps will guide you through the process of removing the current account and adding a new one to ensure a seamless transition.
Step 4: Remove the Current Account
Once you have selected the current email account that you want to change, the next step is to remove it from your Samsung tablet. Removing the current account will allow you to make way for a new email account or switch to a different email provider.
To remove the current email account, look for an option or button that is labeled “Remove account” or “Delete account.” This option is typically located at the bottom of the account settings screen for the selected email account.
Tap on the “Remove account” or “Delete account” button, and a confirmation prompt will appear asking you to confirm the removal of the account. Read the prompt carefully to ensure you are removing the correct account, as this action is irreversible.
If you are certain that you want to remove the current email account, tap on “OK” or “Confirm” to proceed. The Email app will then initiate the removal process and delete the selected account from your Samsung tablet.
Depending on the size of your email account and the number of messages it contains, it may take a few moments for the account to be completely removed. During this process, the Email app may show a progress indicator or loading icon.
Once the current email account has been successfully removed, you will be redirected to the account settings page, where you will see that the removed account is no longer listed. This indicates that the account has been fully deleted from your Samsung tablet.
With the removal of the current account complete, you are now ready to add a new email account and continue managing your emails on your Samsung tablet.
Step 5: Add a New Email Account
After removing the current email account from your Samsung tablet, it’s time to add a new email account. Adding a new email account will enable you to continue receiving and managing your emails conveniently.
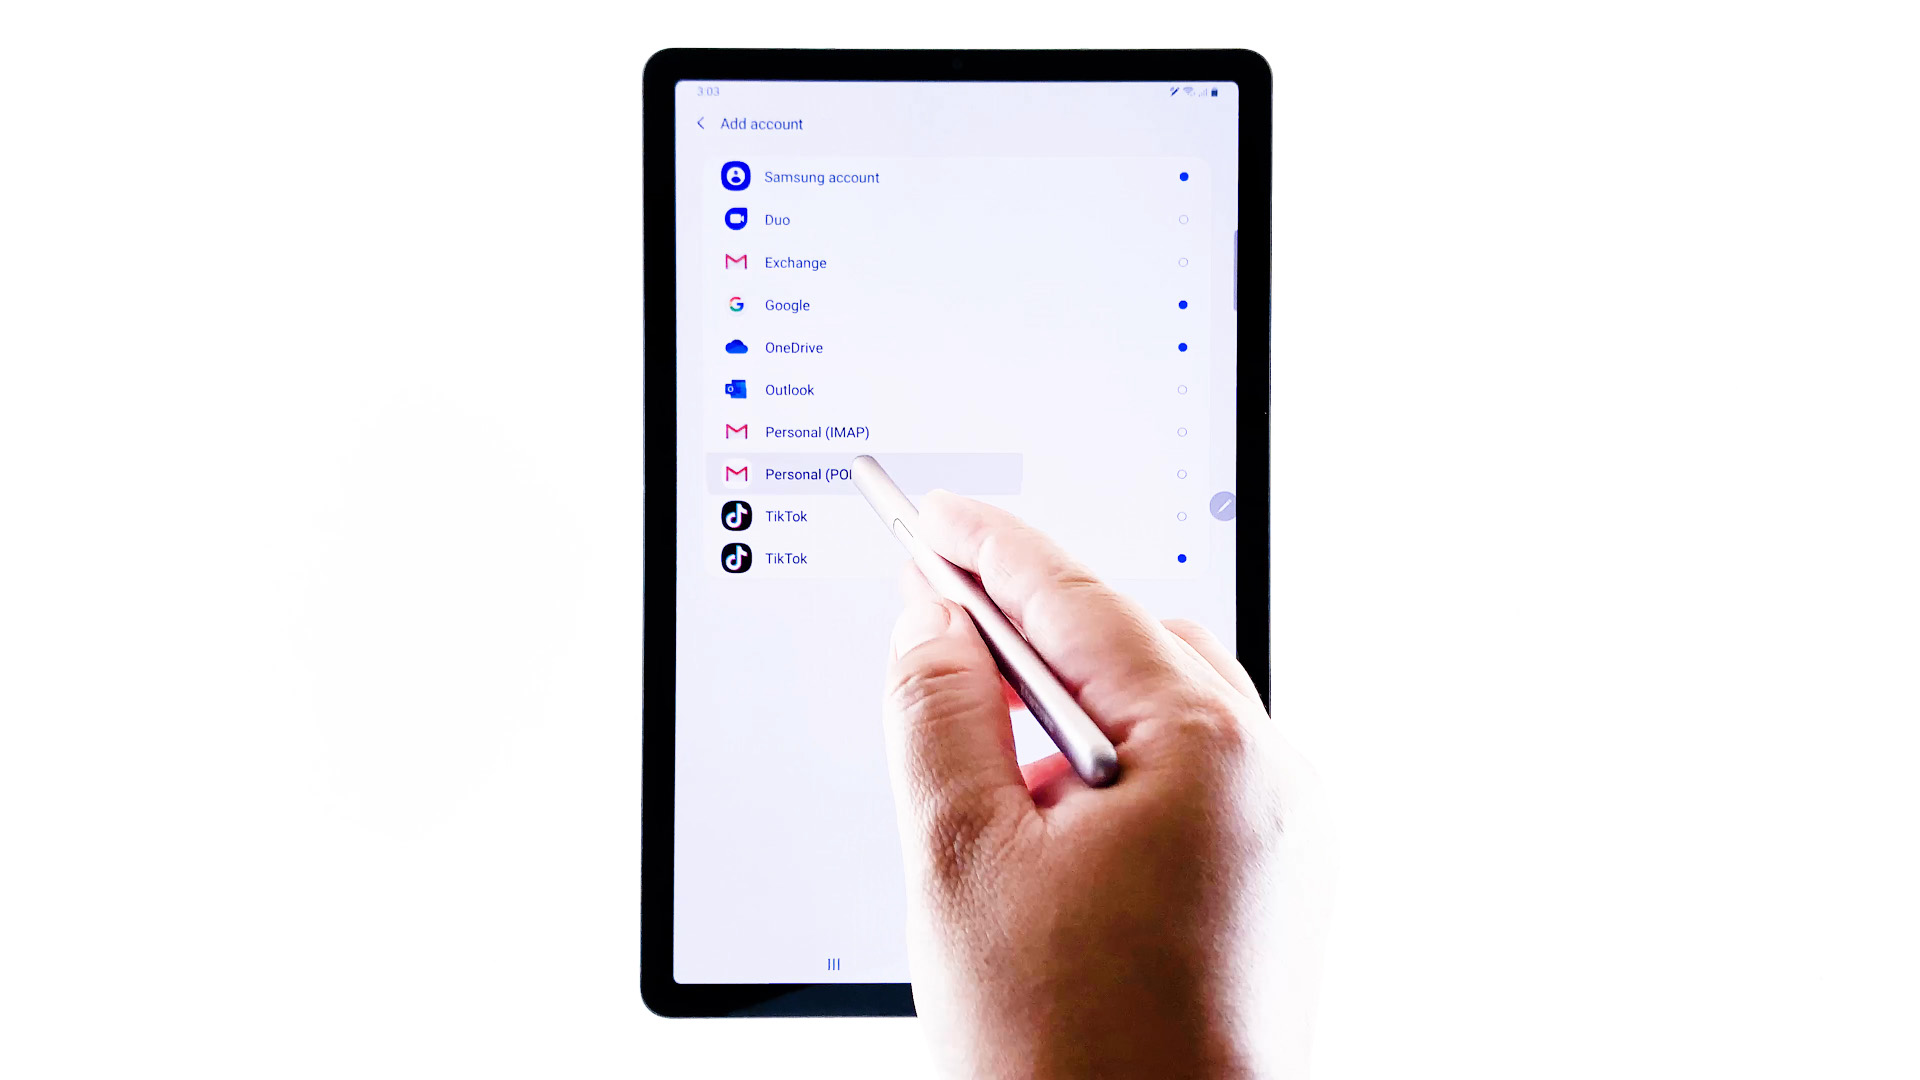
To add a new email account, go back to the account settings page in the Email app. Look for an option or button that is labeled “Add account” or “Add email account.” This option may be located at the bottom of the list of email accounts or in a separate section dedicated to adding new accounts.
Tap on the “Add account” or “Add email account” button, and you will be presented with a list of popular email providers. This list may include options such as Gmail, Yahoo, Outlook, and more.
If your email provider is listed, select it from the list. If your email provider is not listed, look for an option labeled “Other” or “Manual setup” to manually enter the account details.
Next, you will need to enter the necessary information to set up the new email account. This typically includes your email address and password. Make sure to double-check the accuracy of the entered information to avoid any setup issues.
Once you have entered the required information, tap on the “Next” or “Continue” button to proceed. The Email app will then attempt to authenticate and connect to the email server using the provided information.
If the authentication process is successful, the Email app will automatically configure the account settings for the new email account. This includes setting up incoming and outgoing server details, syncing preferences, and other necessary configurations.
Once the Email app has successfully added and set up the new email account, you will be taken back to the account settings page. Here, you will see the newly added email account listed alongside any other accounts that are configured on your Samsung tablet.
With the new email account added, you are now ready to proceed to the next step and update the account settings to ensure proper functionality and customization.
Step 6: Enter Email Account Details
After adding a new email account to your Samsung tablet, the next step is to enter the necessary details for the account. By providing accurate information, you will ensure that your email account is properly configured and ready for use.
To enter the email account details, go back to the account settings page in the Email app. Locate the newly added email account in the list of accounts and tap on it to access the account settings.
On the account settings screen for the new email account, you will find various options and fields where you can enter the required information. These fields typically include:
- Email Address: Enter the full email address associated with the account.
- Password: Input the password for the email account. Make sure to enter it correctly to avoid any login issues.
- Display Name: Optionally, you can enter a display name that will appear when you send emails from this account.
- Incoming Server: Provide the incoming server settings, including the server name, port number, and security type (e.g., POP3 or IMAP).
- Outgoing Server: Enter the outgoing server settings, including the server name, port number, and security type (e.g., SMTP).
It is important to note that the specific fields and settings may vary depending on your email provider and the version of the Email app on your Samsung tablet. Therefore, carefully review the options available and enter the correct information based on your email account’s requirements.
Once you have entered all the required details, double-check them for accuracy. Make sure that your email address, password, and server settings are correct before proceeding.
After verifying the entered information, tap on the “Save” or “Done” button to save the account details. The Email app will then validate the information and attempt to establish a connection to the email server using the provided settings.
If the connection is successful, you will be able to access and manage your emails from the new account through the Email app on your Samsung tablet.
With the email account details successfully entered, you are now ready to move on to the next step and update the account settings to customize your email experience further.
Step 7: Update Account Settings
After entering the necessary details for your new email account on your Samsung tablet, it’s time to update the account settings. Updating the account settings allows you to customize your email experience and tailor it to your preferences.
To update the account settings, go to the account settings page for the recently added email account in the Email app. Look for options such as “Account Settings,” “Manage Account,” or an icon resembling a gear or cog.
Tap on the appropriate option to access the account settings for the email account. Here, you will find a range of customization options and features to enhance your email usage.
Some of the common account settings that you can update include:
- Sync Frequency: Adjust how often the Email app syncs with the email server to fetch new messages.
- Notifications: Manage how and when you receive notifications for new emails.
- Signature: Create a personalized signature that will be automatically added to your outgoing emails.
- Auto Replies (Out of Office): Set up automatic replies to let others know you are away or unable to respond.
- Security and Privacy: Enable or disable features such as SSL/TLS encryption or spam filtering.
Explore the various settings available and modify them according to your preferences. You can also refer to the help or support documentation provided by your email provider for specific guidance on configuring advanced settings.
Additionally, it’s a good practice to review the general settings of the Email app itself. This may include options for layout, theme, notifications, and other features that can enhance your email management experience.
Once you have made the necessary updates to the account settings, be sure to save your changes. Look for a “Save,” “Apply,” or “Done” button on the account settings screen and tap on it to save your updated preferences.
With the account settings updated, you have successfully customized your email account on your Samsung tablet to suit your needs and preferences.
Next, we will proceed to the final step and test the new email account to ensure everything is functioning properly.
Step 8: Test the New Email Account
After setting up and customizing the new email account on your Samsung tablet, it’s important to test the account to ensure that everything is functioning properly. By testing the account, you can verify that you are able to send and receive emails without any issues.
To test the new email account, open the Email app on your Samsung tablet. Look for the inbox of the newly added email account and tap on it to access your email messages.
Compose a new email and enter the email address of another account that you have access to, such as your personal email or a friend’s email. Write a test message and include a subject and some text in the body of the email.
Once you have composed the test email, tap on the “Send” or “Send Message” button to send it. The Email app will attempt to send the email using the configured settings for the new account.
Now, switch to the other email account that you used to send the test message. Check the inbox of that account to see if the test email has been successfully delivered. If you see the test email in the inbox, it means that the outgoing settings of the new email account are working correctly.
Next, reply to the test email from the other account. Enter the email address of the new account as the recipient and type a reply message. Send the reply message and switch back to the Email app on your Samsung tablet.
Check the inbox of the new email account in the Email app to see if the reply message has been received. If you can see the reply message in the inbox, it means that the incoming settings of the new email account are working properly.
Additionally, ensure that you are receiving new emails in a timely manner by checking for any new messages in the inbox of the new email account. If new emails are coming in and you are able to access them without any issues, it indicates that the synchronization and notification settings are functioning correctly.
By testing the functionality of the new email account, you can have peace of mind knowing that you can send and receive messages seamlessly on your Samsung tablet.
If you encounter any issues during the testing process, double-check the account settings and make any necessary corrections. You can also refer to the support documentation provided by your email provider for troubleshooting guidance.
Congratulations! You have successfully changed your email account on your Samsung tablet and tested its functionality. Now, you can enjoy managing your emails on the go with your new account.
Conclusion
Changing your email account on a Samsung tablet is a straightforward process that allows you to stay connected and organized. By following the steps outlined in this guide, you can easily remove your current email account and add a new one, ensuring that your email settings are up to date and tailored to your preferences.
We began by opening the Email app on the Samsung tablet and navigating to the account settings. From there, we selected the current email account and removed it to make way for a new one. Then, we added a new email account by entering the required details, such as the email address and password.
After adding the new email account, we updated the account settings to customize the email experience further. We explored options like sync frequency, notifications, signature, and security, allowing us to personalize our email usage.
Finally, we tested the new email account by sending and receiving test emails, ensuring that all the settings were correctly configured and that the account was functioning properly. This step allowed us to verify that we could successfully send, receive, and access emails on the Samsung tablet.
By changing your email account on a Samsung tablet and following these steps, you can ensure that your email correspondence is seamless and efficient. Whether you are switching to a new email provider or simply updating your account details, the process is user-friendly and accessible.
Remember to periodically review and update your email account settings as needed. This will help you adapt to any changes in your email management needs and ensure that your account remains secure and optimized for your usage.
Now that you’re equipped with the knowledge to change your email account on a Samsung tablet, you can stay connected and organized with ease.