Introduction
Adding a new email account to your iPhone can be a simple and convenient way to stay connected and organized. Whether you’re setting up a personal email or a work email, the process is fairly straightforward. By following the steps outlined in this guide, you’ll be able to add a new email to your iPhone with ease.
With your new email account added, you’ll have the ability to send and receive emails directly from your iPhone. This means you can stay up to date with important messages and never miss a beat, even when you’re on the go. Whether you’re checking personal emails, responding to work requests, or staying in touch with friends and family, having a new email account on your iPhone makes it all more convenient.
Plus, by adding multiple email accounts to your iPhone, you can centralize your email management. This enables you to access and manage all your emails in one place, rather than juggling multiple email apps or websites.
In this guide, we’ll walk you through the step-by-step process of adding a new email to your iPhone. From opening the Settings app to completing the setup process, we’ll cover everything you need to know. So, let’s get started and have your new email account up and running on your iPhone in no time!
Step 1: Open the Settings app
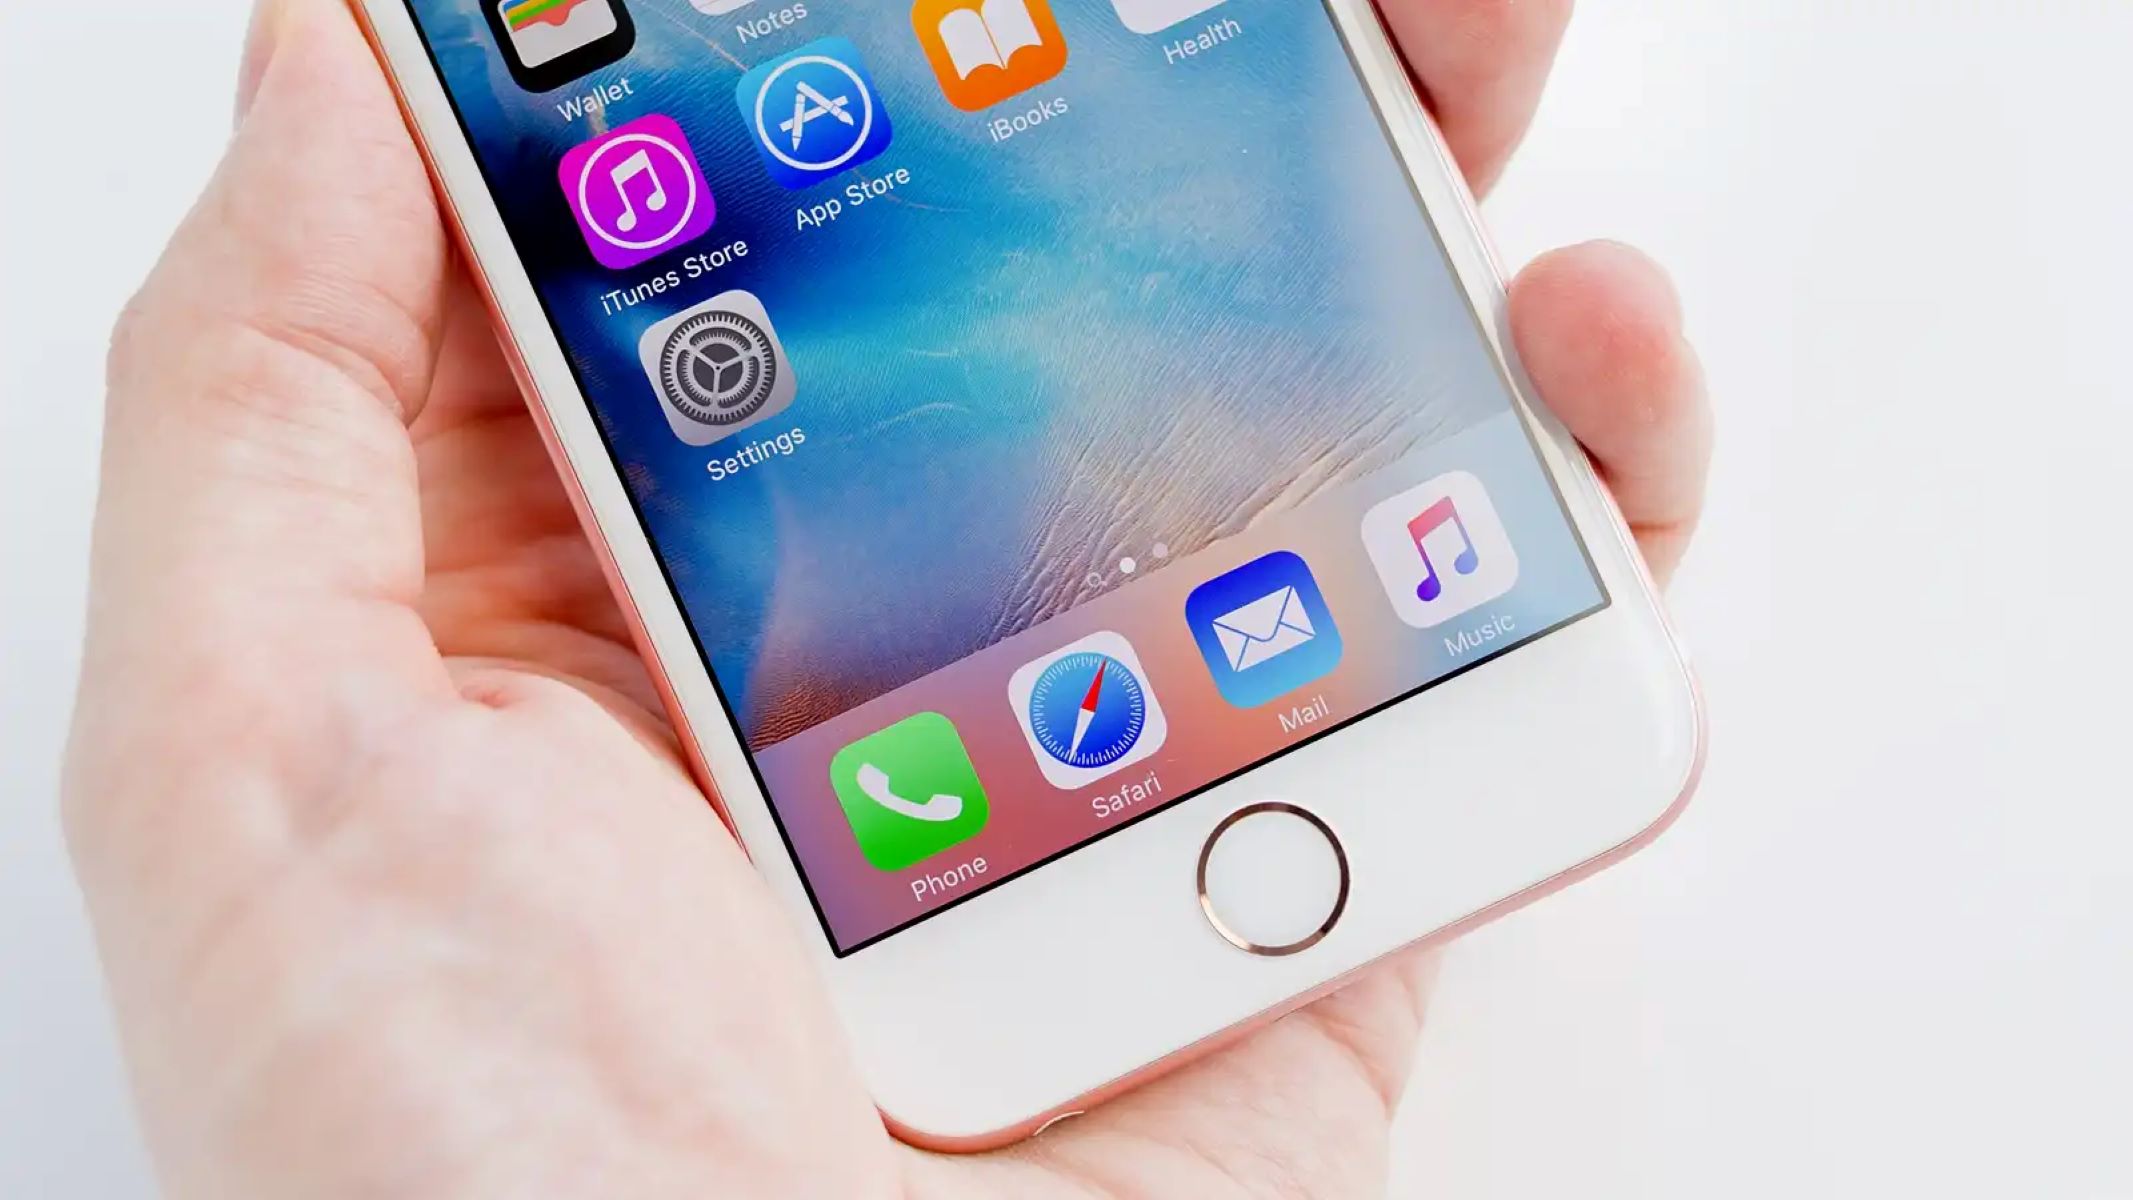
The first step to adding a new email to your iPhone is to open the Settings app. This is where you’ll find all the necessary options and settings to configure your email account. The Settings app is represented by a gray icon with gears on it, typically located on the home screen of your iPhone.
To begin, simply tap on the Settings app icon. This will open the Settings menu, which contains various options for customizing your iPhone’s settings.
Make sure to locate and tap on the Settings app icon carefully, as it can be easy to mistake it for other similar-looking icons on your home screen. Once you’ve successfully opened the Settings app, you’re ready to move on to the next step in the process.
The Settings app is a vital tool on your iPhone, allowing you to modify various settings for different apps and functions. It provides a centralized place where you can manage everything from your Wi-Fi and cellular network settings to the sounds and display settings of your device.
By opening the Settings app and navigating through its options, you gain more control over your iPhone and can tailor it to your preferences. Whether you want to adjust your privacy settings, manage your notifications, or configure your email accounts, the Settings app is the starting point for making these changes.
Now that you’ve successfully opened the Settings app, let’s move on to the next step and continue the process of adding a new email to your iPhone.
Step 2: Tap on Mail
After opening the Settings app, the next step in adding a new email to your iPhone is to tap on the “Mail” option. The Mail option is located in the list of settings categories that are displayed in the Settings menu.
Scroll down the list of settings categories until you find the “Mail” option. It is usually represented by an envelope icon. Once you locate it, simply tap on it to access the Mail settings.
Tapping on the Mail option opens up a new menu that contains various settings related to your email accounts. Here, you can configure how your emails are organized, set up automatic email fetching, manage email signatures, and more.
The Mail settings menu also allows you to manage specific settings for individual email accounts. You can customize the behavior of each account, such as notifications, mailbox behaviors, and syncing options. This level of customization ensures that you have full control over how your email accounts are integrated into your iPhone’s Mail app.
By tapping on the Mail option in the Settings app, you can access these powerful email settings and make adjustments to suit your needs. Whether you want to prioritize certain email accounts, set up rules for organizing your inbox, or tweak your email notifications, this is where you can do it.
Now that you’ve tapped on Mail and accessed the Mail settings menu, let’s move on to the next step and continue setting up your new email account on your iPhone.
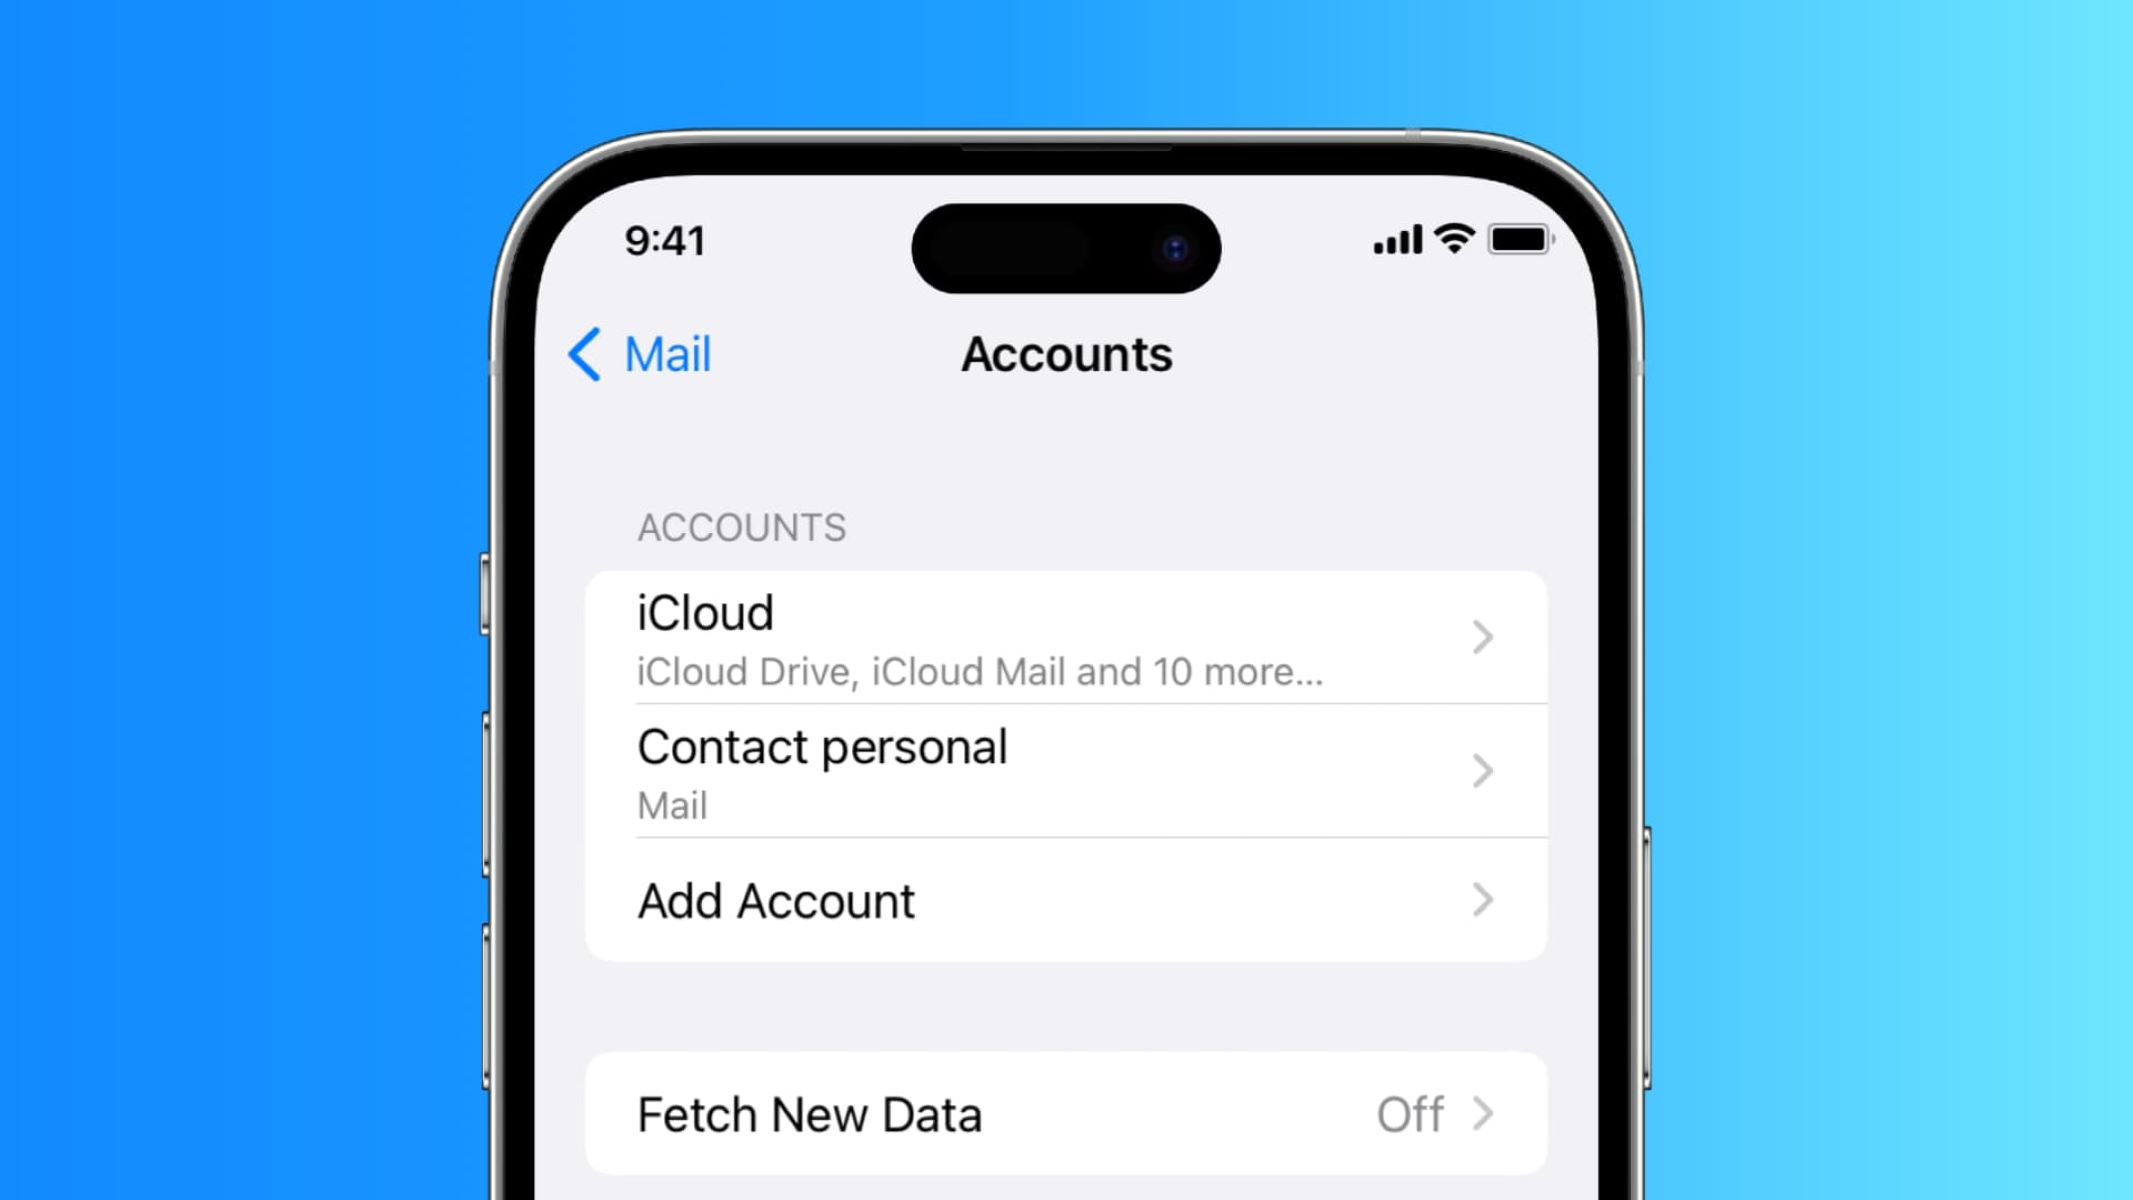
Step 3: Tap on Accounts
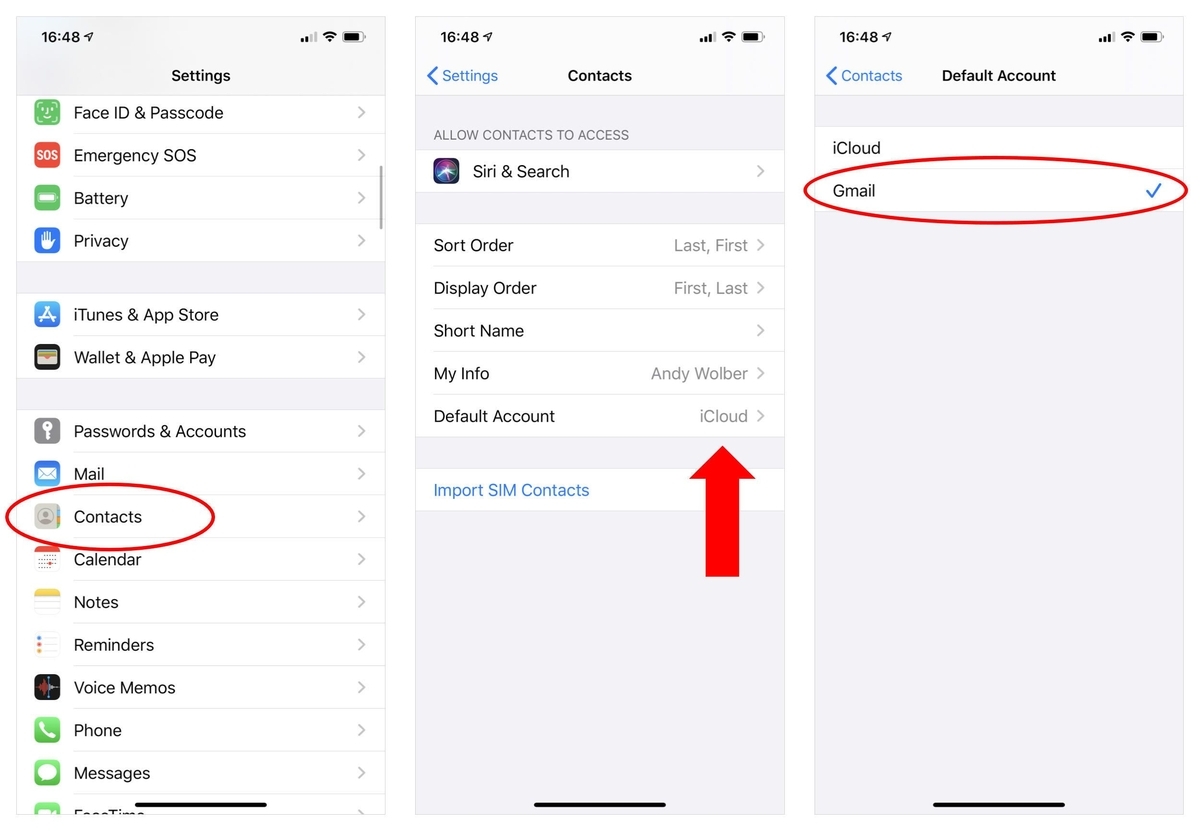
After accessing the Mail settings menu, the next step in adding a new email to your iPhone is to tap on the “Accounts” option. The Accounts option is where you can manage and add new email accounts on your iPhone.
In the Mail settings menu, scroll down until you find the “Accounts” section. It is usually located below other settings such as “Fetch New Data” and “Signature”. Once you locate it, tap on it to open the Accounts menu.
The Accounts menu displays a list of all the email accounts that are currently set up on your iPhone. This includes both personal and work email accounts, as well as any other email accounts you may have added previously.
By tapping on the Accounts option, you gain access to a range of options for managing your email accounts. Here, you can view and edit the settings for each individual account, including email addresses, passwords, server information, and more.
If you already have existing email accounts on your iPhone, they will be listed in the Accounts menu. You can tap on any account to make changes to its settings or delete the account if needed.
However, since we are adding a new email account, the next step will involve tapping on the “Add Account” option, which will be covered in the following step. So, stay tuned as we move forward with setting up your new email account on your iPhone.
Step 4: Tap on Add Account
After accessing the Accounts menu, the next step in adding a new email to your iPhone is to tap on the “Add Account” option. This option allows you to add a new email account to your iPhone and expand your email management capabilities.
In the Accounts menu, scroll down until you see the “Add Account” button. It is usually located at the bottom of the list of existing email accounts. Once you locate it, simply tap on it to begin the process of adding a new account.
By tapping on the Add Account option, you will be presented with a list of popular email providers and options to manually configure an email account if it’s not on the list. Some of the common email providers that are pre-configured on the iPhone include Gmail, Yahoo, Outlook, and iCloud.
If your email provider is listed, simply select it from the options provided. If your email provider is not listed, you can tap on the “Other” option and manually configure your email account settings.
After tapping on the Add Account option and selecting your email provider, you will be prompted to enter your email address and password. These details will be used to authenticate and set up your email account on your iPhone.
Once you have entered your email address and password, tap on the “Next” button to initiate the setup process. Your iPhone will then verify the account details and establish a connection to your email server.
Now that you have tapped on the Add Account option and entered your account details, you are one step closer to adding your new email account to your iPhone. The next steps involve customizing the email settings and completing the setup process, which we will cover in detail in the following sections.
Step 5: Choose the email provider
After tapping on the “Add Account” option, the next step in adding a new email to your iPhone is to choose your email provider. This step allows you to select the email service you will be using and streamline the setup process.
In the list of email providers, you will find popular options such as Gmail, Yahoo, Outlook, and iCloud. These providers are pre-configured on the iPhone, which means that the setup process may be more automated and streamlined compared to manually configuring an email account.
If your email provider is listed, simply tap on it. Your iPhone will then guide you through the account setup process, which may involve entering your email address and password and granting necessary permissions for your device to access your email account.
If your email provider is not listed, you can tap on the “Other” option. This will allow you to manually configure your email account settings, including incoming and outgoing mail servers, port numbers, and authentication methods. You may need to refer to your email provider’s website or contact their support for the specific settings required.
Choosing the correct email provider is important as it ensures that your email account is properly configured and can seamlessly sync with your iPhone’s Mail app. However, rest assured that even if your email provider is not listed, you can still add your email account manually and enjoy all the benefits of having your emails accessible on your iPhone.
Now that you have chosen your email provider, it’s time to proceed to the next step and enter your email address and password to continue the setup process.
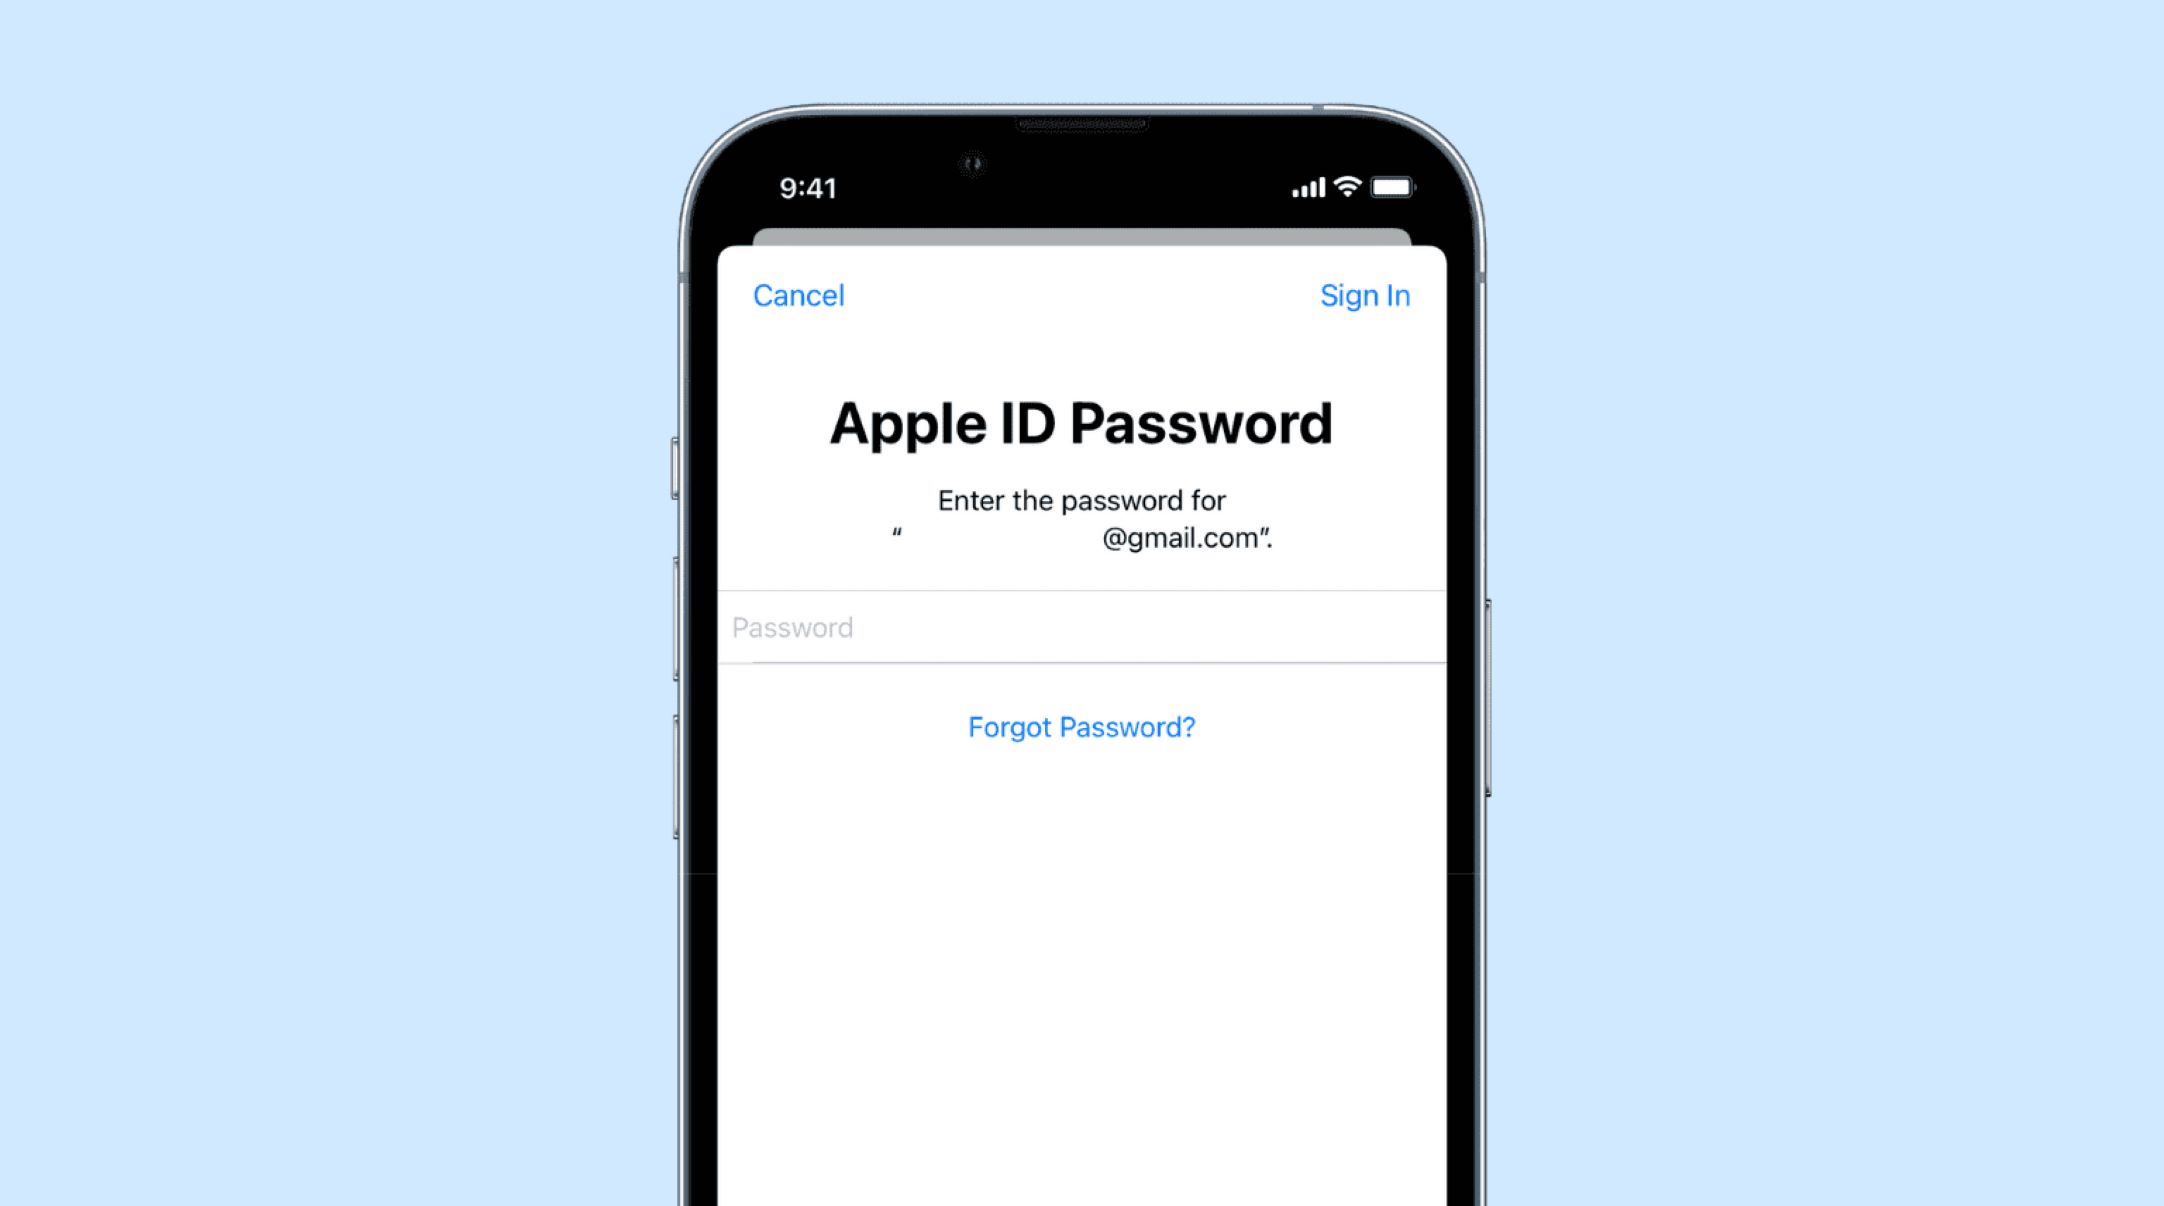
Step 6: Enter your email address and password
After choosing your email provider, the next step in adding a new email to your iPhone is to enter your email address and password. This step ensures that your iPhone can authenticate and connect to your email account successfully.
Once you have selected your email provider, you will be prompted to enter your email address in the designated field. Make sure to enter your full email address correctly, including the domain name (e.g., example@gmail.com).
After entering your email address, tap on the “Next” button to proceed. Your iPhone will then prompt you to enter your password associated with the email account. Type your password carefully to ensure accuracy.
If you have previously signed in to your email account on another device or web browser, you might be prompted with an option to allow your iPhone to access your account securely. This additional security step ensures that only authorized devices can access your email account.
Once you have entered your email address and password, tap on the “Next” or “Sign In” button to continue. Your iPhone will then verify the account credentials and establish a connection to your email server.
If your email address and password are entered correctly, you will see a loading indicator as your iPhone sets up your email account. This process may take a few seconds or longer, depending on your internet connection and email server settings.
Entering your email address and password correctly is essential for a smooth setup process. It allows your iPhone to securely connect to your email account and synchronize your messages, contacts, and other email data.
Now that you have entered your email address and password, let’s move on to the next step and explore the optional email settings you can customize to enhance your email experience on your iPhone.
Step 7: Customize email settings (optional)
After entering your email address and password, the next step in adding a new email to your iPhone is to customize the email settings. While this step is optional, it allows you to tailor your email experience on your iPhone to your preferences and needs.
Once the initial setup is complete, you will be presented with various options to customize your email settings. These settings can include options to configure email notifications, set up automatic email fetching, organize your inbox, and more.
For example, you can choose to enable or disable notifications for your email account on your iPhone. This allows you to receive alerts whenever a new email arrives in your inbox or choose to only receive notifications from certain contacts or VIP senders.
You can also set up how often your iPhone checks for new email messages by configuring the fetch settings. This determines how frequently your device will automatically check for new emails in your inbox. You can choose from options such as Manual, Hourly, Every 15 minutes, or more customized intervals.
Additionally, you can organize your inbox by creating folders or labels to categorize your emails. This makes it easier to manage and find specific emails based on different criteria such as work, personal, or specific projects.
Other customization options may include setting up your email signature, enabling or disabling the swipe gestures for archiving or deleting emails, and determining how many previous emails to synchronize on your device.
By taking the time to customize your email settings, you can enhance your email productivity and make managing your inbox more efficient. These settings allow you to personalize your email experience on your iPhone based on your specific preferences and workflow.
Remember, these settings can always be adjusted later on by accessing the Mail settings on your iPhone. So, feel free to explore and experiment with these options to optimize your email setup.
Now that you have the option to customize your email settings, let’s move on to the final step and complete the setup process for your new email account on your iPhone.
Step 8: Complete the setup process
After customizing your email settings, the final step in adding a new email to your iPhone is to complete the setup process. This step ensures that your email account is fully integrated into your iPhone’s Mail app and ready to use.
Once you have finished customizing your email settings, you can proceed by tapping on the “Save” or “Done” button, usually located at the top or bottom right corner of the screen.
Your iPhone will then save the changes and finalize the setup process for your new email account. It will establish a secure connection to your email server and synchronize your emails, contacts, and other data associated with your email account.
Depending on the size of your mailbox and the speed of your internet connection, this process may take a few moments to complete. During this time, you may see a progress indicator or loading symbol on your screen.
Once the setup process is complete, you will be able to access your new email account through the Mail app on your iPhone. You can start composing, sending, and receiving emails right away, all from the convenience of your device.
Furthermore, your newly added email account is seamlessly integrated with other native apps on your iPhone. This means you can easily share content via email, schedule events and reminders, and use your email account for various tasks across your device.
Congratulations! You have successfully completed the setup process for your new email account on your iPhone. You are now ready to enjoy the convenience and productivity that comes with having your emails easily accessible at your fingertips.
If you have additional email accounts to add, you can repeat the steps outlined in this guide to add them to your iPhone. By adding multiple accounts, you can manage and stay connected to all your email accounts from a single device.
Remember, you can always revisit the Mail settings on your iPhone to make changes to your email accounts, adjust your preferences, or add new accounts in the future.
Now that you have completed the setup process, go ahead and explore the powerful features of the Mail app on your iPhone, and enjoy the convenience of having your email right at your fingertips!
Conclusion
Adding a new email to your iPhone is a straightforward process that allows you to stay connected and organized wherever you go. By following the step-by-step guide outlined in this article, you can easily set up a new email account on your iPhone and enjoy the convenience it brings to your daily life.
From opening the Settings app to tapping on Mail, Accounts, and Add Account, you have learned how to navigate through the necessary steps to add a new email account. By choosing your email provider, entering your email address and password, and customizing your email settings, you can tailor your email experience to your preferences and needs.
Once the setup process is complete, you can access your emails, send and receive messages, and enjoy the seamless integration of your email account with other apps on your iPhone. With multiple email accounts added, you can manage all your emails in one place, ensuring that you never miss an important message.
Remember, you can always revisit the Mail settings on your iPhone to make changes, adjust preferences, or add additional email accounts in the future. The flexibility and customization options available allow you to tailor your email experience to suit your unique needs and workflow.
So, take advantage of the power and convenience of having your email accounts readily accessible on your iPhone. Stay connected, organized, and productive by adding and managing your email accounts with ease.
Now that you have successfully added a new email account to your iPhone, embrace the world of seamless communication and enjoy the benefits that come with staying connected on the go.