Setting Up an Email Account on iPhone
If you’re looking to access your email on the go, setting up your email account on your iPhone is a must. Luckily, Apple makes the process quick and easy. Whether you use Gmail, Outlook, Yahoo, or another email provider, you can follow these simple steps to get your email up and running on your iPhone.
Here’s how to set up your email account:
- Open the Settings App: Launch the Settings app on your iPhone. It’s a gray icon with gears on it.
- Tap on “Mail”: Scroll down and find the “Mail” option. Tap on it to proceed.
- Tap on “Accounts”: In the “Mail” settings menu, tap on “Accounts” to access your current email accounts.
- Tap on “Add Account”: Under the “Accounts” section, tap on “Add Account” to begin the setup process.
- Select your Email Provider: You’ll see a list of popular email providers. Choose the one you use for your email account.
- Enter your Email Address and Password: Enter your email address and password associated with your email account.
- Customize Email Settings (optional): In some cases, you can customize the settings for your email account. You can choose which folders to sync, enable push notifications, and more.
- Tap on “Save” to finish the setup: After entering your email and customizing the settings, tap on “Save” to complete the process.
That’s it! Your email account is now set up on your iPhone. You can access your emails by opening the Mail app on your device. Any new emails will be automatically synced, and you will receive notifications for new messages based on your settings.
If you are experiencing any issues during the setup process, don’t worry. There are some troubleshooting tips you can try:
– Double-check your email address and password to ensure they are entered correctly.
– Verify that your internet connection is stable.
– Make sure your email provider supports iPhone access.
– Restart your iPhone and try the setup process again.
By following these steps, you can easily set up your email account on your iPhone and stay connected wherever you go.
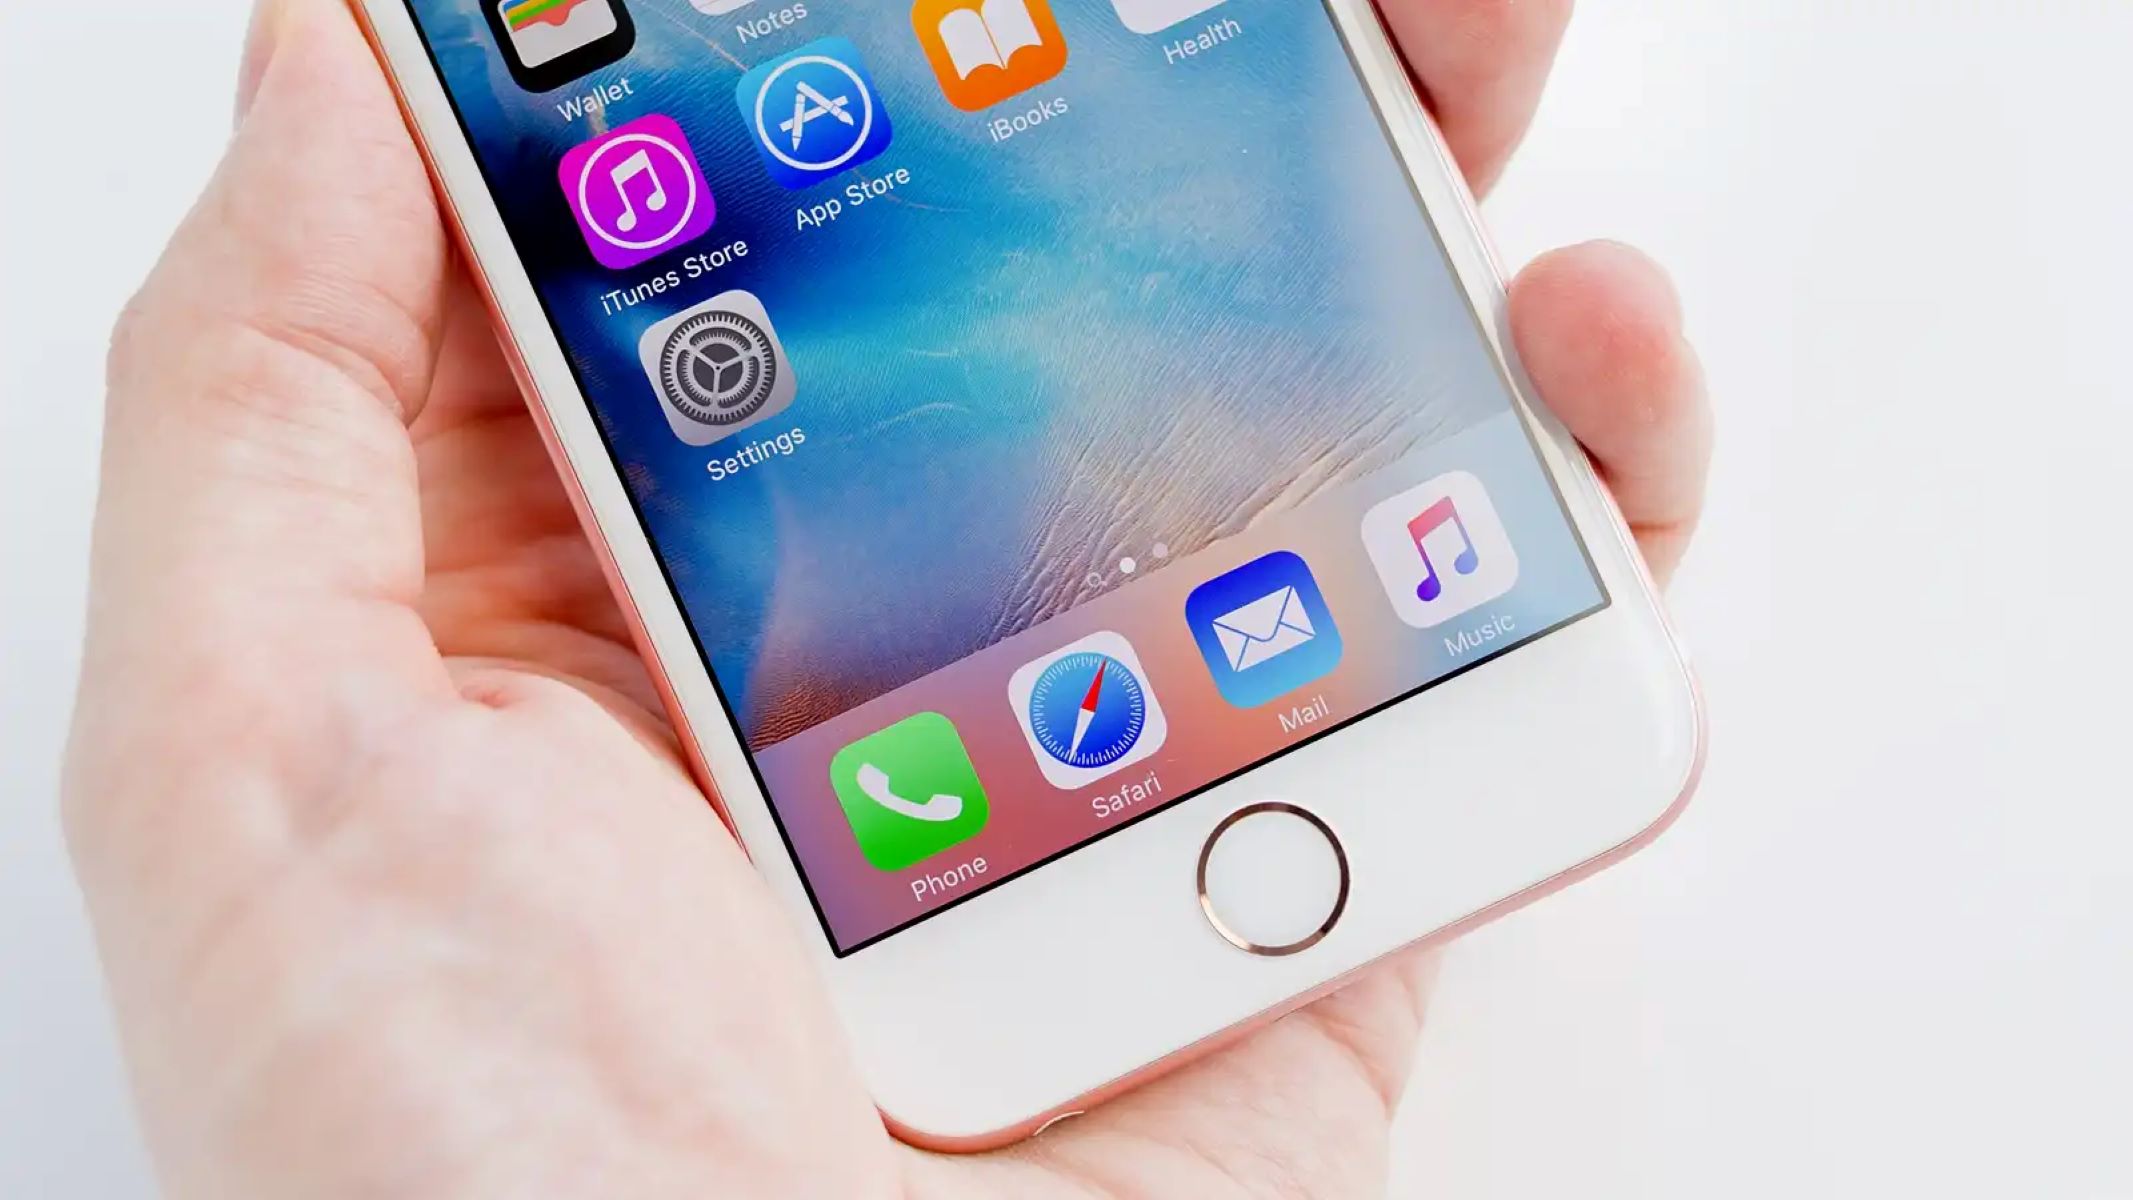
Step 1: Open the Settings App
Before you can start setting up your email account on your iPhone, you’ll need to open the Settings app. This app is where you can customize various settings for your device, including email accounts.
To open the Settings app, follow these simple steps:
- Unlock your iPhone by entering your passcode or using Touch ID or Face ID.
- Locate the Settings app on your home screen. It has a gray icon with gears on it. You can usually find it in the first few pages of your apps or use the search feature to locate it quickly.
- Tap on the Settings app to launch it. The app will open, displaying a list of different settings options for your iPhone.
Once you have successfully opened the Settings app, you can proceed to the next step of setting up your email account on your iPhone.
If you’re having trouble finding the Settings app on your iPhone, here are a few tips:
- Look for the app with the icon that resembles gears. It’s a distinct gray icon.
- Swipe left or right on your home screen to navigate through your apps and search for the Settings app.
- If you still can’t find it, you can use the search feature. Swipe down on your home screen to reveal the search bar at the top, then type in “Settings” to locate the app quickly.
Opening the Settings app is the first step in setting up your email account on your iPhone. Once you have it open, you’ll be on your way to accessing your emails conveniently from your device.
Step 2: Tap on “Mail”
After opening the Settings app on your iPhone, the next step is to navigate to the “Mail” settings. Tapping on “Mail” will allow you to access the email settings on your device and set up a new email account.
Here’s how to find and tap on “Mail”:
- Ensure that you are still on the main Settings screen after opening the app.
- Scroll down through the list of settings options until you see “Mail”. It is usually located near the middle of the page.
- Once you have located “Mail”, tap on it to proceed to the Mail settings.
By tapping on “Mail”, you will be taken to a new screen with various settings related to email on your iPhone.
If you are having trouble finding the “Mail” settings, here are some things you can try:
- Use your finger to swipe up or down on the screen to scroll through the settings list.
- If you have a lot of settings and can’t find “Mail” easily, you can use the search bar at the top of the Settings app. Just swipe down on the screen to reveal the search bar, type “Mail”, and the app will show you the relevant results.
- Make sure you are looking for “Mail” specifically and not another similarly named setting or app.
Tapping on “Mail” is an important step in setting up your email account on your iPhone. It will lead you to the email settings where you can proceed to add your email account and configure it to your preferences.
Step 3: Tap on “Accounts”
After tapping on “Mail” in the Settings app, the next step in setting up your email account on your iPhone is to access the “Accounts” section. This is where you can view and manage all the email accounts you have added to your device.
Here’s how to find and tap on “Accounts”:
- Ensure that you are on the Mail settings screen after tapping on “Mail”.
- Scroll down until you see the “Accounts” section. It is located below the “Mail” options and above the “Default Account” option.
- Once you have located “Accounts”, tap on it to proceed.
By tapping on “Accounts”, you will be taken to a screen where you can view the email accounts that are currently set up on your iPhone, including any additional accounts you may have added in the past.
If you are having trouble finding the “Accounts” section, here are a few tips:
- Use your finger to scroll up or down on the screen to navigate through the settings.
- If you have a lot of settings and can’t find “Accounts” easily, you can use the search bar at the top of the Settings app. Just swipe down on the screen to reveal the search bar, type “Accounts”, and the app will show you the relevant results.
- Make sure you are looking for “Accounts” specifically and not another similarly named setting or option.
Tapping on “Accounts” is an important step in setting up your email account on your iPhone. It will allow you to view your existing email accounts and proceed to add a new account or manage your existing ones.
Step 4: Tap on “Add Account”
Once you have accessed the “Accounts” section in the Mail settings on your iPhone, the next step is to tap on “Add Account”. This will initiate the process of adding a new email account to your device.
Here’s how to find and tap on “Add Account”:
- Ensure that you are on the Accounts screen after tapping on “Accounts”.
- Look for the “Add Account” option near the top of the screen. It is located above the list of existing email accounts.
- Once you have located “Add Account”, tap on it to proceed.
By tapping on “Add Account”, you will be presented with a list of popular email providers, such as Google, Microsoft Exchange, Yahoo, and more. You can choose the provider that corresponds to your email account to proceed with the setup process.
If you are unable to find the “Add Account” option, here are a few suggestions:
- Ensure that you are on the Accounts screen and not another section of the Mail settings.
- Double-check that you are looking for “Add Account” specifically and not a similar option with a different name.
- If you still can’t find it, you may need to scroll up or down on the Accounts screen to reveal the option.
Tapping on “Add Account” is a crucial step in setting up a new email account on your iPhone. It will allow you to select your email provider and proceed with entering your email address and password to complete the setup process.
Step 5: Select your Email Provider
After tapping on “Add Account” in the Accounts section of the Mail settings on your iPhone, the next step is to select your email provider. This will determine the specific setup process for your account, as different providers may have different configurations.
Here’s how to select your email provider:
- Ensure that you are on the Add Account screen after tapping on “Add Account”.
- You will see a list of popular email providers, such as Google, Microsoft Exchange, Yahoo, and more.
- Scroll through the list and find the provider that corresponds to your email account.
- Once you have located your email provider, tap on it to proceed.
By selecting your email provider, your iPhone will automatically configure the necessary settings for your account, such as server information and authentication methods.
If you are having trouble finding your email provider or it is not listed, here are a few suggestions:
- Double-check that you are on the Add Account screen and not another section of the Mail settings.
- Ensure that you have an active internet connection, as the list of email providers may require internet access to load.
- If your email provider is not listed, you can try selecting “Other” or “Add Mail Account” to manually configure the settings.
Selecting your email provider is an important step in the setup process as it ensures that your account is properly configured on your iPhone. It simplifies the setup process by automatically populating the necessary settings based on your provider.
Step 6: Enter your Email Address and Password
After selecting your email provider in the Add Account screen on your iPhone, the next step is to enter your email address and password. This information is crucial for your iPhone to establish a connection with your email server and fetch your incoming messages.
Here’s how to enter your email address and password:
- Make sure you are on the screen for your selected email provider after tapping on it.
- You will see fields labeled “Email” and “Password”. Tap on the “Email” field to start entering your email address.
- Using the on-screen keyboard, carefully type in your complete email address. Double-check for any spelling errors or typos.
- Once you have entered your email address, tap on the “Password” field to input your account password.
- Again, use the on-screen keyboard to enter your password. Ensure that you enter it accurately as passwords are case-sensitive.
After entering your email address and password, your iPhone will attempt to verify the credentials and establish a connection with your email server. This process may take a few moments, depending on your internet connection and the responsiveness of your email provider’s servers.
If you encounter any issues during this step, here are some troubleshooting tips:
- Double-check that you have entered your email address correctly, including any special characters or domain names.
- Verify that you have accurately entered your password, paying attention to uppercase and lowercase letters.
- Ensure that you have a stable internet connection to establish the connection with your email server.
- If the verification process fails, you may need to re-enter your email address and password to ensure accuracy.
Entering your email address and password is a crucial step in setting up your email account on your iPhone. Once the credentials are verified, you will be able to send and receive emails through the Mail app on your device.
Step 7: Customize Email Settings (optional)
After entering your email address and password in the previous step, you have the option to customize your email settings on your iPhone. While these settings are optional, they allow you to tailor the email experience to your preferences and needs.
Here’s how to customize your email settings:
- Once your email address and password are verified, you will be directed to the Account Settings screen specific to your email provider.
- Here, you can customize various aspects of your email account. Some common customization options include:
- Email Sync: You can choose how frequently your iPhone checks for new emails in your account.
- Mail Folders: You can select which folders from your email account you want to be synced with your iPhone.
- Notifications: You can enable or disable notifications for new emails and customize the alert sounds and banners.
- Signature: You can create a customized email signature that will be automatically added to your outgoing emails.
- Archive or Delete Behavior: You can specify whether you want emails to be archived or deleted when you swipe or perform other actions.
Take some time to review these options and make any desired changes to suit your preferences. Not all email providers offer the same customization options, so the available settings may vary depending on the provider you chose.
If you are unsure about which options to choose or need more information about a specific setting, you can consult the help documentation provided by your email provider or do a quick internet search for tutorials specific to your email service.
Remember, these customization settings are optional, and you can always revisit them later to make adjustments or changes as needed.
Once you have finished customizing your email settings, you can proceed to the next step to complete the setup process and start using your email account on your iPhone.
Step 8: Tap on “Save” to finish the setup
After customizing your email settings, the final step to complete the setup process of your email account on your iPhone is to tap on the “Save” button. This action will save your settings and finalize the configuration of your email account.
Here’s how to save your settings and finish the setup:
- Review the settings you have chosen and ensure they align with your preferences.
- Scroll to the top or bottom of the Account Settings screen to locate the “Save” button.
- Tap on “Save” to save your customized email settings and finalize the setup process.
By tapping on “Save”, your iPhone will validate the settings and establish the connection to your email server using the configured parameters. Any changes you made, such as sync intervals, folder selections, or notification settings, will now be applied to your email account on your device.
Once the setup process is complete, you can start using the Mail app on your iPhone to send, receive, and manage your email messages. Incoming messages will be fetched and displayed in the Mail app based on your selected settings, and you will receive notifications for new emails according to your preferences.
If you encounter any issues during the setup process or after tapping on “Save”, here are some troubleshooting tips:
- Double-check your customized settings to ensure they align with your preferences and your email provider’s requirements.
- Ensure that you have a stable internet connection, as connectivity issues can affect the setup process.
- If the setup process fails or you are unable to save the settings, you may need to repeat the steps, ensuring accurate entry of your email address, password, and customizable settings.
Once you have successfully saved your settings, you can start using your email account on your iPhone and enjoy the convenience of accessing your emails on the go.
Common Troubleshooting Tips
While setting up an email account on your iPhone is generally a smooth process, you may encounter some common issues along the way. Here are some troubleshooting tips to help you resolve any problems that may arise:
- Double-check your email address and password: Ensure that you have entered your email address and password correctly. Pay attention to any capitalization, spelling errors, or special characters.
- Verify your internet connection: Make sure that you have a stable internet connection while setting up your email account. Connect to a reliable Wi-Fi network or ensure that your cellular data is enabled if you are not connected to Wi-Fi.
- Ensure email provider compatibility: Not all email providers are compatible with iPhone setup. Verify that your email provider supports iPhone access, as some providers may require additional steps or alternative setups.
- Restart your iPhone: If you encounter any issues during the setup process, try restarting your iPhone. This can help refresh the device’s settings and resolve any temporary glitches.
- Update your iOS: Make sure that your iPhone is running the latest version of iOS. Updates often include bug fixes and improvements that can address any compatibility issues with email account setup.
- Try an alternative email setup method: If the automatic setup process does not work, you can try setting up your email account manually. Consult your email provider’s documentation or support pages for the necessary manual settings to configure your account.
- Contact your email provider’s support: If you have followed all the troubleshooting steps and are still unable to set up your email account, contact your email provider’s support team for assistance. They can provide specific troubleshooting steps or guidance based on their service.
By following these troubleshooting tips, you can overcome common issues that may arise during the email account setup process. Remember to be patient and thorough in your troubleshooting efforts, and don’t hesitate to seek further assistance if needed.
Frequently Asked Questions (FAQs)
Here are some frequently asked questions about setting up email accounts on iPhones:
- Can I set up multiple email accounts on my iPhone?
Yes, you can set up multiple email accounts on your iPhone. Simply repeat the setup process for each additional email account you want to add. - Do I need to know my email provider’s server settings?
In most cases, the automatic email setup process on iPhones will retrieve the necessary server settings based on your email provider’s information. However, if you encounter issues or want to set up your account manually, you may need to know your email provider’s server settings. - What if I don’t see my email provider listed during setup?
If you don’t see your email provider listed, you can select the “Other” option or choose “Add Mail Account” to manually enter your email account settings. - Can I use third-party email apps instead of the default Mail app?
Yes, you have the option to use third-party email apps from the App Store instead of the default Mail app on your iPhone. These apps may offer additional features and customization options for managing your email accounts. - How do I remove or delete an email account from my iPhone?
To remove an email account from your iPhone, go to the Settings app, select “Mail,” followed by “Accounts.” Tap on the email account you want to remove, and then select “Delete Account.” Confirm the deletion to remove the email account from your device. - Why am I not receiving email notifications on my iPhone?
If you are not receiving email notifications on your iPhone, ensure that you have enabled notifications for the Mail app in the Settings app under “Notifications.” Additionally, check if your email account’s notification settings are properly configured.
If you have any other questions or encounter specific issues while setting up your email account on your iPhone, refer to your email provider’s support resources or consult the Apple Support website for further assistance.
Conclusion
Setting up an email account on your iPhone is a straightforward process that allows you to conveniently access your emails on the go. By following the steps outlined in this guide, you can add your email account to your device and start managing your messages effortlessly.
We covered the step-by-step process of opening the Settings app, tapping on “Mail,” accessing the “Accounts” section, tapping on “Add Account,” selecting your email provider, entering your email address and password, customizing email settings (if desired), and tapping on “Save” to finalize the setup. These instructions ensure that your email account is properly configured on your iPhone and ready for use.
Additionally, we provided troubleshooting tips to help you address common issues that may arise during the setup process. From double-checking your email address and password to ensuring a stable internet connection, these tips can help you overcome any obstacles you may encounter along the way.
Lastly, we addressed frequently asked questions to provide further clarification and guidance. Whether you want to set up multiple email accounts, remove an email account, or troubleshoot notification issues, the FAQ section covered some common concerns to help you navigate the setup process successfully.
Now that you have successfully set up your email account on your iPhone, you can enjoy the convenience of accessing and managing your emails seamlessly from your device. Remember to regularly update your email settings if needed and explore the various features available in the Mail app to enhance your email experience.