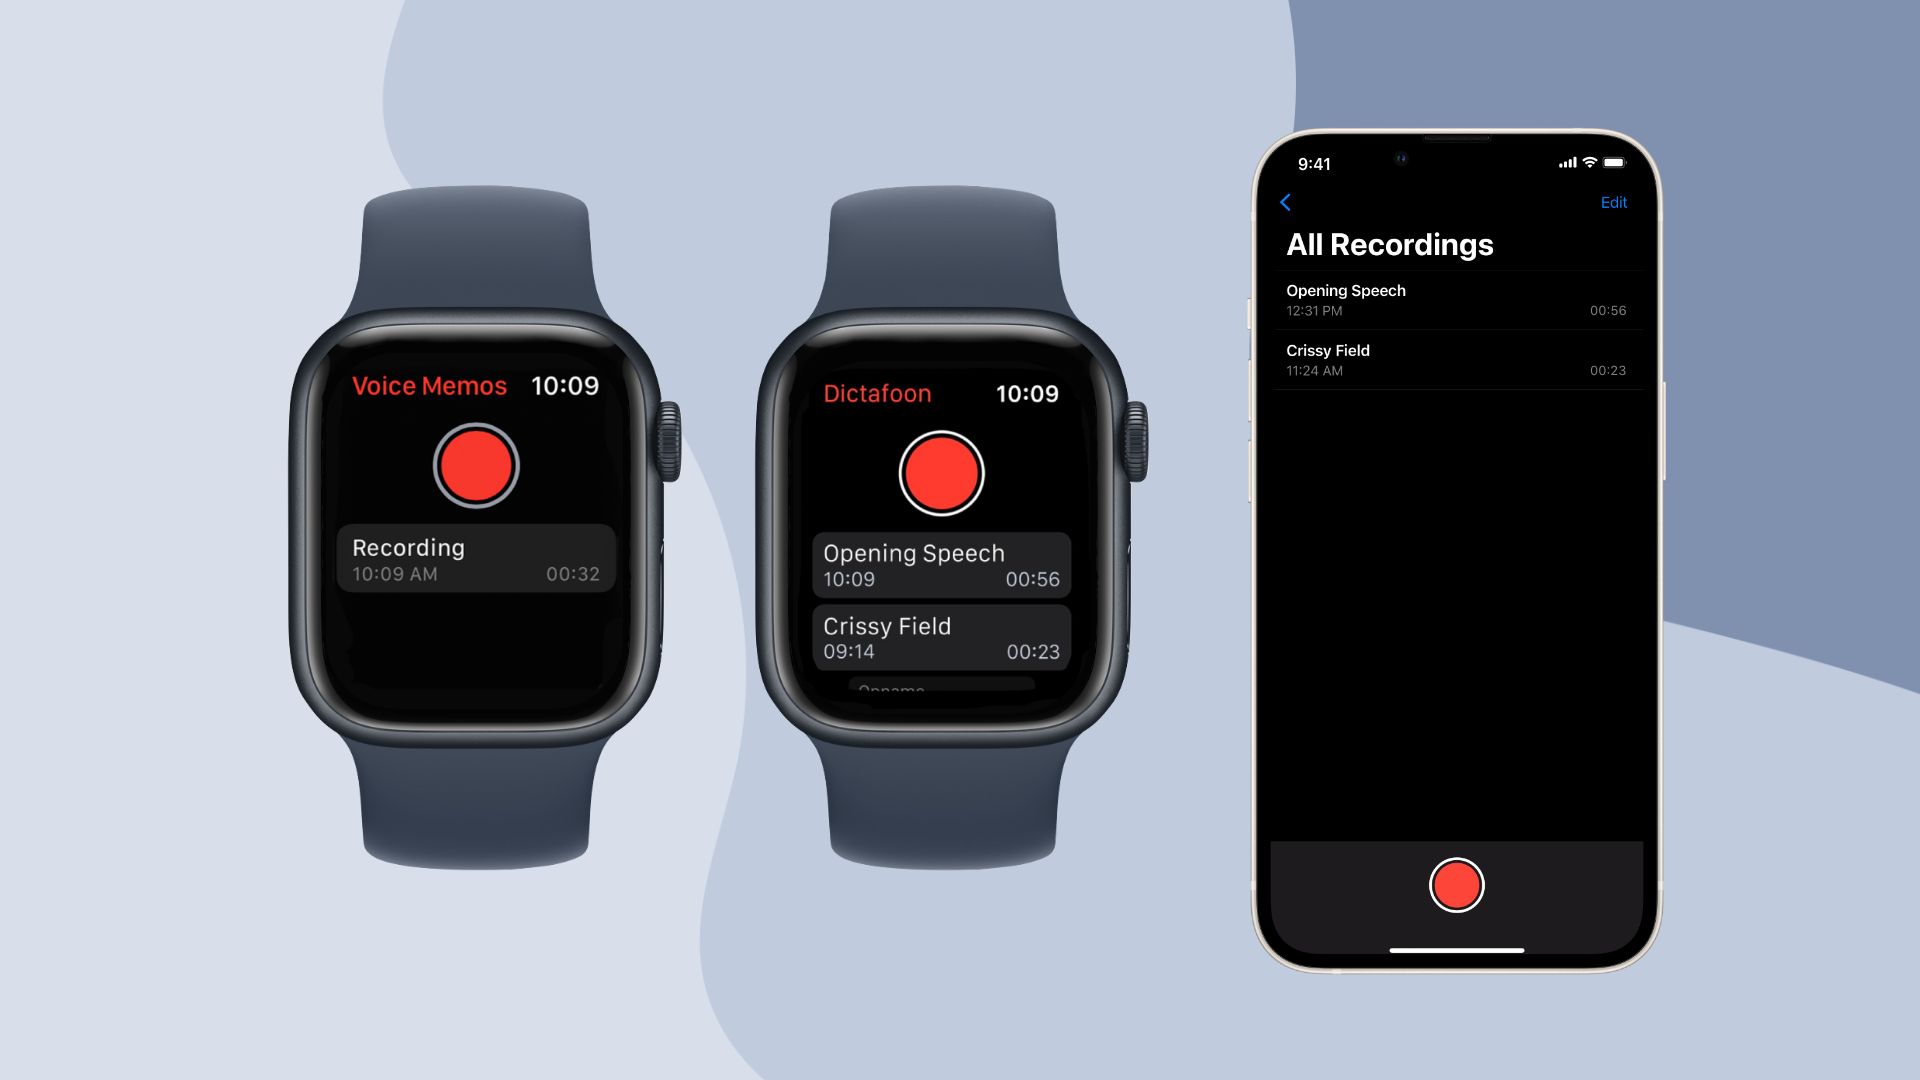
To get voice memos from Apple Watch to iPhone, the quickest and most reliable method is automatic iCloud sync, which places your watch recordings in the Voice Memos app on your phone. When both devices use the same Apple Account and iCloud is enabled for Voice Memos, every recording you make on the watch appears on your iPhone without any manual steps.
How to get voice memos from Apple Watch to iPhone with iCloud sync
iCloud sync is the primary way to transfer recordings because it happens in the background. To make it work, your Apple Watch and iPhone must be signed in to the same Apple ID, and iCloud must be turned on for Voice Memos on your iPhone. On your iPhone, go to Settings, tap your name at the top, then select iCloud. Tap "Show All" or "See All" to find the Voice Memos toggle and make sure it is on. Once enabled, any voice memo recorded on your Apple Watch will automatically appear on your iPhone.
To find those recordings, open the Voice Memos app on your iPhone and tap the "Watch Recordings" folder. This folder contains only the audio captured on your watch, separate from recordings made directly on your phone. If you don't see the folder, confirm that both devices are connected to Wi-Fi or Bluetooth and that iCloud sync has had a moment to run. Note that the reverse is not true: voice memos recorded on your iPhone do not automatically appear on your Apple Watch, so this sync is one-way from watch to phone.
How to transfer a voice memo with AirDrop
When you need a specific recording on your iPhone right away, AirDrop sends it wirelessly without involving iCloud. This method is ideal for a single memo or when you want to bypass sync delays. First, make sure AirDrop is enabled on both devices. On your iPhone, open Control Center and turn on AirDrop; on your Apple Watch, swipe up from the watch face to access Control Center and do the same.
- Open the Voice Memos app on your Apple Watch and find the memo you want to send.
- Tap the memo to open it, then tap the share icon at the bottom right of the screen.
- On your iPhone, a notification will appear showing that your watch is trying to share the file. Tap your iPhone's name on the watch screen to initiate the transfer.
- On your iPhone, accept the incoming AirDrop prompt to save the voice memo directly into the Voice Memos app.
Once accepted, the recording is available on your iPhone for playback, editing, or sharing. AirDrop works best when both devices are close together and have Bluetooth and Wi-Fi active.
How to send a voice memo via Messages or Email
If you want to transfer a voice memo and also share it with someone else, sending it through Messages or Email is a practical option. This method lets you attach the recording to a message or email addressed to yourself, which then delivers the file to your iPhone's inbox. It's a useful fallback when AirDrop is unavailable or when you need to archive the memo in a different app.
- Tap the share icon at the bottom right of the screen.
- Choose either Messages or Email from the sharing options.
- If you select Messages, a new message opens with the voice memo attached. Enter your own phone number or email address and send it.
- If you select Email, a compose window opens with the attachment. Enter your own email address, add a subject if you wish, and send the email.
After sending, open the Messages or Mail app on your iPhone to retrieve the voice memo. From there, you can save it to the Voice Memos app or to the Files app for long-term storage. This method also works when you need to transfer files from voice recorder to computer, since you can email the same attachment to a desktop address and download it there.
\nRelated reading: How To Factory Reset A Apple Watch and How To Pair Apple Watch To iPad.