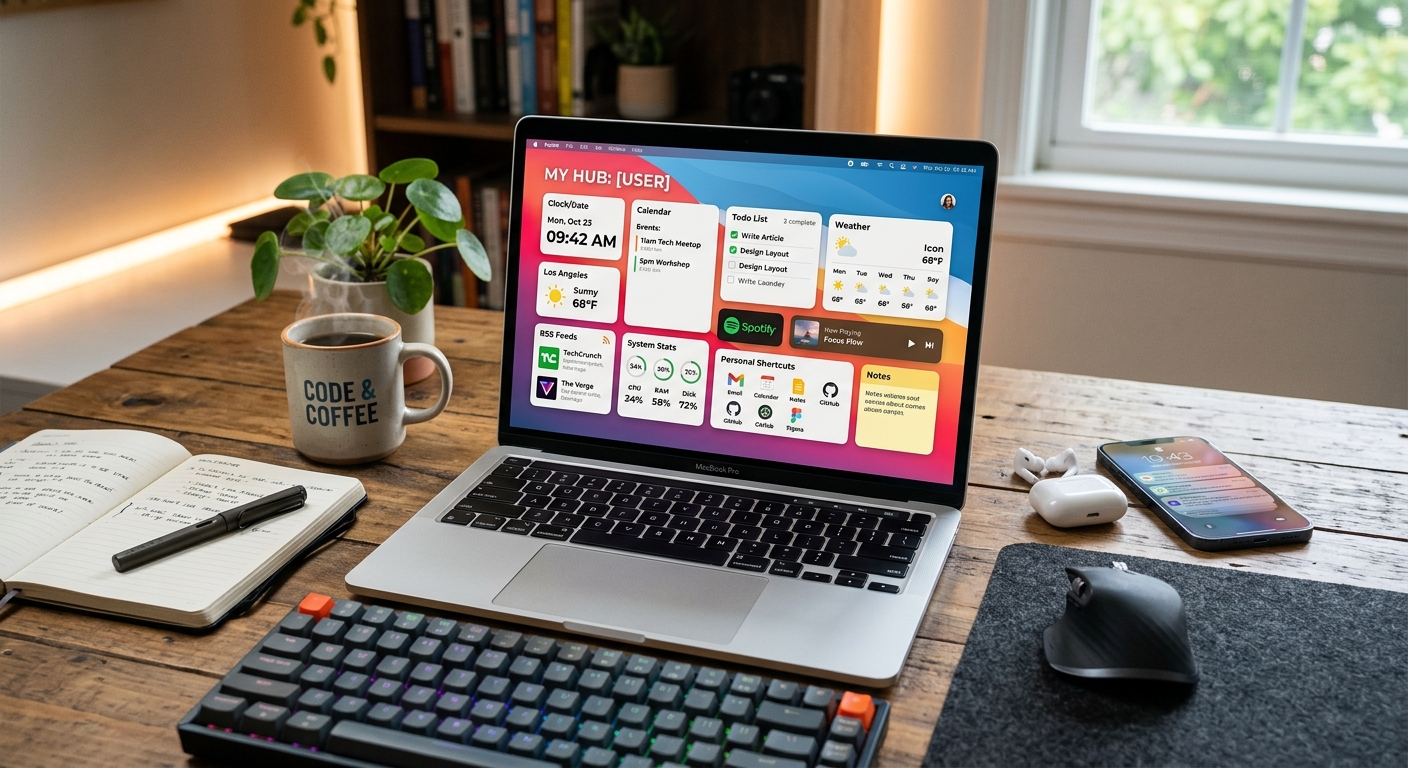
Your browser opens dozens of times a day. What greets you each time is usually a blank search bar or a row of suggested sites you barely visit. That is a lot of prime screen space going nowhere. A custom browser start page turns that wasted moment into something genuinely useful. Your most-visited links, your news feeds, your favorite tools, and a live weather widget all appear the instant a new tab opens, with no extra clicks required.
This is not a complicated project. With a free afternoon and a handful of low-code tools, you can build something that changes how you work every single day.
- A working dashboard takes one afternoon using only a text editor and a browser
- Site shortcuts look far better with real icons pulled directly from any website
- Free embeddable widgets bring in live data like weather and RSS headlines
- Raw HTML gives complete control, but no-code tools work just as well for beginners
- Setting your finished file as your browser homepage takes under a minute to configure
Why a Custom Start Page Changes How You Work
Every time you open a new tab, you make a small decision about where to go next. Most people type a URL, scan a bookmarks bar, or reach for Google out of habit. That friction adds up across a full workday.
A custom dashboard collapses those micro-decisions into a single glance. Your most-used links are already there. Your RSS feed is loading in the background. A weather widget tells you to grab an umbrella before you even think to check the forecast.
There is a deeper benefit too. A start page you build yourself lives on your machine. You control exactly what appears and what it does. Unlike browser extensions that sync through third-party servers, your hand-built dashboard belongs entirely to you. No subscriptions. No data sharing. No account required.
Choosing Your Starting Point: Code or No Code
Two paths lead to a working dashboard, and both are genuinely good choices.
The first is a purpose-built tool. Apps like Nighttab and Tabliss install as browser extensions. You pick a layout, drop in your bookmarks, choose a theme, and finish in under an hour. Heimdall is another option if you want a self-hosted version running on a local server at home. No coding needed at any step.
The second path is a plain HTML file. If you want total control, a simple index.html file saved to your computer and set as your browser homepage does exactly what you need. The markup language specification has been the backbone of the web for decades, and its core logic is beginner-friendly: a text file, a handful of tags, and a browser to render it.
This guide follows the HTML path because it teaches a skill that lasts. Every concept here translates directly to the no-code tools as well.
Planning Your Layout Before You Touch Any Code
Sketch your layout on paper first. A two-minute drawing saves an hour of rearranging later. Think about three main zones for your page:
- A header strip at the top for a live clock, the date, or a simple personal greeting
- A main grid in the center for site shortcuts, pinned bookmarks, and your most-used tools
- A sidebar or bottom row for RSS feeds, a lightweight to-do list, or a weather widget
Resist the urge to fill every pixel at once. The best dashboards are the ones you actually read at a glance. Fewer elements load faster and stay readable across different screen sizes. Give yourself permission to start small. You can always add more.
Open a plain text editor, not Word or Google Docs. Use Notepad on Windows, TextEdit in plain-text mode on Mac, or a free code editor like VS Code. Save a new file as index.html. That single file is your entire dashboard.
Building the Structure with Basic HTML and CSS
Here is a minimal but clean starter template. Copy it into your index.html file exactly as written, then open it in your browser:
<!DOCTYPE html>
<html lang="en">
<head>
  <meta charset="UTF-8">
  <title>My Dashboard</title>
  <style>
    body {
      font-family: sans-serif;
      background: #0f172a;
      color: #e2e8f0;
      margin: 0;
      padding: 28px;
    }
    .grid {
      display: grid;
      grid-template-columns: repeat(auto-fill, minmax(140px, 1fr));
      gap: 16px;
      margin-top: 28px;
    }
    .card {
      background: #1e293b;
      border-radius: 10px;
      padding: 18px;
      text-align: center;
    }
    a { color: #94a3b8; text-decoration: none; }
    a:hover { color: #ffffff; }
  </style>
</head>
<body>
  <h2>Good morning</h2>
  <div class="grid">
    <div class="card"><a href="https://news.ycombinator.com">Hacker News</a></div>
    <div class="card"><a href="https://github.com">GitHub</a></div>
    <div class="card"><a href="https://reddit.com">Reddit</a></div>
  </div>
</body>
</html>
Open that file in your browser. You now have a working dashboard. It is plain, but it functions. From here, every improvement is just adding to that file. Drop in a new card, save, and refresh. That feedback loop is fast and satisfying.
Adding Site Shortcuts with Their Real Icons
Plain text links work fine. Site icons make your dashboard feel like an actual control panel. Every website publishes a small image called a favicon, and you can grab those icons without digging through source code or poking around in browser inspector tabs.
Paste any URL into a favicon extractor, and it returns the site's icon file instantly. Copy the resulting image URL or download the file, then drop it inside your shortcut card like this:
<div class="card">
  <a href="https://github.com">
    <img src="your-favicon-url-here" width="36" height="36" alt="GitHub"
         style="display:block; margin: 0 auto 8px;">
    GitHub
  </a>
</div>
Repeat that for each site in your grid. Twenty minutes of icon-gathering transforms a plain list of links into a dashboard that genuinely looks polished. The visual difference is significant, and the effort is minimal.
Pulling in Live Data: Feeds, Weather, and a Clock
Static shortcuts are a solid foundation. Live data makes your dashboard worth glancing at throughout the day. Here are three free options that require zero backend setup:
- RSS feeds: Services like RSS.app generate a ready-to-paste iframe embed for any RSS feed. Paste the snippet into your HTML and your dashboard shows fresh headlines from any site that publishes a feed, updating automatically on each visit.
- Weather: The free public API at wttr.in serves a weather summary image for any city. Add
<img src="https://wttr.in/YourCity.png" alt="Weather">to your layout, replacing YourCity with your location, and it updates itself every day. - Live clock: A short block of vanilla JavaScript updates a text element every second. No library, no external dependency, no extra file to manage. A dozen lines inside a
<script>tag at the bottom of your HTML handles it completely.
Keep your external data sources to a minimum. Every outside request is one more thing that can slow your page load or break silently when the source changes. Three reliable widgets beat ten fragile ones every time.
Making the Visual Style Your Own
Color is the fastest way to make a start page feel personal. The dark-blue scheme from the template above is a solid starting point. To change it, swap the hex color values in your CSS. A palette tool like Coolors generates complete color schemes with a single spacebar press, and all the values are ready to copy directly into your stylesheet.
Typography does quiet but important work. Add a Google Fonts stylesheet link to your page head and reference that font family in your body CSS. One clean sans-serif typeface is all you need. Two fonts can work well together. Three or more starts to feel busy.
Test your finished page at different browser zoom levels. Bump the zoom to 125 percent and confirm your grid does not collapse awkwardly. The CSS grid property repeat(auto-fill, minmax(140px, 1fr)) handles most screen and zoom combinations gracefully without extra media queries.
Setting Your File as the Default Homepage
The last step is making your page appear automatically on every new tab or window.
In Chrome, open Settings, go to "On startup," and choose "Open a specific page or set of pages." Enter the full file path to your index.html. On Windows, that path looks like file:///C:/Users/YourName/dashboard/index.html. On Mac, it follows the same pattern with your home folder path.
In Firefox, open Settings, go to "Home," select "Custom URLs," and paste the same file path. Restart your browser, open a new tab, and your dashboard loads immediately.
If you prefer not to touch your browser settings, another option is installing a browser extension like Custom New Tab URL. It redirects every new tab to whatever file path you enter, with no other changes to your setup.
Your Browser, Finally Pulling Its Weight
A custom start page is a small project with a long return on investment. You spend a few hours building it once, and then every single browser session starts exactly the way you want it to. The learning curve is gentle, the tools cost nothing, and the result is genuinely yours.
The best part is that the project never really ends. Add a new shortcut when you find a site worth keeping. Update the color scheme when the old one starts to feel stale. Wire in a new widget when something useful catches your eye. Your dashboard grows with your habits rather than locking you into someone else's idea of what a homepage should be.
Start with the basics: a clean grid of links, an icon for each one, and maybe a weather widget tucked into a corner. Get that working and looking sharp. Then build from there at whatever pace your weekend allows. The finished result is something you will open dozens of times a day, and for once that will feel like an actual reward.