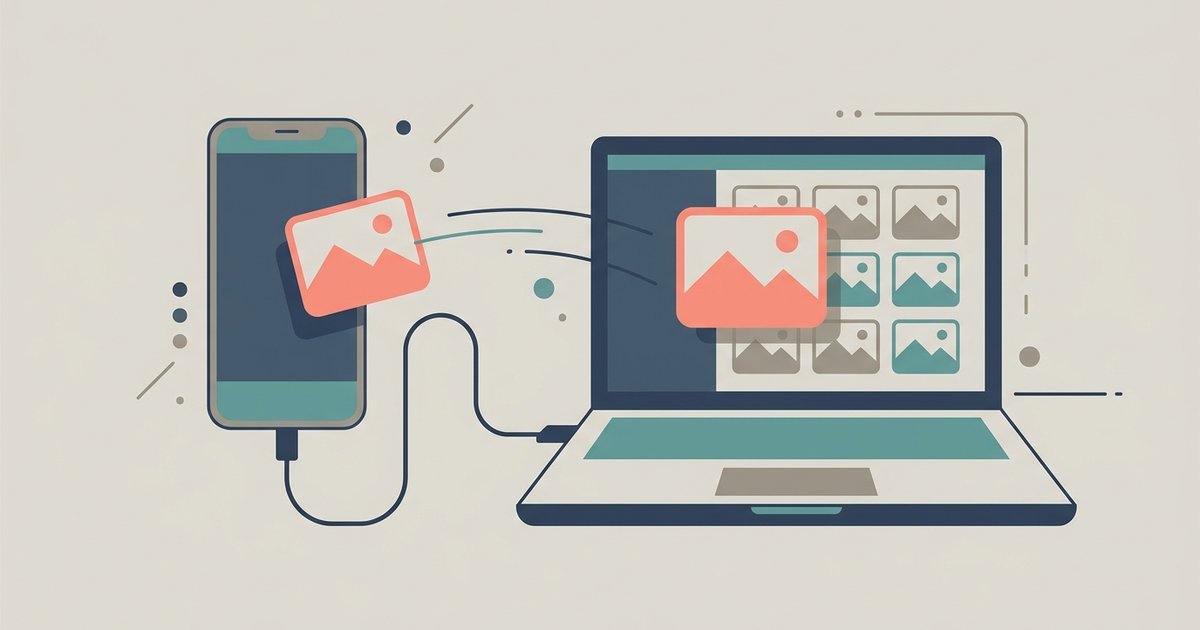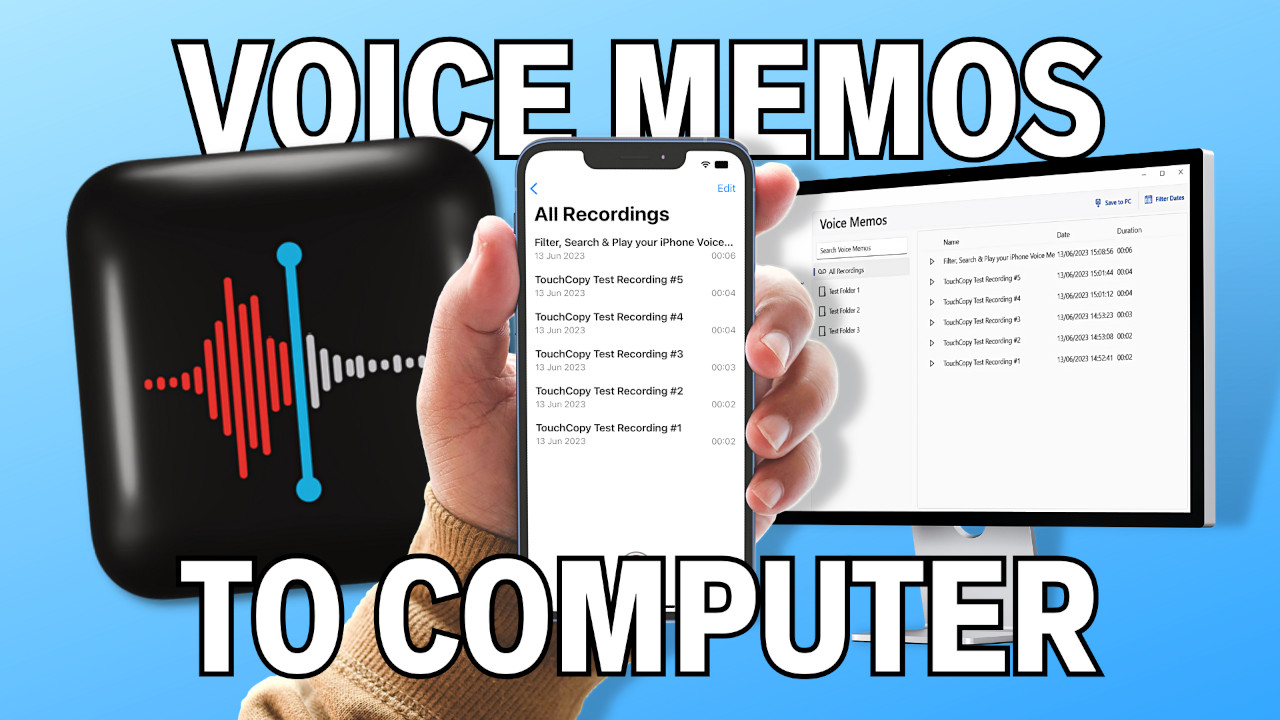
To transfer files from voice recorder to computer, connect the device using its USB cable, then treat it like a flash drive by dragging the audio files from the recorder's folder to a location on your computer. This method works with most digital voice recorders because they appear as a removable disk drive or mass storage device, requiring no special software for basic file transfer. If you are not sure which device holds the recordings, first find hidden voice recorder before connecting it.
How to transfer files from voice recorder to computer with a USB cable
Before connecting your voice recorder, ensure the power switch is OFF and the display is off. Some recorders require this state before the computer will recognize them as a storage device.
- Connect one end of the supplied USB cable to the voice recorder and the other end to an available USB port on your computer.
- On a Windows computer, open File Explorer (or "This PC"); on a Mac, open Finder.
- Locate and double-click the voice recorder's drive icon. It might be labeled "IC RECORDER," "VoiceTracer," or a generic USB drive name.
- Navigate through the folders on the recorder. You'll commonly find folders named "VOICE," "FOLDER_A," "DSS_FLDA," or "Recordings" that contain your audio files.
- Select the audio files you want to transfer.
- Drag and drop the selected files from the recorder's folder to a desired location on your computer.
- Wait for the transfer to complete. The speed depends on file size and connection.
- Always safely eject or disconnect the voice recorder from the computer after the transfer is complete to prevent data loss.
This process treats your recorder exactly like a USB flash drive, giving you the ability to back up and archive your recordings in a safe place. If your voice recorder gets lost or damaged, having a copy on your computer ensures you don't lose valuable audio data.
Transferring files to your computer also allows for easy organization and access to your recordings, making it convenient to search for specific files whenever you need them. Once your recordings are on your computer, you can easily share them with others or collaborate on projects.
Find your transferred files and stay organized
After the transfer, your audio files will be in the location you chose on your computer. To keep them manageable, create a dedicated folder for your voice recorder files, for example, name it "Voice Recordings" or split them into subfolders by date or topic.
Use clear file names when saving your transferred files. Include details such as date, time, or event name in the file names to provide context and make it easier to identify the content of each recording. Avoid generic names like "Audio001" as they can become confusing over time. This approach gives you the ability to organize and manage your recordings more efficiently, with folders and file names of your choice. You can easily locate and access specific recordings whenever you need them.
\nRelated reading: How Do I Transfer Files To My Amazon Fire Tablet? and How To Transfer Pictures To Seagate External Hard Drive.