Introduction
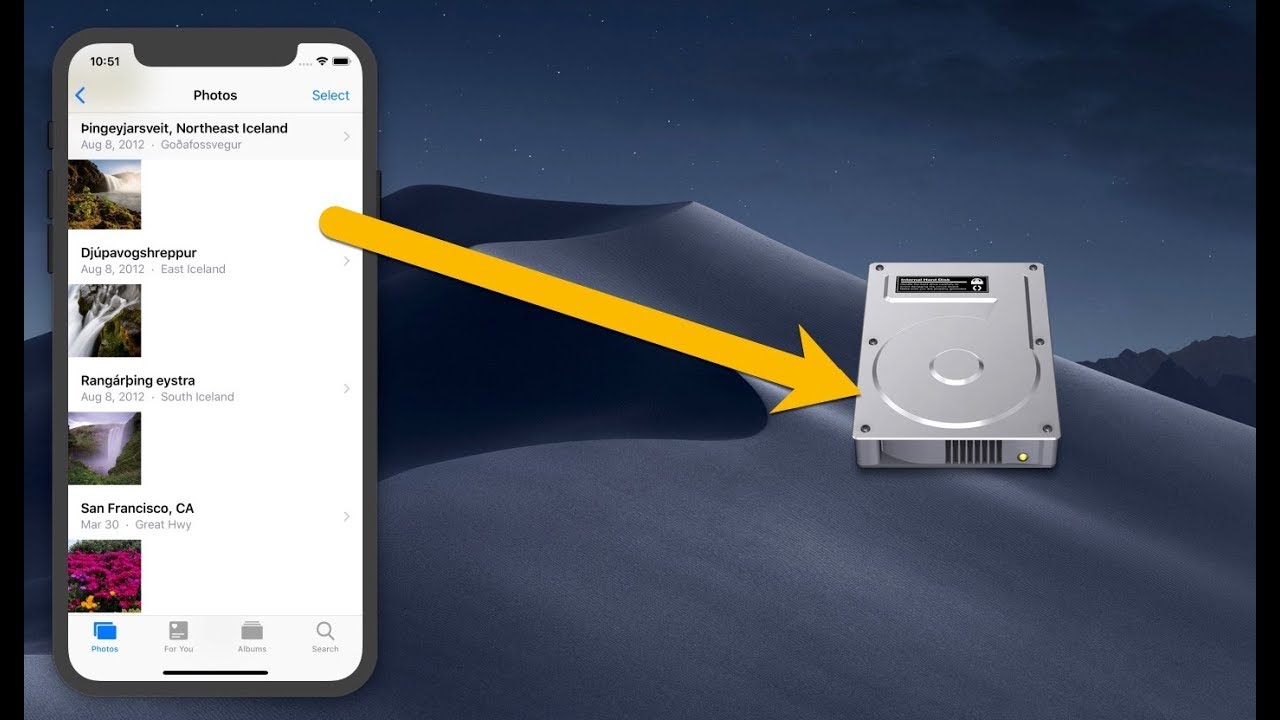
Welcome to this comprehensive guide on how to transfer your photos to an external hard drive. In today’s digital age, we capture countless memories through photos, and it’s essential to have a reliable backup solution to safeguard those precious moments. By transferring your photos to an external hard drive, you not only free up valuable space on your computer or mobile device but also ensure that your images are securely stored and easily accessible.
Whether you’re a professional photographer or simply a photo enthusiast, this step-by-step tutorial will walk you through the process of transferring your photos to an external hard drive. We’ll cover everything from connecting the drive to your device to locating and copying the photos. So, let’s dive in and get started!
Before we begin, it’s important to note that the method described in this guide may vary slightly depending on the operating system and device you’re using. However, the fundamental steps remain the same, and we’ll provide general instructions that should work for most users.
So, if you’re ready to preserve your cherished memories and create more space on your devices, let’s proceed to the first step: connecting your external hard drive.
Step 1: Connect your external hard drive
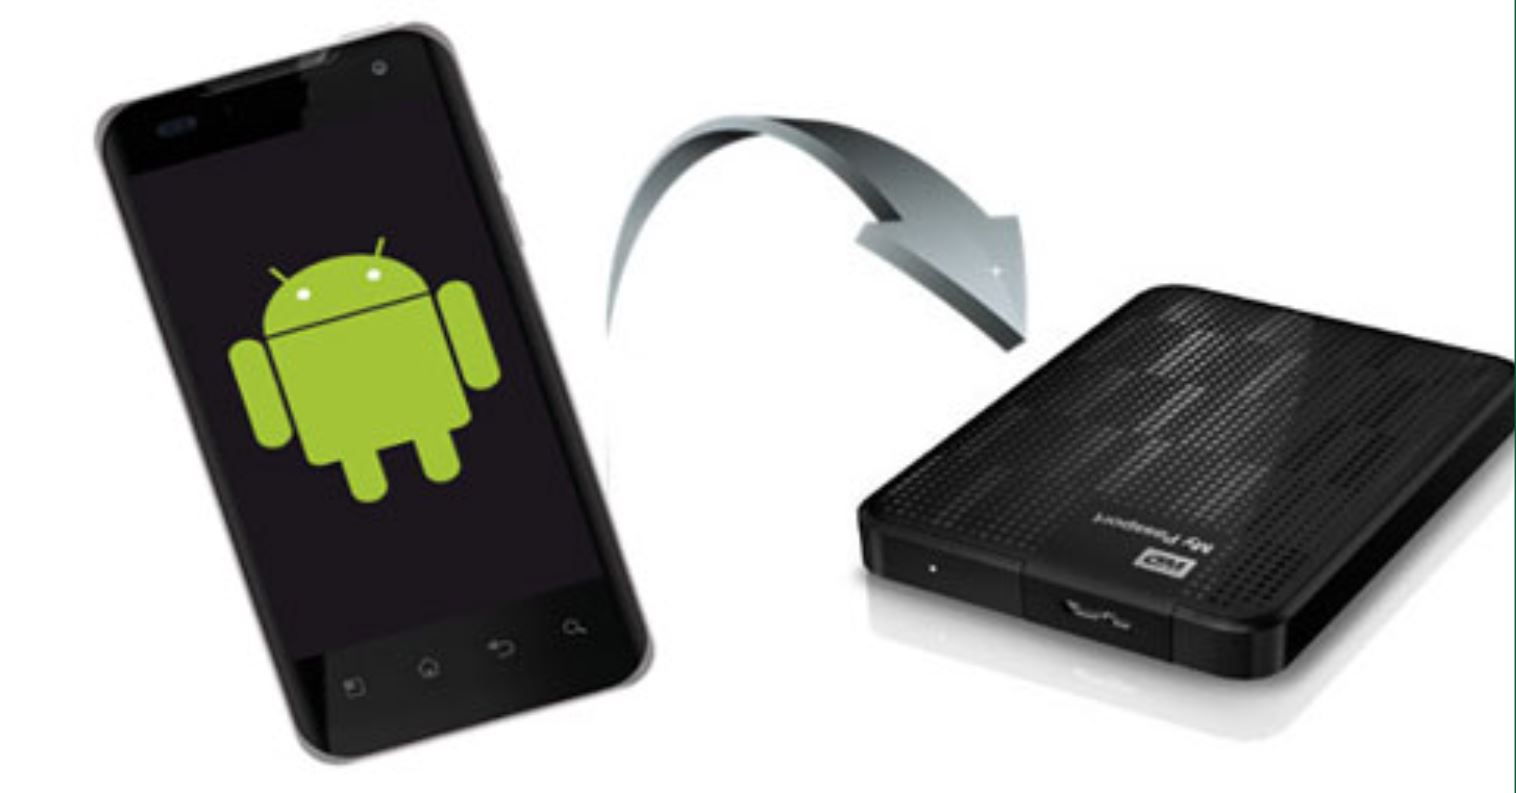
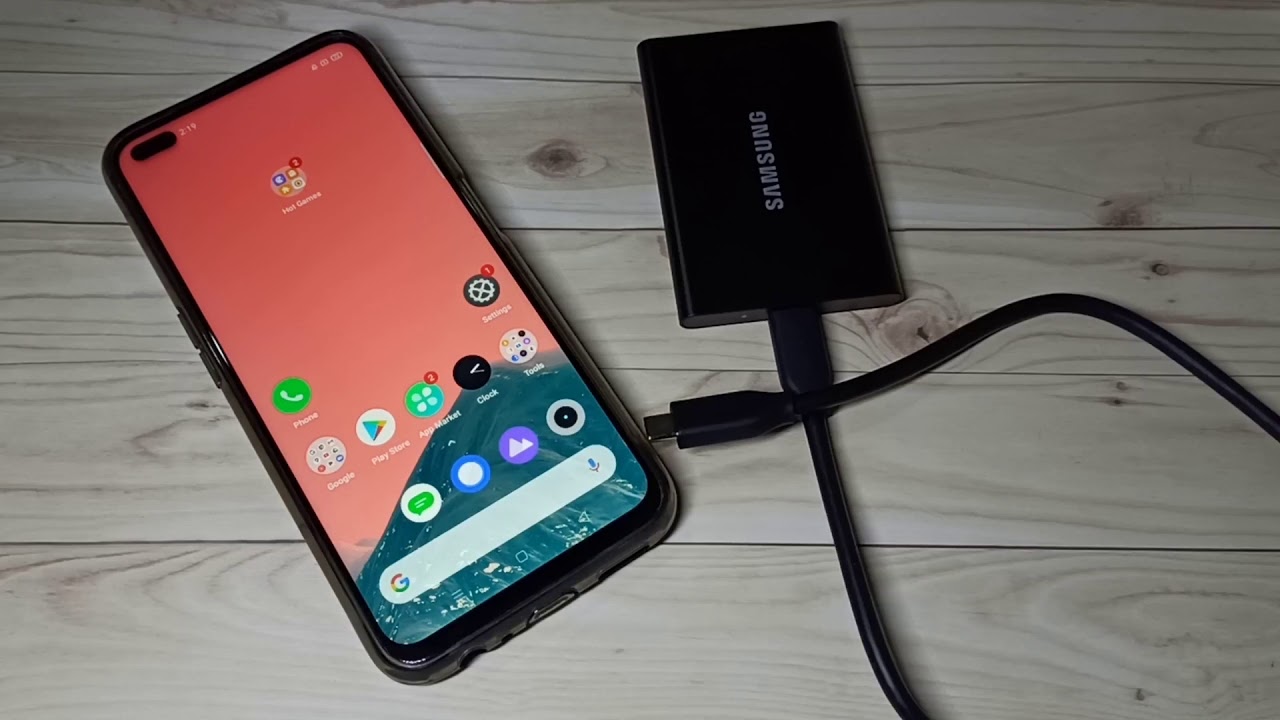
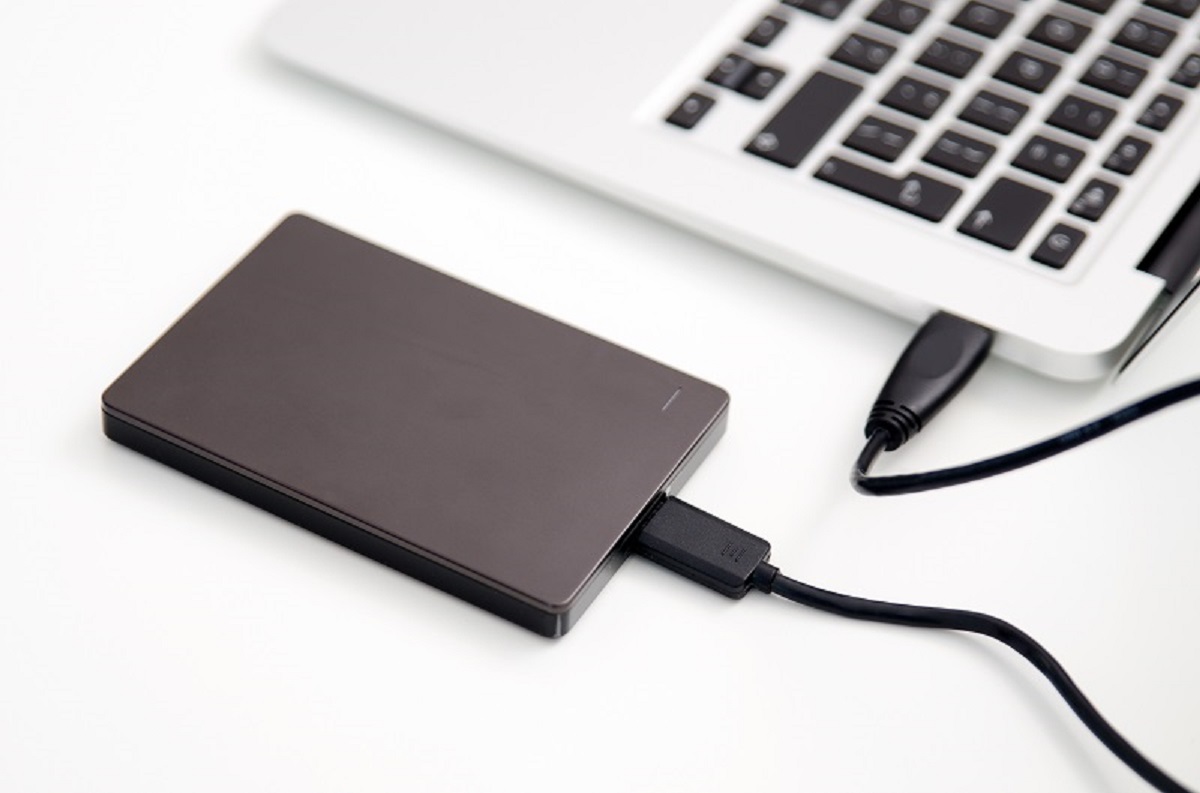
The first step in transferring your photos to an external hard drive is to establish a physical connection between your device and the drive. Depending on the type of external hard drive you have, there are different connection options available.
If you’re using a traditional external hard drive, it typically connects via a USB cable. Locate an available USB port on your computer or laptop and insert the USB cable into the port. If your external hard drive requires an external power source, ensure that it is plugged in and turned on.
For those using portable external hard drives or SSDs (Solid State Drives), they often come with USB-C or Thunderbolt connectors. In this case, you might need to use an adapter or a cable that’s compatible with your device’s USB ports.
Once you’ve connected your external hard drive, your device should recognize it as a new storage device. It may prompt you to install any necessary drivers or software. Follow the on-screen instructions to complete the setup process.
It’s worth mentioning that some external hard drives are designed specifically for certain operating systems, such as Windows or macOS. Before purchasing an external hard drive, ensure that it is compatible with your device’s operating system to avoid any compatibility issues.
With your external hard drive successfully connected and set up, you’re now ready to begin transferring your photos. Let’s move on to the next step.
Step 2: Open the File Explorer
Now that your external hard drive is connected, the next step is to open the File Explorer on your computer. The File Explorer is a built-in file management tool that allows you to navigate and manage files and folders on your device.
To open the File Explorer, simply click on the “File Explorer” icon located on your taskbar or press the “Windows key” + “E” on your keyboard. This will launch the File Explorer window, giving you access to all the files and folders stored on your device.
Once the File Explorer window opens, you’ll see a list of folders and drives displayed on the left-hand side. Scroll down until you locate your external hard drive, which is usually labeled with its brand or model name. Click on the drive to open it.
If you’re unsure which drive is your external hard drive, you can check the drive size. Typically, external hard drives have larger storage capacities compared to the internal drives of most devices. Take note of the drive letter assigned to your external hard drive to ensure you select the correct one.
The File Explorer interface not only allows you to navigate through files and folders but also provides essential features such as searching, sorting, and organizing your files. Familiarize yourself with the various display options and settings available within the File Explorer to make managing your photos a breeze.
Now that you’re inside your external hard drive through the File Explorer, you’re ready to locate and select the photos you want to transfer. Let’s move on to the next step.
Step 3: Locate your photos
With the File Explorer open and your external hard drive selected, it’s time to locate the photos you want to transfer. Your photos may be located in different folders on your device, such as the Pictures folder, Downloads folder, or any other custom folders you have created.
To locate your photos, navigate through the folders in the File Explorer by double-clicking on each folder to view its contents. Look for the folders or sub-folders that contain your photos.
If you’re unsure of where your photos are saved, you can use the search bar located at the top right corner of the File Explorer window. Simply enter a keyword or the file extension of your photos (e.g., .jpg, .png) in the search bar, and the File Explorer will display the relevant results.
Once you’ve found the folder or folders containing your photos, you can browse through them to verify that you have selected the correct ones. You may want to consider organizing your photos into specific folders or albums, especially if you have a large collection. This can help you easily locate and transfer specific sets of photos in the future.
Remember to consider any sub-folders within your selected folder(s) that may contain additional photos. It’s essential to thoroughly explore each folder to ensure you don’t miss any important photos you want to transfer to your external hard drive.
Now that you’ve located your photos in the File Explorer, it’s time to select the specific photos you want to transfer. In the next step, we’ll discuss how to do this and copy the selected photos.
Step 4: Select the photos you want to transfer
Now that you have located the folders containing your photos, it’s time to select the specific photos that you want to transfer to your external hard drive. The File Explorer provides various options for selecting multiple photos at once.
To select individual photos, simply click on each photo while holding down the Ctrl (Control) key on your keyboard. This allows you to choose multiple photos scattered throughout the folder(s).
If you want to select a consecutive group of photos, you can click on the first photo in the group, hold down the Shift key, and then click on the last photo of the group. This will select all the photos in between as well.
Alternatively, if you want to select all the photos in a specific folder, you can click on one photo and then press Ctrl + A on your keyboard. This will select all the photos in that folder.
As you select the photos, you will notice that they are highlighted or their file names are displayed in a different color. This indicates that they are selected and ready to be copied.
If you change your mind and want to deselect a photo or a group of photos, simply click on them while holding down the Ctrl key. This will remove the selection.
Once you have selected the photos you want to transfer, you’re ready to proceed to the next step: copying the selected photos to your external hard drive.
Step 5: Copy the selected photos
Now that you have selected the photos you want to transfer to your external hard drive, it’s time to copy them. The process of copying files in the File Explorer is simple and straightforward.
Right-click on any one of the selected photos, and a context menu will appear. From the options in the menu, select “Copy”. Alternatively, you can press Ctrl + C on your keyboard to copy the files.
Once you have copied the selected photos, it’s time to navigate back to your external hard drive in the File Explorer. Click on the drive’s name or folder to ensure it is the active destination for the copied files.
Right-click anywhere within the external hard drive folder and select “Paste” from the context menu. Alternatively, you can press Ctrl + V on your keyboard to paste the files.
The selected photos will now begin to copy from your device to the external hard drive. The time it takes to complete the copying process depends on the number and size of the photos. It is wise to be patient and refrain from interrupting the copying process to ensure all files are successfully transferred.
You may see a progress bar or notification indicating the status of the file transfer. Once the copying process is complete, you will see the selected photos appear within your external hard drive folder.
It is important to note that when you copy files, such as photos, they are duplicated on the external hard drive. The original files will still remain on your device. If you want to remove the photos from your device after successfully transferring them, ensure that you have backed up the photos on another storage device or cloud service, and then delete them from your device’s original location.
Now that you have successfully copied the selected photos to your external hard drive, you can proceed to the next step of the process: organizing the photos within the external hard drive or safely ejecting the drive.
Step 6: Open your external hard drive
After successfully copying the selected photos to your external hard drive, you need to open the drive to ensure that the files are properly stored and accessible. Opening your external hard drive allows you to view and manage the transferred photos.
To access your external hard drive, go back to the File Explorer. Locate the list of drives and folders on the left-hand side of the File Explorer window. Look for the name or label of your external hard drive, which you had previously selected and copied the photos to.
Click on the name or label of your external hard drive, and the File Explorer will open its contents. You should now see the transferred photos listed within the external hard drive folder.
Depending on your settings and preferences, the transferred photos may be organized in the same folder structure as on your device, or they may appear directly in the root folder of your external hard drive. Take a moment to browse through the folder structure and view the organized photos.
Opening your external hard drive not only verifies that the photos have been successfully transferred but also allows you to perform additional actions, such as organizing the photos into different folders or subfolders, renaming files, or even deleting any unnecessary or duplicate photos. This step gives you full control over managing your photo collection within the external hard drive.
Remember that your external hard drive acts as a separate storage device, so any changes you make to the photos within the drive will not affect the original files on your device. This provides an additional layer of protection for your photos.
Now that your external hard drive is open and you can view the transferred photos, you can proceed to the final step: safely ejecting the external hard drive to ensure the proper disconnection from your device.
Step 7: Paste the photos into the external hard drive
With your external hard drive open in the File Explorer, it’s time to paste the copied photos into the drive. This step completes the process of transferring your photos to the external hard drive, ensuring they are securely stored and easily accessible.
To paste the photos, right-click anywhere within the external hard drive folder and select “Paste” from the context menu. Alternatively, you can press Ctrl + V on your keyboard to initiate the paste operation.
The File Explorer will then begin pasting the photos from the clipboard into the external hard drive. The time it takes to complete the process will depend on the number and size of the photos being transferred. It’s important to be patient and refrain from interrupting the process to ensure all files are successfully pasted.
During the paste operation, you may see a progress bar or notification indicating the status of the file transfer. Once the process is complete, you will see the transferred photos listed within the external hard drive folder.
It’s worth mentioning that if you encounter any prompts or messages notifying you about file conflicts or duplicates during the paste operation, you can choose the appropriate option based on your preferences. For instance, you may choose to overwrite or skip duplicate files, or keep both versions if you want to retain multiple copies.
Once the photos have been successfully pasted into the external hard drive, you can close the File Explorer and safely disconnect the drive from your device. Ensure that no files are currently being accessed or transferred before proceeding with the ejection.
To safely disconnect the external hard drive, locate the Safely Remove Hardware icon in the system tray, usually located in the bottom right corner of the screen. Click on the icon and select your external hard drive from the list of connected devices.
The system will then notify you when it’s safe to remove the device. Once you receive the confirmation, unplug the USB cable or disconnect the drive according to its specific instructions.
Congratulations! You have successfully transferred and pasted your photos into the external hard drive. Your precious memories are now safely stored and ready for you to access whenever you need them.
Conclusion
Transferring your photos to an external hard drive is a simple yet essential process to safeguard your priceless memories. By following the steps outlined in this guide, you can easily free up space on your device while ensuring that your photos are securely stored and easily accessible.
We started by connecting the external hard drive to your device, whether it’s a computer, laptop, or mobile device. Then, we opened the File Explorer, located the photos you wanted to transfer, and selected them for copying. After that, we navigated to the external hard drive and pasted the selected photos into it.
The process of transferring photos to an external hard drive not only allows you to create much-needed space on your device but also provides an additional layer of protection against data loss. External hard drives offer larger storage capacities and can serve as a reliable backup solution for your photos.
Remember to organize your photos within the external hard drive, creating folders or albums that will help you easily locate specific sets of photos in the future. Additionally, consider regularly backing up your external hard drive to other off-site storage options, such as cloud services or secondary drives, to ensure the preservation of your cherished memories even in the event of hardware failure or damage.
With your photos safely transferred to the external hard drive, you can now enjoy peace of mind, knowing that your memories are stored in a secure and accessible location. Take the time to explore the features and settings within your external hard drive to maximize its potential for photo organization and management.
Thank you for following this step-by-step guide on how to transfer your photos to an external hard drive. We hope this information has been helpful, and we encourage you to regularly back up your photos and continue enjoying the capturing and preserving of precious memories for years to come.