Introduction
Are you running out of storage space on your Mac and need to transfer your precious photos to an external hard drive? Don’t worry, we’ve got you covered. In this guide, we’ll walk you through the steps on how to copy photos from your Mac to an external hard drive in 2016.
Having a backup of your photos is essential to ensure their safety and prevent any loss. By storing them on an external hard drive, you can free up valuable space on your Mac while keeping your memories secure.
Whether you want to transfer a few photos or an entire album, the process is straightforward and can be done in just a few simple steps. We’ll guide you through each step, from plugging in your external hard drive to verifying that your photos are successfully copied.
Before we begin, make sure you have an external hard drive with enough storage space to accommodate the photos you intend to copy. Additionally, ensure that your Mac is connected to a stable power source to prevent any interruptions during the copying process.
Now, let’s dive into the step-by-step process of copying photos from your Mac to an external hard drive.
Step 1: Plug in your external hard drive
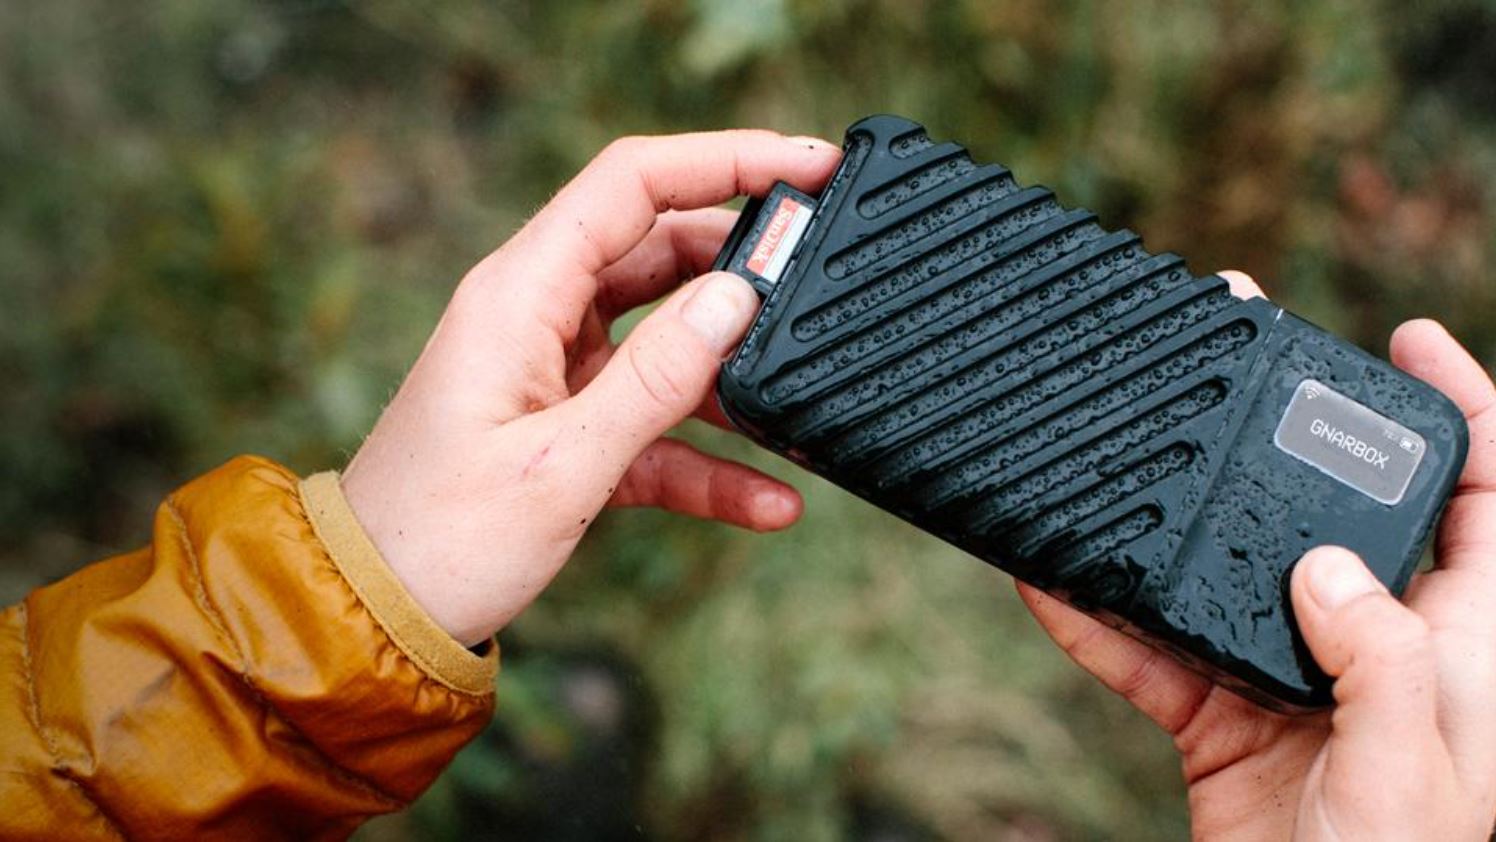
The first step in copying your photos from your Mac to an external hard drive is to ensure that your external hard drive is properly plugged into your Mac. This will establish the connection needed for the data transfer.
Start by locating an available USB port on your Mac. Depending on the model of your Mac, you may have USB 2.0 or USB 3.0 ports. USB 3.0 ports offer faster transfer speeds; however, USB 2.0 will work just fine for transferring photos.
Once you’ve identified the USB port, take the USB cable that came with your external hard drive and insert one end into the port on your Mac. The other end of the cable should be inserted into the appropriate port on your external hard drive. This connection will establish a link between your Mac and the external hard drive.
After plugging in the cable, you’ll need to ensure that your external hard drive is powered on. Most external hard drives are powered through the USB connection and will turn on automatically when connected to your Mac. Some larger external hard drives may require an external power source, in which case you should ensure that it is connected and turned on as well.
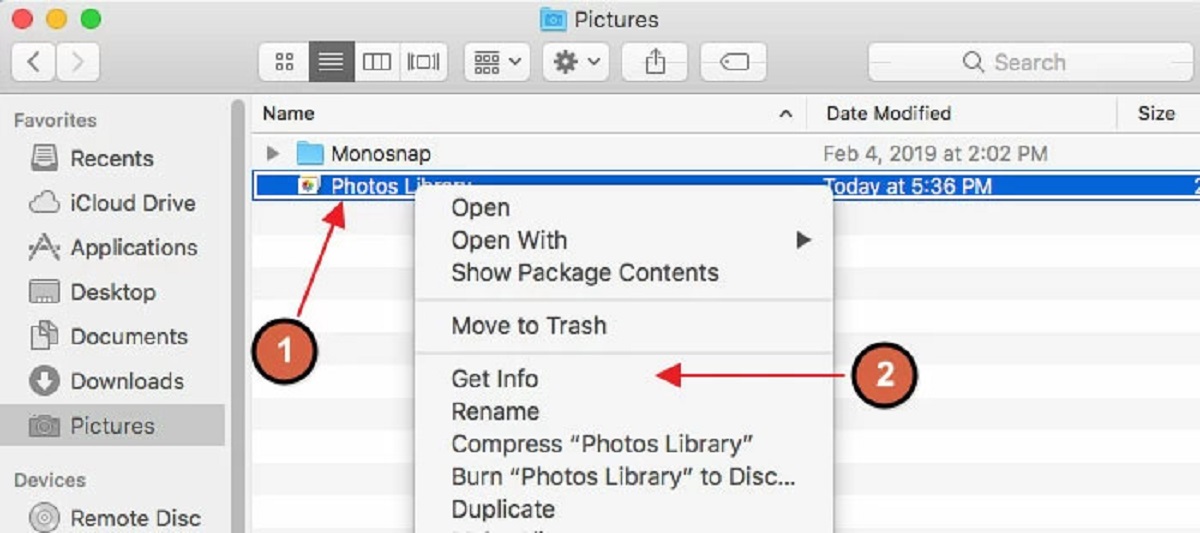
Once you’ve plugged in and powered on your external hard drive, your Mac should recognize it and display it as a connected device. To confirm this, you can go to the Finder on your Mac and look for your external hard drive listed under the “Devices” section in the sidebar.
Now that you have successfully plugged in your external hard drive, you are ready to move on to the next step of copying your photos.
Step 2: Open the Photos app on your Mac
After connecting your external hard drive to your Mac, the next step is to open the Photos app. This is where you will access and select the photos that you want to copy.
The Photos app comes pre-installed on most Macs and is a convenient tool for managing and organizing your photo library. To open the Photos app, simply click on the Photos icon located in the Dock or search for it using Spotlight by pressing Command + Space and typing “Photos”.
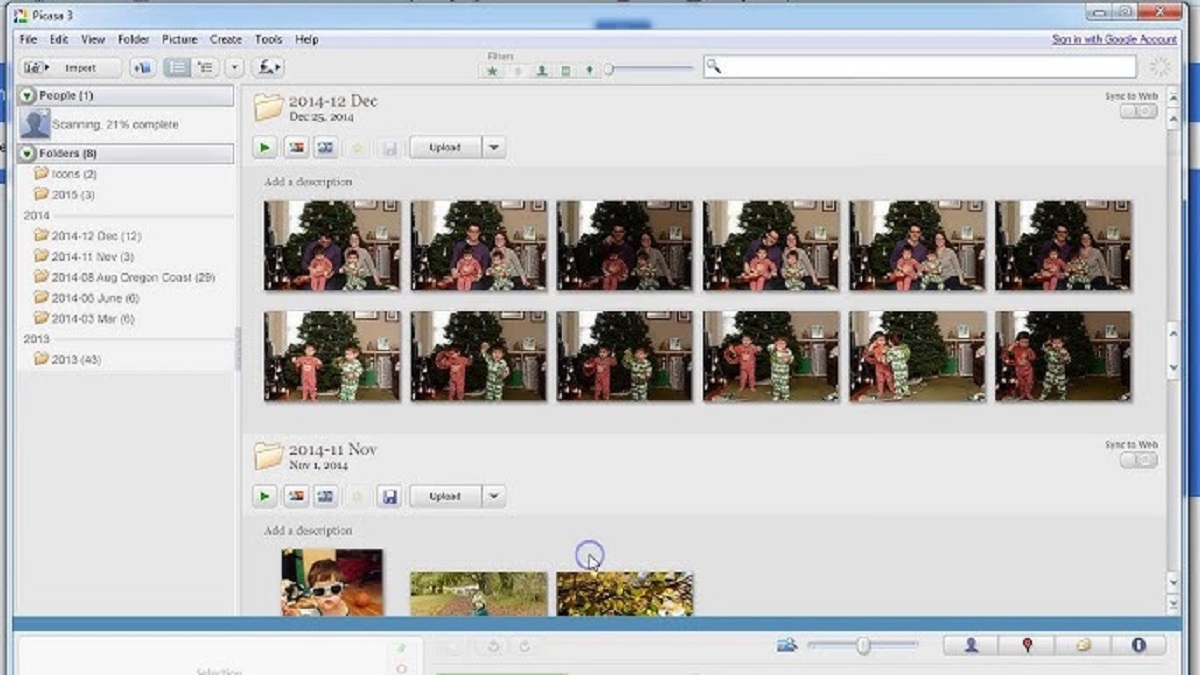
Once the Photos app is open, you will see your photo library displayed in the main window. This includes all the albums, moments, and collections that you have created.
Browsing through your photo library, you can use the sidebar on the left-hand side of the Photos app window to navigate between different sections such as “Photos,” “Albums,” “Memories,” and more.
Take some time to explore your photo library and locate the photos that you want to copy to your external hard drive. You can browse through different albums, use the search bar to find specific photos, or filter by date to narrow down your selection.
It is advisable to create a specific album or folder within the Photos app for the photos you intend to copy to the external hard drive. This will help you easily locate and select them in the following steps.
Once you have identified the photos you want to copy, you are now ready to proceed to the next step of the process.
Step 3: Select the photos you want to copy
Now that you have the Photos app open on your Mac, it’s time to select the photos that you want to copy to your external hard drive. This step allows you to choose specific images or entire albums for the transfer.
To get started, navigate to the section in the Photos app where your desired photos are located. You can select individual photos by clicking on them, or you can select multiple photos by holding down the Command key on your keyboard and clicking on each photo you want to include.
If you have organized your photos into albums, you can click on an album in the sidebar and then select all the photos within that album by pressing Command + A. This will automatically highlight all the images, and you can proceed to the next step.
Make sure to review your selection and ensure that you have chosen the correct photos. It’s recommended to double-check your choices to avoid any unwanted data transfer.
If you want to select a large number of photos, you can use the Shift key. Start by clicking on the first photo and then hold down the Shift key while clicking on the last photo in your desired range. This will select a continuous range of images.
As you are selecting your photos, you will notice that they become highlighted or have a border to indicate that they are chosen. This visual feedback helps you keep track of your selection.
Remember, you can mix and match your selection. You can choose specific photos from one album, select a few images from another album, or even include photos from different moments or collections.
Once you have made your selection, you are ready to proceed to the next step, where you will export these chosen photos from the Photos app.
Step 4: Go to the File menu and choose Export
After selecting the photos you want to copy in the Photos app, the next step is to navigate to the File menu and choose the Export option. This will allow you to specify the settings for the exported photos and select your external hard drive as the destination.
To access the File menu, look at the menu bar at the top of your screen and click on “File.” A dropdown menu will appear with various options, including Import, Export, and Print.
Click on “Export” in the File menu to open the export options for your selected photos. You can also use the keyboard shortcut Command + Shift + E to instantly open the export dialogue.
Upon selecting Export, a window will appear where you can customize the settings for the exported photos. You’ll have the option to choose the file format, adjust the size and quality of the images, and even add metadata like titles or keywords.
Take some time to review the export options and select the settings that best suit your needs. For most users, the default settings will suffice. However, if you have specific requirements or preferences, feel free to make the necessary adjustments.
Keep in mind that the file format you choose will affect the compatibility and size of the exported photos. JPEG is the most widely supported format and is suitable for most purposes. If you require higher quality or transparency, you can select PNG or TIFF.
Once you have chosen the desired settings, you are now ready to move on to the next step, where you will specify your external hard drive as the destination for the exported photos.
Step 5: Choose the format for your exported photos
Once you’ve opened the export options window, the next step is to choose the format for your exported photos. This step allows you to determine the file type and quality of the copied images.
In the export options window, you’ll find a “File Name” field where you can specify the name for your exported photos. You can choose a descriptive name that reflects the content of the photos to make it easier to identify them later.
Below the file name, you’ll see a dropdown menu labeled “File Type.” Click on this menu to reveal the available file format options for your exported photos.
The most commonly used file format for photos is JPEG. It offers a good balance between image quality and file size, making it suitable for most purposes. JPEG is widely supported across devices, platforms, and applications, ensuring compatibility when you transfer the photos to different devices or share them with others.
If you require higher image quality or transparency, you can choose PNG or TIFF as the file format. These formats maintain more details and preserve transparency, but they usually result in larger file sizes.
Consider your specific needs and requirements when choosing the format for your exported photos. If you’re unsure, sticking with the default JPEG format is recommended.
In addition to the file format, you may have further options to adjust the quality or compression of the exported photos. Some export dialogues allow you to choose the desired quality level, providing a trade-off between smaller file size and better image quality.
Once you have selected the format and any additional settings, you are ready to proceed to the next step, where you will specify your external hard drive as the destination for the exported photos.
Step 6: Choose your external hard drive as the destination
After selecting the format for your exported photos, the next step is to choose your external hard drive as the destination for the copied images. This ensures that the photos are saved directly onto your external storage device.
In the export options window, you will find a “Export To” field or a similar option that allows you to specify the location where the photos will be saved. Click on this field to reveal a dropdown menu or a browsing window.
Look for your external hard drive in the list of available destinations. It should be displayed with the name you assigned to it or with a default name assigned by the system. Select your external hard drive to indicate that you want the exported photos to be saved there.
Take a moment to verify that you have selected the correct external hard drive. Double-check the name and any other identifying information to ensure that you are copying the photos to the right location. This is especially important if you have multiple external hard drives connected to your Mac.
If you cannot find your external hard drive in the list, make sure that it is properly connected to your Mac and turned on. Also, ensure that your Mac recognizes the external hard drive by checking if it appears in the Finder sidebar or on the desktop.
It’s worth noting that the speed of your external hard drive and the available space on it can impact the overall time required to copy the photos. Make sure that your external hard drive has sufficient space to accommodate the photos you have selected for copying.
Once you have chosen your external hard drive as the destination, you are now ready to proceed to the next step, where you will initiate the copying process of the photos.
Step 7: Click Export to start copying the photos
After selecting your external hard drive as the destination for the copied photos, the next step is to initiate the copying process by clicking the “Export” button.
In the export options window, you will find a button labeled “Export” or a similar prompt to begin the transfer of your selected photos. This button is typically located at the bottom right or left corner of the export options window.
Before clicking the “Export” button, take a final moment to review the selected export settings and ensure that everything is as you desire. Double-check the file format, quality, and destination to avoid any potential mistakes.
Once you are satisfied with the export settings and ready to proceed, click the “Export” button. The Photos app will then begin the process of copying the selected photos to your external hard drive.
Depending on the number and size of the photos you are copying, the duration of the copying process may vary. Larger files and a high quantity of images may take longer to transfer.
During the copying process, it’s essential to ensure that your Mac and the connected external hard drive remain powered on and connected. Interrupting the copying process by disconnecting the drive or shutting down the computer can result in incomplete transfers or data loss.
While the photos are being copied, a progress bar or an indication of the transfer progress may be displayed. This allows you to monitor the status of the copying process and estimate the remaining time.
Once the copying process is complete, you will receive a notification or confirmation message indicating that the photos have been successfully transferred to your external hard drive.
Now that the copying process is finished, you can move on to the next step where you’ll verify that the photos have been copied correctly.
Step 8: Wait for the copying process to complete
After clicking the “Export” button, you need to be patient and allow the copying process to complete. This step requires you to wait for the Photos app to transfer the selected photos from your Mac to the external hard drive.
Depending on the size and quantity of the photos you are copying, the duration of the copying process can vary. It’s essential to avoid interrupting the process by disconnecting the external hard drive or turning off your Mac.
While the copying process is underway, you may see a progress bar or an indicator that displays the status of the transfer. This can help you estimate how much time is remaining until the process is complete.
It’s advisable to keep an eye on the progress, especially if you are transferring a large number of photos or dealing with high-resolution images. This way, you can be aware of the time it may take and plan accordingly.
During the copying process, you can continue to use your Mac and perform other tasks. The Photos app will run in the background, ensuring that the transfer of your selected photos continues until completion.
While waiting, you might consider keeping your Mac connected to a stable power source. This helps prevent any disruptions or unexpected shutdowns that could interfere with the copying process.
Once the copying process is completed, you will receive a notification or confirmation message indicating that the transfer was successful. At this point, you can disconnect your external hard drive from your Mac and move on to the next step.
Remember, the duration of the copying process can vary depending on various factors, including the size of the photos and the speed of your external hard drive. Patience is key during this step, and it’s worth waiting for the process to complete to ensure that your photos are safely and accurately transferred.
Step 9: Verify that the photos are copied successfully
Once the copying process is complete, it’s important to verify that the photos have been successfully transferred to your external hard drive. This step ensures that your precious memories are securely stored and accessible.
Start by safely disconnecting your external hard drive from your Mac. Ejecting the drive ensures that all data has been written and any cached information has been saved. To eject the drive, locate it on your desktop or in the Finder sidebar, right-click on it, and select “Eject.”
Before disconnecting, take a moment to visually inspect the destination folder on your external hard drive to ensure that the copied photos are present. Open the folder and browse through the images to verify that they match the ones you selected for copying.
Check that the file names, formats, and sizes of the photos on your external hard drive match the originals in the Photos app. Ensure that no photos were skipped or excluded during the copying process.
To further ensure the integrity of the copied photos, you can randomly pick a few images and compare them side by side with their counterparts in the Photos app. Look for any noticeable differences in quality or resolution that might indicate an issue during the transfer.
If you have organized your photos into albums or folders on the Photos app, ensure that the same organizational structure has been maintained on the external hard drive. Verify that the albums you created are present and that the photos are properly categorized within them.
Opening a few photos on your external hard drive can help confirm that they can be accessed and viewed without any errors or issues. This will provide reassurance that the copied photos are intact and usable.
If you encounter any discrepancies or missing photos during the verification process, you may need to repeat the copying process to ensure that all desired images are transferred successfully. Troubleshooting steps such as checking the connection between your Mac and the external hard drive or ensuring sufficient storage space might also be necessary.
By verifying the copied photos, you can have confidence that your memories are safely stored on your external hard drive, providing you with a backup and freeing up space on your Mac.
Step 10: Safely eject your external hard drive
Once you have verified that the photos are successfully copied to your external hard drive, it is important to safely eject the drive from your Mac. Safely ejecting the external hard drive ensures that all data has been written and avoids any potential data loss or corruption.
To safely eject your external hard drive, start by closing any files or folders that you have open from the drive. This ensures that no active processes or applications are accessing the drive’s data.
Next, locate the external hard drive on your desktop or in the Finder sidebar. Right-click on the drive’s icon and select the “Eject” option. Alternatively, you can simply click and drag the drive’s icon into the Trash, which will change to an eject symbol.
After initiating the ejection process, you may see a spinning icon or a progress indicator indicating that the system is safely dismounting the external hard drive. It is important to wait until this process is complete before physically disconnecting the drive from your Mac.
Once the ejection process is finished, you will receive a notification or see the external hard drive disappear from your desktop and Finder sidebar. This indicates that the drive is now safe to unplug from your Mac.
Before physically unplugging the external hard drive, it is good practice to double-check that all cables are disconnected from your Mac and the drive itself. This helps prevent any accidental tugs or damage to the connections.
If you plan on using the external hard drive with another device or computer, ensure that you properly eject it from your Mac first before connecting it to a different system. This helps maintain data integrity and prevents any potential issues when using the drive elsewhere.
By safely ejecting your external hard drive, you ensure that all copied photos and other files are securely saved and ready for use on the external storage device. This simple step helps protect your data and maintain the overall health and reliability of your external hard drive.
Conclusion
Copying photos from your Mac to an external hard drive is a simple and effective way to free up storage space while ensuring the safety and accessibility of your precious memories. With the step-by-step guide outlined above, you can easily transfer your photos in just a few simple steps.
Starting with plugging in your external hard drive, opening the Photos app, selecting the desired photos, and choosing the export options, you can customize the settings to meet your specific needs. By clicking the “Export” button, you initiate the copying process and patiently wait for it to complete.
After ensuring that the photos are successfully transferred, it is crucial to verify their presence and quality on the external hard drive. This step gives you peace of mind that your photos are securely stored and accessible whenever you need them.
To maintain the integrity of your data, it is important to safely eject your external hard drive from your Mac. This prevents any potential data loss or corruption and ensures that all files are written correctly before physically disconnecting the drive.
Remember, always double-check your selections and settings to avoid any mishaps or errors during the copying process. Take your time to review the copied photos and ensure that they match your expectations before proceeding.
By following the steps outlined in this guide, you can confidently copy your photos from your Mac to an external hard drive, freeing up space and safeguarding your memories. Whether you’re dealing with a large photo library or just a few treasured images, this process ensures that your photos remain secure and easily accessible for years to come.